Classic Homemade Deviled Eggs – Paleo

easter egg 2

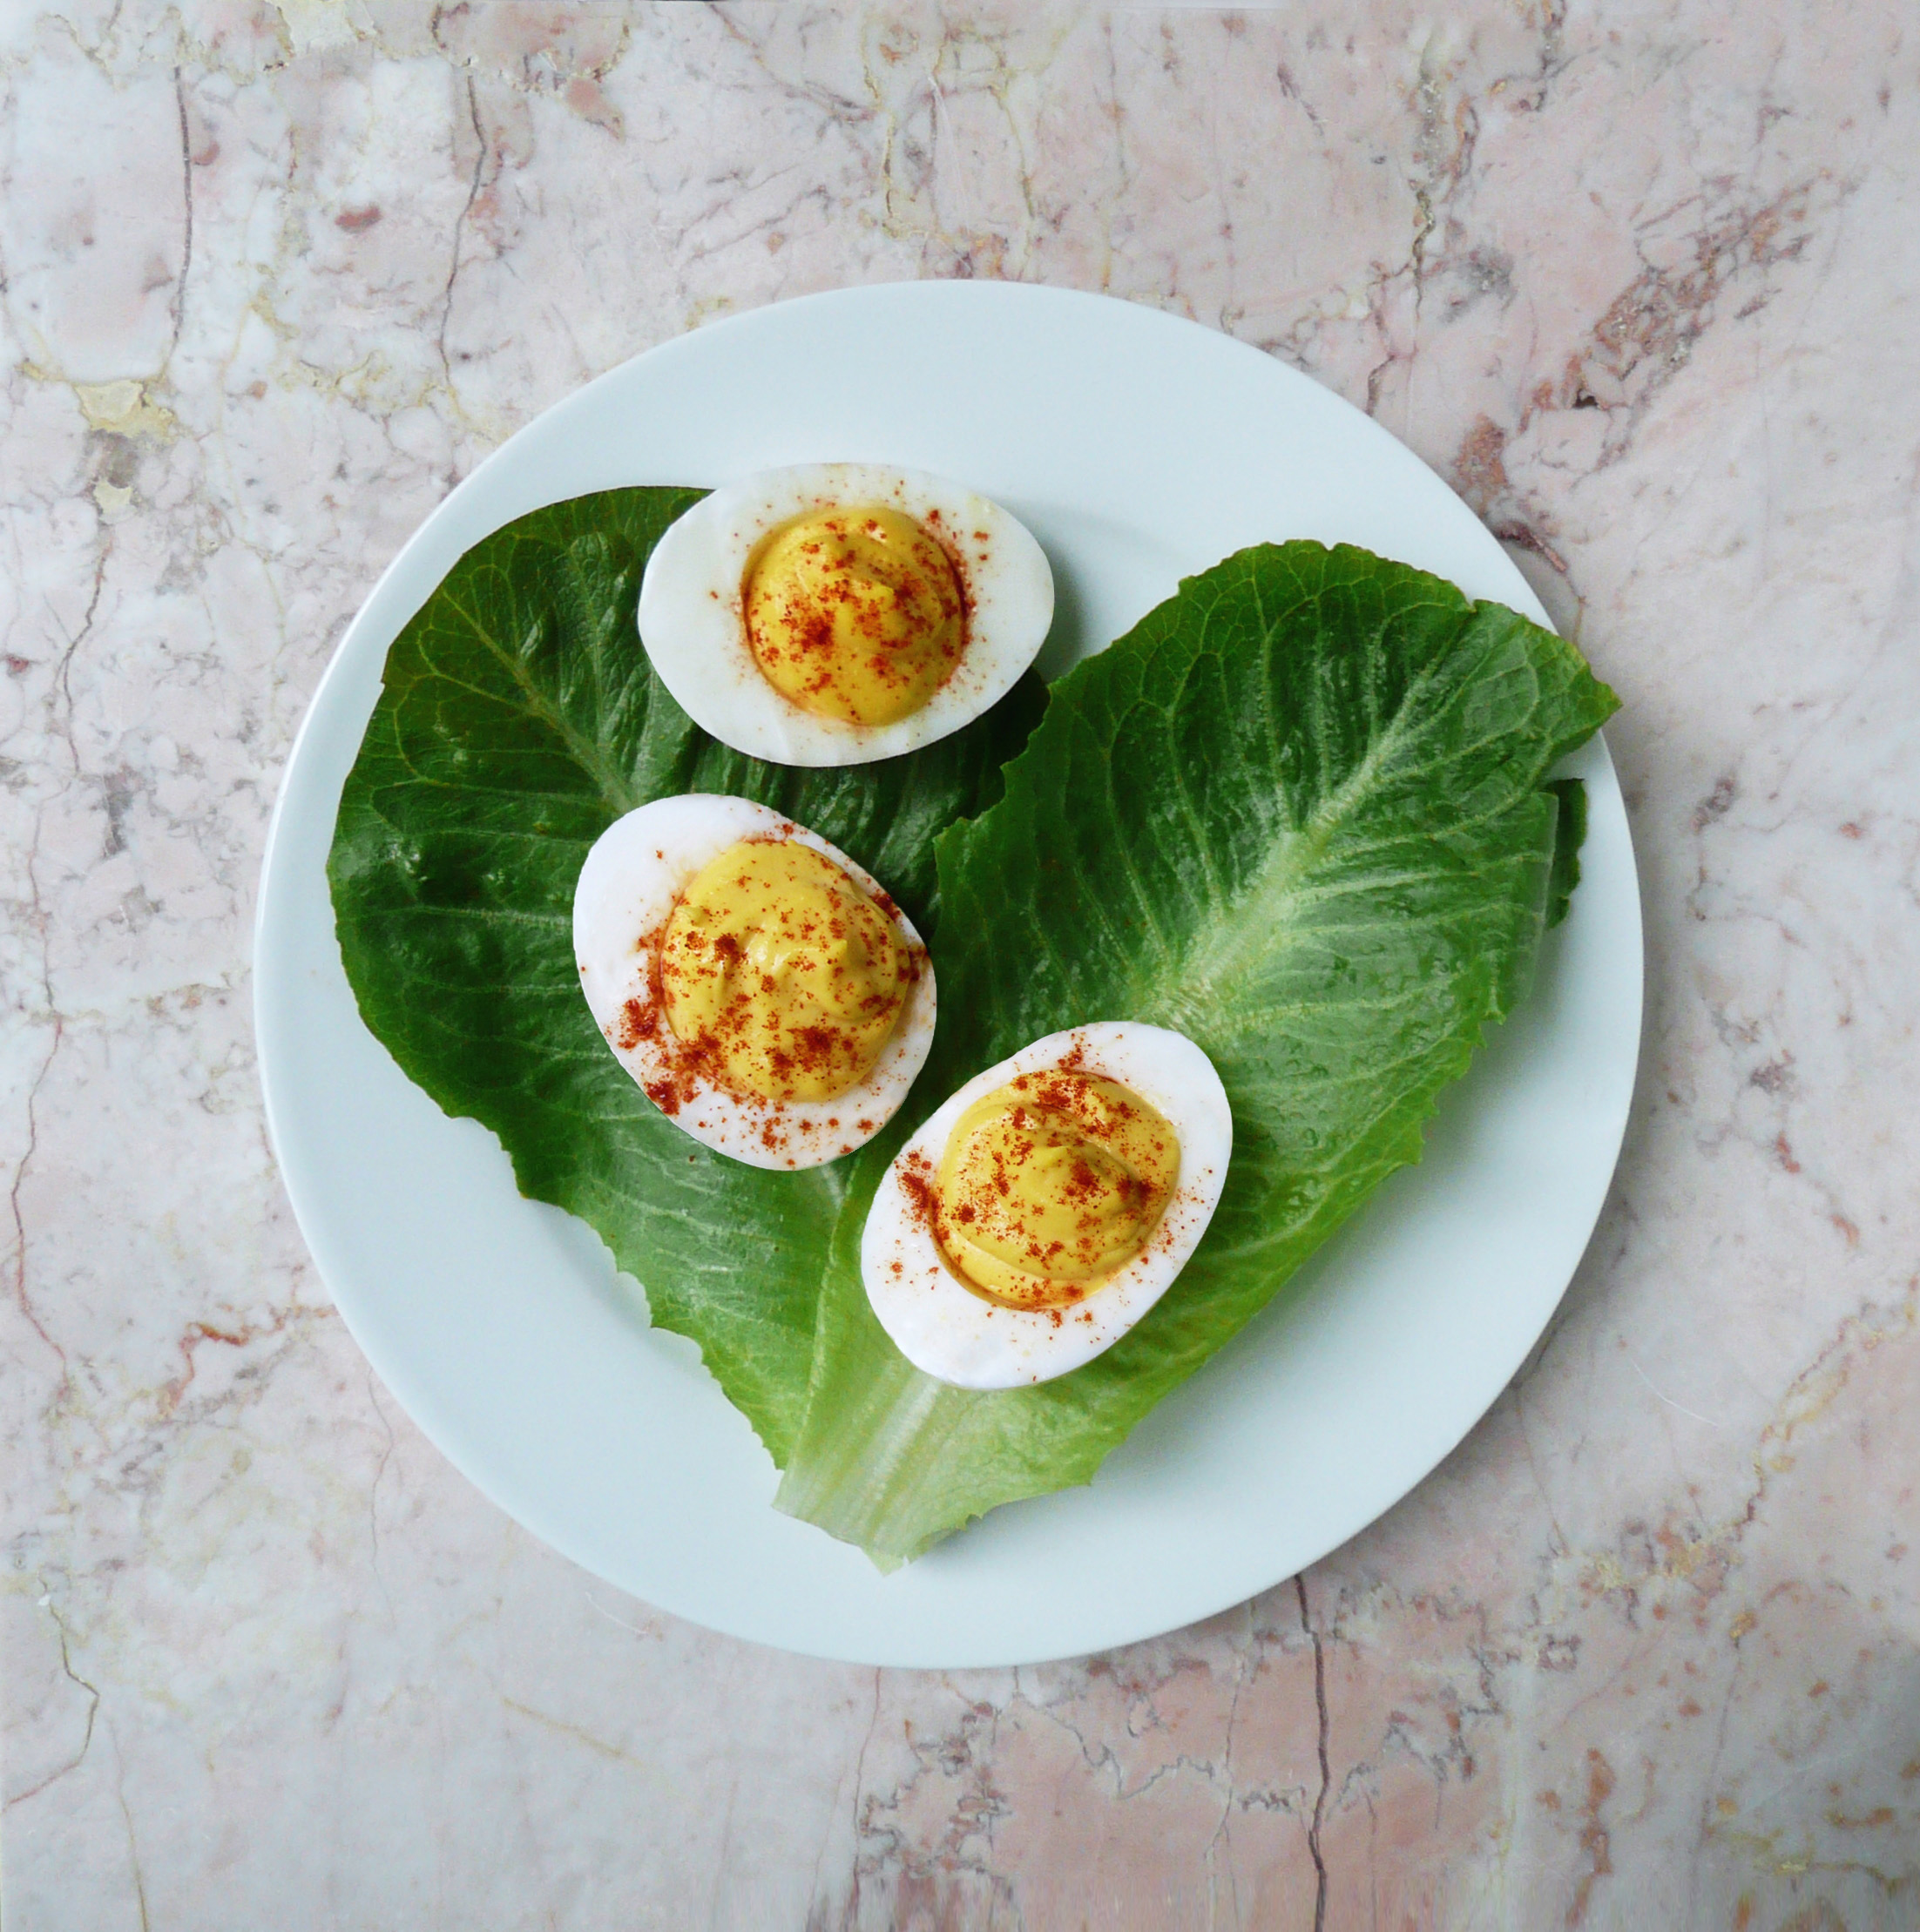
Like many people, I love a good deviled egg. There is something about these little bites of heaven that is both kind of fancy, but very comforting at the same time.

They take a little time and care, but they are everybody’s favorite thing to eat at a party.

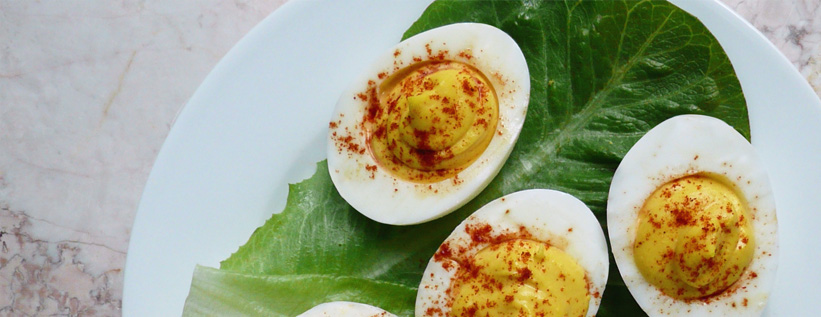
You can top them with just about anything from chives to smoked salmon, but I like paprika on my deviled eggs because it gives a little color and flare, with just a hint of spice.

Deviled eggs are best when they are made ahead of time so that they get a chance to get nice and cold in the fridge. You can store them in an airtight container and snack them if you get hungry, or make a big batch of them and bring them to an Easter party this weekend.

easter egg 3

Classic Homemade Deviled Eggs

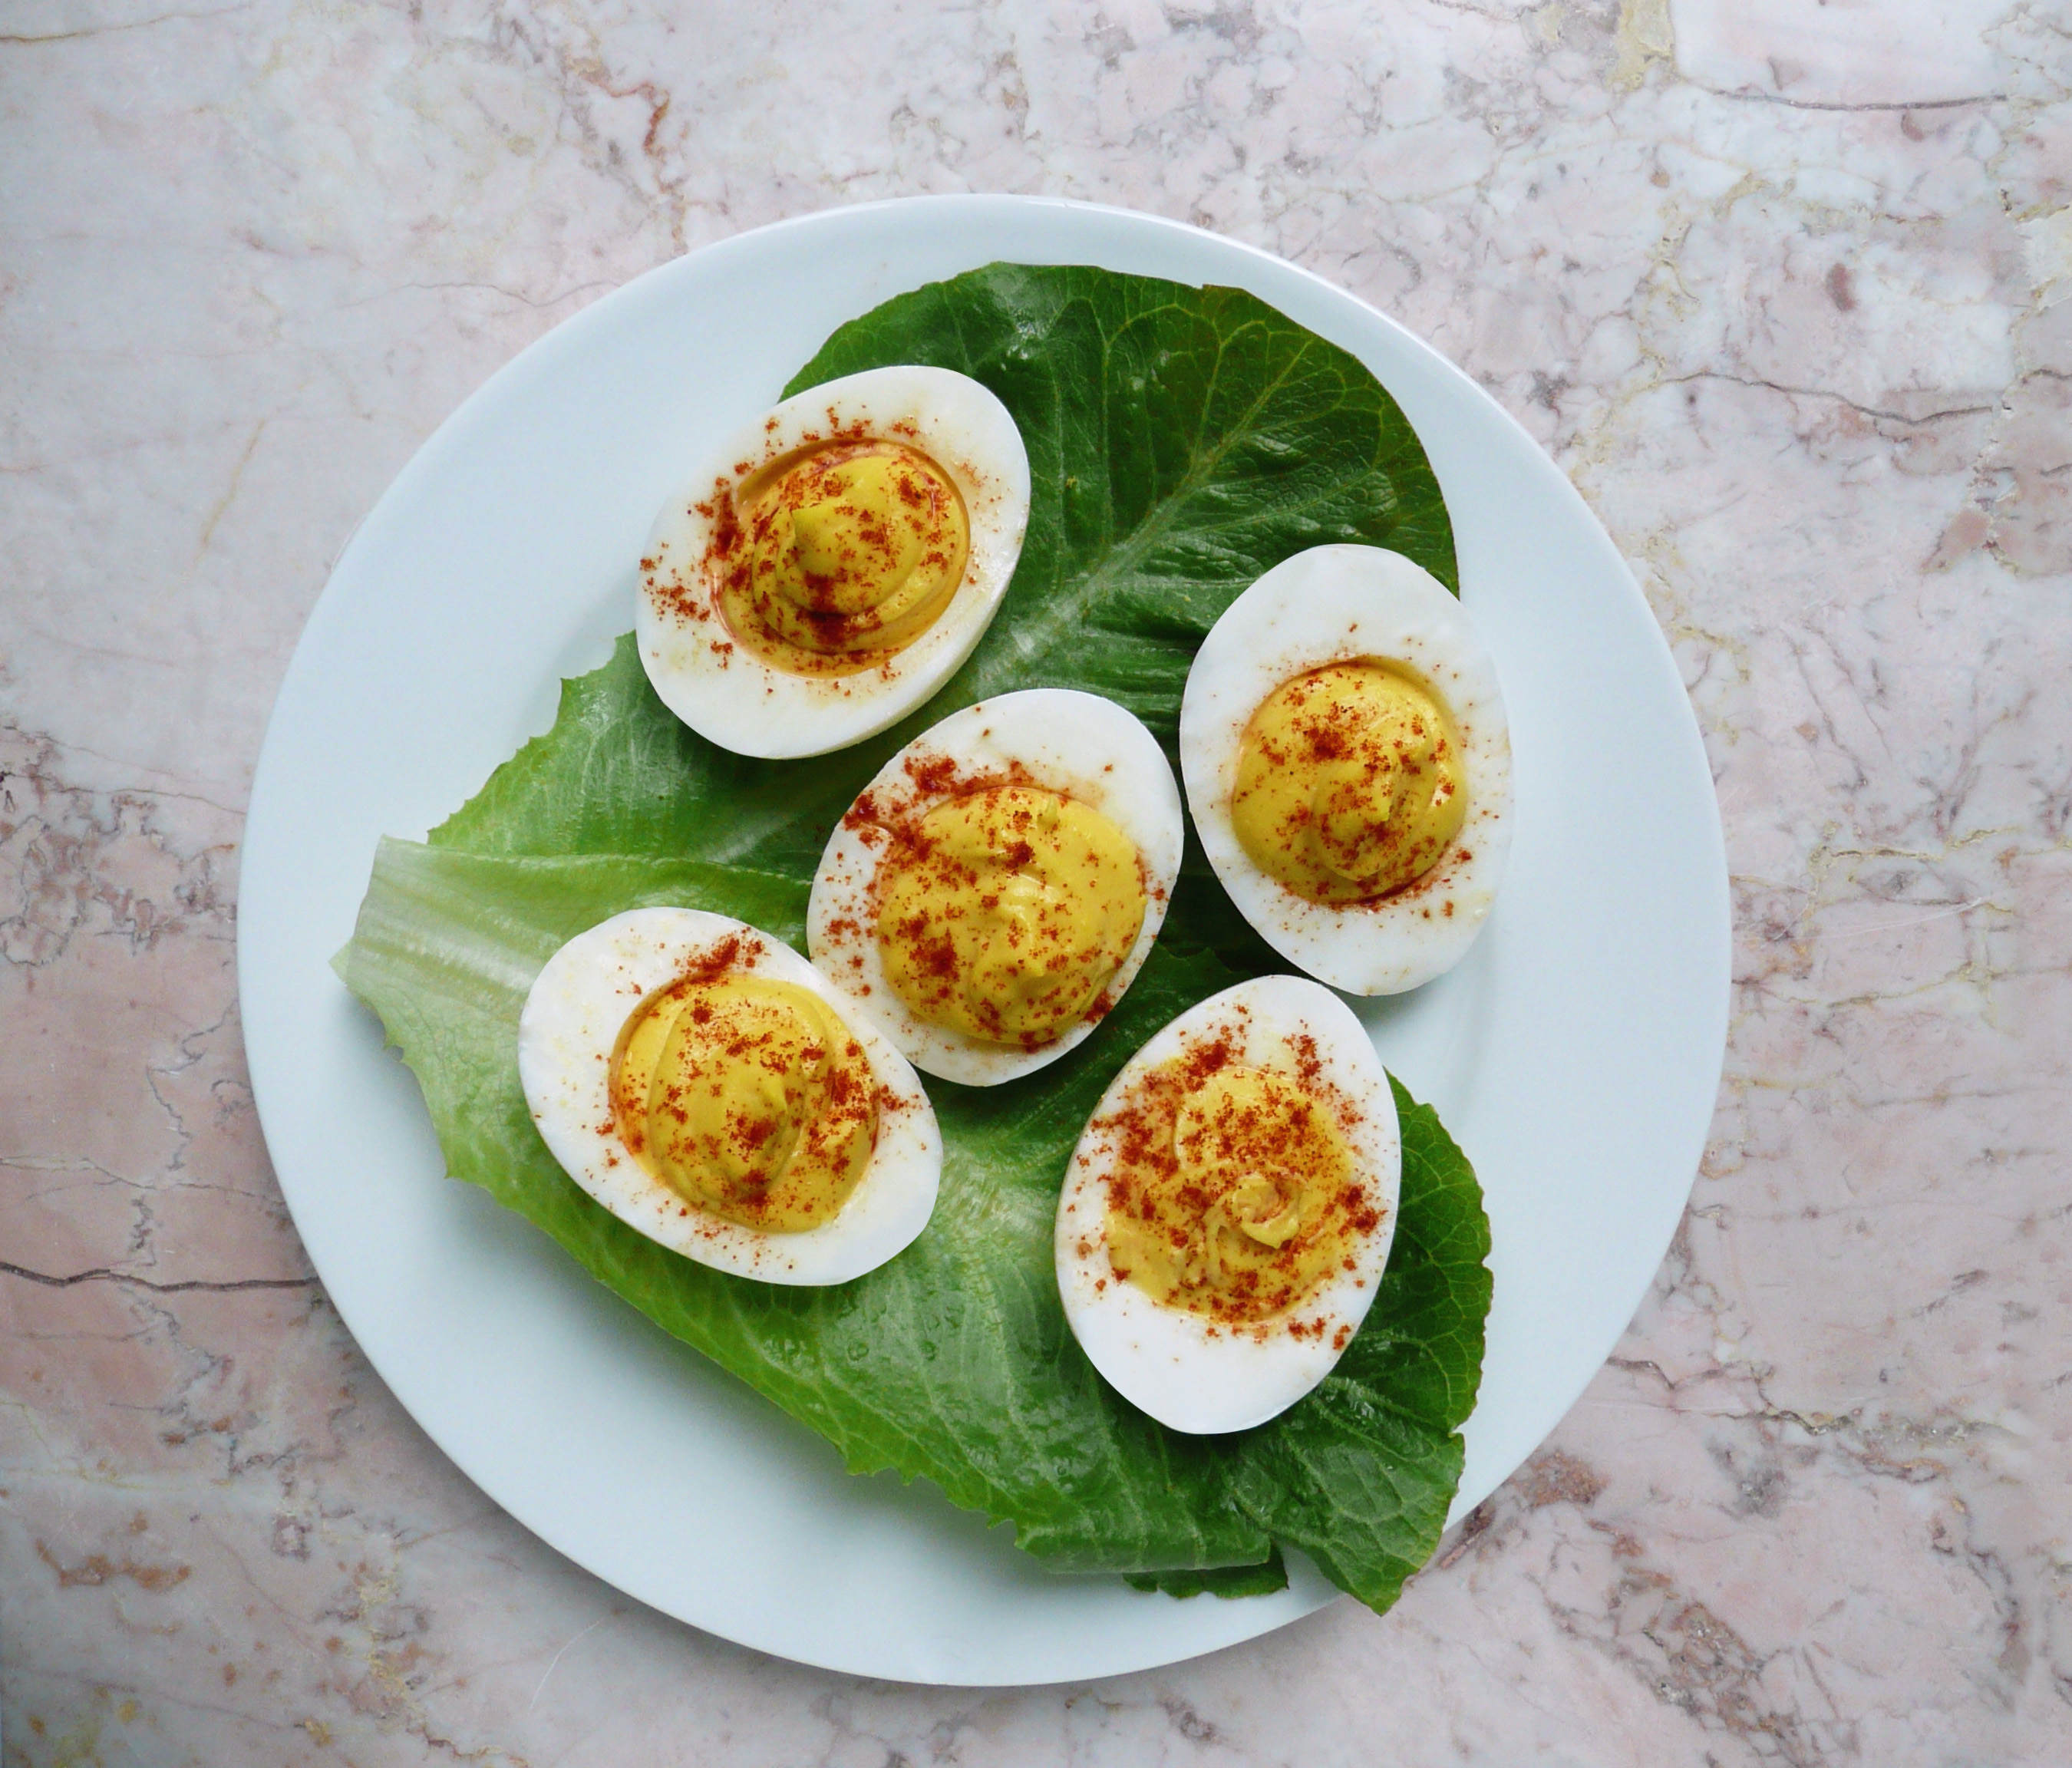
Makes 4 deviled eggs (but you can easily scale this recipe up)

Ingredients

2 eggs

2 tbsp of mayo (I used an avocado oil mayo, but feel free to use your favorite mayo)

1/2 tsp yellow mustard

3/4 tsp water

Sprinkle of paprika for garnish


Instructions

1. Place your eggs in a pot and cover with about 3/4 – 1 inch of room temperature water. Cover and bring the pot to a boil over medium high heat. Take the pan off the heat, and set aside (keeping the lid on the pot) and set a timer for 12 minutes.

2. After 12 minutes, take a slotted spoon and transfer the eggs to a big bowl of ice water and let them sit for 20 minutes. Peel and slice the eggs in half. If the eggs still feel warm at this point, transfer them to an airtight container and refrigerate until completely cool.

If the egg yolks are too warm when you mix them with the mayo, the filling for the deviled eggs will split, so you want the eggs to be nice and cold before you move on to the next step.

3. You can mash up the filling for the deviled eggs in a bowl with a fork, but the I find that the way to get the smoothest texture is to use a food processor. Add the cooked egg yolks, mayo, mustard and water to a food processor and blend until smooth (or mash together in a bowl with a fork, it will taste just as good).

If the food processor overmixes the filling and you see that the filling has separated, that’s ok. It’s an easy fix.

Add a few drops of water to a bowl with about about 1/4 – 1/2 tsp of the deviled egg filing. Mix together until smooth and it should become creamy and emulsified again. Keep whisking in little bit of the separated filling mixture into the emulsified filling (adding the occasional little bit of water if needed to get the mixture to become smooth again) until all the separated mixture has been whisked into the smooth mixture.

Don’t be afraid to adjust the taste of the filling to your liking. If you like a more spicy deviled egg, add a little more mustard (or use dijon mustard instead of yellow mustard if you want to live on the edge). If you like creamier and milder flavored deviled egg, add a little more mayo. It’s completely up to you, so make the deviled egg that you want to eat.

4. Spoon the filling into a ziploc bag and cut off a bit of one corner of the bag. Pipe the filling into the cooked egg whites and then sprinkle each deviled egg with a bit of paprika.

You can also skip piping the mixture and just spoon it into the cooked egg whites instead to give the deviled eggs a more friendly and comfortable kind of charm.

eggs easter

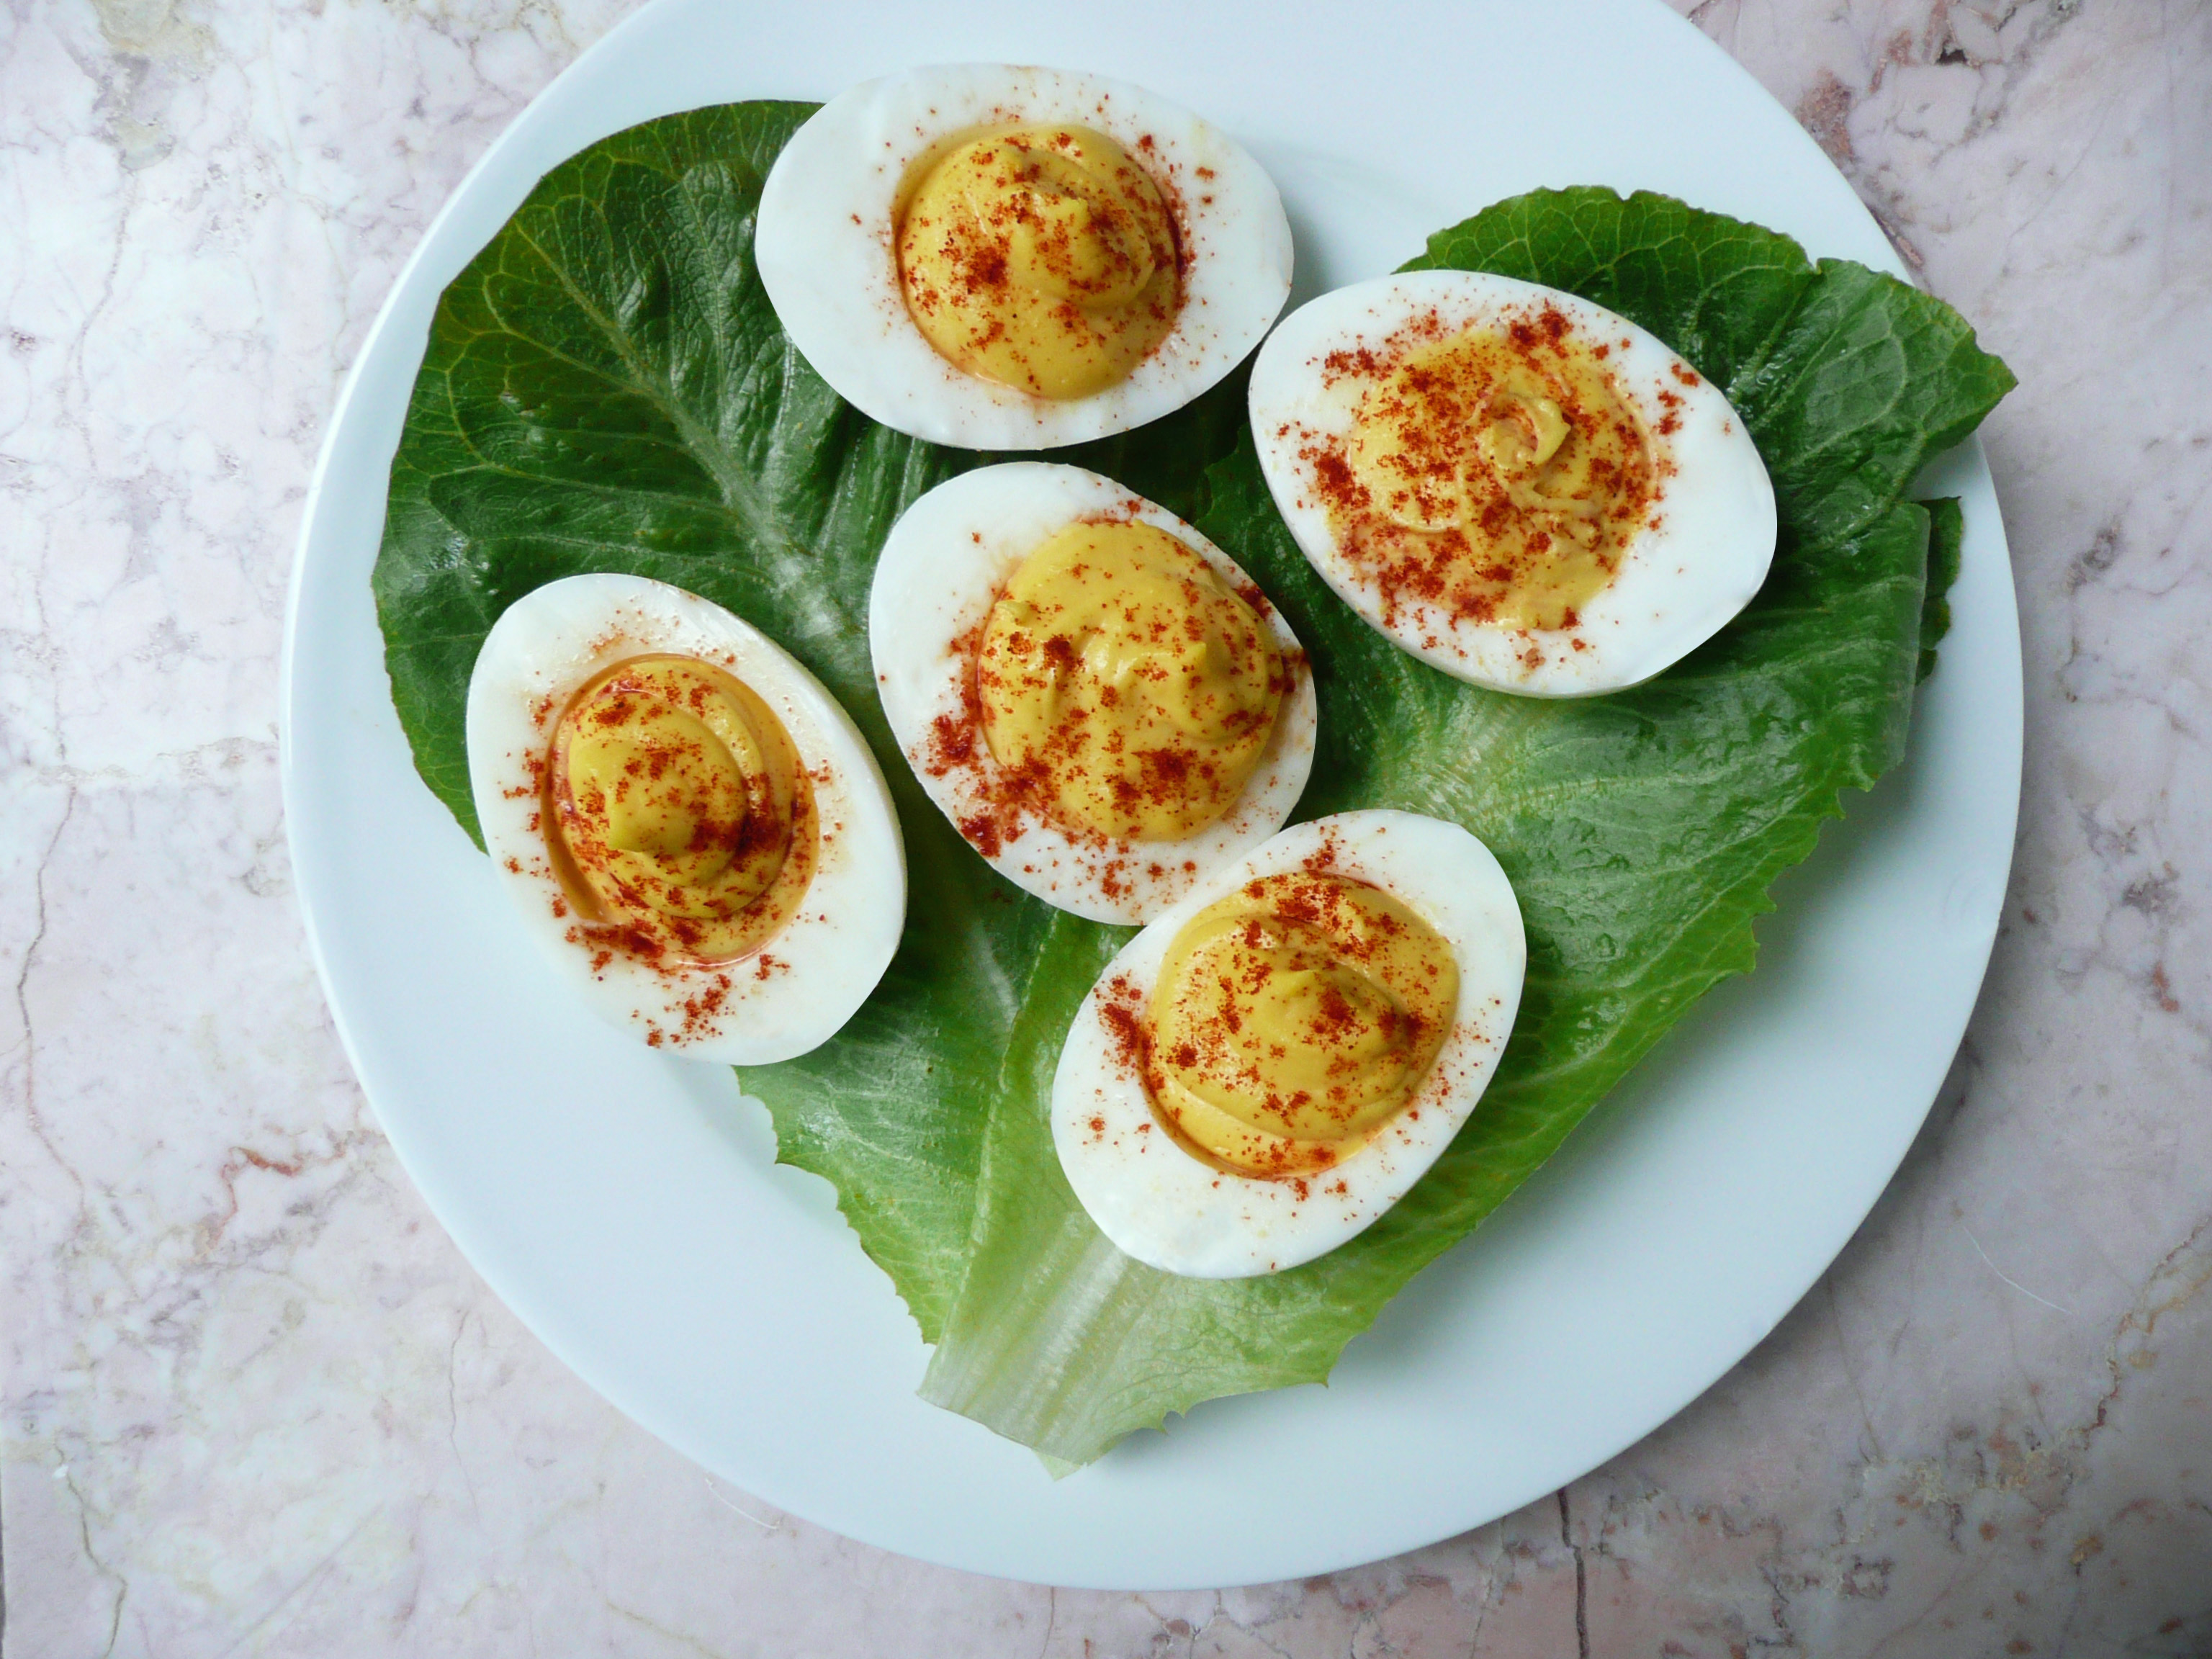
However you make them, I’m sure that they will taste AMAZING.

Happy Easter!

fudgy chocolate frosting

The Fudgiest Sweet Potato Chocolate Frosting – Dairy Free, Refined Sugar Free, Vegan

Fudgy Chocolate Frosting

This fudgy chocolate frosting works great over my Chewy Sweet Potato or Adzuki Bean Brownies, and it’s delicious enough that you can eat it by itself with a spoon. It tastes better than any store brought chocolate frosting, and it’s refined sugar free and dairy free.

It’s stable enough of a frosting that you can pipe designs with it and give cupcakes or brownies a little extra joy and decoration if desired.


The Fudgiest Sweet Potato Chocolate Frosting

Makes 1 cup (enough for 1 batch of brownies)

Ingredients

4 1/2 tbsp cocoa powder (25g)

1/4 cup oat flour (27g)*

1/2 tbsp ground chia seed (about 2.5g)

level 1/4 tsp sea salt


1/4 cup water

level 1/4 cup mashed roasted sweet potato

1/4 tsp vanilla extract

1/4 cup + 1 tsp maple syrup

5 tbsp melted coconut oil


Notes – * I grind oats into oat flour using a blender. Don’t grind the oats in a food processor because the flour won’t be fine enough.

Any extra oat flour I don’t use in the recipe goes into an airtight container and I use it for another recipe.

If you’re making this recipe for someone who has celiac disease, use certified gluten free oats, as the oats from the bulk bins can sometimes be processed on the same equipment as wheat.


Instructions

1. Add all the ingredients to a food processor and blend until smooth. Transfer to a bowl and gently heat over a double boiler and stir until glossy.

If eating with brownies, spread the frosting onto the brownies while the frosting is still warm and glossy. If you frost the brownies while the frosting is still warm, then the frosting will stay glossy when it cools and sets.

If you want to use this frosting to pipe flowers or designs, then the frosting needs to cool to room temperature before you transfer it into a piping bag. You can make this frosting in advance if needed and keep it in the fridge, and either heat it very gently and quickly over a double boiler, or let it sit a room temperature until softened before piping.


The Best Chewy Sweet Potato (or Adzuki Bean) Brownies – Gluten Free, Dairy Free, Refined Sugar Free, Vegan

sweet potato brownies

This is one of my best recipes.

These brownies are the brownies of dreams. They have a rich, deep chocolate flavor, but are not too dark or too sweet, and they taste like the best brownie you’ve ever had.

I came up with this recipe one day when I needed to use up some extra sweet potatoes that I had in the fridge. Somehow this recipe came together so quickly (and I worked perfectly the first time!), and taking the first bite of these brownies made my heart sing. I couldn’t believe how good they were, and they were vegan! And made from leftovers!

The cool thing about this recipe is that you can also make them with adzuki beans (if you have any leftover red bean soup).  They actually turn out slightly chewier when made with adzuki beans rather than sweet potatoes, but both kinds of brownies are fantastic.

With brownies, most people fall into two camps – chewy, or fudgy. These brownies are the perfect marriage between the two, because the actual brownies are wonderfully chewy, and the frosting is gloriously fudgy.

They don’t need the frosting, as they taste good enough without it, but a little frosting never hurt a good brownie.


The Best Chewy Sweet Potato (or Adzuki Bean) Brownies

Makes 9 brownies

Ingredients

1 tbsp ground chia seed (5g)

¼ cup + 1/8 cup hot water


1 cup of oat flour (90g)*

5 tbsp + 2 tsp cocoa powder (34g)

½ level tsp baking soda

½ level tsp + 1/8 tsp ground coffee (I used Starbucks Italian Roast Ground Coffee, which is also Fair Trade Certified, which makes it extra cool)

½ level tsp sea salt


2 tbsp apple cider vinegar

1 tsp of vanilla extract**

level ½ cup mashed roasted sweet potato (if using adzuki beans use ½ cup + 3 tbsp drained cooked beans instead of the sweet potato)

½ cup maple syrup

¼ cup + 1/8 cup melted coconut oil


Notes – for best results, please measure the dry ingredients by weight.

* I grind oats into oat flour using a blender. Don’t grind the oats in a food processor because the flour won’t be fine enough.

Any extra oat flour I don’t use in the recipe goes into an airtight container and I use it for another recipe.

If you’re making this recipe for someone who has celiac disease, use certified gluten free oats, as the oats from the bulk bins can sometimes be processed on the same equipment as wheat.

**If you run out of vanilla extract ( and it’s been the kind of day where you really need a brownie) have no fear, these brownies still taste amazing without it. So go forth, and bake with a light heart.

sweet potato brownies 2.jpg

Instructions

1. Stir together the ground chia seed and hot water. Let sit for 10 minutes until thickened.

2. Add the cocoa, oat flour, salt, coffee and baking soda into the food processor and give it a quick blend so that everything is well combined.

3. Add the rest of the ingredients to the food processor and blend until smooth.

4. Turn the oven to 350F and let the mixture sit in the food processor for 15 minutes. Then give it one final blend for about 30 seconds and then spoon the mixture into a glass 8×8 inch baking dish that you’ve oiled and floured with coconut oil (or a neutral oil like avocado oil) and a bit of oat flour.

Take a spatula and smooth the brownie batter out so that it’s sitting evenly in the baking dish.

5. Bake the brownies at 350F for 70-75 minutes until the brownies pull ¼ inch away from the pan on all sides.

Allow to cool completely (at least an hour for the best texture), frost with fudgy sweet potato chocolate frosting if desired, and then cut into 9 square pieces. Serve and enjoy!

I hope that you love these brownies as much as I do, and if you’re having a tough day, I hope that these brownies make it just a little bit better and brighter.  🙂

Apple Slices and Two Ingredient Caramel Dip – Paleo, Vegan, Refined Sugar Free

P1090359

When I’m feeling like I want a sweet snack in a flash, I make myself a plate of apple slices and caramel dip.

This is the easiest no cook caramel dip ever. This caramel dip tastes incredibly indulgent  and takes just seconds to make. Olive oil and maple syrup may sound like an unusual combination, but it tastes delicious, especially when combined with the sweet apple.

Apple Slices and Two Ingredient Caramel Dip

Makes 1 serving

Ingredients

1 fuji apple (or apple of choice, I like fuji apples because they are nice and sweet)

Caramel Dip

1 tbsp maple syrup

3/4 tsp – 1 tsp olive oil


Instructions

1. Wash and slice your apple, and place the apple slices on a plate. Spoon the maple syrup and olive oil onto the side of the plate, or into a small dish. Stir the maple syrup and olive oil together until well combined. Dip the apple slices into the caramel and enjoy!


Vegan Taiwanese or Chinese Sausage – “Xiang Chang”(香腸) / “Lap Chong” (臘腸)

vegan taiwanese-chinese sausage

This vegan Taiwanese / Chinese sausage is easy to make and tastes very similar to the real thing.

Spooned over noodles or a steaming bowl of rice, it’s happiness in a bowl.

Taiwanese and Chinese sausages can be found at Asian supermarkets, but I’ve never seen an organic one that’s free of added nitrates yet (here’s to hoping!). They taste amazing, and even though I’ve watched a YouTube video on how to make the sausages the traditional way, I haven’t actually made them myself yet.

This recipe is an easy way to get a similar flavor and texture without the hassle of making the sausage, or the nitrates from the store bought versions.

I used this recipe instead of real Chinese sausage when I made Turnip Cake for Lunar New Year and it worked great, so you can potentially swap this in for recipes that call for diced Taiwanese of Chinese sausage.


Vegan Taiwanese Sausage (香腸) or Chinese Sausage (臘腸)

Makes 1 serving

Ingredients

6 white or crimini mushrooms – cut into ¼ inch dice (about 1 ½ cups)

2 ½ tbsp. avocado oil (or any neutral flavored high heat oil)

¼ tsp + 1/8 tsp granulated garlic

¼ tsp + 1/8 tsp 5 spice powder

½ tsp organic red miso paste

2 – 2 ½ tsp maple syrup*

maybe a pinch of salt to taste (depending on how salty your miso is)


*Taiwanese sausage or “Xiang Chang”(香腸) is usually a little sweeter than the Chinese sausages or “Lap Chong” (臘腸), so if you’re looking for more of a Taiwanese sausage flavor, use the 2 1/2 tsp of maple, and 2 tsp of maple if your looking for more of a Chinese sausage flavor.

Instructions

1. Stir together the granulated garlic, 5 spice, miso, and maple syrup until smooth.

2. Make your pan non-stick. Add the oil and diced mushrooms to the pan and cook on medium high heat, stirring frequently, for 8-9 minutes until the mushrooms are golden brown around the edges.

3. Add the cooked mushrooms to the spice mix and stir until well combined. Give it a taste, adjust the seasoning to your liking.

You can also spoon this into romaine lettuce leaves (like vegan chicken lettuce wraps), or serve it over steamed rice or noodles.

However you eat it, I hope that you enjoy the recipe!


Note – This isn’t sponsored, but I just wanted to mention that the noodles that I used in the picture were Organic Edamame Spaghetti Noodles made by Explore Asian Authentic Cuisine (it looks like they may have changed the company’s name to “Explore Cuisine” now).

The only ingredients are water and soybeans and the noodles have a lovely flavor and texture and cook up in about 5 minutes are a good non-grain pasta alternative (if that’s something that you’re looking for). I used up the last of the box I had for this recipe (the box I had was from Costco, and they don’t carry the noodles anymore) but you can find the noodles online.

mint ice cream

Mint Chocolate Ice Cream – Dairy Free, Paleo, Vegan, Refined Sugar Free

mint ice cream

When I first realized that St. Patrick’s Day was coming up, I was at a bit of a loss as to what to make to celebrate.

So I googled “Traditional Irish Food” and pictures of things like shepherd’s pie, Irish stew, and colcannon popped up, along with literally a picture of a potato. That’s right, a plain ol’ uncooked potato.

After I finished laughing for a good solid minute (that lone potato really cracked me up), I decided to go check out what was in the fridge and see if I could come up with a recipe from the ingredients that I already had. After a quick glance at the bananas on the counter, I opened the fridge to find that I still had a big box of baby spinach. After a little tinkering, I came up with a recipe for this gorgeous ice cream.

mint ice cream 4

Ireland is the Emerald Isle after all, and this recipe borrows just a bit of that lush green color just in time for St. Patrick’s Day.

This amazing mint chocolate ice cream is rich and creamy, and you can’t taste the baby spinach at all, but it gives the ice cream it’s lovely bright green color without any food coloring. Little flecks of dark green dance across every beautiful spoonful, making every bite a little more festive, a little more special.

Sprinkle over a little cocoa powder before just serving and every delicious bite will taste just like a Thin Mint cookie, but in ice cream form (which is even better).

mint ice cream 2

That little bit of cocoa gives a little bit of bitterness which goes incredibly well with the brightness of the mint and allows the flavor of the ice cream to really sing.

This recipe is also a great way to use up extra baby spinach and overripe bananas. The avocado oil seems like a funny addition, but it adds a real creaminess and makes it taste more like traditional mint ice cream.

Mint Chocolate Ice Cream

Makes a generous serving for 1 (about 3 scoops)

Ingredients

2 bananas

1/2 cup packed baby spinach leaves

5 1/2 tsp – 6 1/4 tsp maple syrup

5 tsp avocado oil (or any neutral flavored oil)

1/8 cup water

1/8 tsp peppermint extract (or more to taste)

the tiniest sprinkle of sea salt imaginable (optional)

A little cocoa powder to sprinkle over the ice cream before serving

Instructions

1. Peel and slice the bananas into 1/2 inch slices. Put a piece of plastic wrap over a plate and arrange the banana slices in a single layer over the plastic wrapped plate. Cover with another layer of plastic wrap and freeze until solid.

2. Allow the bananas to defrost for 5-8 minutes until just thawed. Add the bananas, baby spinach, maple syrup, avocado oil, water, and peppermint extract to a food processor.

Blend until smooth. Taste and add in the tiniest sprinkle of sea salt if desired, and at this point you can add more mint flavoring if you like (add a drop at a time as this stuff is strong).

3. Once you’re happy with the flavor of the ice cream, scoop the ice cream into a dish and sprinkle with cocoa powder. Serve.

Notes – The bananas that I used were medium sized and they were ripe but were only lightly speckled brown, so if the bananas that you use are very brown and sweet, then you can probably decrease the amount of maple syrup.

The measurements that I ended up using in my own batch were 6 1/4 tsp maple syrup, and 1/8 tsp + 3 drops of peppermint extract (as I like a strong minty flavor in this ice cream).

You can also make the ice cream ahead of time and put it into something like a plastic snapware container and stash it in the freezer. This works especially well if you want to be able to scoop it into pretty scoops of ice cream for a nice presentation.

mint ice cream 5

So much minty chocolate goodness in one bite…

baby spinach heart copy

Happy St. Patrick’s Day!

cole slaw tacos

Cole Slaw Dressing (Paleo, Refined Sugar Free, Soy Free)

cole slaw tacos

I love this creamy dressing. The dressing takes just minutes to put together and you can make it ahead of time as well and dress the cabbage and carrots when you’re ready to eat.

It’s slightly sweet from the maple syrup, and has a little bit of a bite from the apple cider vinegar and finely grated onion. And the dressing makes eating a good size serving of a cabbage (which is really good for you as it’s a cruciferous vegetable) a delicious experience.

When I first went gluten free, I experimented with a lot with different food combinations to try and come up with more exciting dishes to eat.

One of my first and favorite food combinations ones turned out to be chicken and cole slaw tacos.

I use homemade gluten free tortillas, top them with cole slaw and some leftover roasted chicken. If you’re vegan, you can use a vegan mayo and a meatless chicken subsitute (or crispy tofu would be good too).

You can also serve the dressing over a normal salad (like I did in the picture). I trimmed off the edges of the tortillas and pan fried them with a little oil until they were crispy and added them to salad as a crouton substitute.

I hope that you enjoy the dressing (and that it makes eating lots of vegetables more exciting!).

Happy Eating!


Cole Slaw Dressing

Makes 1 serving

Ingredients

1/2 tbsp finely grated white onion (I use the really small holes on my box grater for this)

3 tbsp mayo (I used an avocado oil mayo)

3/4 tsp apple cider vinegar

1- 1 1/4 tsp maple syrup

pinch of salt (to taste)

1 cup finely shredded cabbage and grated carrot mix


Instructions

Stir together the onion, mayo, vinegar, and maple syrup. Add salt to taste.

Pour over the cabbage and carrots and stir until well mixed. Serve.

salmon sushi

Salmon Salad Sushi – Super Easy

P1080078-2

I love tuna salad, and this is a slightly fancier version but is still super simple to make. It’s perfect for a quick dinner, or an easy snack and you can use up your leftover brown rice or salmon to make this tasty dish.

Salmon Salad Sushi

Makes 8 pieces (2 snack size servings, or 1 serving for a hungry person)

Ingredients

1/3 cup cooked flaked salmon (canned salmon is fine too)

2 ½ tbsp. mayo (I used an avocado oil mayo)

1/8 tsp dijon mustard

2 ½ tsp finely chopped green onion

3 tsp lemon juice

tiny pinch of pepper

¼ tsp dried parsley

1/8 tsp granulated garlic

¼ tsp sea salt

1 ½ cups warm cooked brown rice (I just steam it for a few minutes in the rice cooker to warm it up if it was in the fridge)

1 sheet of nori

Instructions

1. Stir together the salmon with everything but the rice and nori.

2. Lay the nori sheet on a plastic wrap covered bamboo mat.

Wet your fingers, and spread the warm rice on the nori into a thin layer leaving about a ¾ inch of nori uncovered at the top of the sheet.

3. Spoon the salmon salad into a line at the bottom of the rice covered nori. Roll firmly into a sushi roll, and set in the fridge for 10 – 15 minutes to firm up. Cut into 8 slices and serve.

P1080077-2

Salmon Salad Sushi and Vegan Thai Peanut Sauce with Veggie Spring Rolls

The snack plate of dreams…

sunshine smoothie

Good Morning Sunshine Smoothie – (Strawberry, Apple, Pineapple) – Easy, Vegan, Dairy Free, Delicious

Sunshine smoothie

This super pretty smoothie looks like sunshine in a cup. It’s a snap to make and is not only delicious, but also full of healthy and anti-inflammatory ingredients.

Chia seeds provide omega-3 fatty acids, and avocado oil is a monounsaturated fat that helps to increase the absorption of the beta carotene from the carrots. The pineapple adds sweetness (if you use fresh pineapple then you get the benefit of an added anti-inflammatory enzyme called bromelain which helps with pain) and the strawberries add anthocyanins (the compounds that give the strawberries their color) which can help boost neurogenesis (helping your brain to produce new brain cells).

What I’ll sometimes do is pour one serving of the smoothie into a screw top jar (just an empty jar of coconut oil that I’ve washed and cleaned out) and keep it in the fridge to drink later in the day. It’s a filling smoothie and drinking this is usually satisfying enough that I can walk by the wall of chocolate candy at the grocery store and not crave any of it.

The apples, strawberries and pineapple give the smoothie a lovely sweetness, but if you want the smoothie a little sweeter, you can squeeze in a little honey to taste.

Good Morning Sunshine Smoothie

Makes 2 generous servings

Ingredients

1 1/2 fuji apples, roughly chopped

1 large carrot, but into 1/2 inch slices (about 1 cup)

1/4 cup canned pineapple + 1/4 cup of the pineapple juice*

8 strawberries (fresh or frozen) about a scant 1 cup

1 1/2 tbsp chia seeds

1/2 – 1 tbsp avocado oil (or any neutral flavored oil)

1 1/2 cups water

Squeeze of honey (optional)

*If you don’t want to use canned pineapple, Trader Joe’s sells pineapple juice in a carton which tastes great. You can just add a few splashes of that to the smoothie instead of the canned pineapple for sweetness.

Instructions

Add all ingredients into a blender and blend until smooth. Pour into cups and serve.

If your blender isn’t that great at blending frozen things, you can let the strawberries thaw for 15-20 minutes before blending.

I hope that this colorful smoothie brings a little joy and sunshine to your day!