An easy and affordable no carve DIY to decorate your pumpkins for Halloween!
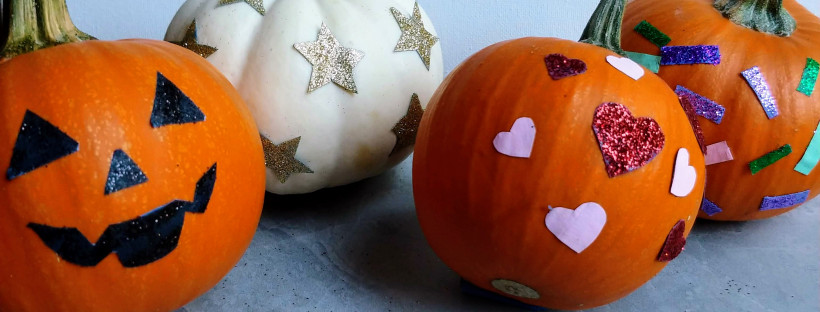
An easy and affordable no carve DIY to decorate your pumpkins for Halloween!
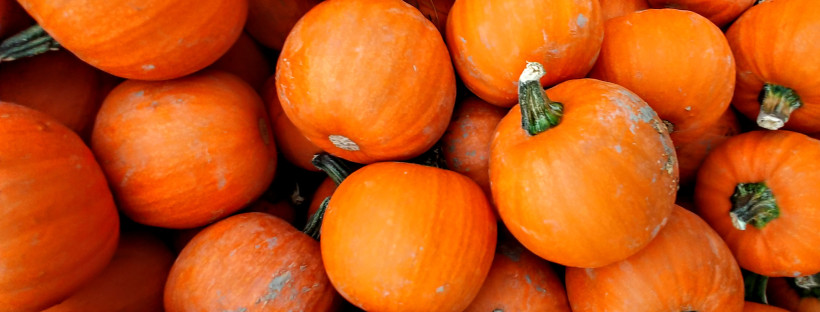
It's Fall! My favorite season of the year. It's time to wear cozy socks, cuddle up with a book by the fire and drink / eat pumpkin spice flavored things with joy! I love seeing all the autumn leaves turn color and am very much looking forward to Halloween and Thanksgiving (of course my favorite … Continue reading A Trip to the Farmers Market

Hi Friends! I know I've been a little quiet on the blog lately, but there's a good reason for that. I opened my society6 shop a few weeks ago, and I've been working on some exciting new things to share with you! I've been designing all sorts of fun things and I hope that you will like them as much as I do.
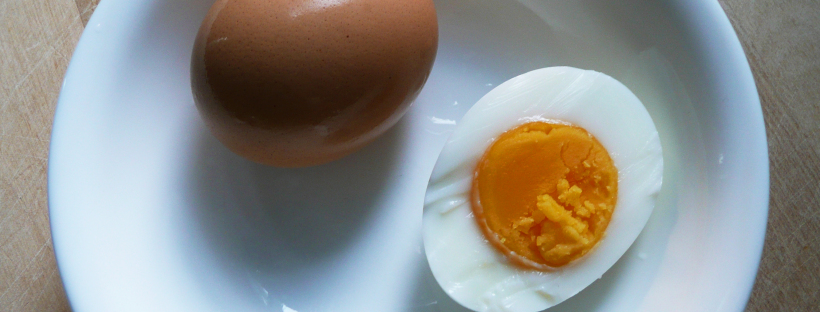
The easiest way to "hard-boil" eggs in a jiffy!
This simple balm is great for relieving itchy bug bites and for soothing sore muscles.

A super simple and refreshing dessert for hot summer days.
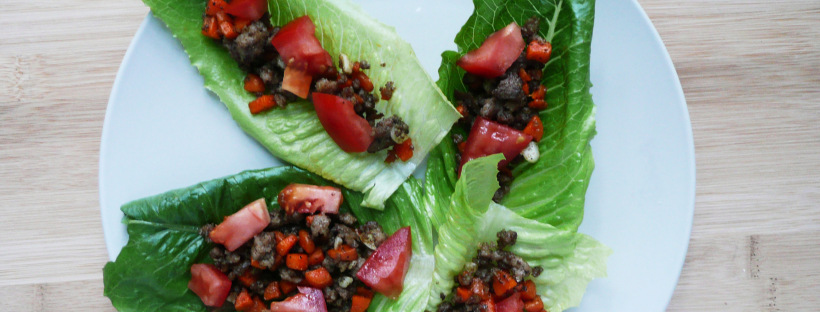
These cumin lettuce cups are a snap to make and perfect for a quick and easy weeknight dinner.
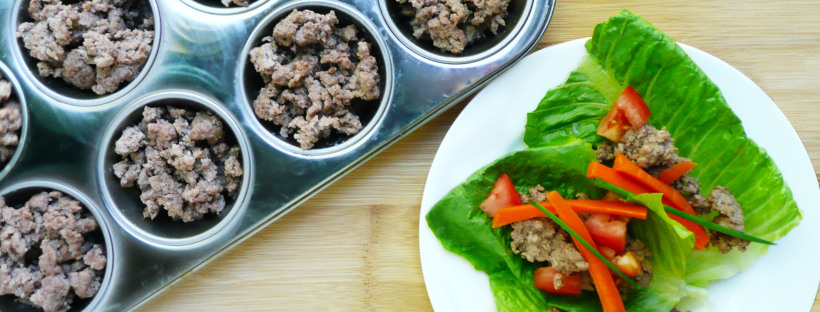
Here's my quick tip for saving money on grass fed meat without coupons, and an easy and convenient way to keep meat on hand for weeknight dinners.
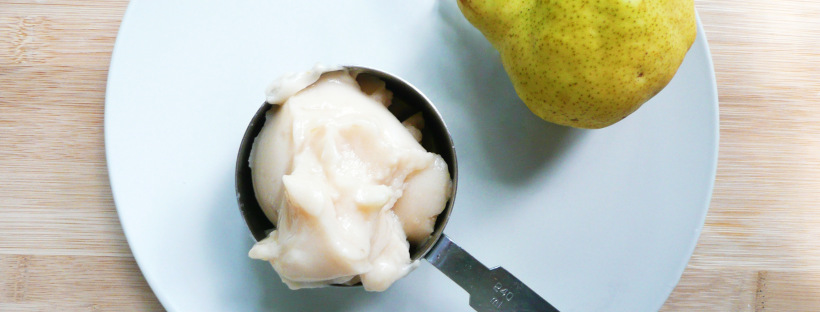
This pear sorbet is a refreshing and delicious way to use up any pears you might have around the house.
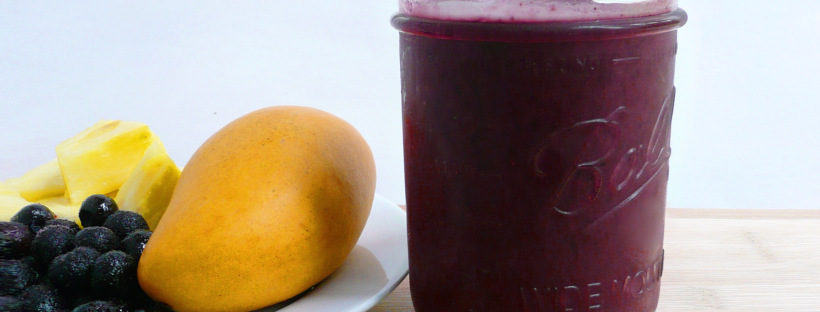
This recipe is my version of my old favorite Jamba Juice smoothie, the glorious Orange Berry Blitz. This recipe is refined sugar free, and perfect for a hot summer day.