sweet potato fries

Oven Baked Garlic Paprika Sweet Potato Fries – Paleo, Vegan

baked sp 8

These garlicky paprika sweet potato fries make a glorious side dish when you’re craving carbs, and are my go to snack when I’m craving junk food but want to eat something a little healthier.

baked sp 3

Sweet potatoes are a great source of vitamin A, magnesium, and potassium (which is great) but what really matters is that these sweet potato fries are really satisfying.

I love dipping them into creamy avocado mayo (sometimes with a bit of finely minced garlic mixed in) and they are also good with honey mustard.

baked sp4

Next time your craving junk food, give these sweet potato fries a try. If you’re anything like me, you find that you’ve eaten them all before you know it.

Oven Baked Garlic Paprika Sweet Potato Fries

Makes 2-3 servings

Ingredients

3 small sweet potatoes (the ones I used were 2 inches in diameter and 8 inches in length)

2 tbsp neutral flavored oil (I used avocado oil)

1 1/4 tsp granulated garlic

1/4 tsp + 1/8 tsp granulated onion

1/4 tsp paprika

1/4 tsp dried thyme (optional)

1/8 tsp black pepper

1/4 tsp sea salt


Instructions

1. Preheat the oven to 400 degrees F.

2. Give the sweet potatoes a good scrub and cut each sweet potato into 8 wedges.  Place the sweet potatoes into a large glass baking dish with the oil and toss gently.

2. Stir together the salt, pepper and other spices. Sprinkle the spice mixture over the sweet potatoes and give it all a good mix so that the fries are well coated.

baked sp 9

4. Arrange the sweet potatoes onto the baking dish so that they are in a single layer.

My baking dish was a little too small to fit all of the fries. So for this amount of sweet potatoes I used a 3 qt (9 in. x 13 in.) glass pyrex baking dish and a 9 in. pie plate.

5. Bake for 35 – 40 minutes until crispy and golden brown around the edges.

baked sp 5

Happy Eating!


Watermelon Agua Fresca – Paleo, Vegan, Refined Sugar Free

watermelon ag 3

With summer fast approaching, the weather is getting warmer, and Memorial Day weekend is here!

This means that ’tis the season for backyard barbecues and hanging out with friends and family in the sunshine. This calls for drinks.

One of my favorites is my watermelon agua fresca. It’s cool and refreshing, and along with iced apple green tea is a refined sugar free alternative to sweet tea.

I love watermelon. It’s one of my favorite fruits and drinking this is almost like drinking a cross between lemonade/limeaid and watermelon juice.

Watermelon season in the US runs from May to September, so lots of delicious ripe watermelons are available in grocery stores right now, which is super exciting (yay!) and another thing that makes this watermelon agua fresca the perfect drink for summer.

Watermelon Agua Fresca

Makes 2 servings (4 cups total)

Ingredients

4 1/2 cups cubed seedless watermelon (1 – 1 1/2 inch cubes)*

1 1/4 cup + 1/8 cup water

3 tsp lime juice (I used lime juice that froze previously and defrosted)

Notes – * Use the sweetest watermelon you can find, that way you won’t have to use any added sweeteners. If you’re having a party, you can make a big batch of this ahead of time and it will keep great in the fridge overnight.

Instructions

1. Add all the ingredients into a blender and blend until smooth. Refrigerate until well chilled, making sure to give the agua fresca a good stir before serving. Pour over ice if desired (especially if it’s a particularly hot day) and serve.

green goddess dressing

Parsley Green Goddess Dressing Recipe – Paleo, Dairy Free

Green Goddess Dressing 1

I like to think of Green Goddess dressing as Caesar dressing’s sort of hippier, more free spirited cousin.

Caesar is the dressing that you want for a beautiful dinner party, while Green Goddess is for summer picnics and dancing through a garden in a sundress while wearing a daisy crown.

Green Goddess 5

My Parsley Green Goddess dressing has all the things that you love about Caesar dressing (the rich savoriness and creaminess, with a bit a bit of garlic thrown it to punch up the flavor) and is full of anti-inflammatory herbs like parsley, rosemary, and basil.

It’s light and creamy, a little thinner than most green goddess dressings (which makes it better for drizzling over a salad), and is packed with heart healthy olive and avocado oils.

This is also the perfect recipe for when you’re looking to use up a bunch of fresh parsley in a hurry. You can blend it all into this beautiful dressing.

Green Goddess 6

Parsley Green Goddess Dressing

Makes 1 1/4 cups

Ingredients

3/4 cup packed parsley (stems and leaves)

1/2 cup water

2 cloves garlic

1 egg (lightly scrambled over a double boiler, and cooled to room temp)


2 tbsp + 2 tsp apple cider vinegar

3/4 tsp fish sauce (I used the Red Boat brand)


1/8 level tsp dried rosemary

1/4 level tsp dried basil

1/8 level tsp granulated onion

1/4 level tsp granulated garlic

1/4 level tsp black pepper

1/2 level tsp sea salt


1/4 cup avocado oil + 1 tbsp (or any neutral oil)

1/4 cup olive oil


Instructions

1. Add all the ingredients except the oils to the blender and blend until smooth, stopping to scrape down the sides of the blender occasionally.

2. Take the top cap off of the blender, and with the motor running, slowly drizzle in the olive and avocado oil into the dressing (you’re basically making a cooked mayonnaise).

If there is some separation in the dressing at this point, that’s ok. Put the top cap back onto the blender and blend on high until well combined.

3. Pour the dressing into a jar and keep in the fridge until ready to use. The dressing should keep at least 3-4 days.

Green Goddess 2

This dressing would also be delicious over chopped roasted potatoes for a quick potato salad, but honestly it’s good on just about anything.

Green Goddess 3

I hope that you enjoy this recipe!

Happy Eating 💚


The Etsy Shop is here!

one small blog

I’m so excited to share that the Hope and Butterflies Etsy Shop is now open!

Starting new adventures and not knowing where they will take you

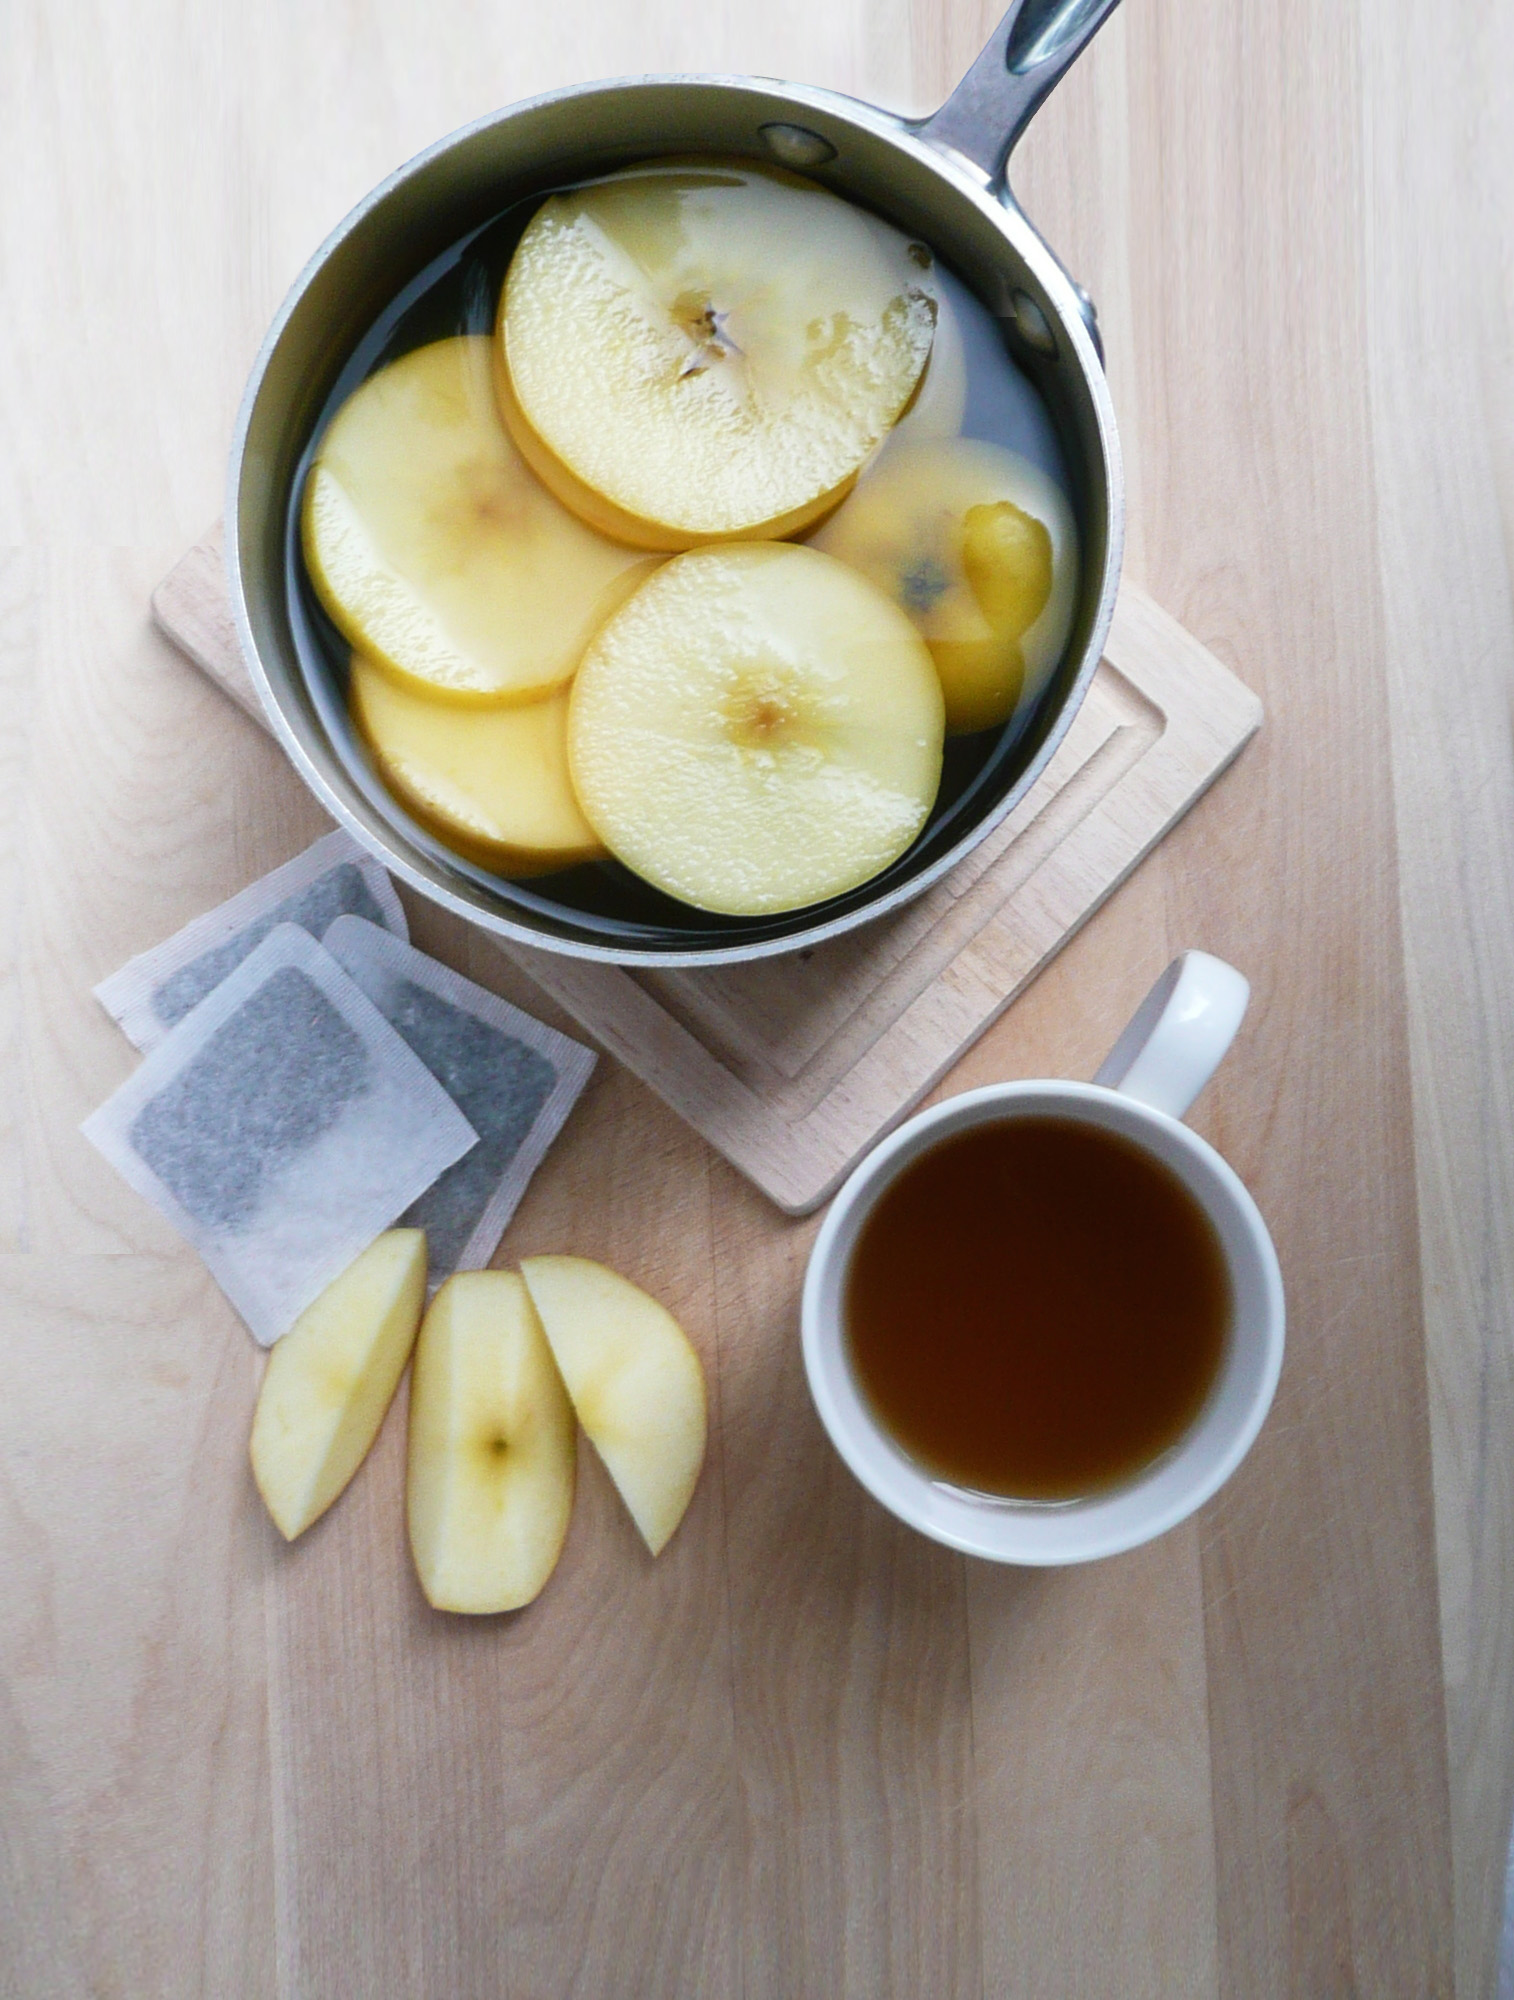
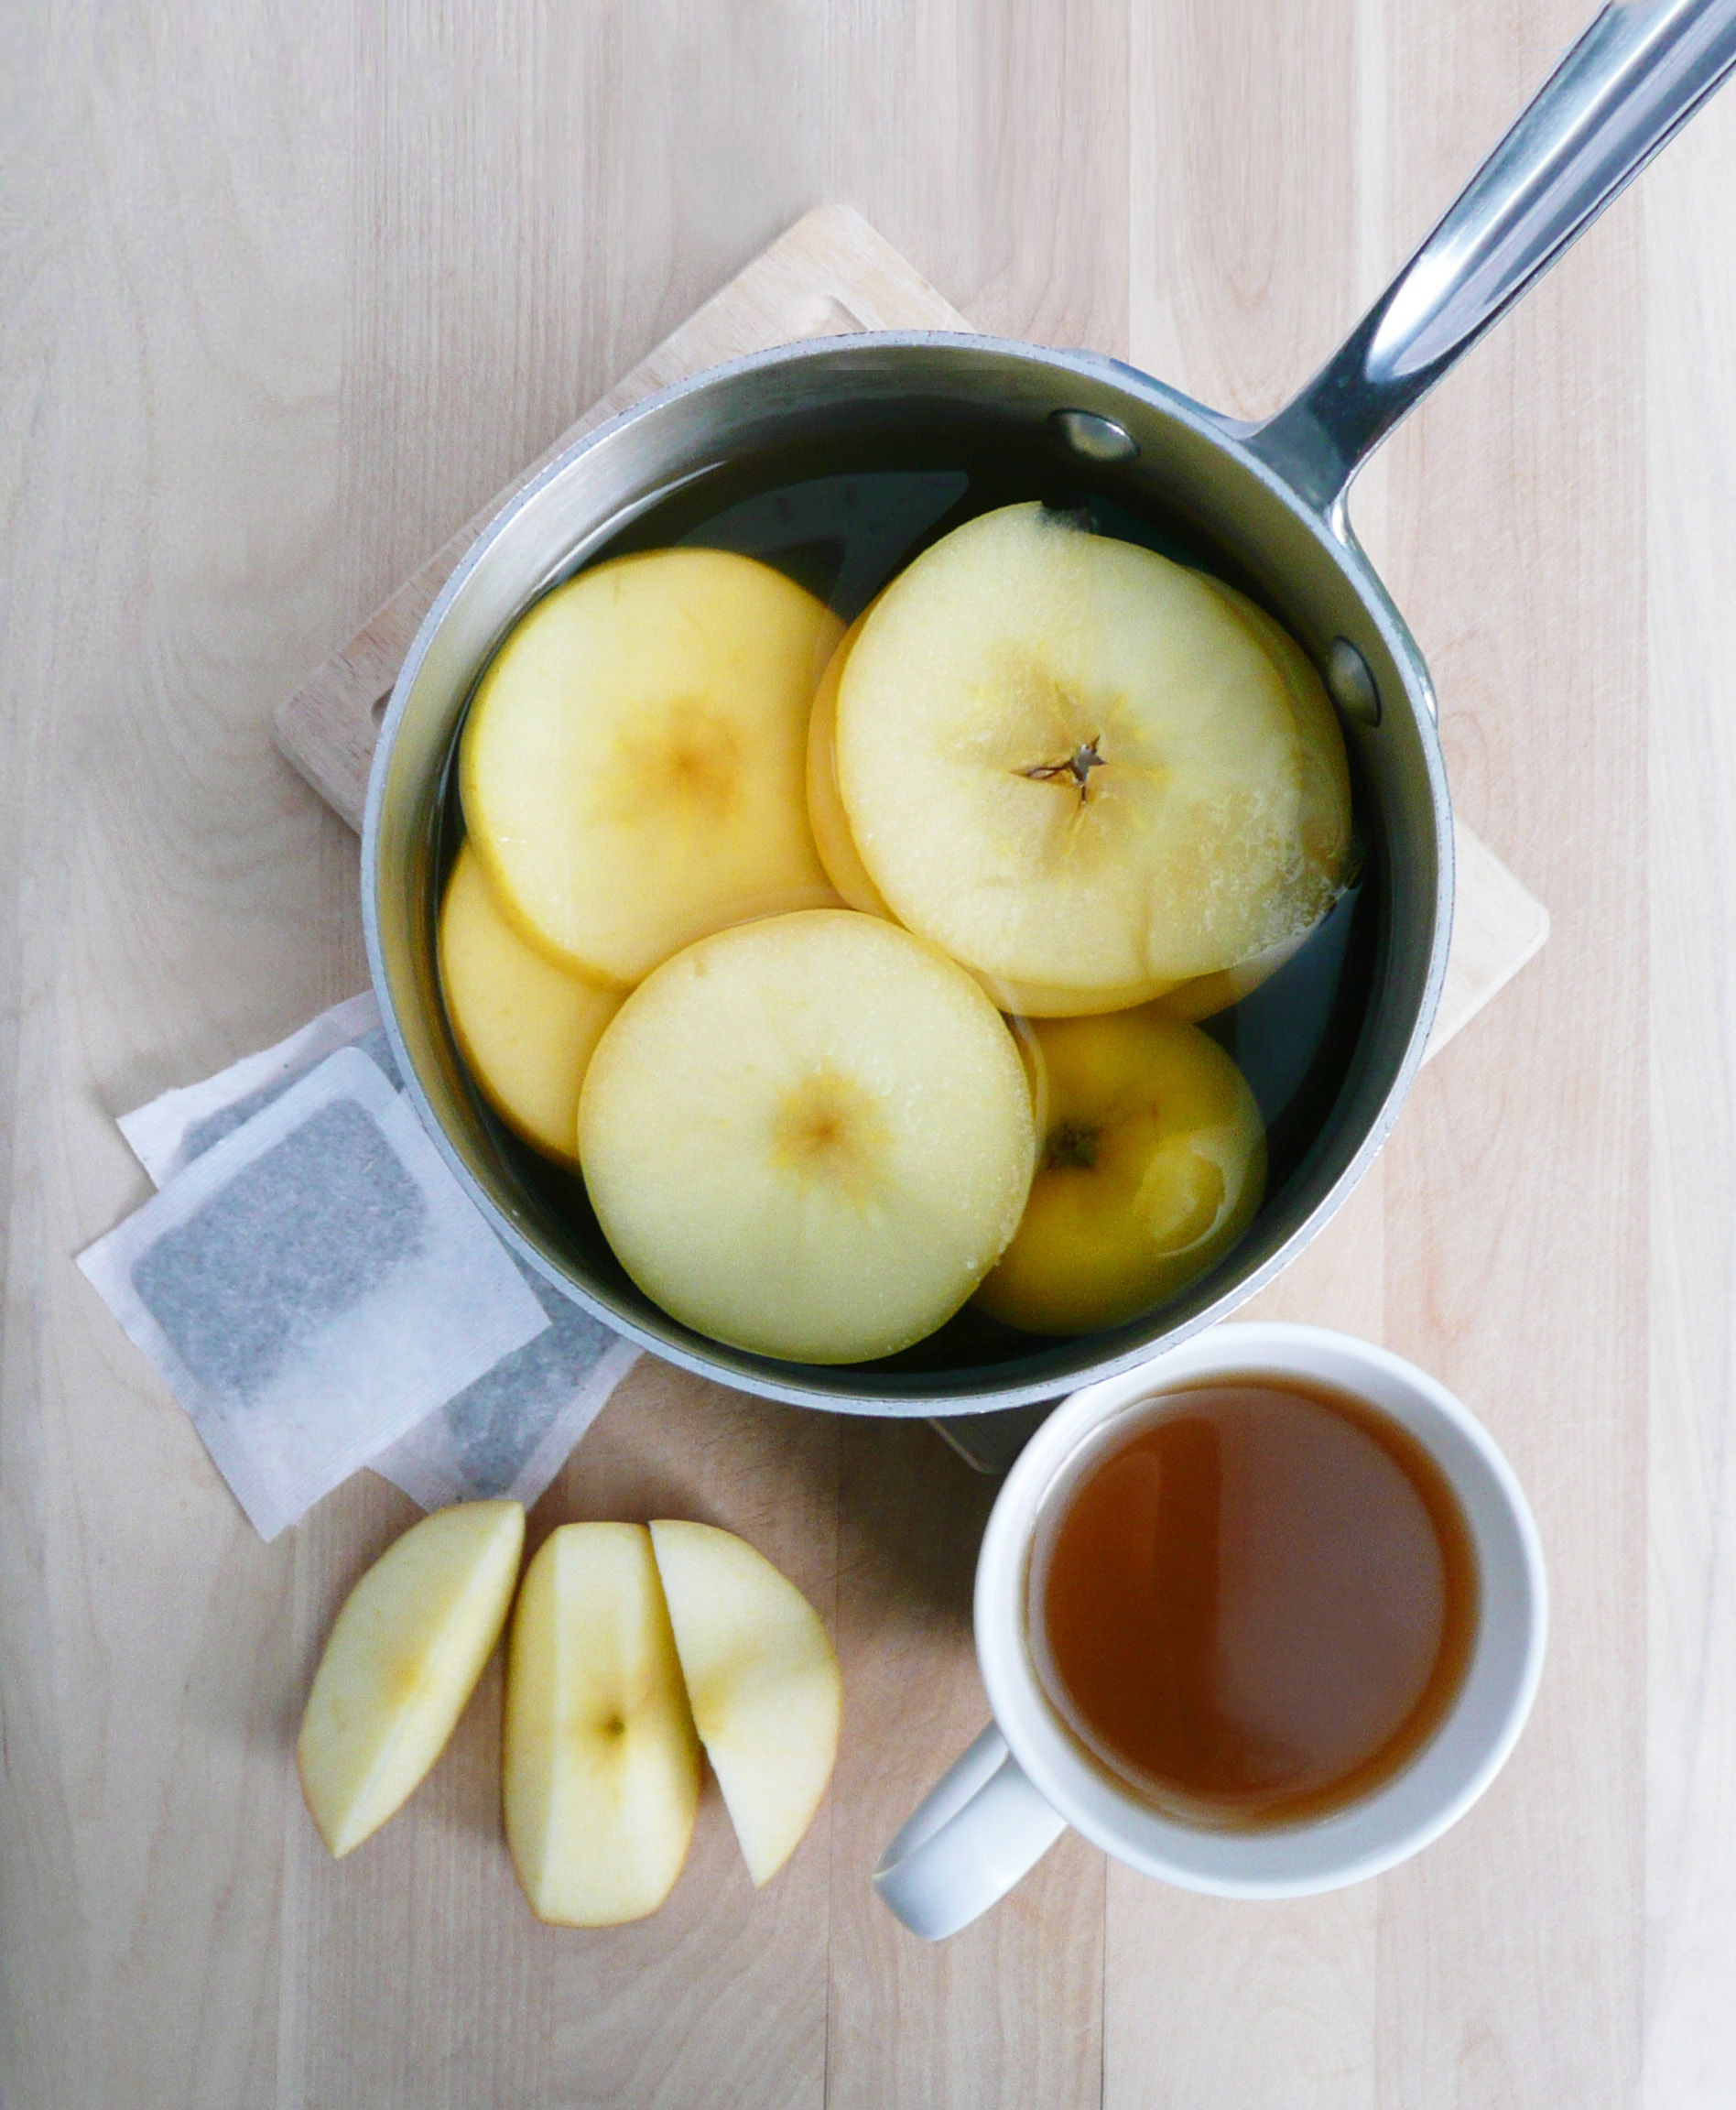
When I started this blog, I had no idea where it was going to go. I knew that I loved to cook, and that I wanted to share my recipes because they were the kind of recipes that I wanted to have when I first went on a dairy / gluten / refined sugar free diet.

I had so many food sensitivities, and I missed eating the things that I loved.  It was really hard to be in more pain, or just feel ill because I ate something as normal as a blueberry muffin. My list of food sensitivities was so extensive that I couldn’t even eat most of the recipes on other gluten free websites.

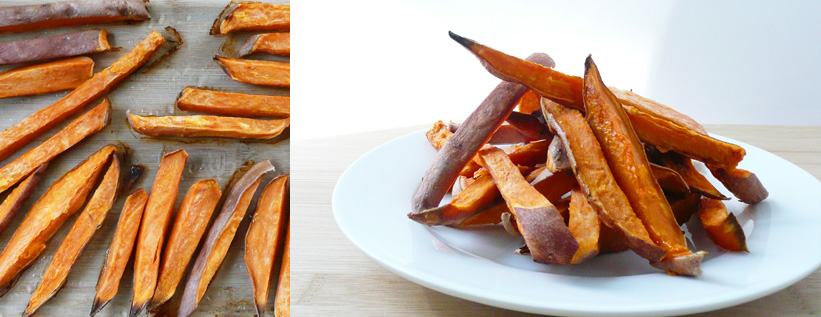
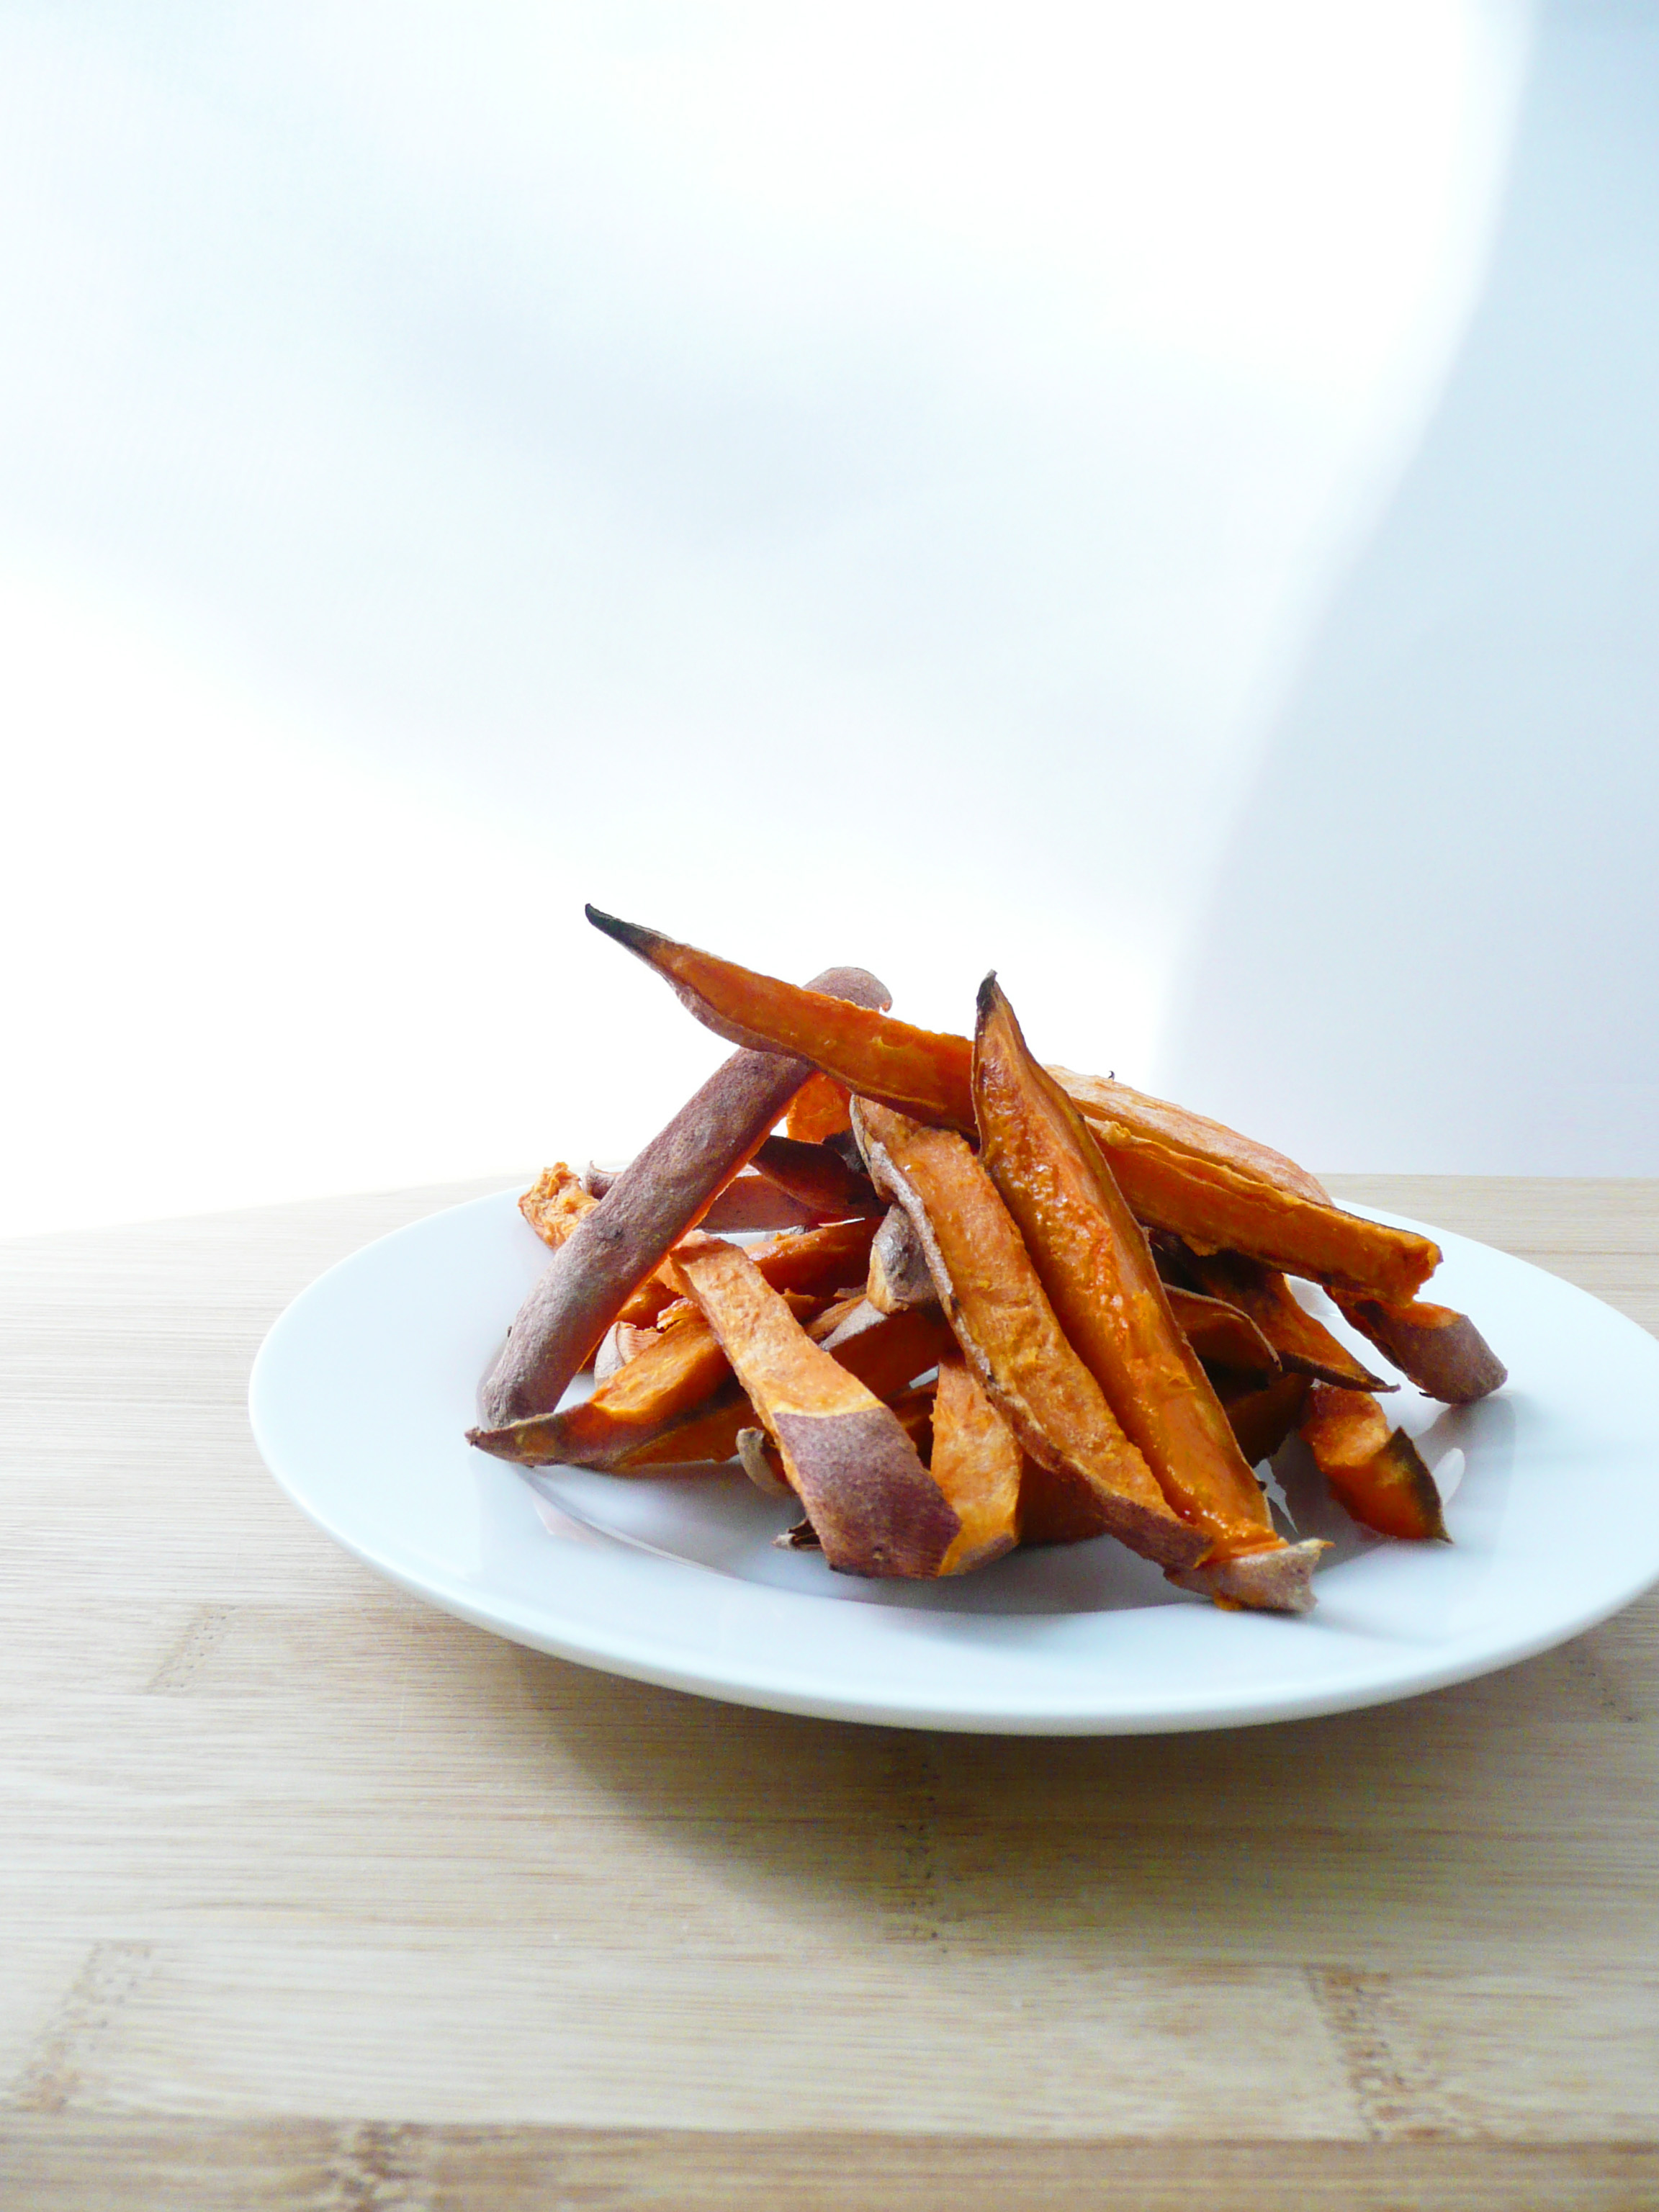
So I started writing recipes, and eating gluten free versions of the foods that I loved again.

What I didn’t expect when I began this journey was that as my list of recipes grew, and as I cooked and ate my way through this rough patch, I felt more and more like myself again.

Not having recipes that worked for me meant that (for a while) the foods that I ate were boring and bland, and eating those foods brought me no joy.

I hadn’t realized how much brightness food had brought to my life before, and learning to eat the new versions of my favorite foods gave me that brightness back, and nourished not only my body, but also my spirit.

Baking and cooking have always felt very meditative to me. When I’m in the kitchen I can get lost in a recipe, and no matter what I’m going through, I always feel better (and like I’ve accomplished something) when I’ve created and eaten something delicious (especially if it’s a muffin or a brownie).

That’s what I wanted to share when I started this blog, to help other people with food sensitivities find a way to nourish their souls with the joy of creating something that they really enjoy eating.

What has also been exciting is to see how many people have visited the blog. Hope and Butterflies has had visitors from places like the UK, Australia, India, France, Ireland, Kenya, The Netherlands, Germany, and even our friendly neighbor to the north, Canada.

It feels amazing to think that this little cooking blog that I started 6 months ago would reach (and hopefully help) so many people in so many places all around our big world.

I’m also incredibly lucky to have so many good friends and family who have cheered me on during this time. So many people in my life have reached out to tell me that they enjoy reading the blog, or think it’s cool that I’m writing it, which has been amazing.

There have been many times when I think I’m out of ideas and am in doubt if I should keep trying to write recipes, and their encouragement has really cheered me on. I’m so glad that I kept writing, and I’m excited to see how the blog grows and evolves in the future.
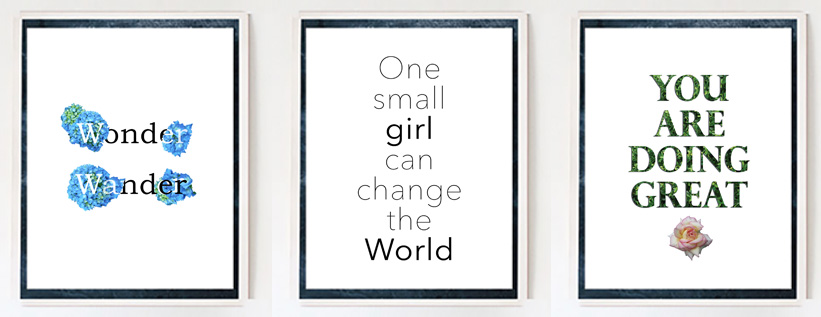
The Prints

wonder wander comes + goes

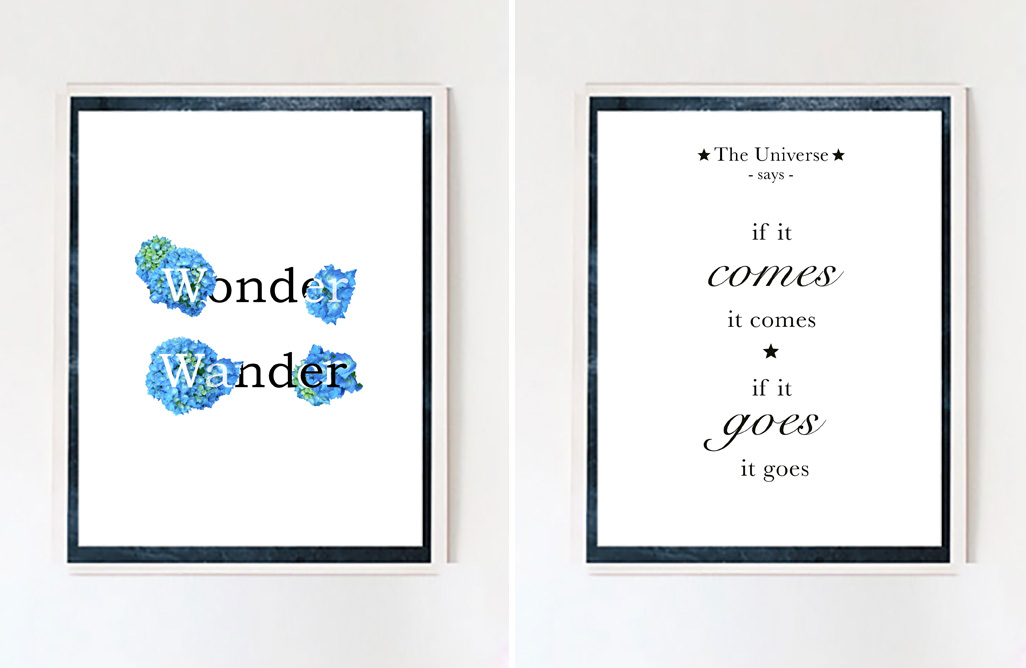
The Hope and Butterflies Etsy Shop sells posters / prints that you can download and print at home.

Each shop listing includes 7 high resolution JPG files (300 dpi, RBG Color Format)

– 4″ x 6″
– 5″ x 7″
– 8″ x 10″
– 11″ x 14″
– 18″ x 24″
– 24″ x 36″
– Wallet Size (the size of a credit card)

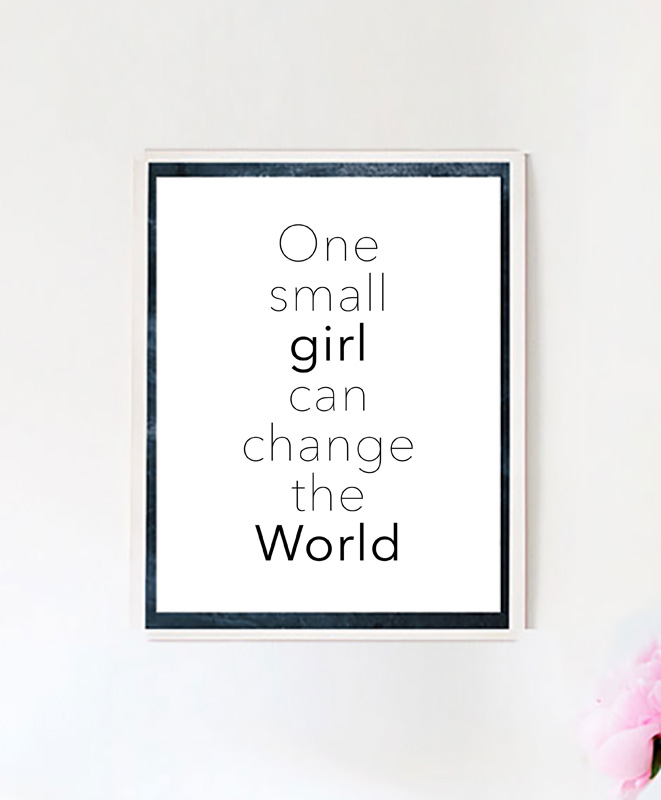
Most importantly though, $1 from each sale will be donated to support girls education.

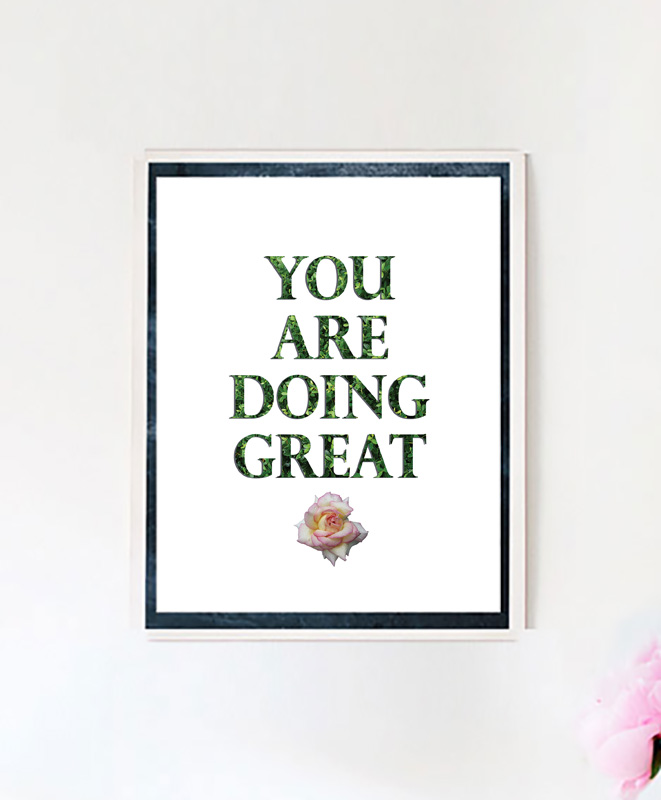
When I was designing, I wanted to create prints that would be encouraging, and most of all, kind. Many of the designs encourage self care, self acceptance, and cheer you on in difficult moments.

Life can be really hard sometimes, and you’re always doing the best that you can.

Sometimes it’s nice to have a reminder of that, which is why the prints all include a wallet size printing option as well.

Because sometimes you do need a pocket sized reminder that “You are AMAZING” when things aren’t quite going the way that you want them to. Take it from someone who knows, storms pass, you will grow from them, and things will get better.

And whoever you are, you matter too. Your dreams matter too.

I hope that in some small way, these prints will cheer you on when you start down the path towards your own dreams (even if you have no idea where it will take you).

Starting the blog was scary, but also exciting and so so rewarding. I wish you that same scary excitement (and fun surprises, and joy!) along your journey.

Girls Education

Right now, this little Etsy Shop and the Hope and Butterflies Blog are my dream.

I decided to donate part of the proceeds from each sale to support girls education, because not only is it simply the right thing to do, but also because I want to do what I can to help other young women and girls accomplish their own dreams.

I was lucky enough to be able to go to school and learn about the world around me.

Every young woman should have the right to do the same. This shop is my own little way of trying to help make that happen.

Thanks for reading. I’ll be posting more recipes soon.

And remember :


you are doing great blog

And you are wonderful, just as you are.

And Happy Mother’s Day to all the amazing moms out there!

banana bread muffins

Banana Bread Muffins – Gluten Free, Dairy Free, Refined Sugar Free, Comfort Baking

Banana Bread Muffins 1

There is something magical about making muffins. You sift together a few ingredients, stir in a few more, and a little while later 12 mini cakes emerge from the oven ready to fill your heart with joy and comfort.

If there is a practice more conducive to self care than baking, I have yet to discover it.

If I’m ever having a bad day, I bake. It takes focus and when you’re measuring and stirring everything together, the things that troubled you before seem far away.

The scent of delicious muffins wafts through the air and makes any house and home seem more warm and friendly. It’s a scent that makes the world a little softer and everything feel a little more possible.

And once you bite into a freshly baked muffin the spell is complete, and life feels ok again.

banana bread muffins 2

I love blueberry muffins, but there’s something about banana bread muffins that seem extra nourishing to your soul.

When I first cut gluten out of my diet, I really missed banana bread. I missed it’s buttery sweetness, and cozy banana richness.

It took me a couple of tries to get this recipe right, but these muffins taste just like the banana bread that I used to love eating. They also have a touch of cinnamon and vanilla to give them an extra bit of warmth to their flavor.

I like to use the ripest bananas that I can find (overripe bananas work the best as they are sweeter) and baking these muffins is a great way to cut down on food waste and have breakfast ready to go for the next few days (even if you eat 3 – 4 muffins still warm from the oven like I normally do).

I like to make these muffins a day ahead and leave them out on a plate on the counter covered by a paper towel. They dry out a little overnight, and the texture gets even better the next day.


Banana Bread Muffins

Makes 12 muffins


Ingredients

1 3/4 cups mashed ripe bananas (about 4 – 4 1/2 bananas)


2 tbsp apple cider vinegar

1/3 cup melted coconut oil

2 eggs

1/4 cup maple syrup

1 1/2 tsp vanilla extract


2 cups oat flour

level 3/4 tsp baking soda

1 tsp ground cinnamon


Notes –

* I grind oats into oat flour using a blender. Don’t grind the oats in a food processor because the flour won’t be fine enough.

Any extra oat flour I don’t use in the recipe goes into an airtight container and I use it for another recipe.

If you’re making this recipe for someone who has celiac disease, please use certified gluten free oats, as the oats from the bulk bins can sometimes be processed on the same equipment as wheat.


Instructions

1. Preheat the oven to 350F.

Grease and flour muffin pan with melted coconut oil and oat flour.

2. In a large bowl, sift together the oat flour, baking soda, and ground cinnamon and set aside.

3. In a separate bowl stir together the mashed bananas, apple cider vinegar, melted coconut oil, eggs, maple syrup, and vanilla extract until well combined.

Pour the wet mixture into the dry and stir until well combined. Divide the batter evenly between the 12 muffin cups and bake at 350 F for 33 minutes (until golden). Turn the oven down to 300 F and bake for another 10 minutes until the cake tester comes out clean.

Let the muffins cool in the pan. To pop them out of the muffin tin, run a small knife around the edge of each muffin (a small butter knife works great for this) and they should come right out.

banana bread muffins 3

I wish you many happy breakfasts (and memories) with these wonderful muffins.


How To Get A Pan Super Clean

Baking soda pan 1

Baking soda and vinegar can be your best friends in the kitchen. They help muffins to rise, can make a sink squeaky clean, or help you scrub out a pan without damaging the finish.

Here’s how I like to clean my pots and pans (if they need a little more help to get clean than the dishwasher can handle by itself).

(This is a pan that I used to sauté some baby spinach with garlic and olive oil.)

Start by sprinkling a generous amount of baking soda into your pan to absorb any leftover oil.

baking soda pan 2

Add a splash of plain white vinegar, and use a sponge to give the pan a good scrub.

baking soda pan 3

Rinse the pan out, then wash with soap and water as usual.

Ta da! A super clean pan, ready to make your next delicious dish.

Creamy Garlic + Rosemary Dip – Paleo, Vegan Friendly, Dairy Free

garlic rosemary dip 2

Sometimes eating vegetables can be a little less than exciting. Eating should be a pleasure. You want to have something that has a lot of flavor and be so delicious that you crave eating it the next day.

For me, this dip is the answer to getting myself to eat a big serving of vegetables, and to do so very happily.

This creamy garlic rosemary dip takes just minutes to put together and makes snacking on everyday vegetables feel like a fun and tasty treat.

I used avocado oil mayo (but you can also use vegan mayo) and olive oil, so this recipe is packed with heart healthy oils and anti-inflammatory ingredients like parsley, garlic and rosemary.


Creamy Garlic + Rosemary Dip

Makes 1 serving


Ingredients

3 tbsp mayo or vegan mayo (I used avocado oil mayo)

1 tbsp olive oil

3 cloves thawed frozen garlic *

1/2 tsp finely chopped fresh parsley

1/4 tsp dried rosemary

1/8 tsp black pepper

Salt to taste (if needed)
Notes – * Thawed frozen garlic has a milder taste than fresh raw garlic and less of a bite to it. If you’re making this dip with fresh garlic, start out with adding 1 clove of garlic and then adding more to taste.

Instructions

1. Add the mayo and olive oil to a small bowl. Tilt the bowl to that the olive oil pools together and slowly stir it into the mayo until well incorporated. Add the rest of the ingredients and give it all a good stir.

Serve with any vegetables that you like. This dip is great with sweet potato fries, or I like eating it with 2 carrots (cut into carrot sticks) and a diced tomato for a quick snack.


garlic rosemary dip 3

Happy Snacking!

What To Do With Leftover Garlic

honey garlic 4

(fresh garlic + raw honey)

Finding giant bags of organic peeled garlic at the grocery store (or at Costco) usually seems like a huge win. It’s not very expensive (yay!) and will save you tons of time peeling garlic when you’re cooking.

Cut to a week later and you realize that even though you’ve been eating more garlic than normal (because you don’t have to peel it, throwing extra garlic into dishes is super easy) you’ve barely made a dent in your giant bag of garlic.

Peeled garlic also doesn’t have as long of a shelf life as unpeeled garlic either, so now  you’re thinking that it’s unlikely that you’ll be able to eat all of it before it goes bad.

But don’t worry! Here are two ways of storing extra garlic cloves so that you can use them up when you’re ready to.

1. Freeze The Extra Garlic Gloves

frozen garlic

This is super simple to do and you can use up all your garlic cloves in your own time.

Instructions

1. Pour the extra garlic cloves that you want to freeze into a bowl and set aside. Add a folded paper towel or two to the garlic cloves in the original package that they came in that you want to keep fresh in your fridge (the paper towel will absorb any excess moisture and the garlic will keep fresher for longer). Replace the paper towel every couple of days.

2. Give the excess garlic cloves a good rinse. Transfer them into ziploc freezer bags and squeeze out as much air as possible, and freeze them flat.

3. When you’re ready to use them, take out as many cloves as you need and run them under warm water for a few seconds to defrost. Chop and use as usual.

They will have a softer texture than fresh garlic cloves, and the flavor might be slightly milder, but you can always add another clove or two to your dish to balance that out.

2. Make Fermented Garlic Honey

I love watching the It’s Alive series on the Bon Appétit YouTube channel. It is hilarious. The editing and the host are fun and you learn a lot about fermentation. Here’s the episode about fermenting garlic in honey.


I’ve made garlic honey a few times now. I’ve made a few other fermented things before (red cabbage kimchi kraut and lacto-fermented garlic cloves) but the fermented garlic honey is by far the easiest thing to make if you’re looking to start preserving food using fermentation.

Garlic honey is delicious drizzled onto gluten-free bread, or homemade tortilla chips. I like to eat a few cloves of this when I have a cold. I’m not sure if it does anything to fight off a cold, but it’s a nice treat to have nonetheless.

I’m not a expert in this, so please watch the video above for more info, especially about adding the splash of apple cider and keeping the pH below 4.6 to be on the safe side.

Instructions

1. Rinse off your garlic cloves with filtered water (chlorine can prevent or slow fermentation). If you use straight tap water, that’s ok too. Just rinse them off with filtered water. Drain off as much water as possible and place them onto plates lined with paper towels to dry.

The next day replace the paper towels with dry ones, and leave the garlic cloves to dry another day until they are completely dry to the touch.

2. Pick out the cloves the look a little rough and trim off any blemishes or dark spots on the cloves. Put the cloves onto a cutting board and bash them with a knife or cut them in half. Add all the garlic into a clean dry wide mouth mason jar and cover them in raw honey (leaving about 2-3 inches of headroom in the jar).

I didn’t leave enough headroom in my jar, and the honey has leaked a little out of the top of the jar while it’s been fermenting (not a big deal, you can just wash it off).  Give everything a good stir so that the garlic and honey are well combined.

honey garlic 5

3. Put the lid on the mason jar and don’t screw the jar completely tight, leave it a little loose so that any gases produced during the fermentation can escape. Set the jar aside in an area without any direct sunlight where it wont be disturbed. I set my jar on a small plate so that it will catch any honey that might leak out from the top of the jar during fermentation, which makes it easy to rinse the honey off of the plate and the outside of the jar every few days.

Every day for the first few days, screw the lid on tightly and turn the jar upside down so that the honey can cover all the garlic cloves. Turn the jar right side up, loosen the lid, and place it back in it’s spot again.

After the first week, you can just do this every few days or so. After a month, you can just leave it alone with the lid a little loose and it should look after itself. Check the pH periodically to make sure that it stays below 4.6.

I’ve never had a jar of garlic honey go bad on me yet, but if you have any mold growing in the jar or if anything looks funny, when in doubt, throw it out.

honey garlic 1

This is what the garlic will look like after 6 months. The flavor of the garlic mellows out over time, and the cloves become sweet and chewy. The longer the garlic sits in the honey, the mellower the garlic flavor and the chewier they get. If you have a friend who loves garlic, a jar of this garlic honey makes a great gift.


Iced Apple Green Tea – Easy, Paleo, Refined Sugar Free

apple tea 4

If you love Southern Style Sweet Tea and are looking for something that is refined sugar free, this is a great alternative. This Iced Apple Green Tea is just as refreshing, and the apple juice gives this green tea a lovely fruity sweetness, perfect for warm weather and sunshine.

I have a friend who is Japanese who has the most beautiful and extensive tea collection. She has an amazing cabinet filled with teas from all over the world.

During one of our visits we drank a Pink Lady Apple Green Tea, from The Republic of Tea brand. I loved that tea, and for years I would always try and look for it in any grocery store that carried that brand of tea. As it turns out, that particular tea was a limited edition and has since been discontinued, but that’s ok!

As long as you have some apples, apple juice, green tea, and a little honey, you can make a tea as delicious as that one was.

I enjoy drinking it iced (it’s good warm too), which is great for this time of year, as the weather is turning a bit warmer now (which is really exciting!).

apple tea 5

Iced Apple Green Tea

Makes about 4-6 servings


Ingredients

5 1/4 cups of water

5 green tea bags (I used the Organic 365 brand ones)

2 1/2 cups of apple juice **

2/3 of a fuji apple, cut into 1/4 inch slices

2 tbsp honey

Notes – ** I used the Martinelli’s brand of apple juice because it tastes wonderful, but please feel free to use your favorite brand of apple juice.


Instructions

1. Bring your water to a boil. Add in the tea bags and the sliced apples. Allow the tea bags to steep for 3 minutes, and then remove the tea bags. Add your apple juice and allow the apple slices to steep in the tea for 1 hr.

You don’t have to do this but I save the tea bags and put them in cold filtered water (3 cups) and allow them to steep overnight in the fridge with some lavender (1/2 tsp dried lavender). This cold brew lavender tea has a very light subtle flavor.

The flavor will get stronger the longer that you allow the tea to steep, and I sometimes will add that cold brew lavender tea to the apple tea as well, which tastes great too.

2. Remove the apples from the tea, and stir in your honey.  You can save these apples slices to blend into a smoothie later.

Allow the tea to cool, transfer to an airtight container and refrigerate until well chilled.

apple tea 1

I hope that you enjoy the tea!

Tea is just one of those great things that brings people together. Do you have any favorite memories around drinking tea?


How to Bake Sweet and Creamy Sweet Potato Fries – with No Added Sweeteners

sweet potato 2

This is one of my favorite recipes and I make it all the time. I love cooking sweet potatoes this way because they become soft and creamy in the middle and almost taste like custard, but the crispy ends taste like toasted marshmallow.

The sweet potatoes are cooked slowly so that it brings out their natural sweetness and this is a great recipe to make when you’re trying to avoid added sweeteners, but still want to have something that tastes like dessert.

Make a big batch, and keep any leftovers in the fridge. They actually get sweeter once refrigerated and are wonderful for snacking during the week. They are delicious on their own, but you can also sprinkle over some cinnamon and nutmeg right before serving and it makes this sweet potato dish even more dessert-like and wonderful.

Sweet and Creamy Sweet Potato Fries

Makes about 3 – 4 servings

Ingredients

2 – 3 sweet potatoes (cut into 1/2 inch fries)

1 tsp of avocado oil (or any neutral flavored oil)*

Notes – * I’ve used olive oil before too and that works great as well. You don’t taste the olive oil flavor very much at all when you cook the sweet potatoes this way, so really any oil that you use will be fine. Coconut oil is nice too, the sweet potatoes taste even sweeter when cooked with coconut oil.

Instructions

1. Preheat your oven to 375 F.

cut raw sweet potatoes

2. Take your sweet potatoes and place them onto a sheet pan or glass baking dish (I prefer using a glass dish for this, as the sweet potato fries do stick a little to the pan and you can use a spatula to scrape any crispy bits off of the glass without having to worry about scratching up a sheet pan).

sweet potato 6

3. Pour the tsp. of oil into a corner of the baking dish and slide each sweet potato fry into the oil and toss them with your hands until well coated.

Place the baking dish into the oven and bake for 55 – 60 minutes until the fries turn a little crispy and golden brown at the edges. In my oven this takes about 57 minutes.

sweet potatoes 5

4. Allow your fries to cool a little before serving.

sweet potato 3

I hope that you love these sweet potatoes fries as much as I do! I’m about to go make another big batch of them, and I can’t wait to eat them.