Iced Watermelon Cubes

Iced Watermelon Cubes – A Healthy Ice Cream Alternative

watermelon cubes 2

If you’re living through a heat wave at the moment what you probably want most in the world is something sweet, cold, and refreshing to eat.

Here is the simplest of desserts to keep on hand for a hot day. These little cubes of frozen watermelon are delicious and perfect for popping into your mouth (straight from the freezer) to cool you down.

Refined sugar free, dairy free, paleo, and all that jazz… but what’s really important is that they taste so good!

Iced Watermelon Cubes

Makes lots and lots of servings

Ingredients

1 sweet seedless watermelon (pick the sweetest one you can find)

That’s it! 😀


Instructions

1. Cut the watermelon into 3/4 inch cubes (this is a perfect size as they can be eaten straight from the freezer and they thaw quickly too).

2. Freeze the cubes flat in ziptop bags.

To serve, scoop about 1 – 1.5 cups (or however much you want) of the frozen watermelon cubes into a bowl and eat with a spoon.

Ta-Da! I hope that these little cubes of watermelon joy make your summer days a little more awesome. 🙂

Creamy Garlic + Rosemary Dip – Paleo, Vegan Friendly, Dairy Free

garlic rosemary dip 2

Sometimes eating vegetables can be a little less than exciting. Eating should be a pleasure. You want to have something that has a lot of flavor and be so delicious that you crave eating it the next day.

For me, this dip is the answer to getting myself to eat a big serving of vegetables, and to do so very happily.

This creamy garlic rosemary dip takes just minutes to put together and makes snacking on everyday vegetables feel like a fun and tasty treat.

I used avocado oil mayo (but you can also use vegan mayo) and olive oil, so this recipe is packed with heart healthy oils and anti-inflammatory ingredients like parsley, garlic and rosemary.


Creamy Garlic + Rosemary Dip

Makes 1 serving


Ingredients

3 tbsp mayo or vegan mayo (I used avocado oil mayo)

1 tbsp olive oil

3 cloves thawed frozen garlic *

1/2 tsp finely chopped fresh parsley

1/4 tsp dried rosemary

1/8 tsp black pepper

Salt to taste (if needed)
Notes – * Thawed frozen garlic has a milder taste than fresh raw garlic and less of a bite to it. If you’re making this dip with fresh garlic, start out with adding 1 clove of garlic and then adding more to taste.

Instructions

1. Add the mayo and olive oil to a small bowl. Tilt the bowl to that the olive oil pools together and slowly stir it into the mayo until well incorporated. Add the rest of the ingredients and give it all a good stir.

Serve with any vegetables that you like. This dip is great with sweet potato fries, or I like eating it with 2 carrots (cut into carrot sticks) and a diced tomato for a quick snack.


garlic rosemary dip 3

Happy Snacking!

fudgy chocolate frosting

The Fudgiest Sweet Potato Chocolate Frosting – Dairy Free, Refined Sugar Free, Vegan

Fudgy Chocolate Frosting

This fudgy chocolate frosting works great over my Chewy Sweet Potato or Adzuki Bean Brownies, and it’s delicious enough that you can eat it by itself with a spoon. It tastes better than any store brought chocolate frosting, and it’s refined sugar free and dairy free.

It’s stable enough of a frosting that you can pipe designs with it and give cupcakes or brownies a little extra joy and decoration if desired.


The Fudgiest Sweet Potato Chocolate Frosting

Makes 1 cup (enough for 1 batch of brownies)

Ingredients

4 1/2 tbsp cocoa powder (25g)

1/4 cup oat flour (27g)*

1/2 tbsp ground chia seed (about 2.5g)

level 1/4 tsp sea salt


1/4 cup water

level 1/4 cup mashed roasted sweet potato

1/4 tsp vanilla extract

1/4 cup + 1 tsp maple syrup

5 tbsp melted coconut oil


Notes – * I grind oats into oat flour using a blender. Don’t grind the oats in a food processor because the flour won’t be fine enough.

Any extra oat flour I don’t use in the recipe goes into an airtight container and I use it for another recipe.

If you’re making this recipe for someone who has celiac disease, use certified gluten free oats, as the oats from the bulk bins can sometimes be processed on the same equipment as wheat.


Instructions

1. Add all the ingredients to a food processor and blend until smooth. Transfer to a bowl and gently heat over a double boiler and stir until glossy.

If eating with brownies, spread the frosting onto the brownies while the frosting is still warm and glossy. If you frost the brownies while the frosting is still warm, then the frosting will stay glossy when it cools and sets.

If you want to use this frosting to pipe flowers or designs, then the frosting needs to cool to room temperature before you transfer it into a piping bag. You can make this frosting in advance if needed and keep it in the fridge, and either heat it very gently and quickly over a double boiler, or let it sit a room temperature until softened before piping.


The Best Chewy Sweet Potato (or Adzuki Bean) Brownies – Gluten Free, Dairy Free, Refined Sugar Free, Vegan

sweet potato brownies

This is one of my best recipes.

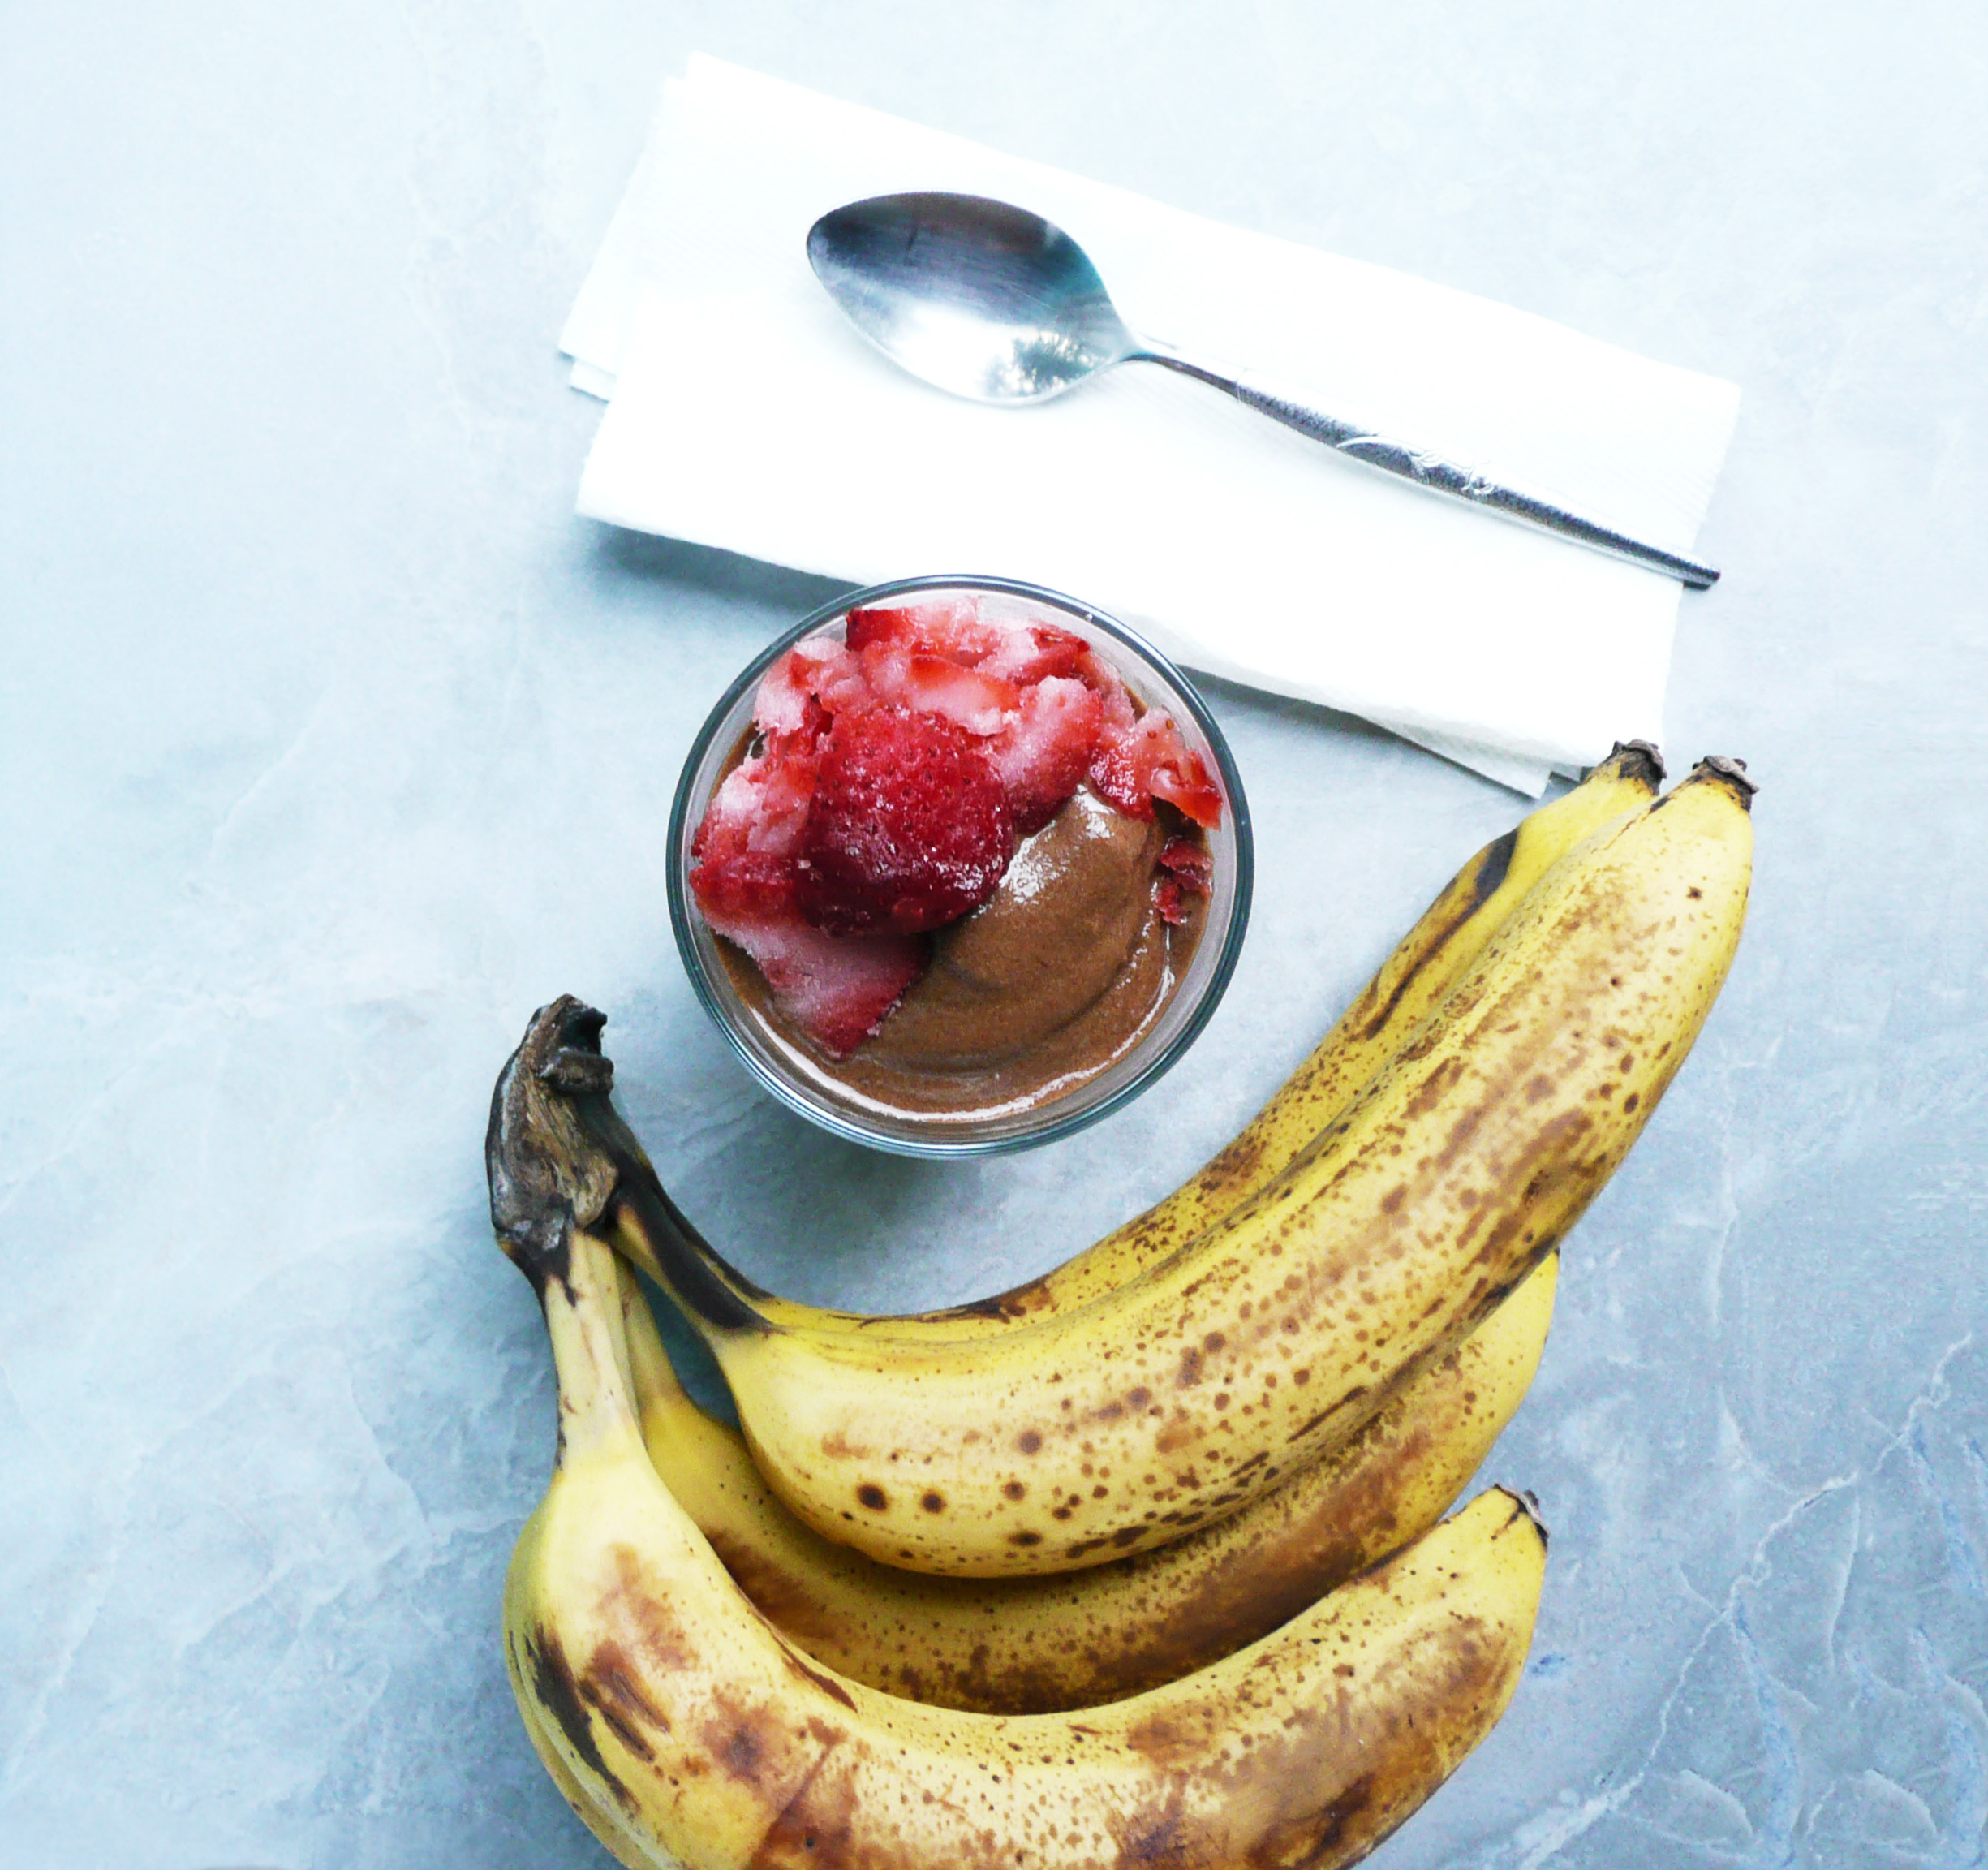
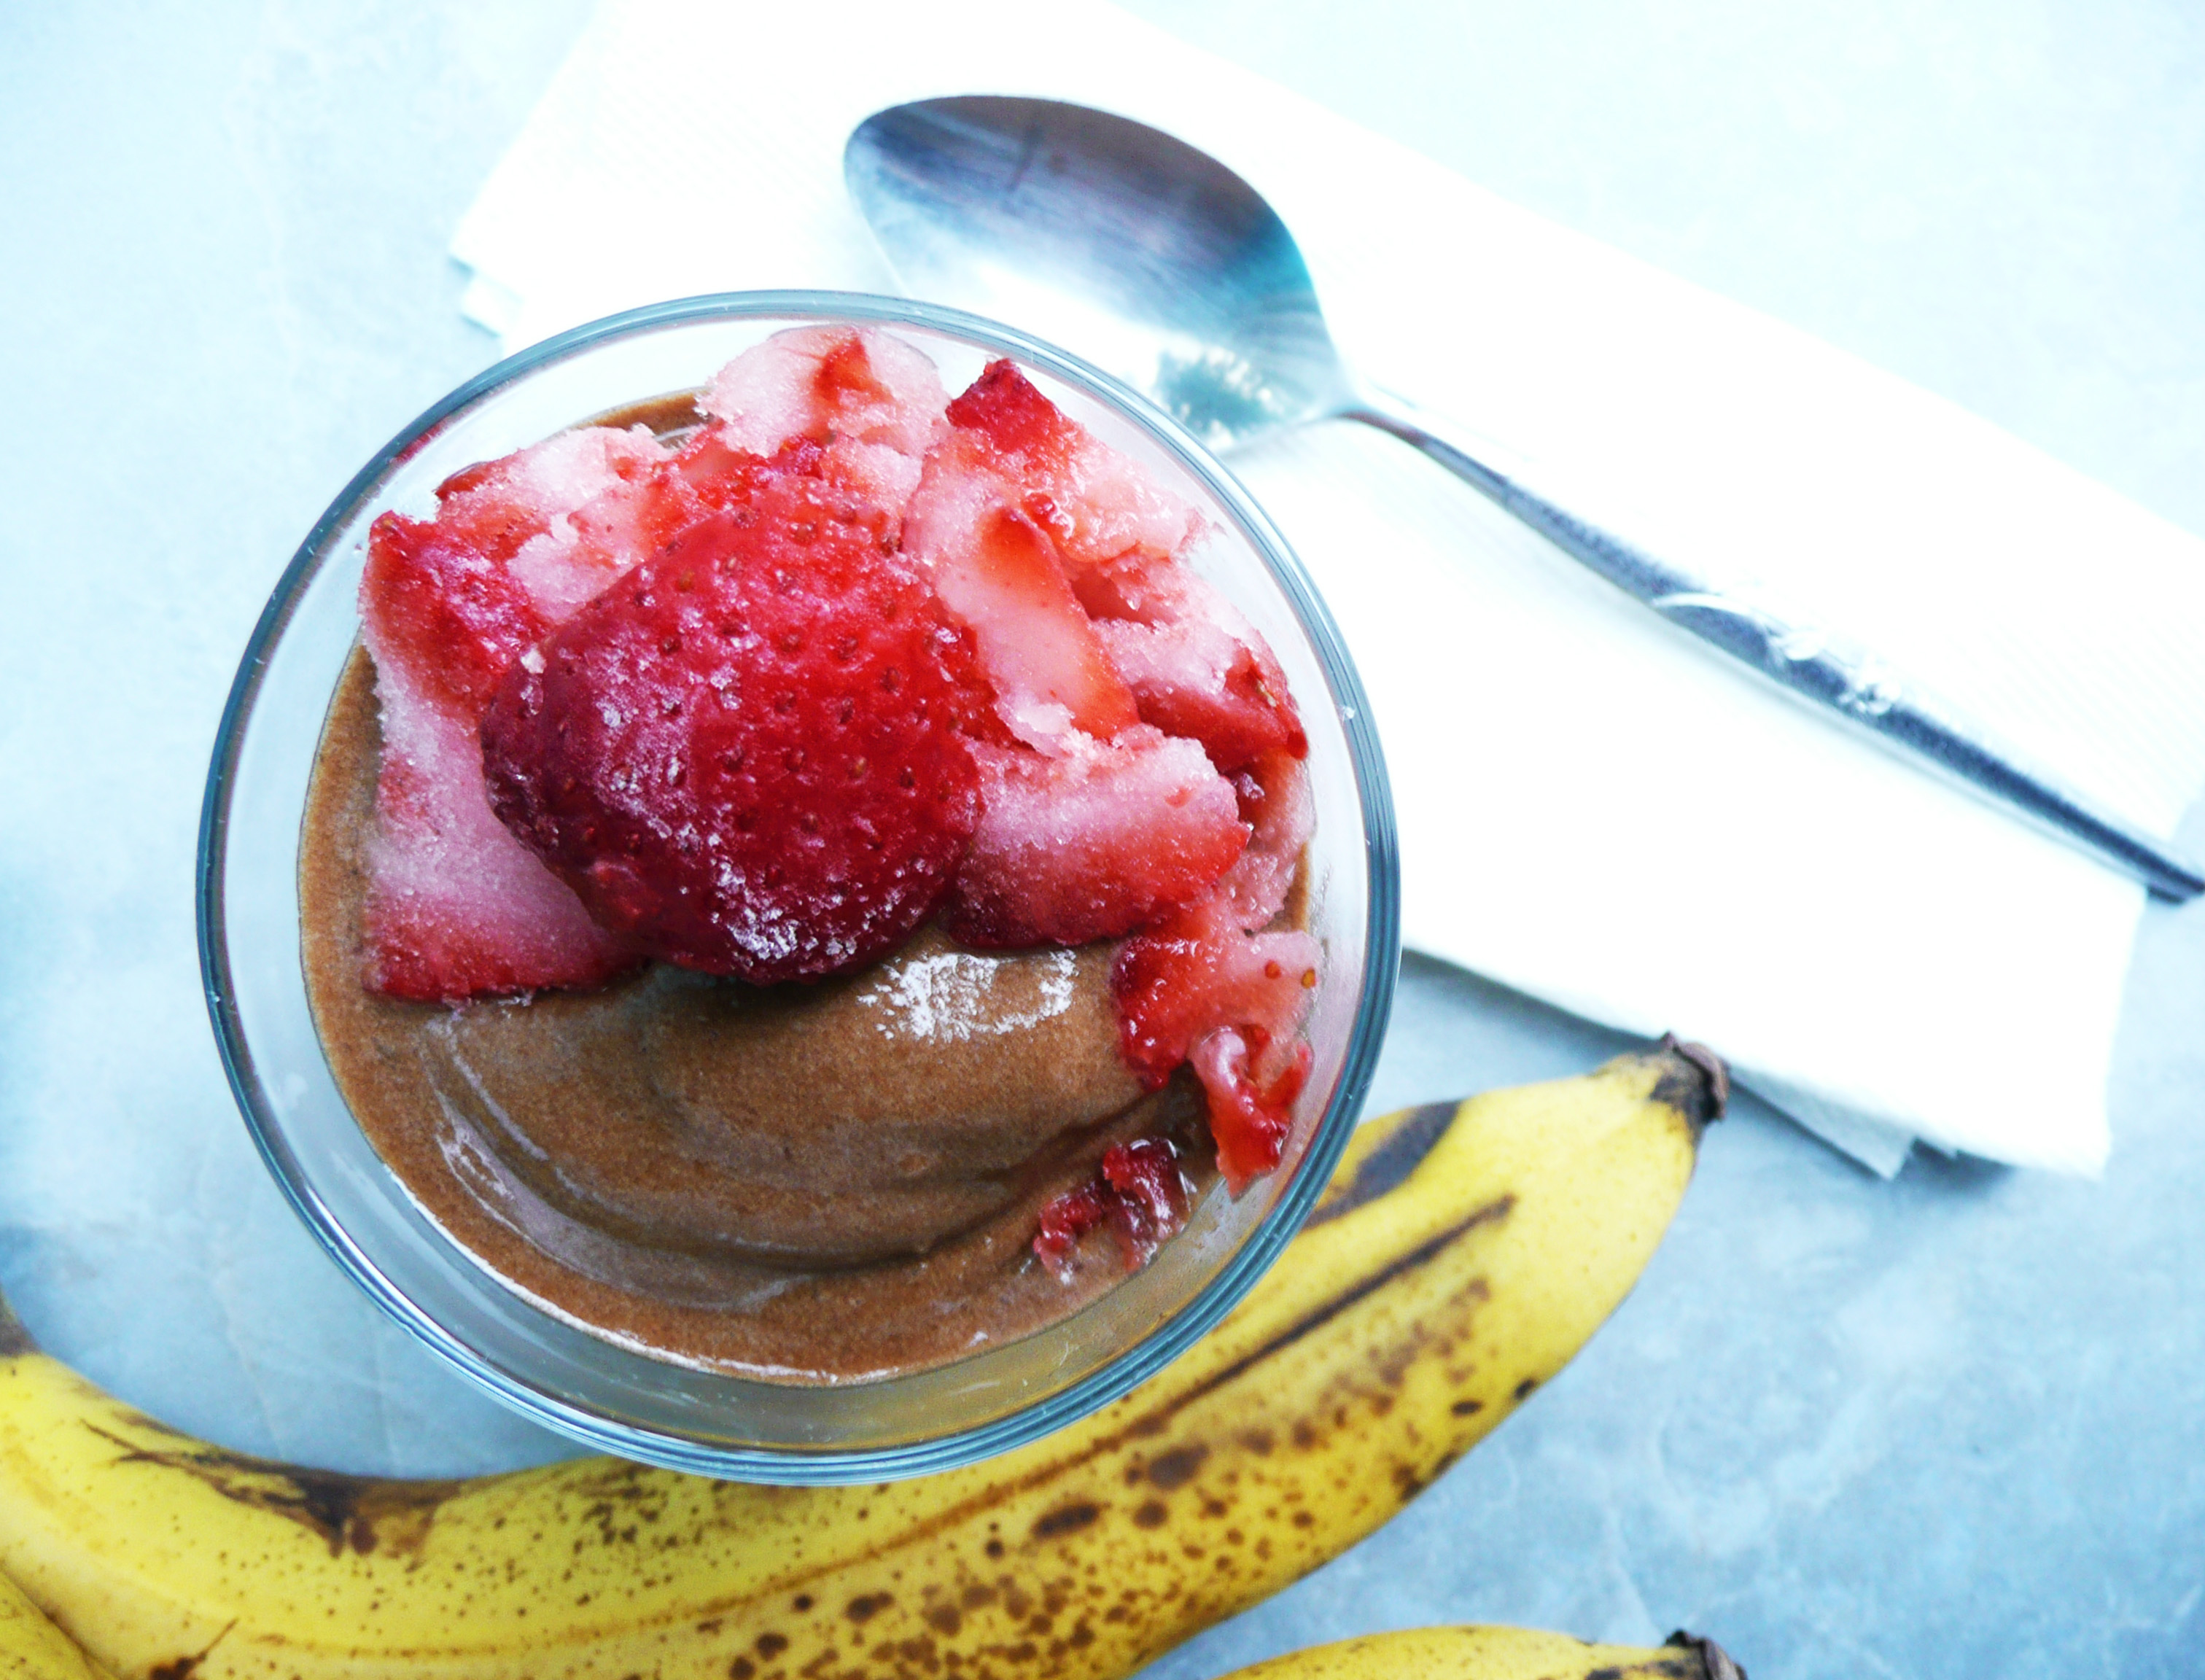
These brownies are the brownies of dreams. They have a rich, deep chocolate flavor, but are not too dark or too sweet, and they taste like the best brownie you’ve ever had.

I came up with this recipe one day when I needed to use up some extra sweet potatoes that I had in the fridge. Somehow this recipe came together so quickly (and I worked perfectly the first time!), and taking the first bite of these brownies made my heart sing. I couldn’t believe how good they were, and they were vegan! And made from leftovers!

The cool thing about this recipe is that you can also make them with adzuki beans (if you have any leftover red bean soup).  They actually turn out slightly chewier when made with adzuki beans rather than sweet potatoes, but both kinds of brownies are fantastic.

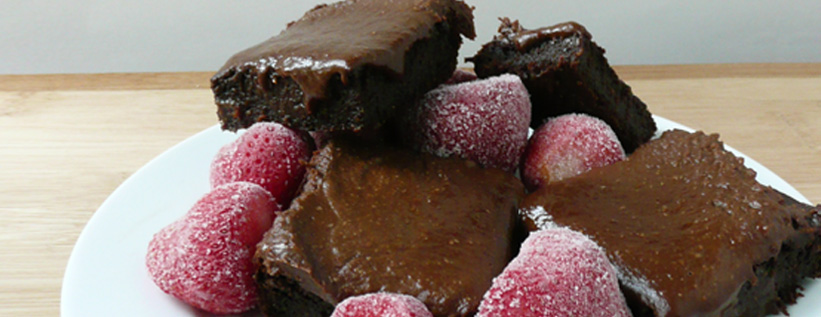
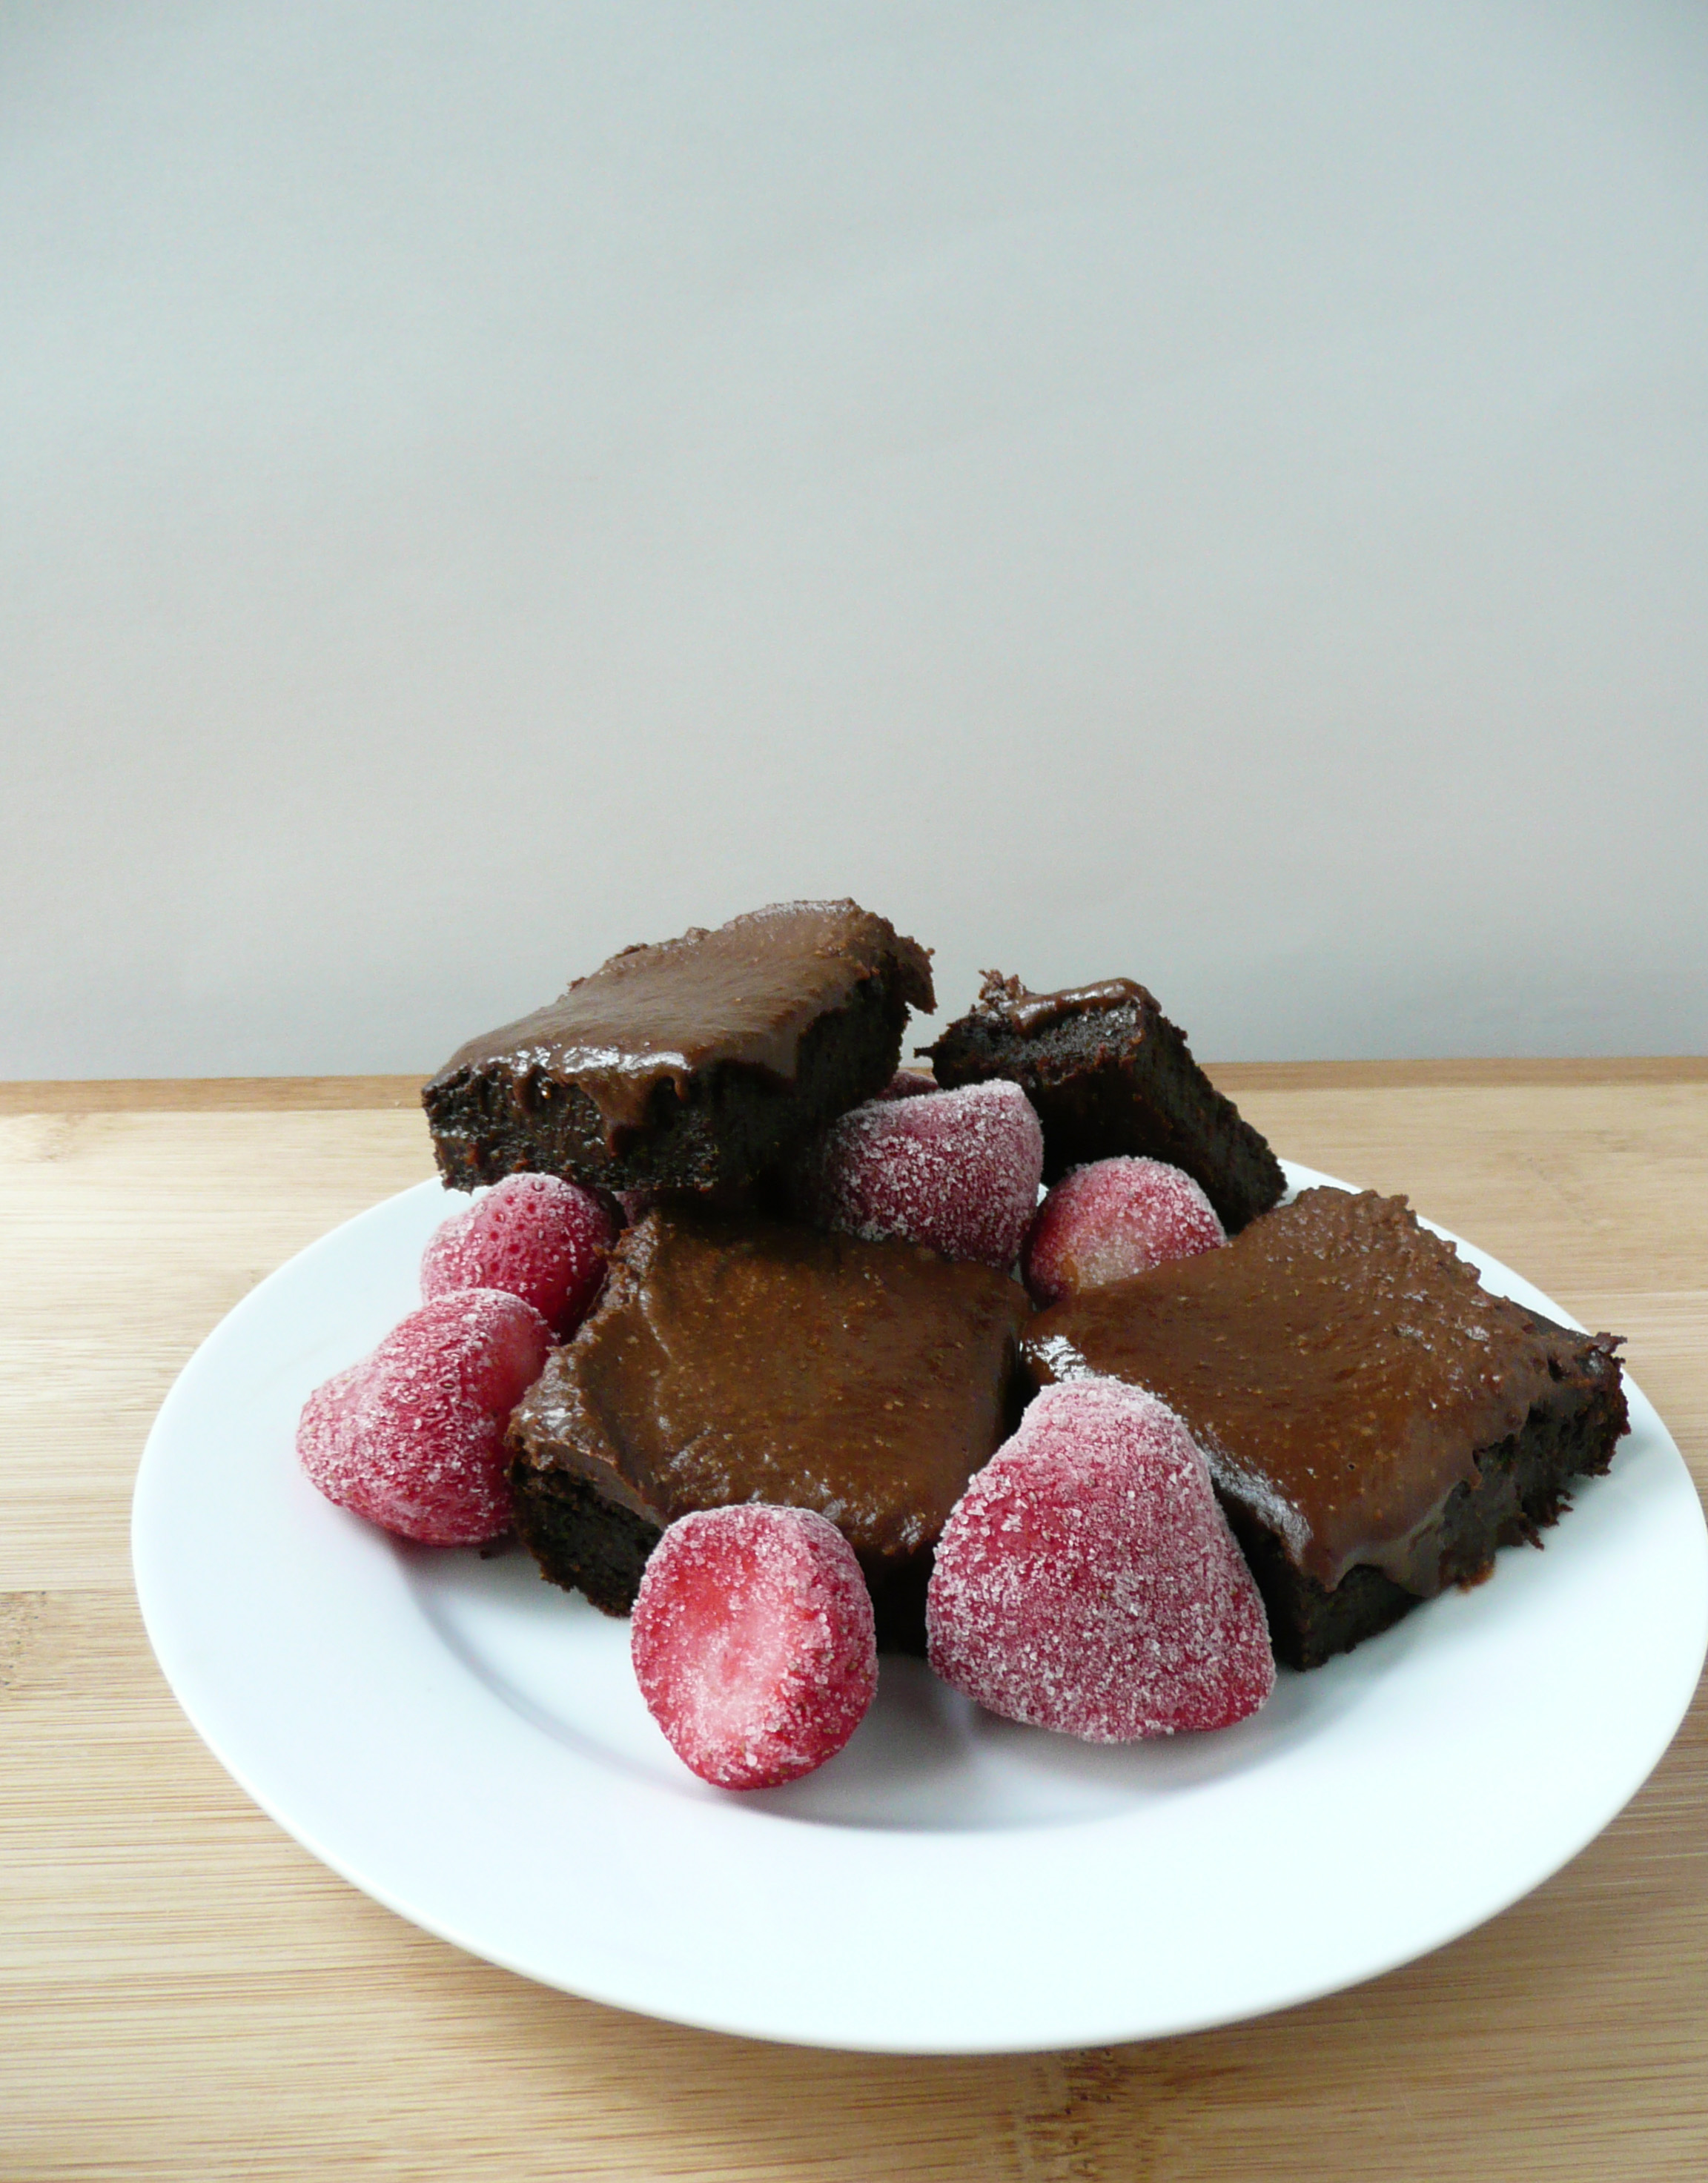
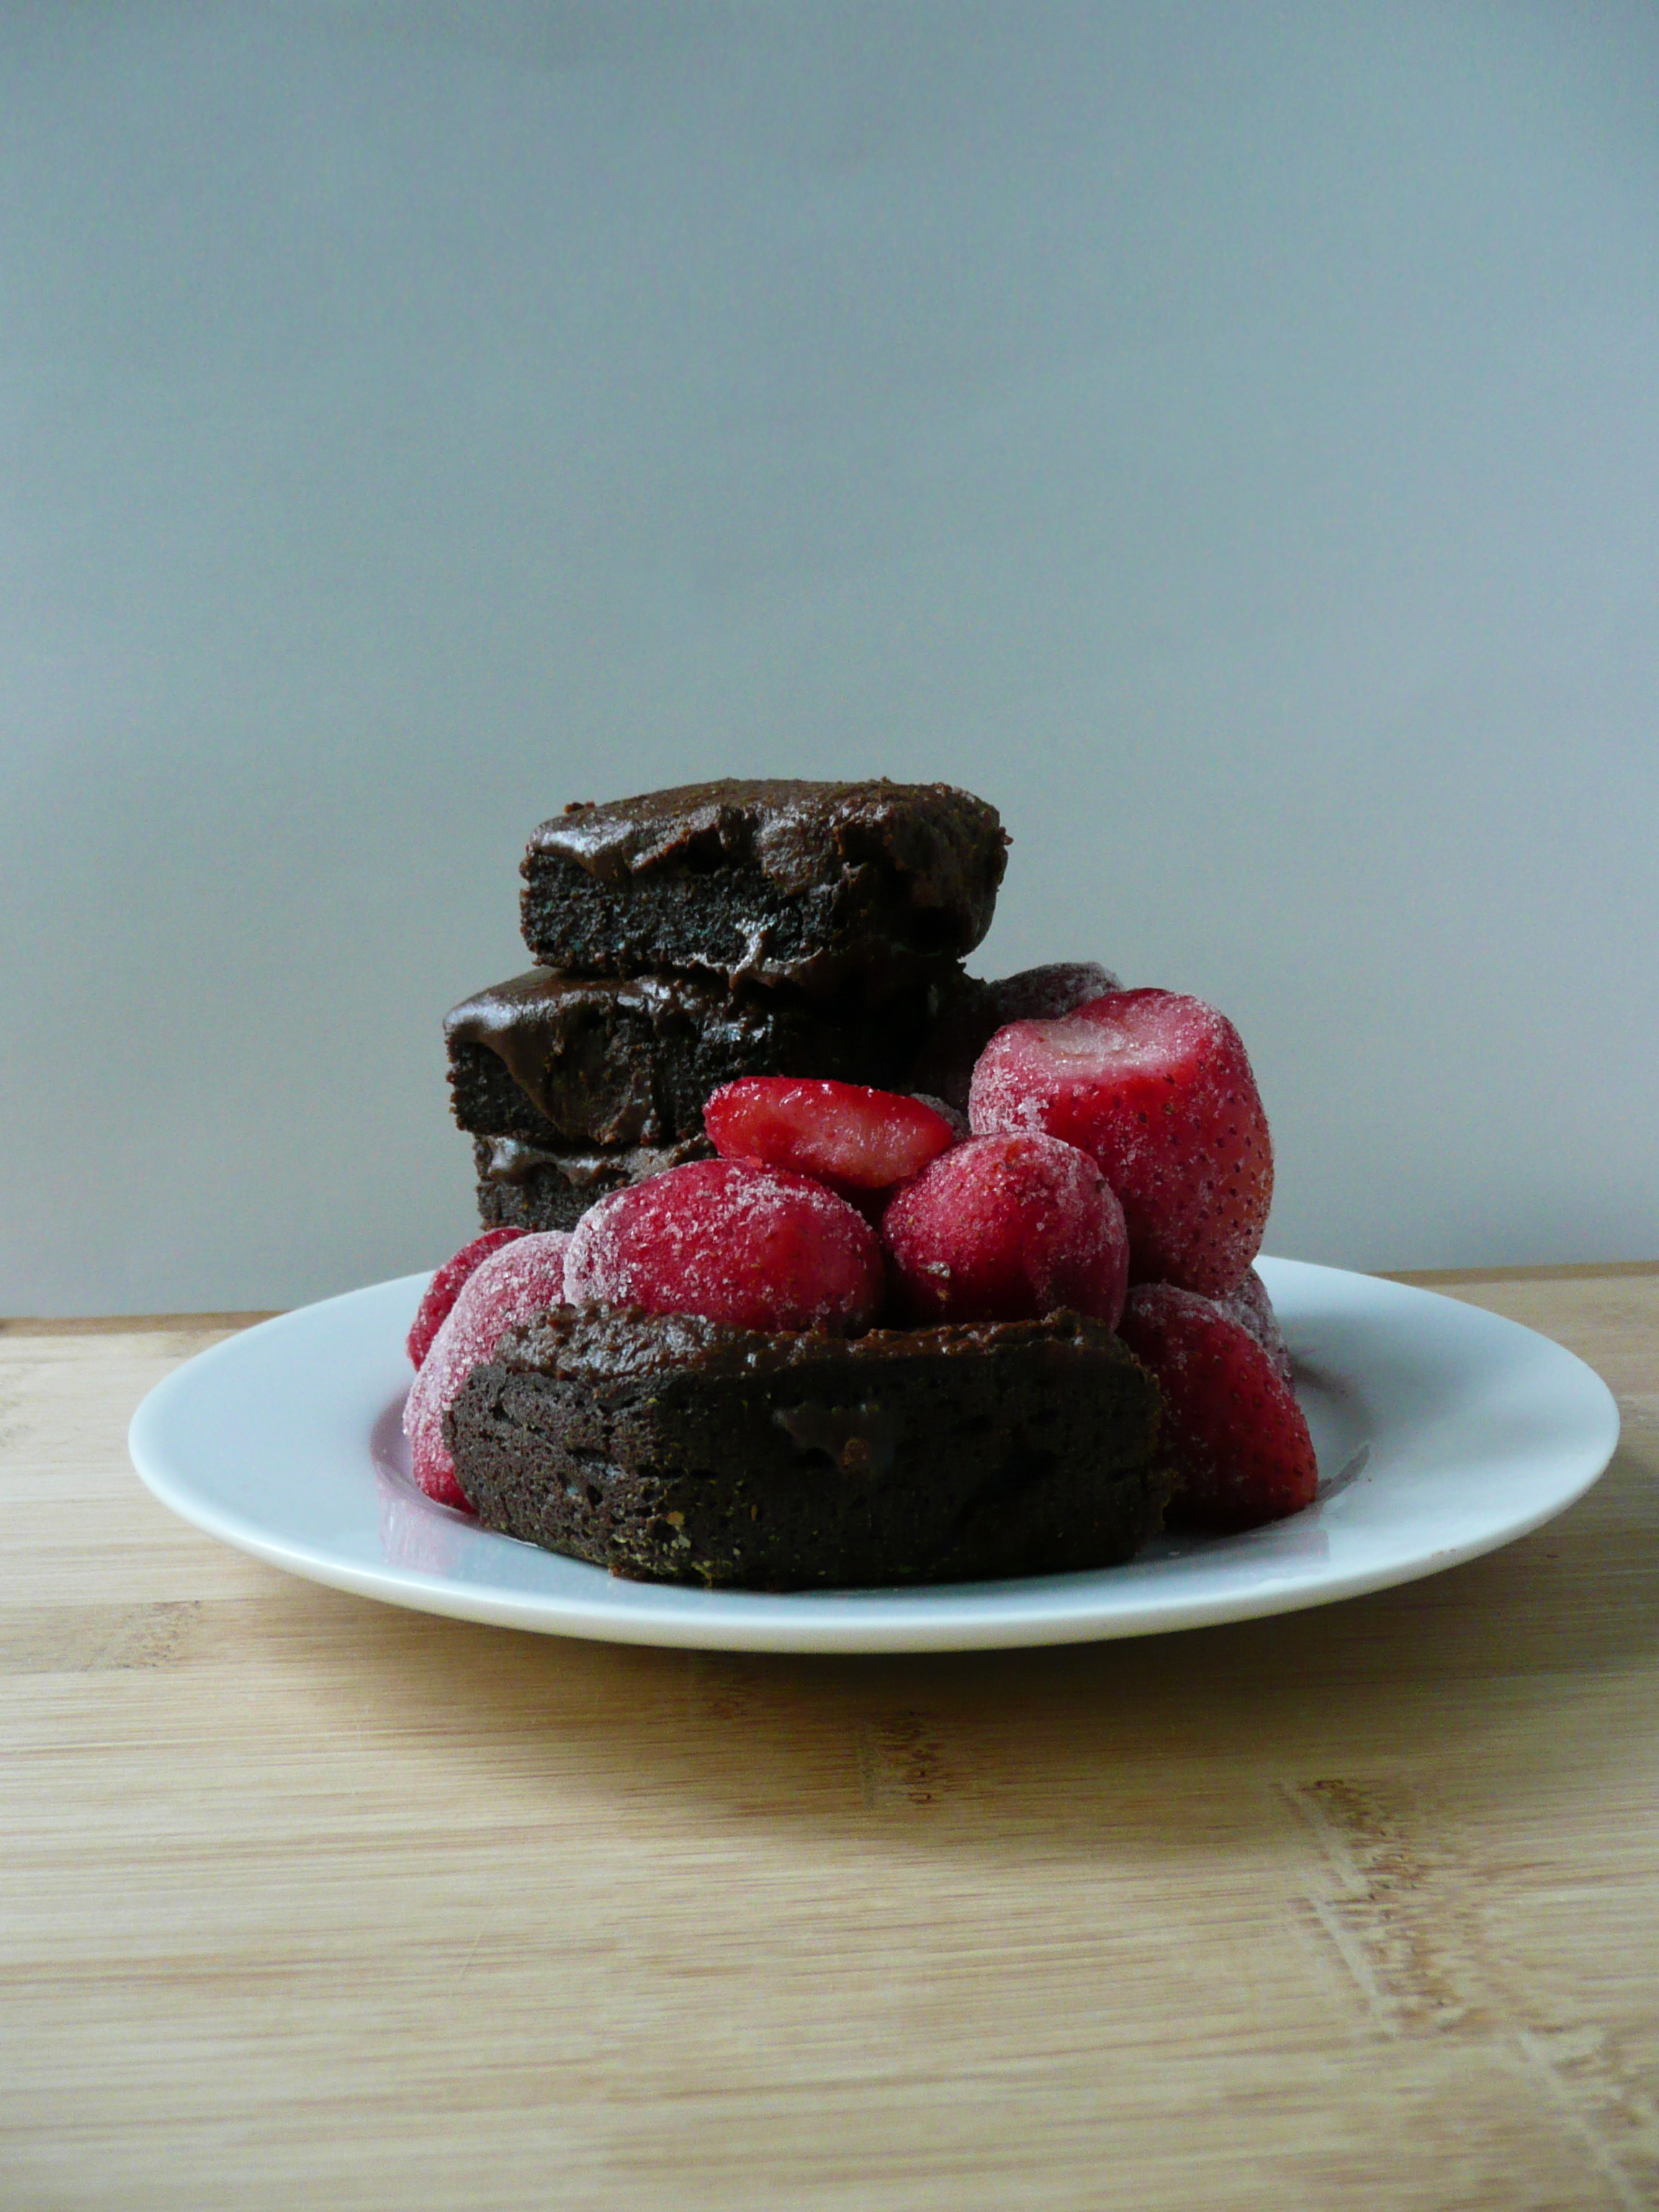
With brownies, most people fall into two camps – chewy, or fudgy. These brownies are the perfect marriage between the two, because the actual brownies are wonderfully chewy, and the frosting is gloriously fudgy.

They don’t need the frosting, as they taste good enough without it, but a little frosting never hurt a good brownie.


The Best Chewy Sweet Potato (or Adzuki Bean) Brownies

Makes 9 brownies

Ingredients

1 tbsp ground chia seed (5g)

¼ cup + 1/8 cup hot water


1 cup of oat flour (90g)*

5 tbsp + 2 tsp cocoa powder (34g)

½ level tsp baking soda

½ level tsp + 1/8 tsp ground coffee (I used Starbucks Italian Roast Ground Coffee, which is also Fair Trade Certified, which makes it extra cool)

½ level tsp sea salt


2 tbsp apple cider vinegar

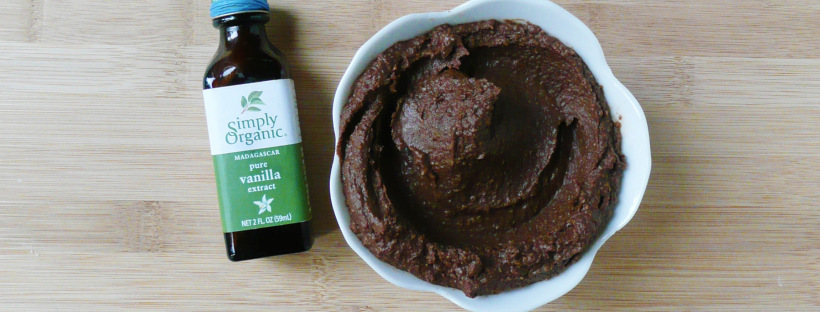
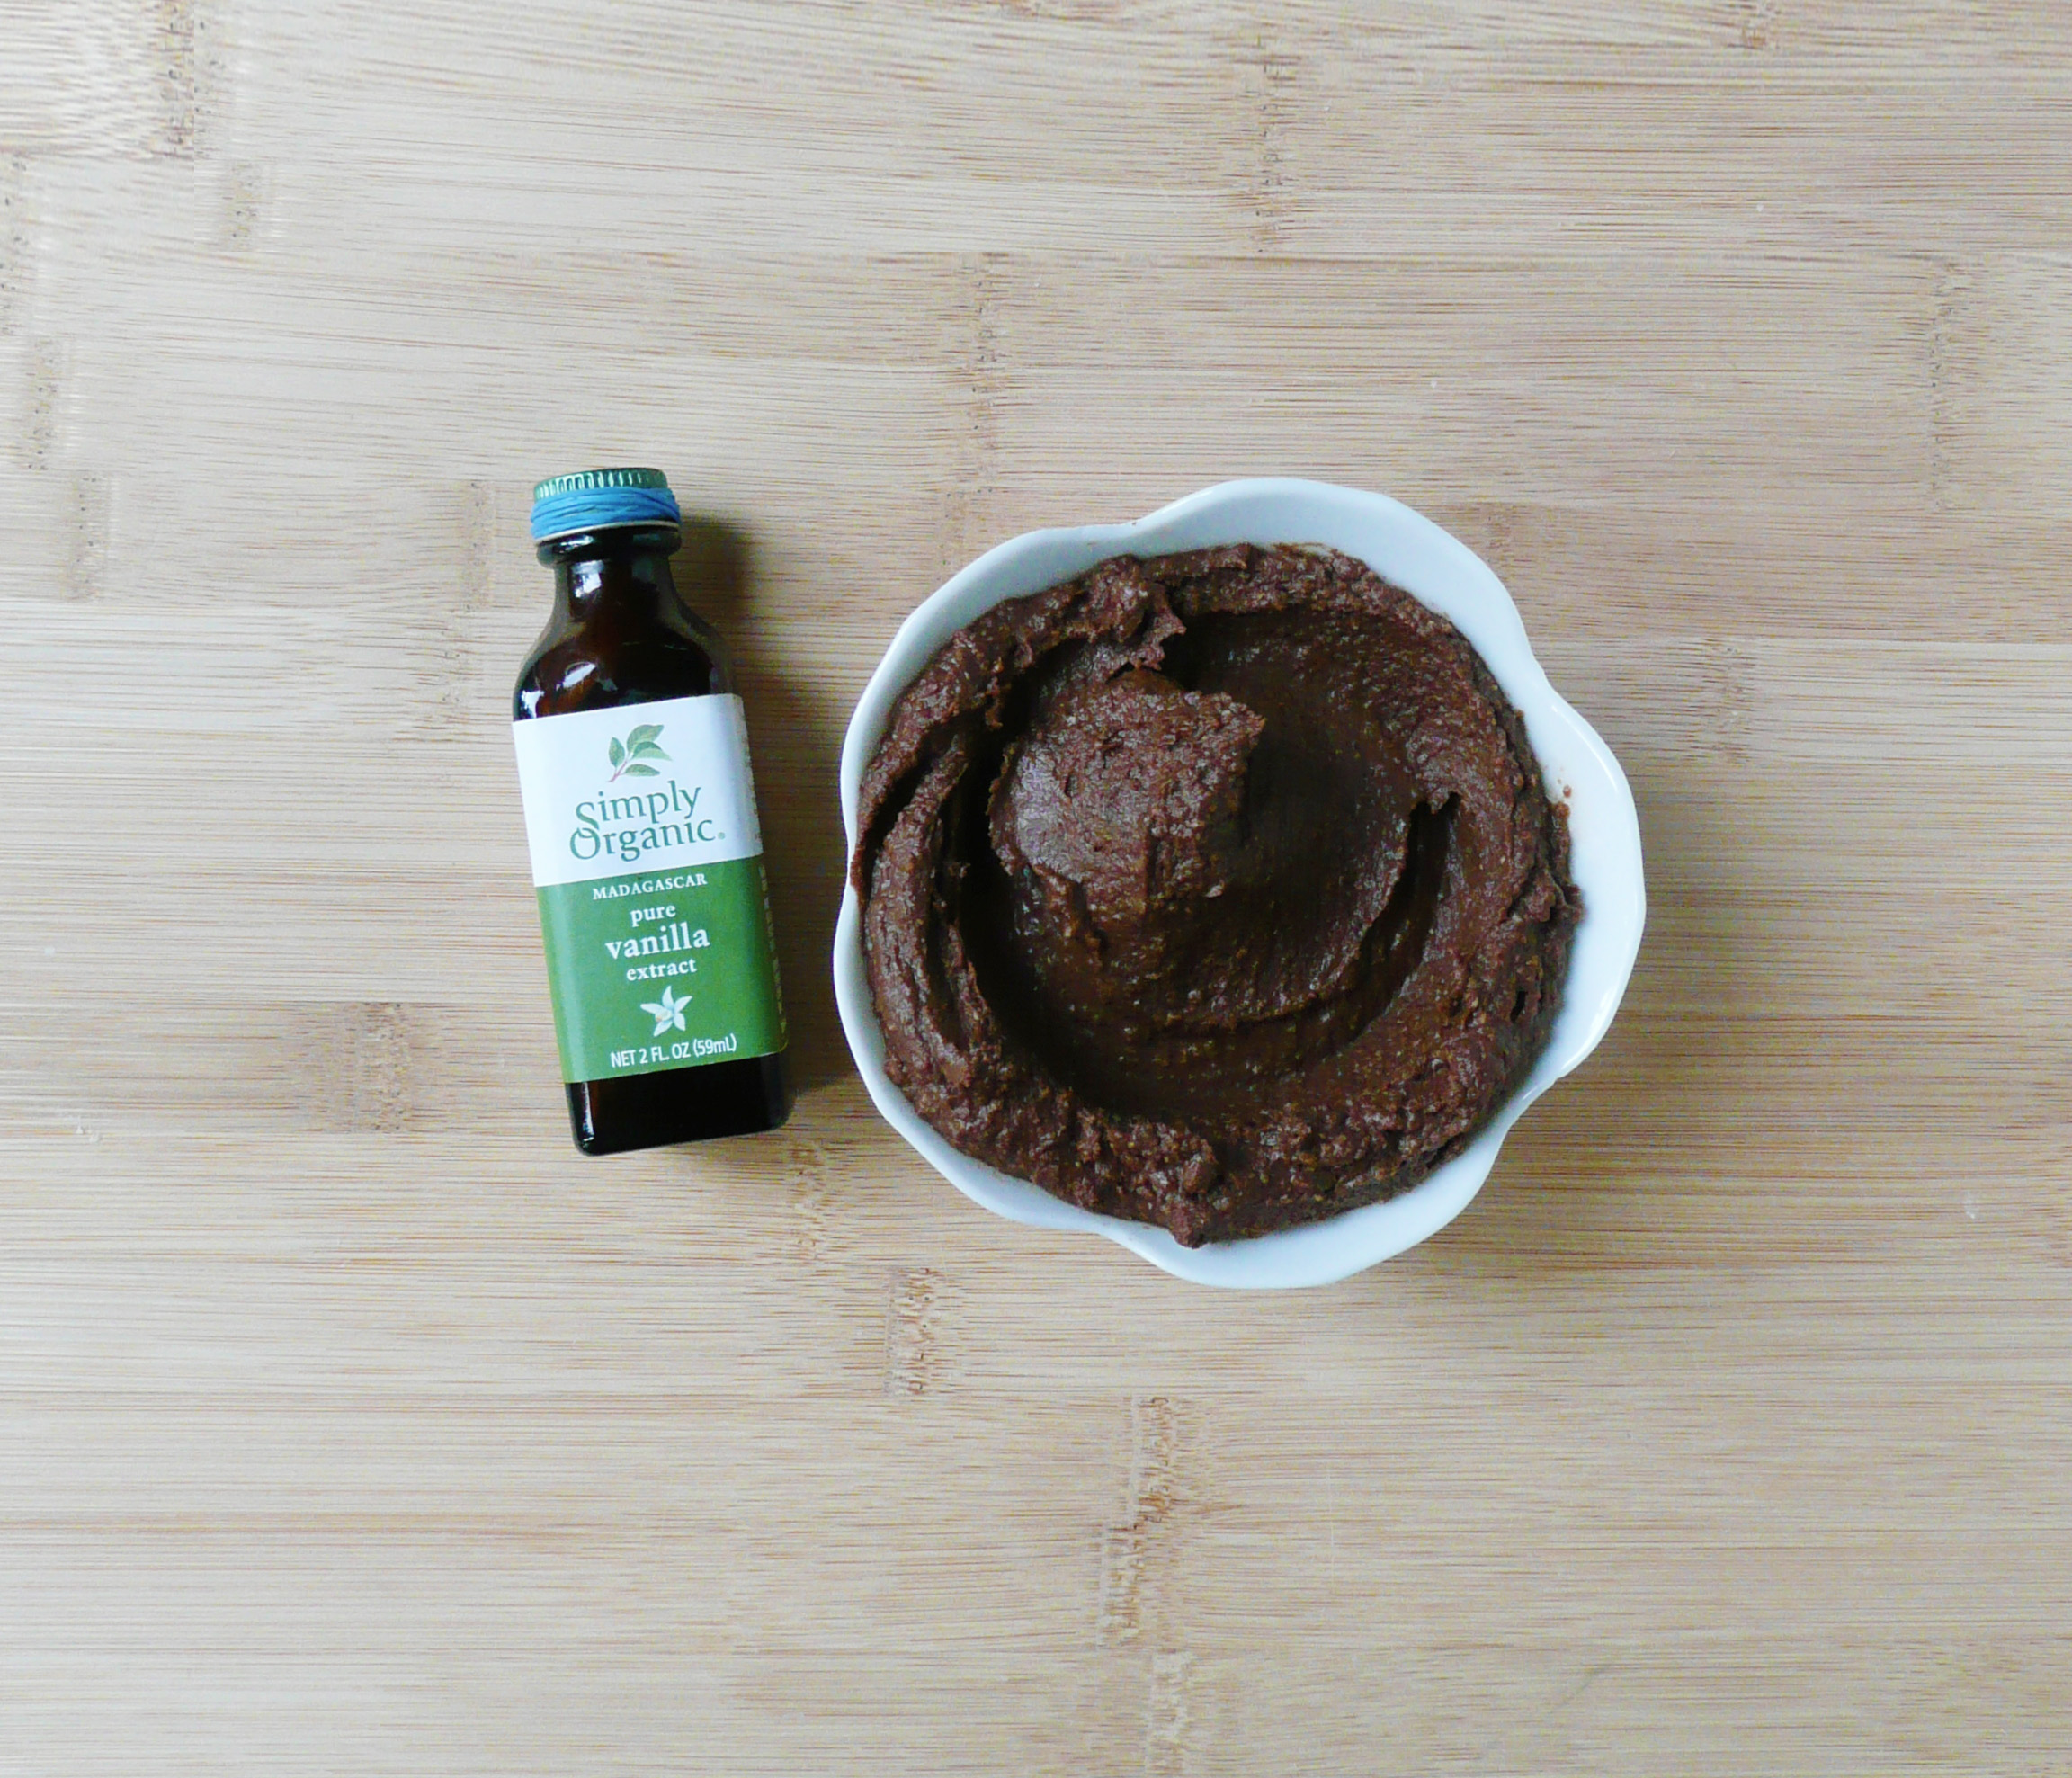
1 tsp of vanilla extract**

level ½ cup mashed roasted sweet potato (if using adzuki beans use ½ cup + 3 tbsp drained cooked beans instead of the sweet potato)

½ cup maple syrup

¼ cup + 1/8 cup melted coconut oil


Notes – for best results, please measure the dry ingredients by weight.

* I grind oats into oat flour using a blender. Don’t grind the oats in a food processor because the flour won’t be fine enough.

Any extra oat flour I don’t use in the recipe goes into an airtight container and I use it for another recipe.

If you’re making this recipe for someone who has celiac disease, use certified gluten free oats, as the oats from the bulk bins can sometimes be processed on the same equipment as wheat.

**If you run out of vanilla extract ( and it’s been the kind of day where you really need a brownie) have no fear, these brownies still taste amazing without it. So go forth, and bake with a light heart.

sweet potato brownies 2.jpg

Instructions

1. Stir together the ground chia seed and hot water. Let sit for 10 minutes until thickened.

2. Add the cocoa, oat flour, salt, coffee and baking soda into the food processor and give it a quick blend so that everything is well combined.

3. Add the rest of the ingredients to the food processor and blend until smooth.

4. Turn the oven to 350F and let the mixture sit in the food processor for 15 minutes. Then give it one final blend for about 30 seconds and then spoon the mixture into a glass 8×8 inch baking dish that you’ve oiled and floured with coconut oil (or a neutral oil like avocado oil) and a bit of oat flour.

Take a spatula and smooth the brownie batter out so that it’s sitting evenly in the baking dish.

5. Bake the brownies at 350F for 70-75 minutes until the brownies pull ¼ inch away from the pan on all sides.

Allow to cool completely (at least an hour for the best texture), frost with fudgy sweet potato chocolate frosting if desired, and then cut into 9 square pieces. Serve and enjoy!

I hope that you love these brownies as much as I do, and if you’re having a tough day, I hope that these brownies make it just a little bit better and brighter.  🙂

mint ice cream

Mint Chocolate Ice Cream – Dairy Free, Paleo, Vegan, Refined Sugar Free

mint ice cream

When I first realized that St. Patrick’s Day was coming up, I was at a bit of a loss as to what to make to celebrate.

So I googled “Traditional Irish Food” and pictures of things like shepherd’s pie, Irish stew, and colcannon popped up, along with literally a picture of a potato. That’s right, a plain ol’ uncooked potato.

After I finished laughing for a good solid minute (that lone potato really cracked me up), I decided to go check out what was in the fridge and see if I could come up with a recipe from the ingredients that I already had. After a quick glance at the bananas on the counter, I opened the fridge to find that I still had a big box of baby spinach. After a little tinkering, I came up with a recipe for this gorgeous ice cream.

mint ice cream 4

Ireland is the Emerald Isle after all, and this recipe borrows just a bit of that lush green color just in time for St. Patrick’s Day.

This amazing mint chocolate ice cream is rich and creamy, and you can’t taste the baby spinach at all, but it gives the ice cream it’s lovely bright green color without any food coloring. Little flecks of dark green dance across every beautiful spoonful, making every bite a little more festive, a little more special.

Sprinkle over a little cocoa powder before just serving and every delicious bite will taste just like a Thin Mint cookie, but in ice cream form (which is even better).

mint ice cream 2

That little bit of cocoa gives a little bit of bitterness which goes incredibly well with the brightness of the mint and allows the flavor of the ice cream to really sing.

This recipe is also a great way to use up extra baby spinach and overripe bananas. The avocado oil seems like a funny addition, but it adds a real creaminess and makes it taste more like traditional mint ice cream.

Mint Chocolate Ice Cream

Makes a generous serving for 1 (about 3 scoops)

Ingredients

2 bananas

1/2 cup packed baby spinach leaves

5 1/2 tsp – 6 1/4 tsp maple syrup

5 tsp avocado oil (or any neutral flavored oil)

1/8 cup water

1/8 tsp peppermint extract (or more to taste)

the tiniest sprinkle of sea salt imaginable (optional)

A little cocoa powder to sprinkle over the ice cream before serving

Instructions

1. Peel and slice the bananas into 1/2 inch slices. Put a piece of plastic wrap over a plate and arrange the banana slices in a single layer over the plastic wrapped plate. Cover with another layer of plastic wrap and freeze until solid.

2. Allow the bananas to defrost for 5-8 minutes until just thawed. Add the bananas, baby spinach, maple syrup, avocado oil, water, and peppermint extract to a food processor.

Blend until smooth. Taste and add in the tiniest sprinkle of sea salt if desired, and at this point you can add more mint flavoring if you like (add a drop at a time as this stuff is strong).

3. Once you’re happy with the flavor of the ice cream, scoop the ice cream into a dish and sprinkle with cocoa powder. Serve.

Notes – The bananas that I used were medium sized and they were ripe but were only lightly speckled brown, so if the bananas that you use are very brown and sweet, then you can probably decrease the amount of maple syrup.

The measurements that I ended up using in my own batch were 6 1/4 tsp maple syrup, and 1/8 tsp + 3 drops of peppermint extract (as I like a strong minty flavor in this ice cream).

You can also make the ice cream ahead of time and put it into something like a plastic snapware container and stash it in the freezer. This works especially well if you want to be able to scoop it into pretty scoops of ice cream for a nice presentation.

mint ice cream 5

So much minty chocolate goodness in one bite…

baby spinach heart copy

Happy St. Patrick’s Day!

Tabbouleh

Quinoa Tabbouleh – Easy, Gluten-Free, Vegan, Delicious

P1060497

I have a bit of secret…

I don’t actually love eating quinoa.

I know that it’s healthy, but like most people, I didn’t grow up eating it. So quinoa lacks that sense of nostalgia and comfort that many of my favorite foods have. It doesn’t have too much of a flavor, and to be honest I’m still sometimes at a loss as to what to eat with it, or lack ideas on how to make it more exciting.

I know that people say that you can swap quinoa out for rice, but honey, it ain’t the same.

Making sushi with quinoa doesn’t work that well, and when you’re eating something like Lou Rou Fan (Taiwanese Braised Pork with rice) or Taiwanese Style Scrambled Eggs with Tomatoes and Green Onion, you want rice. I can eat brown rice with both of those dishes and not feel like I’m missing out, but I don’t want to eat those dishes with quinoa.

But this is a recipe that I love to eat. This recipe makes quinoa taste (imagine Oprah saying this) amazing! I love the brightness of the lemon juice with the freshness of the mint and parsley. The quinoa has a lovely texture that really works well with this dish, and gives the tabbouleh a lot of good protein. This tabbouleh is also full of different colored vegetables and herbs, and it’s a very nutrient dense salad that just tastes great.

And it doesn’t feel like another boring old salad, it looks and tastes exciting.

P1060493-2

So if you’re ever stumped as to what to do with leftover quinoa, make this dish and see if you don’t just eat the entire portion yourself in one sitting.

I like to make this dish a day in advance so that the lemon juice has time to mellow out the sharpness of the onion. It’s also nice to have a batch of this sitting in the fridge so that there’s always something healthy to snack on when you’re hungry.

Quinoa Tabbouleh

Makes 2-3 servings


Ingredients

1 diced Roma tomato (about 2/3 cup)

½ cup diced white onion

¼ cup finely chopped parsley, loosely packed*

1 tbsp finely chopped fresh mint*

¾ cup cooked quinoa**


1 tbsp olive oil

3 tbsp fresh lemon juice***

¼ level tsp sea salt

¼ level tsp black pepper


*For tips on how to keep your excess herbs fresh, here’s a link to a post that I wrote about that.

**If at all possible, buy the quinoa in the store that doesn’t say to rinse it on the package instructions. Quinoa can be difficult to rinse if you don’t have a fine enough strainer, and life is easier if you can just scoop the dry quinoa out from the container, add it to a pot with some water and cook it in the rice cooker and not have to think to hard about it.

*** If you have any excess lemons, you can freeze them.

Instructions

Stir all ingredients together. Cover and refrigerate overnight. Taste it the next day, and adjust the seasoning if needed.


P1060495- 2

Happy Eating!

Kitchen Tip – How to Regrow Green Onions

green onions

Green onions are used in lots of Asian recipes, and they are actually super simple to regrow on your windowsill from the trimmings that you would normally compost.

I cut the green part off the green onions so that there’s about  1.5 – 2 inches of the white part attached to the roots.  Then put the green onion roots in a little jar (old spice jars seem to work well for this) and add about 1.5 inches of cool water into the jar. I put a little piece of folded paper towel under the jar when I put it in the windowsill so that no watermarks stain the wood.

Replace the water everyday (that way the water doesn’t get slimy as quickly). I’ve been able to successfully regrow a trimmed green onion root about 2-3 times.  After that, they get a little too slimy around the roots and it’s time to compost them and wash out the jar.

The picture shows about a week of growth, and you can trim off what you need to add to dishes.

You can also plant the trimmed green onion roots in some soil, and they should regrow a few more times than if they were simply regrown in water.

I hope that this tip helps you save a little money! Let me know how this trick works for you. What would you make with your regrown green onions?

Oat Flour and Brown Rice Tortilla Chips

Oat Flour and Brown Rice Tortilla Chips – Gluten Free, Dairy Free, Vegan – Tostadas

P1070082

When I first went gluten free I really missed having something crunchy to dip into hummus, or top with egg salad like a cracker.

When I came up with this recipe I found that it checked lots of carb-y, crunchy boxes.

You can eat these chips with guacamole or hummus. You can mix flax seeds and chia seeds into the dough to make multigrain crackers. For cheesy herby crackers, you can add some granulated garlic, parsley, oregano, and nutritional yeast into the dough and they bake up a treat.

Another thing that you can do with this dough is make tostadas. The tostadas bake up super crunchy and you can top them with anything that makes your heart happy.

I tried making tortilla chips and crackers in all kinds of ways before I came up  with this recipe, but it turns out that leftover brown rice was the key to making a great crunchy oat flour tortilla chip.

If you have leftover brown rice in the fridge, this is a perfect way to use it up. Making these chips / crackers are also so much cheaper than buying gluten-free crackers in the store, and I promise that they taste so much better. And if you can’t tolerate corn chips, this recipe is a great alternative. These chips also go great with my creamy lemon garlic black bean dip.

Brown Rice and Oat Flour Tortilla Chips (Baked)

Makes 10 chips (about 1 generous serving)

Ingredients

1/3 cup cooked short grain brown rice

1/3 cup oat flour

½ tsp olive oil

pinch of salt

1 -1 ½ tsp water


Instructions

1. Preheat the oven to 350 F.

2. Add all the ingredients into a bowl and mash the brown rice into the oat flour with the back of a fork. Squeeze the mixture together in your hands so that the rice incorporates into the oat flour and forms a nice dough. If the dough feels a little dry, add a little water to the dough. If the dough feels too sticky, add a little more oat flour.

3. Divide the dough into 10 equal sized pieces and roll each piece of dough into a ball .

Wet you hands lightly press each ball of dough into a 1/8 inch thick disk onto a silicone baking mat. The mixture won’t spread so the chips can be baked close together as long as they don’t touch.

4. Bake for 15 minutes, then take the chips out of the oven and use a spatula to flip over each chip. Bake for another 15 minutes until crisp.

Let them cool on the silicone baking mat for about 10-15 minutes. They will crisp up even more as they cool.

You can also use this same mixture to make about 3 tostadas about 4-5 inches in diameter (1/8 inch thick). Bake the tostadas for 15 minutes per side at 350 until crisp.

Chocolate Banana Soft Serve Ice Cream – Refined Sugar Free, Dairy Free, Vegan, Paleo

P1080366

When I think of chocolate desserts, I want something really decadent and rich, with a deep chocolatey flavor.

This Chocolate Banana Soft Serve Ice Cream definitely fits the bill. It’s super easy to make, and takes almost no time or effort. It’s so creamy and delicious, and it’s pretty incredible that blended up frozen bananas can turn into such an amazing treat!

When I was working on this recipe, I thought about the rich and creamy chocolate ice cream that would occasionally eat before I went dairy and refined sugar free.

I really tried to get a similar flavor with this recipe, so it does have more cocoa powder and vanilla extract than you would expect it to have, which gives the banana ice cream a similar flavor to the store bought chocolate ice creams of my younger days.

Banana ice cream also cuts down on food waste because it’s the perfect thing to make when you have overripe bananas that you don’t know what to do with. No need to throw them away! Just peel them, and freeze them, and you can have ice cream whenever you want. How cool is that?

You can also adjust the flavor of the ice cream to your liking really easily. If you want it a little sweeter (or if your bananas could have used a little more ripening before you froze them) you can add a little more maple syrup, or more cocoa if you want a deeper chocolate flavor.

However you make it, I hope that this ice cream brings a little more joy to your day.


Chocolate Banana Soft Serve Ice Cream

Makes 1 serving (about 3/4 cup)

Ingredients

1 thawed frozen banana

3 1/2 tbsp unsweetened cocoa powder *

2 1/2 tbsp + 1 tsp maple syrup

2 tbsp + 2 tsp water

1 tsp vanilla extract

tiny tiny pinch of salt


*I didn’t use a heaped tbsp, just sort of slightly higher than a level tbsp. The cocoa powder that I used was the Ghirardelli unsweetened cocoa powder.

Instructions

1. Cut the thawed banana into half inch slices with a paring knife. If the banana is too hard to cut, then let it thaw for another 5 minutes or so before trying to cut it again.

2. Add all the ingredients into a food processor and process until smooth, scraping down the sides of the bowl occasionally.

If you want a firmer texture, you can spoon the mixture into a bowl and put it into a freezer for another 15-20 minutes.

For garnish, I just used a paring knife to shave pieces off a slightly thawed frozen strawberry. It gives it a nice color and a bit of little flair, and the strawberry flavor goes well with the banana and chocolate flavors of the ice cream.

P1080371

Happy Eating!