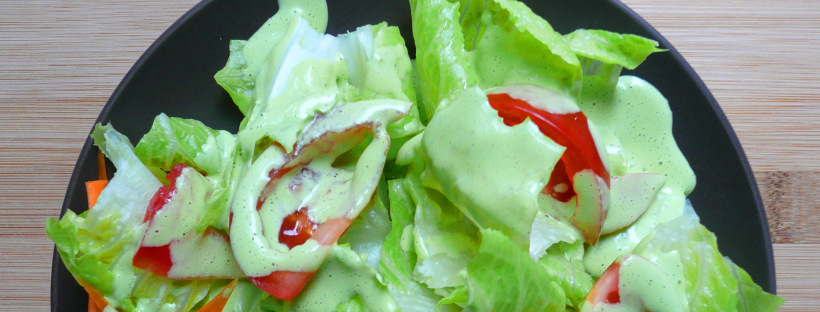
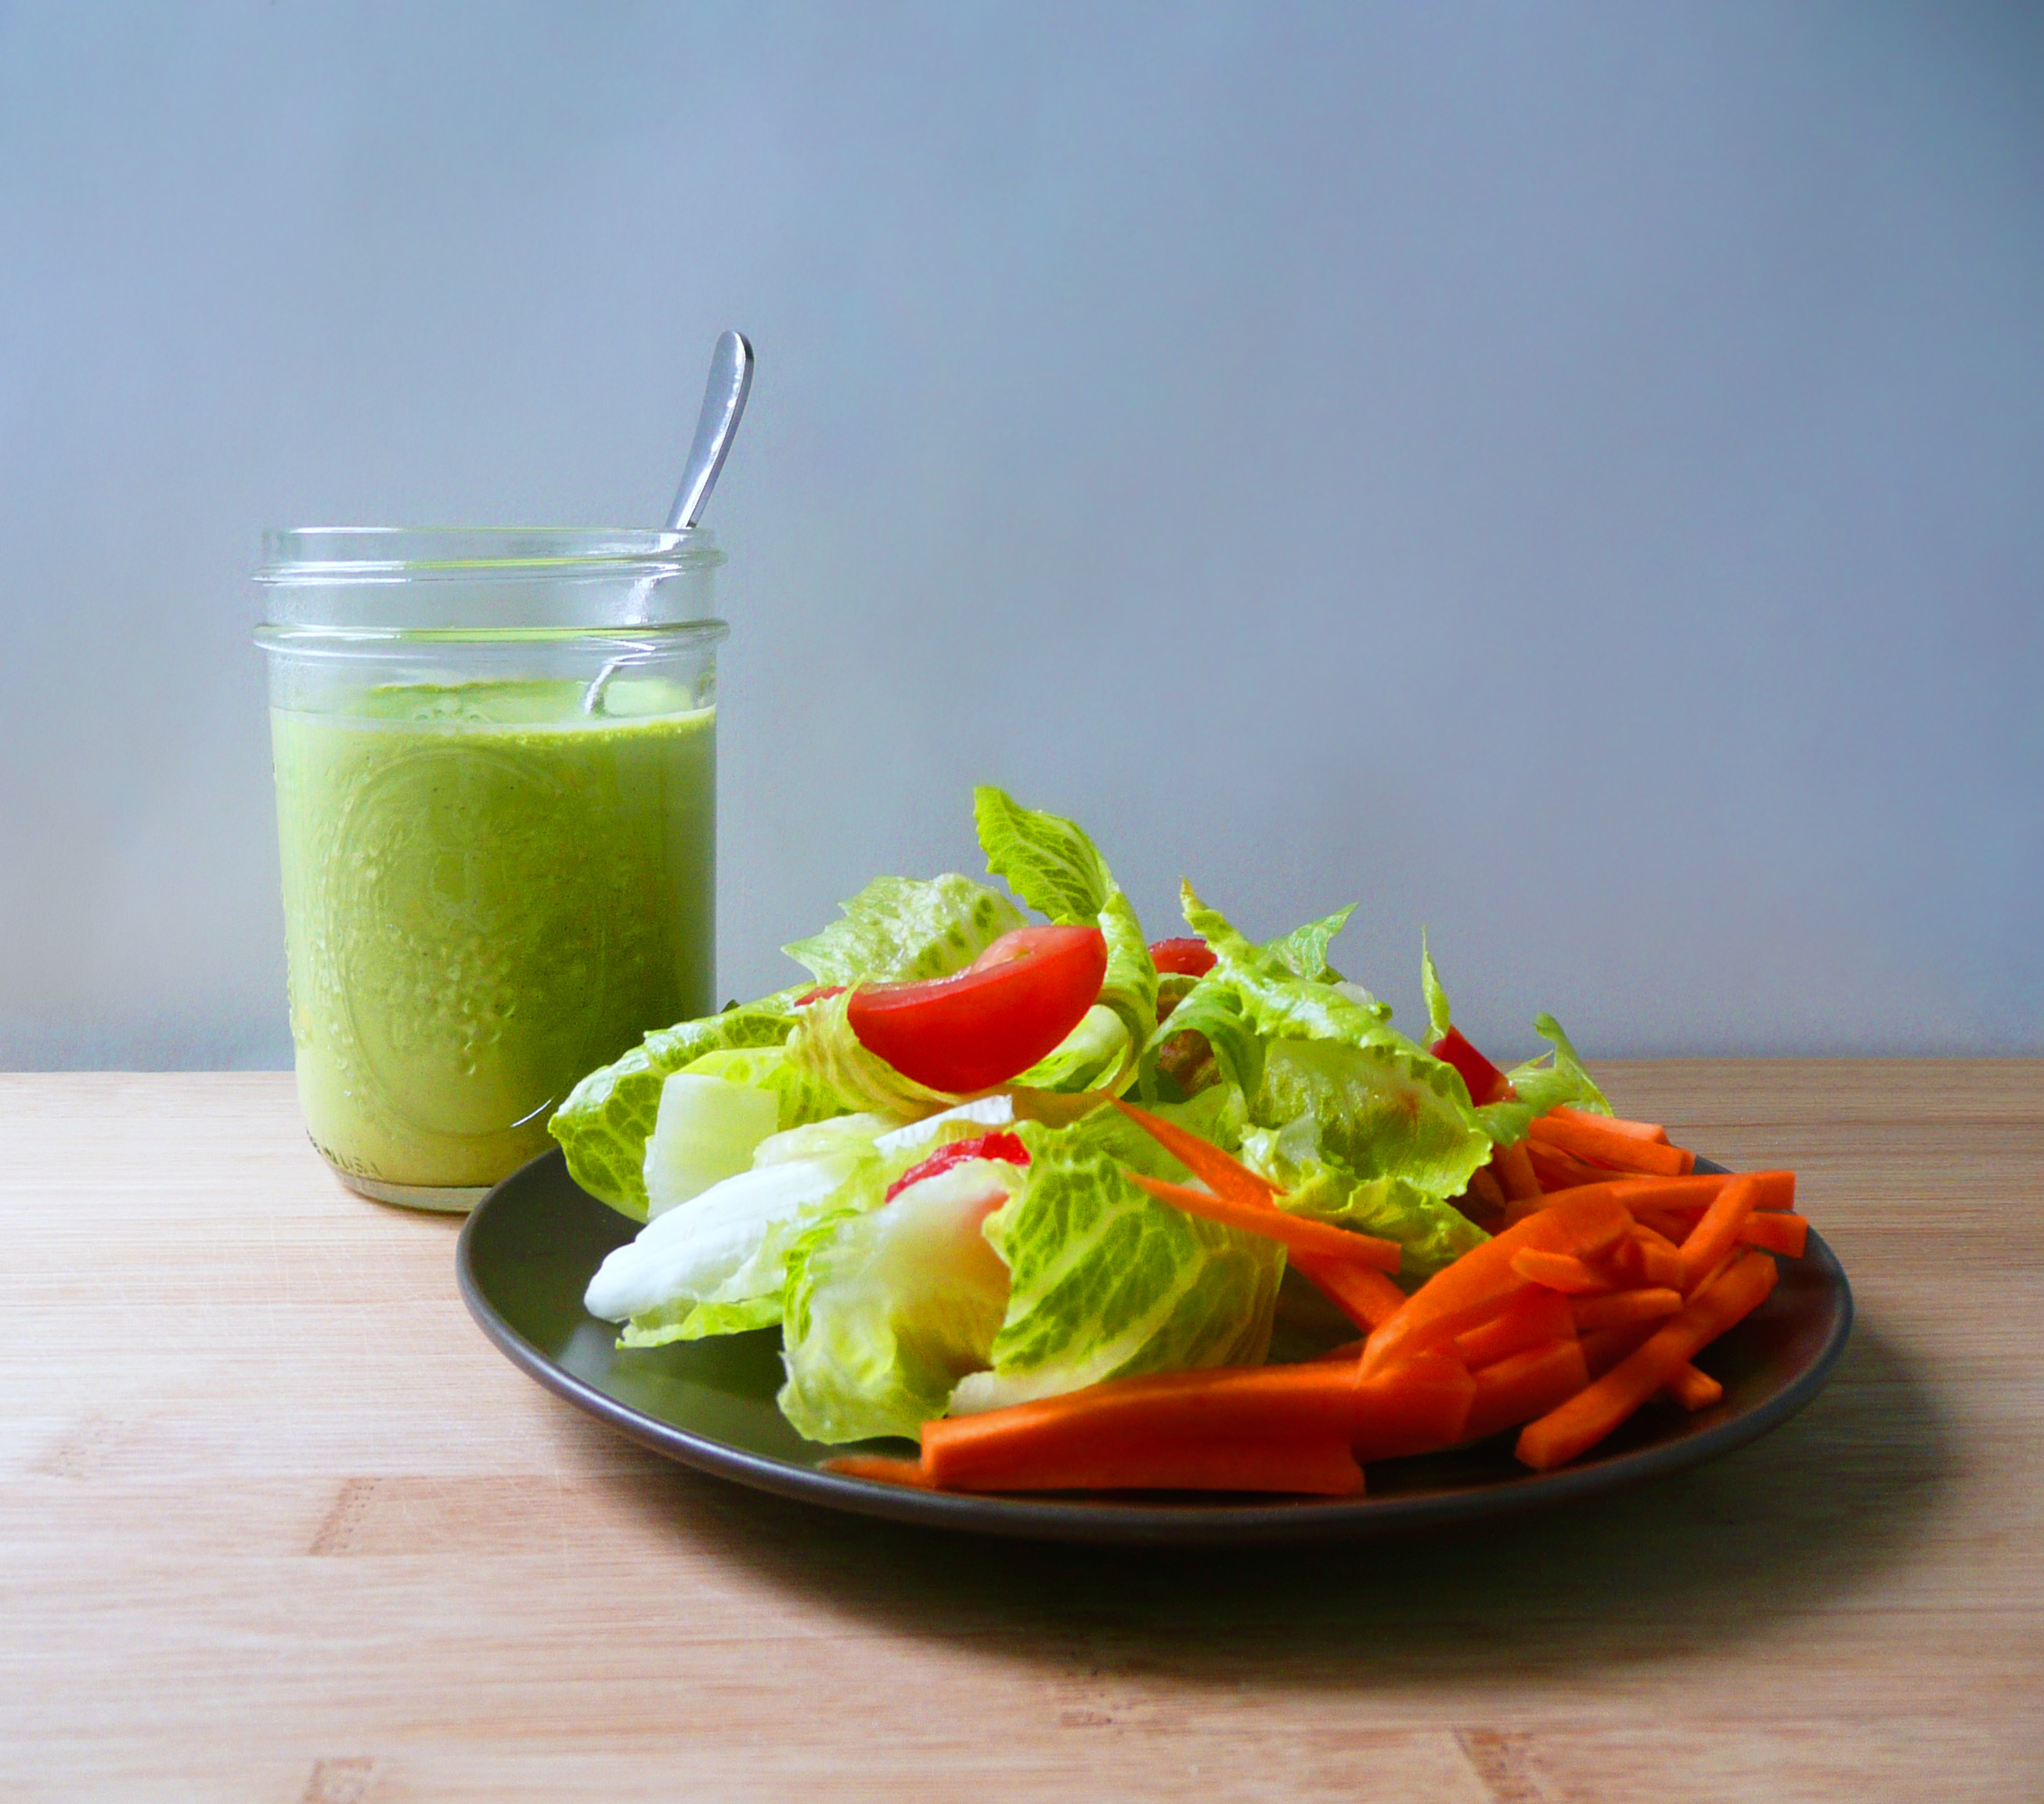
I like to think of Green Goddess dressing as Caesar dressing’s sort of hippier, more free spirited cousin.
Caesar is the dressing that you want for a beautiful dinner party, while Green Goddess is for summer picnics and dancing through a garden in a sundress while wearing a daisy crown.
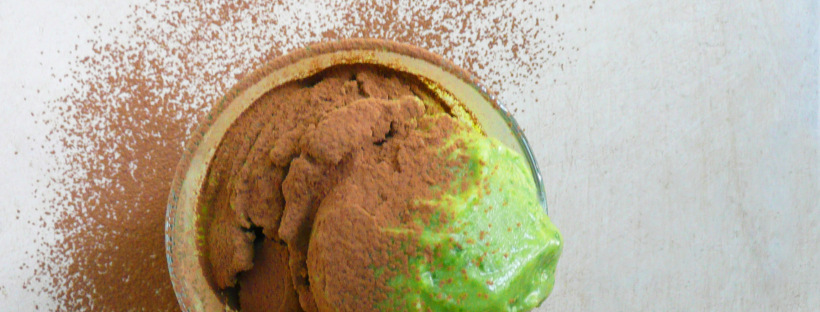
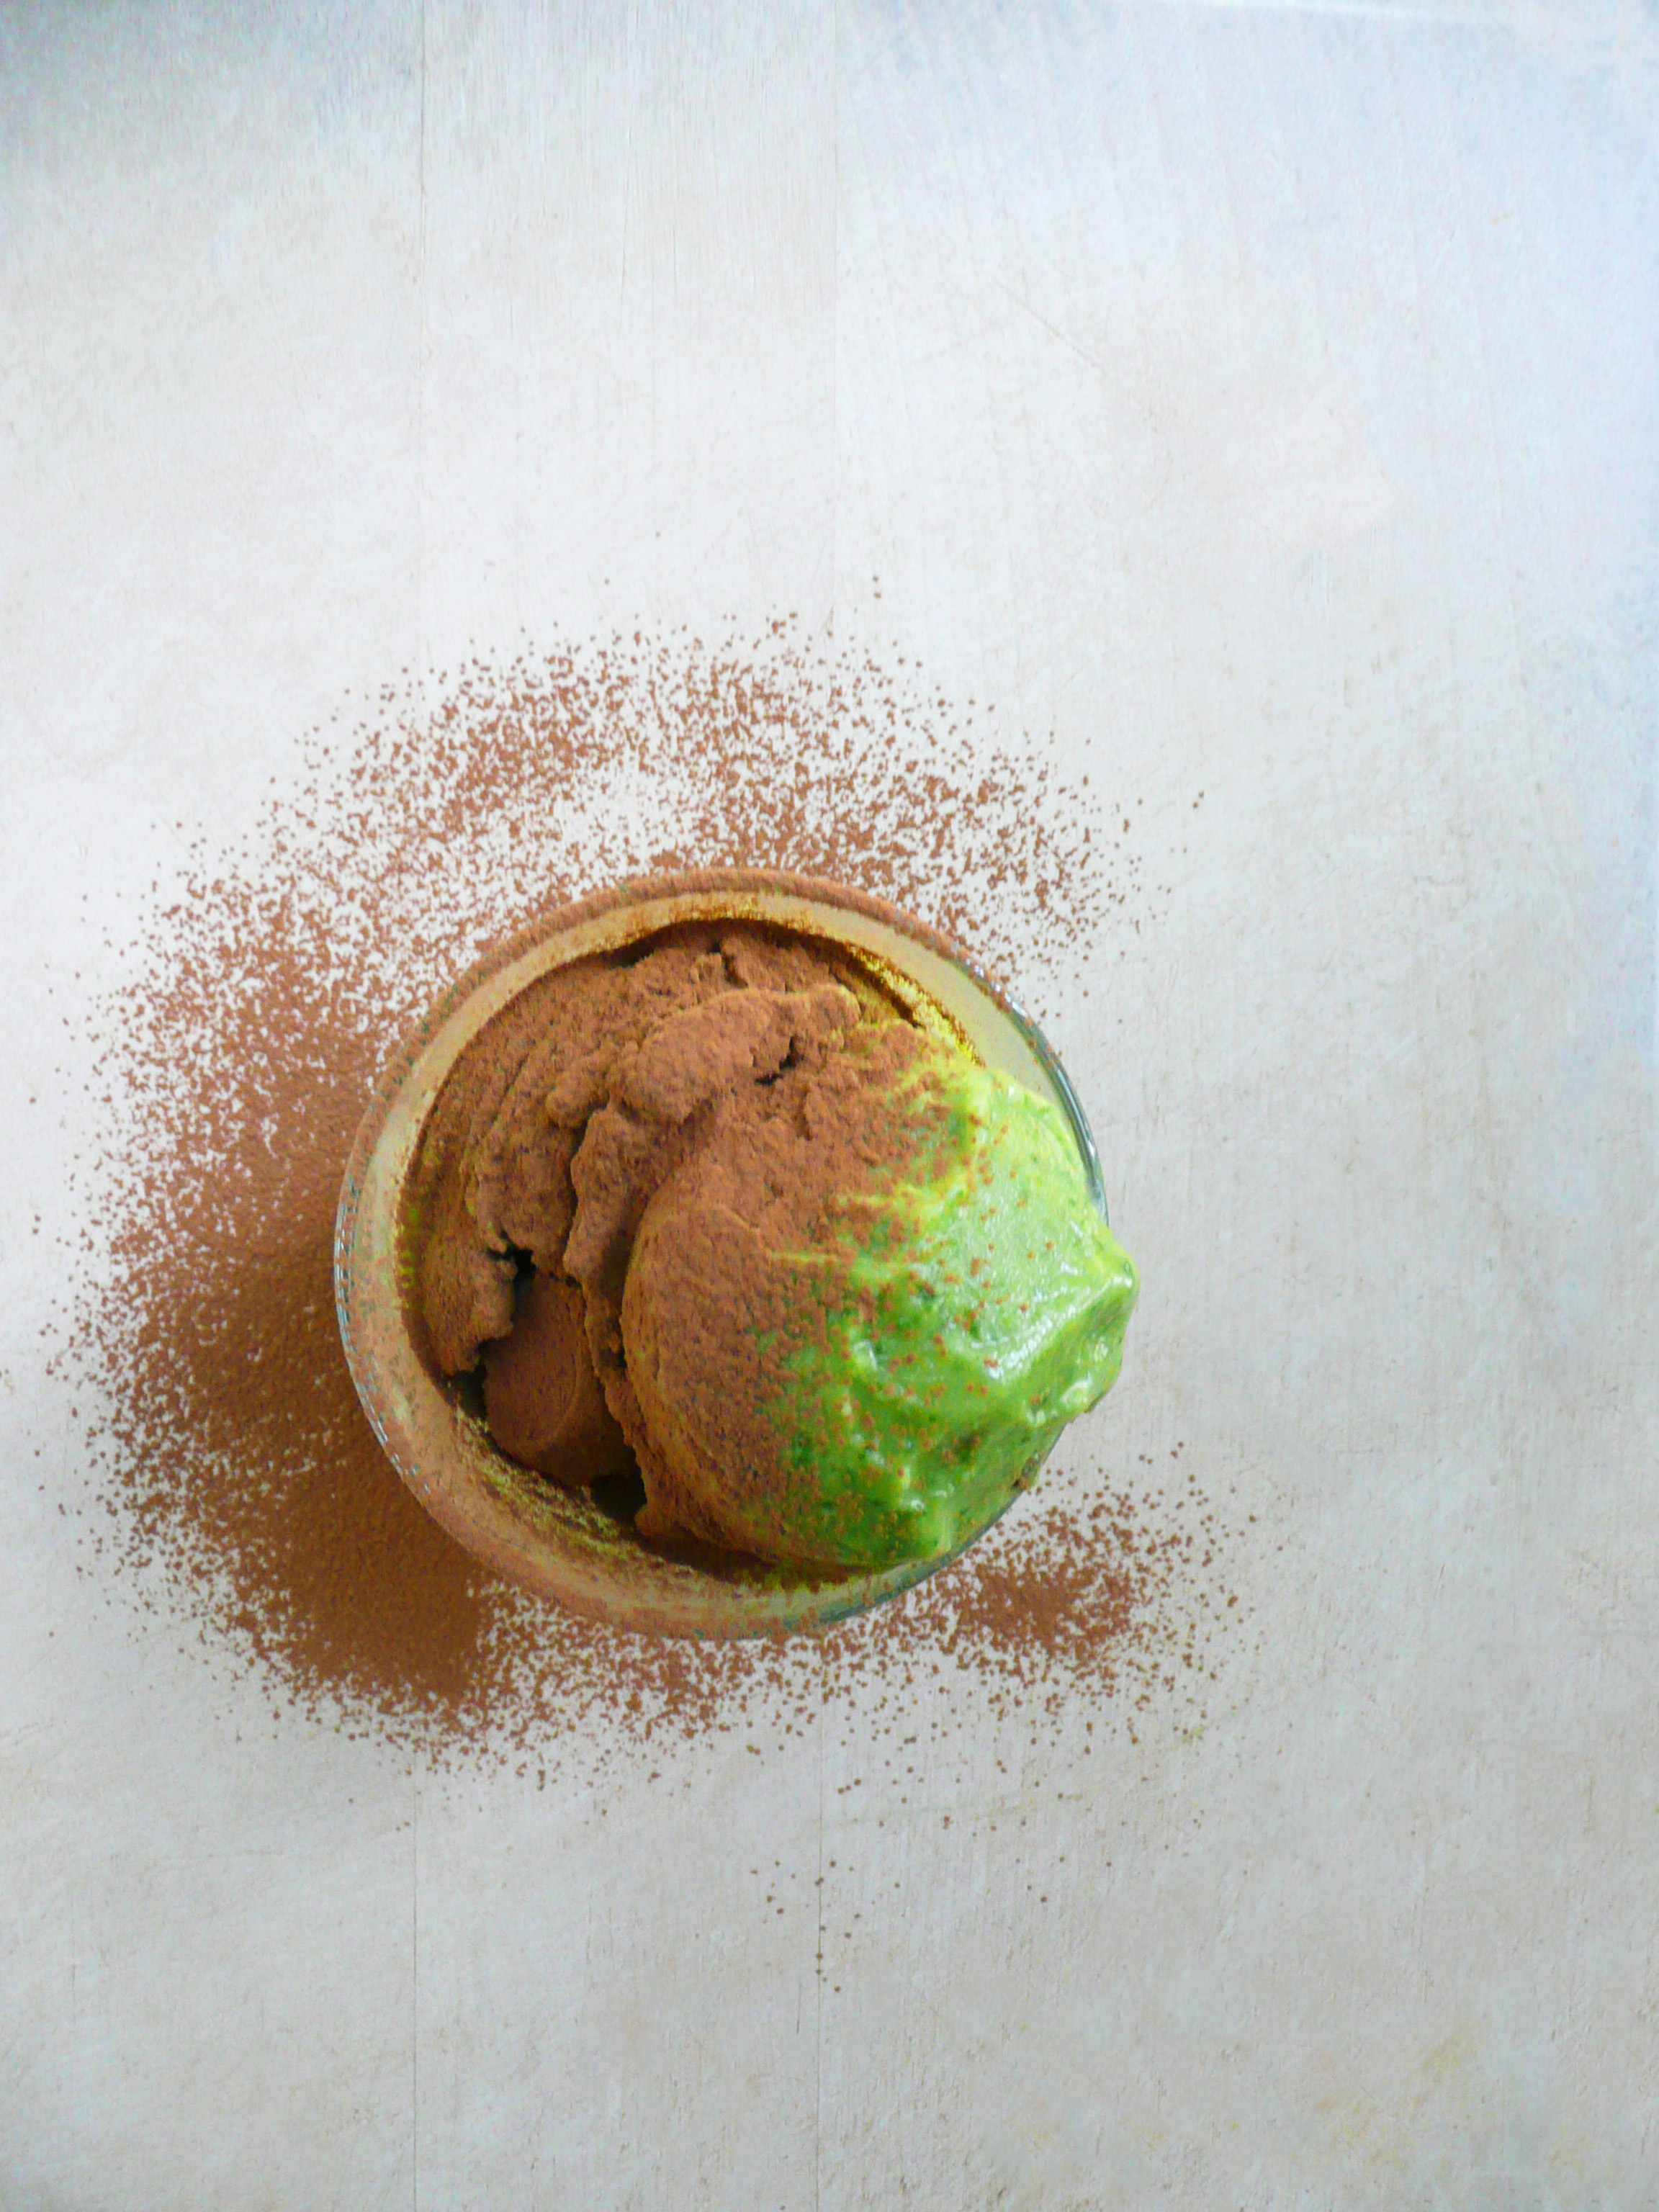
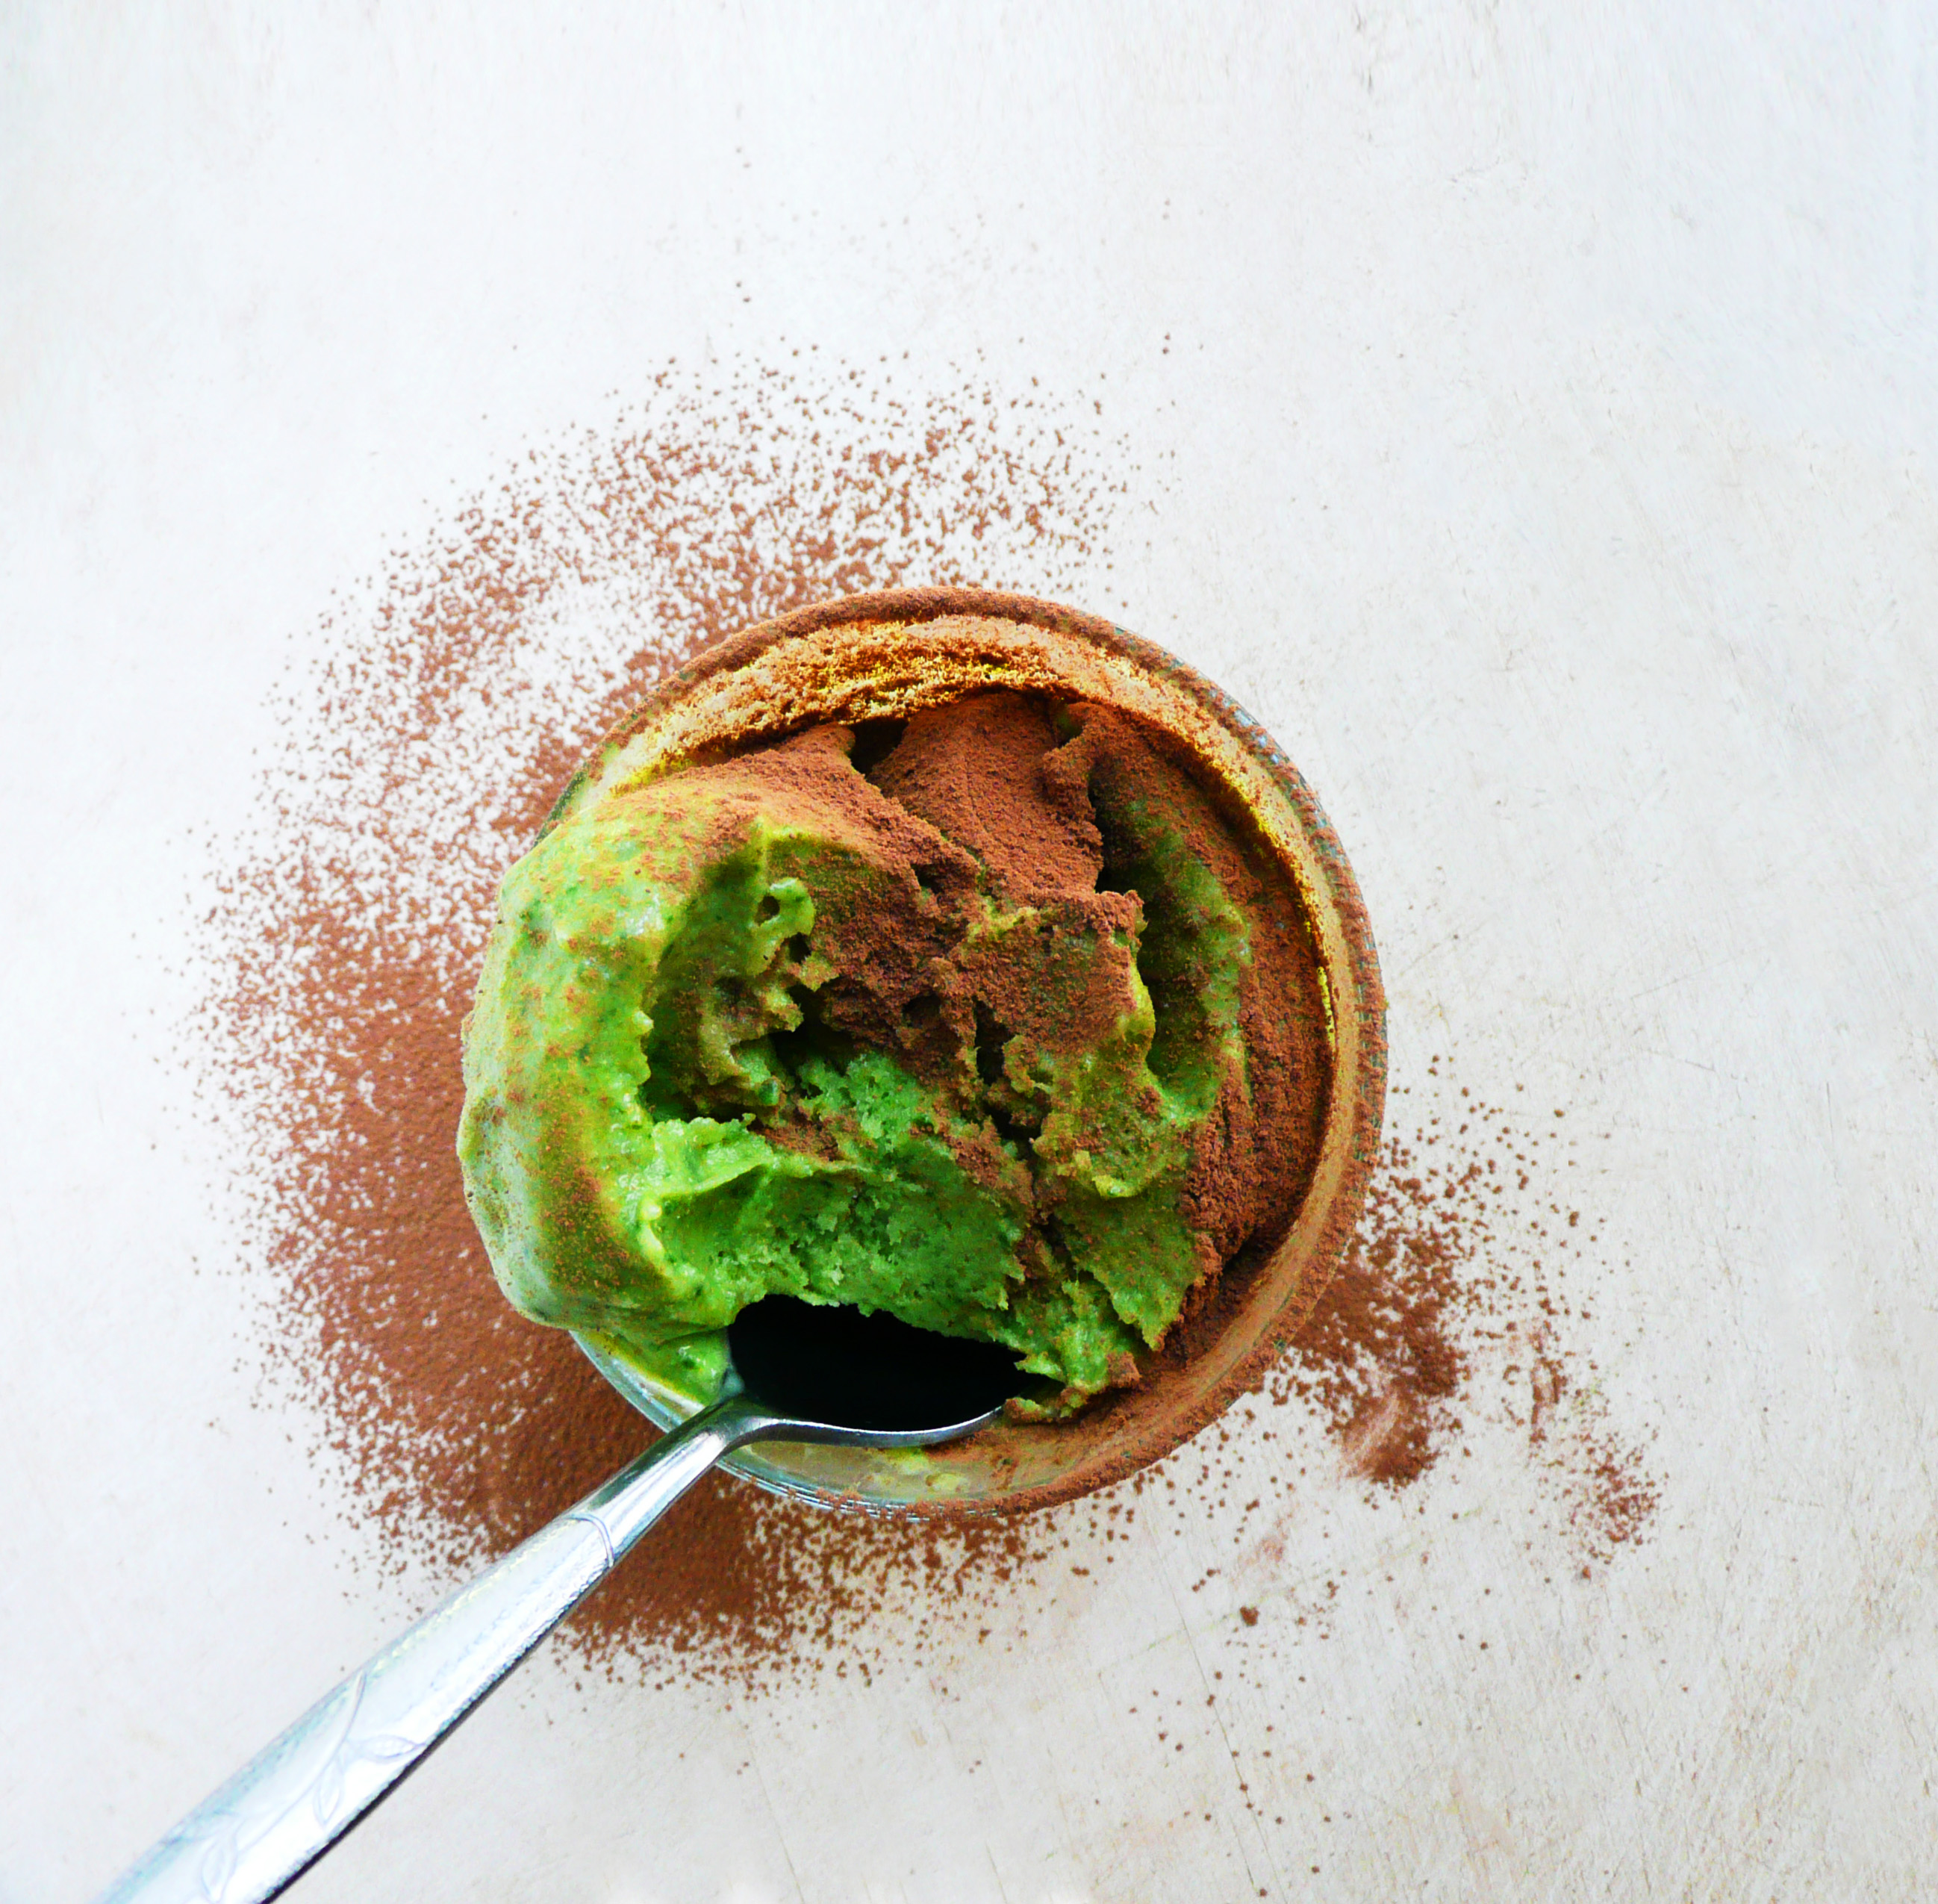
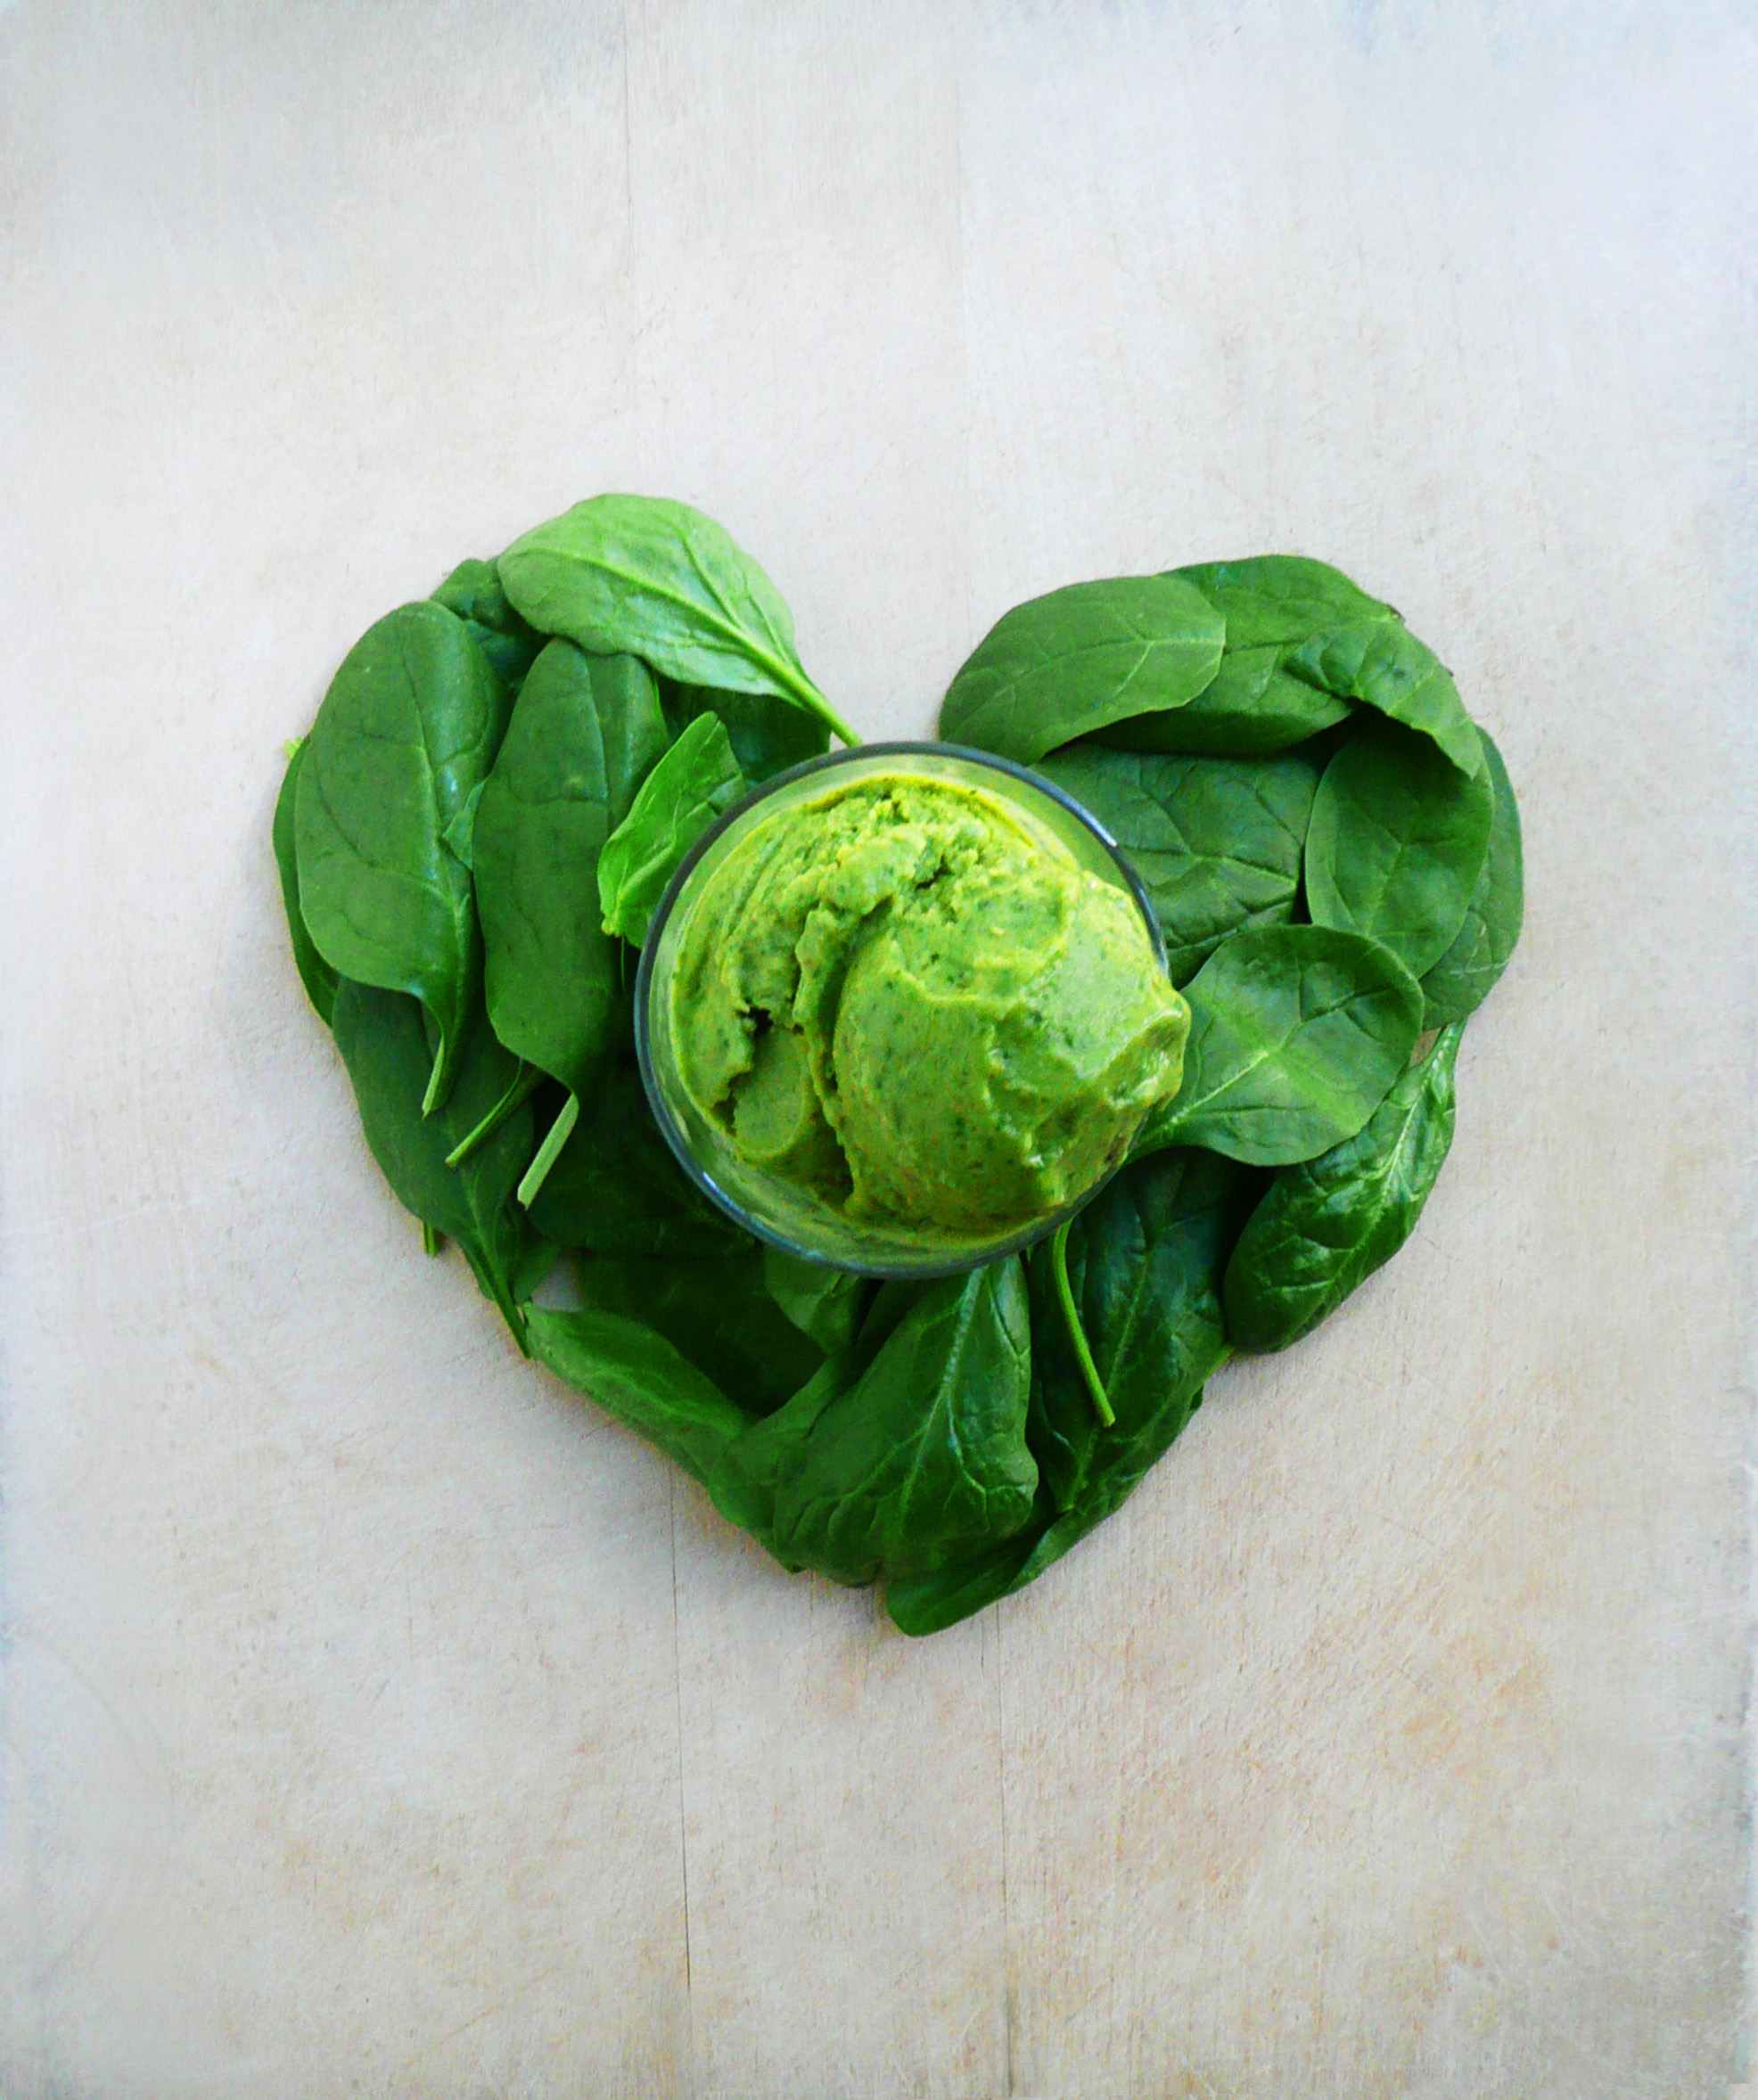
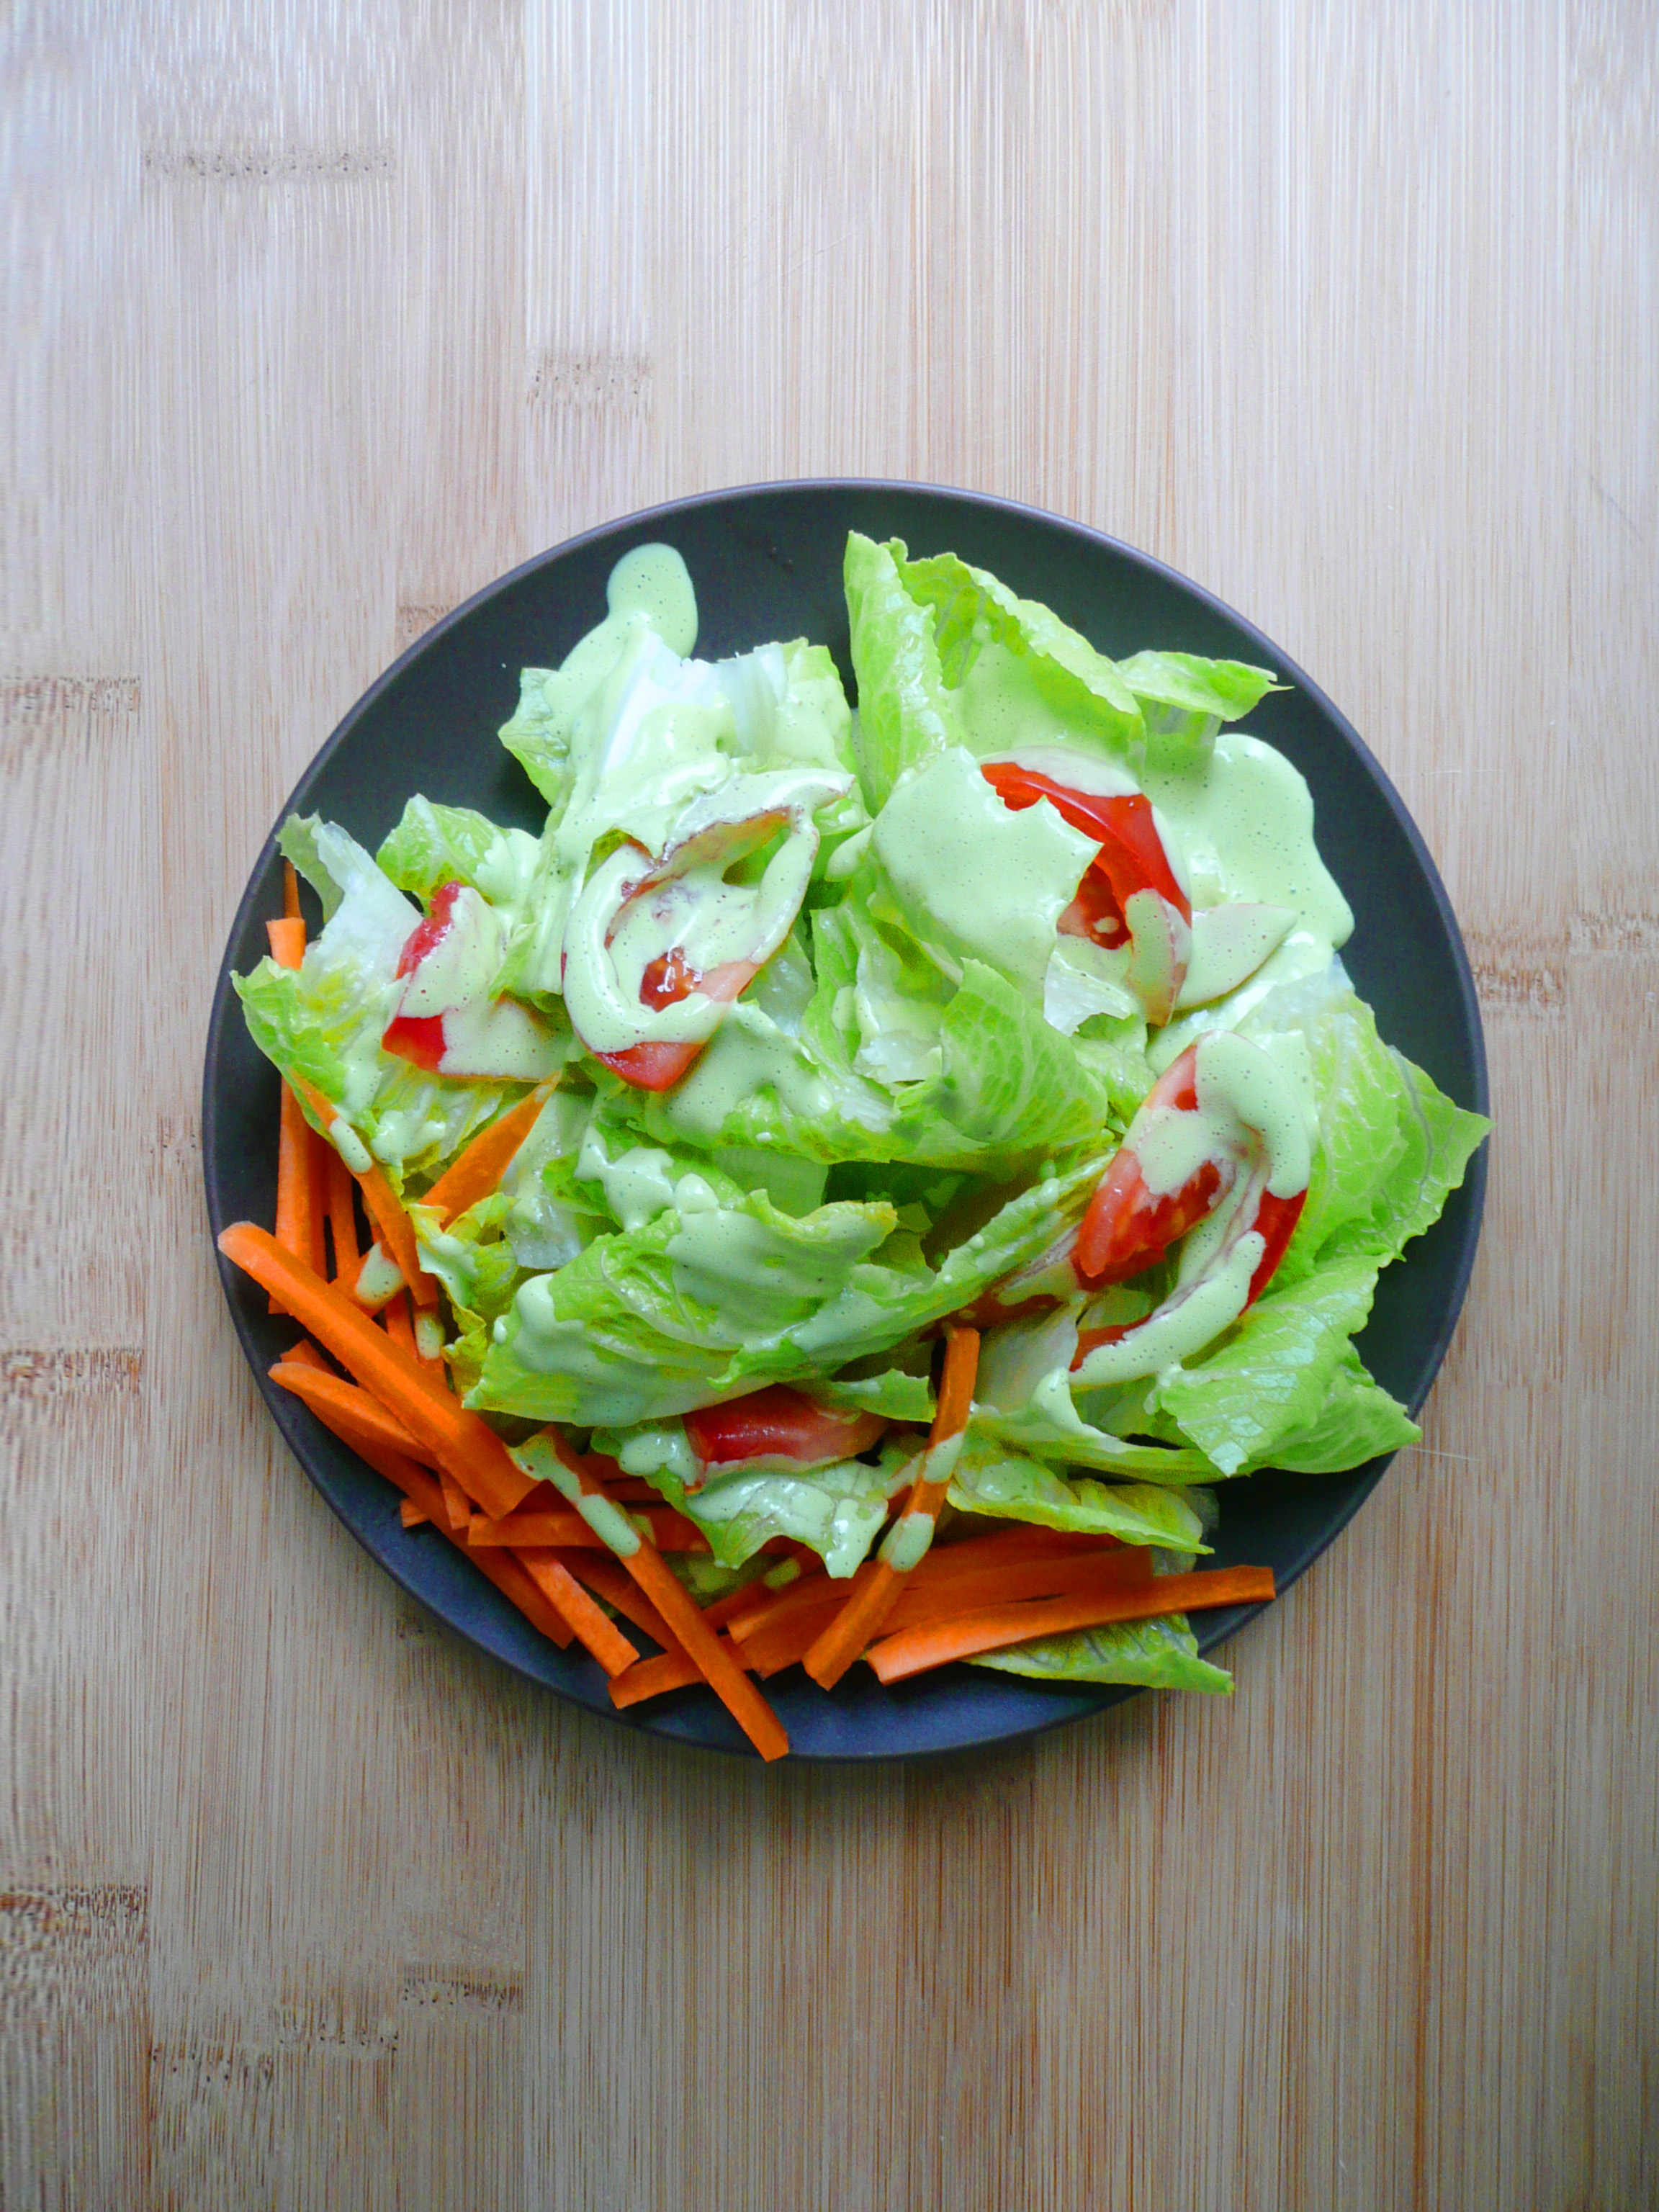
My Parsley Green Goddess dressing has all the things that you love about Caesar dressing (the rich savoriness and creaminess, with a bit a bit of garlic thrown it to punch up the flavor) and is full of anti-inflammatory herbs like parsley, rosemary, and basil.
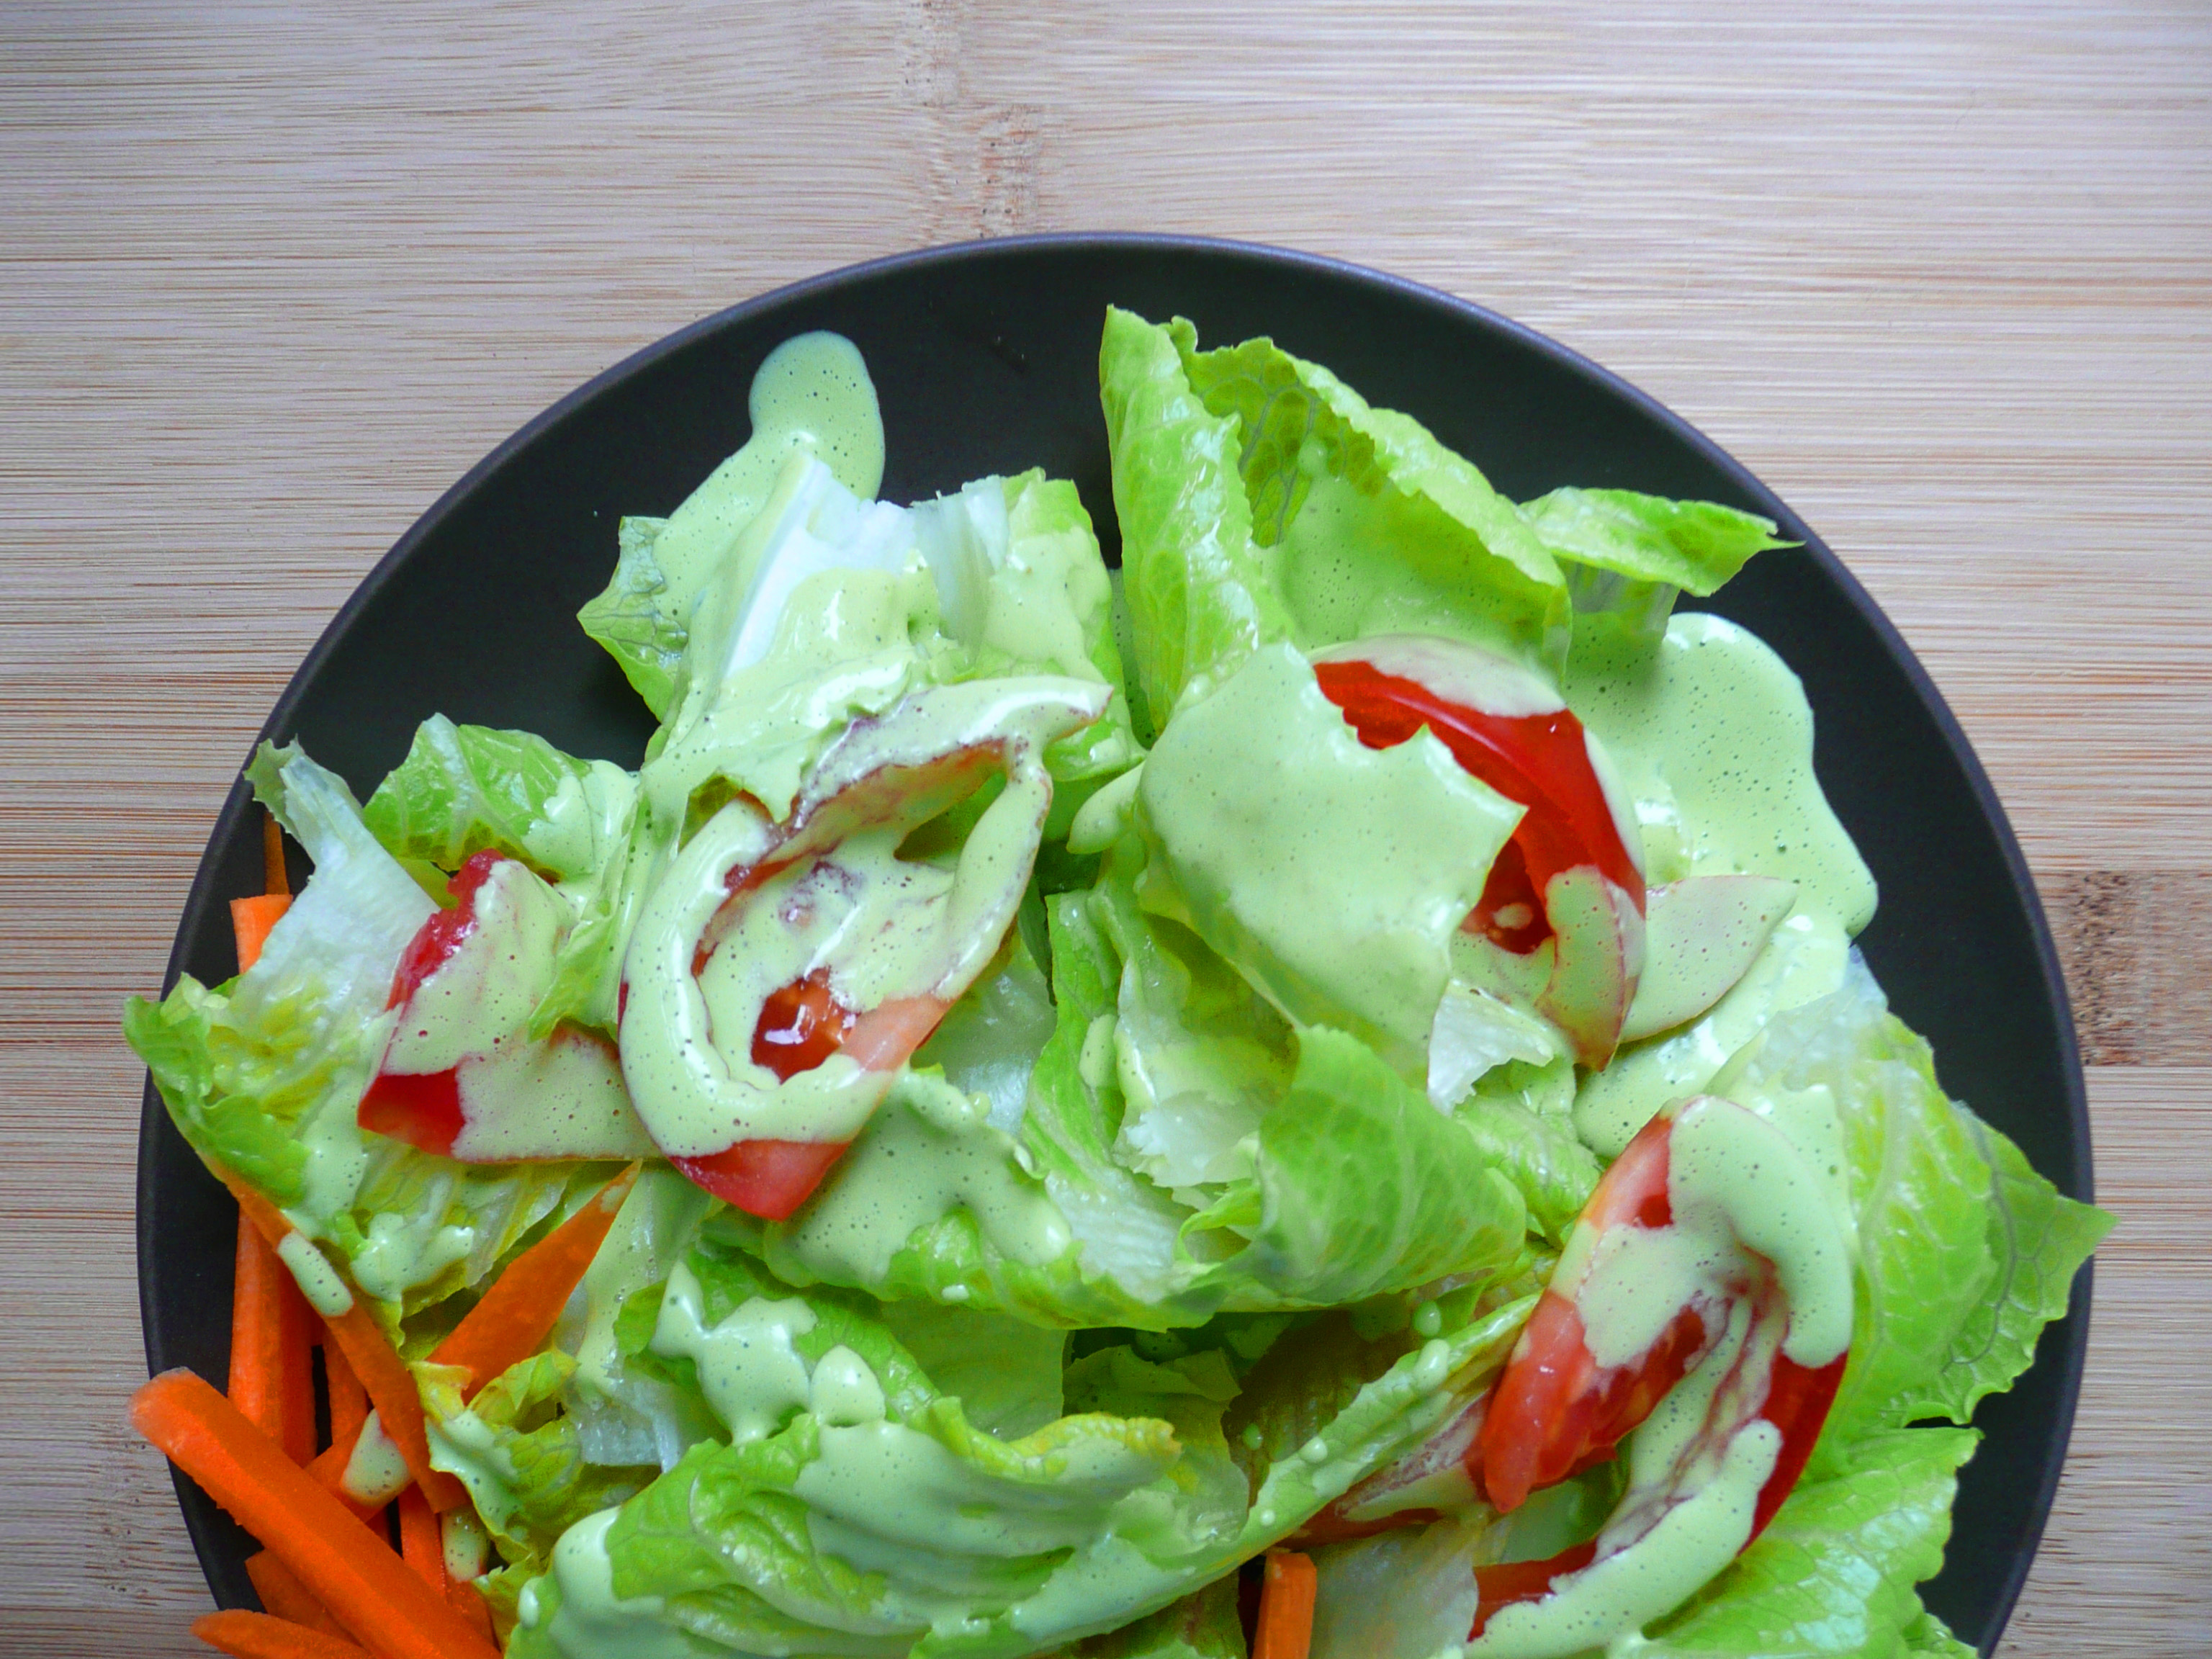
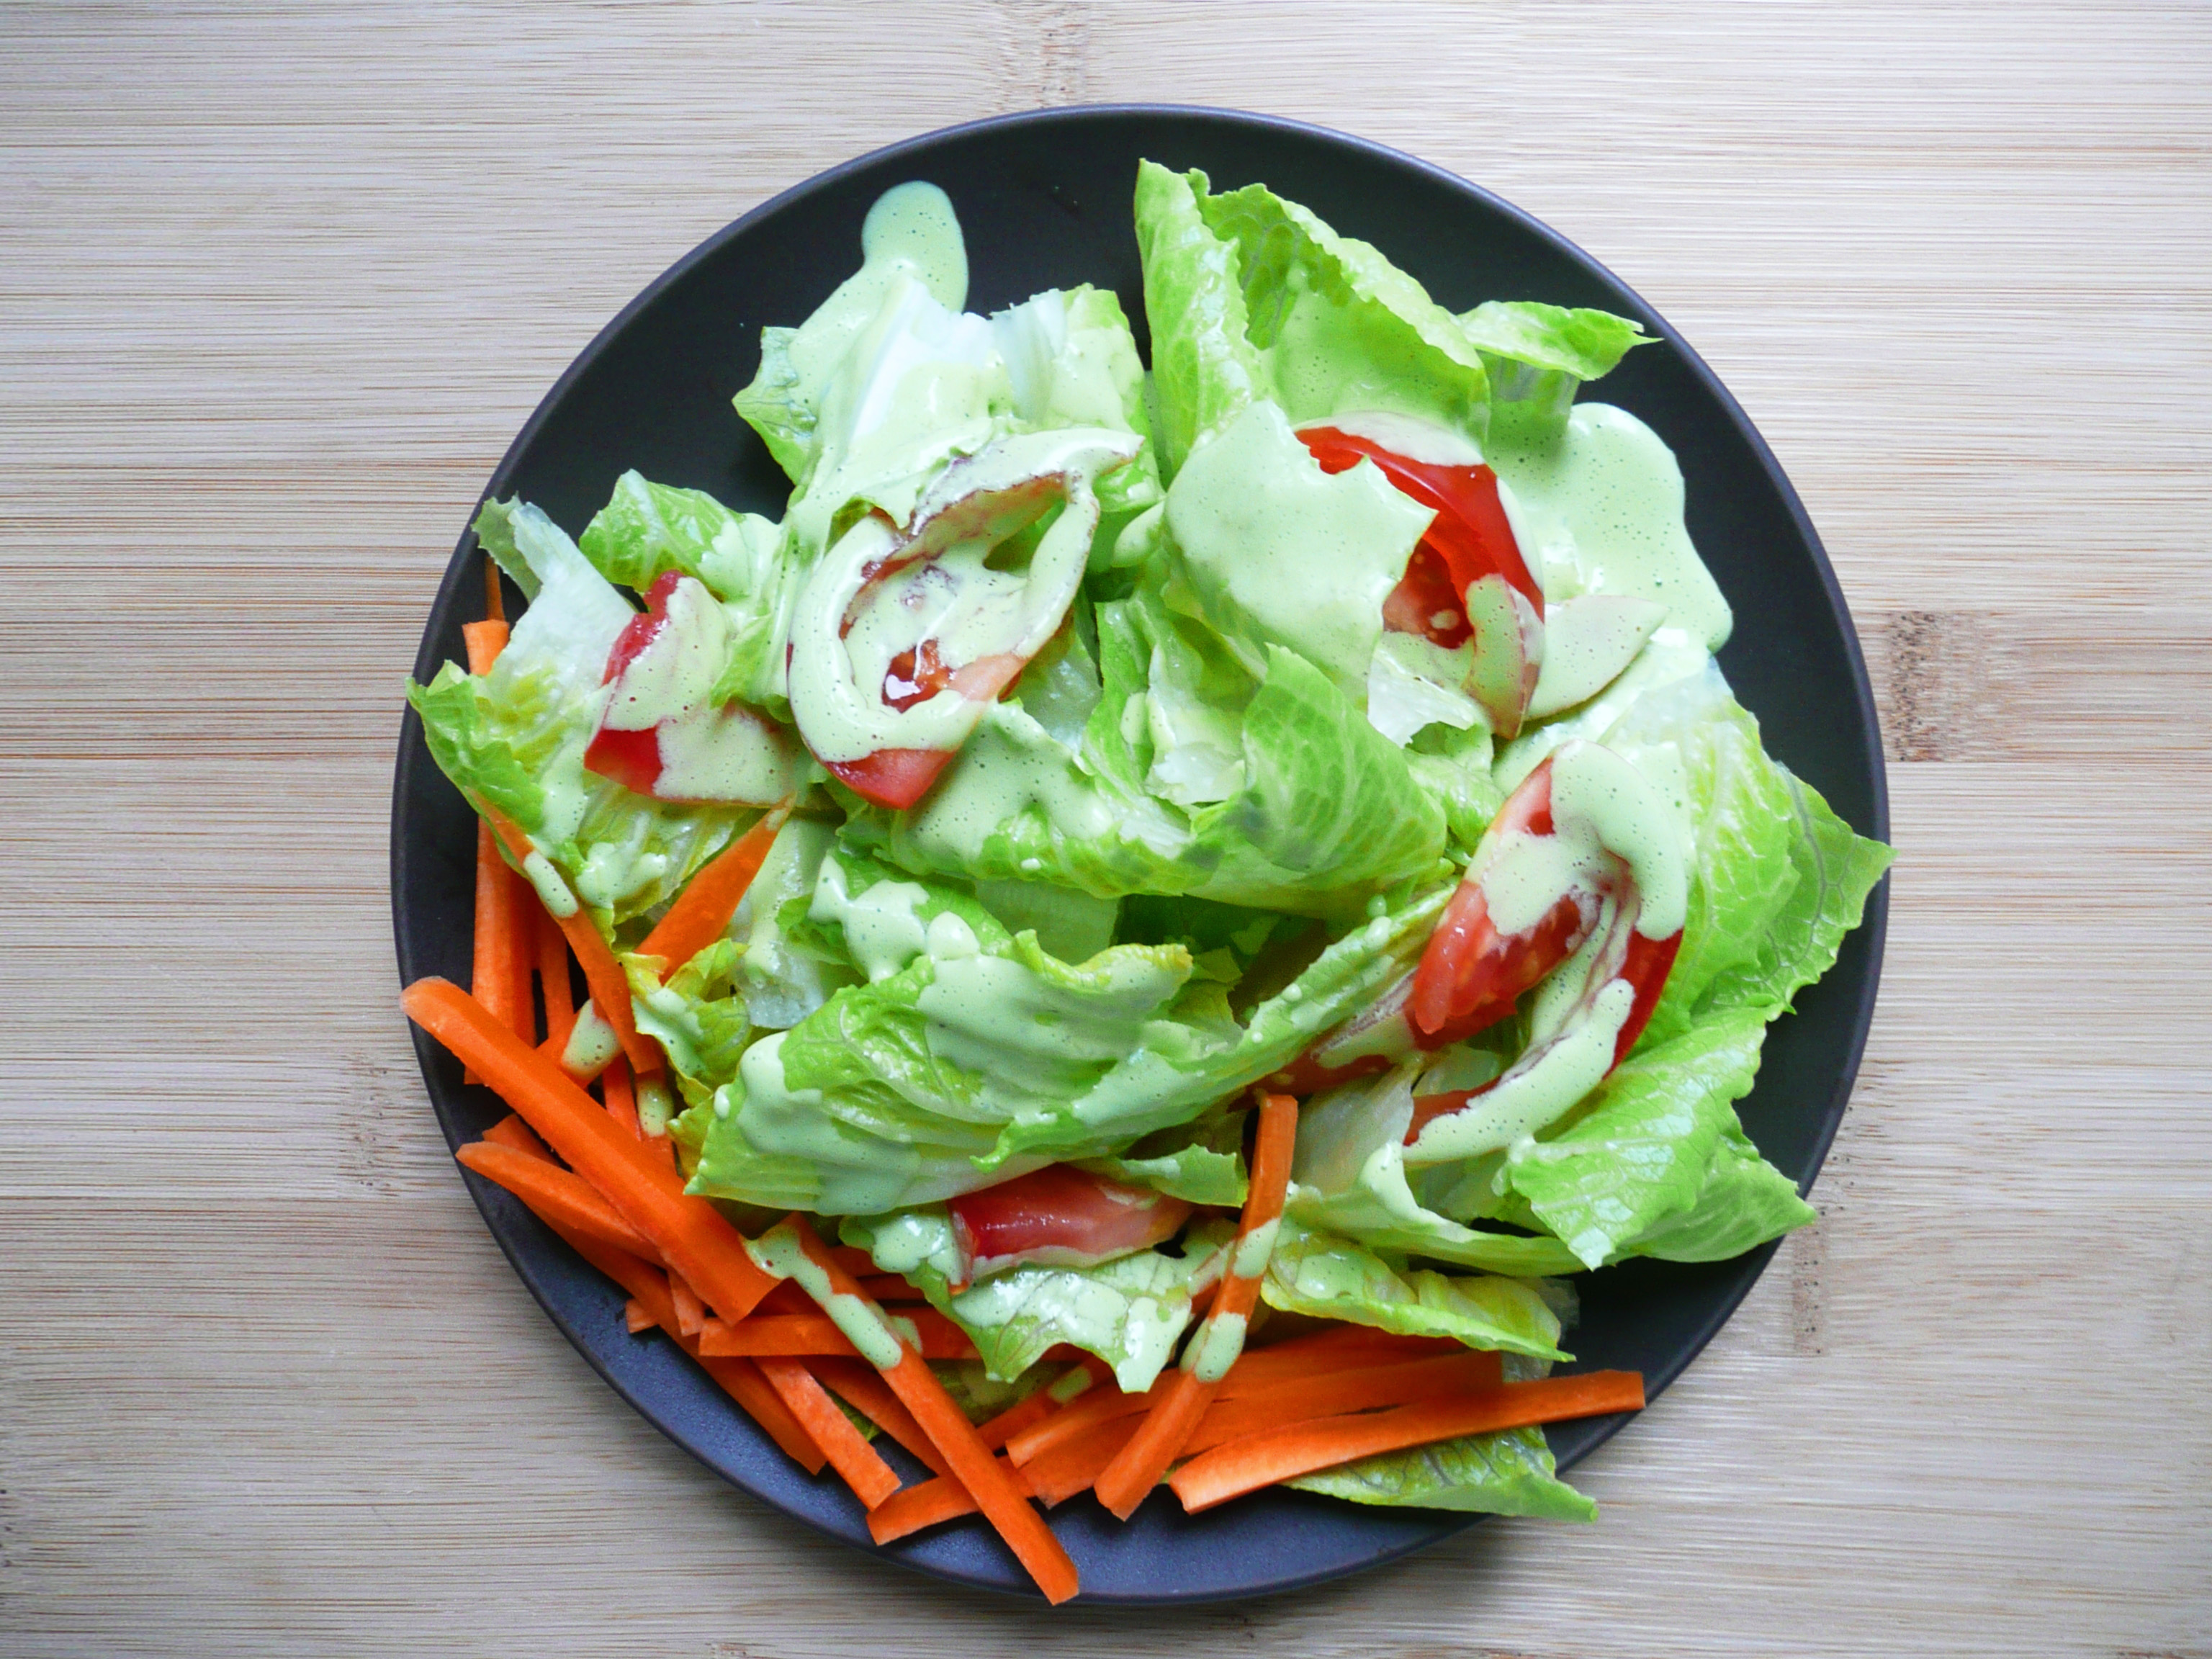
It’s light and creamy, a little thinner than most green goddess dressings (which makes it better for drizzling over a salad), and is packed with heart healthy olive and avocado oils.
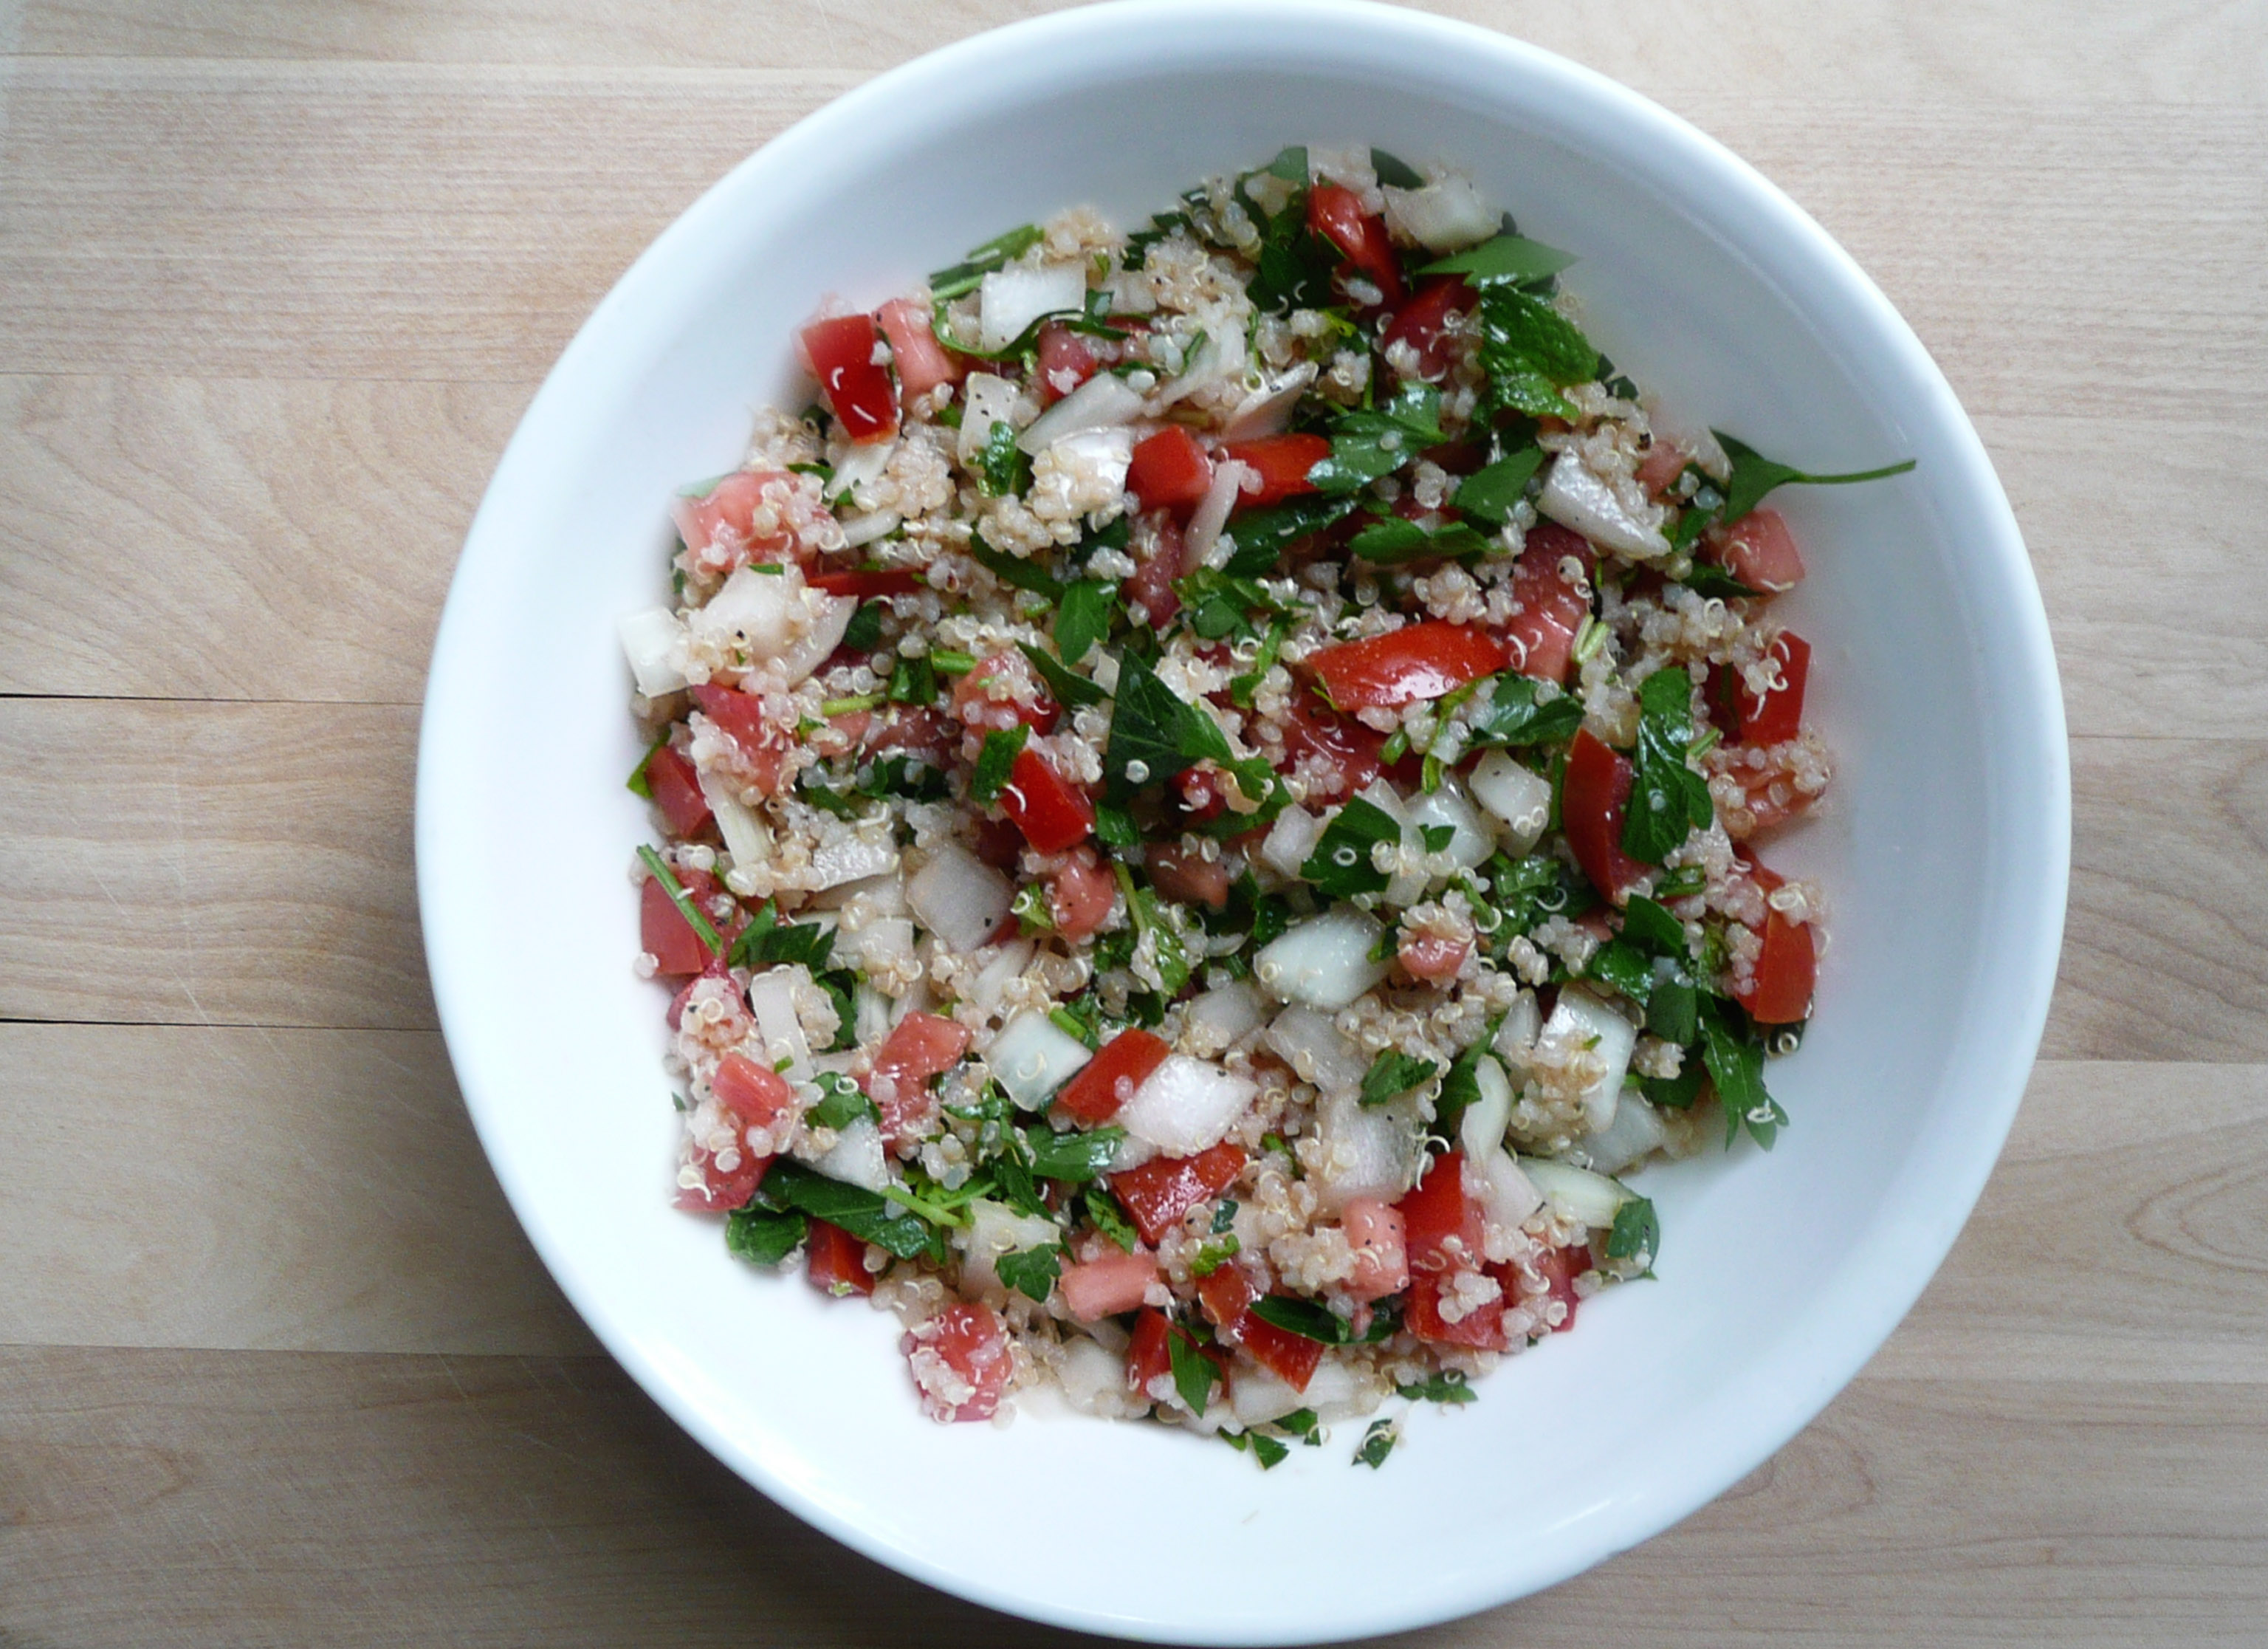
This is also the perfect recipe for when you’re looking to use up a bunch of fresh parsley in a hurry. You can blend it all into this beautiful dressing.
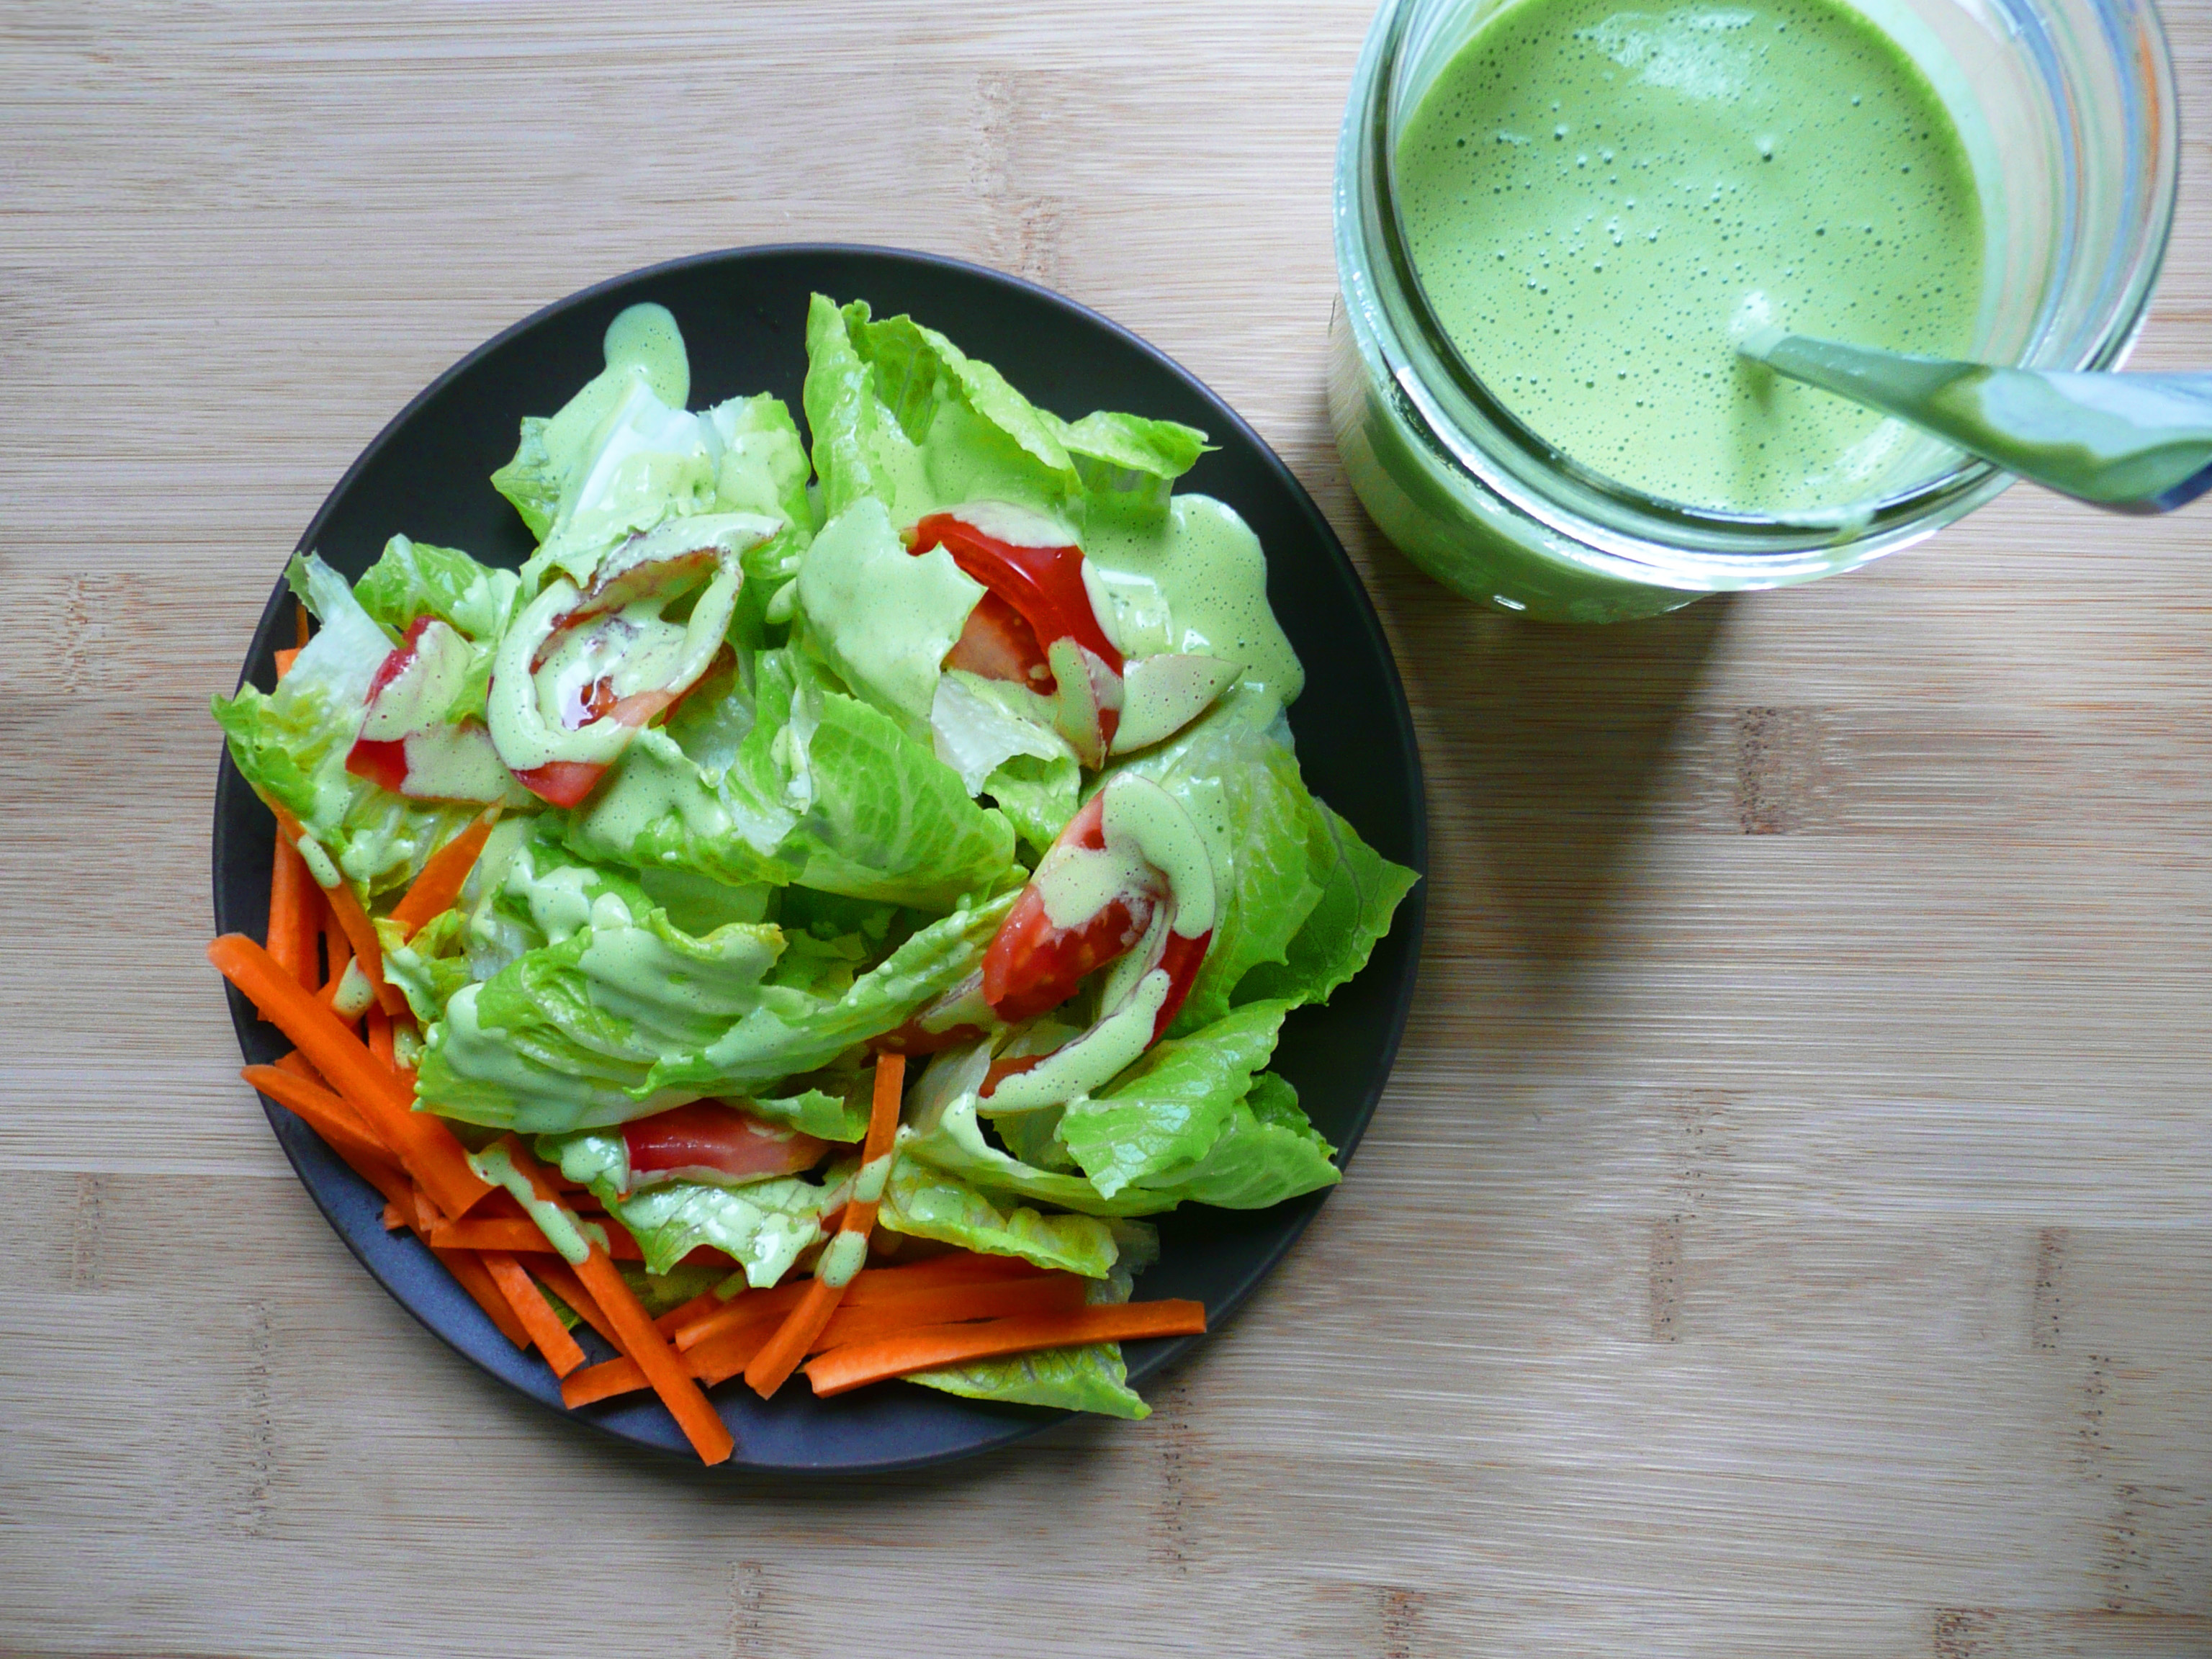
Parsley Green Goddess Dressing
Makes 1 1/4 cups
Ingredients
3/4 cup packed parsley (stems and leaves)
1/2 cup water
2 cloves garlic
1 egg (lightly scrambled over a double boiler, and cooled to room temp)
2 tbsp + 2 tsp apple cider vinegar
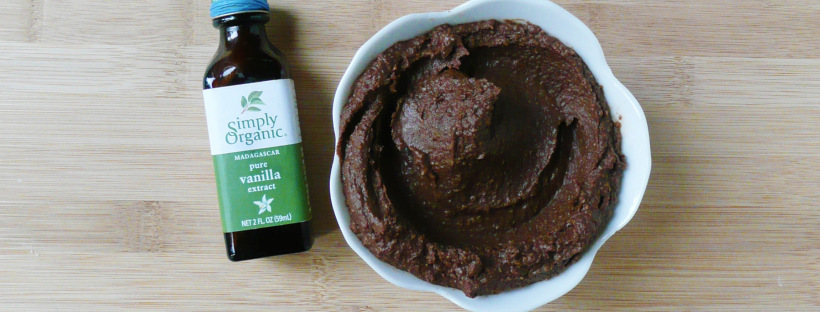
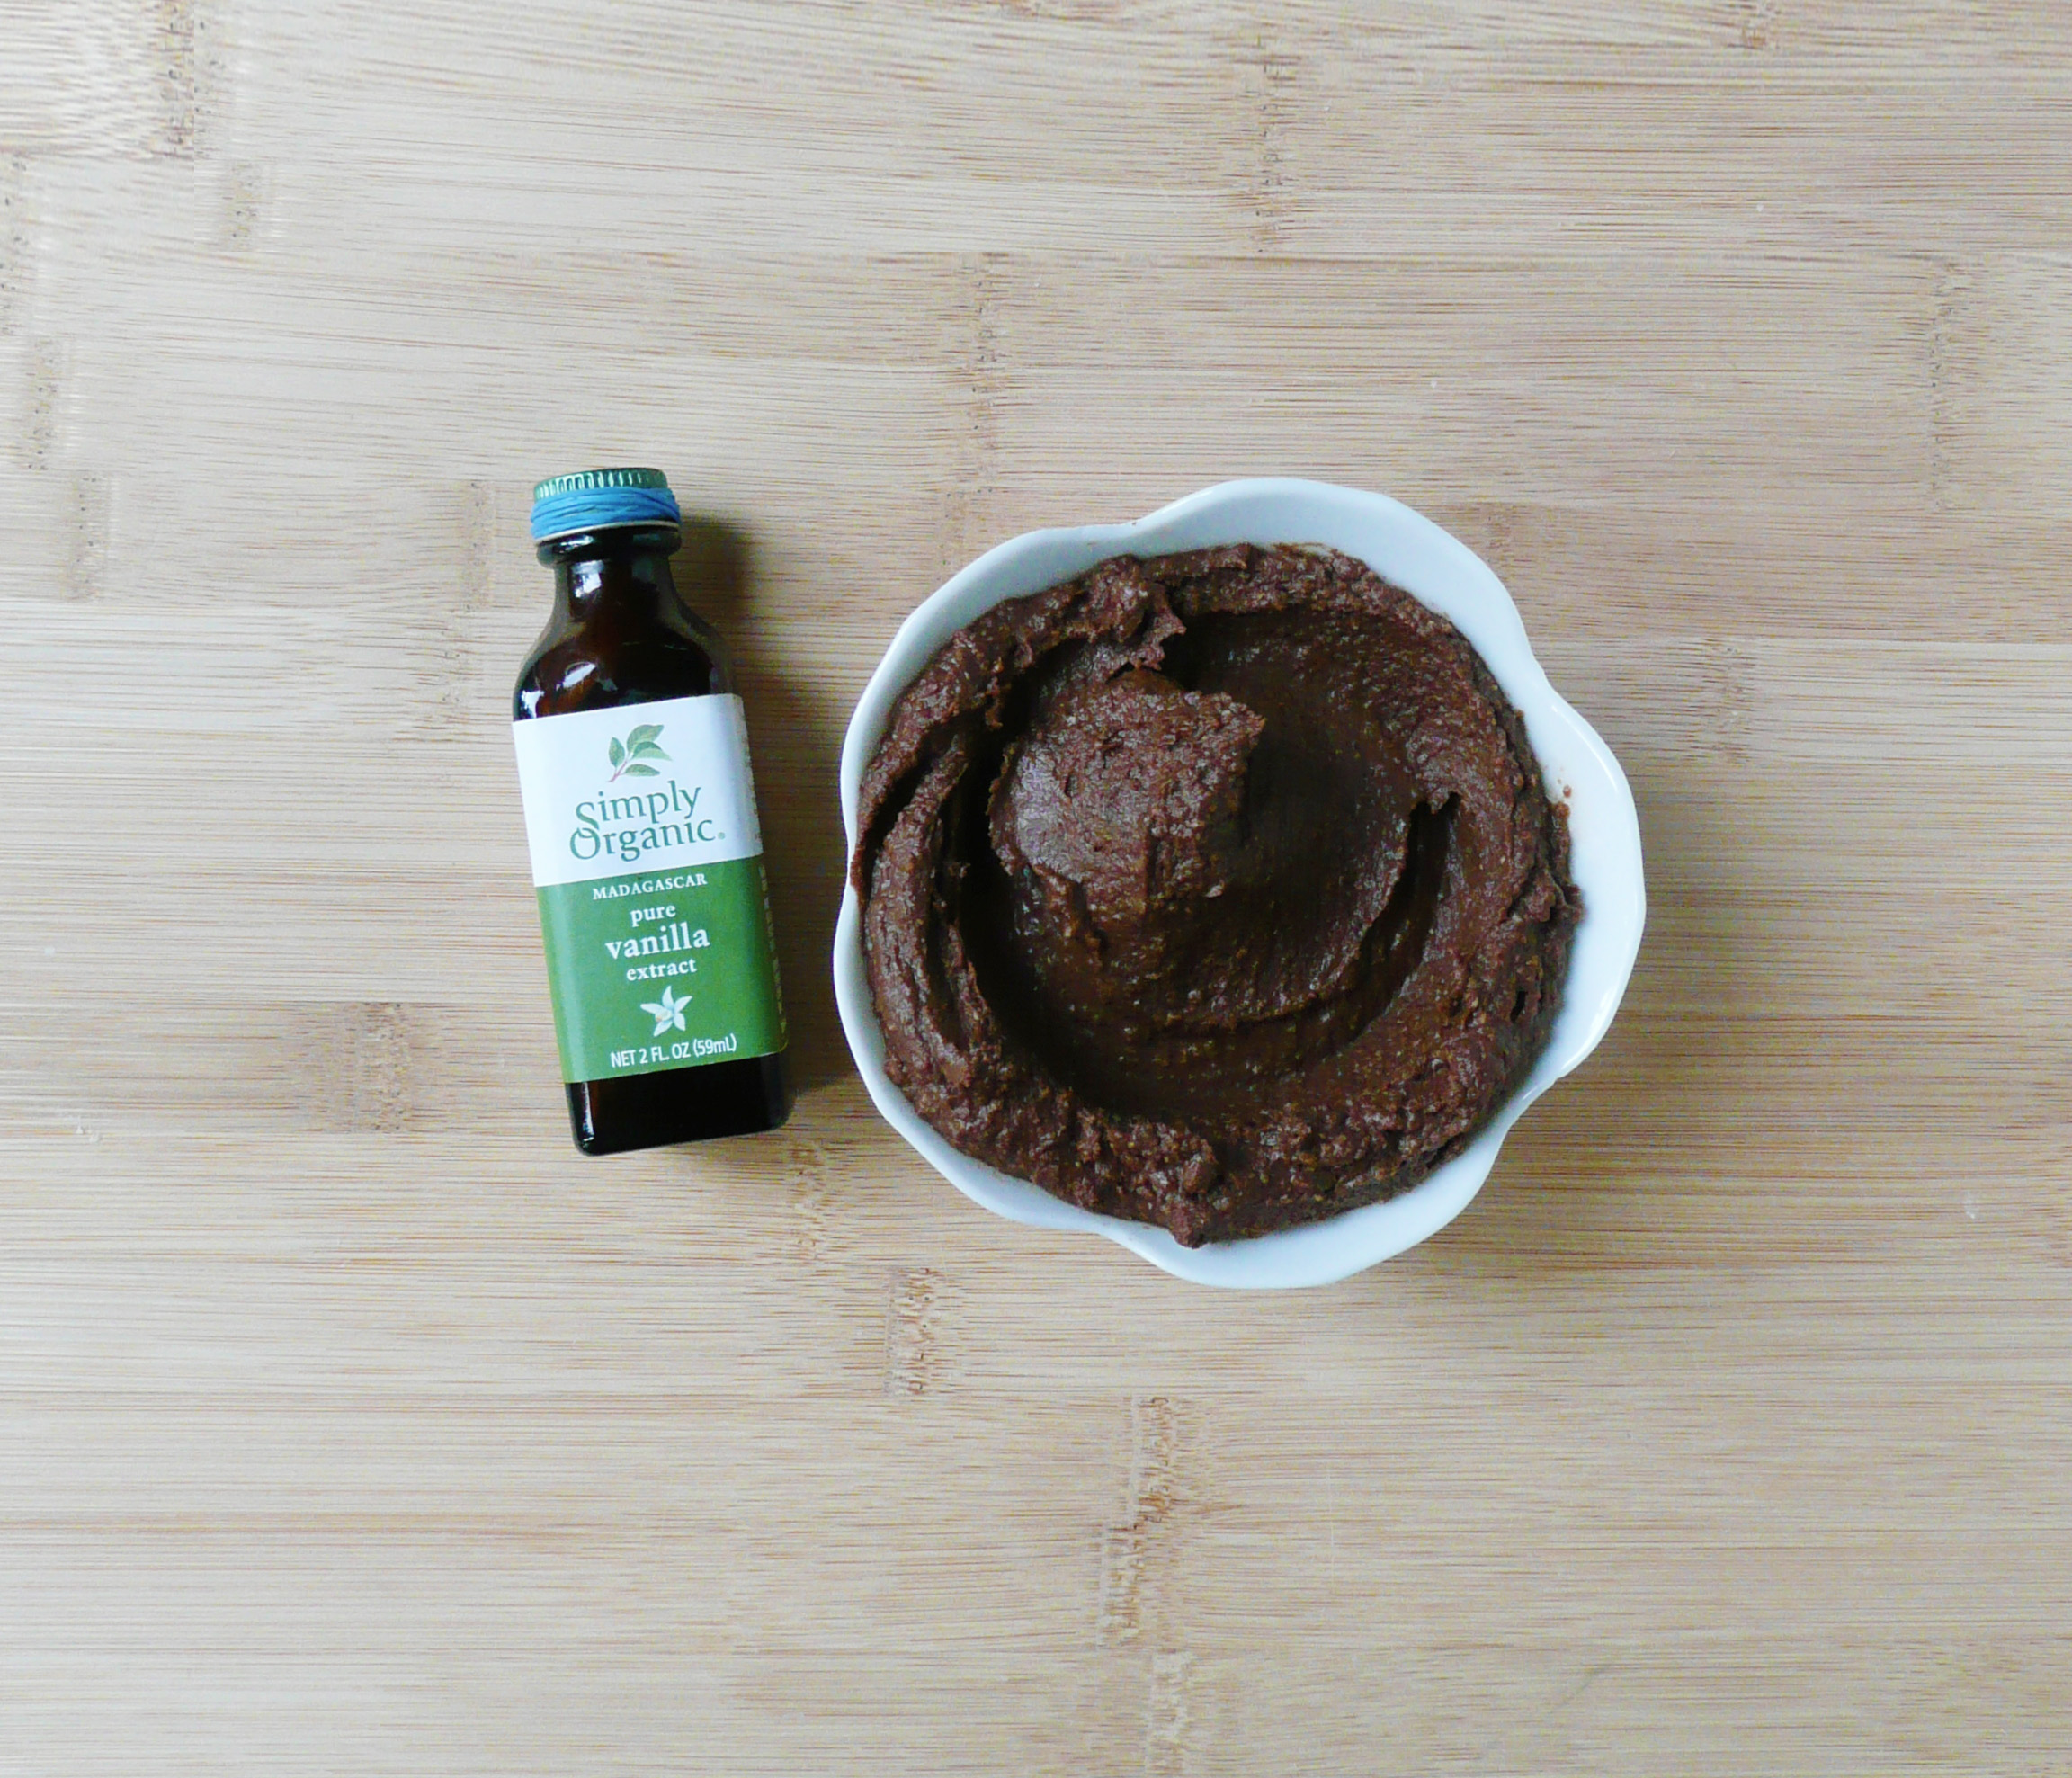
3/4 tsp fish sauce (I used the Red Boat brand)
1/8 level tsp dried rosemary
1/4 level tsp dried basil
1/8 level tsp granulated onion
1/4 level tsp granulated garlic
1/4 level tsp black pepper
1/2 level tsp sea salt
1/4 cup avocado oil + 1 tbsp (or any neutral oil)
1/4 cup olive oil
Instructions
1. Add all the ingredients except the oils to the blender and blend until smooth, stopping to scrape down the sides of the blender occasionally.
2. Take the top cap off of the blender, and with the motor running, slowly drizzle in the olive and avocado oil into the dressing (you’re basically making a cooked mayonnaise).
If there is some separation in the dressing at this point, that’s ok. Put the top cap back onto the blender and blend on high until well combined.
3. Pour the dressing into a jar and keep in the fridge until ready to use. The dressing should keep at least 3-4 days.
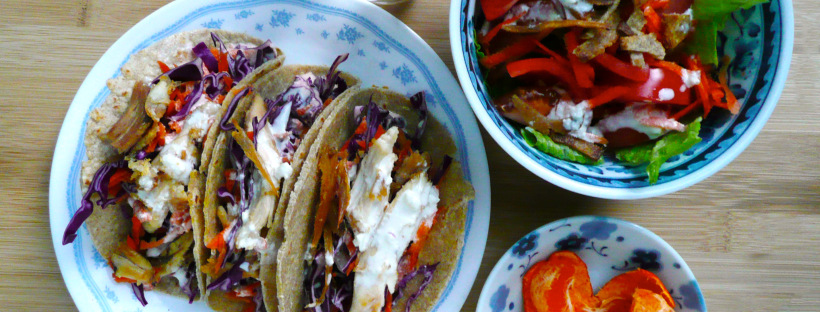
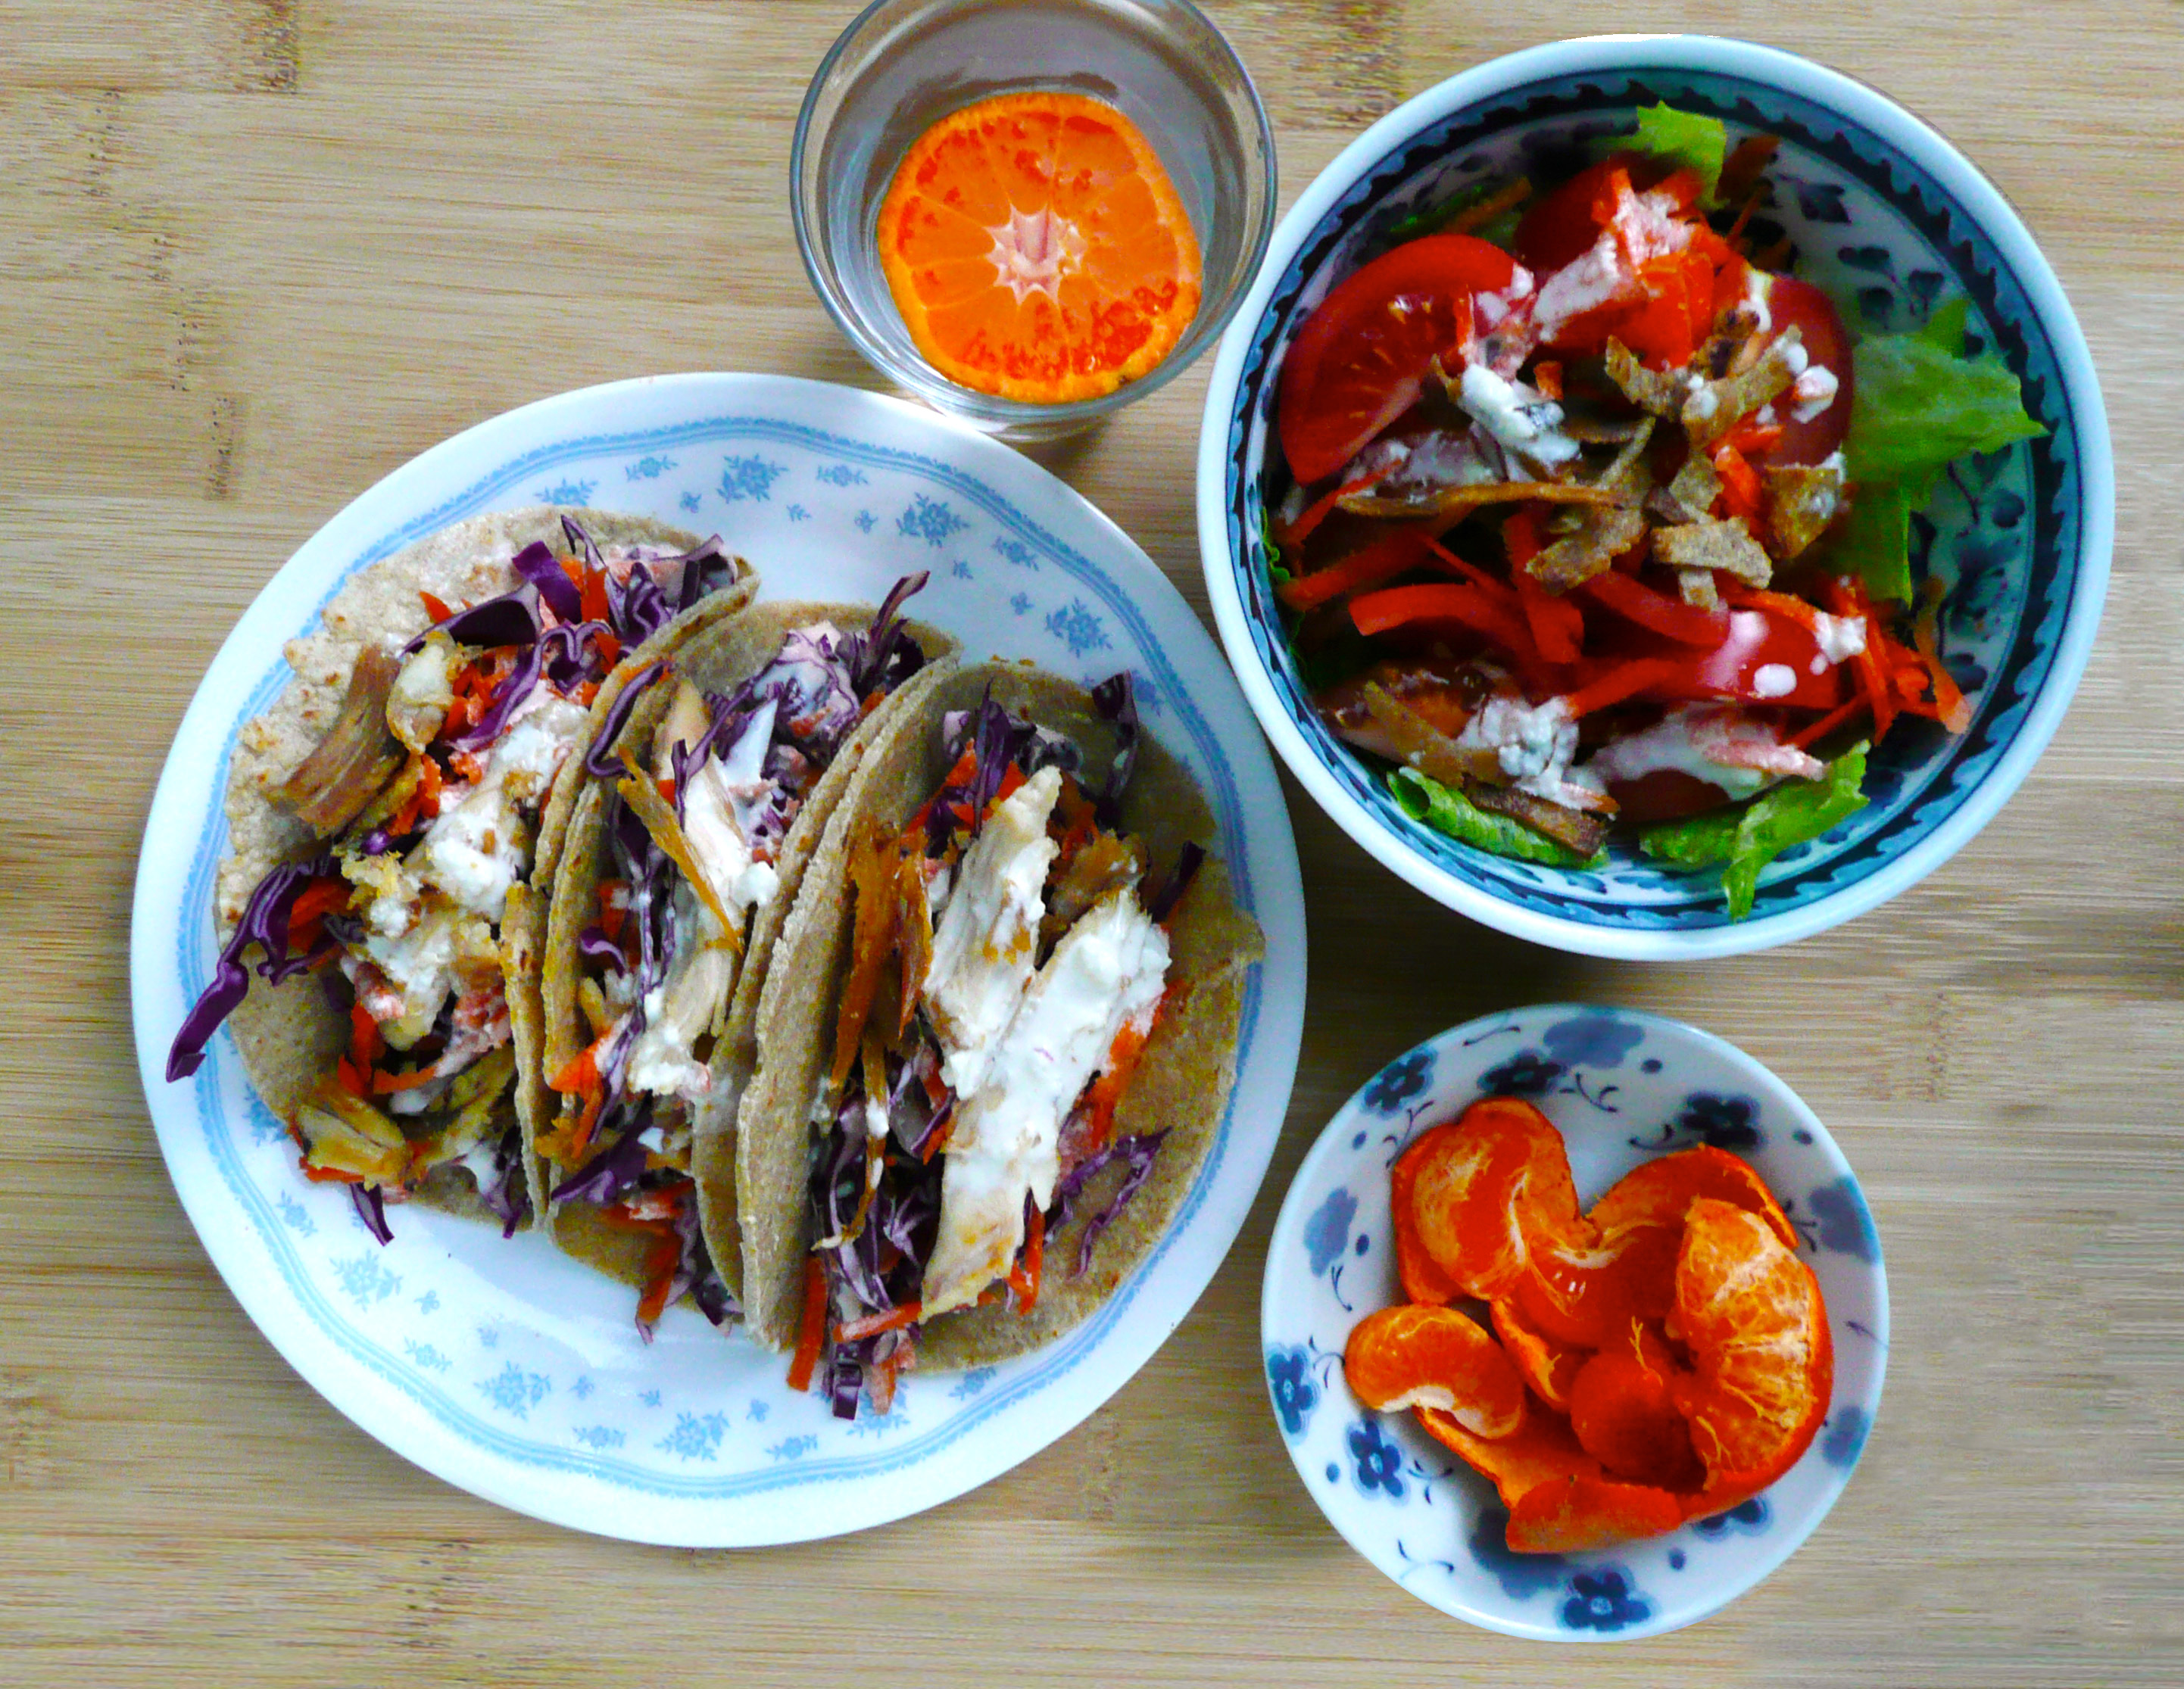
This dressing would also be delicious over chopped roasted potatoes for a quick potato salad, but honestly it’s good on just about anything.
I hope that you enjoy this recipe!
Happy Eating 💚