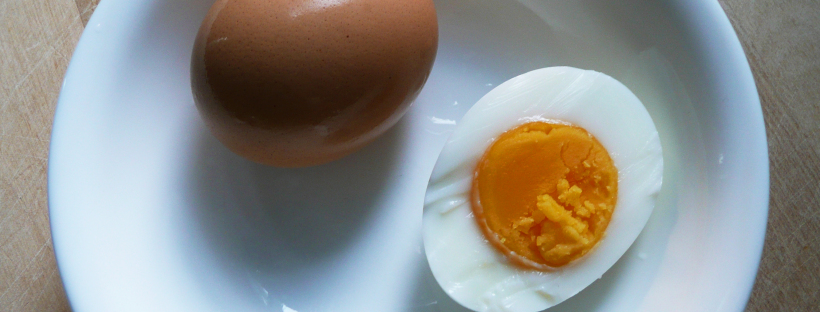
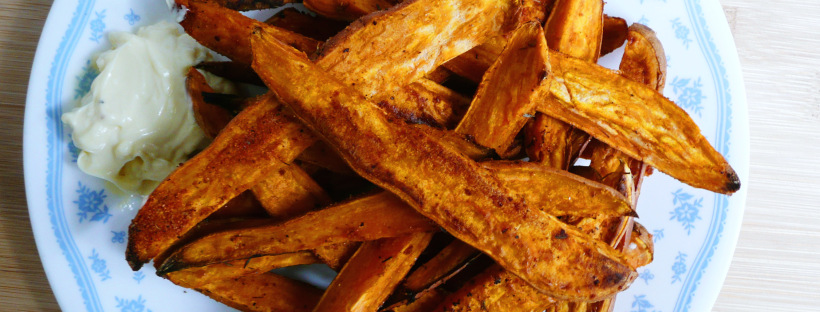
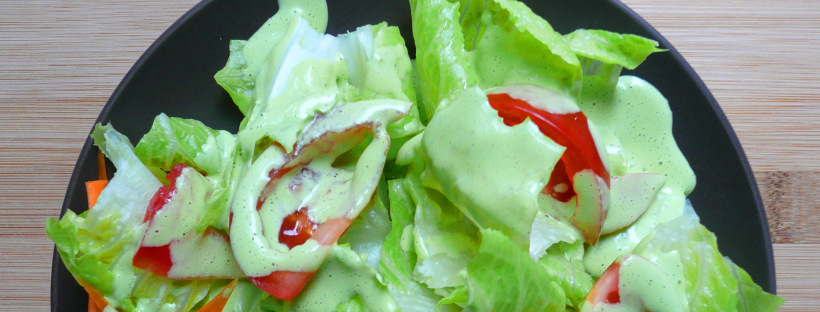
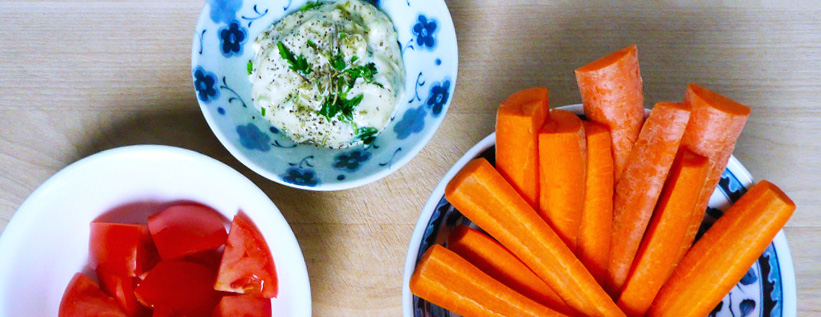
hardboiled eggs banner

How to “Hard boil” Eggs in a Rice Cooker (Super Easy)

egg2

Hardboiled eggs are one of those things that are great to have stashed away in the fridge. They are perfect high protein snacks (they even have a built in wrapper!) and make a great breakfast on the go as well.

The not so nice part of hard-boiled eggs? The sitting / waiting for a large pot of water to boil.

As it turns out, cooking them in a rice cooker is much easier and faster too!

I first got the idea to do this when I saw an awesome post on the Digging Food blog about how to steam fresh eggs. I had no idea that you could steam eggs before I read their post.

After a little experimentation, I figured out how to make perfect “Hard-boiled” eggs in a rice cooker.

Let me walk you through how to make them…

Step 1 –  Place your desired number of eggs in a heat safe bowl (ceramic or metal is fine).

I use a Tatung 10-Cup Multifunctional Cooker (the most useful piece of cooking equipment known to man). It’s a great rice cooker / steamer, and when I was in college (and living in small dorm room) I managed to make 60 tamales from scratch in one.

Step 2 – Add water. I pour about 1/2 cup of water in the bottom of the cooker before adding a rack that looks like this (you can buy it pretty inexpensively in a larger Asian grocery store like 99 Ranch).

wire rack.jpg

Step 3 – Put the bowl on the rack (this ensures that your food won’t scorch on the bottom of your bowl).

egg1

Step 4 – Cover the rice cooker with the lid and turn the rice cooker on, then set your timer.

My rice cooker takes about 5 minutes until I start to see steam come out the sides of the lid. Your rice cooker make take more or less time to heat up, and it may take a little trial and error before you figure out the right amount of time to cook the eggs to your liking.

For my rice cooker (from the time you turn the rice cooker on to when you turn it off):

Soft Boiled –  takes 13 minutes

“7 Minute Egg”  (Like the one pictured) – takes 14 minutes

Hard-boiled – takes 20 minutes


Step 5 – Turn the rice cooker off.

Put on an oven mitt and transfer the eggs into an ice bath using tongs.

****Please be careful not to burn yourself **** The steam is pretty hot and you can use the lid of the pot to fan the steam away from you before you take the eggs out of the rice cooker.

egg3

Step 6 – Leave the eggs to rest in the ice bath for at least 30 minutes.

egg4

After this, the eggs should be pretty easy to peel. I like the keep them in the fridge unpeeled (I just like the ritual of peeling them right before I eat them) or you can peel the eggs and keep them in an airtight container in the fridge.

The most I’ve done at once is 4 eggs in one batch, and the cooking time doesn’t change if you cook 1-2 eggs or 4 at the same time.

Update – Jan 14, 2018 – I’ve found that it does make a difference what bowl you use to cook the eggs in. You want a sort of normal serving bowl and not something that’s super deep with high sides so that the steam can surround the eggs better. My preference these days is to cook 6 eggs at a time for 18 minutes (perfectly hard boiled , dunk them into ice water and then keep them in fridge for breakfast / snacking.

I hope that this helps make your breakfast / snacking / meal prep a little easier!

How do you like your eggs for breakfast?

– Elaine

sweet potato fries

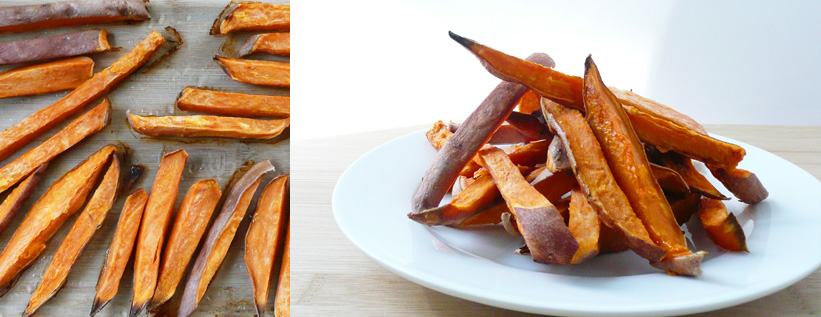
Oven Baked Garlic Paprika Sweet Potato Fries – Paleo, Vegan

baked sp 8

These garlicky paprika sweet potato fries make a glorious side dish when you’re craving carbs, and are my go to snack when I’m craving junk food but want to eat something a little healthier.

baked sp 3

Sweet potatoes are a great source of vitamin A, magnesium, and potassium (which is great) but what really matters is that these sweet potato fries are really satisfying.

I love dipping them into creamy avocado mayo (sometimes with a bit of finely minced garlic mixed in) and they are also good with honey mustard.

baked sp4

Next time your craving junk food, give these sweet potato fries a try. If you’re anything like me, you find that you’ve eaten them all before you know it.

Oven Baked Garlic Paprika Sweet Potato Fries

Makes 2-3 servings

Ingredients

3 small sweet potatoes (the ones I used were 2 inches in diameter and 8 inches in length)

2 tbsp neutral flavored oil (I used avocado oil)

1 1/4 tsp granulated garlic

1/4 tsp + 1/8 tsp granulated onion

1/4 tsp paprika

1/4 tsp dried thyme (optional)

1/8 tsp black pepper

1/4 tsp sea salt


Instructions

1. Preheat the oven to 400 degrees F.

2. Give the sweet potatoes a good scrub and cut each sweet potato into 8 wedges.  Place the sweet potatoes into a large glass baking dish with the oil and toss gently.

2. Stir together the salt, pepper and other spices. Sprinkle the spice mixture over the sweet potatoes and give it all a good mix so that the fries are well coated.

baked sp 9

4. Arrange the sweet potatoes onto the baking dish so that they are in a single layer.

My baking dish was a little too small to fit all of the fries. So for this amount of sweet potatoes I used a 3 qt (9 in. x 13 in.) glass pyrex baking dish and a 9 in. pie plate.

5. Bake for 35 – 40 minutes until crispy and golden brown around the edges.

baked sp 5

Happy Eating!


green goddess dressing

Parsley Green Goddess Dressing Recipe – Paleo, Dairy Free

Green Goddess Dressing 1

I like to think of Green Goddess dressing as Caesar dressing’s sort of hippier, more free spirited cousin.

Caesar is the dressing that you want for a beautiful dinner party, while Green Goddess is for summer picnics and dancing through a garden in a sundress while wearing a daisy crown.

Green Goddess 5

My Parsley Green Goddess dressing has all the things that you love about Caesar dressing (the rich savoriness and creaminess, with a bit a bit of garlic thrown it to punch up the flavor) and is full of anti-inflammatory herbs like parsley, rosemary, and basil.

It’s light and creamy, a little thinner than most green goddess dressings (which makes it better for drizzling over a salad), and is packed with heart healthy olive and avocado oils.

This is also the perfect recipe for when you’re looking to use up a bunch of fresh parsley in a hurry. You can blend it all into this beautiful dressing.

Green Goddess 6

Parsley Green Goddess Dressing

Makes 1 1/4 cups

Ingredients

3/4 cup packed parsley (stems and leaves)

1/2 cup water

2 cloves garlic

1 egg (lightly scrambled over a double boiler, and cooled to room temp)


2 tbsp + 2 tsp apple cider vinegar

3/4 tsp fish sauce (I used the Red Boat brand)


1/8 level tsp dried rosemary

1/4 level tsp dried basil

1/8 level tsp granulated onion

1/4 level tsp granulated garlic

1/4 level tsp black pepper

1/2 level tsp sea salt


1/4 cup avocado oil + 1 tbsp (or any neutral oil)

1/4 cup olive oil


Instructions

1. Add all the ingredients except the oils to the blender and blend until smooth, stopping to scrape down the sides of the blender occasionally.

2. Take the top cap off of the blender, and with the motor running, slowly drizzle in the olive and avocado oil into the dressing (you’re basically making a cooked mayonnaise).

If there is some separation in the dressing at this point, that’s ok. Put the top cap back onto the blender and blend on high until well combined.

3. Pour the dressing into a jar and keep in the fridge until ready to use. The dressing should keep at least 3-4 days.

Green Goddess 2

This dressing would also be delicious over chopped roasted potatoes for a quick potato salad, but honestly it’s good on just about anything.

Green Goddess 3

I hope that you enjoy this recipe!

Happy Eating 💚


Creamy Garlic + Rosemary Dip – Paleo, Vegan Friendly, Dairy Free

garlic rosemary dip 2

Sometimes eating vegetables can be a little less than exciting. Eating should be a pleasure. You want to have something that has a lot of flavor and be so delicious that you crave eating it the next day.

For me, this dip is the answer to getting myself to eat a big serving of vegetables, and to do so very happily.

This creamy garlic rosemary dip takes just minutes to put together and makes snacking on everyday vegetables feel like a fun and tasty treat.

I used avocado oil mayo (but you can also use vegan mayo) and olive oil, so this recipe is packed with heart healthy oils and anti-inflammatory ingredients like parsley, garlic and rosemary.


Creamy Garlic + Rosemary Dip

Makes 1 serving


Ingredients

3 tbsp mayo or vegan mayo (I used avocado oil mayo)

1 tbsp olive oil

3 cloves thawed frozen garlic *

1/2 tsp finely chopped fresh parsley

1/4 tsp dried rosemary

1/8 tsp black pepper

Salt to taste (if needed)
Notes – * Thawed frozen garlic has a milder taste than fresh raw garlic and less of a bite to it. If you’re making this dip with fresh garlic, start out with adding 1 clove of garlic and then adding more to taste.

Instructions

1. Add the mayo and olive oil to a small bowl. Tilt the bowl to that the olive oil pools together and slowly stir it into the mayo until well incorporated. Add the rest of the ingredients and give it all a good stir.

Serve with any vegetables that you like. This dip is great with sweet potato fries, or I like eating it with 2 carrots (cut into carrot sticks) and a diced tomato for a quick snack.


garlic rosemary dip 3

Happy Snacking!

How to Bake Sweet and Creamy Sweet Potato Fries – with No Added Sweeteners

sweet potato 2

This is one of my favorite recipes and I make it all the time. I love cooking sweet potatoes this way because they become soft and creamy in the middle and almost taste like custard, but the crispy ends taste like toasted marshmallow.

The sweet potatoes are cooked slowly so that it brings out their natural sweetness and this is a great recipe to make when you’re trying to avoid added sweeteners, but still want to have something that tastes like dessert.

Make a big batch, and keep any leftovers in the fridge. They actually get sweeter once refrigerated and are wonderful for snacking during the week. They are delicious on their own, but you can also sprinkle over some cinnamon and nutmeg right before serving and it makes this sweet potato dish even more dessert-like and wonderful.

Sweet and Creamy Sweet Potato Fries

Makes about 3 – 4 servings

Ingredients

2 – 3 sweet potatoes (cut into 1/2 inch fries)

1 tsp of avocado oil (or any neutral flavored oil)*

Notes – * I’ve used olive oil before too and that works great as well. You don’t taste the olive oil flavor very much at all when you cook the sweet potatoes this way, so really any oil that you use will be fine. Coconut oil is nice too, the sweet potatoes taste even sweeter when cooked with coconut oil.

Instructions

1. Preheat your oven to 375 F.

cut raw sweet potatoes

2. Take your sweet potatoes and place them onto a sheet pan or glass baking dish (I prefer using a glass dish for this, as the sweet potato fries do stick a little to the pan and you can use a spatula to scrape any crispy bits off of the glass without having to worry about scratching up a sheet pan).

sweet potato 6

3. Pour the tsp. of oil into a corner of the baking dish and slide each sweet potato fry into the oil and toss them with your hands until well coated.

Place the baking dish into the oven and bake for 55 – 60 minutes until the fries turn a little crispy and golden brown at the edges. In my oven this takes about 57 minutes.

sweet potatoes 5

4. Allow your fries to cool a little before serving.

sweet potato 3

I hope that you love these sweet potatoes fries as much as I do! I’m about to go make another big batch of them, and I can’t wait to eat them.


enoki mushrooms

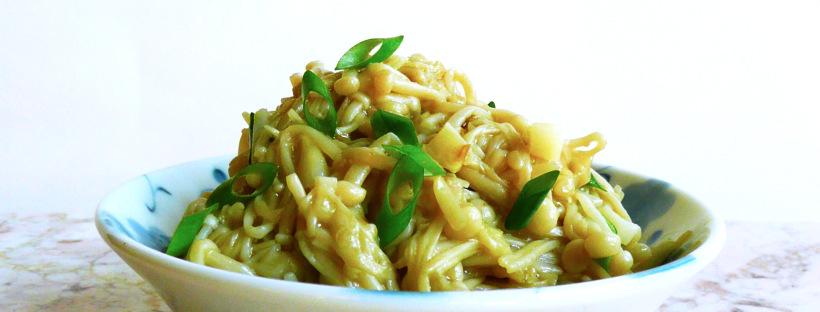
Sautéed Enoki Mushrooms with Garlic – Quick and Easy, Vegan, Paleo

enoki mushrooms 3

This is a super speedy and delicious vegetable dish for nights when you want to get dinner on the table as quick as possible. It’s paleo, and vegan and works with most dietary restrictions.

When I was growing up, we ate enoki mushrooms in Hot Pot at Lunar New Year, and for family celebrations. I loved scooping them out of the pot with a slotted spoon (along with lots of baby corn and tofu) and eating them with Taiwanese BBQ Sauce (the BBQ sauce with the cartoon bull on the side of the can is where it’s at, but it’s been a few years since I’ve had it).

The mushrooms come in 7 oz packages from the Asian grocery stores, and while I love button mushrooms too, eating the enoki mushrooms is sometimes a nice way to change up the different vegetables in my diet.

Giving the enoki mushrooms a quick sauté with a little garlic enhances the delicate flavor of the mushrooms. They have a great texture and are a great side dish to have on any table.

Sautéed Enoki Mushrooms with Garlic

Makes 2 small servings


Ingredients

2-3 cloves of garlic, finely chopped

1 package of enoki mushrooms (7.05 oz / 200 g)

1-1.5 tbsp olive oil

sprinkle of sea salt to taste


Note – I added the green onions in for the picture, but when I tasted it, I found that I actually preferred the mushrooms without the green onion. The enoki mushrooms have a subtle flavor, and that was overpowered slightly by sharpness of the green onions, but if you like green onions, go ahead and add them. It’s all about cooking the food that you enjoy eating.

Instructions

1. Wash the mushrooms under cool water. Cut the mushrooms about 1 inch above the roots. Give them another good rinse. Place them on a cutting board and cut them lengthwise in half.

enoki mushrooms 2

2. Add the mushrooms to a sauté pan with the garlic and olive oil. Cook over medium heat for 5 minutes, stirring constantly. Then turn the heat up to medium high and cook for another 3 minutes until lightly golden brown. 

Add a sprinkle of salt to taste and serve.

enoki mushrooms 1

Happy Eating!


cole slaw tacos

Cole Slaw Dressing (Paleo, Refined Sugar Free, Soy Free)

cole slaw tacos

I love this creamy dressing. The dressing takes just minutes to put together and you can make it ahead of time as well and dress the cabbage and carrots when you’re ready to eat.

It’s slightly sweet from the maple syrup, and has a little bit of a bite from the apple cider vinegar and finely grated onion. And the dressing makes eating a good size serving of a cabbage (which is really good for you as it’s a cruciferous vegetable) a delicious experience.

When I first went gluten free, I experimented with a lot with different food combinations to try and come up with more exciting dishes to eat.

One of my first and favorite food combinations ones turned out to be chicken and cole slaw tacos.

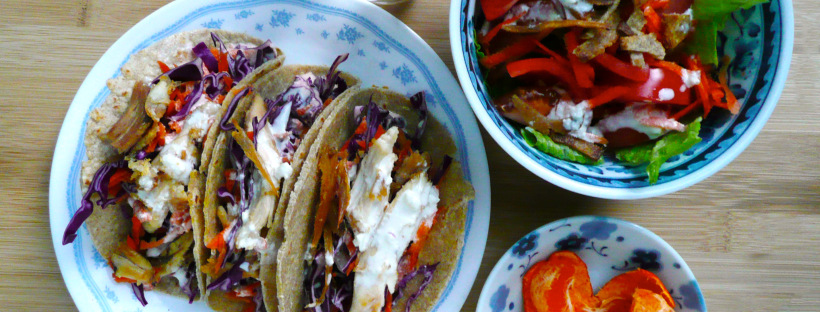
I use homemade gluten free tortillas, top them with cole slaw and some leftover roasted chicken. If you’re vegan, you can use a vegan mayo and a meatless chicken subsitute (or crispy tofu would be good too).

You can also serve the dressing over a normal salad (like I did in the picture). I trimmed off the edges of the tortillas and pan fried them with a little oil until they were crispy and added them to salad as a crouton substitute.

I hope that you enjoy the dressing (and that it makes eating lots of vegetables more exciting!).

Happy Eating!


Cole Slaw Dressing

Makes 1 serving

Ingredients

1/2 tbsp finely grated white onion (I use the really small holes on my box grater for this)

3 tbsp mayo (I used an avocado oil mayo)

3/4 tsp apple cider vinegar

1- 1 1/4 tsp maple syrup

pinch of salt (to taste)

1 cup finely shredded cabbage and grated carrot mix


Instructions

Stir together the onion, mayo, vinegar, and maple syrup. Add salt to taste.

Pour over the cabbage and carrots and stir until well mixed. Serve.

salmon sushi

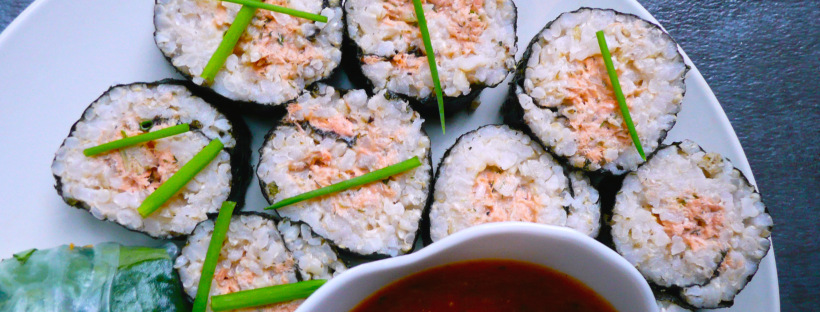
Salmon Salad Sushi – Super Easy

P1080078-2

I love tuna salad, and this is a slightly fancier version but is still super simple to make. It’s perfect for a quick dinner, or an easy snack and you can use up your leftover brown rice or salmon to make this tasty dish.

Salmon Salad Sushi

Makes 8 pieces (2 snack size servings, or 1 serving for a hungry person)

Ingredients

1/3 cup cooked flaked salmon (canned salmon is fine too)

2 ½ tbsp. mayo (I used an avocado oil mayo)

1/8 tsp dijon mustard

2 ½ tsp finely chopped green onion

3 tsp lemon juice

tiny pinch of pepper

¼ tsp dried parsley

1/8 tsp granulated garlic

¼ tsp sea salt

1 ½ cups warm cooked brown rice (I just steam it for a few minutes in the rice cooker to warm it up if it was in the fridge)

1 sheet of nori

Instructions

1. Stir together the salmon with everything but the rice and nori.

2. Lay the nori sheet on a plastic wrap covered bamboo mat.

Wet your fingers, and spread the warm rice on the nori into a thin layer leaving about a ¾ inch of nori uncovered at the top of the sheet.

3. Spoon the salmon salad into a line at the bottom of the rice covered nori. Roll firmly into a sushi roll, and set in the fridge for 10 – 15 minutes to firm up. Cut into 8 slices and serve.

P1080077-2

Salmon Salad Sushi and Vegan Thai Peanut Sauce with Veggie Spring Rolls

The snack plate of dreams…

Tabbouleh

Quinoa Tabbouleh – Easy, Gluten-Free, Vegan, Delicious

P1060497

I have a bit of secret…

I don’t actually love eating quinoa.

I know that it’s healthy, but like most people, I didn’t grow up eating it. So quinoa lacks that sense of nostalgia and comfort that many of my favorite foods have. It doesn’t have too much of a flavor, and to be honest I’m still sometimes at a loss as to what to eat with it, or lack ideas on how to make it more exciting.

I know that people say that you can swap quinoa out for rice, but honey, it ain’t the same.

Making sushi with quinoa doesn’t work that well, and when you’re eating something like Lou Rou Fan (Taiwanese Braised Pork with rice) or Taiwanese Style Scrambled Eggs with Tomatoes and Green Onion, you want rice. I can eat brown rice with both of those dishes and not feel like I’m missing out, but I don’t want to eat those dishes with quinoa.

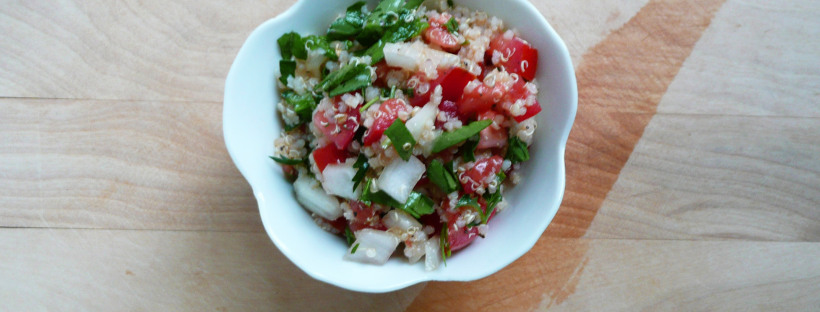
But this is a recipe that I love to eat. This recipe makes quinoa taste (imagine Oprah saying this) amazing! I love the brightness of the lemon juice with the freshness of the mint and parsley. The quinoa has a lovely texture that really works well with this dish, and gives the tabbouleh a lot of good protein. This tabbouleh is also full of different colored vegetables and herbs, and it’s a very nutrient dense salad that just tastes great.

And it doesn’t feel like another boring old salad, it looks and tastes exciting.

P1060493-2

So if you’re ever stumped as to what to do with leftover quinoa, make this dish and see if you don’t just eat the entire portion yourself in one sitting.

I like to make this dish a day in advance so that the lemon juice has time to mellow out the sharpness of the onion. It’s also nice to have a batch of this sitting in the fridge so that there’s always something healthy to snack on when you’re hungry.

Quinoa Tabbouleh

Makes 2-3 servings


Ingredients

1 diced Roma tomato (about 2/3 cup)

½ cup diced white onion

¼ cup finely chopped parsley, loosely packed*

1 tbsp finely chopped fresh mint*

¾ cup cooked quinoa**


1 tbsp olive oil

3 tbsp fresh lemon juice***

¼ level tsp sea salt

¼ level tsp black pepper


*For tips on how to keep your excess herbs fresh, here’s a link to a post that I wrote about that.

**If at all possible, buy the quinoa in the store that doesn’t say to rinse it on the package instructions. Quinoa can be difficult to rinse if you don’t have a fine enough strainer, and life is easier if you can just scoop the dry quinoa out from the container, add it to a pot with some water and cook it in the rice cooker and not have to think to hard about it.

*** If you have any excess lemons, you can freeze them.

Instructions

Stir all ingredients together. Cover and refrigerate overnight. Taste it the next day, and adjust the seasoning if needed.


P1060495- 2

Happy Eating!

Tang Yuan

Lunar New Year – Homemade Tang Yuan Recipe – Refined Sugar Free

P1080412

Lunar New Year is always an exciting time of year. It’s a time when we all get together and eat lots of amazing food.

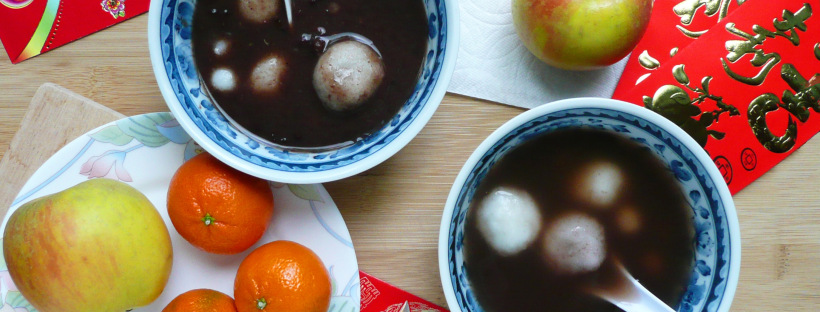
Every Asian culture celebrates Lunar New Year a little differently, but growing up Chinese American, we always made sure that we ate fish (for prosperity), noodles (for long life), oranges (for wealth), and tang yuan during the Lunar New Year feast.

“Tang” means soup, and “yuan” means round. “Yuan” also signifies a family gathering around a table, so this is why tang yuan are eaten at Lunar New Year.

Tang yuan are chewy sweet rice balls. They can be filled with anything (there are peanut butter ones, taro ones, and black sesame ones too) but these are filled with sweet red bean paste, which is one of my favorite fillings.

These tang yuan are easy to make, and refined sugar free but still taste just like the ones I grew up eating.

My family eats them with red bean soup, and this is the perfect thing to warm you right up during cold weather that we’re having.

I hope that you eat these tang yuan surrounded by lots of loved ones this Lunar New Year.


Tang Yuan (Sweet Rice Balls with Red Bean Filling)

Makes 12 Tang Yuan (about 3 – 4 servings) *

Ingredients

1/2 cup drained red beans **

1/8 cup maple syrup

1/2 cup sweet rice flour – 90 g (I used the Koda Farms Mochiko Sweet Rice Flour)***

1/4 cup warm water – 60 g

* 3 – 4 Tang Yuan per person should be ok if you’re eating a big meal for Lunar New Year, but my family usually eat a lot of them. Some people want 8 tang yuan in their bowl, some want 5, so it’s a good idea to make some extra ones just in case. This recipe can easily be doubled or tripled if need be, and it’s nice to have some extra tang yuan on hand in the winter months when you want a sweet warm snack.

**Make the red bean soup first, then use those some of those red beans in this recipe. drain about 1 cup of beans and liquid before you measure the 1/2 cup. You want the 1/2 of beans to be almost all beans with very little liquid. Press the red beans lightly with the back of a spoon while the red beans are in a sieve so that you get as much excess liquid out of the beans as possible. You can save the liquid and add it back into the red bean soup, or keep it to the side to and eat it with a drizzle of maple syrup if you don’t want to make the red bean soup thinner.

*** I recommend weighing the sweet rice flour if possible for the best results.


Instructions

1. Add the drained red beans into a food processor with the 1/8 cup of maple syrup (I know that it doesn’t seem like much sweetener, but it gives just the right amount of sweetness to the tang yuan) and blend until smooth. It will look like this when it’s done.

P1080377

2. Cook the mixture in a small saucepan on medium high for 7-8 minutes, stirring constantly until thickened. It should be a similar texture to jam when you’re done.

P1080383

3. Take the pan off the heat and allow to cool. The mixture should be reduced to just over 1/3 cup of red bean paste. Lay plastic wrap over a plate, and scoop a 1/2 tsp amount of the red bean paste into your hands and roll into a ball. Place the ball on the plate and repeat until you use up all the red bean paste. You should get about 12 little balls of paste in total. Cover lightly with plastic wrap and freeze for at least 1 hour until solid.

4. When the red bean balls are frozen solid, add the warm water to the sweet rice flour and stir with a fork until a shaggy dough is formed. Knead the dough together with your hands for 1-2 minutes until smooth.

P1080399

5. Divide the dough into 12 pieces and keep the pieces of dough that you’re not working with covered with plastic wrap so that it doesn’t dry out.

Take the red bean paste balls out of the freezer. If you’re working with a double or triple batch, take about 12 red bean paste balls out of the freezer at a time, that way that don’t defrost before you cover them in the dough. It’s much easier to wrap the red bean paste in the dough if the red bean paste is frozen solid.

Wet your hands, and flatten each piece of dough into a small disk in your hand and pinch and fold the dough together to cover the red beans paste and roll until the ball is smooth.

P1080401

If you’re a visual learner, this video shows how it’s done starting at the 2:30 min mark.


The first time I tried covering the balls in the dough, I did it with dry hands and it was much more difficult to work with than when my hands were wet. When I tried it again with wet hands, I made a double batch and only had trouble covering about 4 out of 24 of the tang yuan.

If the dough is too dry, it won’t stick to the red bean paste. You can peel off the dough and knead in a few drops of water before trying to cover the red bean paste again.

If the dough is too wet, it also won’t stick to the ball of red bean paste, but it will stick to just about everything else. In that case, just knead it with your hands for a little bit until it dries out a little and try again. Don’t worry if you can see little flecks of red bean paste on the outside of the tang yuan. No one will notice once they are in the soup.

If you get an air bubble around the red bean paste and the dough is not sticking to the ball, pull all the dough off of the ball, wet your hands, knead it the dough a little and try covering the ball again. This technique works better than trying to squeeze the air out which tends to make the rest of the dough pull away from the ball as well.

Once you’re done rolling the tang yuan, put them onto a plate lined in plastic wrap and cover lightly with another layer of plastic wrap and freeze until solid. Once frozen, transfer the tang yuan into an air-tight container and stash in your freezer until you are ready to cook them.

When you want to cook them, warm up some red bean soup (or you can also eat the tang yuan in the water that you cook them in with a little maple syrup drizzled over for sweetness).

Then bring a pot of water to the boil. Add the tang yuan (cook a few extra in case a few break open while cooking), cover with the lid and turn the heat down to medium low. Let the tang yuan cook until they float (about 6-8 minutes) lifting the lid to check on them occasionally. Once they are floating, put the lid back on and then set a timer 3 minutes let them continue cooking over medium low until the timer goes off.

If some of the tang yuan break open, don’t worry about. Just ladle those ones into your bowl (cook’s treat, you can also ask if anyone else wants the extras) and they will taste just as good as the whole ones.

For the Miniature Tang Yuan – You can also make little (non-filled tang yuan) as well, and those are even easier to make.

Stir together 1/4 cup (45g) sweet rice flour with 1/8 cup warm water (30 g) and knead until smooth. Roll the dough into a long snake and keep cutting the dough in half until you have 32 little pieces of dough about the size of a centimeter. Roll each little piece of dough into a ball and place them on a plate lined in plastic wrap. Over lightly with another piece of plastic wrap and freeze until solid.

The cooking instructions for the little tang yuan (no matter if they are freshly made or frozen) is to bring a pot of water to the boil. Add in the little tang yuan, cover, and set a time for 3 minutes.

When the timer is up, scoop out the little tang yuan with a slotted spoon and add them to the red bean soup. Ta-da! Extra adorableness for Lunar New Year!

To Serve – Ladle the red bean soup into bowls, top with your tang yuan and drizzle over some maple syrup.

What I do when I eat this soup is I’ll drizzle over about 1 tbsp of maple per bowl and don’t stir it in. That way, each time you take a bite you get a little hint of sweetness and you use less sweetener overall in the soup.

P1080412-2

I hope that you and your family have a lucky, wonderful, safe and prosperous Lunar New Year!

Happy Eating!