Chocolate Banana Soft Serve Ice Cream – Refined Sugar Free, Dairy Free, Vegan, Paleo

P1080366

When I think of chocolate desserts, I want something really decadent and rich, with a deep chocolatey flavor.

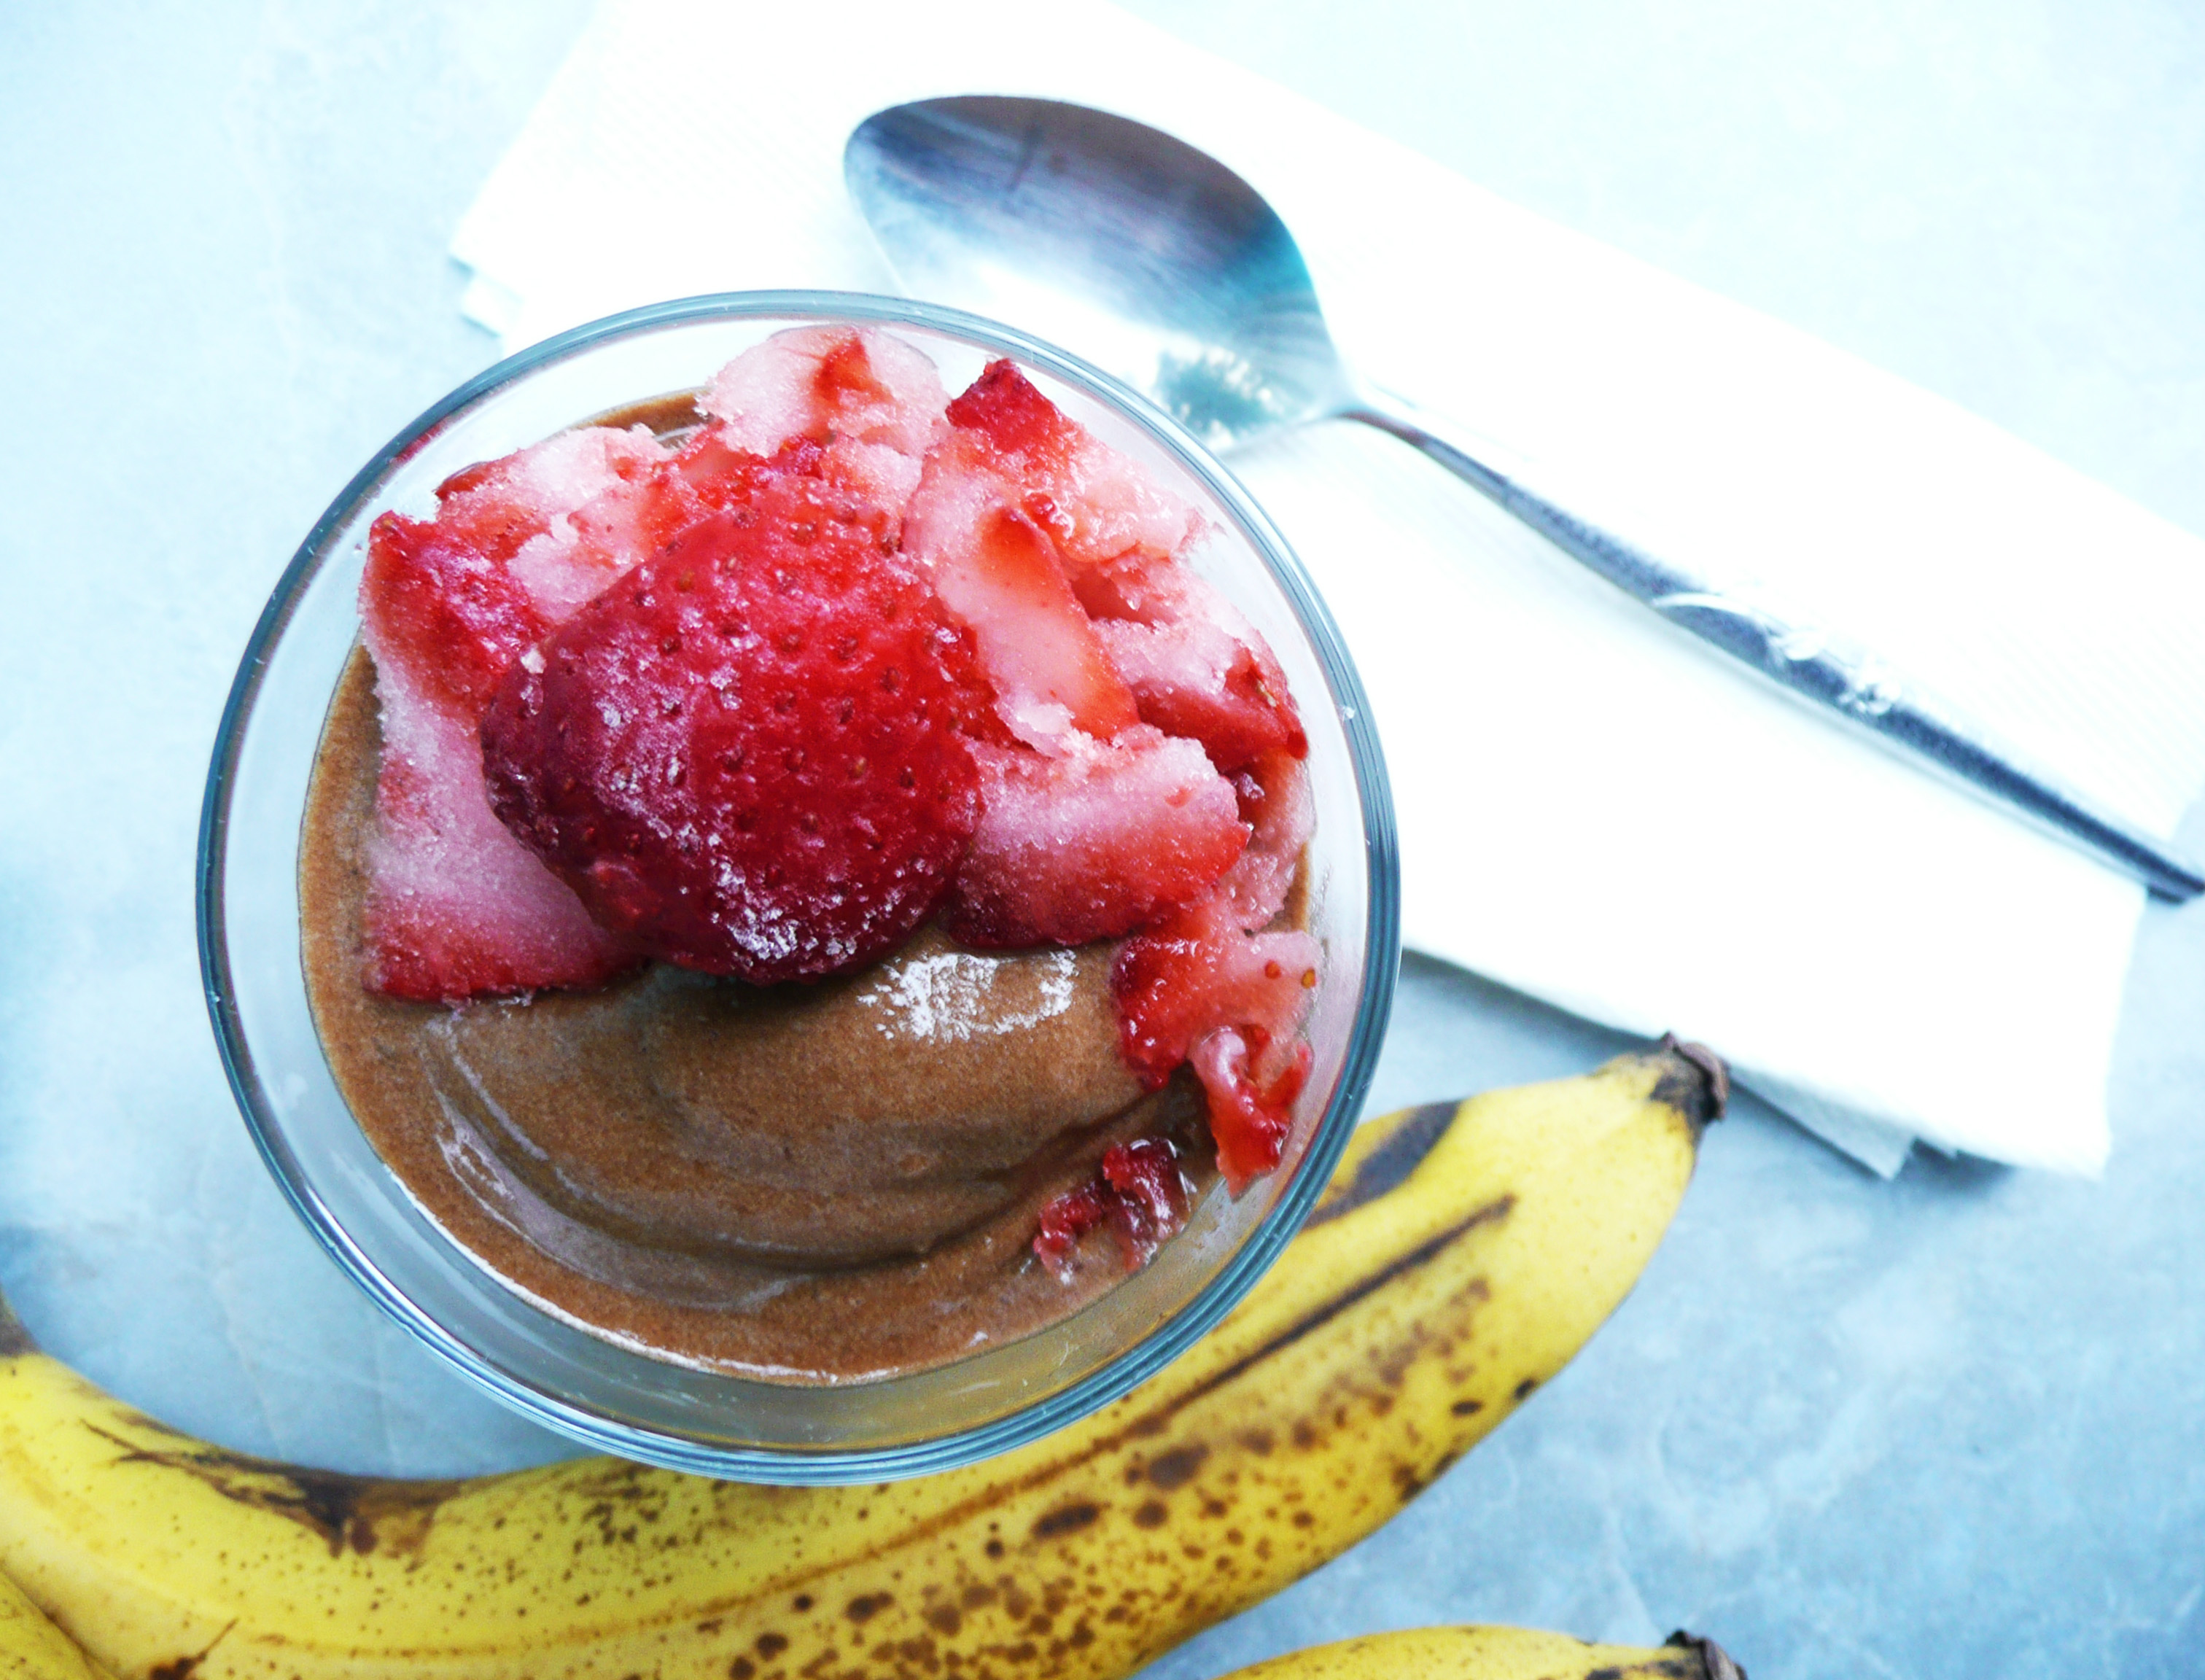
This Chocolate Banana Soft Serve Ice Cream definitely fits the bill. It’s super easy to make, and takes almost no time or effort. It’s so creamy and delicious, and it’s pretty incredible that blended up frozen bananas can turn into such an amazing treat!

When I was working on this recipe, I thought about the rich and creamy chocolate ice cream that would occasionally eat before I went dairy and refined sugar free.

I really tried to get a similar flavor with this recipe, so it does have more cocoa powder and vanilla extract than you would expect it to have, which gives the banana ice cream a similar flavor to the store bought chocolate ice creams of my younger days.

Banana ice cream also cuts down on food waste because it’s the perfect thing to make when you have overripe bananas that you don’t know what to do with. No need to throw them away! Just peel them, and freeze them, and you can have ice cream whenever you want. How cool is that?

You can also adjust the flavor of the ice cream to your liking really easily. If you want it a little sweeter (or if your bananas could have used a little more ripening before you froze them) you can add a little more maple syrup, or more cocoa if you want a deeper chocolate flavor.

However you make it, I hope that this ice cream brings a little more joy to your day.


Chocolate Banana Soft Serve Ice Cream

Makes 1 serving (about 3/4 cup)

Ingredients

1 thawed frozen banana

3 1/2 tbsp unsweetened cocoa powder *

2 1/2 tbsp + 1 tsp maple syrup

2 tbsp + 2 tsp water

1 tsp vanilla extract

tiny tiny pinch of salt


*I didn’t use a heaped tbsp, just sort of slightly higher than a level tbsp. The cocoa powder that I used was the Ghirardelli unsweetened cocoa powder.

Instructions

1. Cut the thawed banana into half inch slices with a paring knife. If the banana is too hard to cut, then let it thaw for another 5 minutes or so before trying to cut it again.

2. Add all the ingredients into a food processor and process until smooth, scraping down the sides of the bowl occasionally.

If you want a firmer texture, you can spoon the mixture into a bowl and put it into a freezer for another 15-20 minutes.

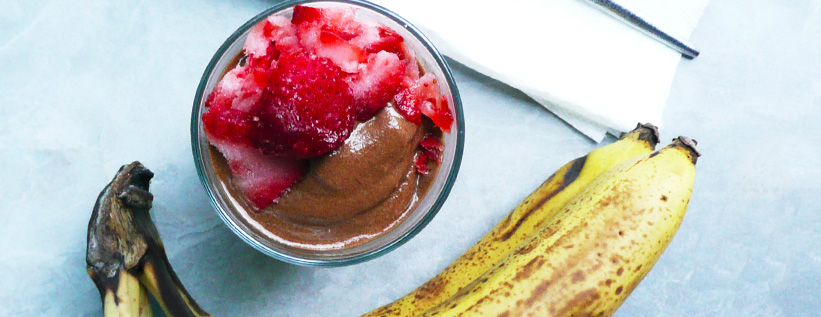
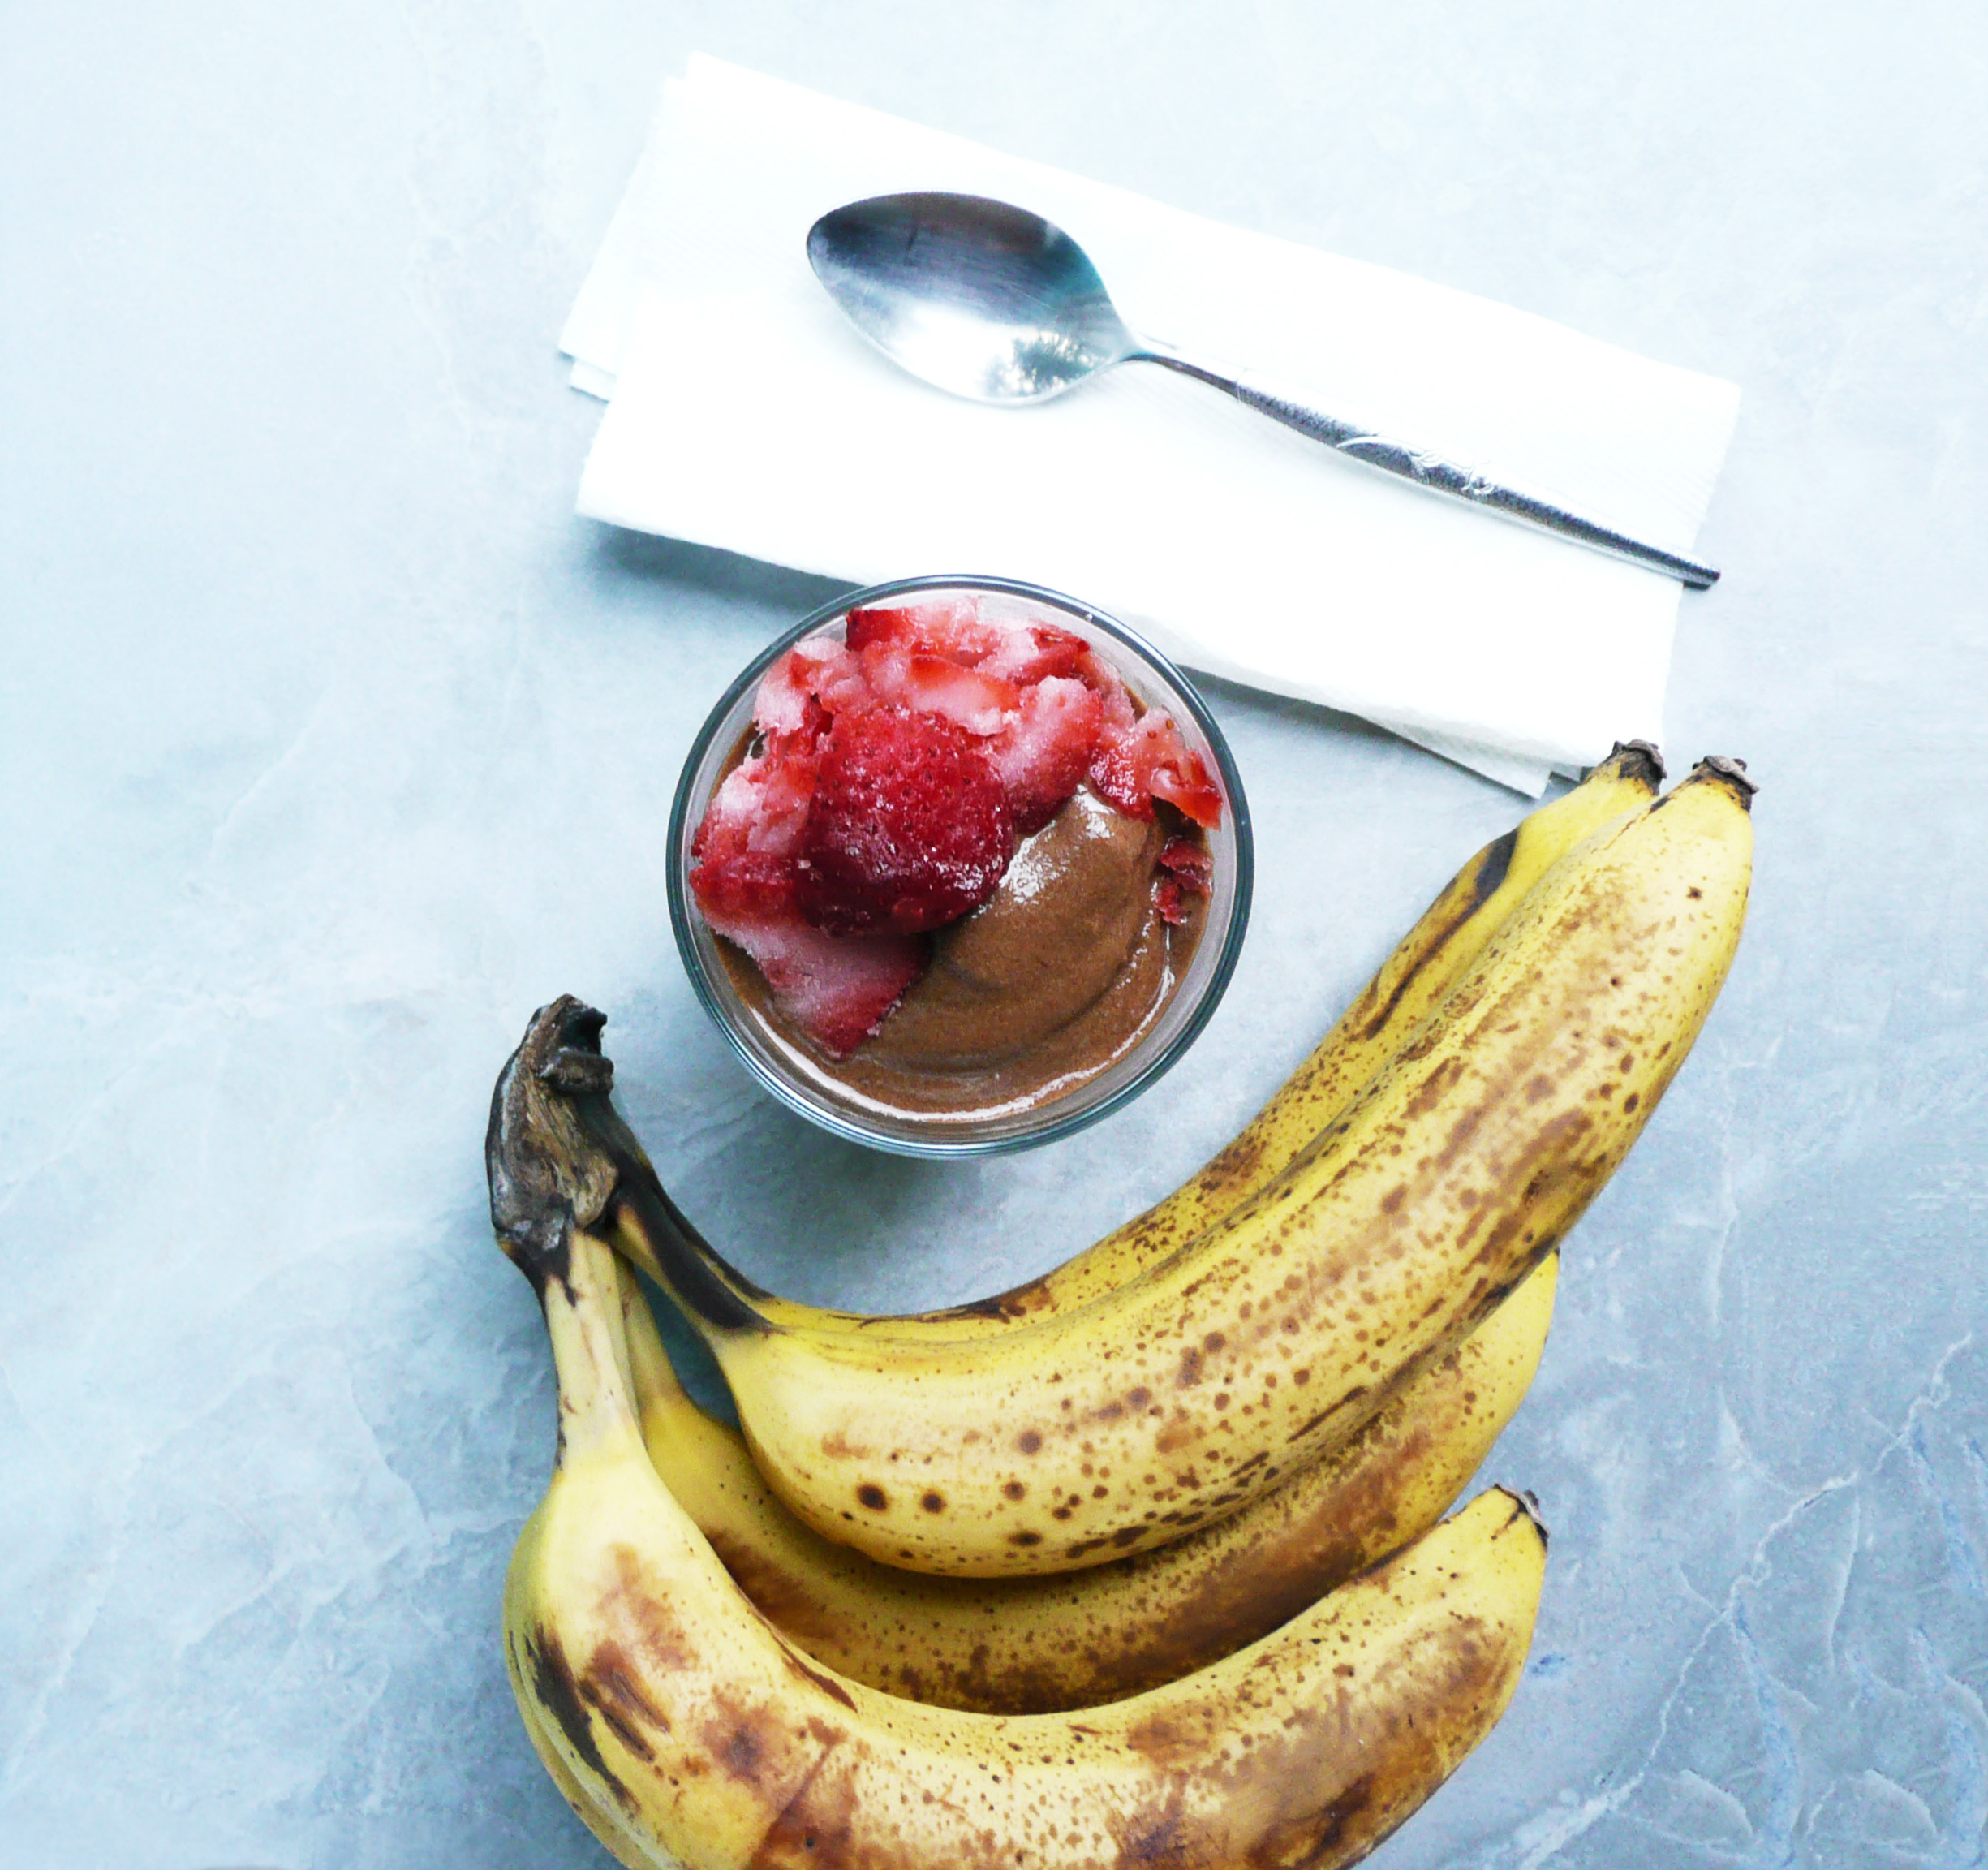
For garnish, I just used a paring knife to shave pieces off a slightly thawed frozen strawberry. It gives it a nice color and a bit of little flair, and the strawberry flavor goes well with the banana and chocolate flavors of the ice cream.

P1080371

Happy Eating!


Vanilla Extract

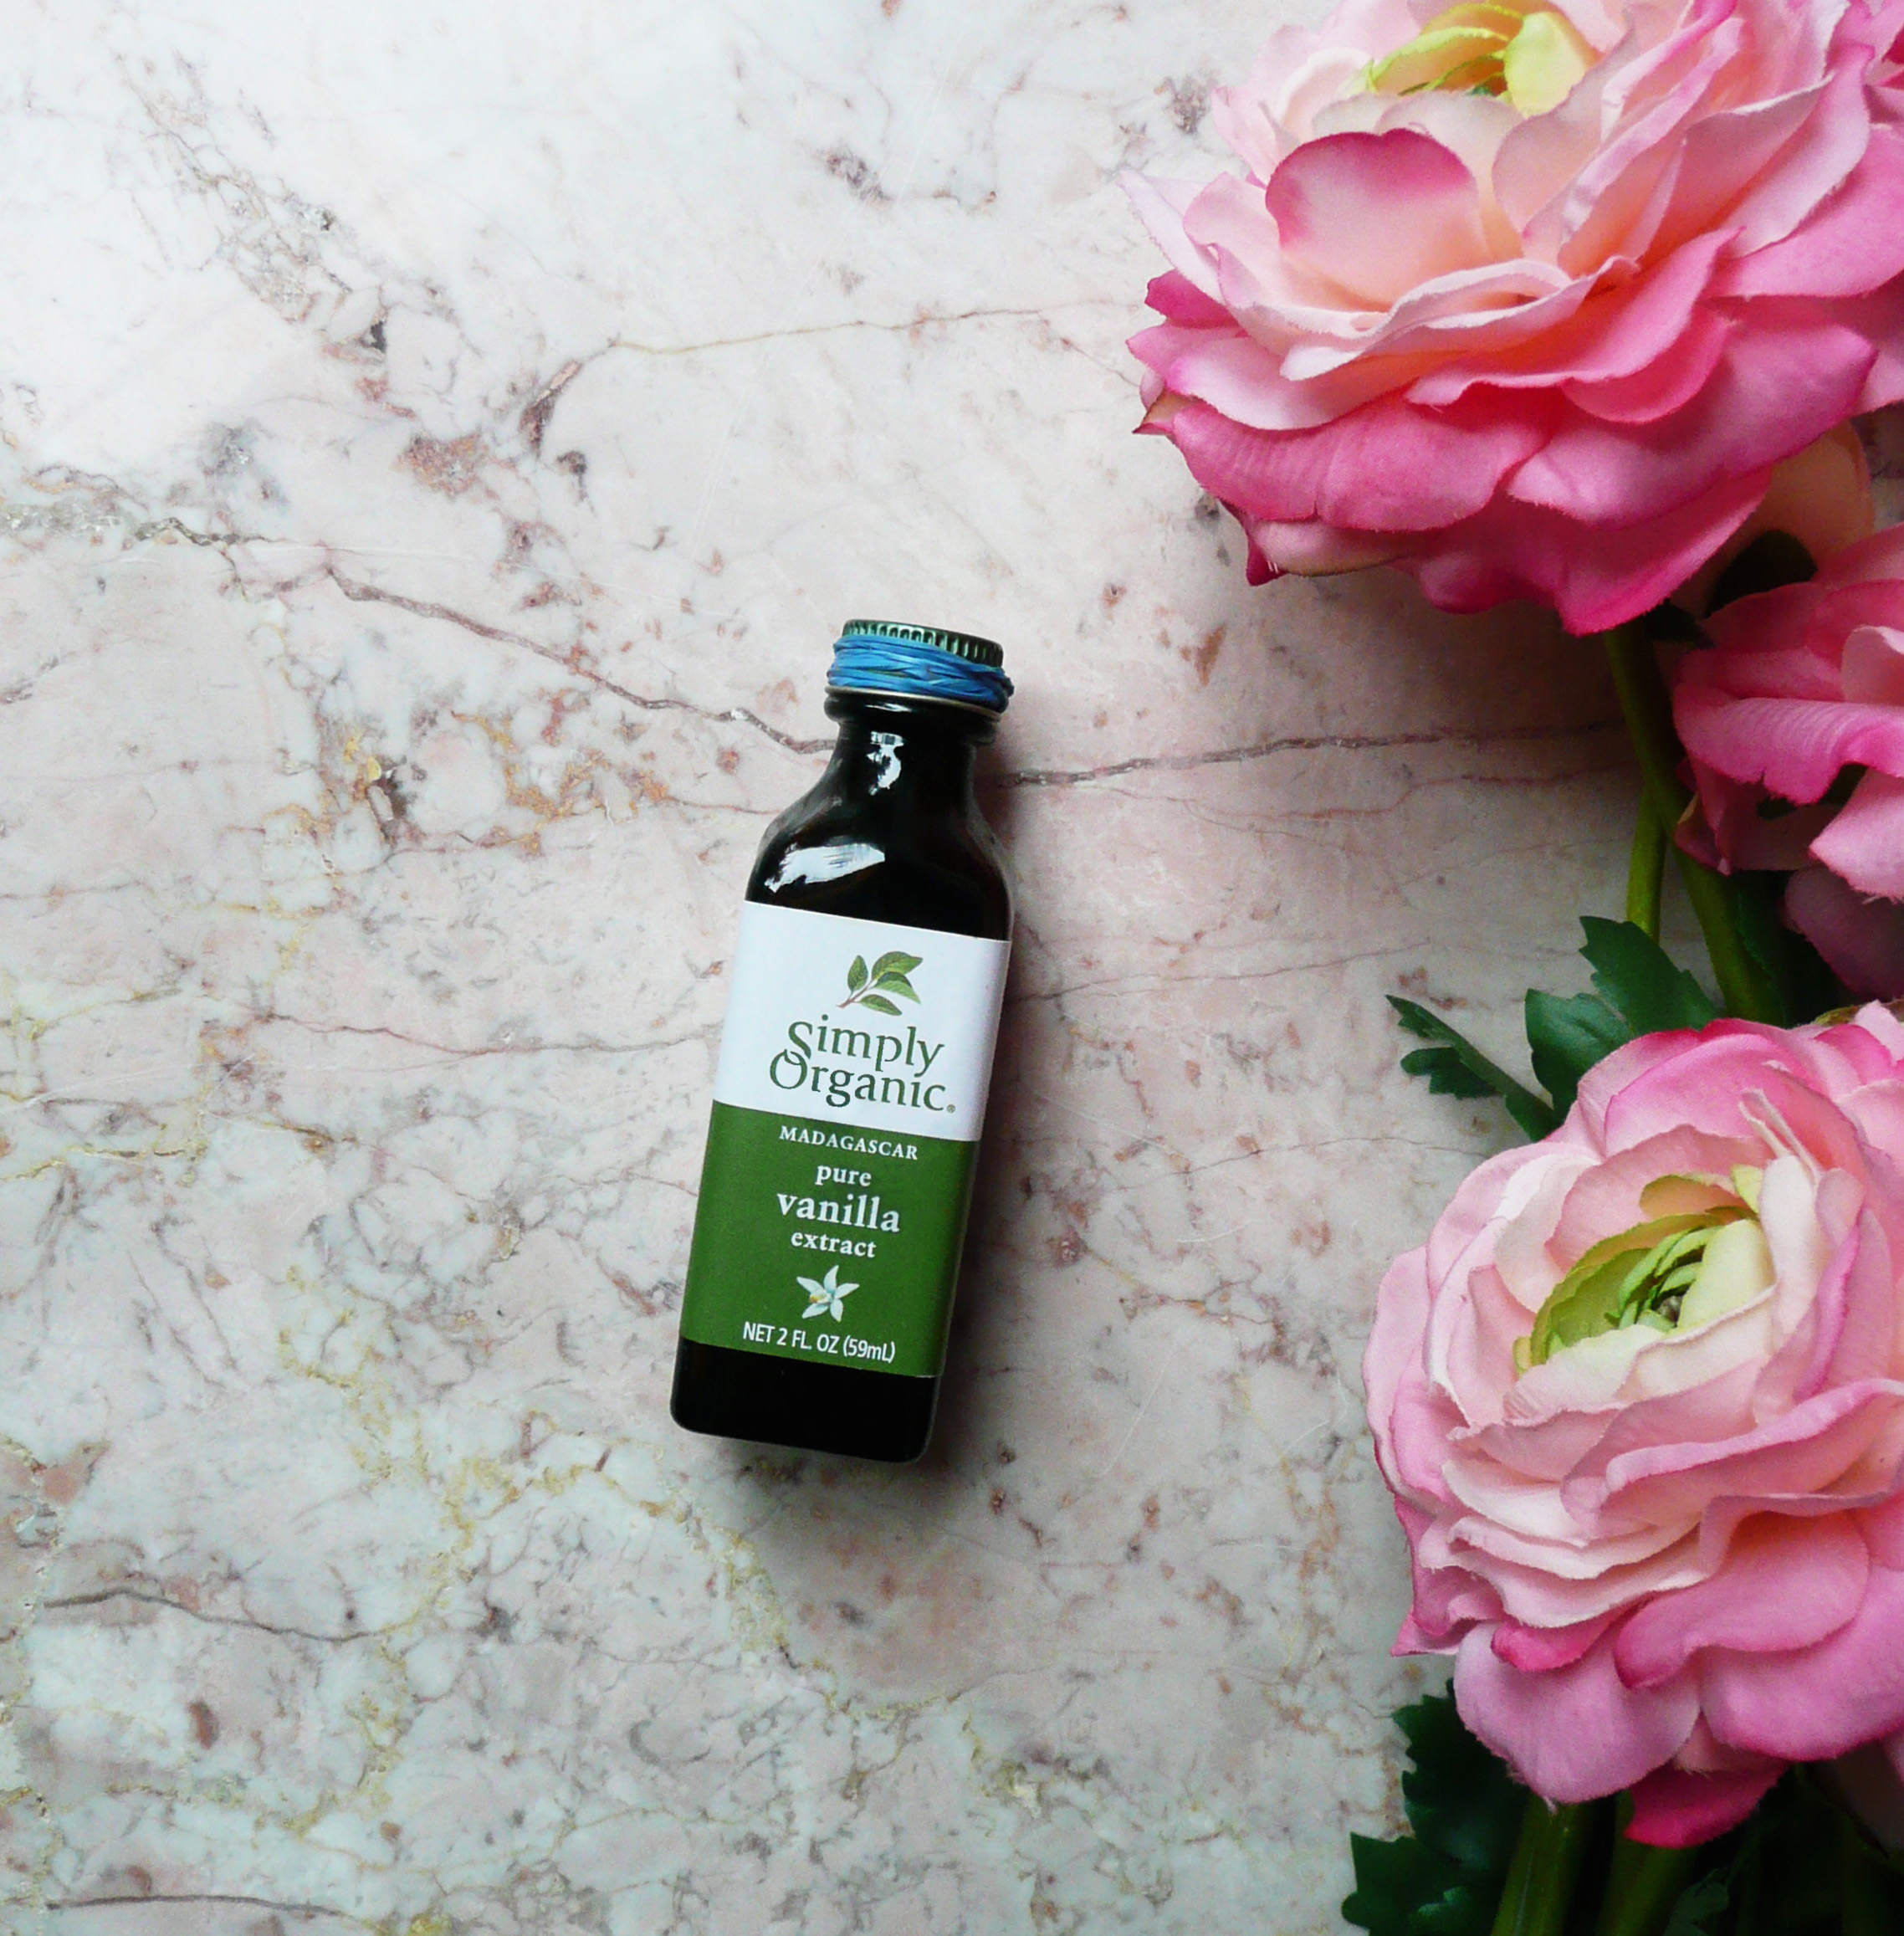
Kitchen Tip – Easy Way To Get The Cap Off A Vanilla Extract Bottle

vanilla


If you’ve ever known the struggle of baking cookies and not being able to get the little cap off of the vanilla extract bottle, this one’s for you.

Here’s the secret –

Wrap a few thin rubber bands around the cap of the vanilla extract. The rubber bands make the smooth metal of the cap easier to grip. The bottle of extract should be a breeze to open after that.

I use the rubber bands that come wrapped around vegetables like kale, or green onions, or bunches of cilantro or parsley. It’s a thrifty solution, and makes baking with vanilla extract much much easier.

This idea for this came to me when I was testing the recipe for the maple vanilla sugar cookies. For a moment I was concerned that I was not going to be able to get the cap off of the bottle of extract, and I actually thought for a second “Do I really need vanilla in this recipe?”

The answer was “Yes. You do need vanilla in maple vanilla sugar cookies.” So I had to come up with a solution pretty quickly, and here we are!

I hope that this kitchen tip helps you to never again be held back from your baking dreams by another difficult to open vanilla extract cap!

Happy Baking!


blueberry muffins

The Best Gluten Free Blueberry Muffins Recipe – Made with Oat Flour – Gluten Free, Dairy Free, Refined Sugar Free

I love blueberries, and I also love blueberry muffins. It’s hard to find someone who doesn’t love them.

P1080289

Lots of us have fond memories of baking them with our families, and there is just something incredibly comforting and nostalgic about them.

A good blueberry muffin is one of the things that I most wanted to eat when I went gluten free, and I’m so glad that I finally came up with a recipe for them!

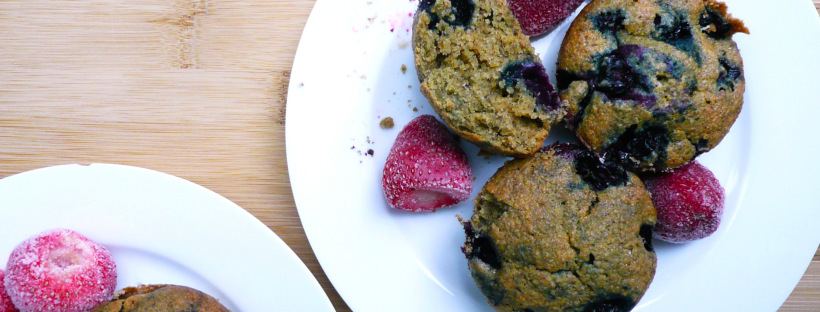
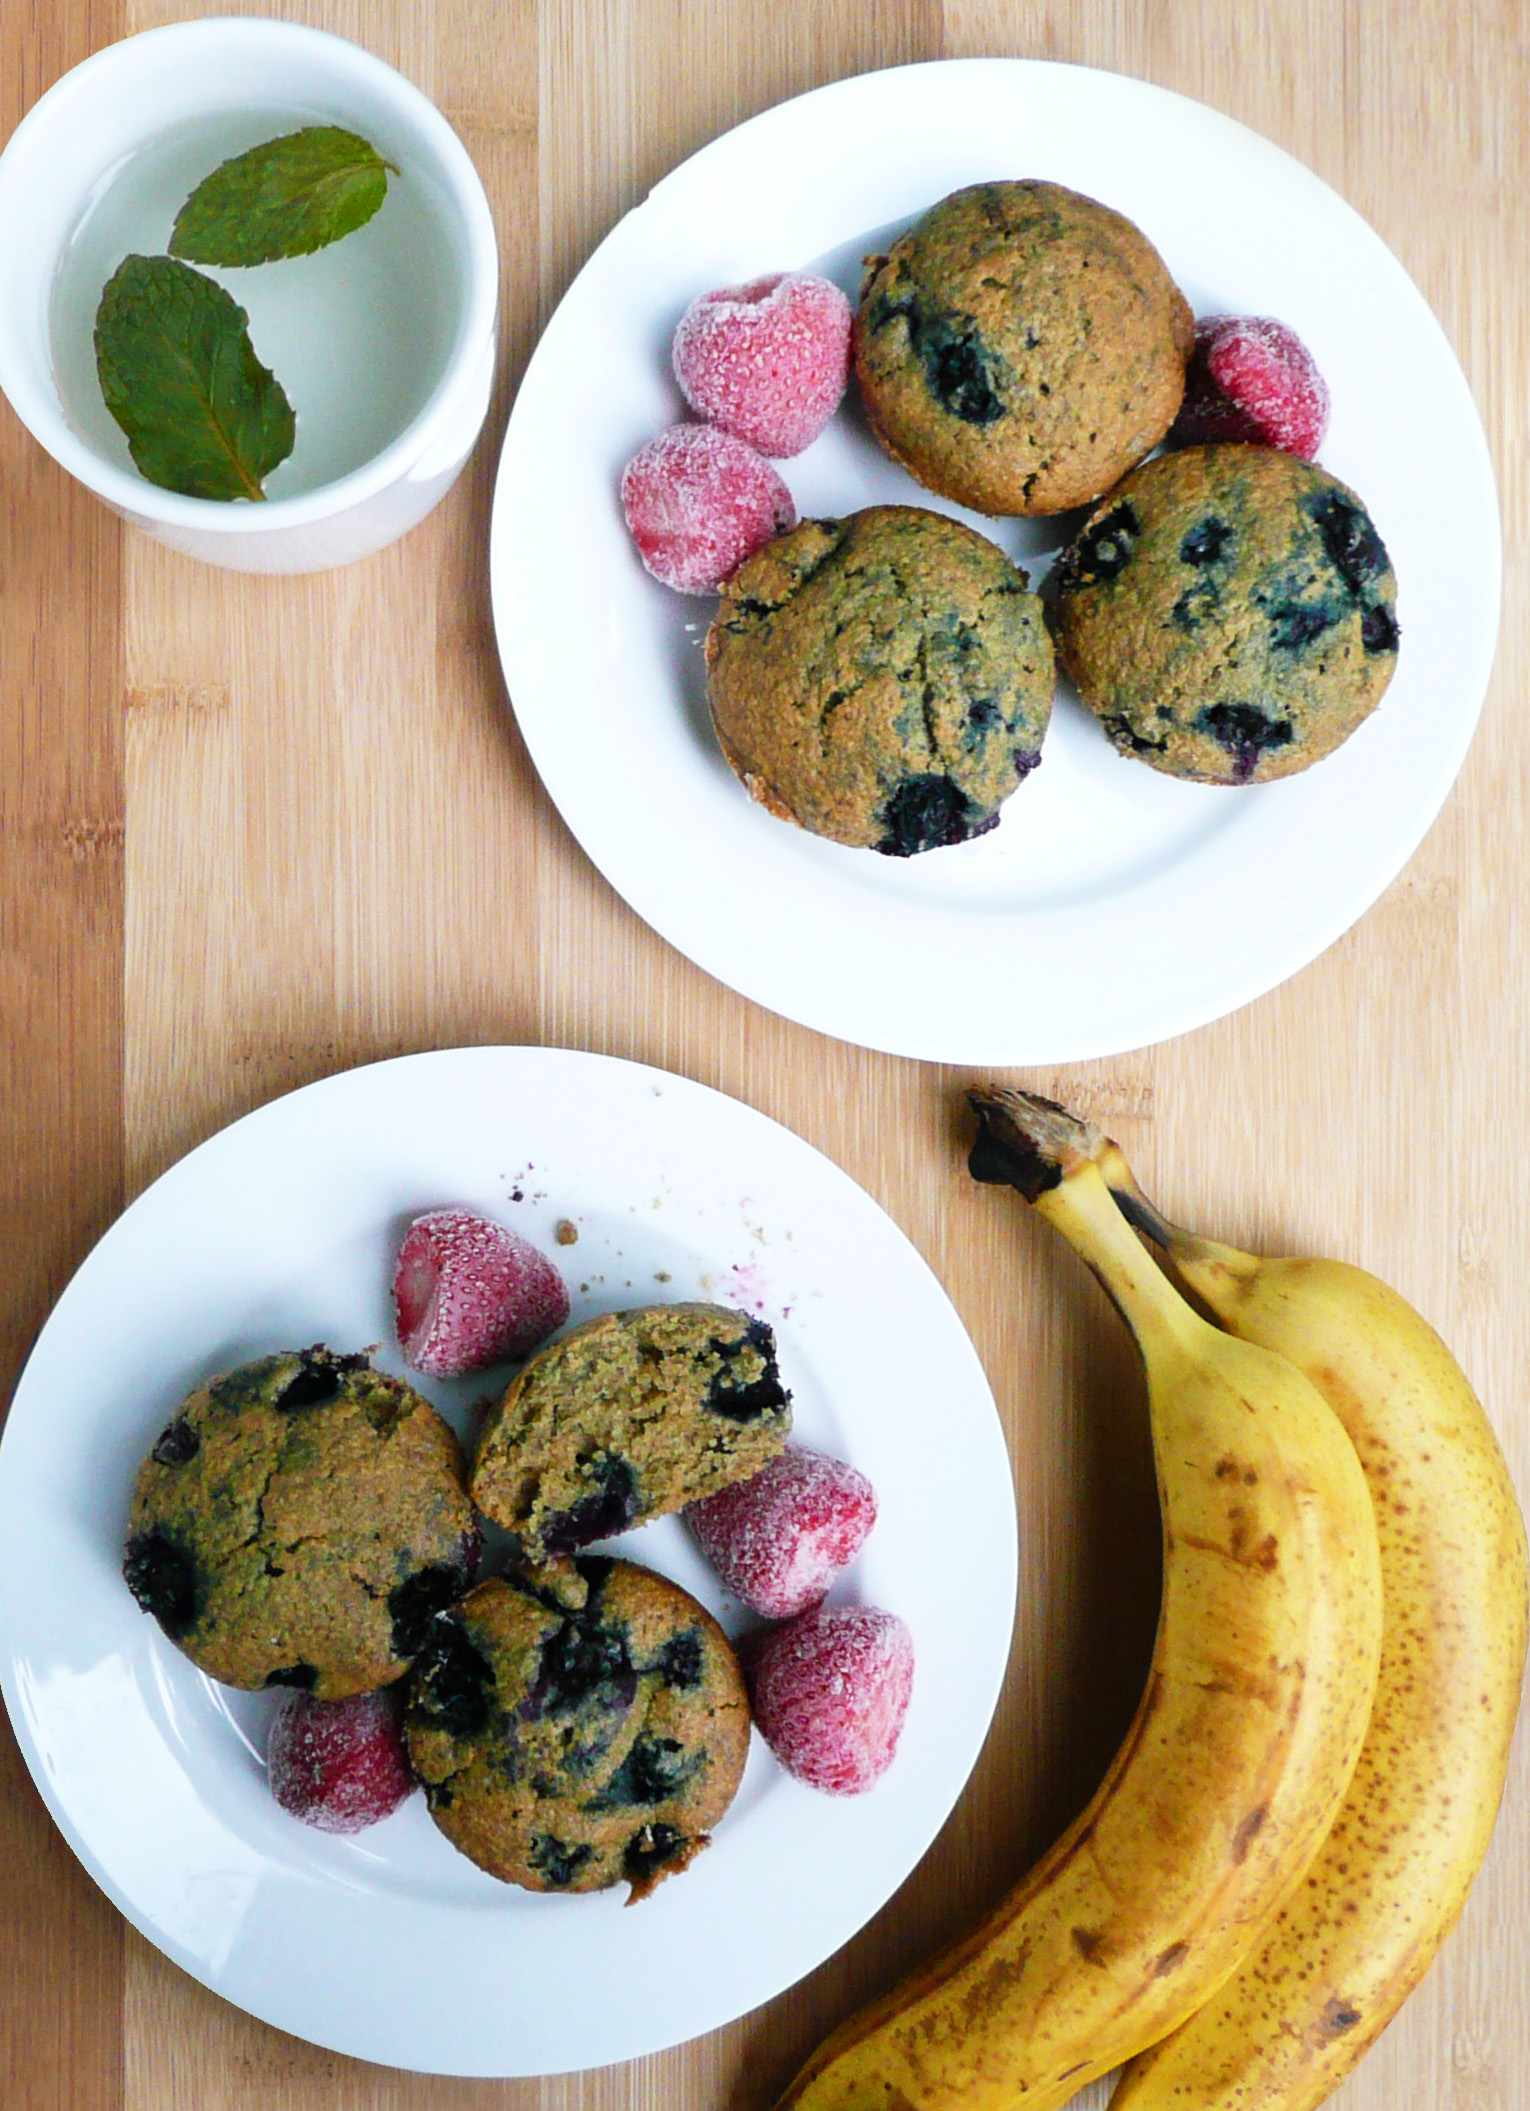
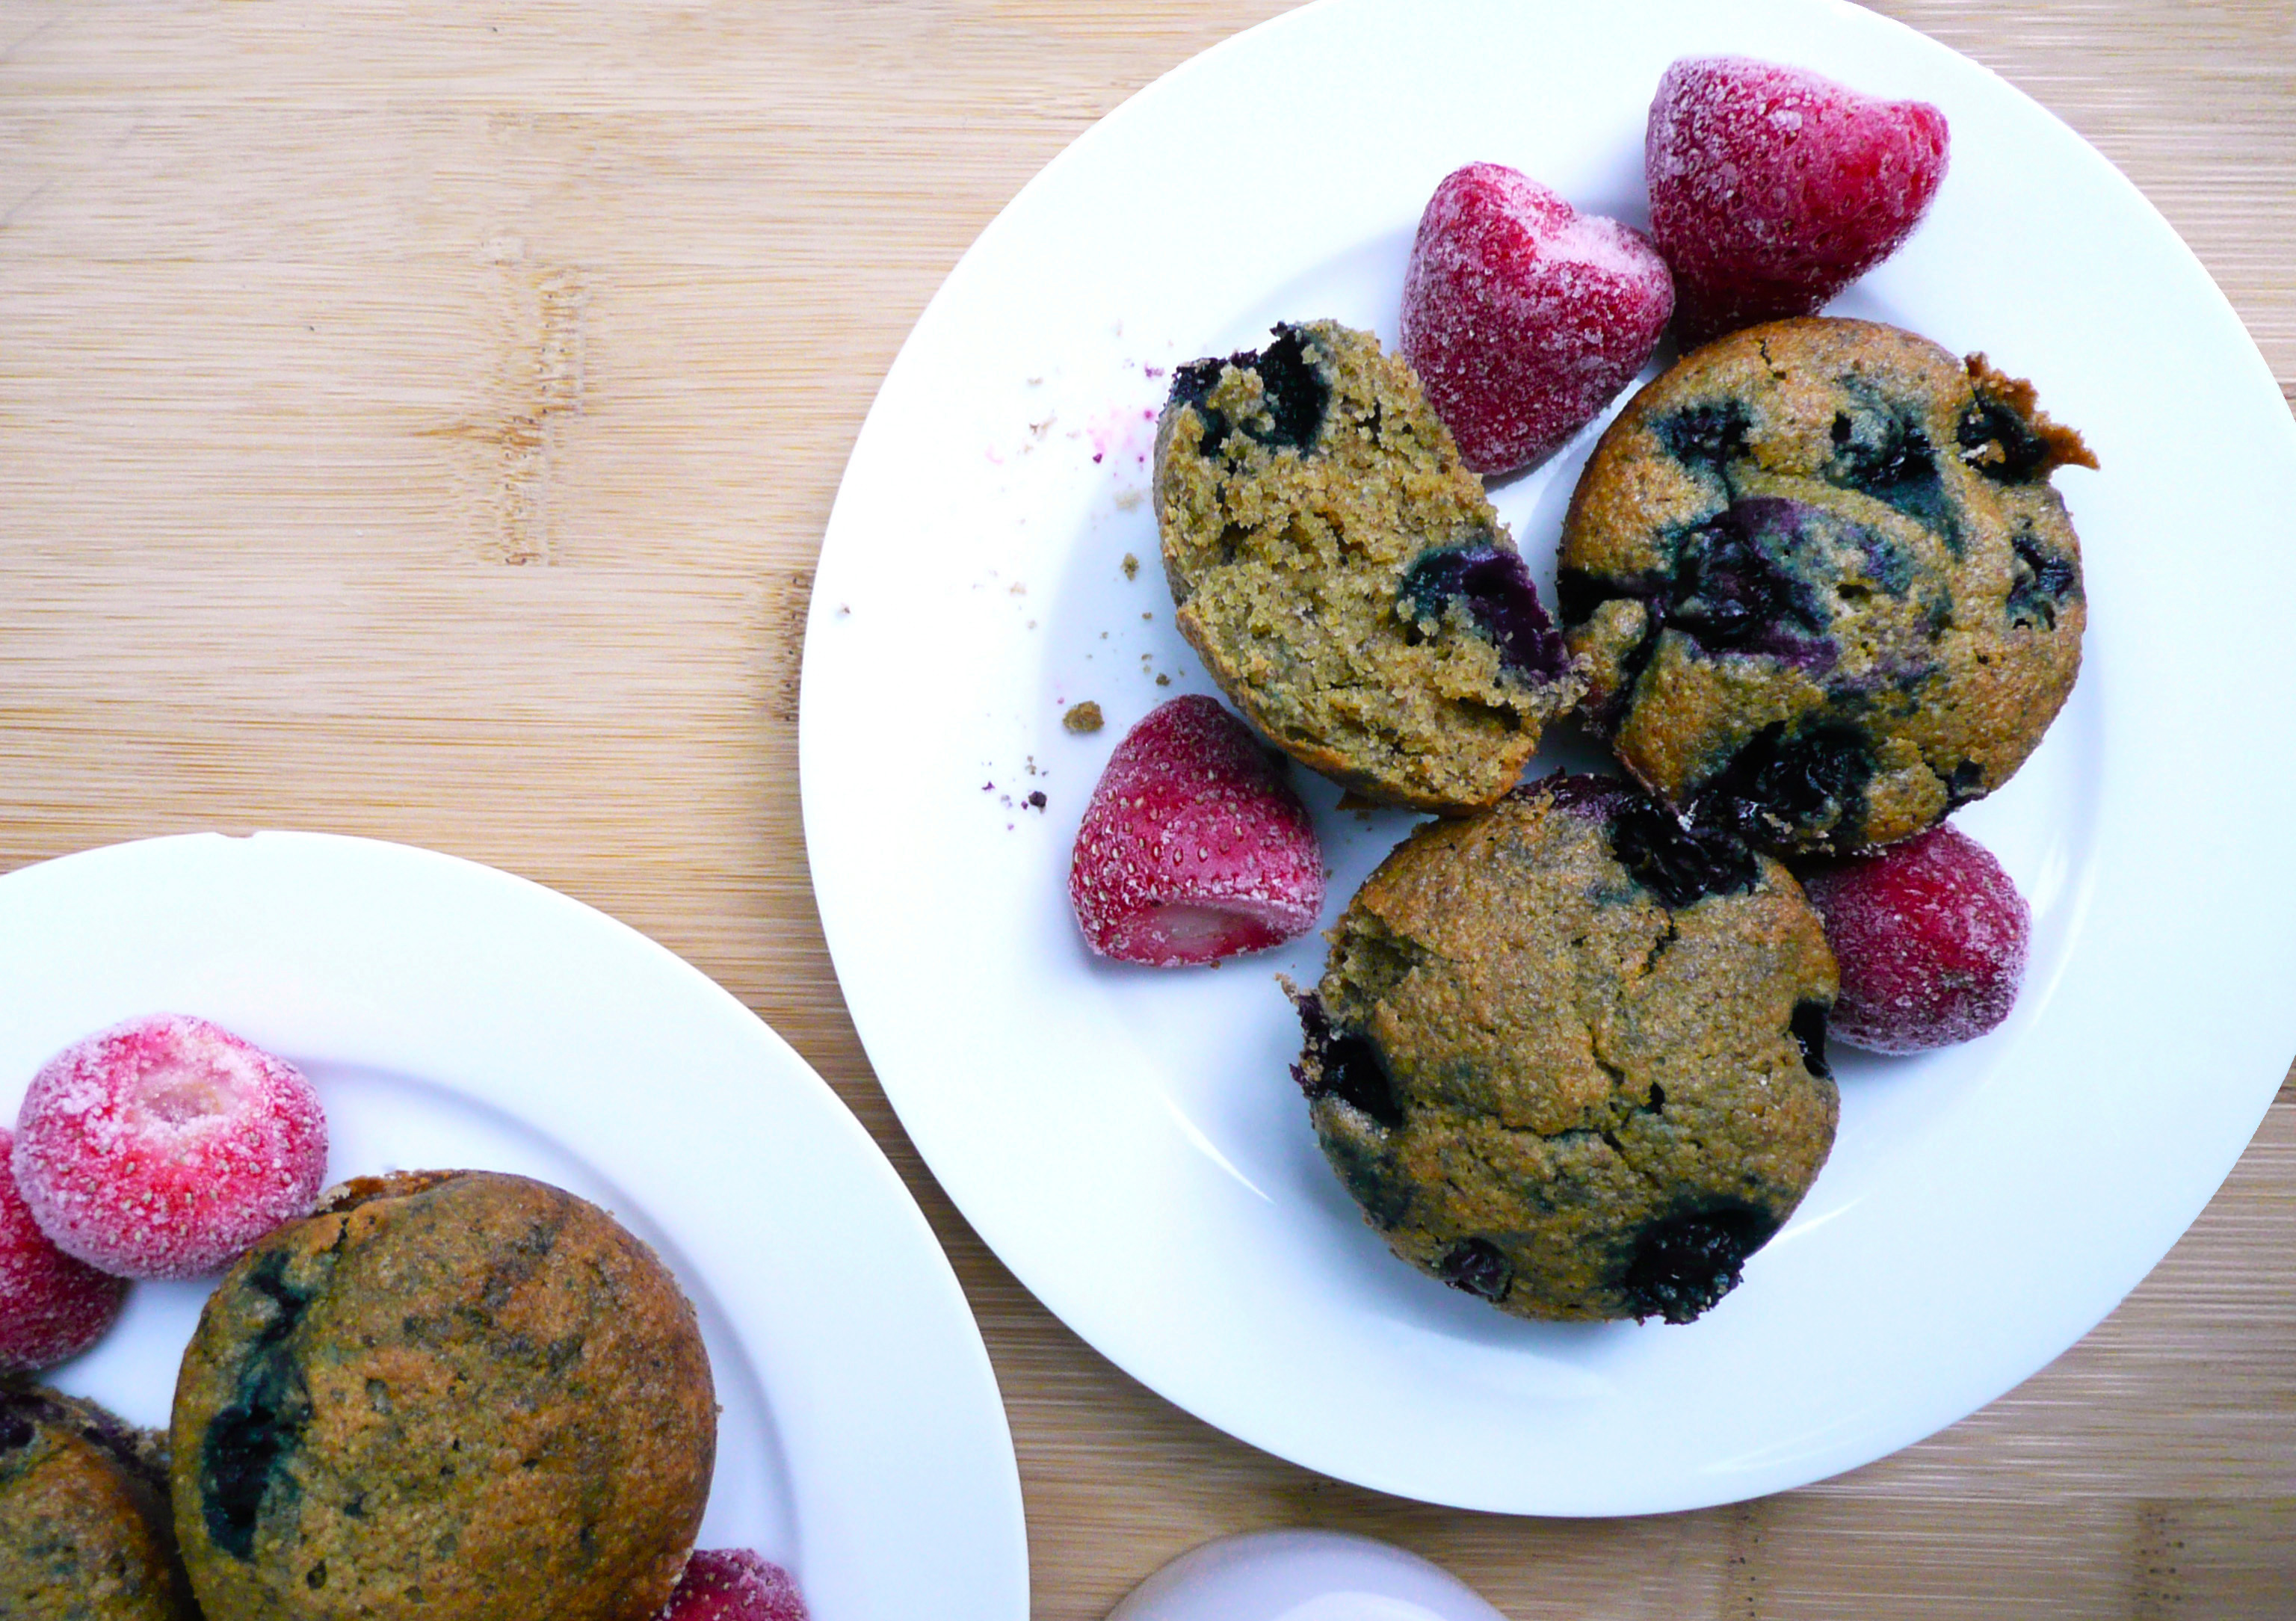
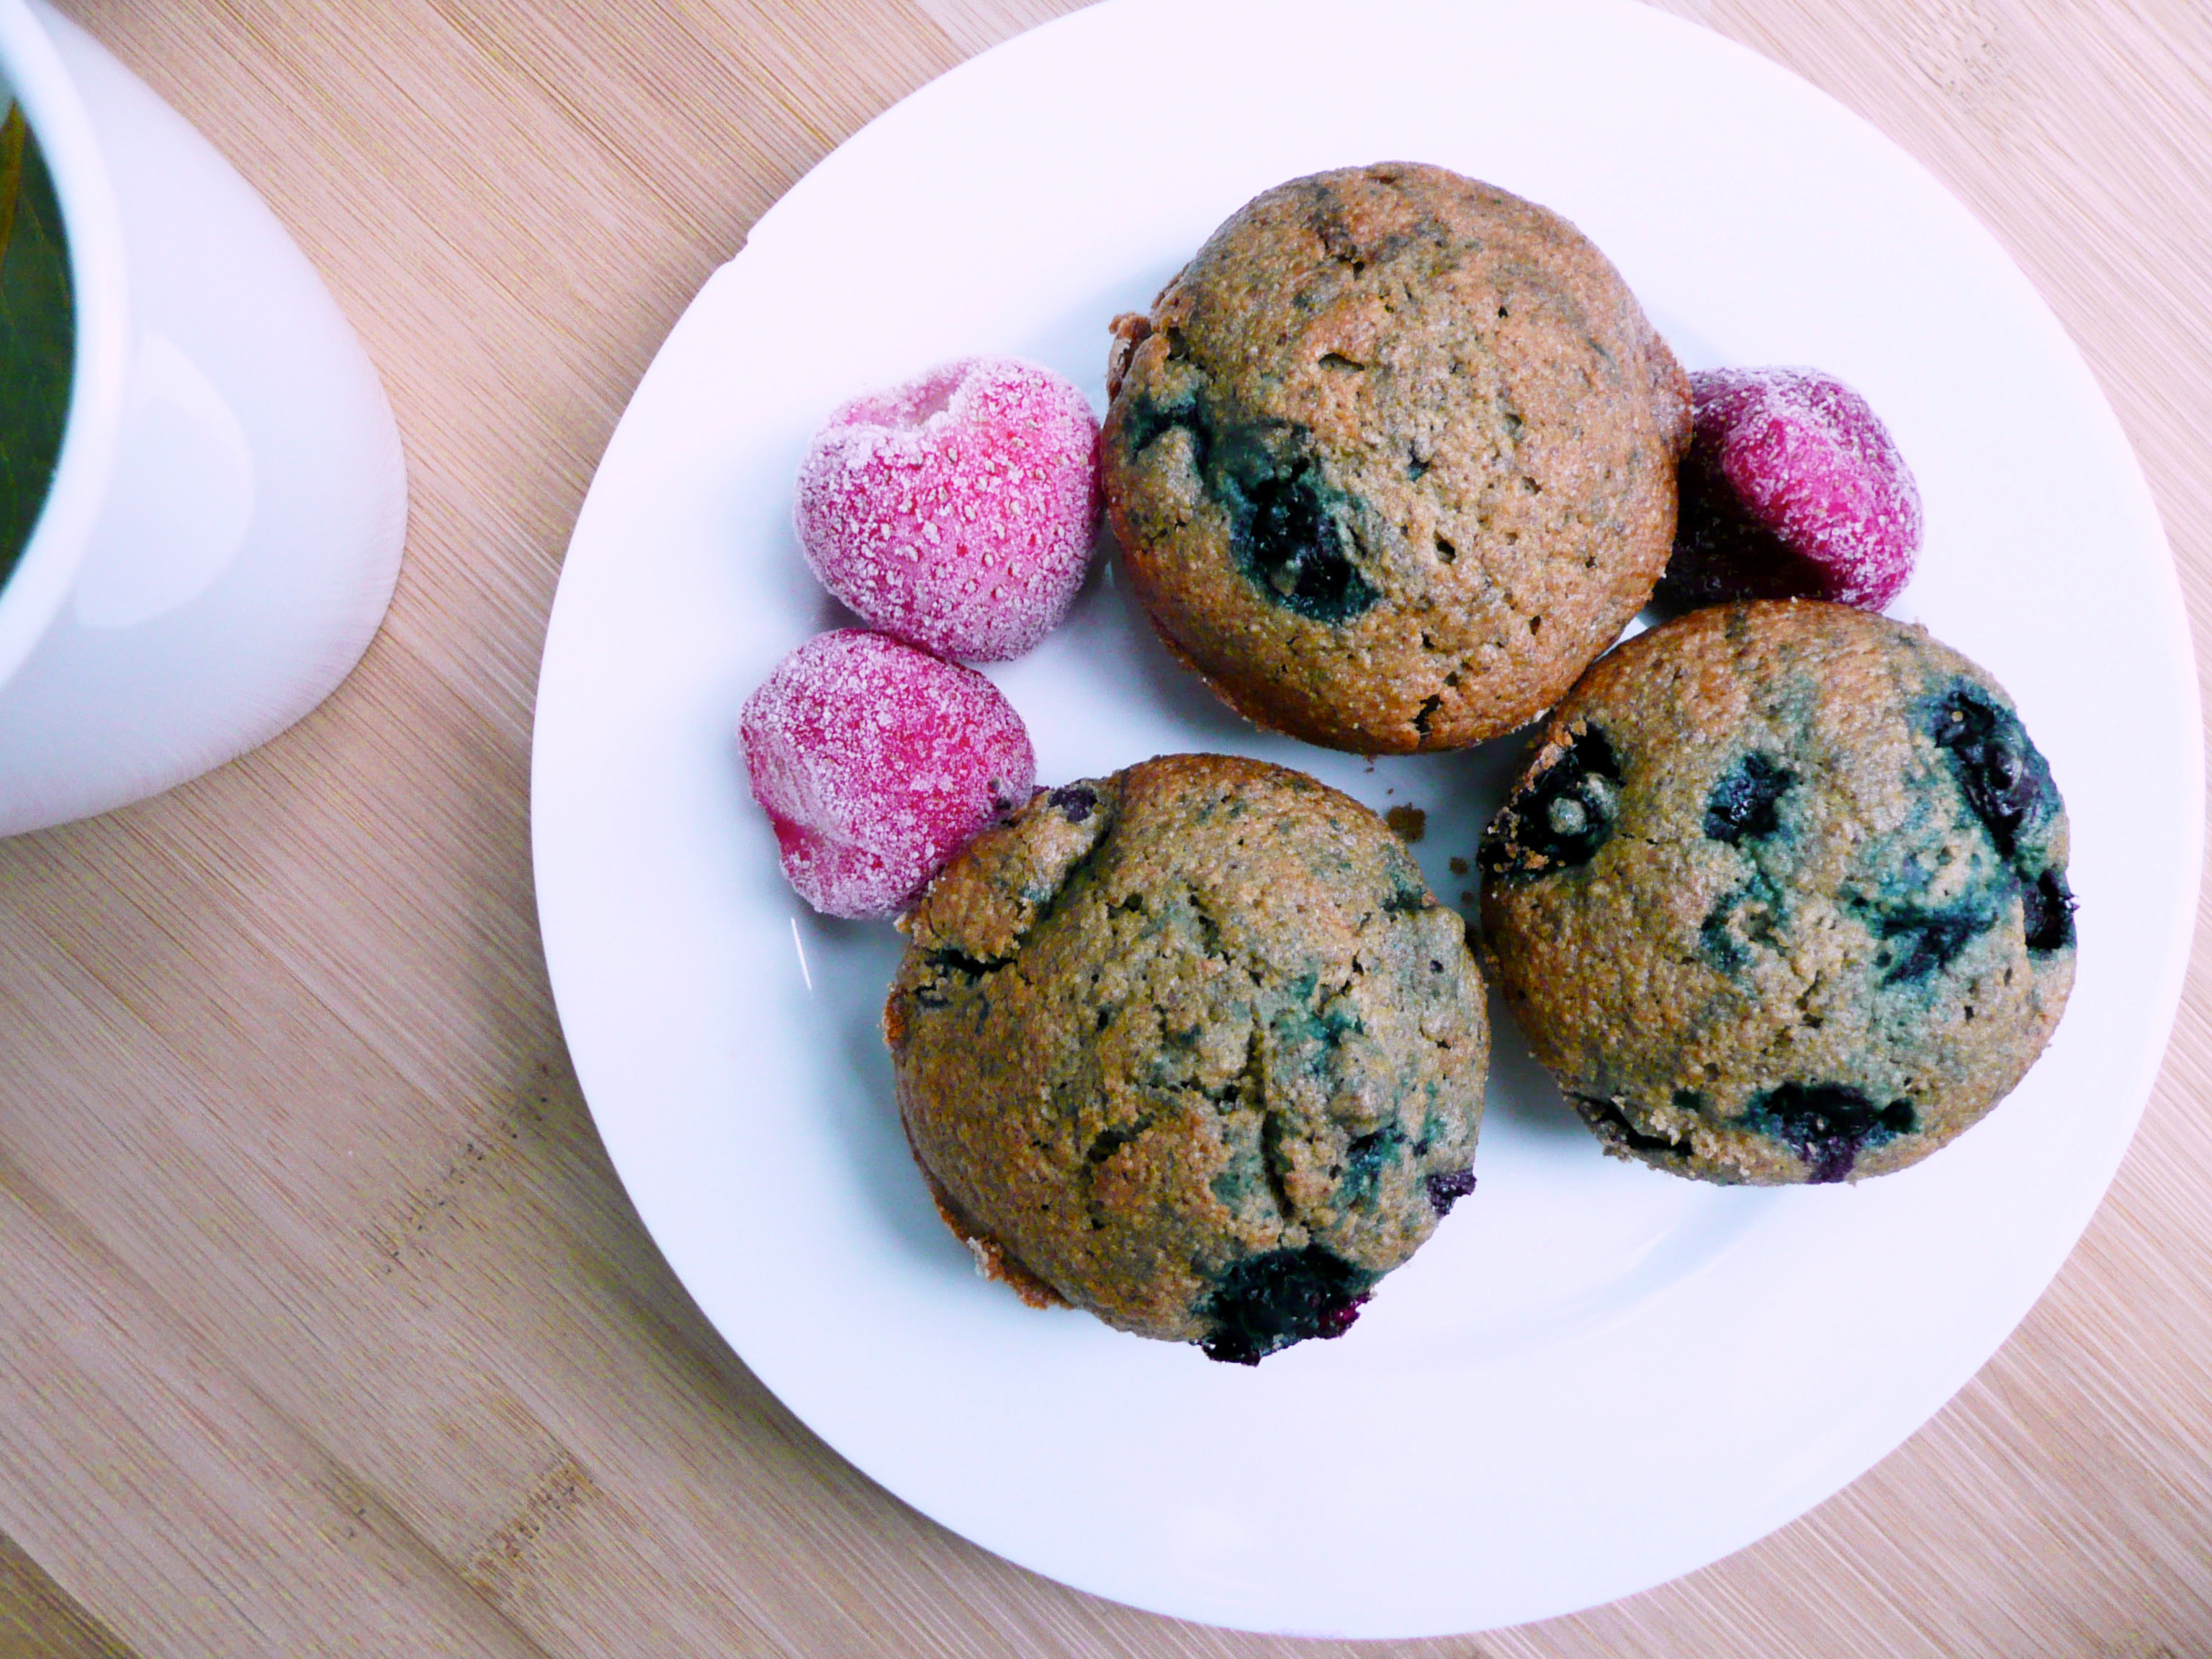
These delicious blueberry muffins are made with oat flour, and taste just like the muffins that you remember eating when you were a kid.

They are such a treat, and there’s nothing like biting into a freshly baked blueberry muffin on a cold morning with a hot cup of tea.

P1080248

Heaven.

These blueberry muffins taste amazing, and are so good that you won’t believe that they are gluten free, refined sugar free, and dairy free.

They have a really great texture, just like a normal muffin, and aren’t gummy or funny textured at all.

P1080244

They use coconut oil instead of butter, but they don’t taste like coconut at all. They are perfectly sweet, and the bright flavor of the blueberries really shines through each delicious bite.

You won’t miss gluten / dairy muffins after you eat one of these, promise.

I hope that you give them a try!


The Best Gluten Free Blueberry Muffins

Makes 8 muffins


Ingredients

1 1/3 cup of oat flour (135g) *

½ level tsp of baking soda

1 ½ tbsp ground flax seed (6g)

tiny pinch of salt


¼ cup water

1/8 level tsp of psyllium husk powder**


1/3 cup + 1 tbsp maple syrup

2 tbsp of apple cider vinegar

1/3 cup melted coconut oil***

1 egg


1 cup of blueberries – I used frozen, but fresh will work too.


* For the best results, measure out the oat flour and ground flax seed by weight on a digital scale.

I grind rolled oats in a blender until I have a pretty fine flour. Don’t use a food processor for this as the flour won’t be fine enough. If I have any extra flour, I just put in into an airtight container to use for another recipe. I grind the flax seeds using the same method.

** If you don’t have the psyllium husk powder, you can just omit it. Just add the water in with the rest of the liquid ingredients. The muffins will still turn out well, just slightly more crumbly.

*** The coconut oil makes the muffins more solid at temperatures below 76 degrees, but you can heat them up in a toaster oven at a low temperature and they will become soft again. If you want the muffins to be soft all the time, you can probably substitute a neutral flavored oil that’s liquid at room temperature for the coconut oil.


Instructions

1. Grease and flour 8 of the wells in your muffin pan with some coconut oil and oat flour, or you can skip this step and just pop 8 muffin liners into the muffin pan.

2. Mix together the water and psyllium husk powder in a small bowl, and set aside the bowl aside for 5 minutes to allow the psyllium husk to gel.

3. In a large bowl sift together the oat flour, baking soda, salt, and ground flax seed.

4. In a separate medium sized bowl beat the egg, and add in the maple syrup, apple cider vinegar, and the psyllium husk mixture and stir until well combined.

5. Add the melted coconut oil to the flour mixture and give it a good stir. Add in rest of the liquid ingredients to the muffin batter and stir until well combined.

6. Set a timer for 15 minutes and let your muffin mixture rest.

7. Preheat your oven to 350.

8. When the timer goes off, put your blueberries into a sieve and using your snap mesh tea strainer (or you can use another sieve or even a tablespoon) to sift oat flour over your blueberries until they are well coated in the oat flour. Shake the berries in the sieve to get any excess oat flour off of them.

Coating the berries in the oat flour makes it so that the berries don’t sink to the bottom of the muffins while as they bake.

9. Fold the blueberries through your batter (try not to stir the mixture too much, as too much mixing will cause the frozen blueberries to turn the muffin batter purple), and divide the batter equally amongst the 8 muffin wells.

One note about this, because we’re using coconut oil and the berries are frozen, the batter will seize up on you because coconut oil turns solid under 76 degrees F (24 C). If the berries are fresh you shouldn’t have this problem, but it’s fine.

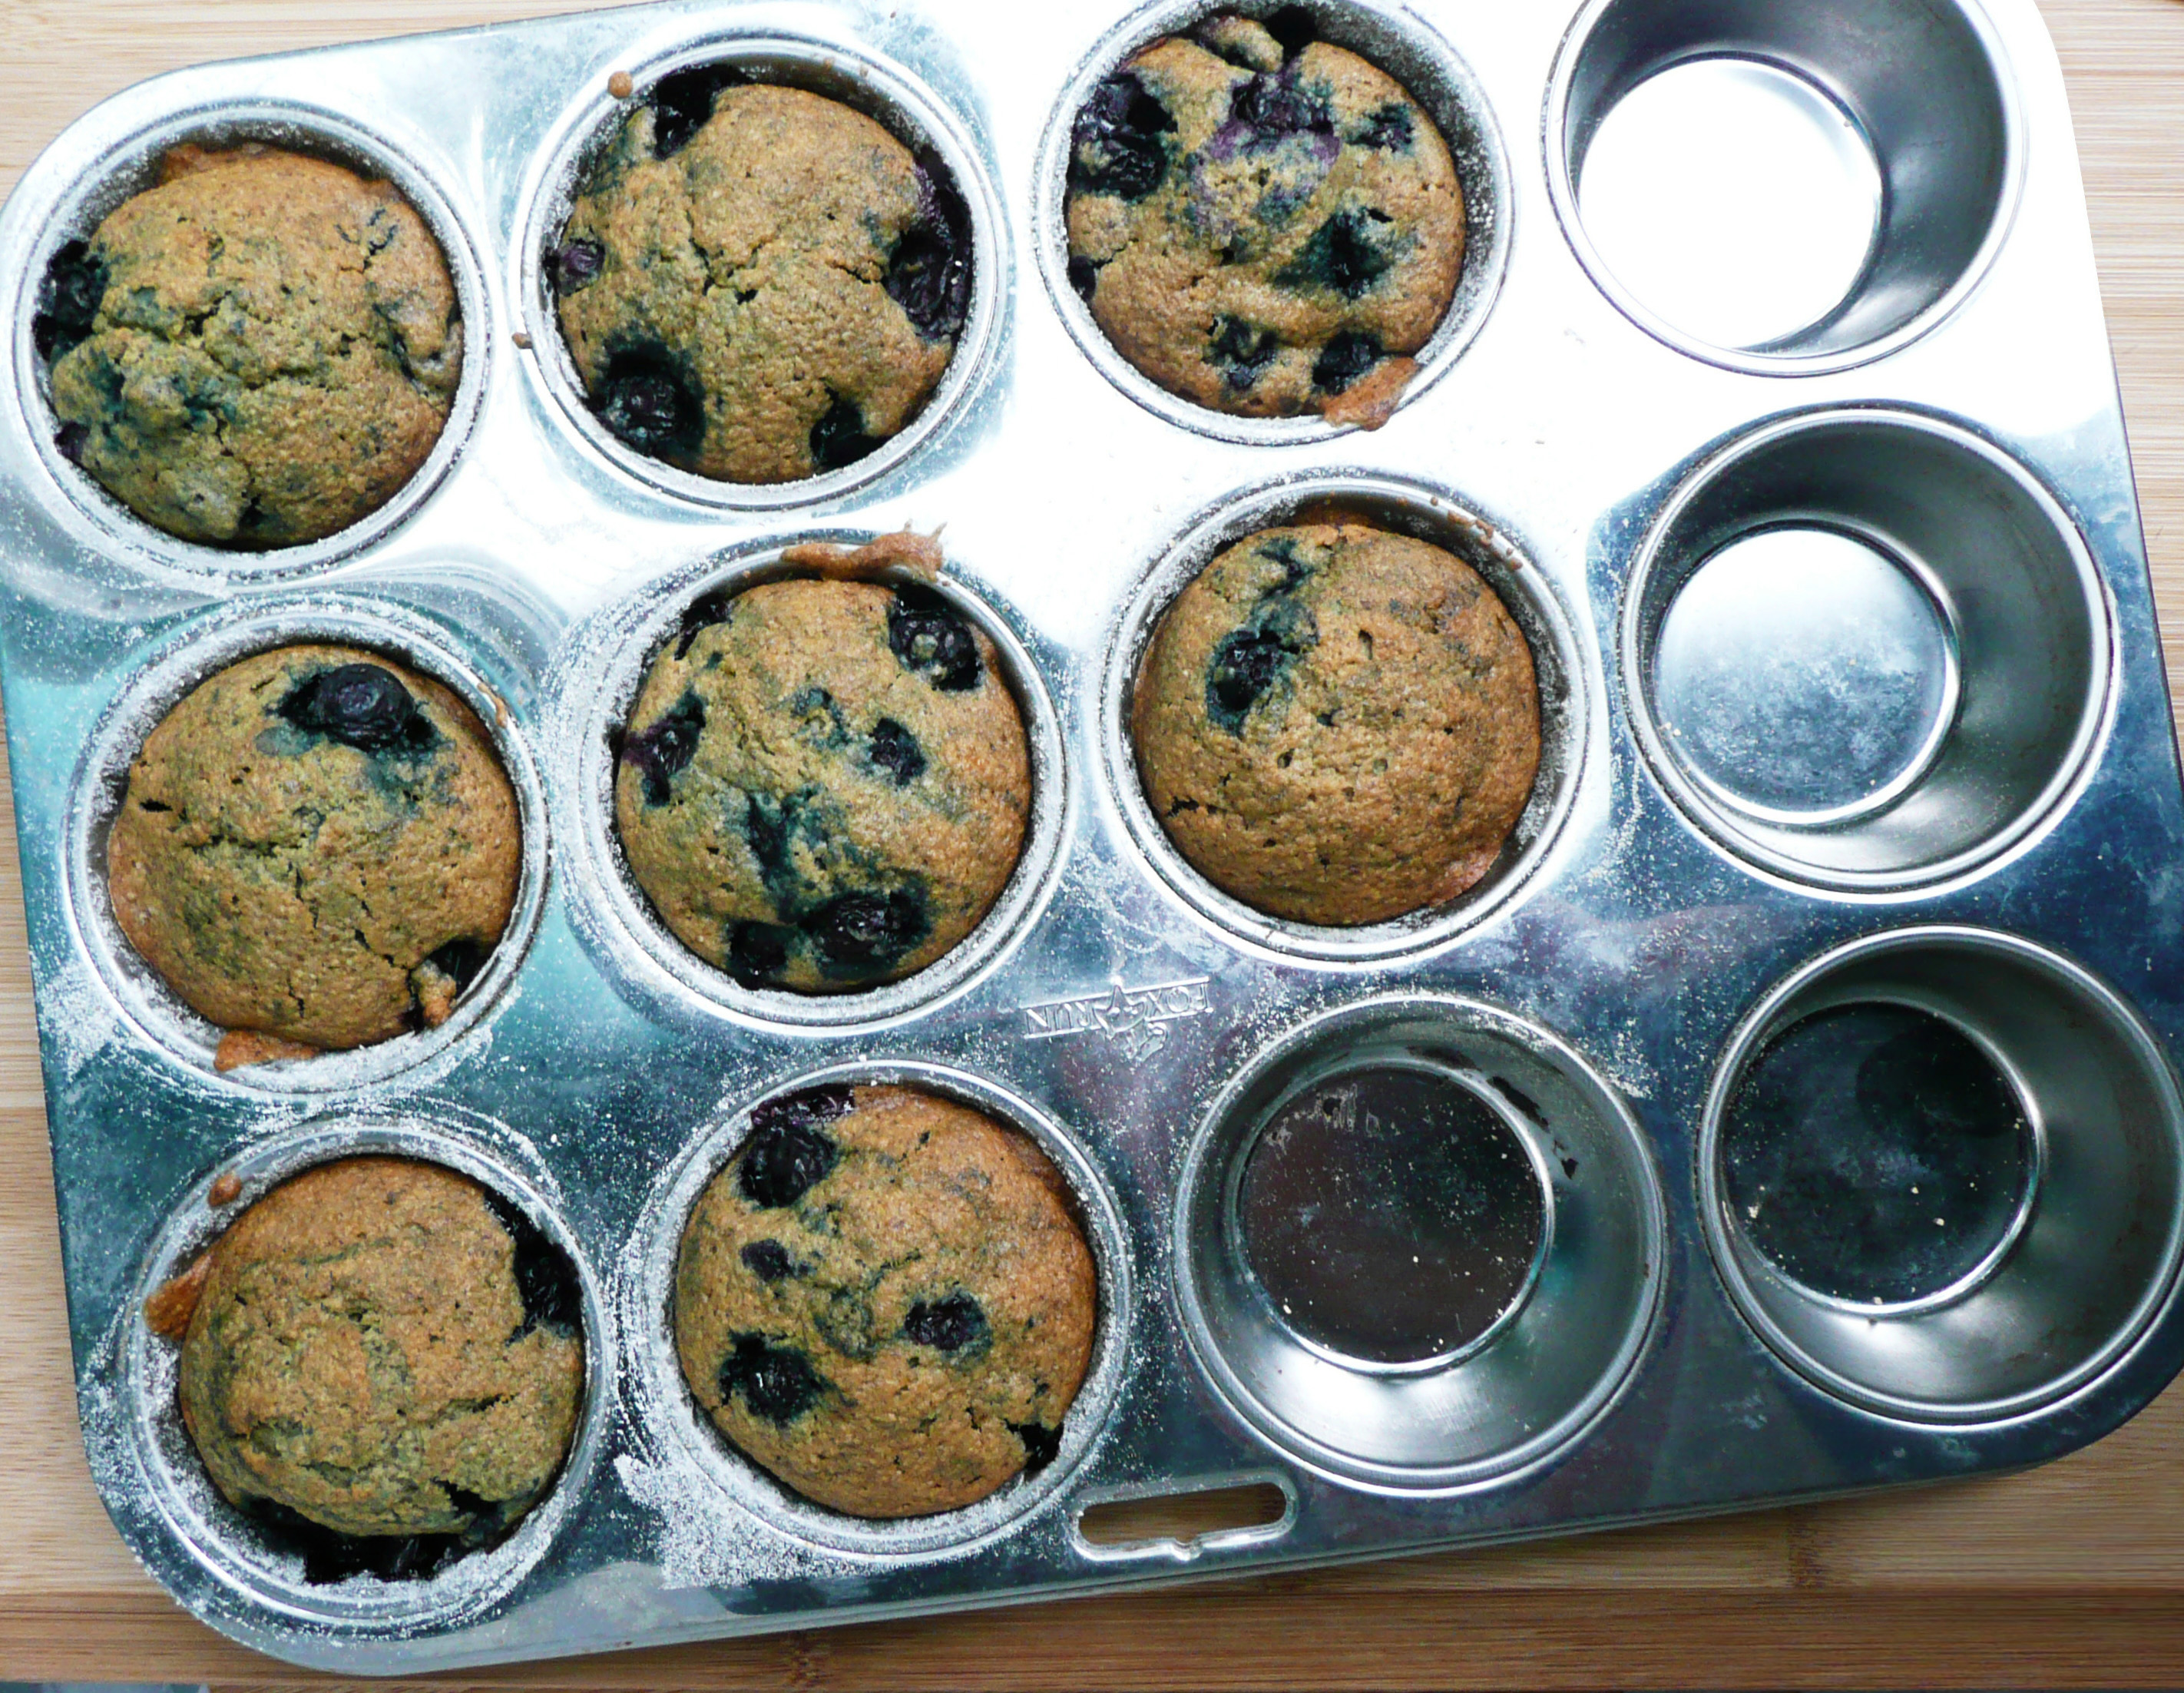
Just do the best you can to divide the batter up as equally as possible, and don’t worry if the mixture looks lumpy when you put the muffins into the oven. The muffins will smooth out in the oven and will bake up beautifully.

9. Pop the muffins into the oven, and bake for 25 minutes, turning the muffins 180 degrees after they’ve been in the oven for 13 minutes. You don’t have to do this, but it helps the muffins to bake more evenly.

Some of the muffins will look like they are baking more quickly than others. Don’t worry about this as they will all bake up evenly at the end.

11. After the 25 minutes, turn the oven temperature up to 375, and turn the muffin pan by 90 degrees. Allow the muffins to bake for another 10 minutes until they are golden brown.

If you test the muffins with a toothpick, it should come out pretty clean with just a few crumbs here and there.

Allow the muffins to cool in the pan for 30 minutes. Run a knife around the edge of each muffin and pop them out onto a plate and serve.


P1080263

Happy Eating!


Shrimp Pad Thai

Weeknight Shrimp Pad Thai – Easy and Quick Recipe – Refined Sugar Free

P1080345

Pad Thai is the kind of dish that you love to eat, but are not quite sure how to make yourself.

At least that’s what I thought until I found a really easy recipe for pad thai on Goop.

What I really loved about the recipe from Night + Market on Goop was how simple the recipe was. I love pad thai, but most of the recipes that I found online had a lot of specialty ingredients that I would have to go a little out of the way to find.

I never attempted to make it myself before, but that recipe looked so easy, and with a few swaps, I knew that I could make a pad thai that would work with my dietary restrictions.
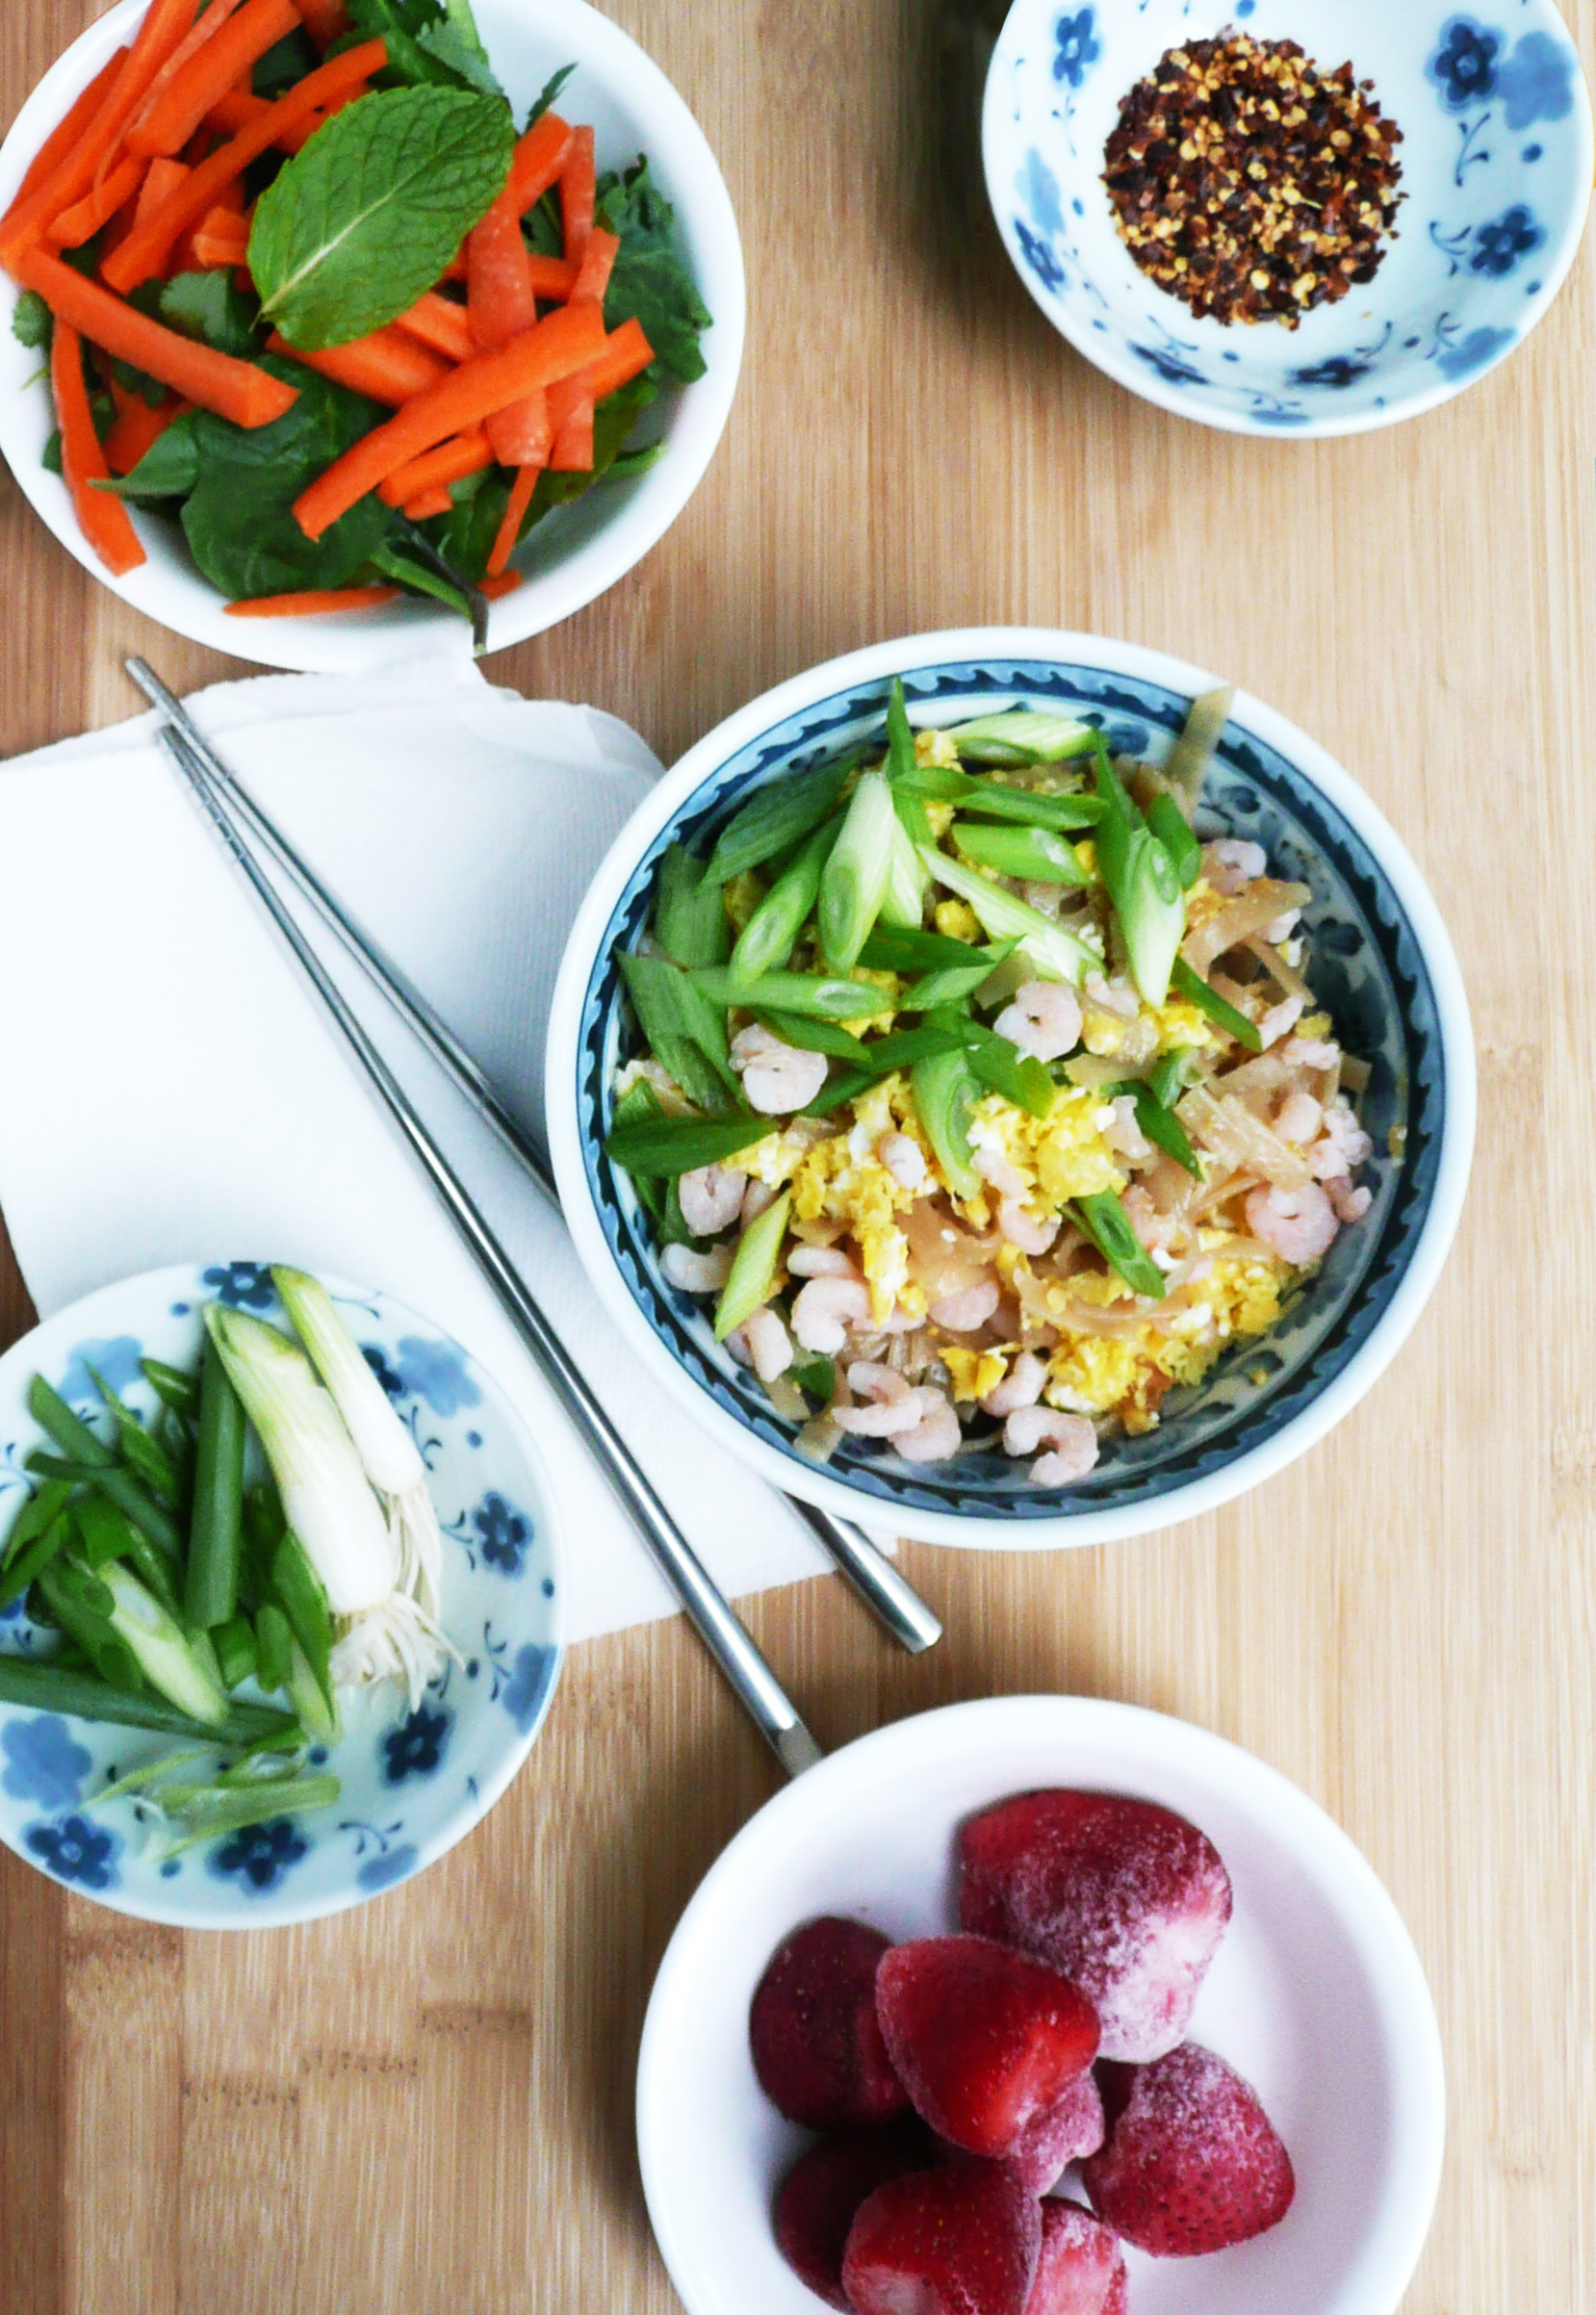
P1080307-2

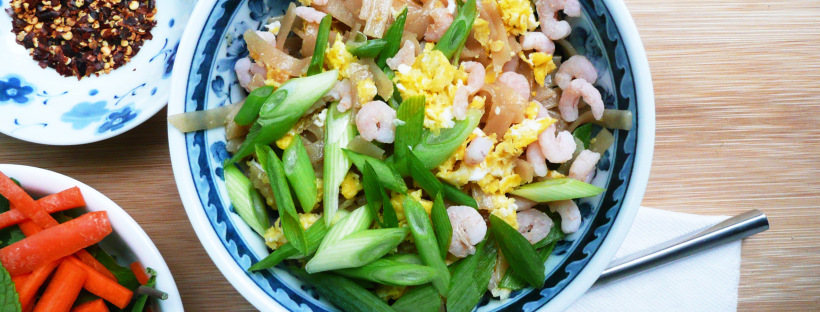
This pad thai is made from ingredients that you can find at your local grocery store, and can be made in about half an hour. Perfect for a weeknight dinner.

Also great if you’re craving pad thai, but don’t live anywhere close to a Thai restaurant…

I used wild caught pink shrimp from Oregon (which I was able to find at my local supermarket in the display case at the seafood section, but I’ve also seen it sold at Costco as well). I only buy this kind of shrimp these days because it’s sustainably harvested, and also because it doesn’t contain any preservatives or ingredients that many other frozen shrimp are processed with.

The working conditions for people who catch, farm, and process shrimp around the world can also be very harsh and inhumane, so by purchasing domestically caught shrimp, I hope that I’m supporting more ethical working conditions for people who work in the shrimping industry.

You can find more information about Oregon Pink Shrimp here. This isn’t an affiliate link, just more info in case you’re curious about how the shrimp are caught.
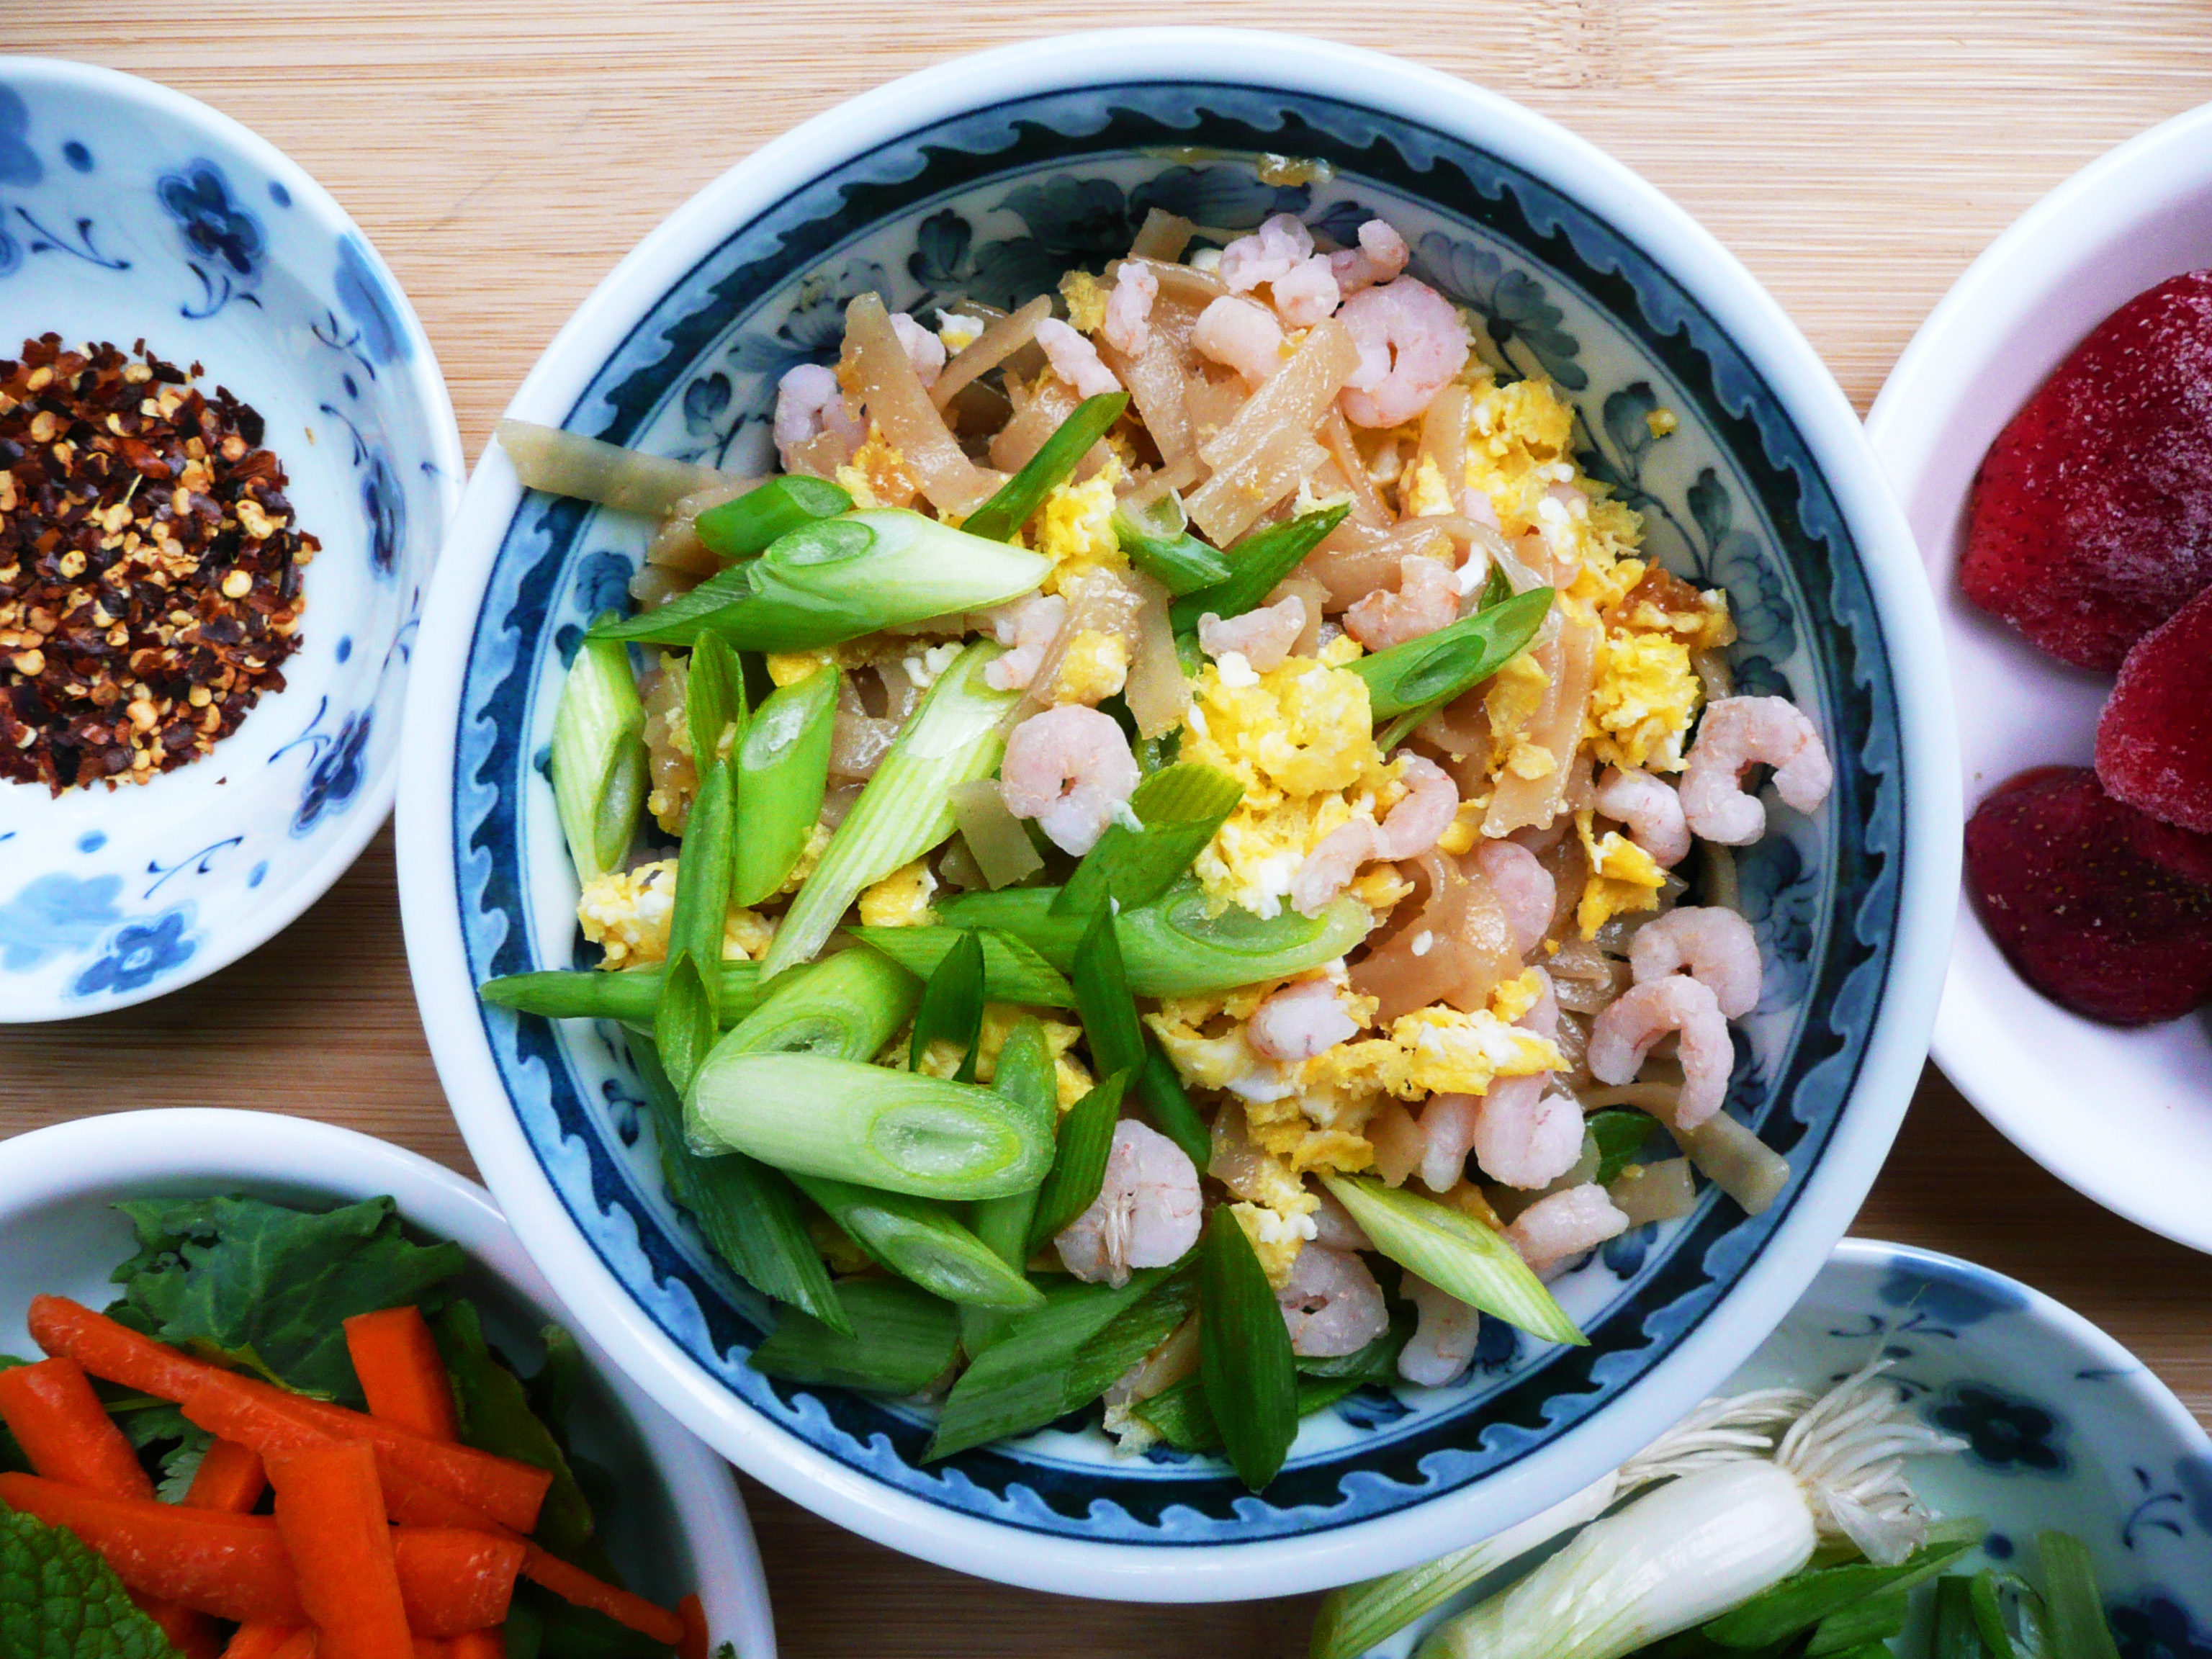
P1080304

This type of shrimp is pretty inexpensive, at about $8 – $9 per lb, and it’s also just as tasty as the larger shrimp which makes it a good buy in my book. The amount of pink shrimp in this dish cost about $1, so while this pad thai feels very luxurious, it’s actually really budget friendly.

For more information on what to look for when buying shrimp, you can check out this article here.

About the fish sauce, I use the Red Boat brand fish sauce, because it’s only made from anchovies and salt (and therefore paleo, and refined sugar free). You can find it online, but I managed to find a bottle of the 500 ml (17 oz.) size for about $7 at my local Asian market, so it’s worth checking out your local Asian market if you have one nearby to see if they have it cheaper than online.

The noodles that I used were Fettuccini Style / Pad Thai noodles from Tinkyada which I found at my local grocery store. They weren’t organic, (but hey, it happens, you do the best you can). They were also on sale, which was definitely a plus, and the noodles worked great for this recipe.
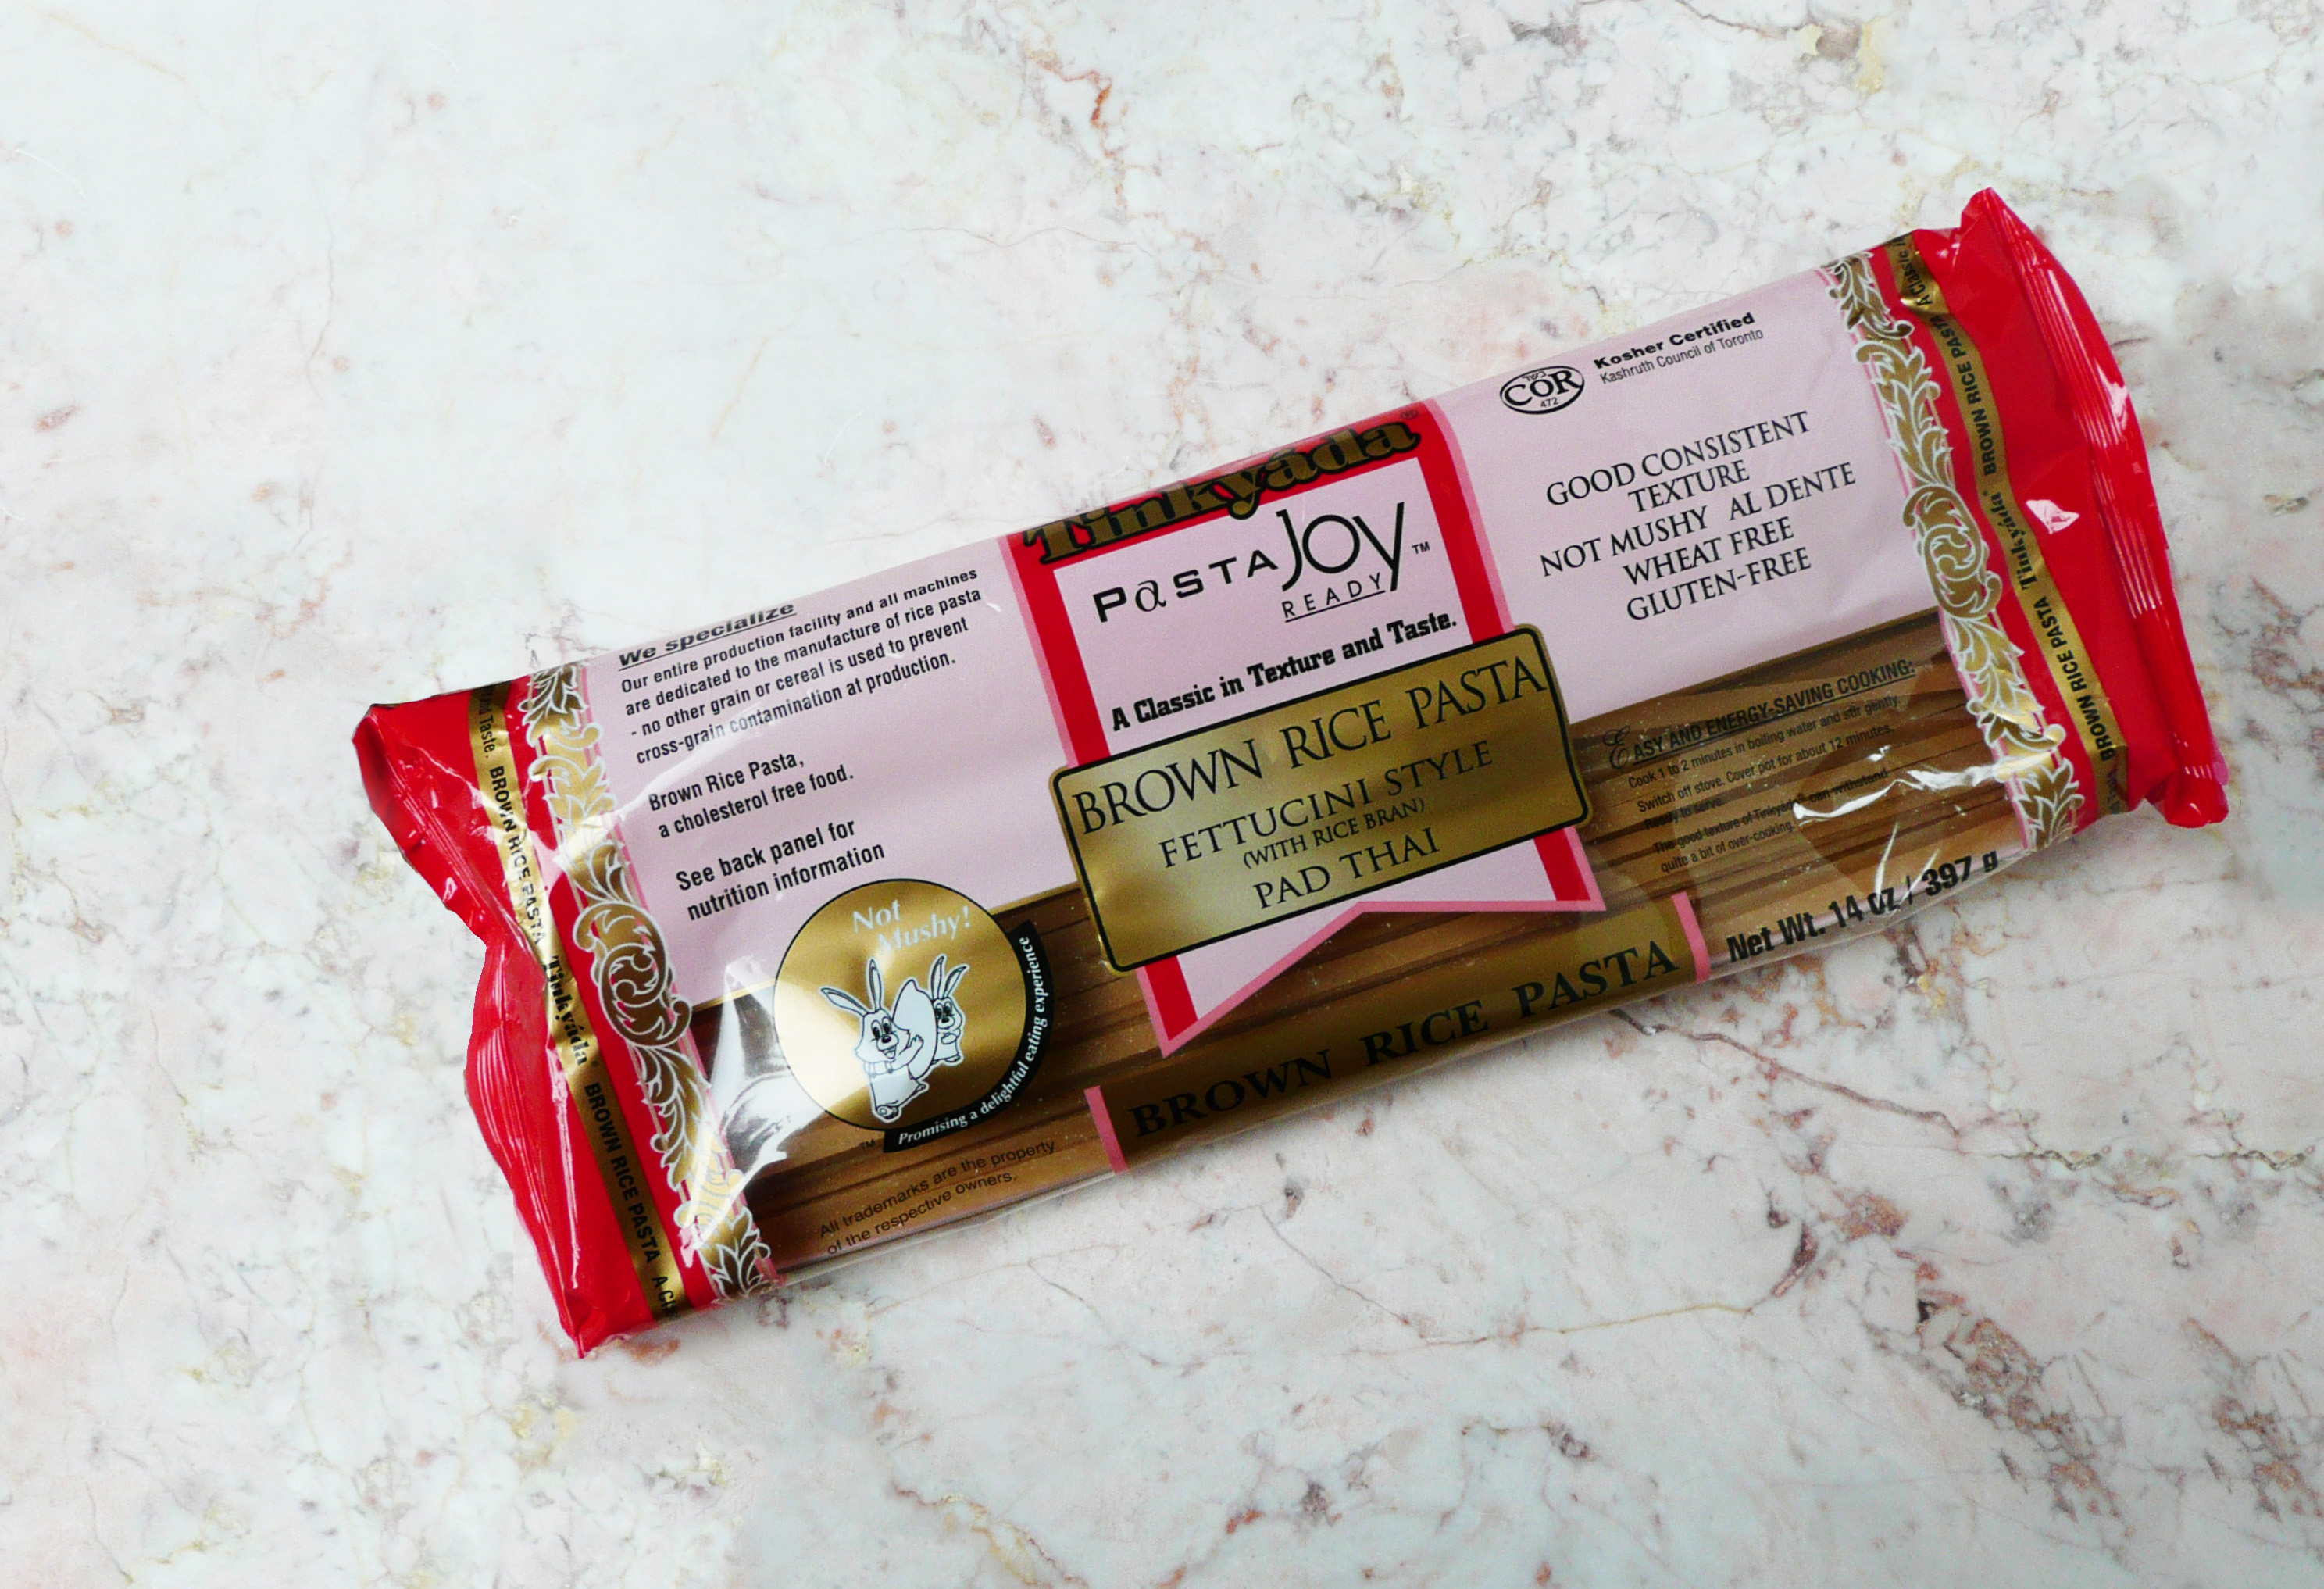
brown rice noodles.jpg

There is a decent amount of maple syrup in this recipe, so if you’re watching your sugar intake, this may not be a meal that you eat every night, but it is certainly a really amazing and tasty dinner to have as a treat every once in a while.

If you’re planning on eating a few sides along with this (like a salad, fruit, etc.) this recipe makes enough for 2 smaller servings, but if you’re just eating it by itself, then it’s really just enough for one person, especially if you’re really hungry.

I hope that you give the recipe a try! It’s so good, and you’ll be super proud that you made a dish that you once thought that you could only enjoy in restaurants.
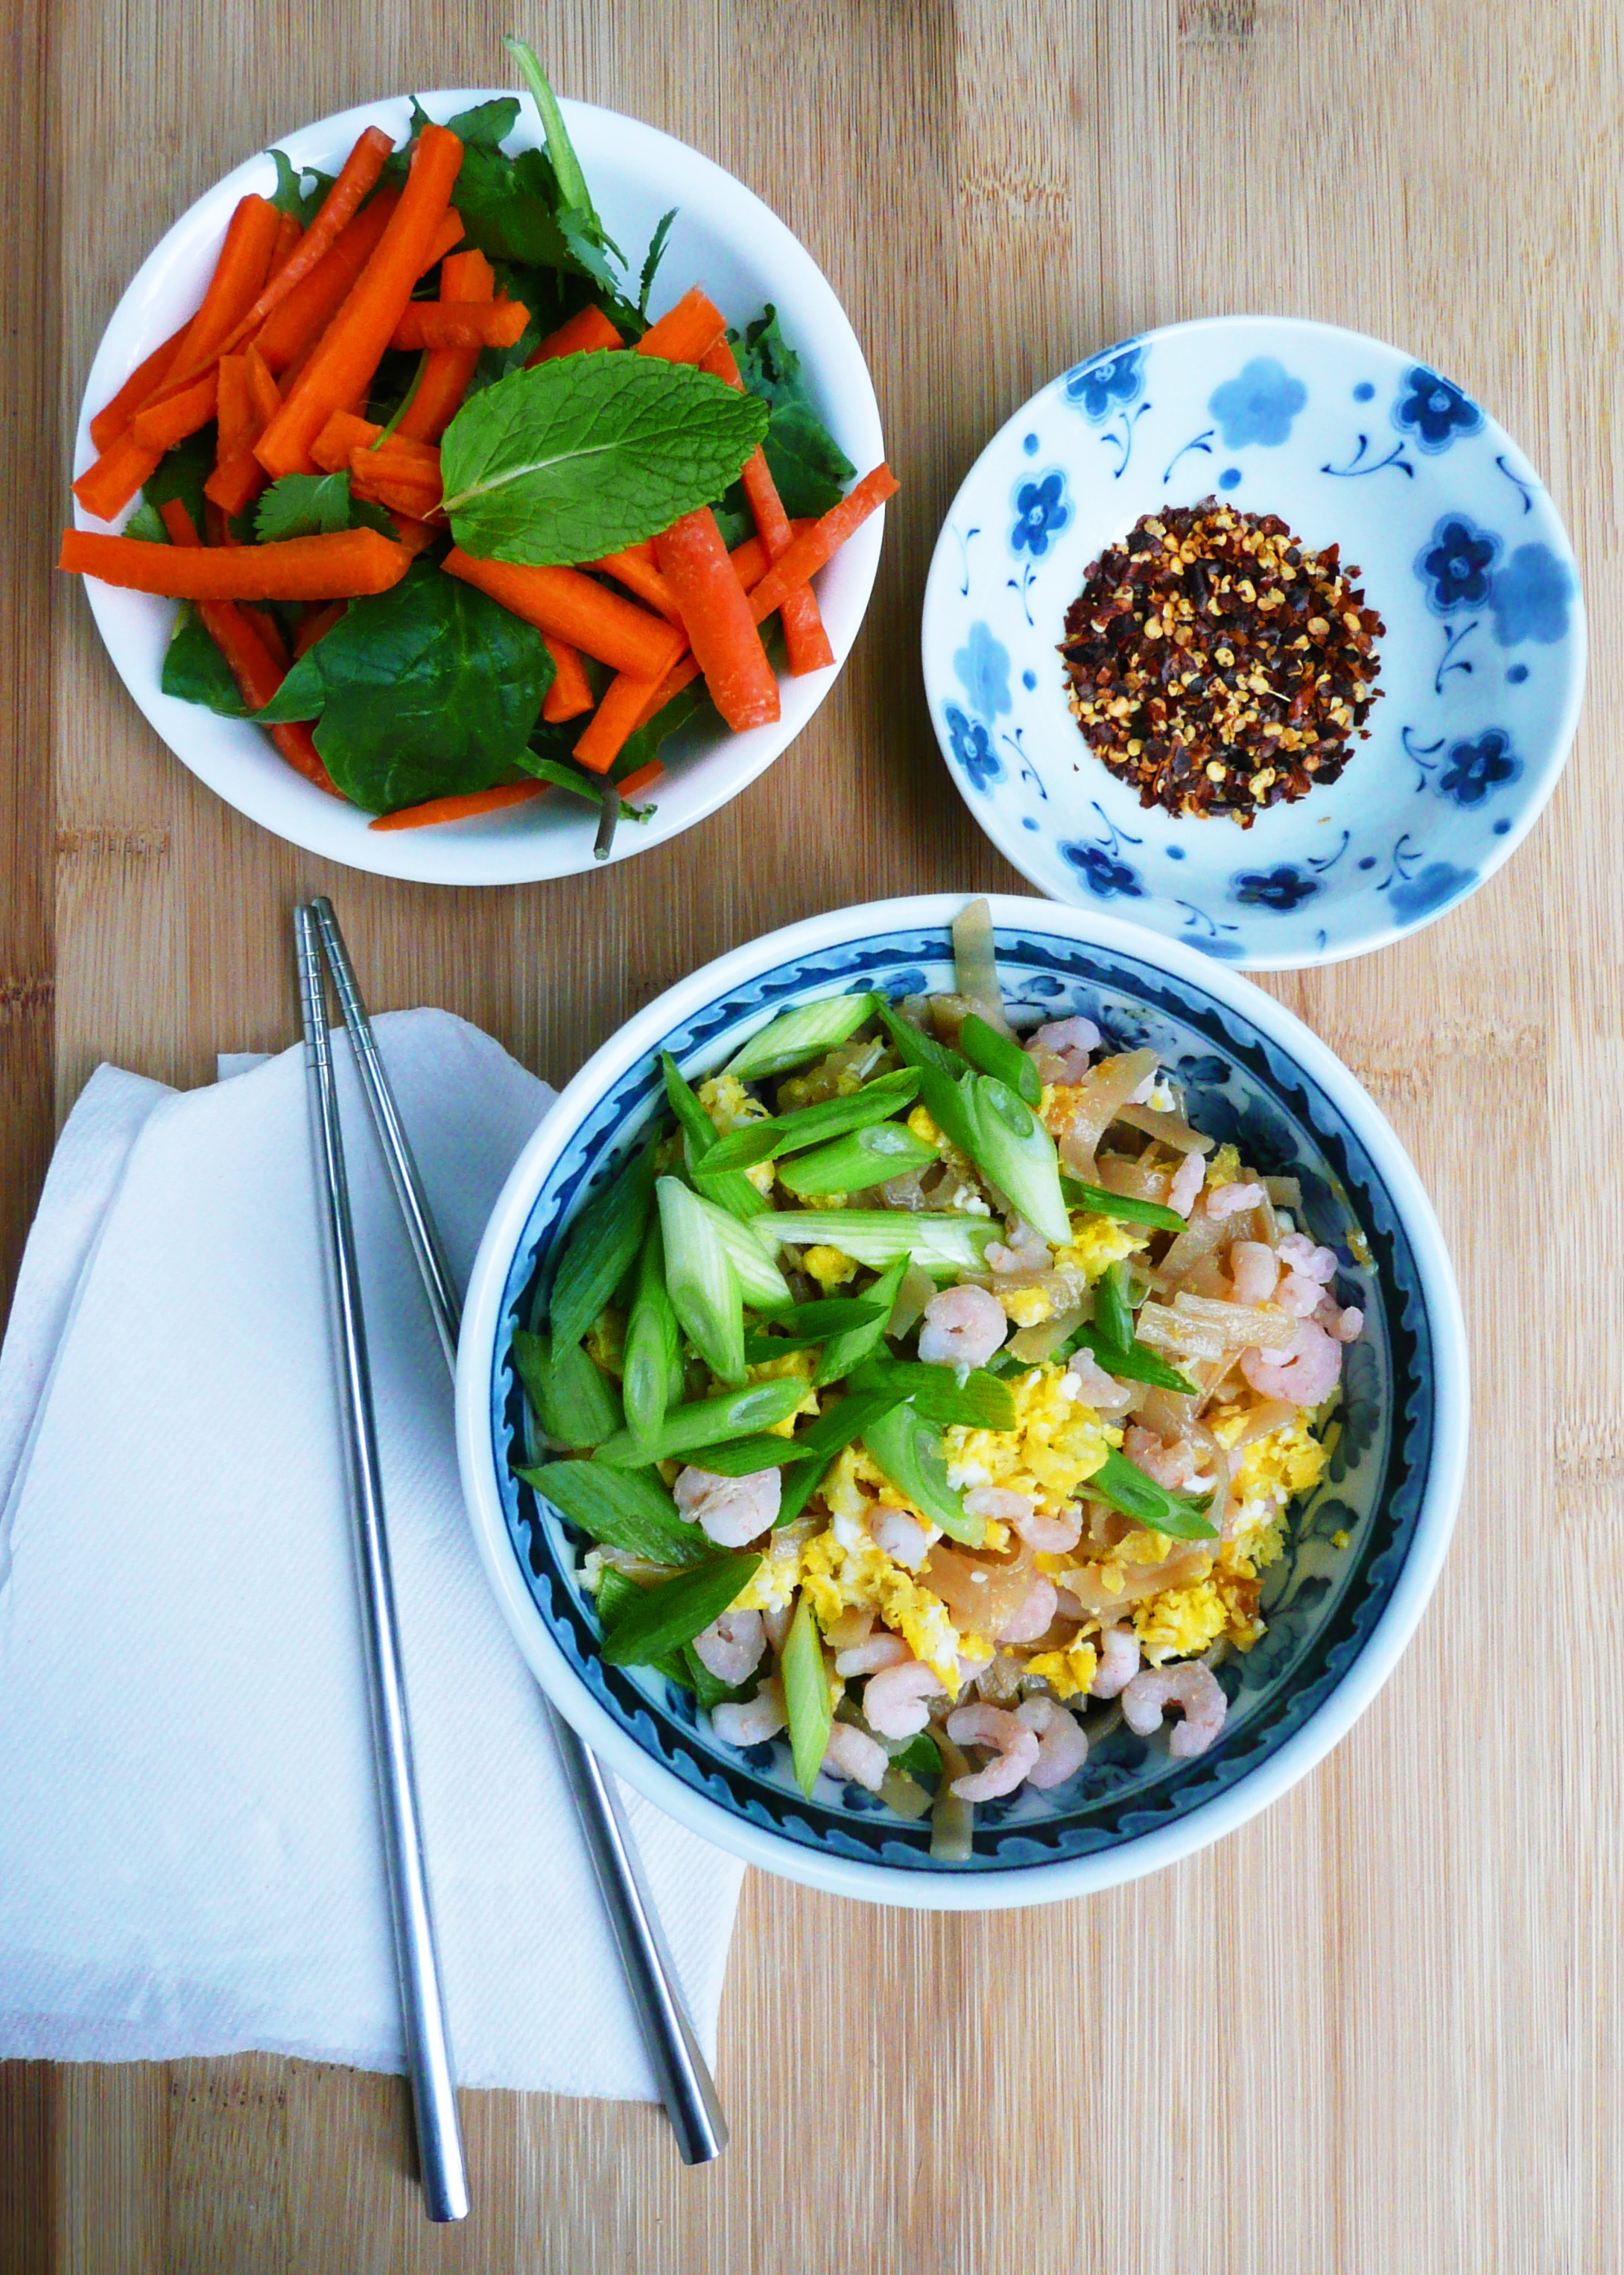
 

P1080350

Weeknight Shrimp Pad Thai

Adapted from this recipe.

Makes 2 servings, or 1 larger serving for a very hungry person.


Ingredients

4-5 oz of dried brown rice noodles *

4 tbsp of maple syrup

2 tbsp of fish sauce

2 tbsp of apple cider vinegar

1/3 cup of frozen pink shrimp

1-2 eggs (depending on how hungry you are)

2 green onions, thinly sliced


1 lime, cut into wedges for serving


* Note – If you hold the noodles between your thumb and forefinger, the circle that 4-5 oz. of noodles should make will be about the size of a quarter.

If you can get your hands on some bean sprouts, then definitely add those in too, as they add a nice crunch to the dish. I just couldn’t find any at my local grocery store, but the dish was still incredibly tasty.


Instructions

1. Make a skillet non-stick, and scramble your eggs. Tip the cooked eggs onto a plate and set aside.

2. Put the shrimp into a strainer and rinse under cool water. Place the shrimp into a medium size saucepan and cover them with about an inch of water. Bring the water to a boil and let the shrimp cook for a minute or two before draining. Set the shrimp aside.

The shrimp is already cooked, I just do this because it brings the shrimp up to temperature, but also kills off any potential pathogens that it may have picked up while it was sitting in the display case with raw fish.

3. Fill the medium saucepan with water and then cook your noodles. The directions for this package of noodles said to cook them for 10 -11 minutes, but I only cooked them for 6-7 minutes. You want to undercook your noodles a bit, as you’re going to finish cooking the noodles in the pad thai sauce. Drain the noodles and set aside.

4. Stir together the apple cider vinegar, fish sauce, and maple syrup. Add the sauce to the skillet along with the cooked noodles and cook over medium heat, stirring frequently until the noodles have absorbed all the sauce.

5. Add in the green onions, cooked eggs, and shrimp and stir them through the noodles, and continue to cook them for another 30 seconds or so until the eggs and shrimp are warmed through.

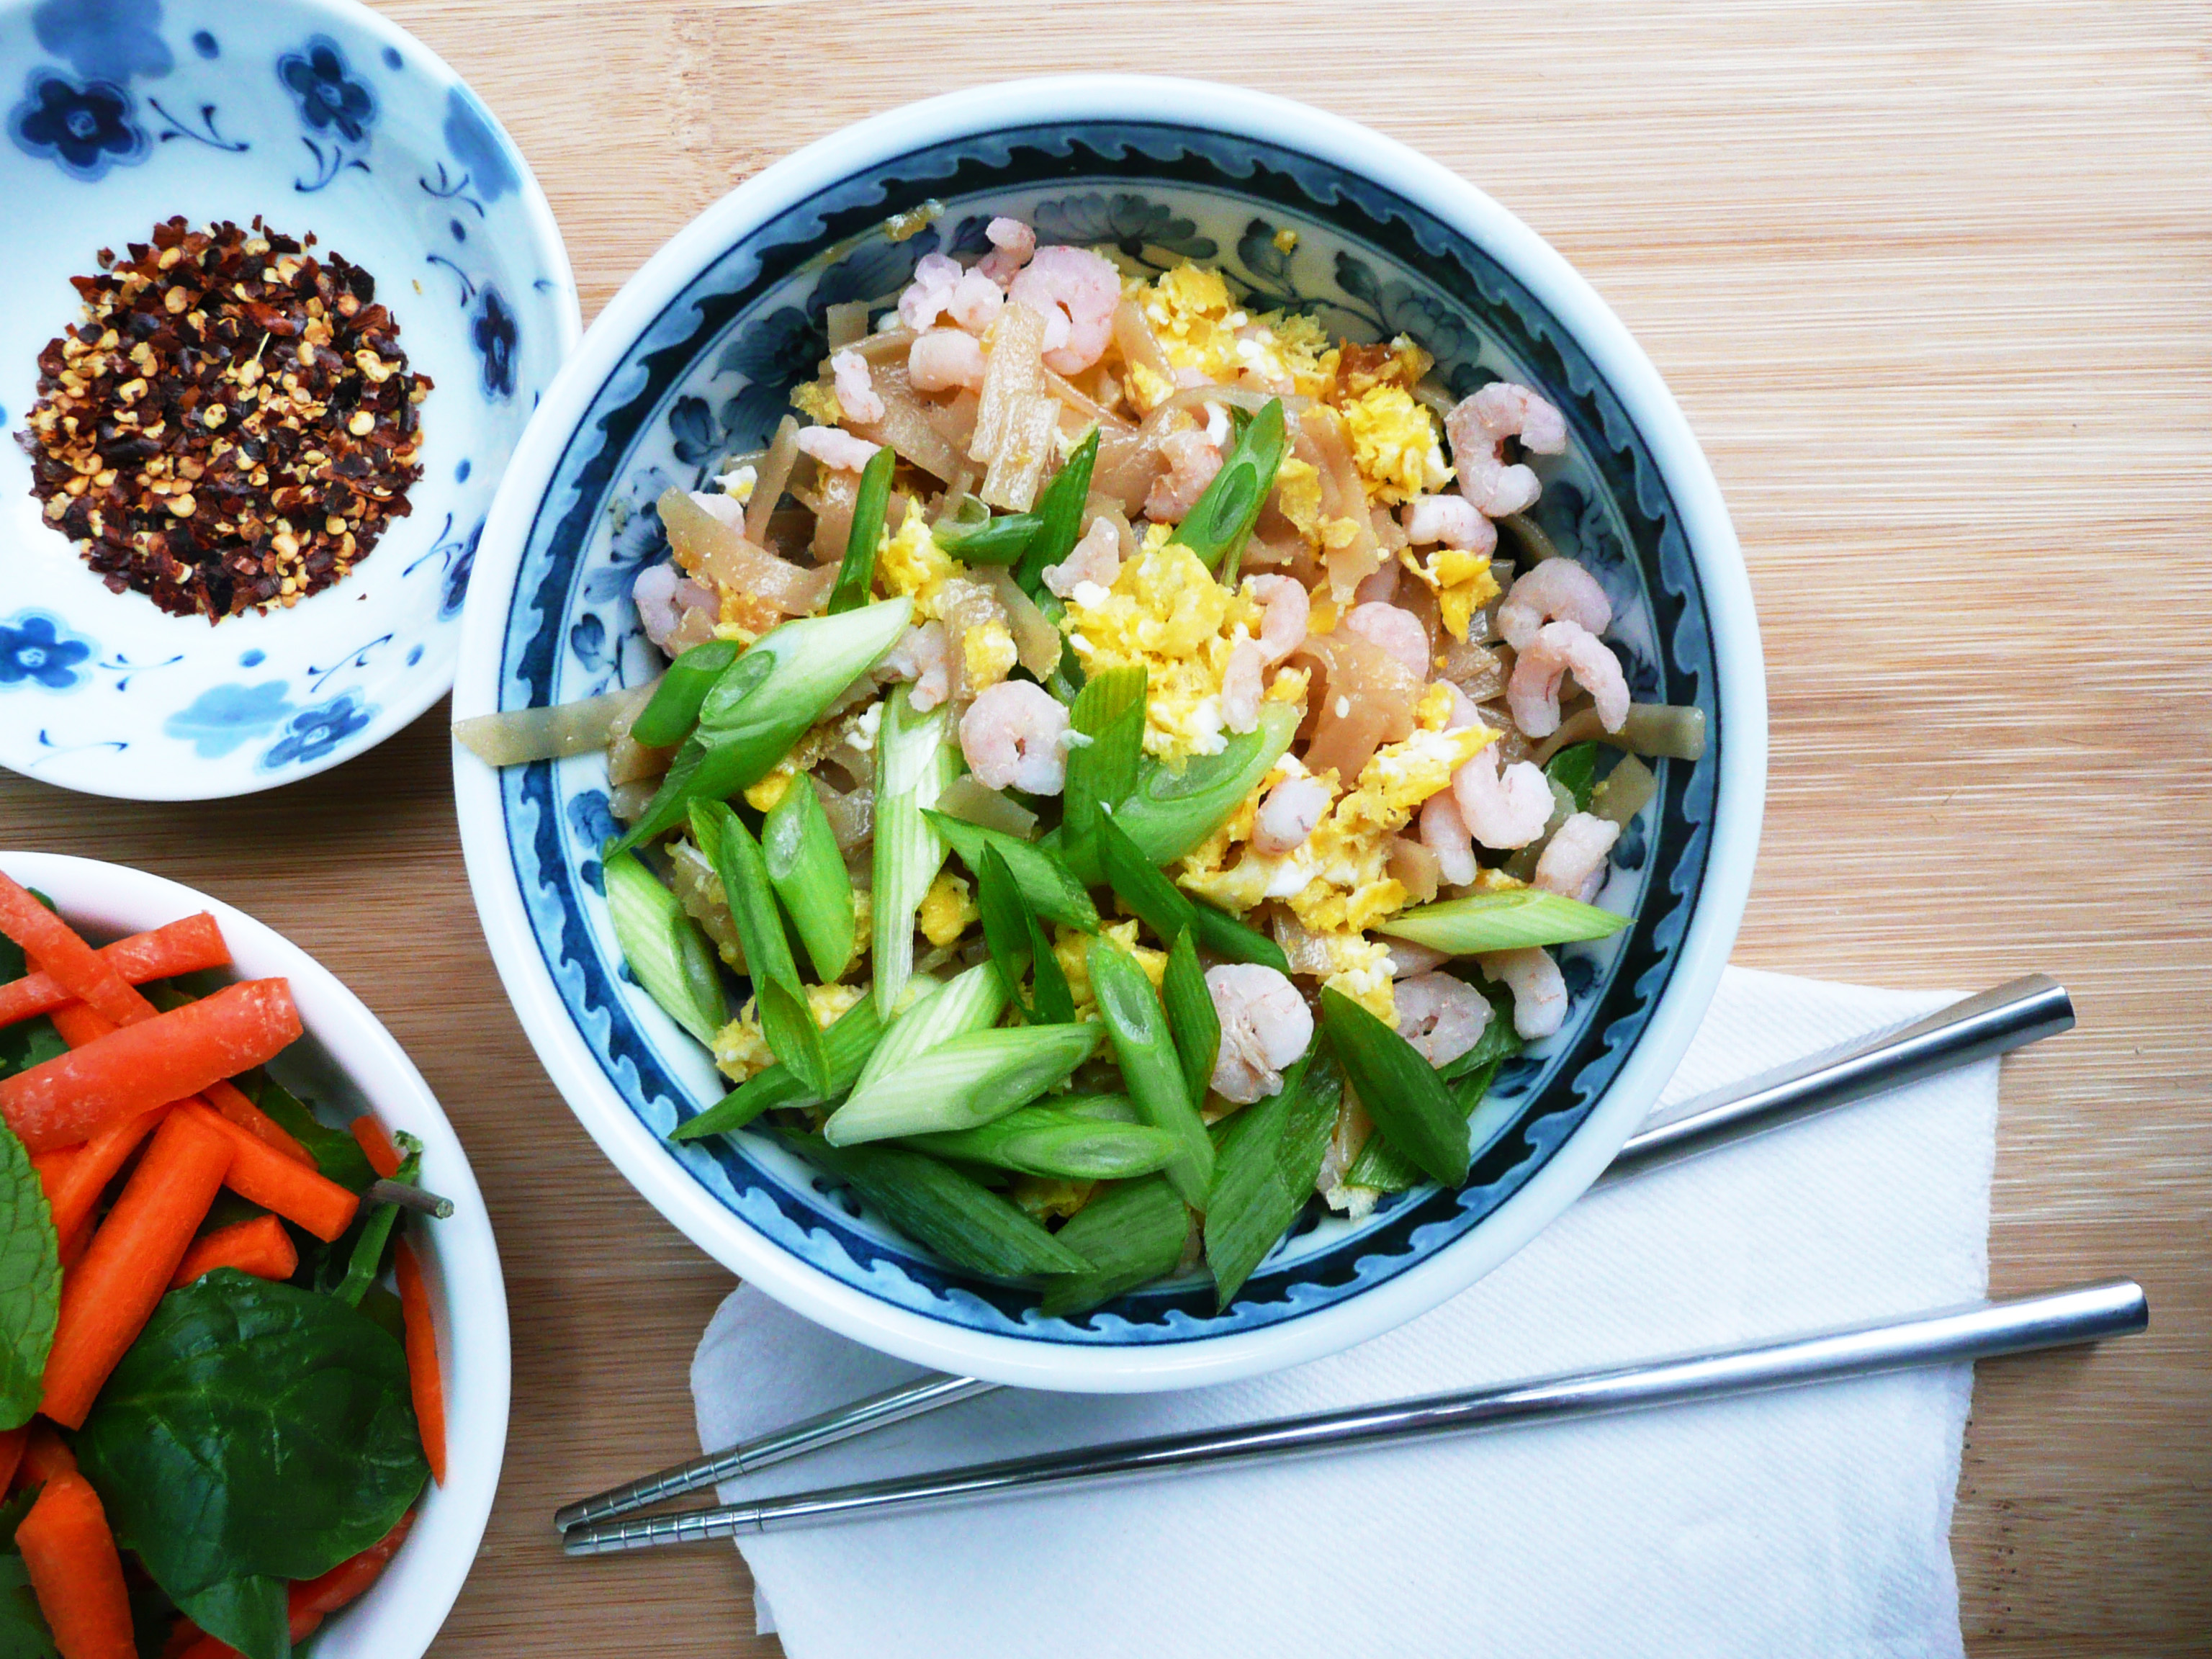
6. Spoon the noodles into a bowl (or two bowls) and serve with lime wedges, and a little bowl of red pepper flakes on the side.
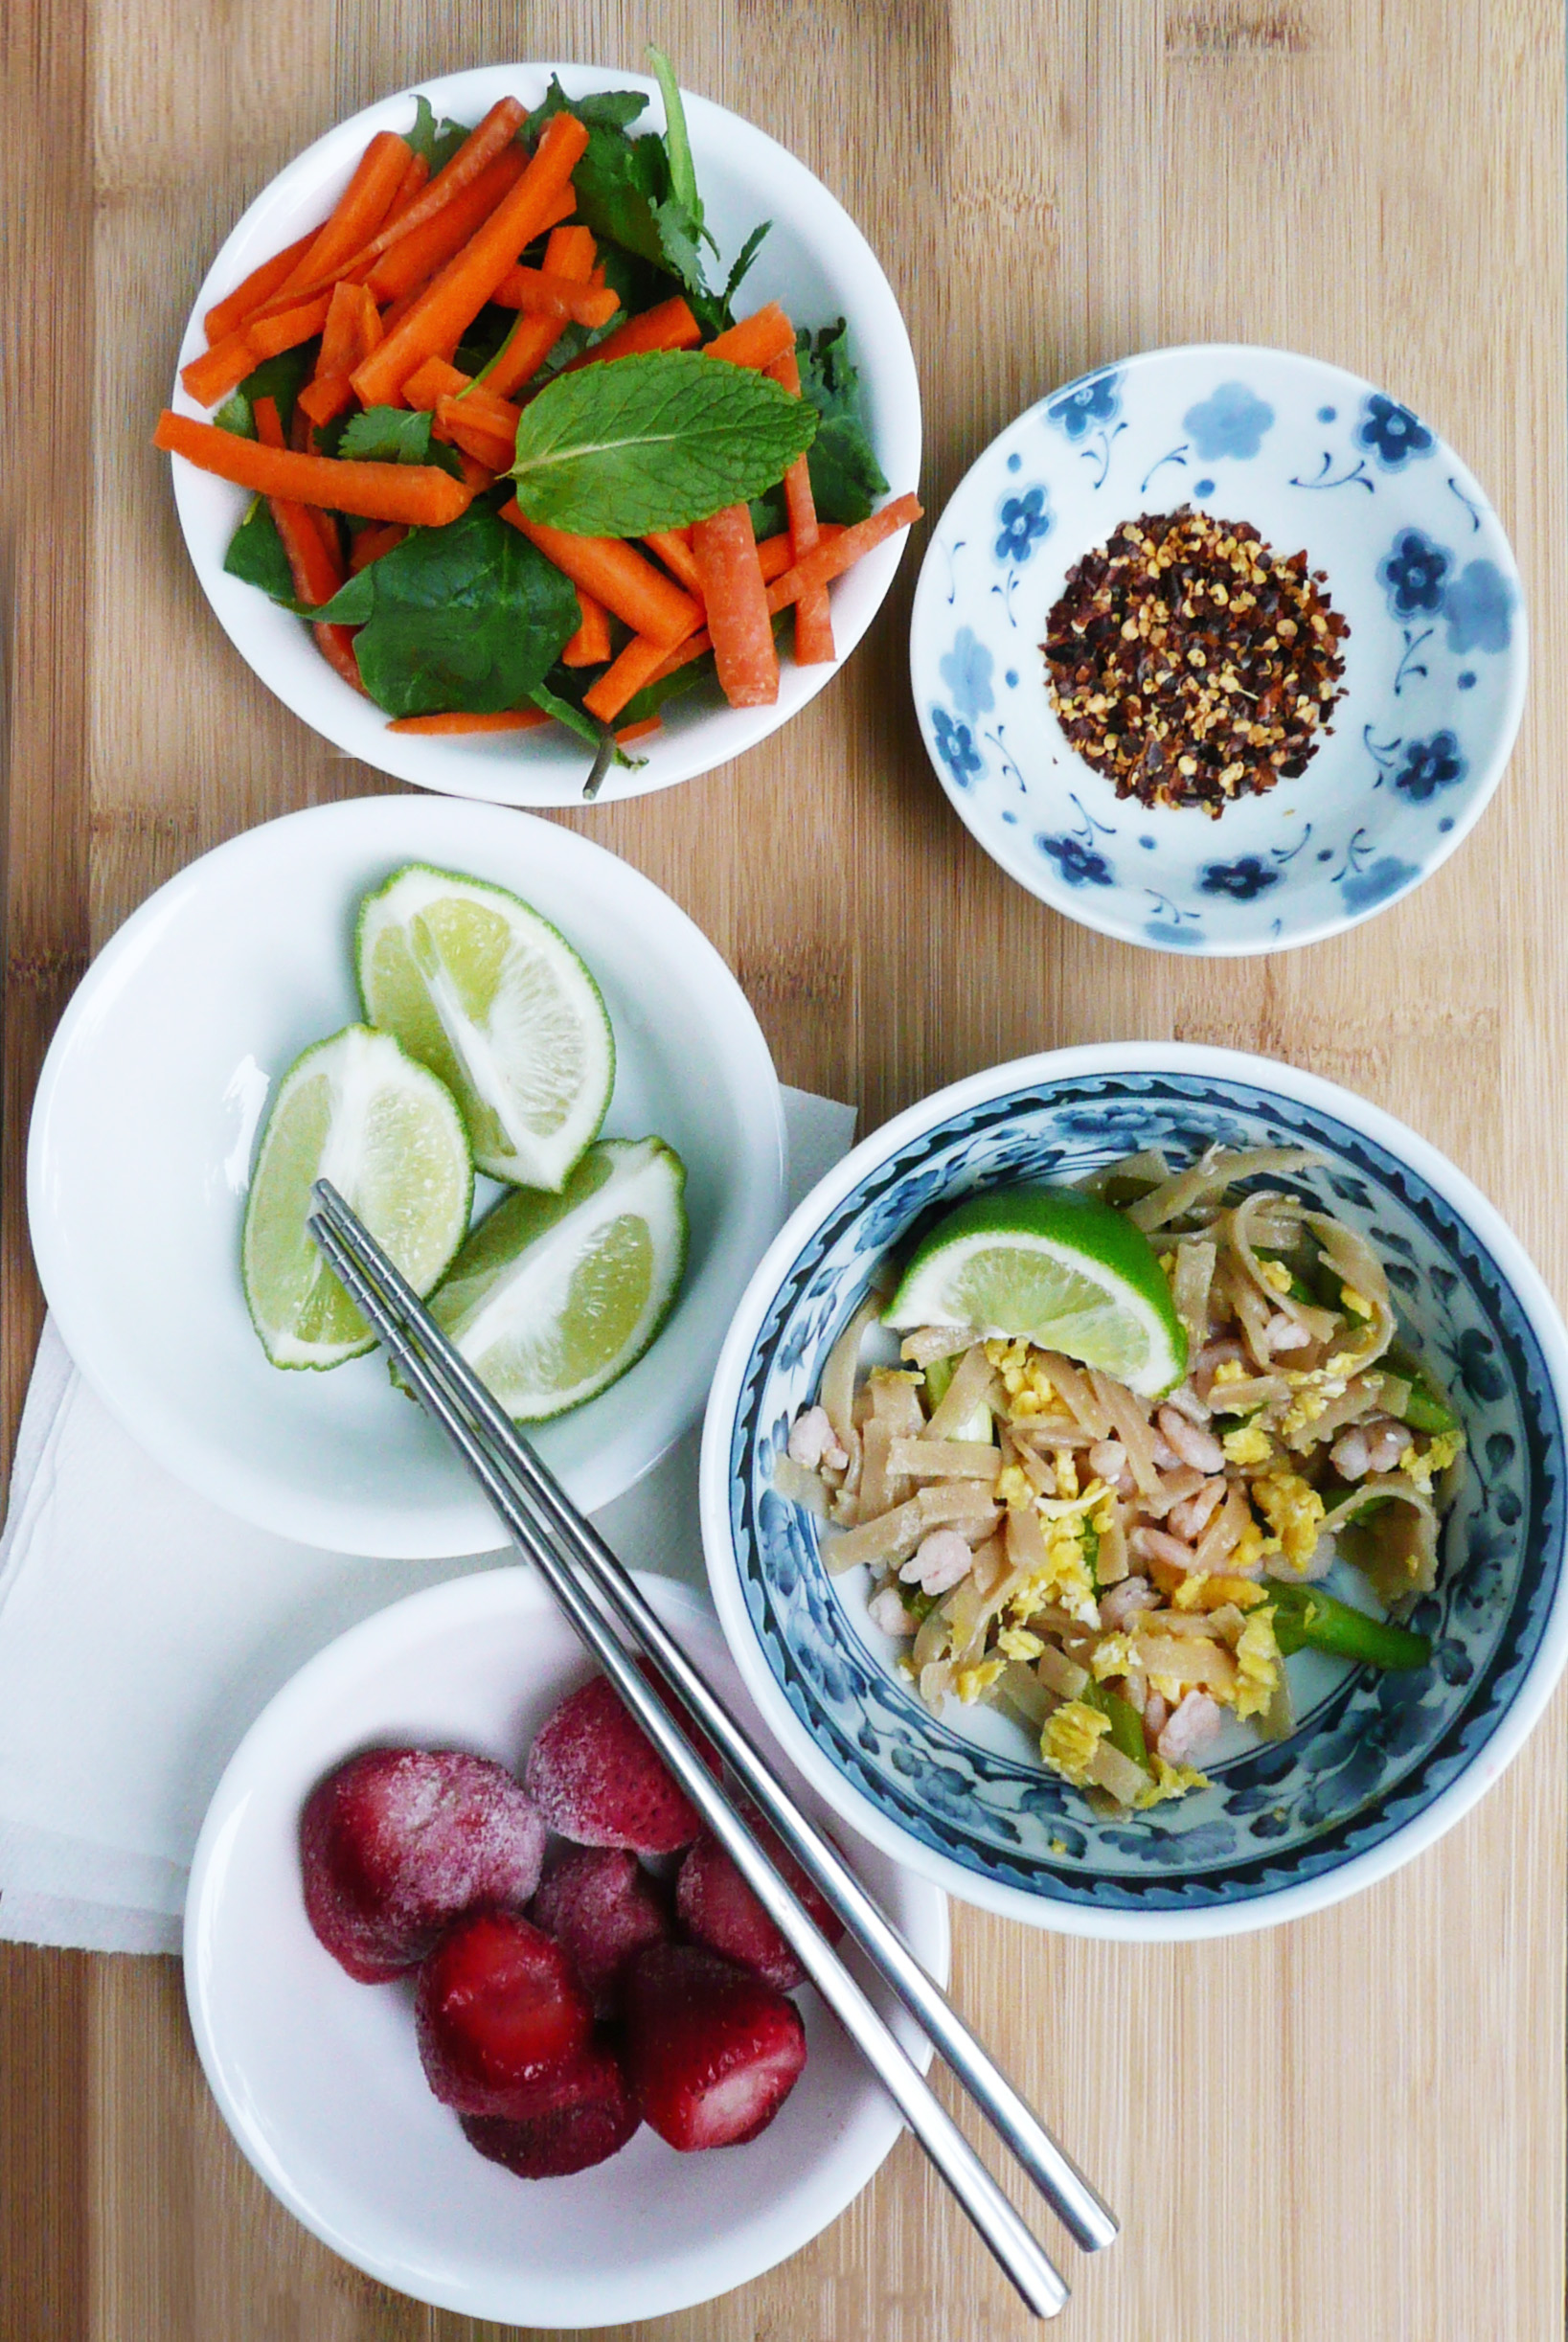
 

P1080354

(I ate half of the pad thai before I realized that I had forgotten to photograph the lime wedges as well… Whoops. It was so good…)
stainless steel pan

How to Make a Stainless Steel Pan Non-stick (non-toxic)

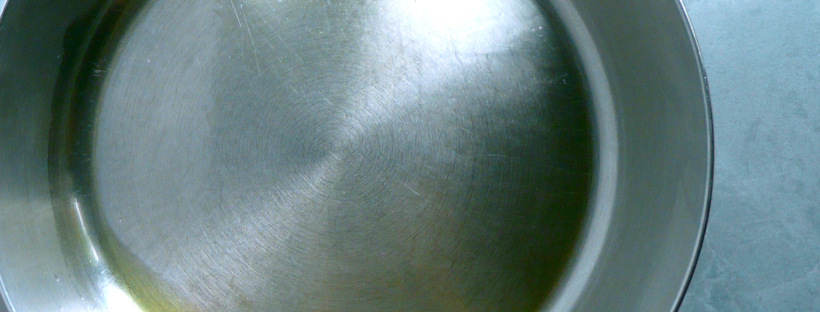
stainless steel pan 1

(This is what the pan looks like before the coating of oil).

When I decided to stop using non-stick cookware, one of the hardest thing to get my head around was how I was going to be able to cook things like pancakes and sunny-side up eggs.

I googled “how to make a stainless steel pan non-stick” and wasn’t able to find an answer.

So after much trial and error, I finally figured it out. And it’s actually super simple to do.

By heating the oil in a pan this way, the oil binds to the surface of the steel (forming a polymer – whatever that means…), creating a temporary non-stick coating. I’ve used this method with olive oil, coconut oil, and avocado various times and all have worked great.

Instructions

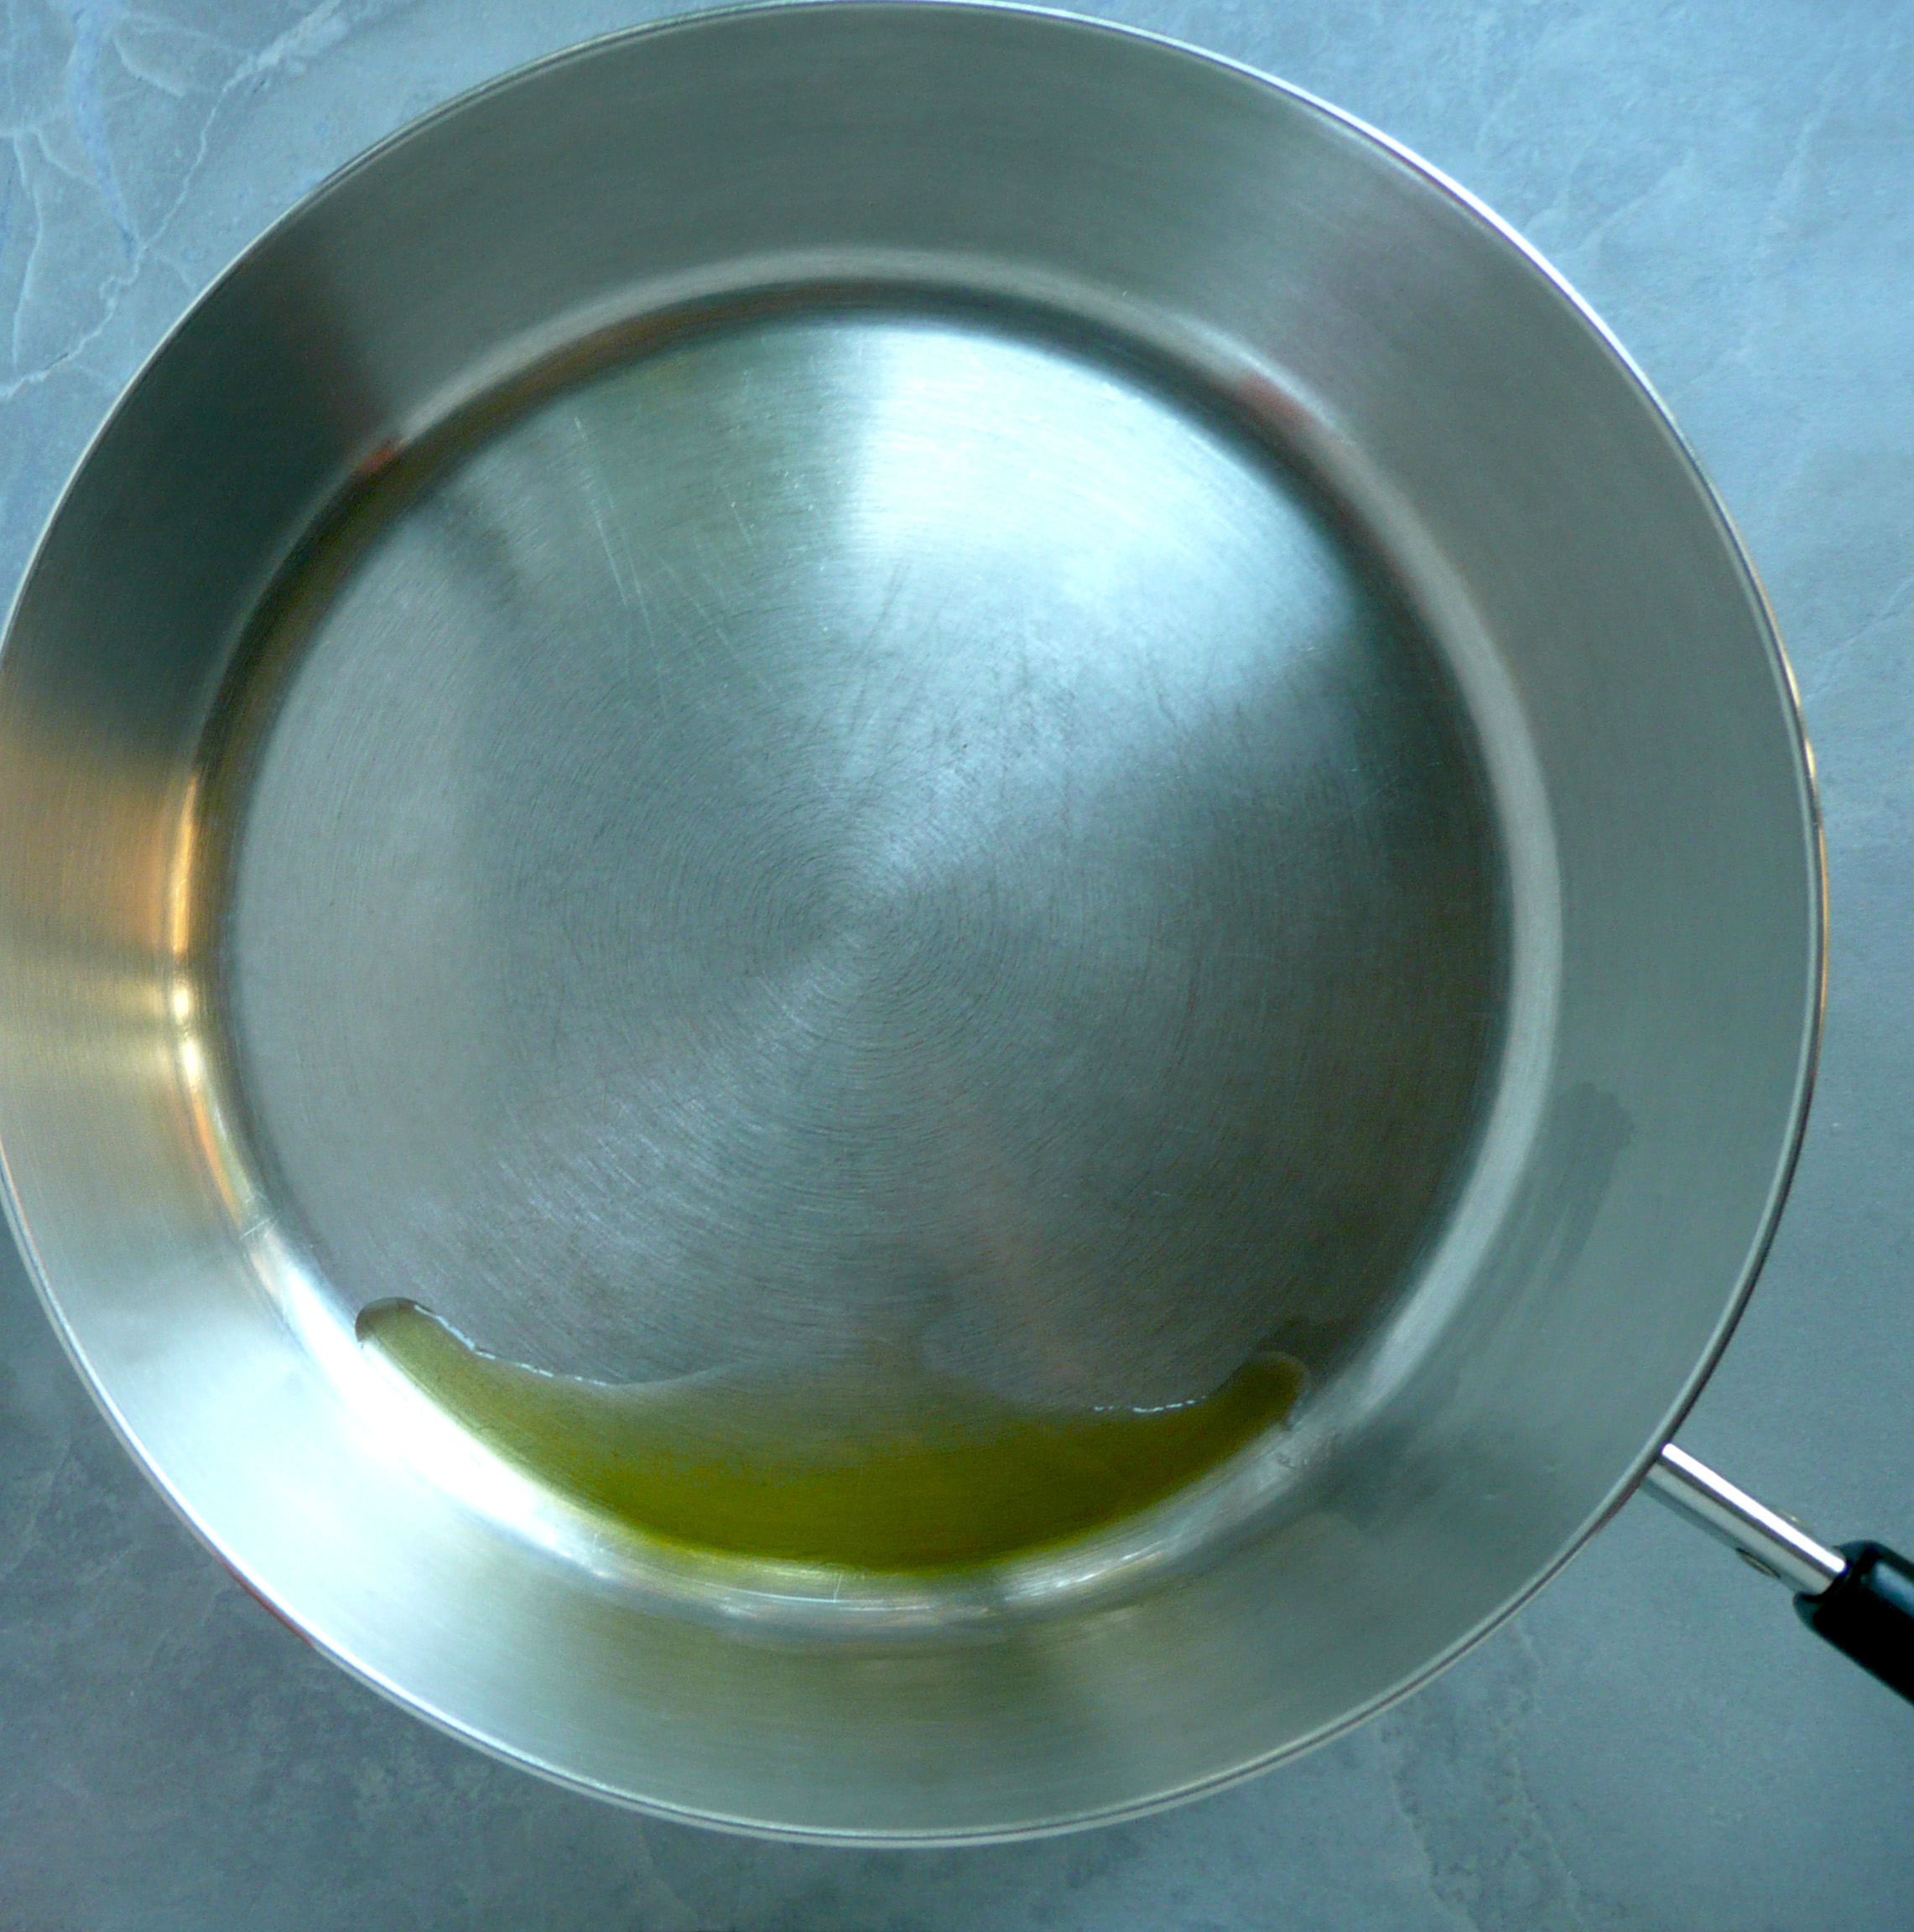
1. Start with a cool stainless steel pan. Rub the bottom of the inside of the pan with probably about ½ tsp (maybe less) of olive oil with either your fingertips or a paper towel. You only need a thin layer, but want to coat the entire bottom of the pan so that there are no gaps in where you put the oil.

2. This can get a little smelly so, I’d turn on the cooking fan for this.

Put the pan onto a cold burner and turn the heat up to medium. Hover your hand a few inches above the pan. When the air over the pan feels about as warm as a warm bath you’d give a baby (so not too hot) then turn the burner off, and leave the pan to cool on the burner while you prep your veggies for your stir-fry, or your pancake batter.

3. Then just cook as usual.

The non-stick coating is temporary, but you should be able to get through cooking a batch of pancakes, or fry a few eggs on this surface just fine before you need to add a little more oil.

When you’re done cooking, you can scrub this non-stick surface off with some baking soda mixed into a paste with a little dish soap and a scrubby sponge. When I need a non-stick surface next time, I just repeat the process.

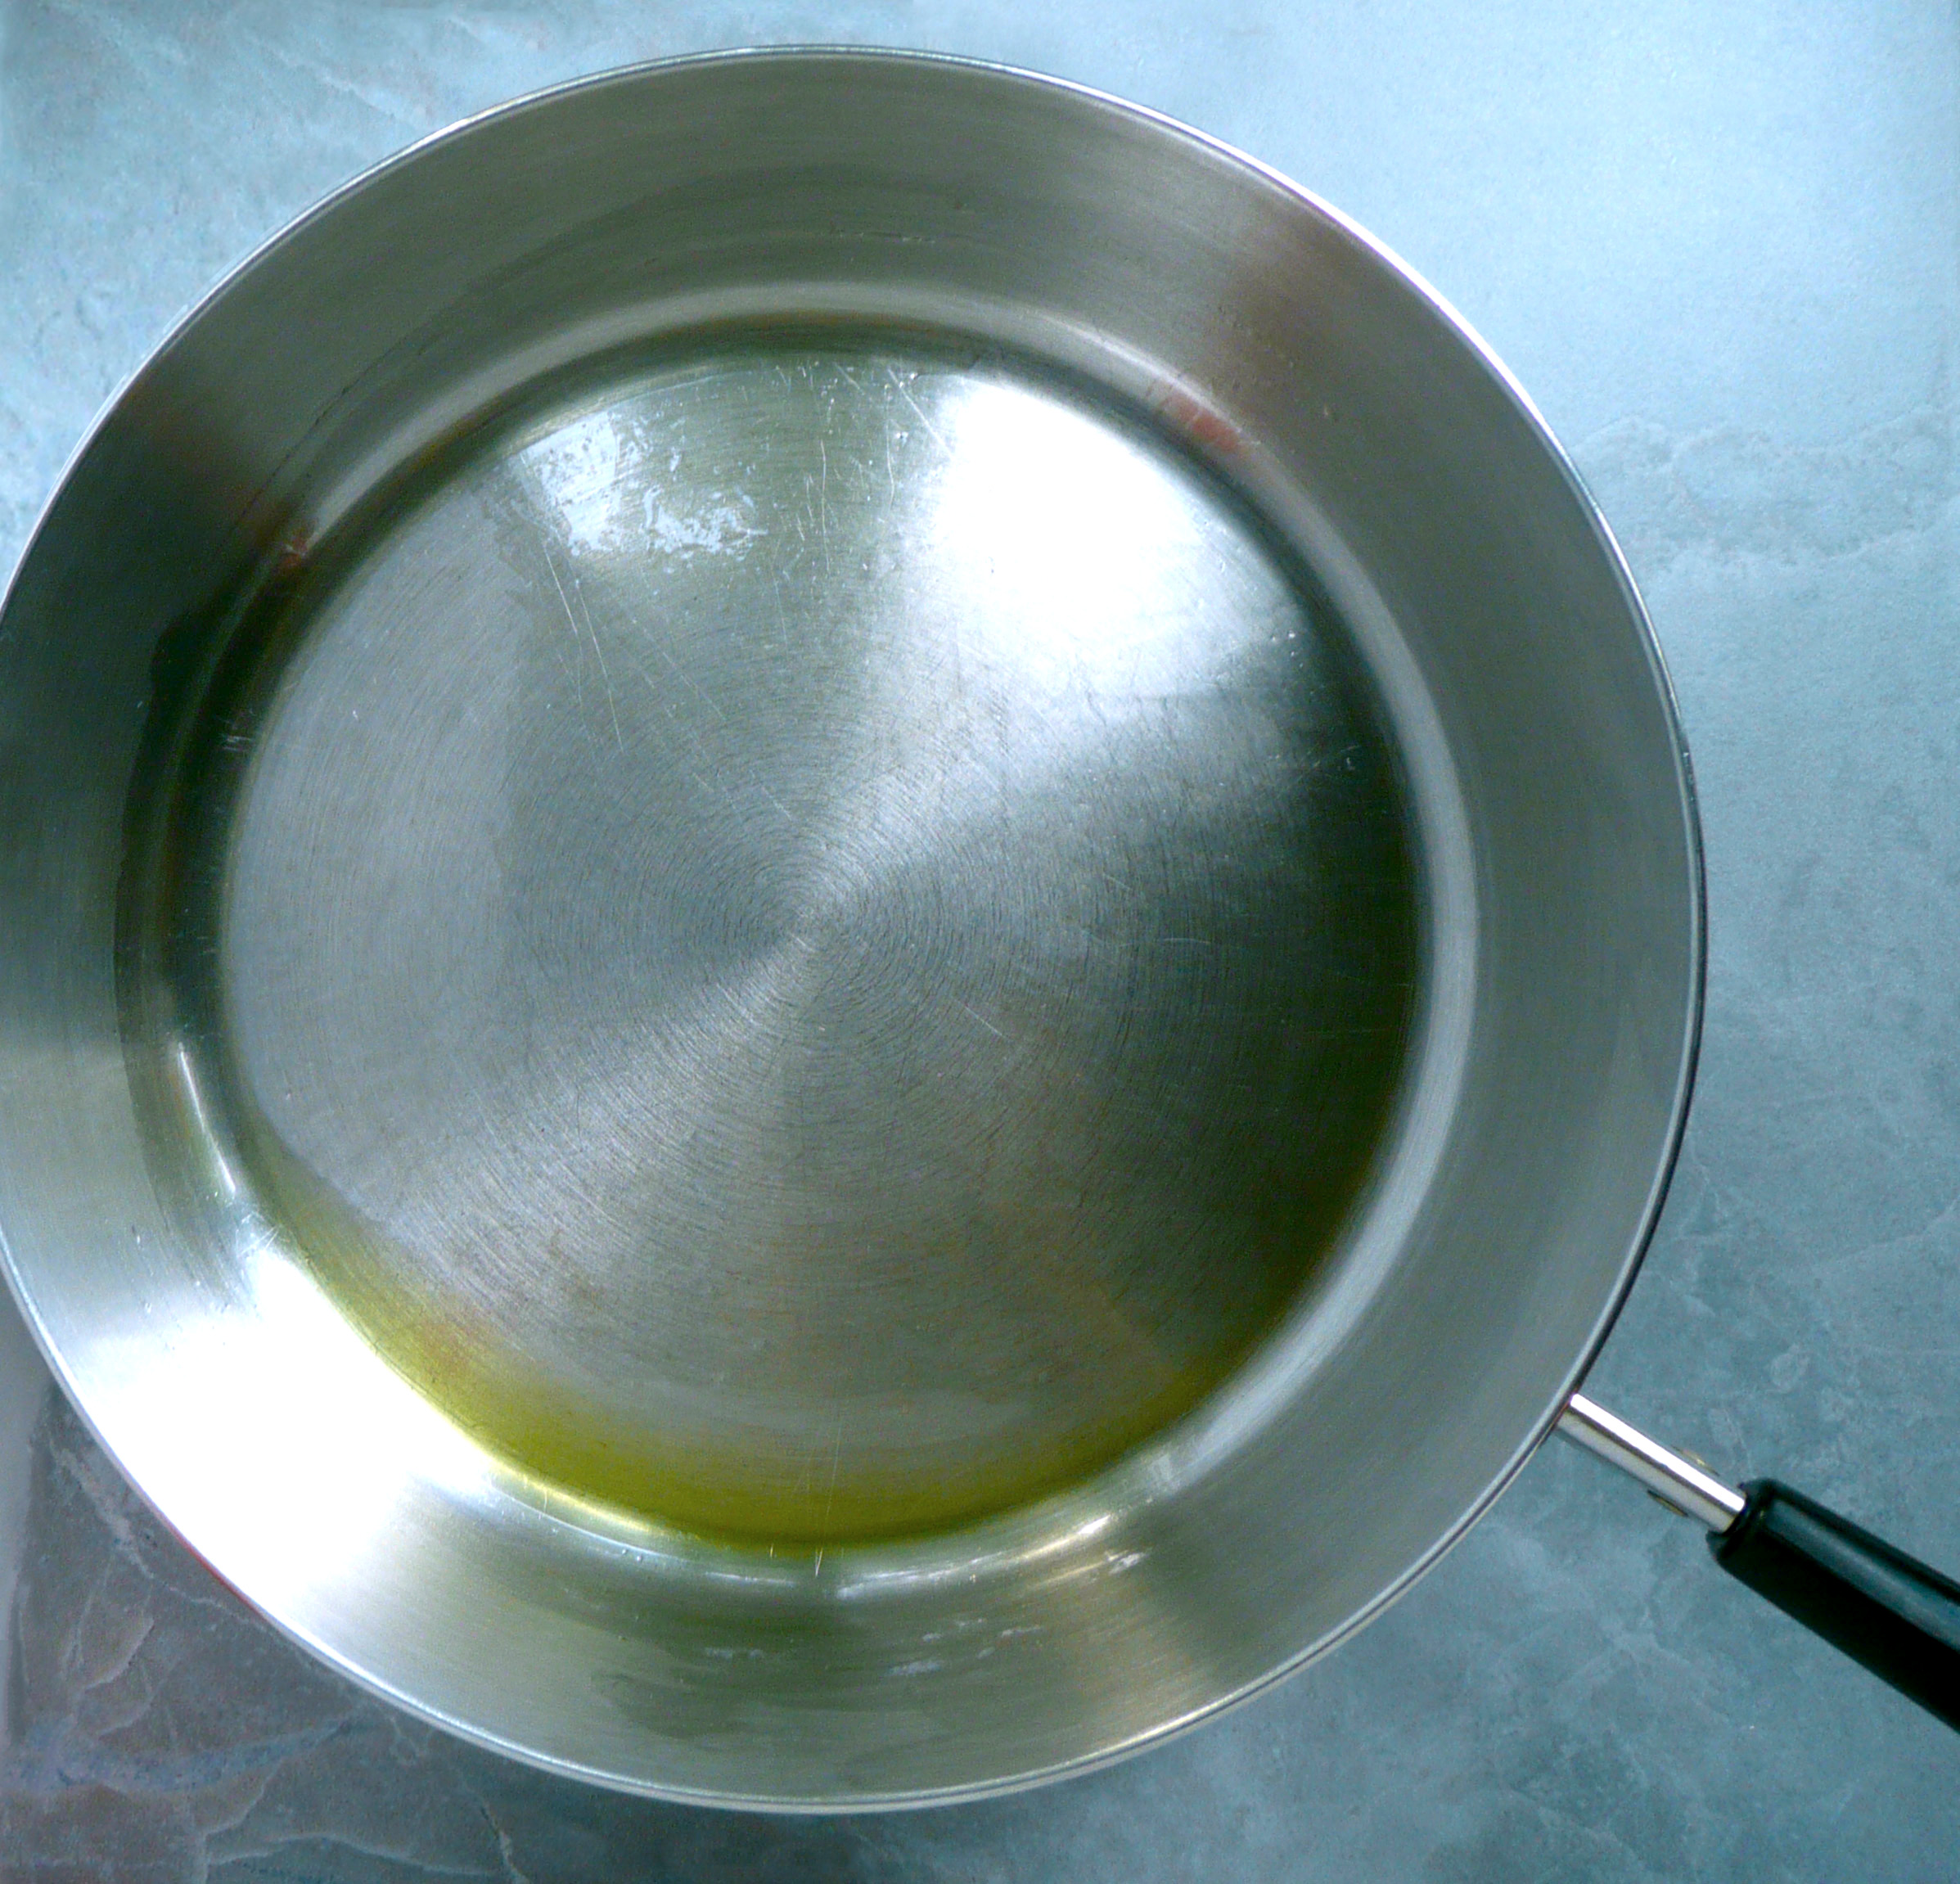
stainless steel pan 2

(This is what the pan looks like after it’s been heated with the oil).

For me, I cook on an electric stove, and I’ve done this enough times now that I know that if I start with a cold pan, it takes 5 minutes to heat to the baby bath level of warmth. Now I can just rub the pan’s surface in oil, put it onto the burner, turn on the stove, turn on the fan, and set a timer for 5 minutes.

You may have to adjust the timer for your stove, as you may find that your stove heats up more quickly or more slowly than mine does.

I always stay in the kitchen as I do this, just in case the pan starts to smoke.

If you see the pan start to smoke, pull the pan off the hot burner right away (also turn off the burner) and put the pan on one of the cold burners to cool. Once cool, it should still have created a non-stick surface and you can just cook on this pan as usual.

If you fry an egg sunny side upon this surface, I’d cover the pan with a plate or a lid while the egg is cooking. The egg white cooks through more evenly with a lid on the pan.

What would you cook using this trick? Let me know in the comments below.

Happy Cooking!


baby spinach

How to Keep Baby Spinach Fresh for Longer

baby spinach

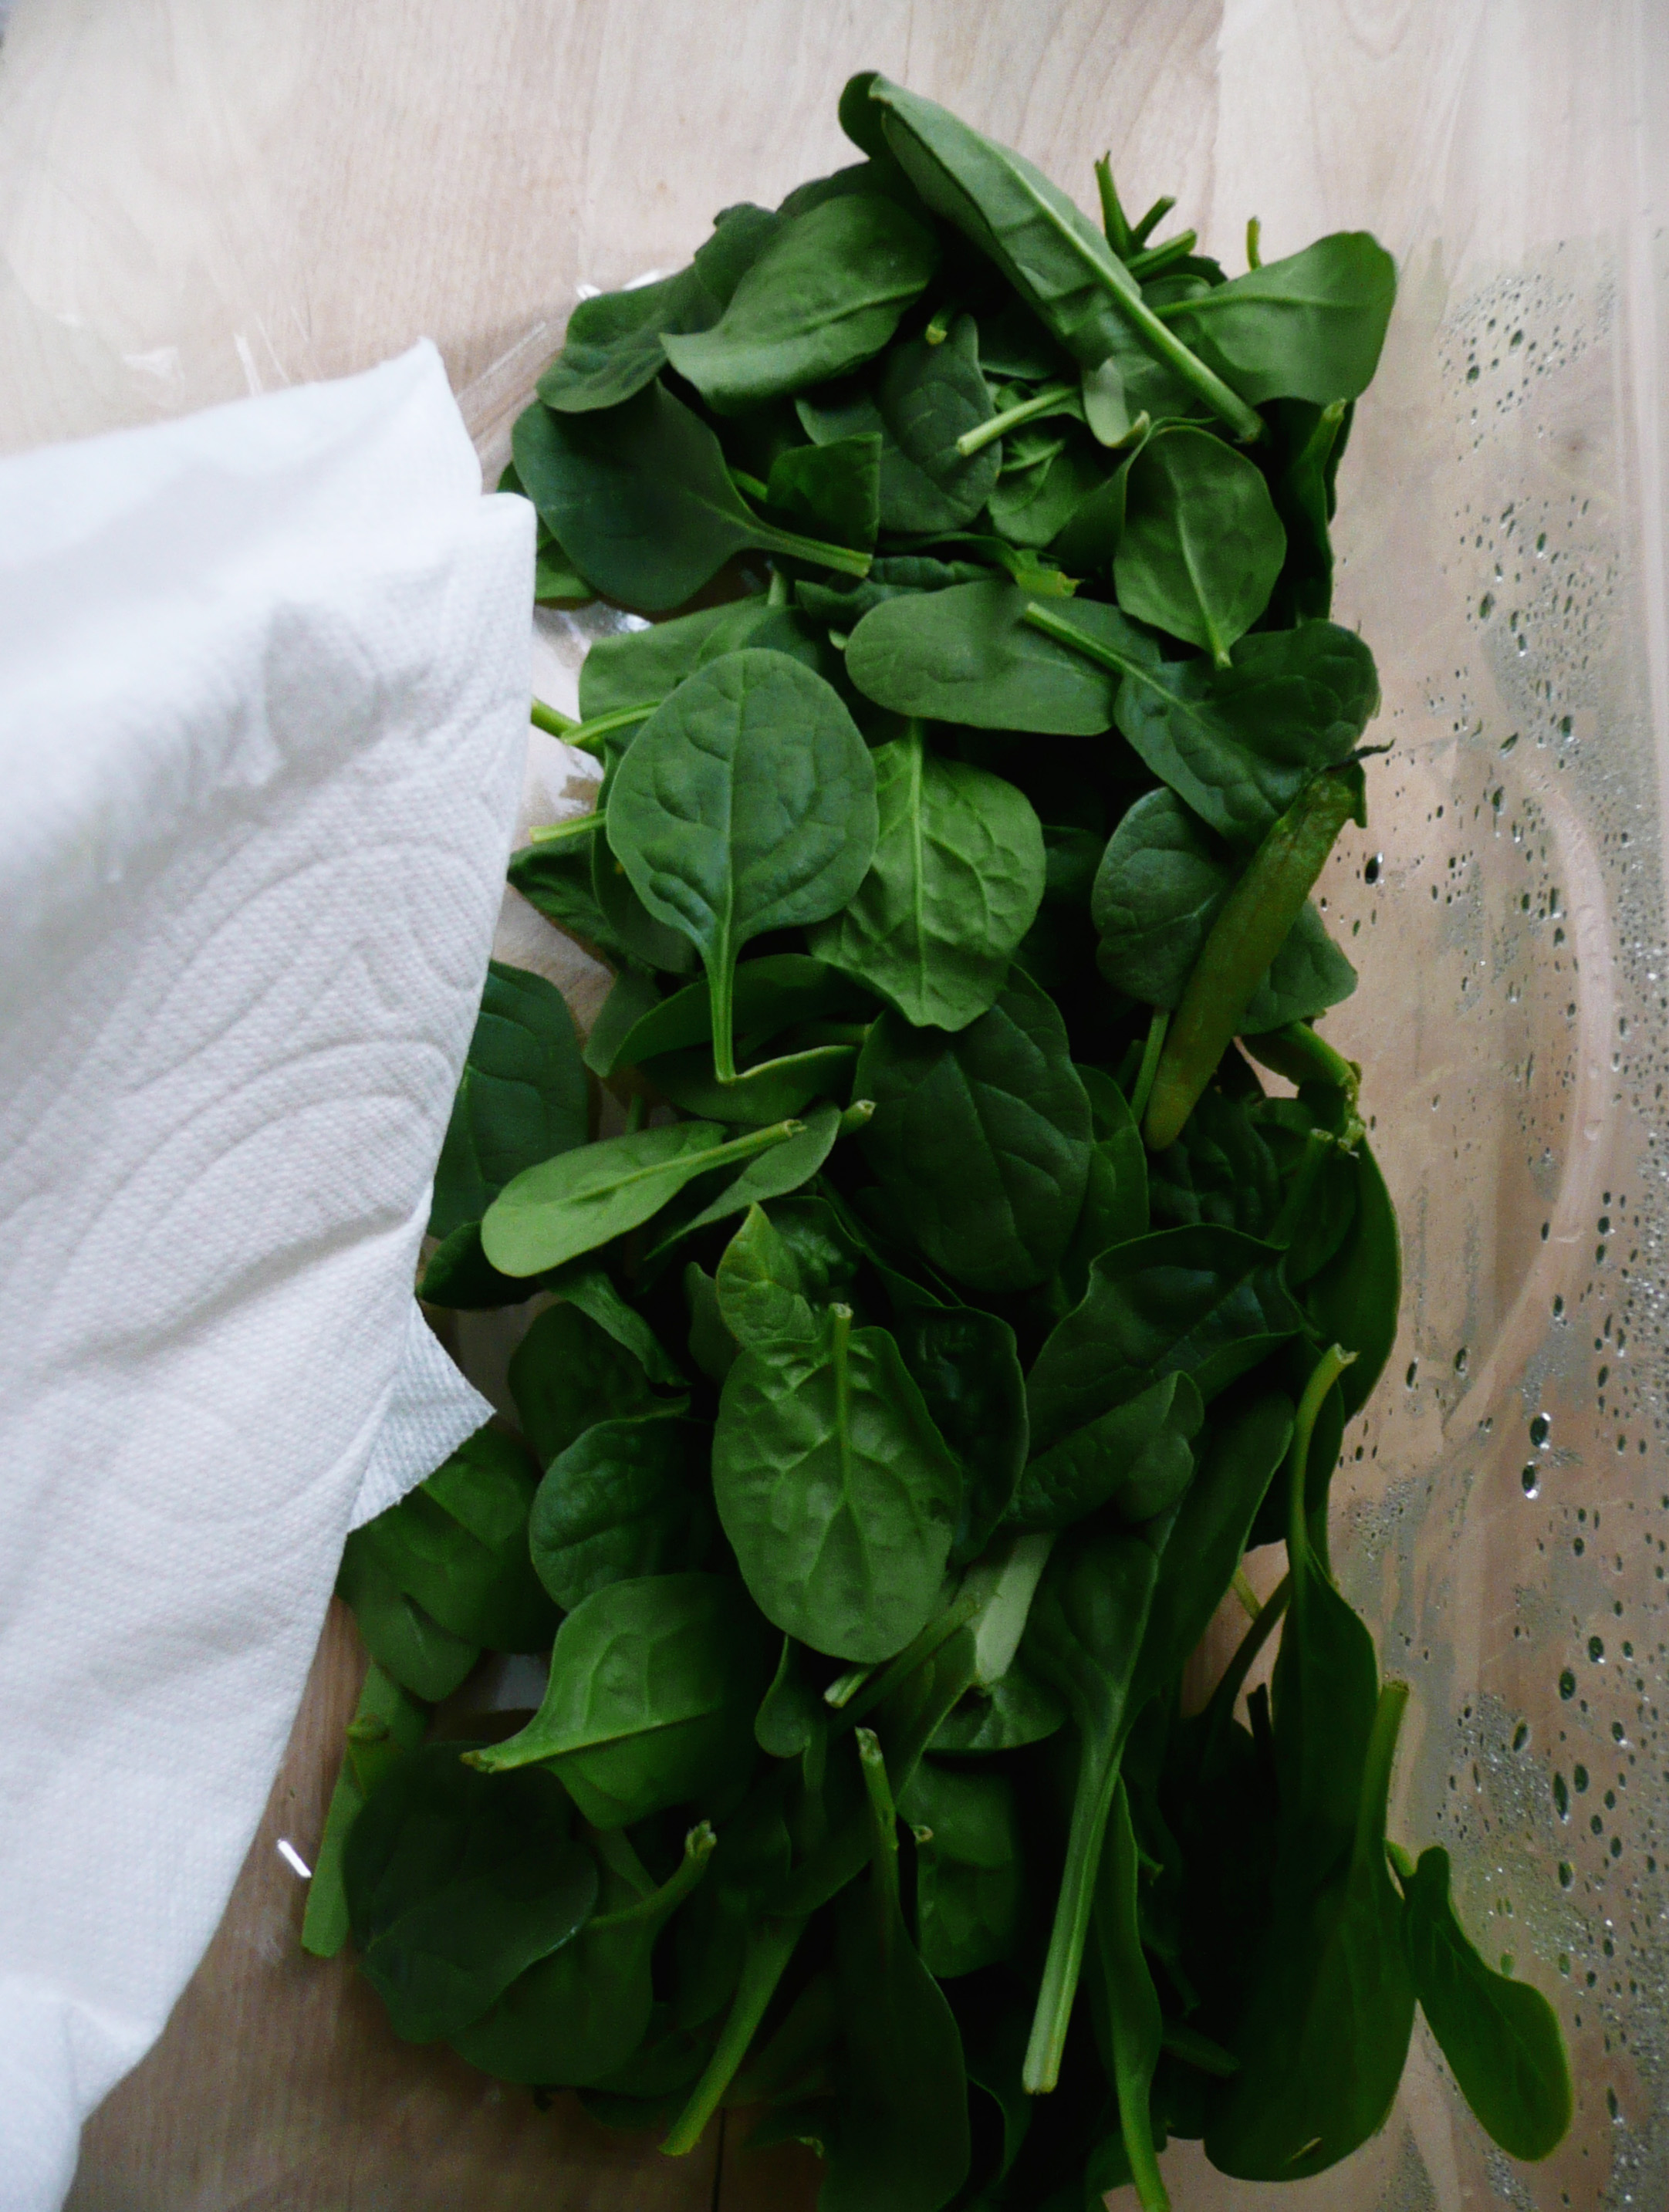
These days, most baby greens come prepackaged and washed in those plastic clam shells at the supermarket. They are super convenient, but the greens seem to always spoil quickly. As it turns out there is a very easy fix for this.

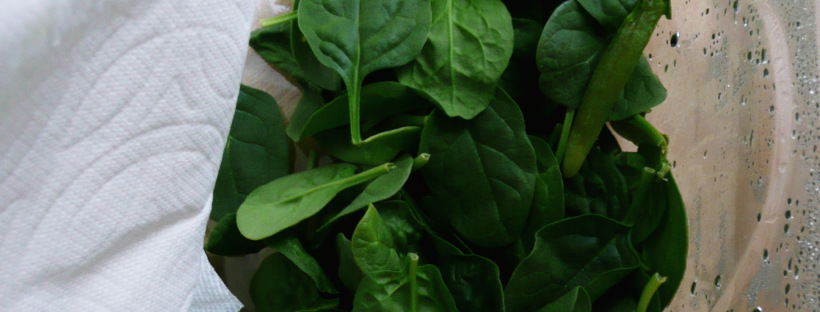
When you open the package, take 2-3 paper towels, fold them in half, and lay them on top of your greens before you close the lid and put them into the fridge. The paper towels absorb the excess moisture that can cause your greens to wilt more quickly. Every few days, check to see of the paper towels are damp. If they are, just replace them with new paper towels, and compost the used ones.

These baby spinach leaves really have been in my fridge for 2 weeks (that’s why the box is so empty, I’ve eaten most of it). This trick works great!

Different greens will have different shelf lives, even if you use this trick. Spring mix doesn’t last as long as the baby spinach does, but this will still work for that as well. This works very well for romaine lettuce, as it’s a sturdier lettuce.

I think that I’m going to post a new recipe every Saturday from now on. Occasionally I may write additional posts other days of the week. I have a number of tips for how to keep food fresh, and how to freeze foods that can spoil quickly, and I’m really excited to share those with you as well.

Please feel free to comment below, and let me know if this trick works for your lettuce too! I think that this must have saved me a small fortune (in baby greens) by now, and it feels great when you can make the most of the ingredients that you have.


pumpkin muffins

Pumpkin Bread Muffins – Gluten Free, Dairy Free

pumpkin muffin final

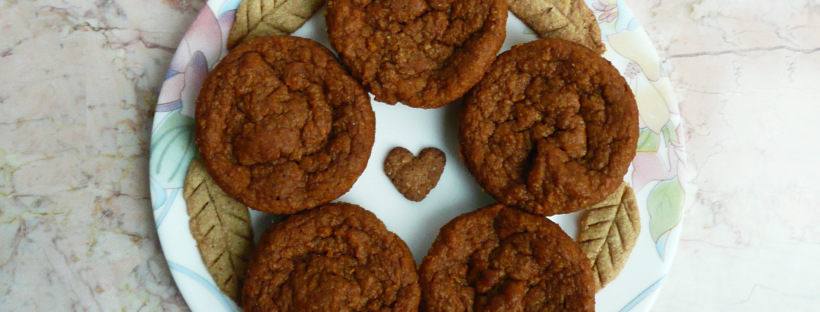
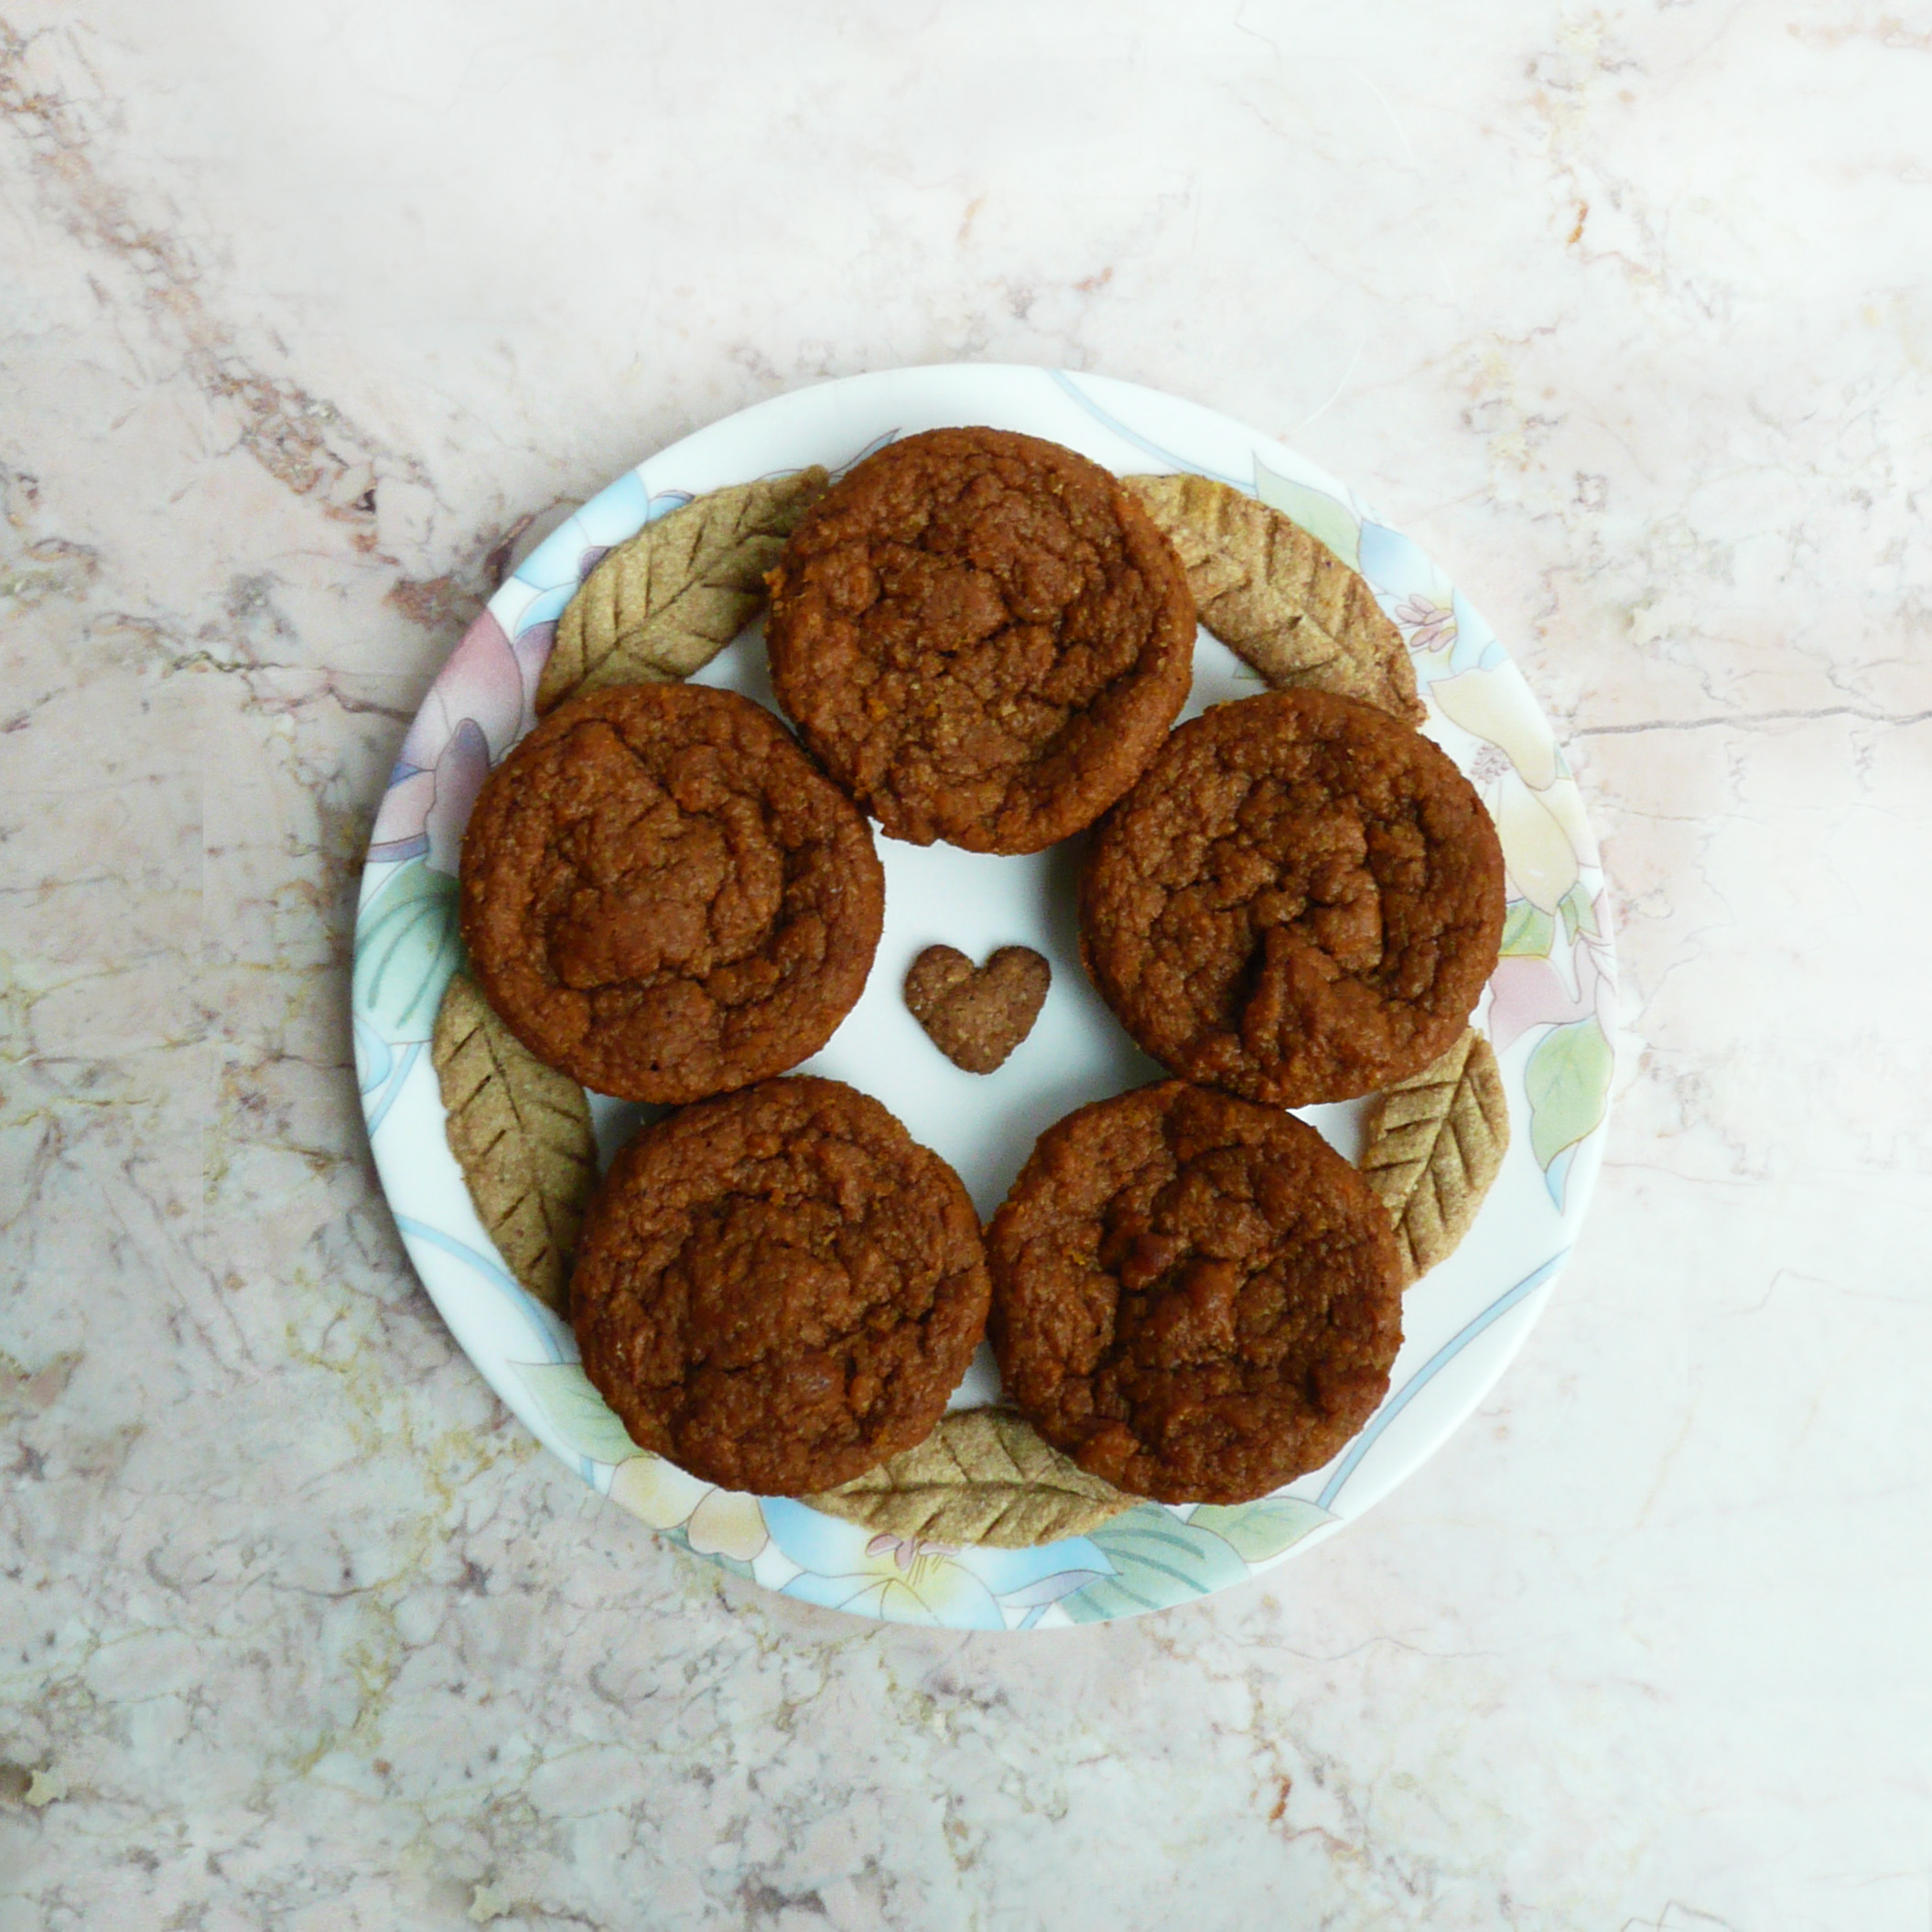
These little muffins are wonderfully spiced and perfect for when you’re craving pumpkin bread. They have a better texture the next day, so I usually bake them the night before, set them out on a plate on the counter and cover them with a paper towel. The next morning they have dried out a little, and the texture and flavor are even better than they are fresh out of the oven.

When you take them out of the oven, they will be nice and puffy, but the will flatten as they cool. Don’t worry about this, as they will still be delicious. They are wonderfully creamy in the middle and taste just like your favorite pumpkin bread.

You can either bake them as 6 full sized muffins, or as 9 snack sized (flatter) muffins. I normally prefer to bake them as 9 instead of 6 muffins, as it’s harder to wolf down 9 muffins in one sitting than 6 muffins, (trust me on this, I know). Either way, they taste amazing! I hope that you like them.

I’ve included the measurements for 12 muffins below, just in case you need them.

Pumpkin Bread Muffins
Makes 6 full sized muffins – or 9 snack sized ones.

Ingredients

¾ level tsp ground cinnamon

¼ level tsp + 1/8 level tsp ground ginger

1/8 level tsp ground cloves

1 cup oat flour (I just grind the oats in a blender until they become a fine flour)

¼ level tsp + 1/8 level tsp baking soda

1 small pinch of salt


¾ cup + 2 tbsp pumpkin puree (or sweet potato puree)

1 tbsp water

1 tbsp apple cider vinegar

4 ½ tbsp. melted coconut oil (or a neutral flavored oil)

¼ cup + 2 tbsp maple syrup

1 egg


Instructions

1. Preheat the oven to 350 degrees

2. Grease and flour the muffin pan using coconut oil (or neutral oil) and oat flour. Here’s my trick to doing this.

3. In a large bowl, sift the cinnamon, ginger, cloves, oat flour, baking soda and salt together. In a separate bowl mix the pumpkin puree, water, apple cider vinegar, oil, eggs and maple syrup.

4. Pour the wet ingredients into the dry, and stir until well combined.

For 6 muffins – divide the batter evenly between 6 muffin cups, and use the back of a spoon to smooth down the batter in each muffin cup so that the tops of the scoops of batter are flat.

Bake for 30 min at 350, then turn the oven down to 300 for another 10 minutes.

Let them cool in the pan. To remove them, run a butter knife around the edge of each muffin and pop them out and set them onto a plate.

For 9 flatter muffins – divide the batter equally between 9 muffin cups. Use the back of a spoon to smooth down the batter in each muffin cup so that the tops of the scoops of batter are flat.

Bake for 30 min at 350. Let them cool in the pan. To remove them, run a butter knife around the edge of each muffin and pop them out and set them onto a plate.


Note
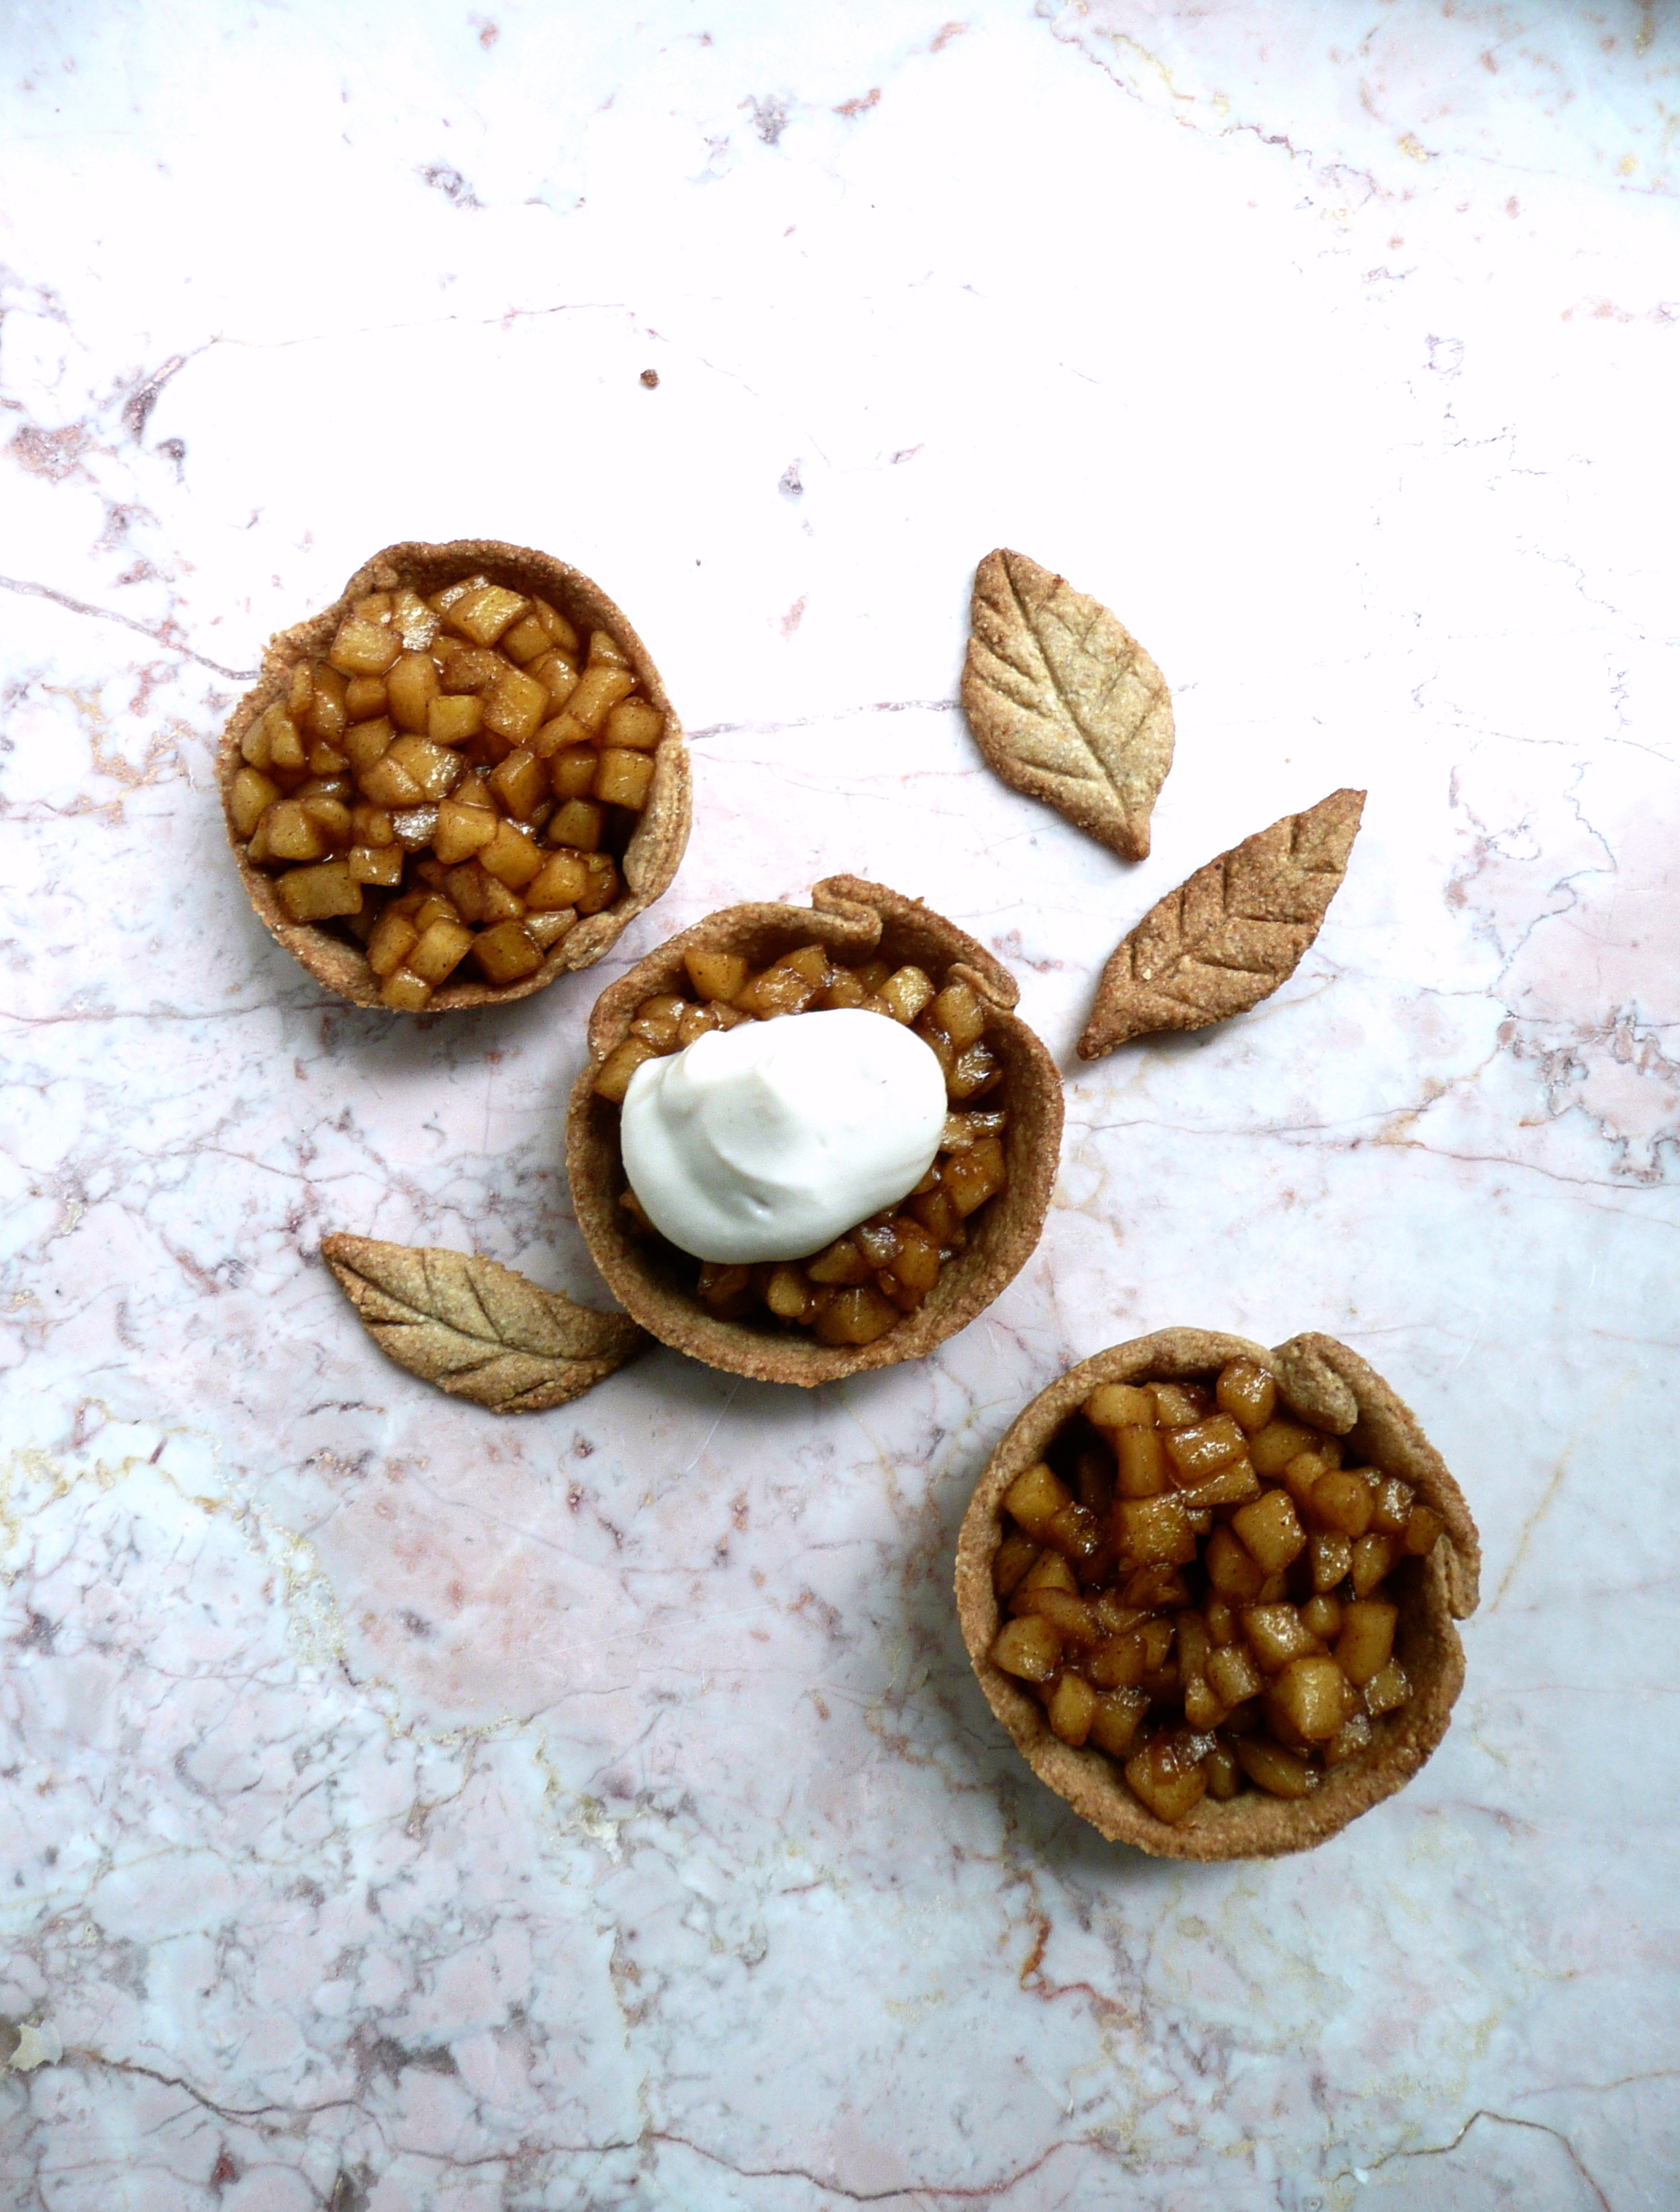
– I made the little decorative leaves from the extra scrap dough from making the tart shells. I used a small paring knife to cut the shape of the leaves and the tines of a fork to make the little indentations. Bake the leaves at 375 for 10-15 minutes until golden brown around the edges.


For 12 muffins

1 ½ level tsp ground cinnamon

¾ level tsp ground ginger

¼ level tsp ground cloves

2 cups oat flour

¾ level tsp baking soda

2 small pinches of salt

1 ¾ cup pumpkin puree (or sweet potato puree)

2 tbsp water

2 tbsp apple cider vinegar

9 tbsp melted coconut oil (or a neutral flavored oil)

¾ cup maple syrup

2 eggs


apple tarts

Apple Tarts – Dairy Free, Gluten Free, Vegan

P1060750-2

Happy Thanksgiving!

This is a bonus recipe, my gift to you for Thanksgiving! I hope that your family will enjoy them as much as my family does.

Apple tarts are full of fall flavors, and conjure up happy memories (or simply lovely daydreams) of wearing plaid (lots of plaid), and being bundled up in warm hats, scarves and mittens, and going to the local orchard for a fun day of apple pickin’ with friends and family.

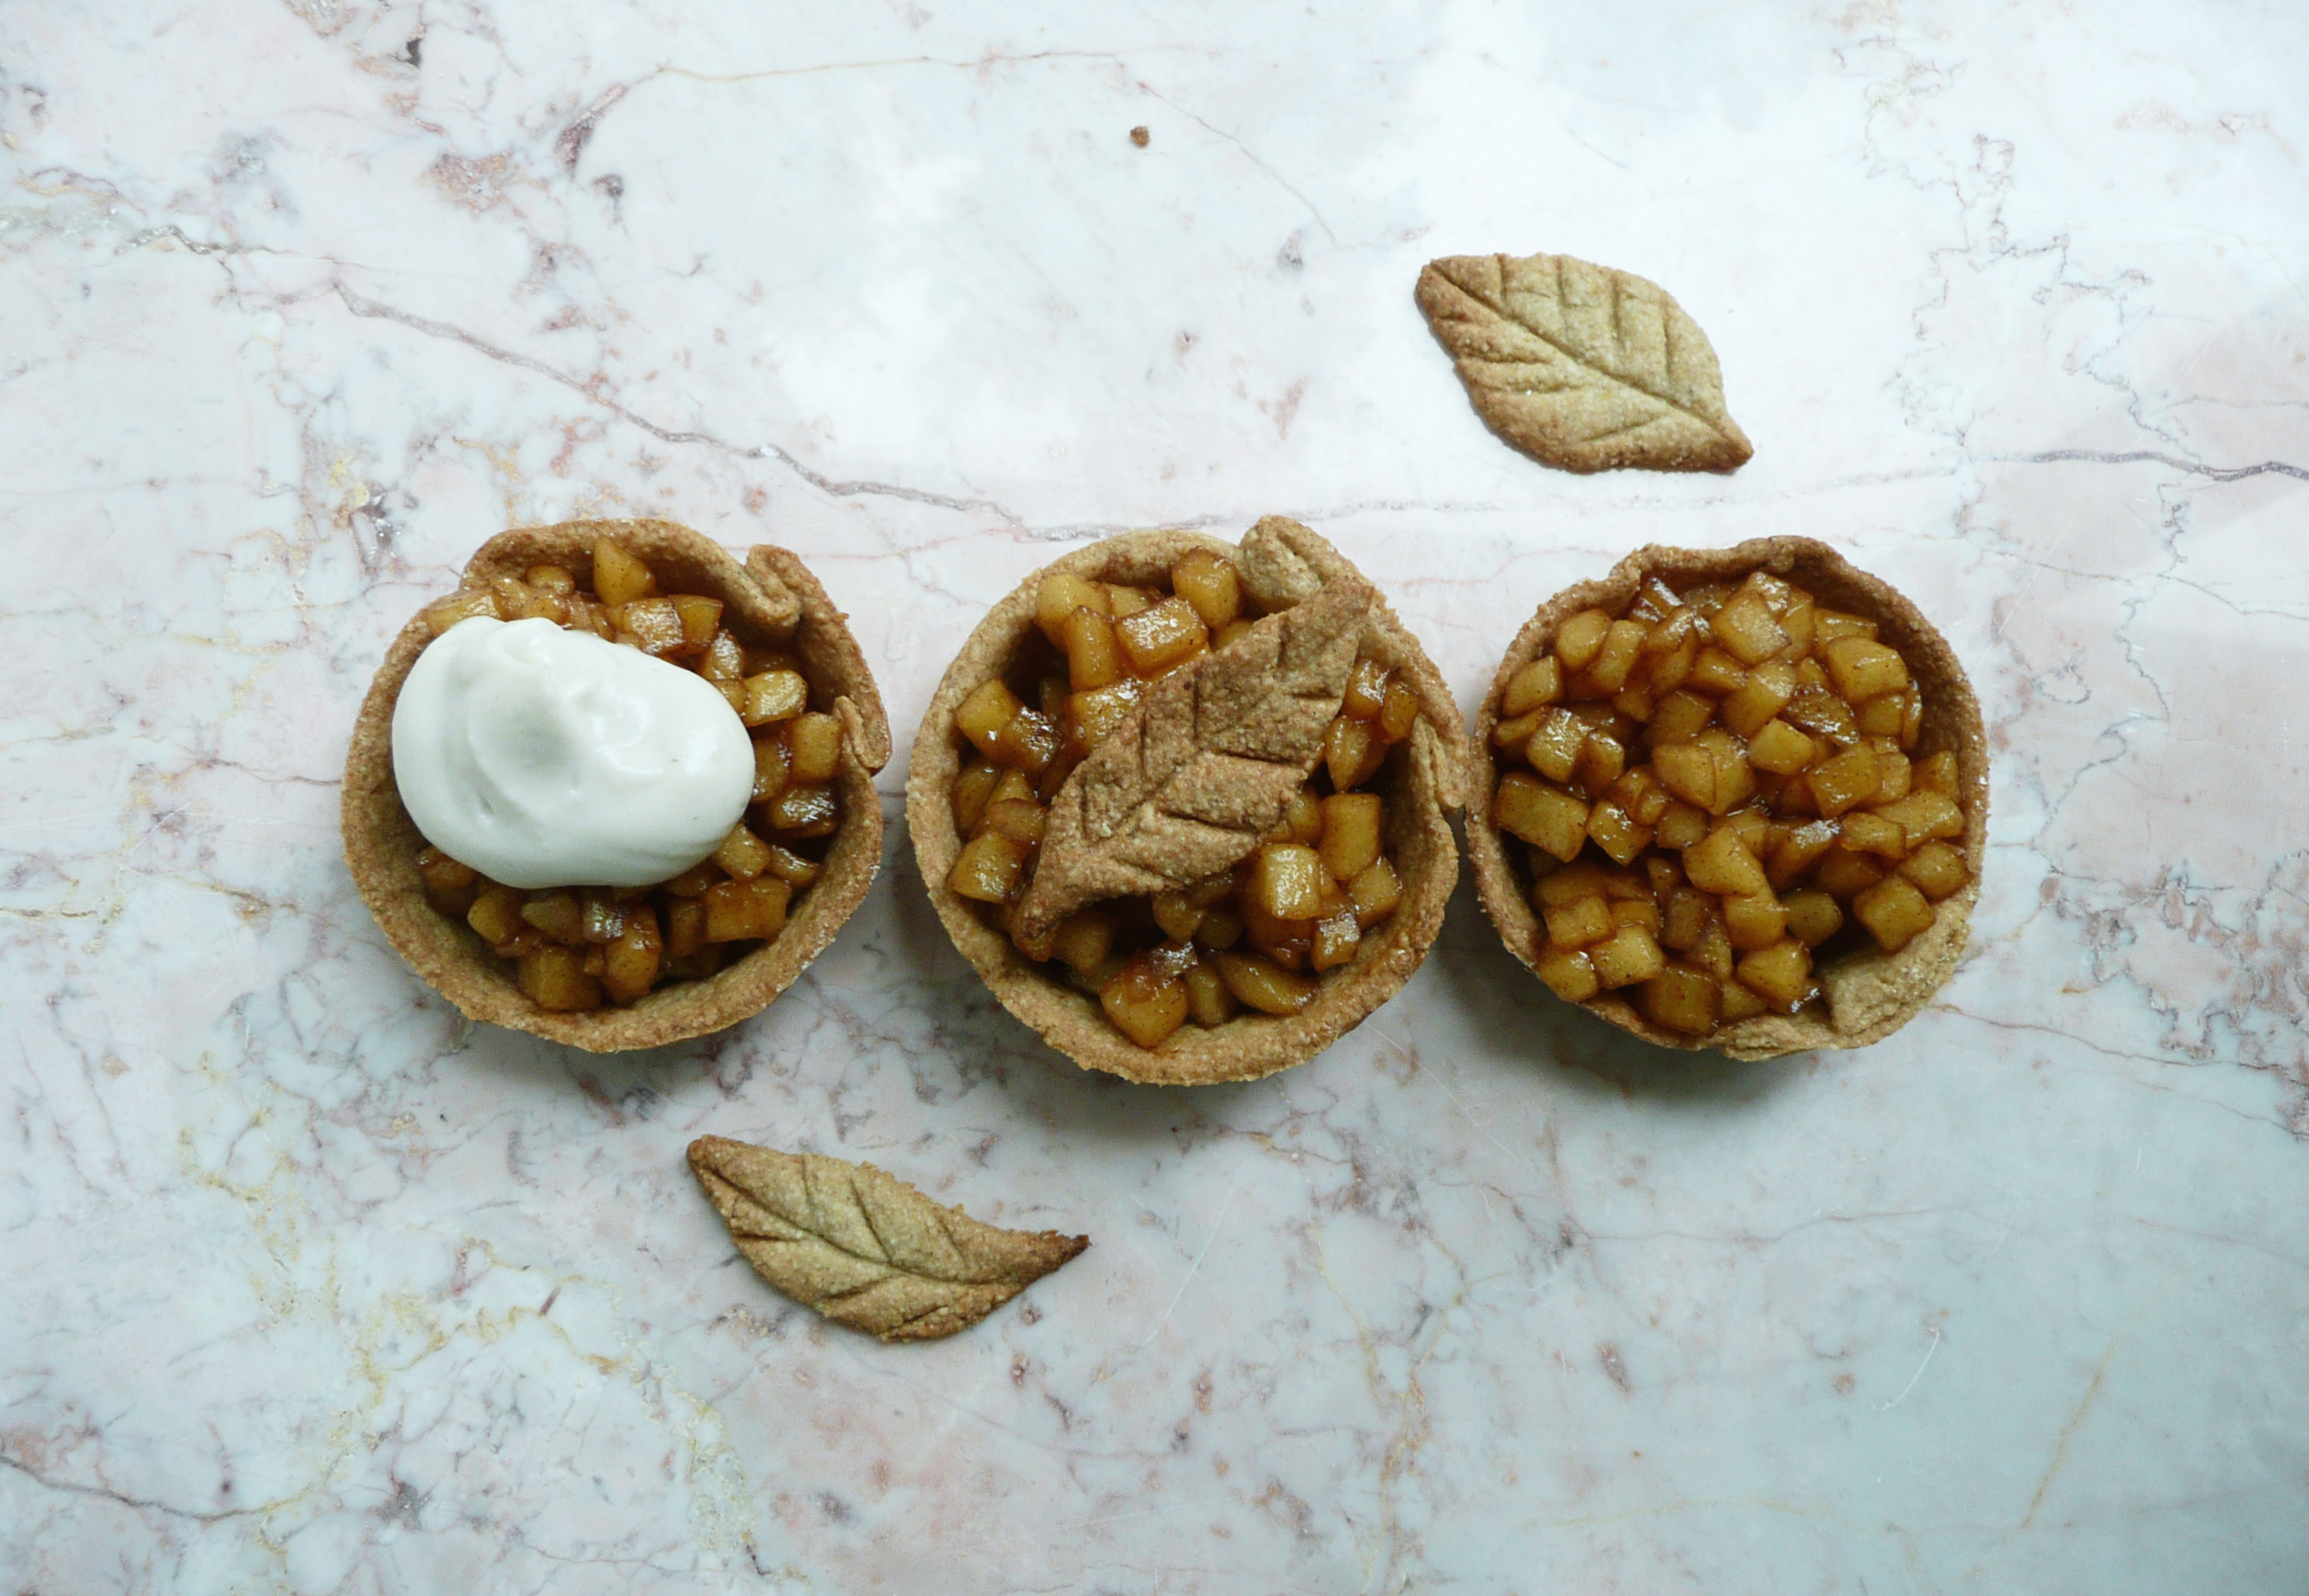
These tarts are simple to make, they just require about 35 minutes of your time, and a bit of stirring. I made up a batch of apple filling last night, and it’s just sitting in the fridge as we speak. I’ll spoon it into the tart crusts and top them with some cashew whipped cream right before serving.

You can easily double the batch to make the filling for 12 tarts, and I’ll leave the measurements for 12 tarts at the bottom of post, just in case you need them. You may have to slightly adjust the cooking times for the bigger batch.

Apple Tarts

Makes 6

Ingredients

2 Fuji Apples – cut into 1/4 inch dice (about 2 1/2 cups)

1/2 cup maple syrup

1 1/2 cups water


1/4 level tsp ground cinnamon

3/4 tsp vanilla extract

2 tsp avocado oil (or any neutral flavored oil)


Instructions

1. In a medium saucepan (if doubling the recipe, us a large pot instead) cook the apples, water and maple syrup over medium high heat for 20 minutes, stirring frequently.

Wear an oven mitt and a shirt with long sleeves to stir the mixture, as the steam from the cooking apples can be hot.

2. Turn the heat to medium, and cook for another 10 minutes stirring constantly.

Don’t touch the mixture with your hands during the final 10 minutes, or until it cools, as we’re basically making a caramel with apples in it. You don’t want to burn yourself from the hot sugar mixture.

The pieces of diced apple will become golden brown, and there shouldn’t be any more pools of liquid in the pan. The mixture will become more difficult to stir, and lots of tiny tiny bubbles will form on the bottom of the pan while you stir.

The mixture is done cooking when you can turn your spoon to the side and most of the apple mixture on the spoon will stick to the spoon instead of falling back into the pot.

3. Take the pan off the heat, and carefully scrape the mixture into a bowl and allow to cool.


P1060779

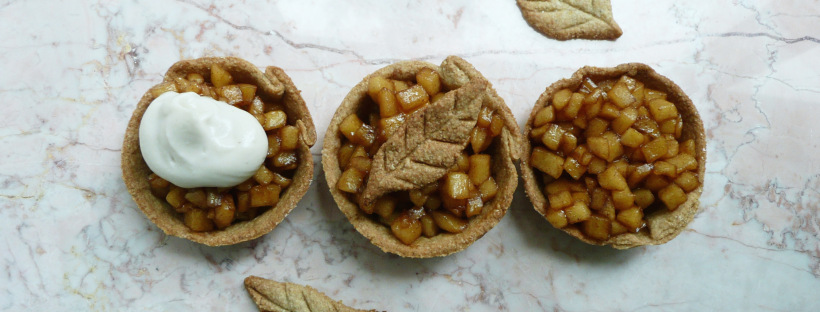
I kinda love how the middle tart almost looks like an apple pie version of a golden snitch. An apple tart with the wings of golden (gluten free) pie crust!

4. Add the cinnamon, vanilla extract, and oil to the cooled apple mixture and stir to combine. Spoon about 2 tbsp of the apple mixture onto each tart shell, and top with a dollop of cashew whipped cream. Serve immediately.


For 12 tarts

4 Fuji Apples – cut into 1/4 inch dice (about 5 cups)

1 cup maple syrup

3 cups water

1/2 level tsp ground cinnamon

1 1/2 tsp vanilla extract

4 tsp avocado oil (or any neutral flavored oil)


gravy

Gorgeous Gravy – The Best Vegan And Gluten Free Gravy Recipe

P1060948-2

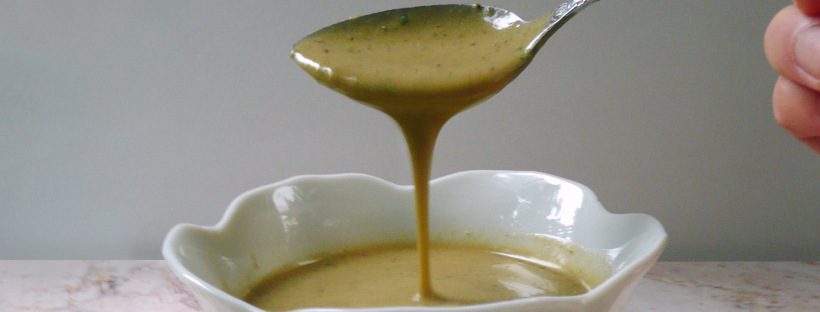
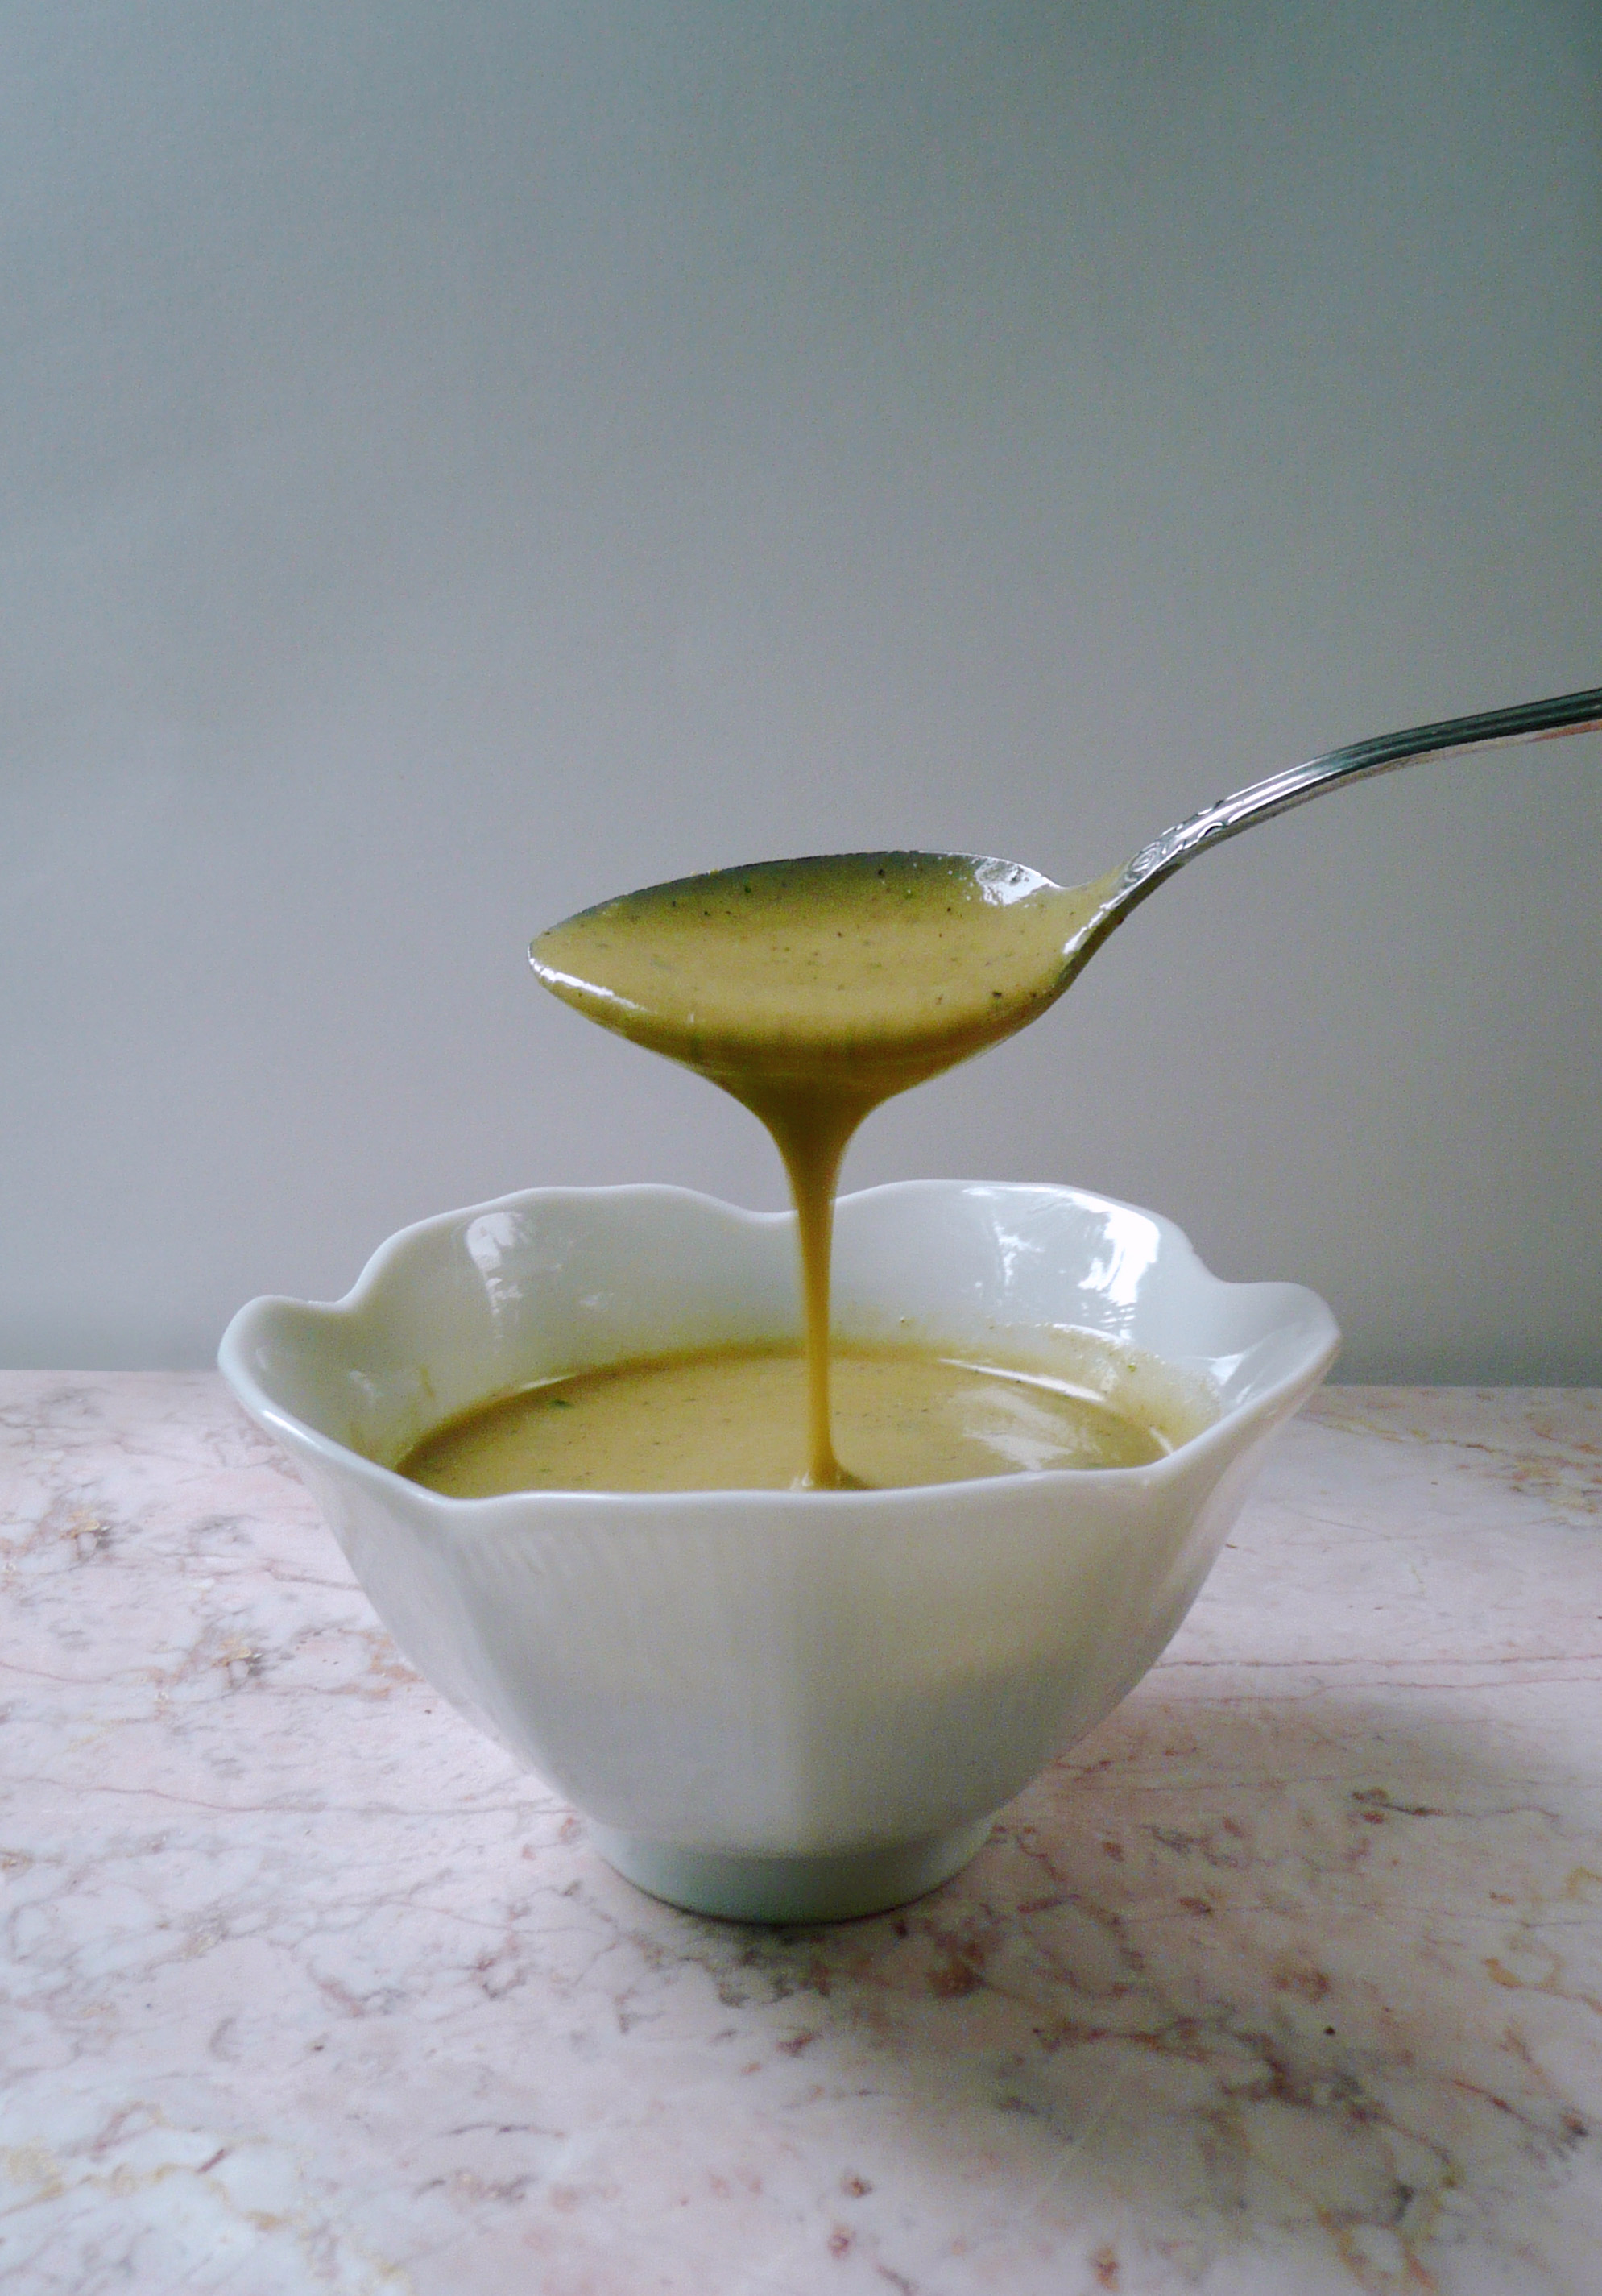
This is hands down the best gravy I’ve ever had. It’s totally vegan, and incredibly delicious.

It has all the flavors that you want in a gravy. The browned mushrooms give it a deep savory richness. The sage and the other spices give it that special Thanksgiving charm, and the oat flour gives the gravy a velvety, creamy, buttery texture with out any dairy.

I promise that you won’t miss the chicken stock or the butter.

It’s great served over mashed potatoes, turkey and stuffing, but delicious enough to be eaten on it’s own. You can double or triple the recipe and serve it with sautéed mushrooms as a creamy mushroom soup, or serve it over pasta for something like a creamy mushroom alfredo sauce.

I would add just a pinch more salt to this myself, but I like things more on the savory side. Some people like things less salty, and leaving that extra little bit of salt out gives your guests a little more wiggle room as far as the savory level of their gravy is concerned.

This recipe works well with lots of different dietary restrictions, but if you know that one of your guests has celiac disease, then be sure to use certified gluten free oats. Oats are naturally gluten free, but normal oats from bulk bins can sometimes be processed on the same equipment as normal flour, and can contain trace amounts of gluten.

You can make this gravy ahead of time, and just reheat it right before serving. One less (delicious) thing to worry about cooking on Thanksgiving is something to be thankful for indeed.

Gorgeous Gravy
Makes 2 cups

Prep time – 5 min
Cook Time – 30 min
Total Time – 1 hr 20 min

Ingredients

1 2/3 cup diced mushrooms (about 5 white or crimini mushrooms)

¾ cup diced onion (about ½ a medium onion)

1 tbsp. diced celery

7 tbsp. olive oil

¼ cup oat flour *

2 cups water


½ + 1/8 tsp. sea salt

¼ tsp. black pepper

¼ + 1/8 tsp. dried rubbed sage

¼ tsp. dried thyme

3 tsp. finely chopped fresh parsley.


Instructions

1. Sauté the mushrooms over medium high heat with 4 tbsp of olive oil for about 8 – 10 minutes until the mushrooms have become golden brown around the edges. Pour the mushrooms and olive oil into a bowl and set aside.

2. Allow the pan to cool off the heat for 10 minutes. The onions and celery will cook more evenly if they are allowed to start off cooking from a cool pan.

3. Add the onions and celery into the cooled pan along with another 3 tbsp of olive oil. Cook the onions and celery over medium high heat for 3-4 minutes. Then turn the heat down to medium and cook for another 3 minutes until the vegetables are softened.

4. Add the oat flour into the celery and onions and cook for 3 minutes, stirring the mixture as it cooks.

5. Add the 2 cups of water and the cooked mushrooms to the pan and turn the heat up to medium high. Cook uncovered for about 8 minutes until the mixture has thickened, stirring frequently. Don’t worry if the gravy looks a little lumpy right now, the blender will smooth that all out.

6. Take the pan off the heat, and let the gravy cool for 30 minutes.

Caution when blending hot liquids – remove the little clear plastic cap off the top of the blender lid (the lid’s center insert) and put a folded towel over the top, then blend.

If you don’t allow the blender to vent steam while blending hot liquids, pressure can build up and the blender contents can explode. Taking the center insert off the lid, and using the folded towel should prevent this from happening.

Add the gravy to the blender, and blend until smooth. Add in the the salt, pepper, sage, parsley and thyme and give the gravy a quick blitz to stir in the spices, but still allow some green from the fresh parsley to show through in the final gravy.

You can stash this in the fridge overnight and then reheat the gravy in a saucepan over medium heat right before serving.

Notes – * I grind oats into oat flour using a blender. Don’t grind the oats in a food processor because the flour won’t be fine enough.

Any extra oat flour I don’t use in the recipe goes into an airtight container and I use it for another recipe.

cornbread dressing - stuffing

Southern Style Cornbread Dressing – Gluten and Dairy Free Stuffing Recipe

P1060540- 2

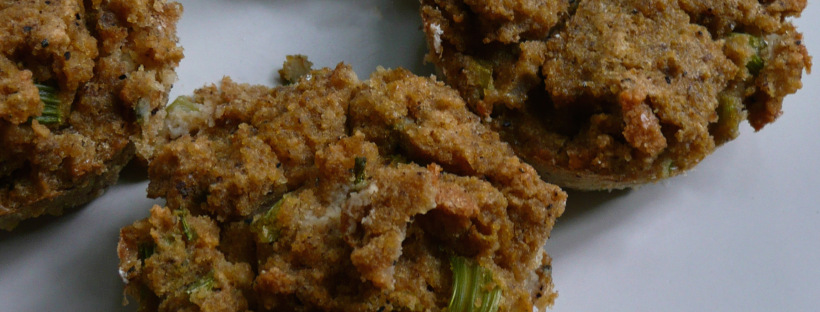
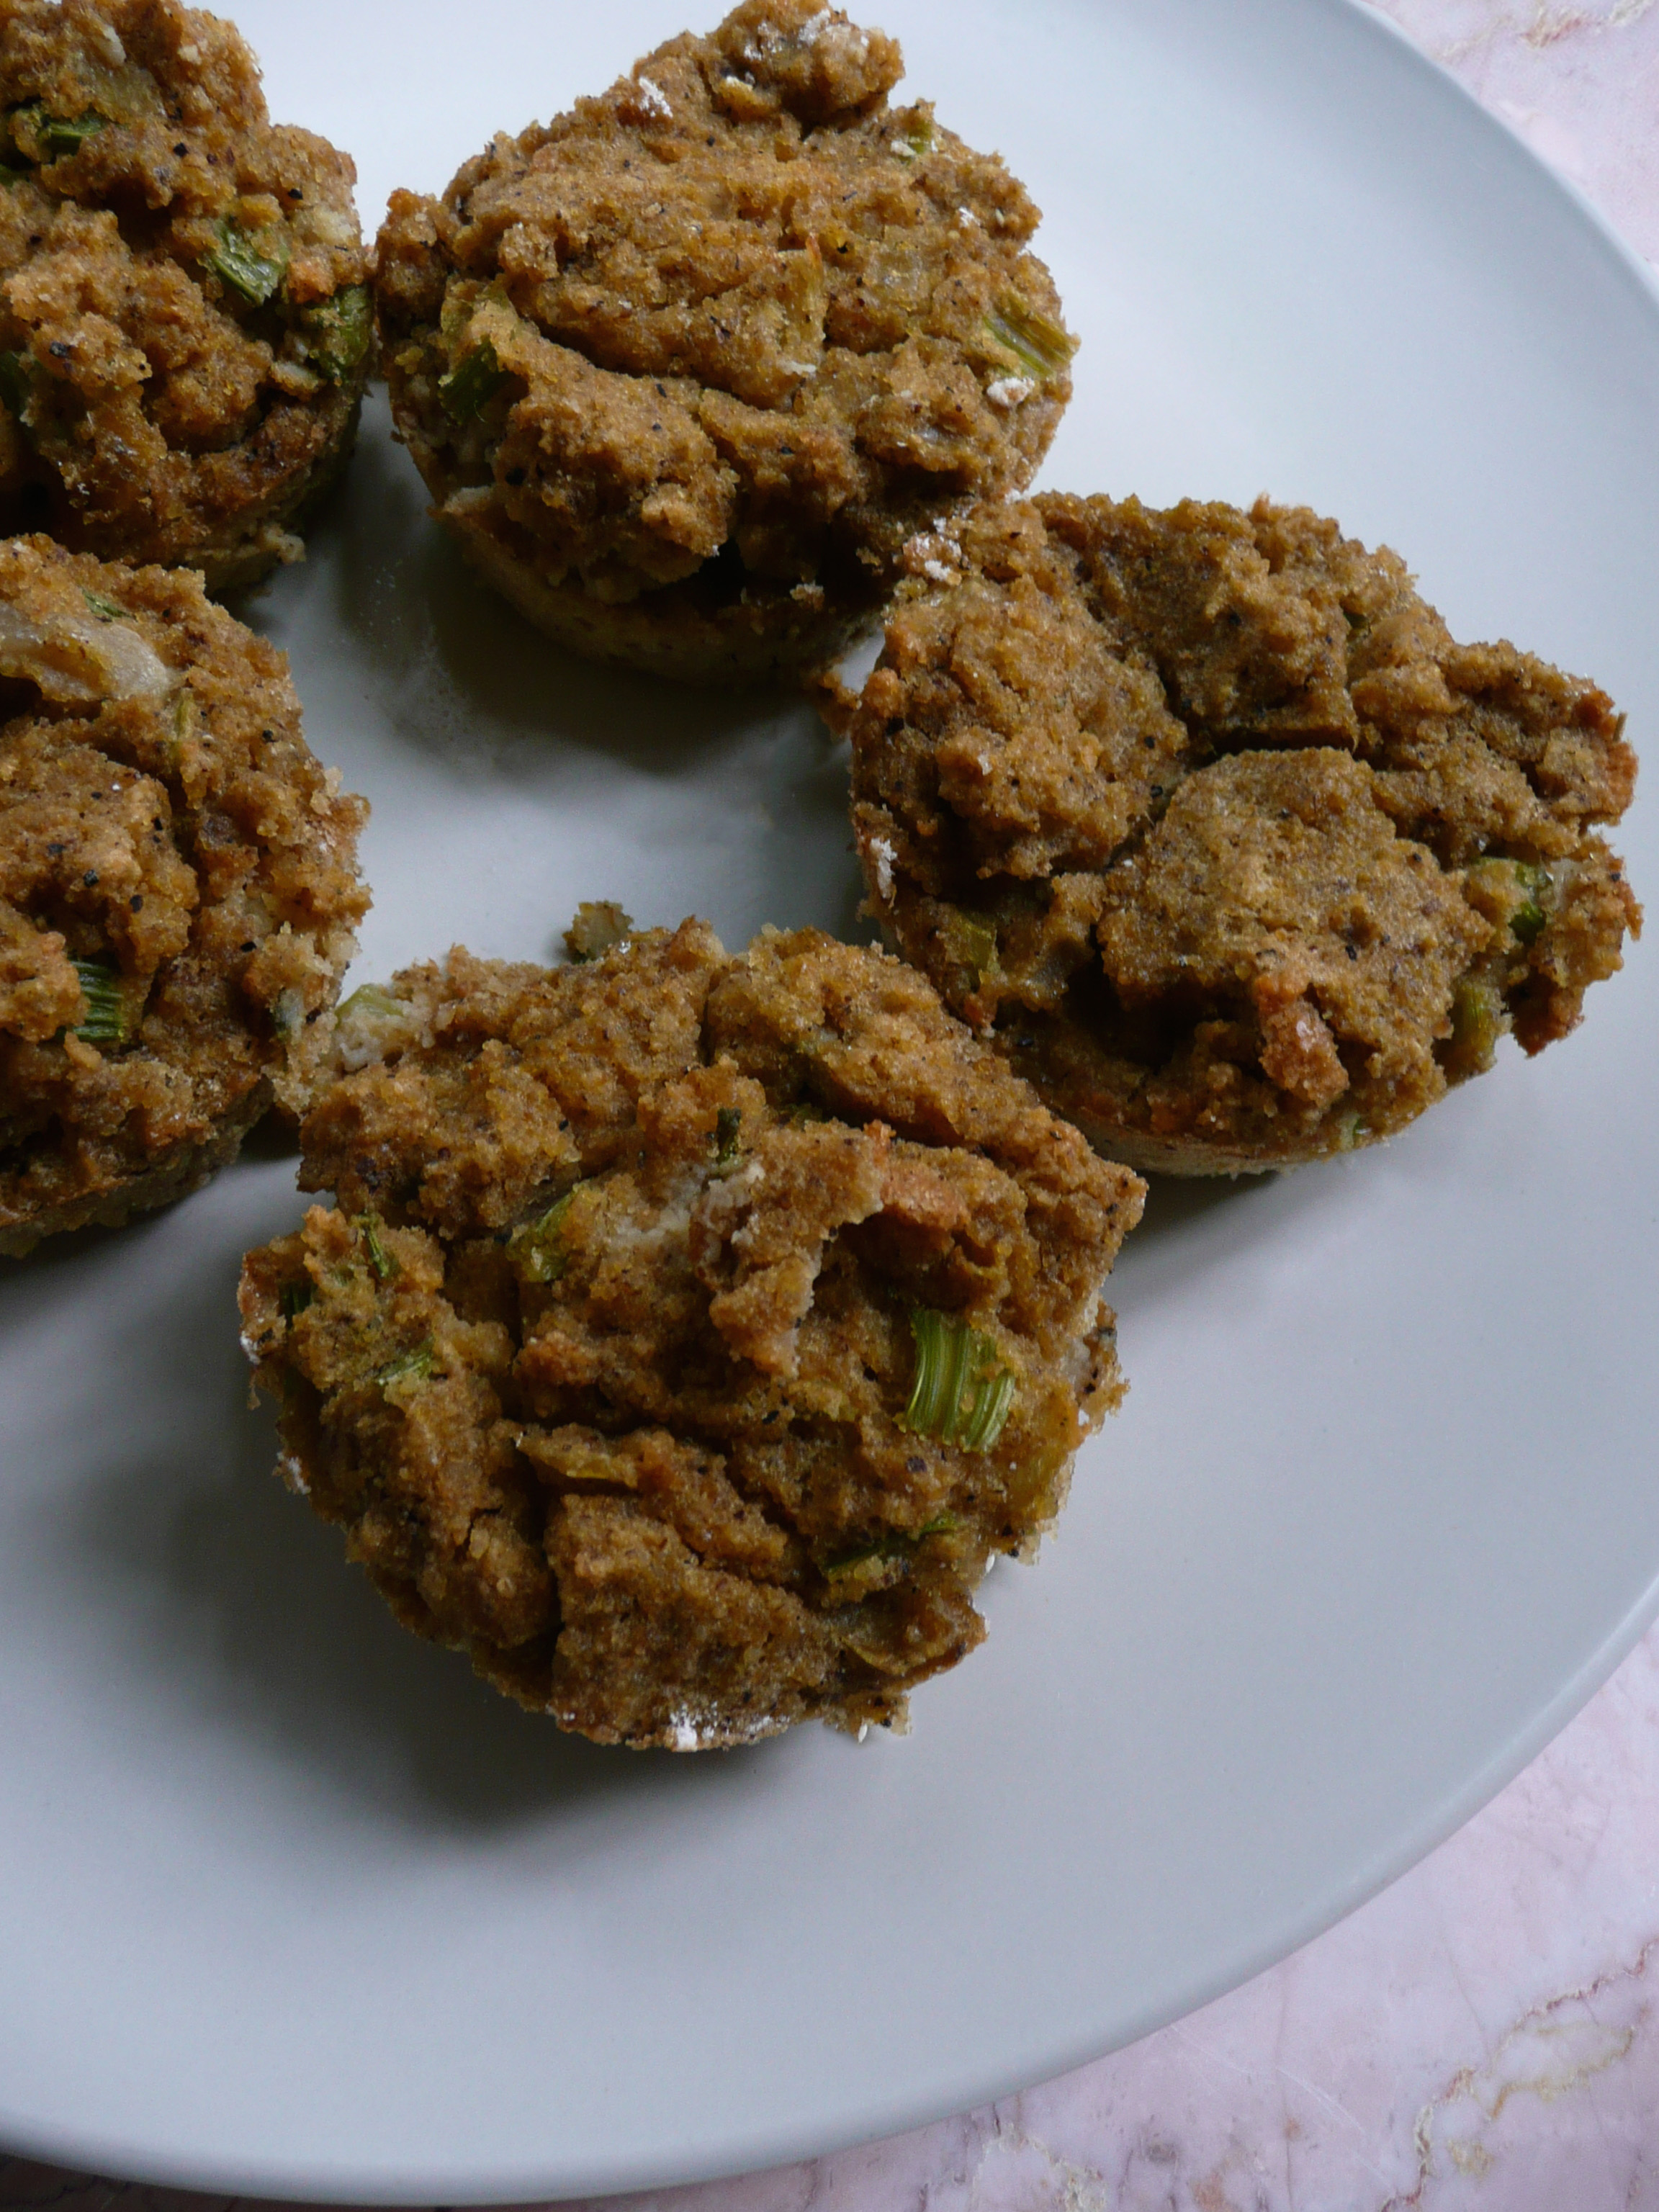
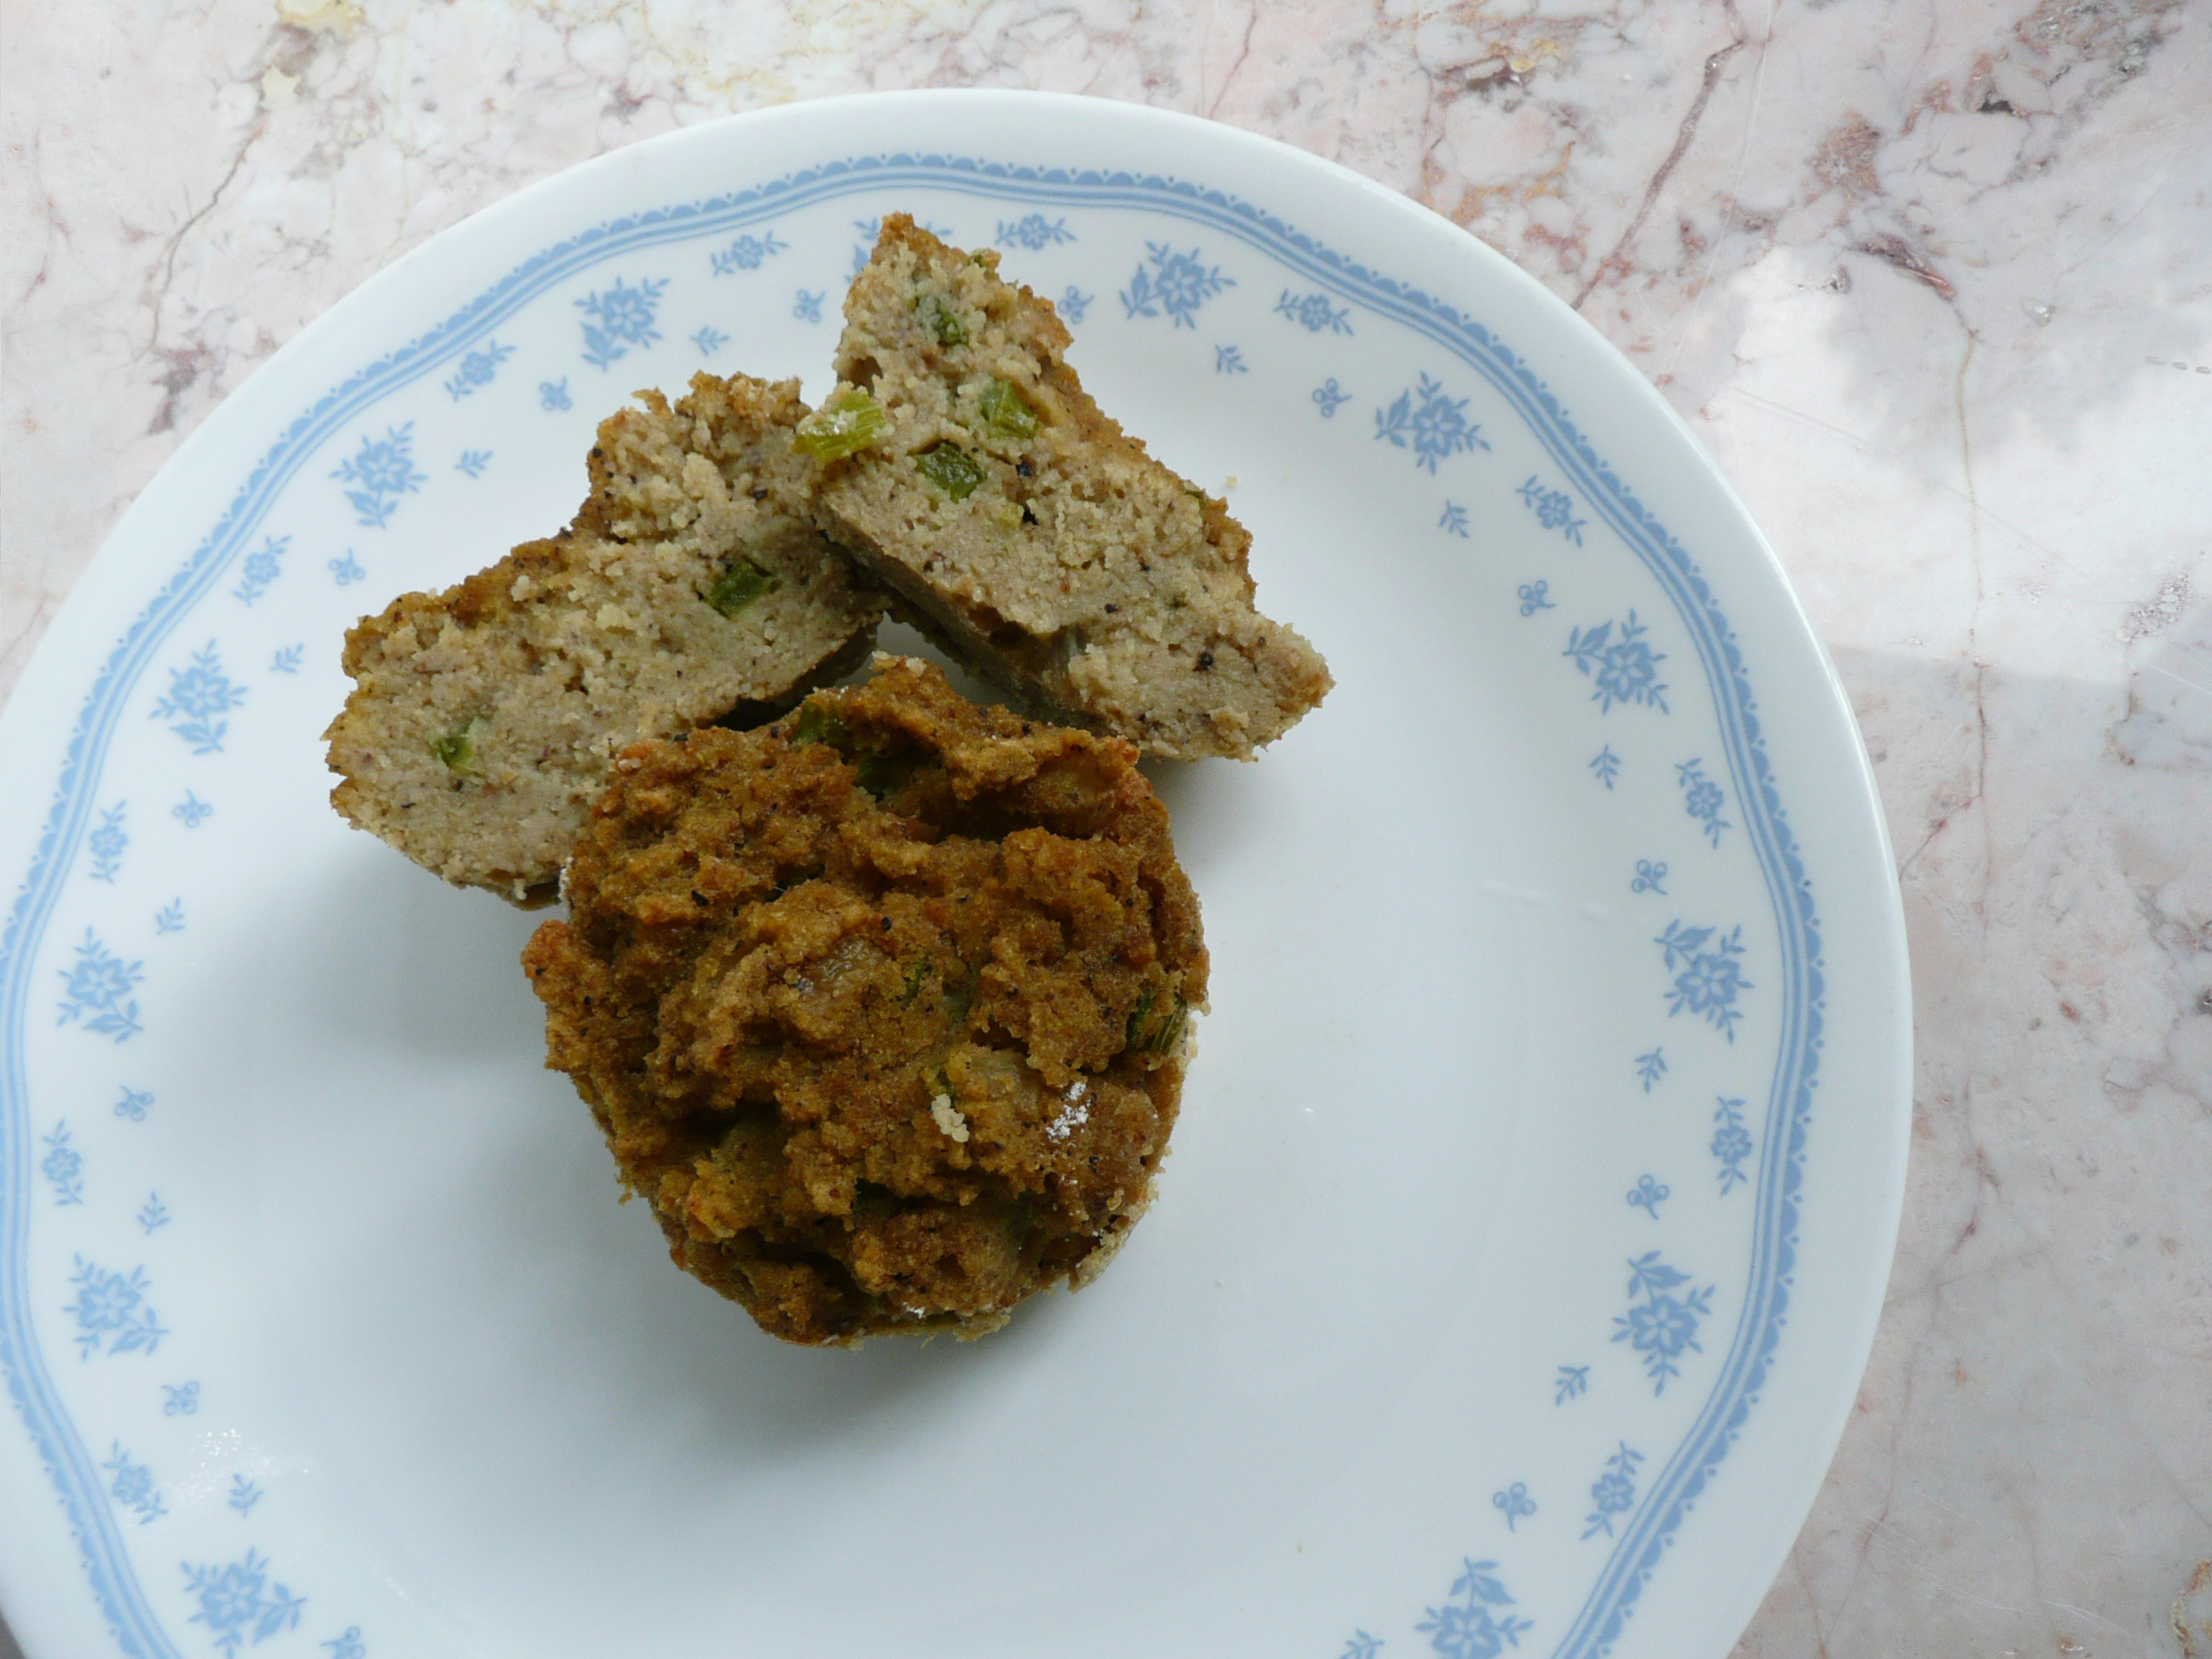
There are many types of incredible stuffing, but Southern Style Cornbread Dressing is my absolute favorite. The taste of this brings back so many happy memories of friends and family over the years, and always brings a smile to my face. It’s slightly crispy on the top and moist and creamy in the middle, and it’s definitely a crowd-pleaser.

P1060543-2

You can either bake this in a muffin tin (will make 12 muffin size portions of stuffing) or bake it in a 13 x 9 casserole dish. The baking time will be the same either way. I would use the muffin pan if you’re planning on making the stuffing ahead or want to freeze individual portions to enjoy later.

Southern Style Cornbread Dressing – Gluten Free
Makes 4-6 servings

Adapted from this recipe.

For the Cornbread

Ingredients

¼ level cup + 1/3 level cup of oat flour*

1 level cup + 3 tbsp. of cornmeal **

¾ level tsp. baking soda

1 tbsp. ground flax seed (or add another ½ a beaten egg to the wet ingredients)

4.5 tbsp. avocado oil – or any neutral flavored oil

2 tbsp. apple cider vinegar (or white vinegar)

1 ½ tsp. maple syrup

1 cup of water

1 egg


Instructions

1. Preheat the oven to 425. Grease and flour a 8 x 8 baking dish with oat flour and any neutral flavored oil.

2. Sift the cornmeal, oat flour, baking soda, and ground flax seed in a large mixing bowl.

3. Stir together the wet ingredients until well combined. Add the wet into the dry and stir to combine. Pour into the 8×8 baking dish.

4. Bake at 425 for 30 minutes until golden brown. Set the cornbread aside to cool.

Notes – * I grind oats into oat flour using a blender. Don’t grind the oats in a food processor because the flour won’t be fine enough.

Any extra oat flour (or ground flax seed) I don’t use in the recipe goes into an airtight container and I use it for another recipe.

**If you’re allergic to corn, you could try substituting brown rice flour for the cornmeal at a 1:1 ratio. I didn’t test this recipe specifically with this substitution, so I’m not 100% sure this will work, but last year I made a cornbread dressing with brown rice flour instead of cornmeal and it came out great. You couldn’t tell the difference at all.


For the Cornbread Dressing

3 tbsp. olive oil

½ cup diced onion

¾ cup diced celery

1 egg

2 cups of chicken broth (homemade or store bought)

¾ tsp. pepper

¾ tsp. dried rubbed sage

¼ + 1/8 tsp. sea salt

Instructions

1. Sauté the diced onion and celery in the olive oil over medium heat until tender, about 12 minutes.

2. Add the sage and sauté 1 minute longer.

3. Crumble the cornbread into a large mixing bowl. Add the cooked vegetables, salt, pepper, sage and chicken broth to the mixture. Taste for seasoning, and add more salt and pepper if needed.

4. Stir in the beaten egg, then cover and chill the mixture overnight (at least 8 hours).

5. Preheat the oven to 375. Grease and flour your muffin tin or 13 x 9 baking dish with oil and oat flour. Pour the mixture into the pan and bake uncovered for 30-40 minutes until golden brown on top.

If your making this in a muffin pan, let the stuffing cool in the muffin pan for 30 -45 minutes so that the stuffing has some time to firm up and hold it’s shape. Run a butter knife around the edges to loosen them, pop the stuffing muffins out and refrigerate. Reheat them to serve.

If you’re putting a dish straight from the fridge into the oven, put the fridge-cold dish into the cold oven (so that the ceramic dish does shatter from the temperature change between the cold fridge and the hot oven). Then preheat your oven with the dish inside so that it warms up with the oven and bake as usual.

You can reheat any leftover stuffing by covering the dish tightly with foil, and baking at 300 degrees for 45 minutes until warmed through.