Tulips

Springtime and June

I’m working on lots of fun things at the moment. I’ve been writing more recipes that I’m excited to share soon!

I’ve been loving how beautiful all the local farmers markets have become now that it’s springtime!

Lavender

All the pretty lavender plants at the local farmers market.

Tulips

Nothing brings joy like stunning tulips in spring!

Knitting Swatches

I’ve also been knitting swatches to try and figure out which size knitting needle gives the best result with the cream colored wool that I reclaimed from a gigantic J. Crew sweater (truly the biggest sweater that I have ever laid my eyes on) that I thrifted for a less than $2. The sweater was 100% wool and I’m so excited to make something with all that yarn! My new favorite thing to do is listen to podcasts while knitting simple swatches. It’s pure bliss…

And in honor of July 4th coming up (Happy Birthday America!) I want to take a moment to celebrate a true American hero – Claire Saffitz from the Bon Appétit test kitchen!

Claire is the coolest! I love watching her Gourmet Makes series because she manages to recreate these industrially produced snacks through some blend of creativity, alchemy, perseverance and gumption.

One of my favorite moments from this episode is at 28:26 when she comfort-wraps her homemade starbursts to cheer herself up (with melancholy piano music playing dramatically in the background) after every batch of taffy that she’s made has come out wrong. Thankfully at the end of the episode (thanks in part to the diligence of her co-worker Chris Morocco) she manages to get a decent batch of cherry flavored taffy that’s pretty darn close to an original starburst.

Claire never gives up and always keeps her sense of humor throughout each episode, and that’s pretty inspiring. Sometimes I’ll be working on a recipe that’s not coming out quite right, and I think “If Claire can make homemade Doritos, then I can figure out how to fix this recipe!” And eventually, a few tries later, I do manage to get my recipe right.

I hope that all of you have a wonderful July 4th!

Elaine

Adventures in Knitting! – Flat Knit Socks

Two Knit Socks - Blue and Green

I know what you’re wondering…

Did Elaine get snowed in at some point during the past few weeks?

Why, yes. Yes I did.

I have lived in snowy places before, but I have never in my life seen as much snow as I have the past few weeks.

It just kept snowin’…

Three foot long icicles hung from the roof, and I was knee deep in snow for more than a week. It was super crazy!

But also kind of fun. There was something really nice about knowing that everyone in the surrounding areas got to spend some extra time with their families for a few days.

Good news though! The weather finally cleared, the snow finally melted (well, mostly… there’s still some piles of it here and there) and I have finished my socks!

Nothing says snowed in like flat knit socks. They are pretty easy to knit, and I had to knit them flat because I lacked the size 7 double pointed needles that I needed to knit them in the round. (Unfortunately, those double pointed needles don’t just appear in the snow like Turkish Delights do in Narnia…)

Oddly enough, the hardest part came when I had to seam them together. I couldn’t get the socks to fit together properly for a while. Finally after using the seamless mattress stitch to seam them together for the 3rd time was I able to get a sock-like shape.

I still have to block the socks (wash them gently and shape them flat for drying) but that’s a project for the weekend I think.

I found the pattern for flat knit socks online. Admittedly, they don’t match and they are slightly different patterns as well.

Back of Socks - Blue and Green


This is for a fun reason!

I managed to reuse a green swatch I was knitting for the top of one of the socks when I realized that I had accidentally cast on the exact number of stitches in the swatch that I needed for the socks, therefore saving myself 4-6 hours of work. I just ripped out some of the extra stitches to make the swatch shorter (and the right length for the top of the sock), and then started knitting the decreases for the toe.

I could have made matching socks by making green and pale robin’s egg blue stripes, but it would have made for a pretty unattractive color combination. Plus, when I made them my feet were freezing. I made these socks to wear under my tall boots, so it didn’t matter to me that the colors matched so much as long as the socks were warm.

Two Knitted Socks - Blue and Green

I’ve got a ball of pink worsted merino yarn and a ball of yellow cotton yarn left. I started making a pink hat about a week ago. I had bought some circular needles a few weeks ago in anticipation of making the hat but (being a new knitter) didn’t realize that you couldn’t make a hat on 29 inch circular needles because all of the extra cord gets in the way of knitting.

Of course, this was yet again a day that the local knitting store was closed, and I wanted to start my hat! So again to the kitchen I went to grab some more takeout chopsticks. I wish I would have figured out that I could make the double pointed needles before I made the socks, but it was probably good that I learned to knit them flat first. I could focus on learning to increase and decrease stitches and not have to worry about knitting in the round.

It took me about 2 hours to shave down, sharpen, sand and polish 4 double pointed bamboo knitting needles (size 7 of course). I had to keep sharpening my craft knife using fine sandpaper (thank you YouTube for teaching me how to do this) to cut the bamboo properly, but making my own knitting needles was actually a really fun process. All I needed was chopsticks, sandpaper, a buffing block and a craft knife.

There’s something very satisfying in knowing that you needed something, and then you made it yourself. I also loved the process of doing a simple carving project and knowing that my effort created something useful, something that will help me create more things in the future.

And my double pointed needles work just fine, the yarn slides smoothly across them. I started to knit with them and after knitting about 3 inches of hat I realized that the hat pattern that I was using was way too small for my head. The hat was about 19 inches in diameter, too small for anyone but a child, so I ripped the stitches out and rolled the yarn back onto the ball.

I think that I’m going to try and knit a more complicated hat pattern. I saw one with cables and an Irish Moss pattern that I love, but I’m going to try and make it with a different style of cable.

I also learned how to do basic cables!

Pink Cable Knitting


Here’s my pretty swatch in bubblegum pink merino. My goal for this year was to be able to knit a cable and I seem to have accomplished that 10 months early. I will have to find a bigger knitting goal for this year now. Yay!

What was your first knitting project?

And if you have any advice for a new knitter it would be greatly welcome. I’ve got so much to learn and I am super excited to keep making things.

If only nice wool was cheaper…

Knitting – My New Favorite Hobby!

20190110_120700 copy

I’ve been knitting for about 4 weeks now, teaching myself to cast on by watching YouTube videos. I’ve learned how to fix those loose stitches at the end of rows (you slip the first stitch) and slowly but surely I’m starting to knit decent looking swatches of (mostly) orderly rows of knits and purls.

I’m not entirely sure why I started knitting to be honest! I’ve always thought of myself as a sewer, not a knitter. From the outside, knitting seemed time consuming, tedious, while sewing something cozy for yourself (like a sewing a beanie from an old sweater) could be done in an afternoon.

I liked the speedy gratification that comes from seeing something that you imagined (I want a hat, and I can sew one by lunchtime!) appear in your hands quickly.

Knitting isn’t like that. It’s slower, quieter, and I’ve been surprised to find how meditative it is. You focus on your work, and stitch-by-stitch something good comes from your effort.

I read Rachael Herron’s book A Life in Stitches a little while ago. It’s 20 short essays about knitting (if you know a knitter, this is the perfect gift to get them besides some really nice yarn).

While I was reading the book I couldn’t understand why the author thought knitting was so magical. It was just yarn after all, and some knitting needles, no big deal, but I loved reading the stories.

I loved reading about how knitting a replica of a sweater from her mother’s youth made Rachael feel closer to her mother. It was fun to read about crazy knitting stashes (every knitter has more yarn than they know what to do with), and about how any yarn you buy while traveling doesn’t count towards your already overflowing knitting stash.

Rachael knitted while she was in bad relationships, living in moldy apartments, getting through graduate school, suffering heartbreak, and ultimately when she found love and published her first book. This simple activity was the glimmering throughline that gave her comfort and joy in every phase of her life.

Even after I finished the book, which was basically a love letter to knitting, I still didn’t get it. I still had no desire to knit.

One day a few months later, I woke up and suddenly had the overwhelming desire to knit. Unfortunately, it was a Sunday and the local yarn store was closed. I had no knitting needles, but I did have a random ball of silky bright yellow cotton yarn that I had picked up years ago.

20190124_131626 copy

So to the kitchen I went to find some takeout chopsticks! I sanded them down with a random scrap of fine sandpaper, sat down with my ball of yellow yarn, and I was off to the races!

My first stitches weren’t great. My gorgeous yellow yarn was too fine for the chopsticks and the swatch I was knitting was just a series of large loops that twisted to and fro, but I didn’t care. I was knitting! I was just beginning to learn how to do something that it had never occurred to me that I would want to or be even able to do.

20190110_120832 copy

Knitting had always seemed like an elusive skill to me. I admired the skill it took to make those beautiful hand knit sweaters that you occasionally found in thrift stores, with their complicated looking cables and neat stitches, but I figured that knitting was something that you either had a knack for or you didn’t. Why I thought this, I do not know.

Maybe this is because I grew up in a time when people bought their clothes instead of making them. I’m sure in the past if you wanted a blue cable knit sweater you would make it yourself. Nowadays if you want a blue cable knit sweater, you type “blue cable knit sweater” into Google and buy one online.

Making things by hand is no longer as common as it used to be, but I think that’s changing with my generation. I have friends who make pottery, who bake and cook. Those skills along with knitting and sewing (hobbies that I enjoy) were skills that weren’t celebrated so much when we were growing up.

But there’s something deeply moving about making something handmade. The item that you create is the manifestation of an idea, your tenacity, and hope all rolled into the same object. Buying something that’s been mass-produced just doesn’t have the same feel to it.

Funnily enough, I don’t think that I even know anyone who has ever hand knit an entire sweater. Maybe that’s why I never thought that I would be able to knit. I mean, I know that there are people who’ve become astronauts and explored space before, but I don’t know anyone who has actually done it.

Two things that I never thought that I’d be able to / want to do – becoming an astronaut and knitting a sweater. One is much more achievable than the other, and who knows, with all of the space exploration companies out there maybe more people can visit space at some point.

Anywho, back to knitting…

One amazing thing about learning to knit is that it completely opens up a new world to you. There are knitting blogs, free patterns, and so many beautiful kinds of yarn! There’s merino, and cashmere, superwash merino (a softer kind of merino), silk and cashmere blends, and silky soft cotton. Yarns come in all sorts of colors and some skeins even knit up into confetti like patterns!

20190110_120947 copy

There are so many different kinds of stitches as well and they are all made of knits and purls. My favorite stitch that I’ve done so far is the Irish Moss Stitch which lays flat and is gloriously squishy with a beautiful soft-pebbled texture that looks good from both sides. I can’t wait to try more stitches out.

And knitters are nice people too! I was sitting in the knitting section of a local bookstore recently and struck up a conversation with a more experienced knitter. She kindly answered all of my questions about cables and how to go about designing your own sweater. She also gave me ideas about where to find knitting groups and recommended some online knitting forums. It was so neat to be able to meet another knitter and for them to be so kind.

I’ve also started to take a closer look at the knitted items in my closet (things that I didn’t make). I bought a hand knitted coral vest a few years ago at Goodwill. It fits like a glove and only recently did I realize that it’s entirely made up of knits and purls, both of which I know how to do now!

20190124_130358 copy

Then an exciting thought flashed through my mind, “I could make this!” I could make this vest! I could design a sweater and make it any color I want, make it look however I want! While I have yet to make a sweater, I am very excited to start knitting my first project. I’m going to knit a hat.

My aunt and uncle graciously gifted me a set of knitting needles and I picked out some Plymouth Superwash Merino Wool Yarn in bubblegum pink.

20190124_131535 copy-2

It’s super soft and I’ve already knit a swatch and it’s a dream to work with. The yarn also came in a beautiful cobalt blue, but maybe I’ll buy that for another project.

With lots of love, and Happy Lunar New Year!

Elaine

Apples and Oranges

6 Actually Useful Tips to Eat Healthier (for Busy People)

healthy food 3

It’s January! It’s a new year (and that’s super exciting!) It’s time to eat a little healthier and exercise a little more.

As far as the exercise goes, NPR has a great podcast called Exercise: Learn to Love (Or At Least Like) It that has lots of helpful tips for making an exercise habit a little stickier. I’ve listened to the first two episodes so far and I can’t wait to listen to the next two. I highly recommend the podcast if you’re feeling a little less than excited about doing lunges today! The suggestions on the podcast make exercise seem much more manageable and less overwhelming. They recommend getting in little bursts of exercise whenever you can (taking the stairs instead of the elevator), and only watching your favorite TV show while you exercise.

If you can only watch your favorite TV show while on the treadmill then it makes exercise a lot more appealing! You can combine something that you enjoy with something that you’re not so excited about (ugh, more lunges), which makes exercise more fun (or at least bearable) and you’re more likely to do it.

But as for eating healthier, how do you do that? How do you eat healthy when you have a million tasks to do each day, and you’re exhausted from the commute home? Who has time to cook anyway? It’s way easier to go through the drive thru and eat your tacos while parked in the parking lot when you’re exhausted after a long day (been there, done that) than to cook a meal from scratch when you get home.

These are all questions that everyone has when they start to eat a little healthier. It’s totally normal to feel overwhelmed when you decide change your eating habits, but there are ways to make it easier and more manageable. The hardest part is the first month or two but you can do it.

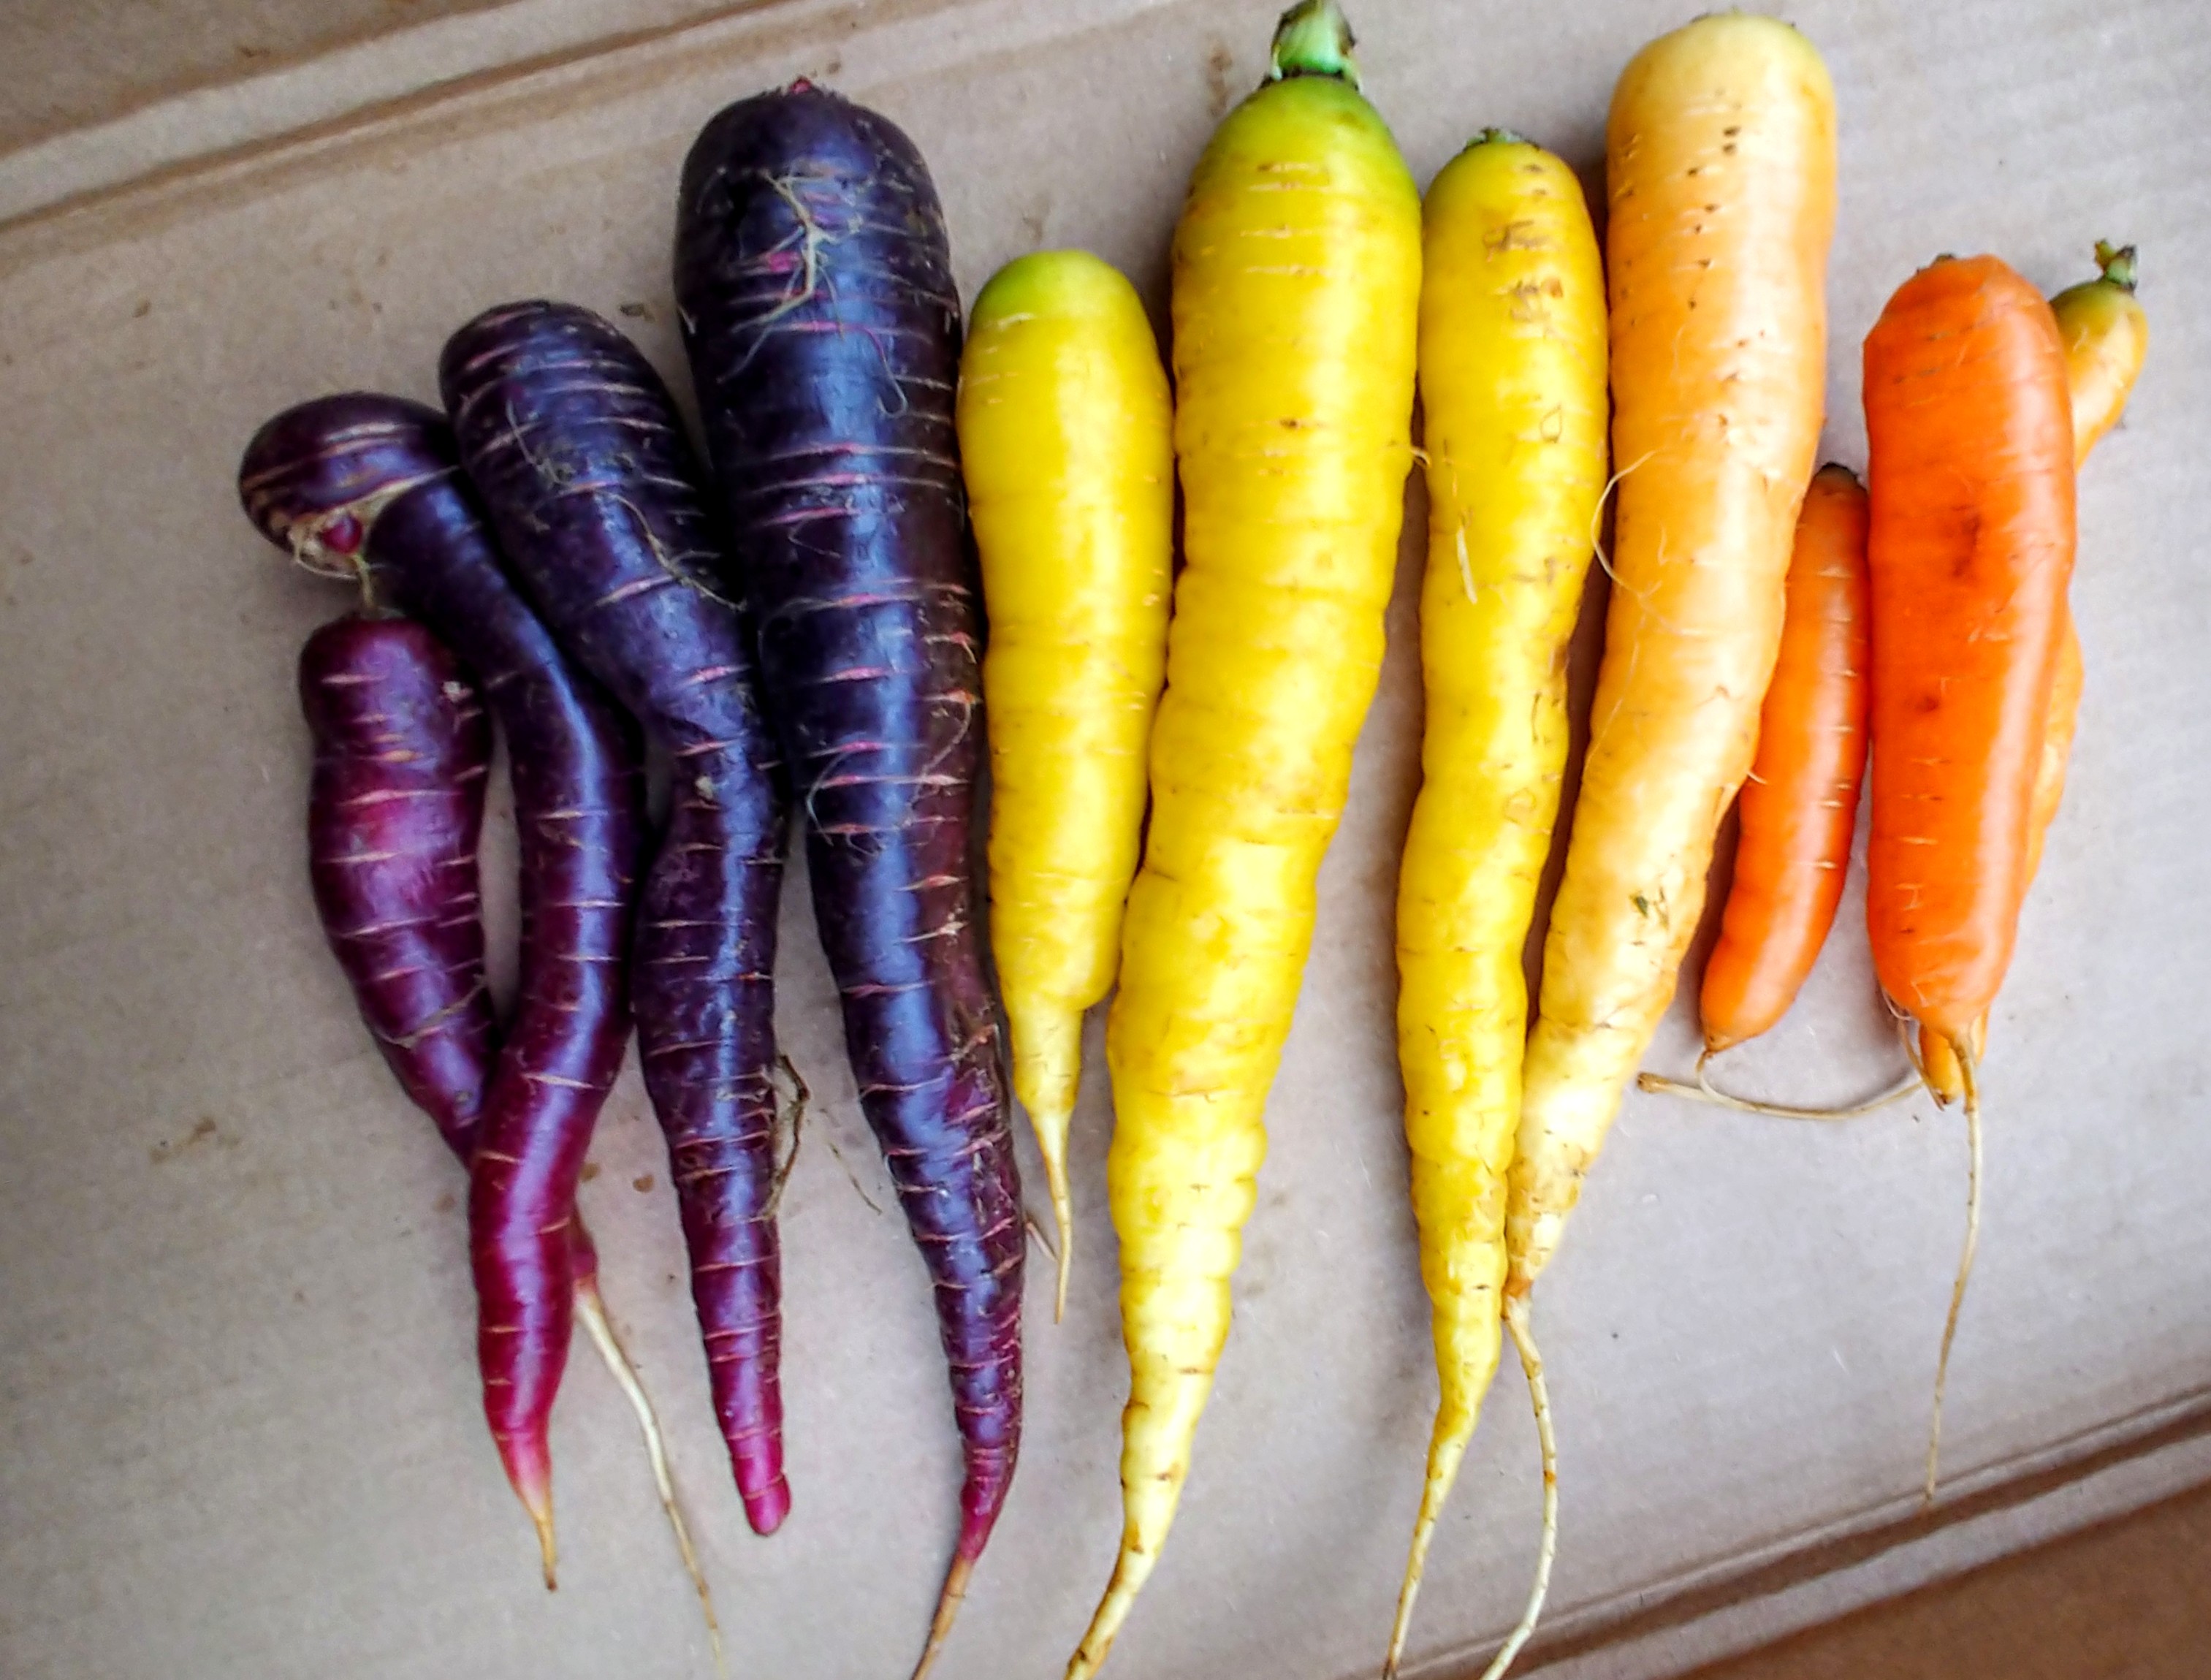
As far as which diet to follow, that can be confusing as well. There are lots of popular diets at the moment (many of them seem to contradict one another). What I did is that I took into consideration the food sensitivities I had (avoided those foods) and then ate foods that I seemed to do well on.

If I physically felt better after eating a carrot, then I ate more carrots on a regular basis. I’ve never counted calories, I just try and eat foods that don’t have a label and add in more veggies and olive oil.

With a bit of trial and error you’ll find a way of eating that works for you. Some people go very strict with paleo or keto or vegan, and other people just want to eat a few more servings of vegetables each day. Wherever you are on that spectrum I encourage you to eat in a way that makes sense you. Listen to your body, adjust what you eat as needed, and it’s all probably going to work out ok.

healthy food 2

Here are my top tips for eating healthier when you’re busy:

1. Eat First

There are always a million tasks to manage each day. There’s always something else that needs your attention (dishes to be done, another project to finish, or laundry to do). That to do list will always be there but if you’re focused on finishing task after task then before you know it having your first meal of the day at 9 or 10 pm is going to be a daily occurrence.

At that point you’ll either be too tired to eat or you’ll eat anything in sight, neither of which are good options.

So eat first. Before you tackle your to do list for today, take 10-15 minutes and eat breakfast. It could be as simple as scarfing down some hard boiled eggs and some fruit,  but make sure that you’re body has some fuel to burn, it will pay off exponentially during your day. You won’t be hangry and life will be easier.

This rule goes for lunch and dinner too, carve out time for those two meals as well. Eat first, then do the tasks. Laundry will still be there after dinner.

2. Make Extra

Here’s the real secret to healthy eating – leftovers. It doesn’t sound so sexy, but it’s the truth. Find healthy recipes that you like (you can have a look through my visual recipe guide here for ideas) and anytime you make a dish you like, make extra.

If you’re making soup, or curry, or meatballs then double the recipe and freeze the rest in muffin tins (for individual portions) or flat in ziptop bags. Silicone muffin tins might be a good investment for you if you plan on freezing a lot of portions. It’s very easy to pop your frozen portions out from those muffin tins as opposed to a metal muffin tin (you will usually have to wait for the food to thaw a little to get it out of a metal muffin tin).

You can also store leftovers in glass snapware containers and bring them for lunch with you or keep them in the fridge for when you get home the next night.

You’re basically making your own healthy convenience foods (for cheaper than store bought ones) that are perfectly tailored to your tastes and needs!

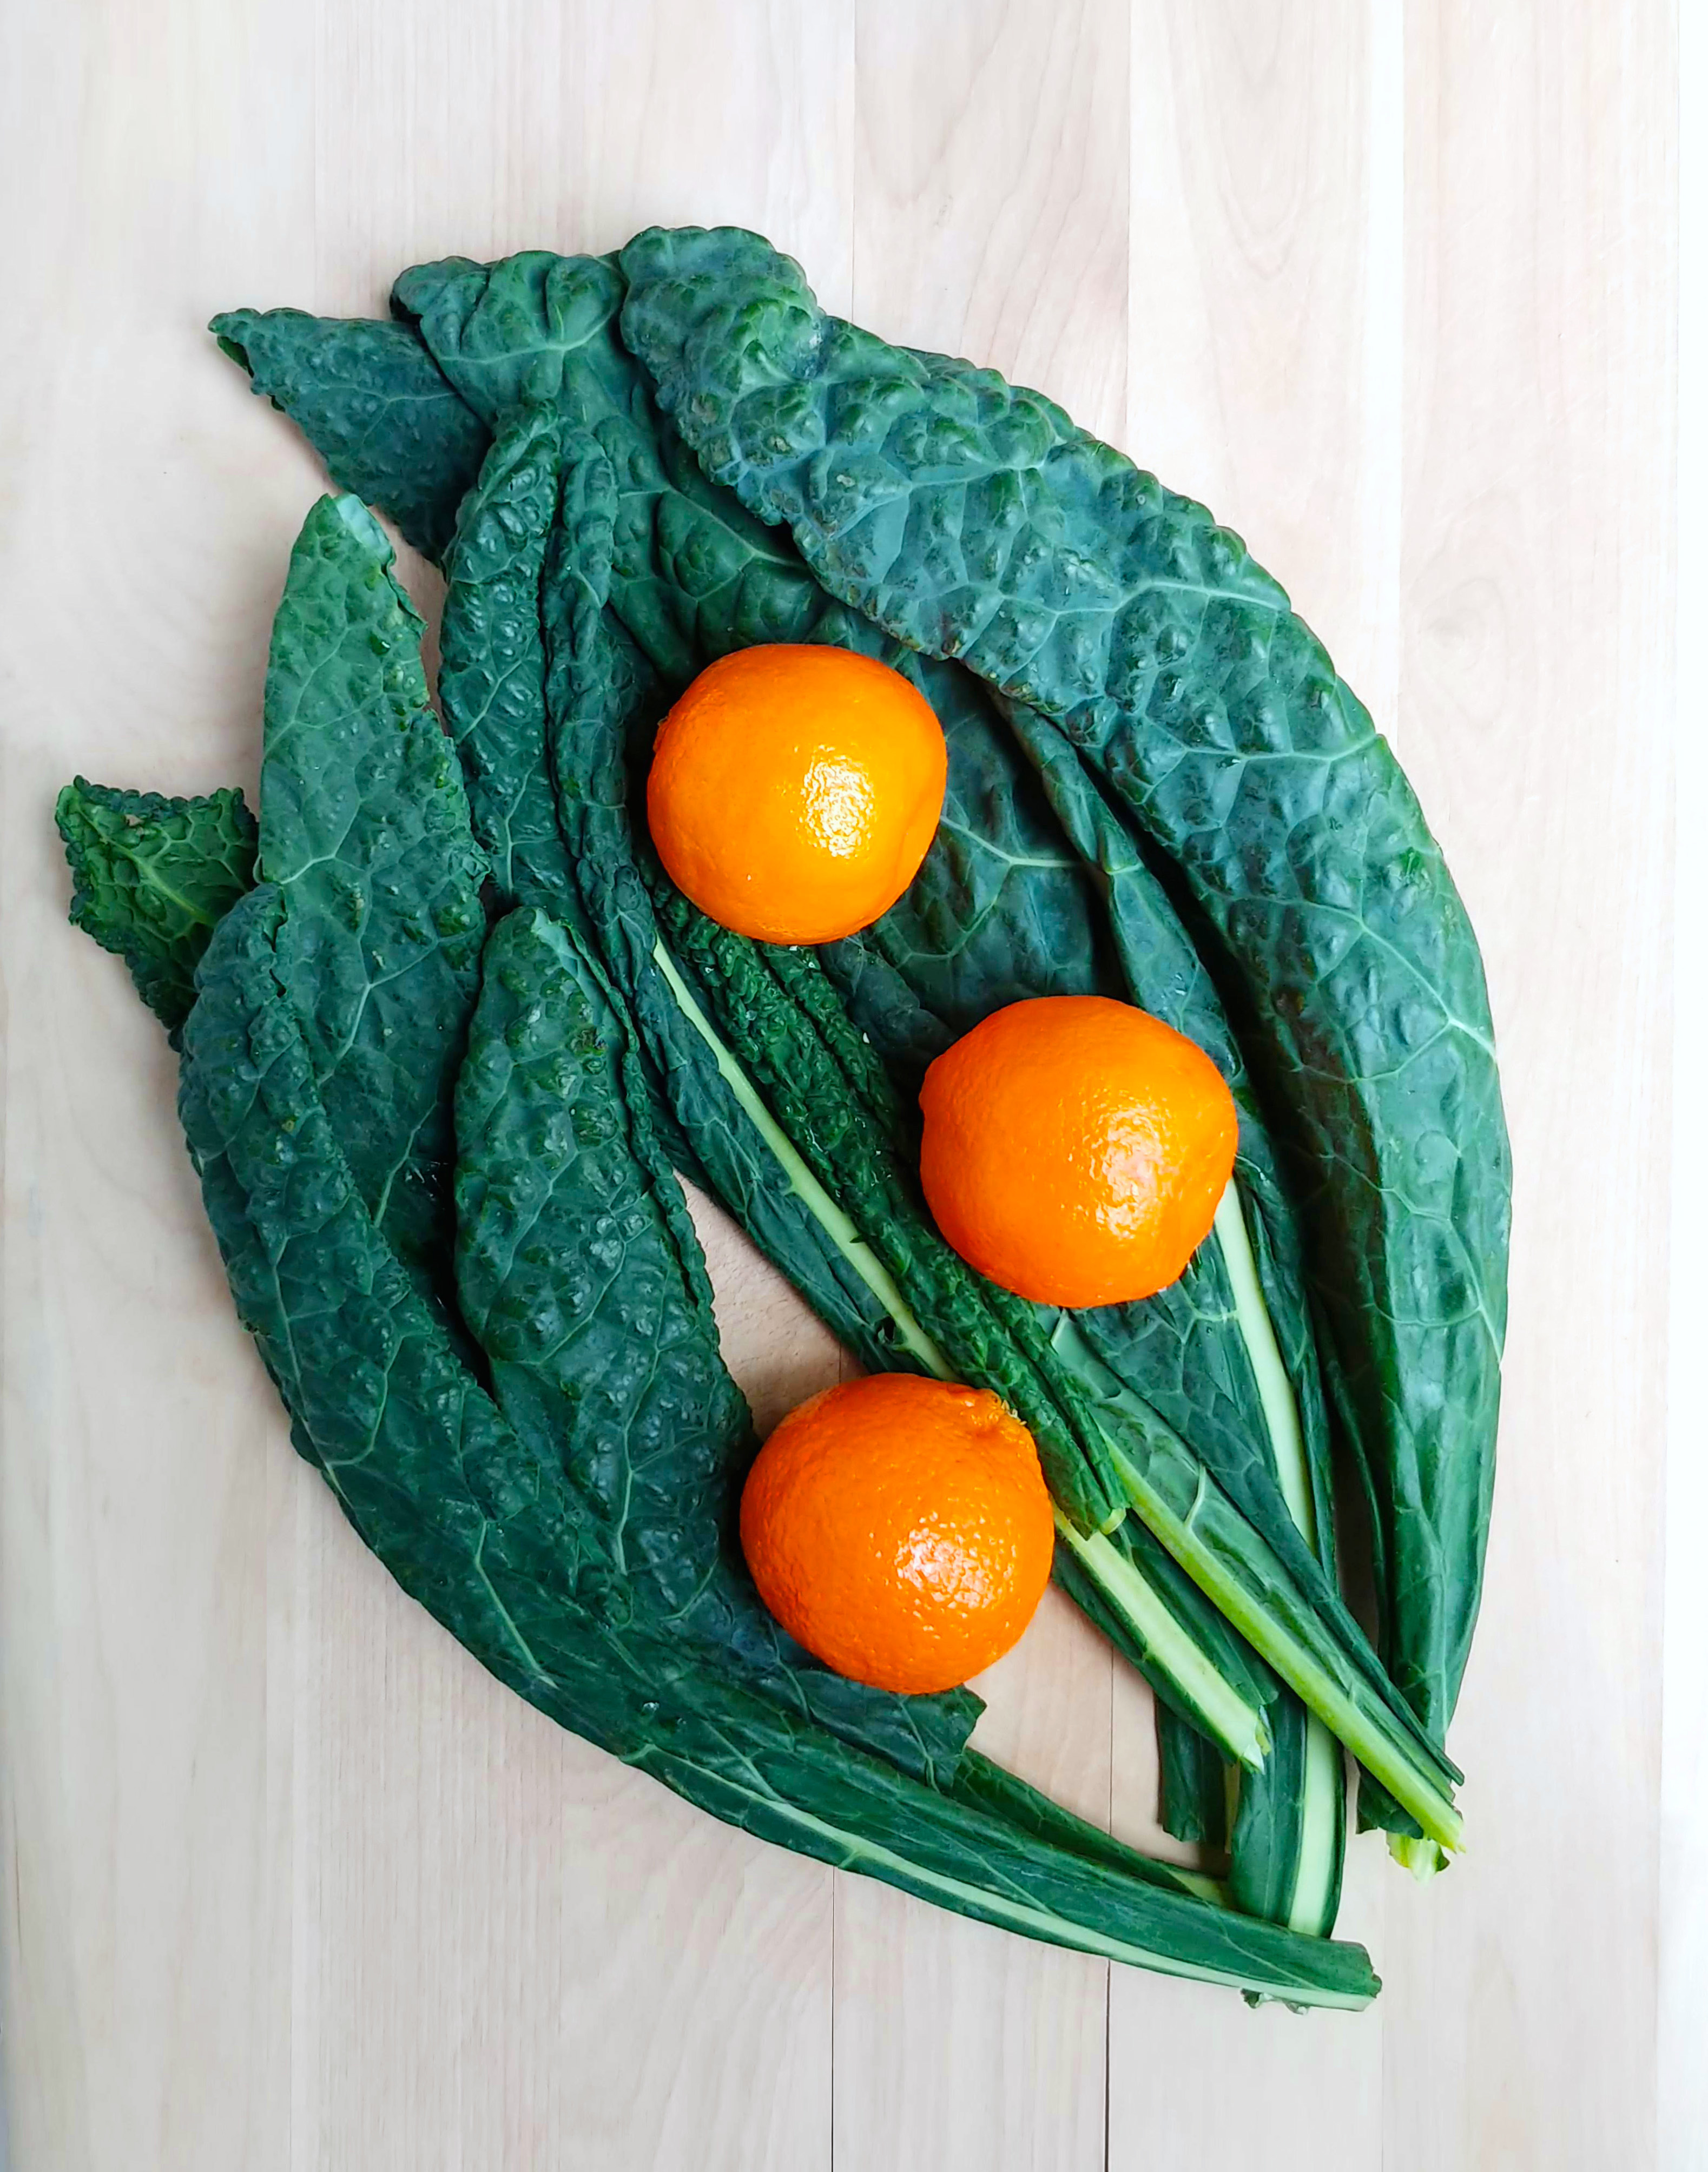
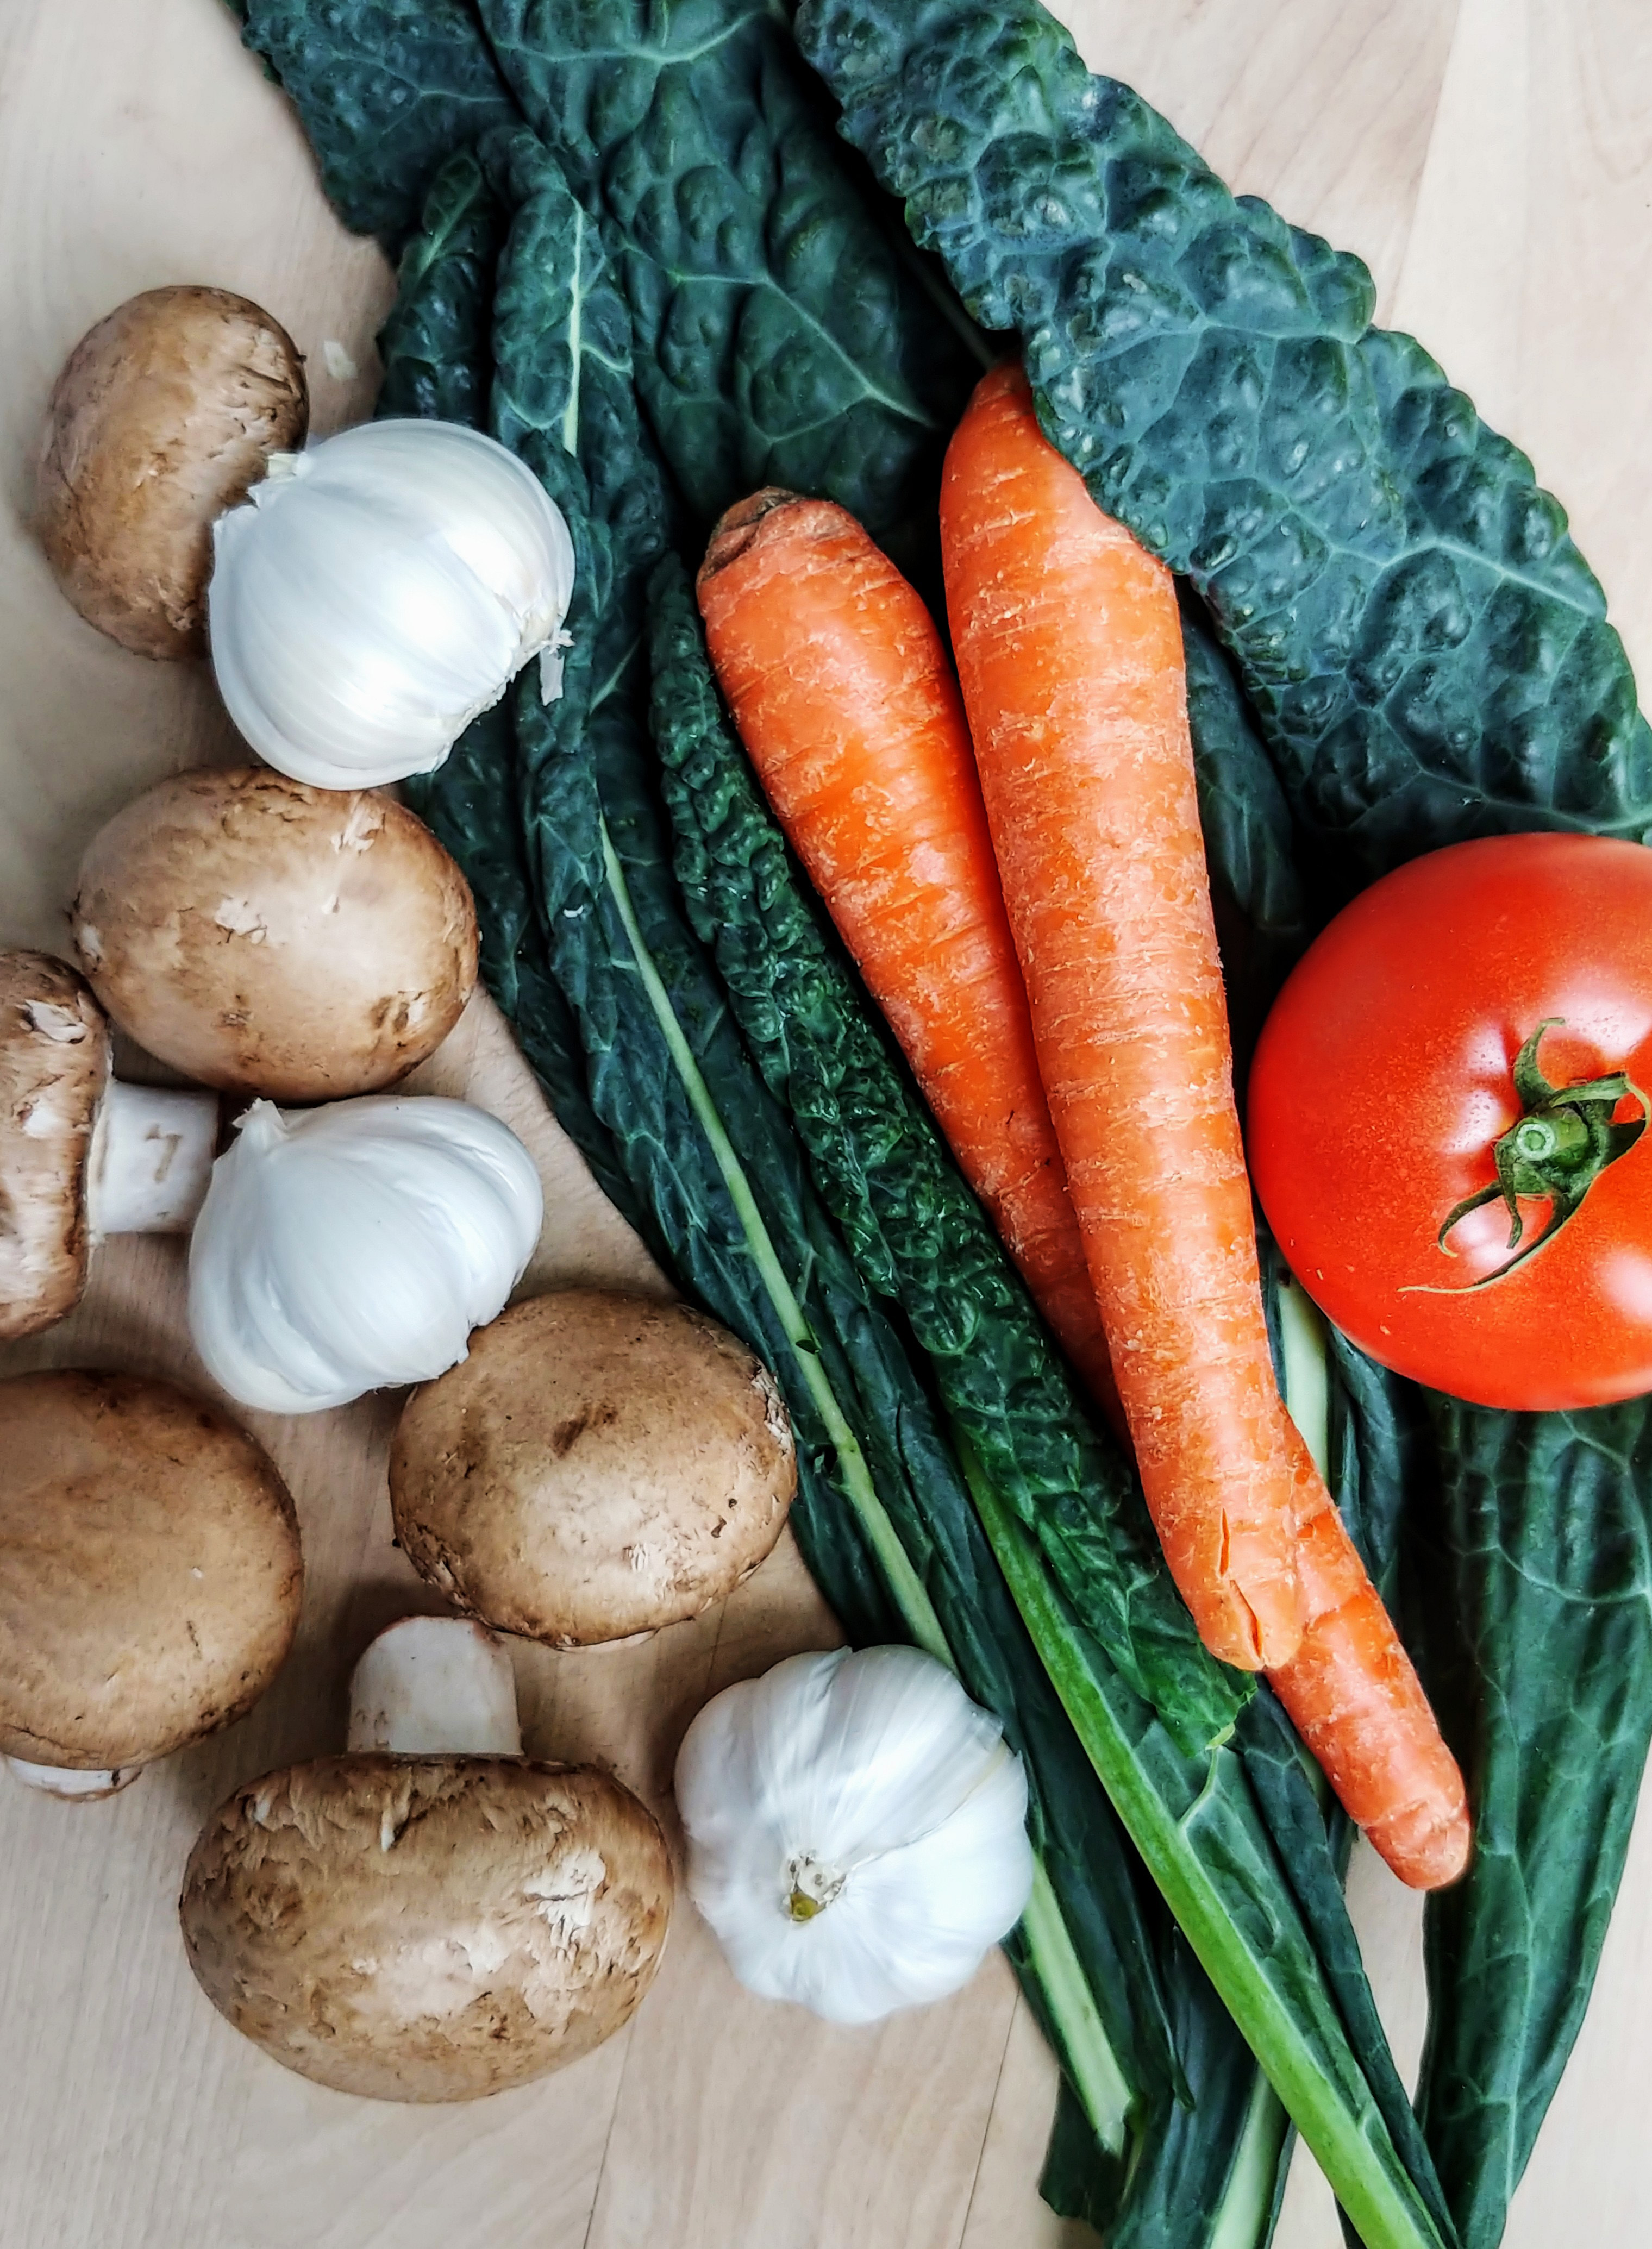
My own personal weekly food prep goes something like this – once or twice each week I make a big batch of sautéed kale with olive oil and garlic. I keep this in the fridge and  when I come home and am starving I know that I have a healthy veggie dish to heat up an eat. I also make hard boiled eggs in my rice cooker and keep them in the fridge for an easy snack to have on hand or I eat them for breakfast.

Having those two things on hand sounds like no big deal, but it makes eating healthier a lot easier. Eating breakfast and veggies becomes automatic – you have eggs to eat for breakfast so you’re not tempted by donuts, and you eat veggies everyday because all you have to do is scoop it into a bowl and heat it up.

healthy food 1

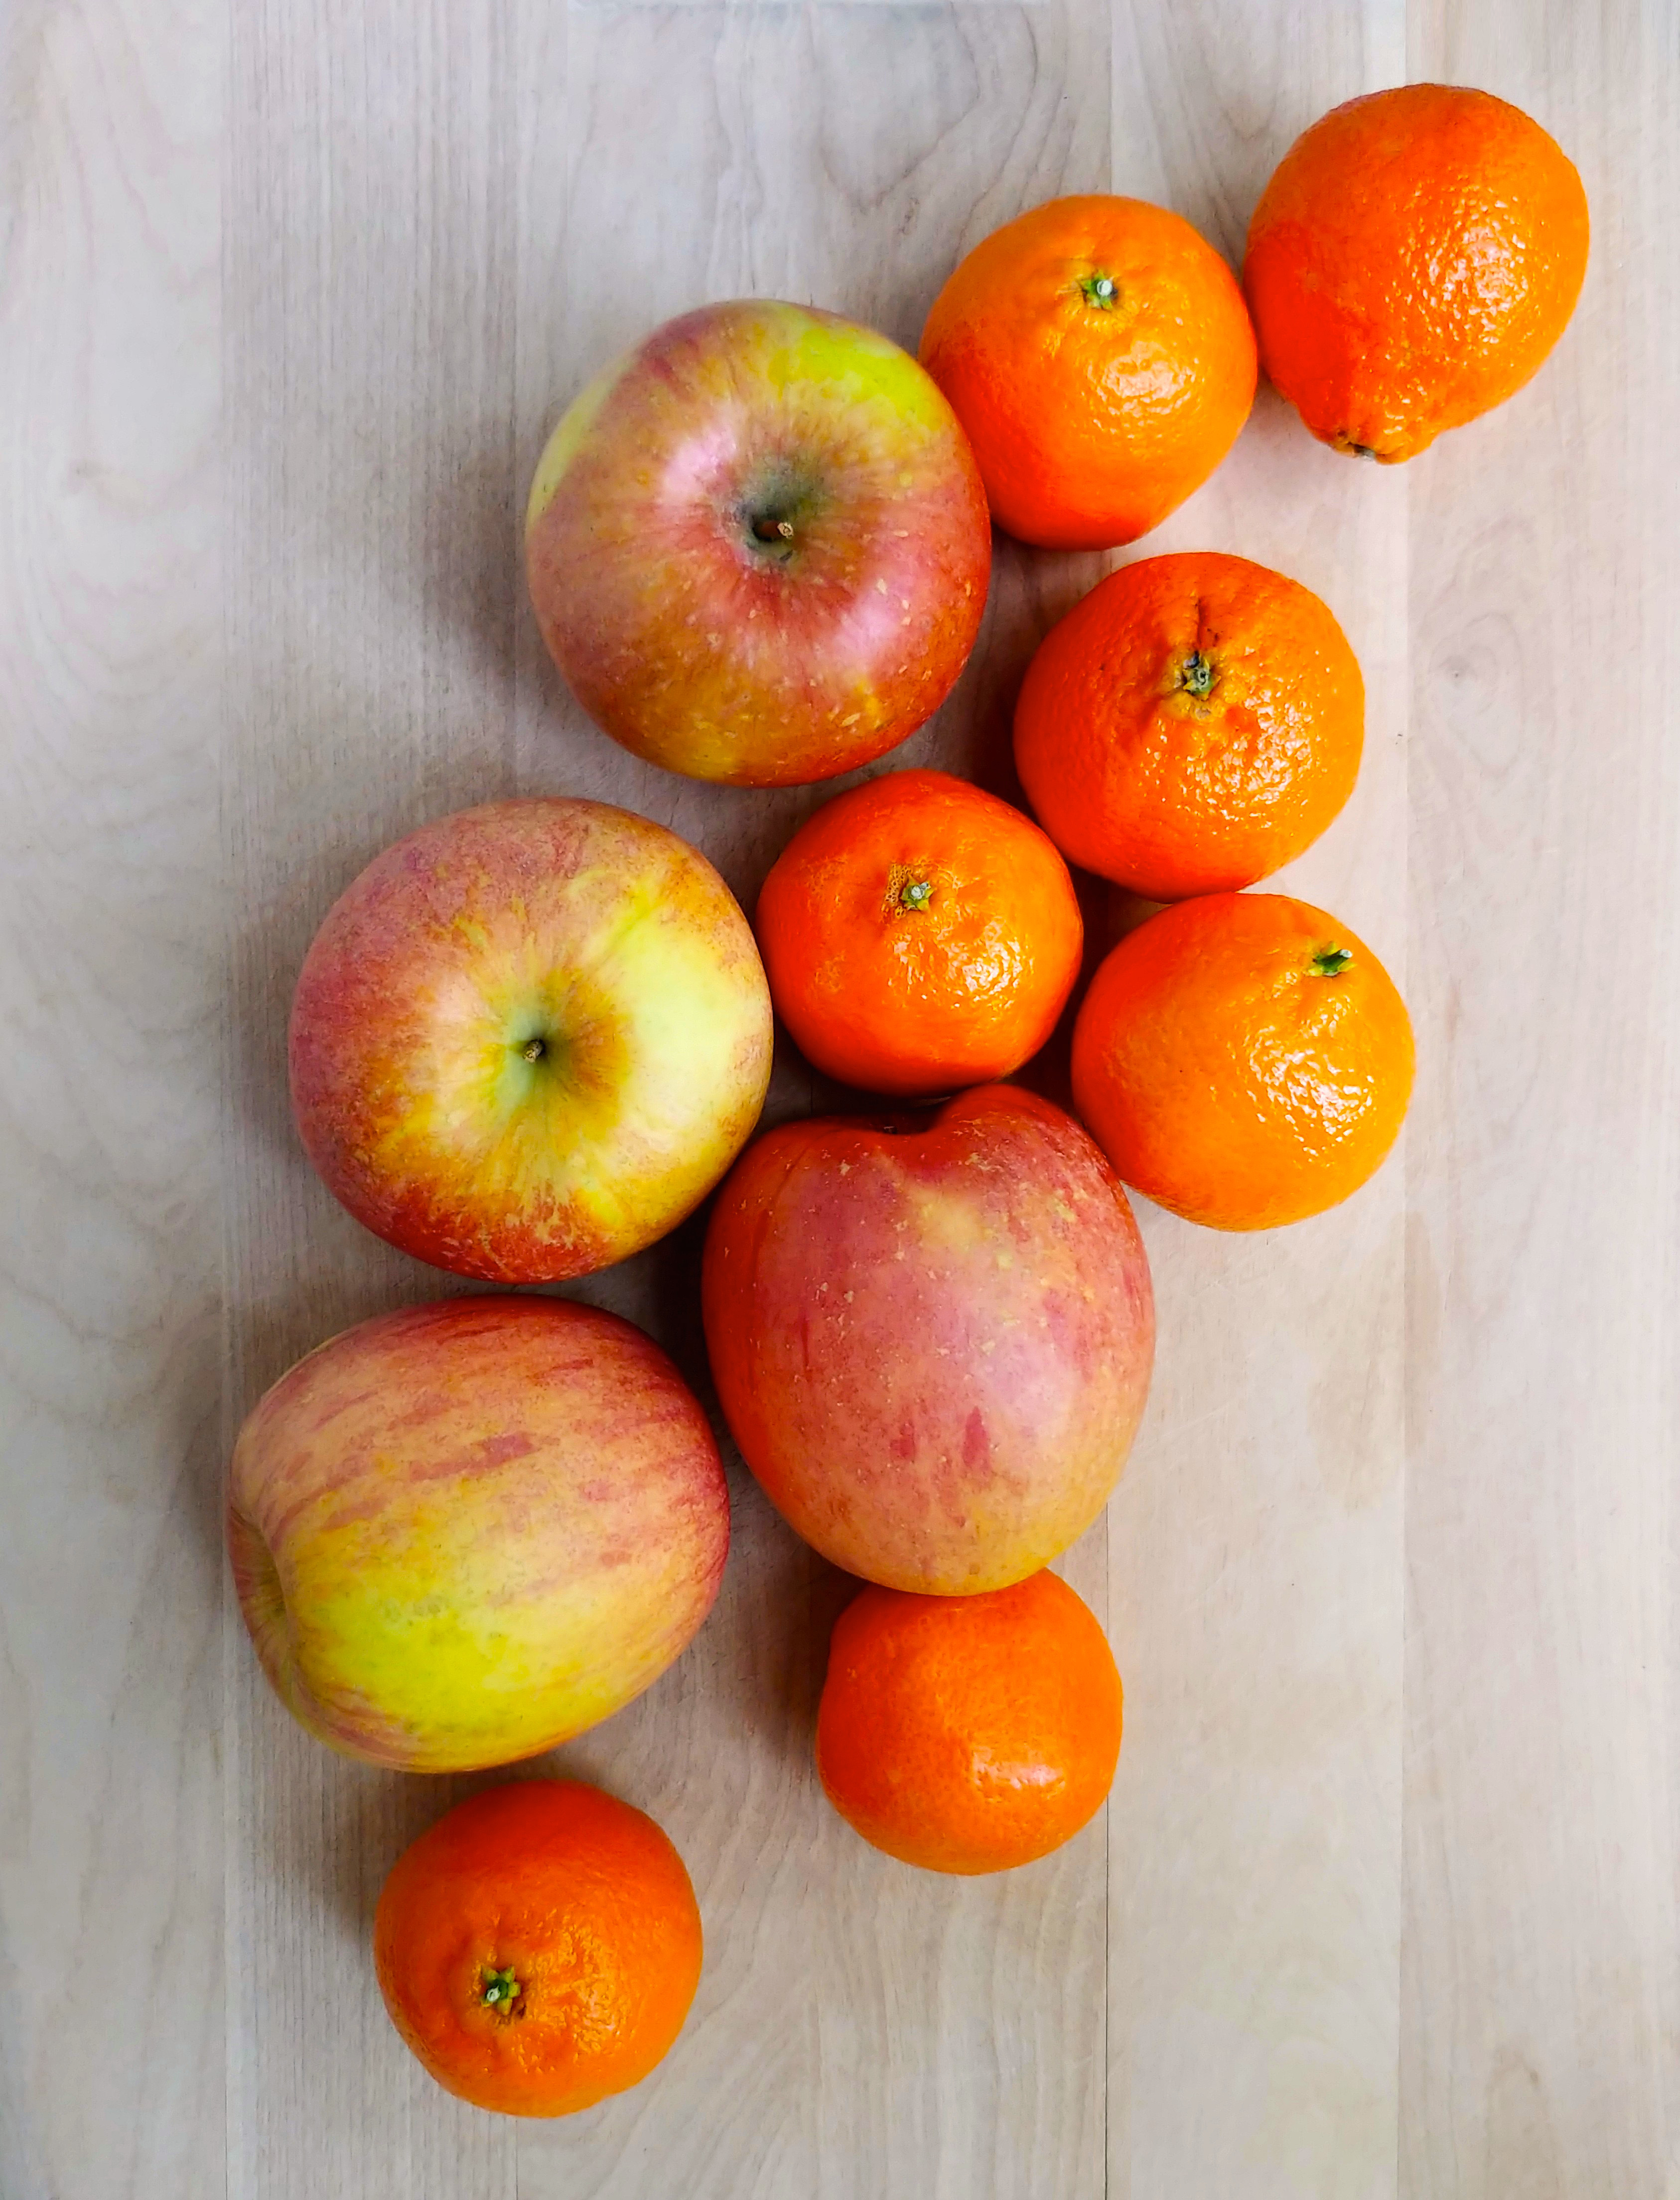
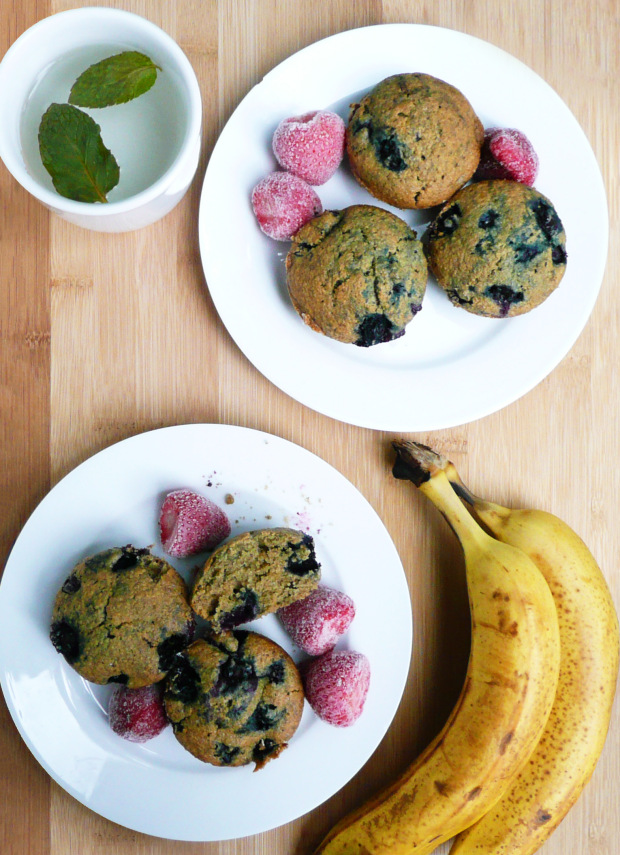
For something sweet, you can eat some fruit or I like making these sweet potato fries. They don’t have any added sweeteners (just olive oil or coconut oil and sweet potatoes) and become sweet and custard-like when you bake them. I usually eat them with a sprinkle of cinnamon and nutmeg and then eating your bowl of sweet potato fries really feels like eating something indulgent. I usually make a large batch of these, enough for about 2-3 days at a time and keep them in the fridge for snacking. They usually get sweeter after they’ve been refrigerated overnight.

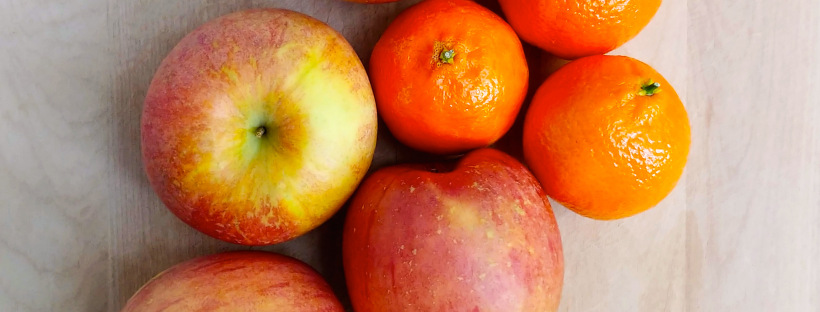
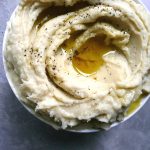
Of course feel free to find your own version of what works for you. Maybe your veggie dish is hummus and carrots, or roasted vegetables. Just as long as your eating more veggies on a regular basis than you were last year then you are doing great! With a little time you’ll find your own go to breakfast foods and desserts as well.

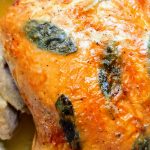
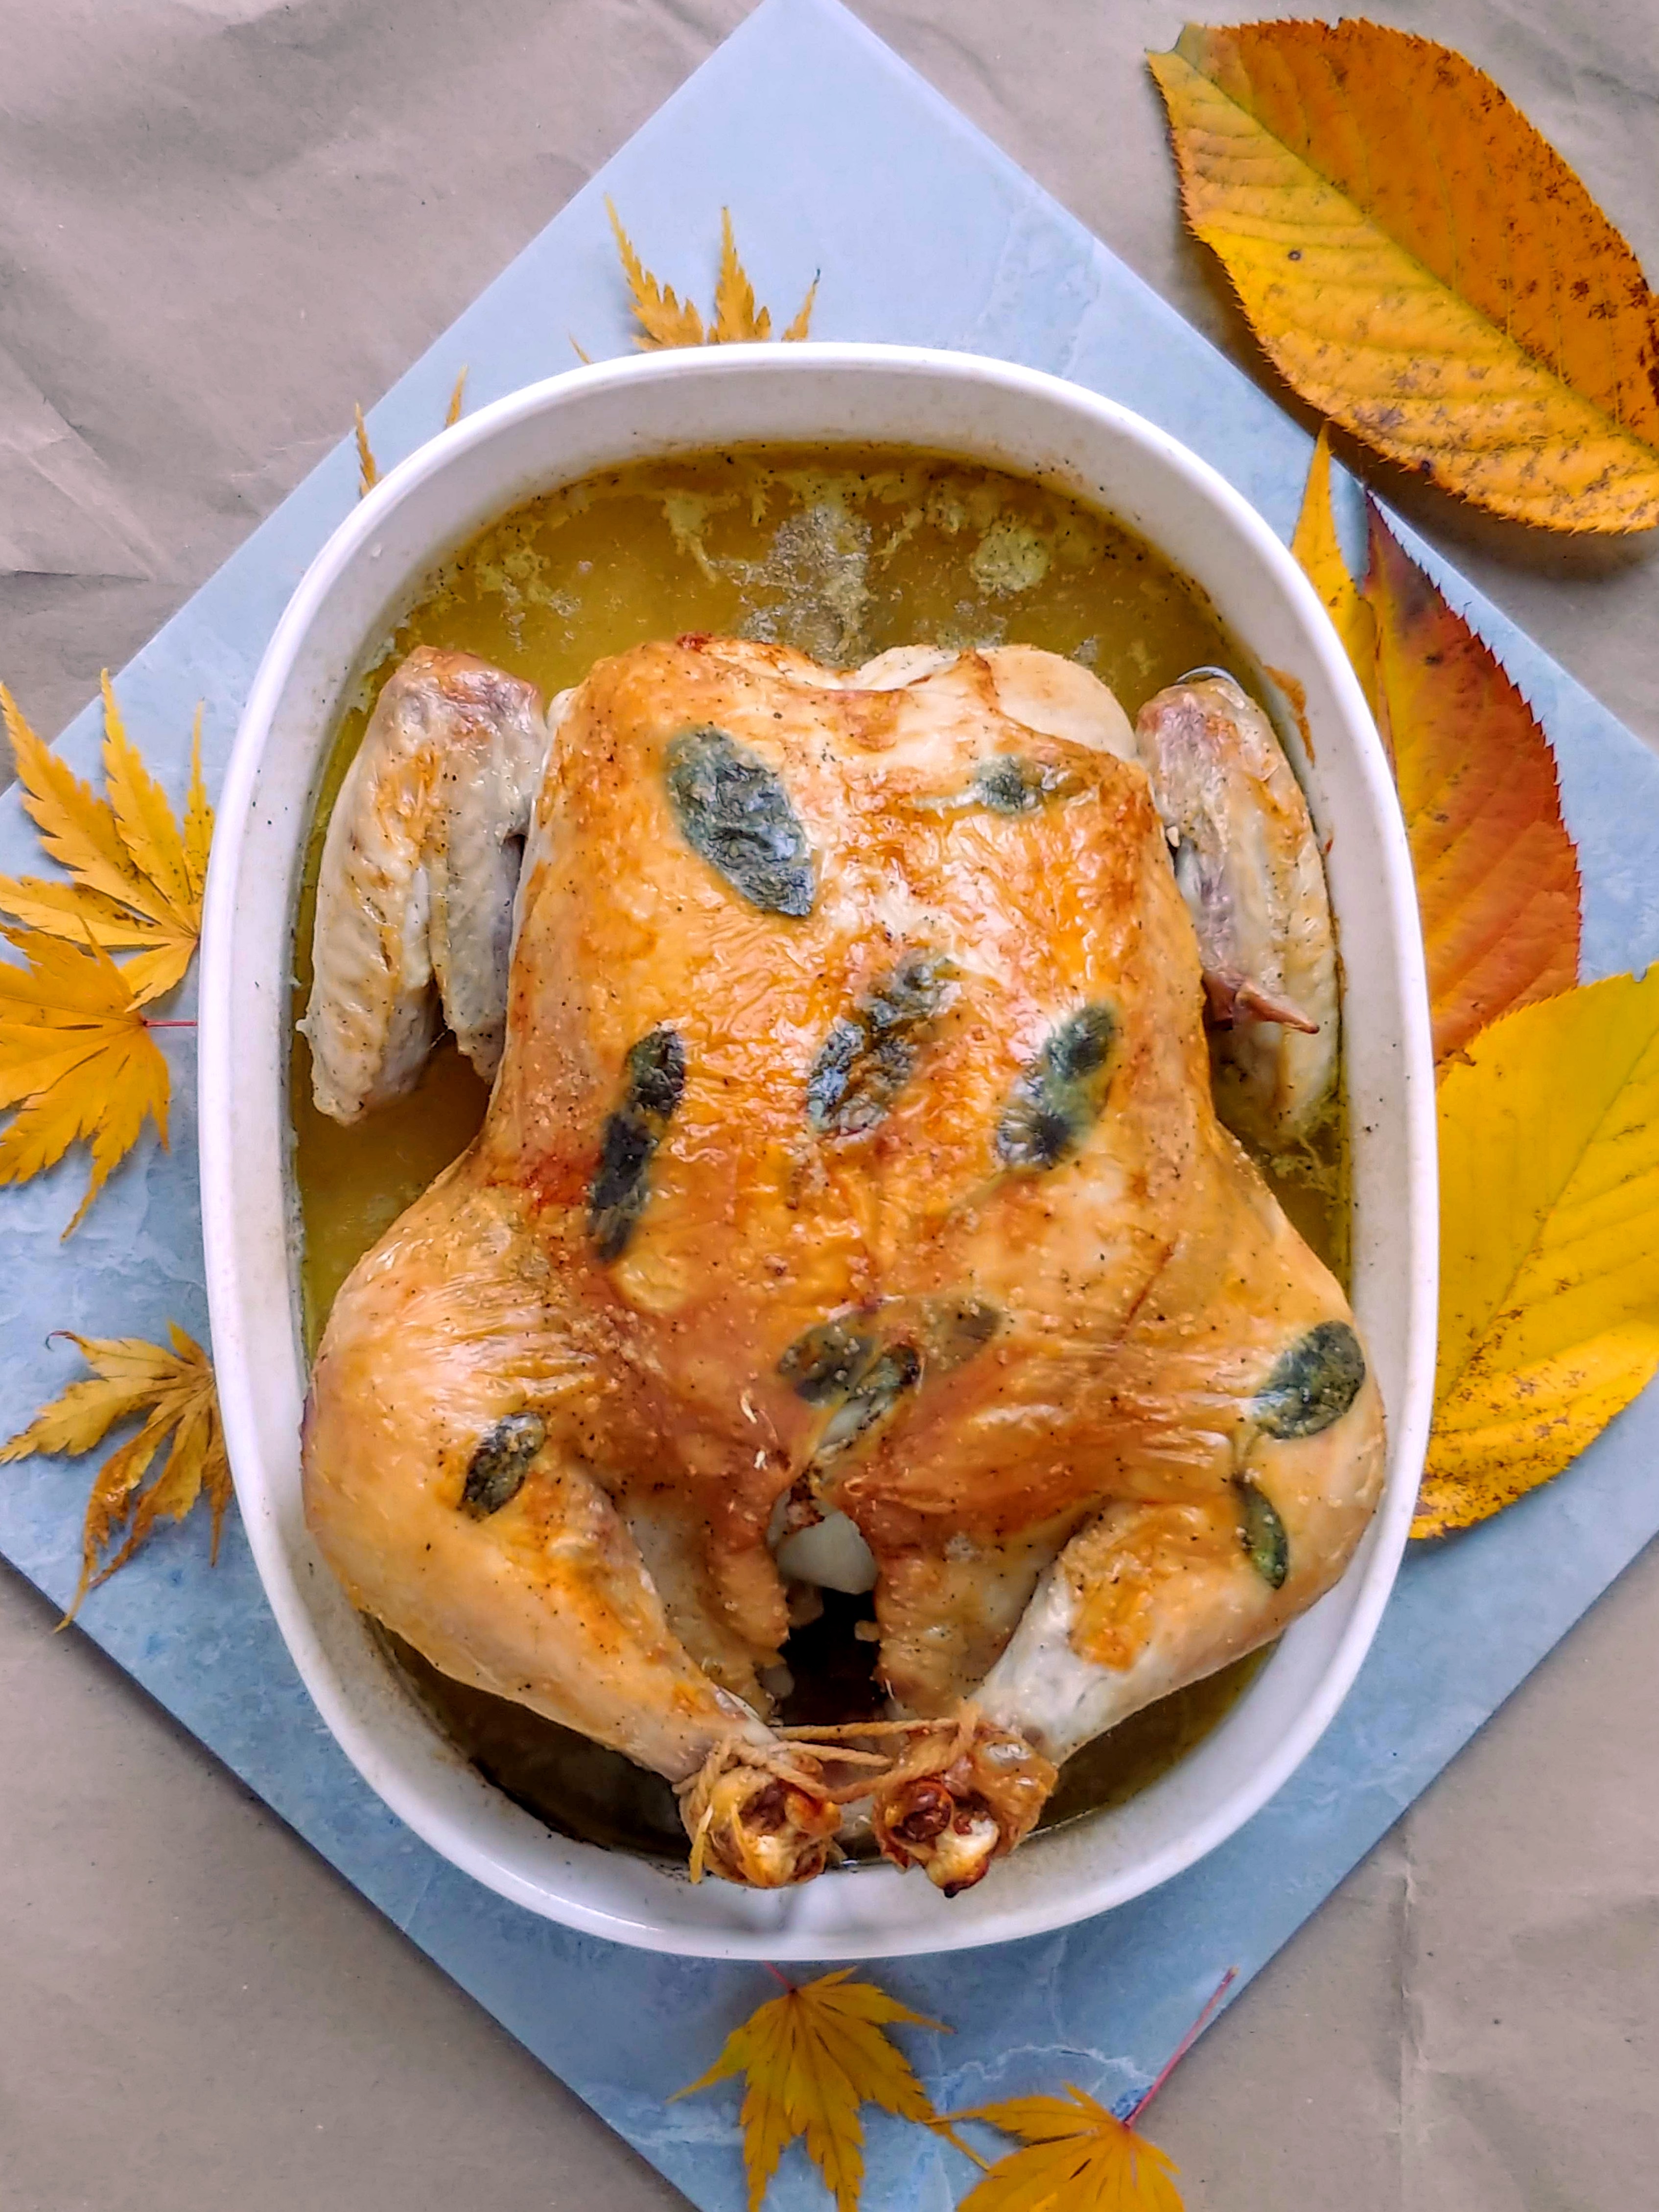
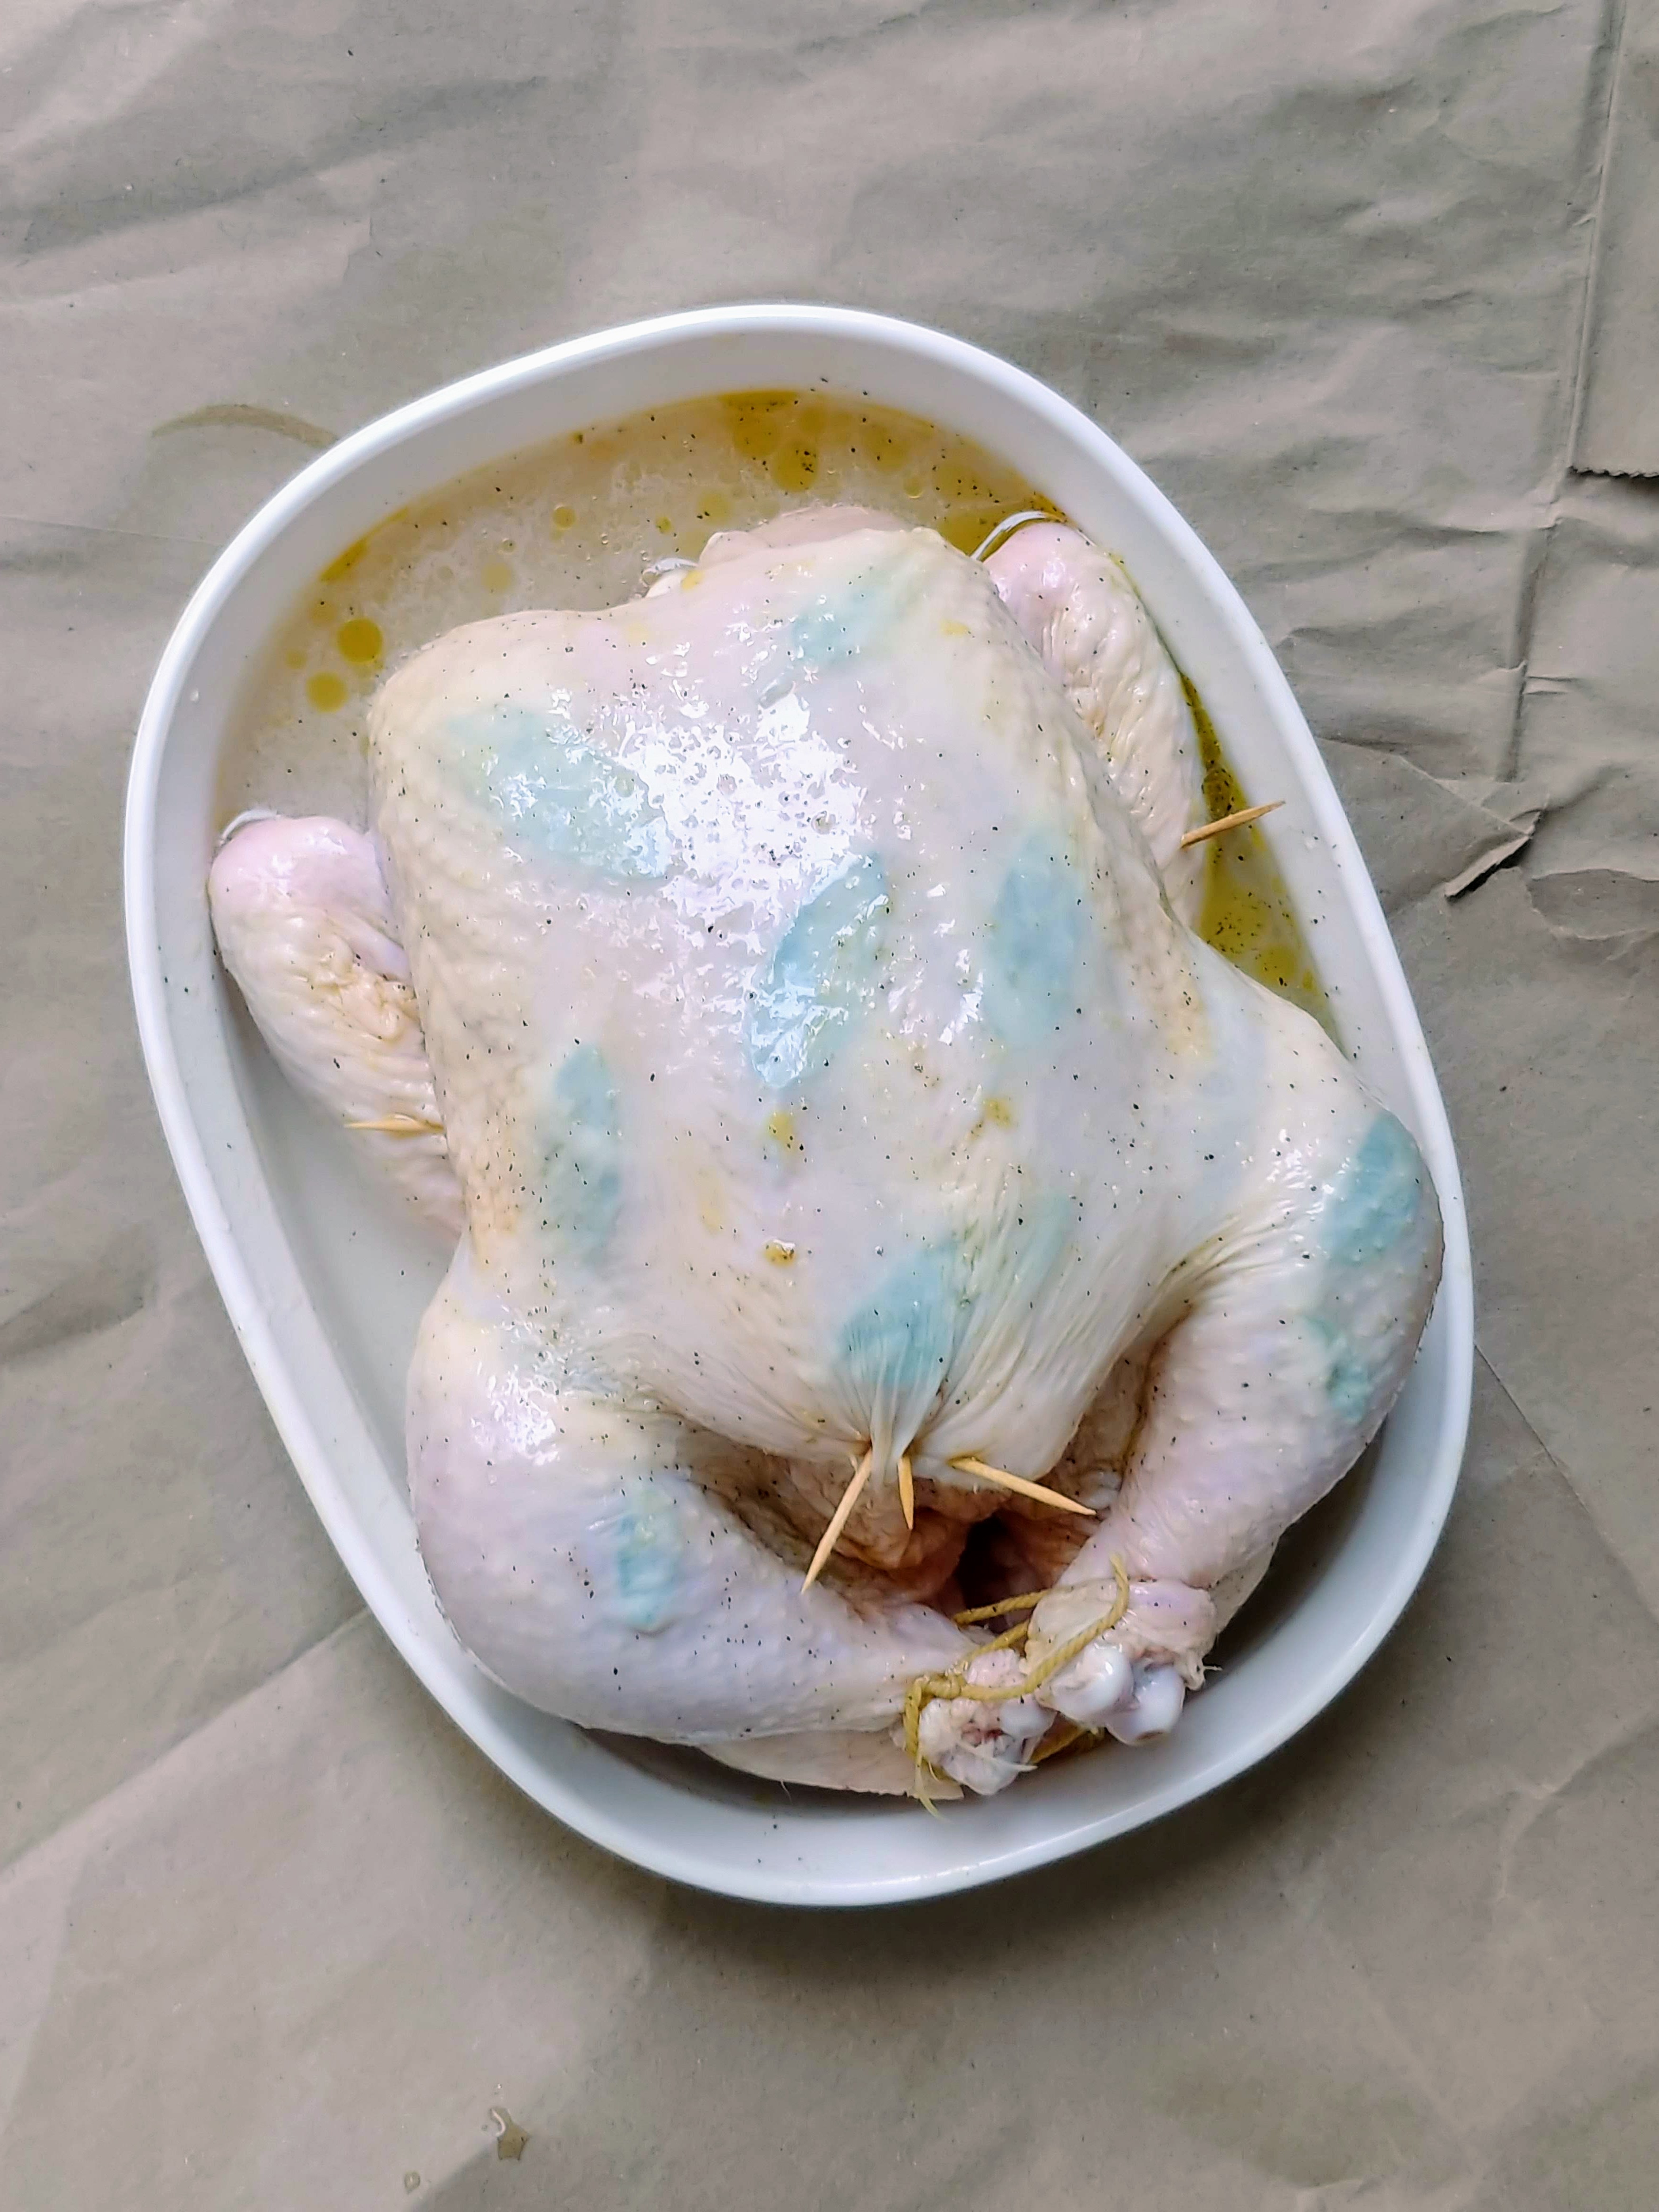
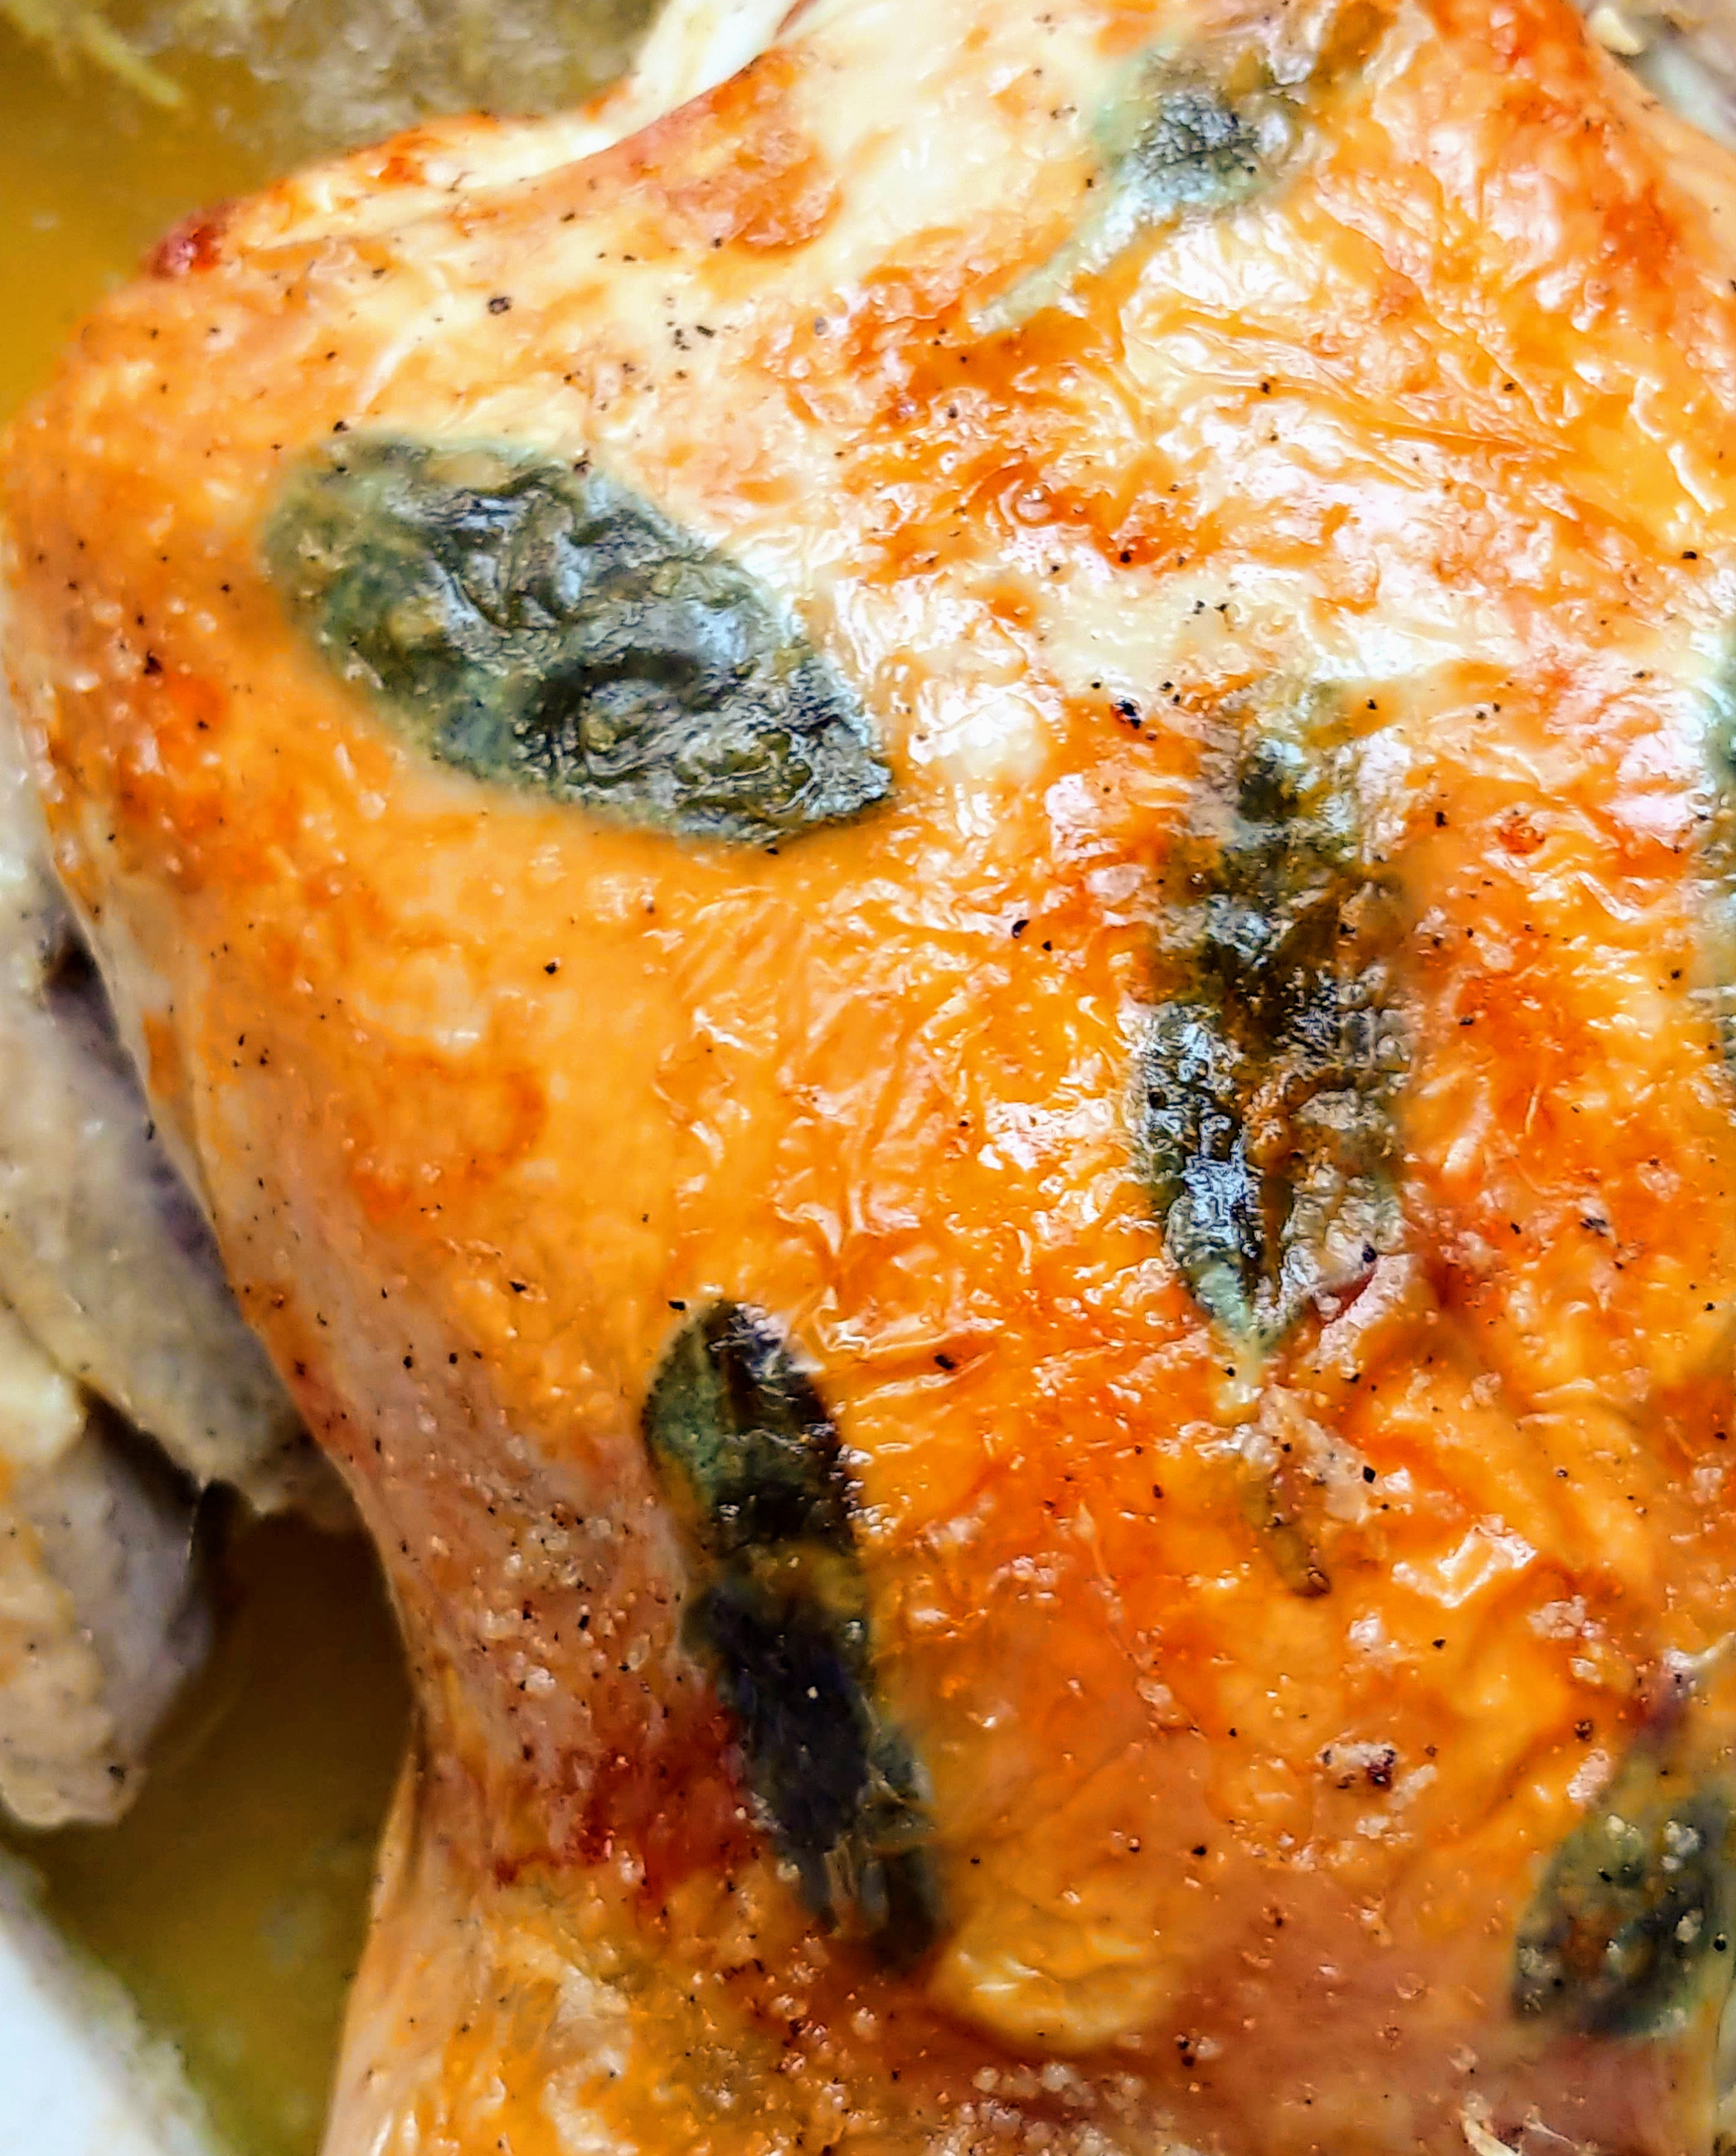
As far as more “make extra” meal ideas, I find that soups freeze well (some veggie soup recipes are coming soon!) and I like making meatballs (I’m working on a paleo Swedish Meatball recipe at the moment too) or roasting a chicken (or buying a roasted chicken from the supermarket is ok too) and freezing the extra flat in ziptop bags. If I have frozen cooked chicken in the freezer and cooked kale in the fridge then a healthy dinner is super easy.

I take some chicken out from the freezer and put it into a bowl, spoon in some kale, heat it up and that’s dinner done. I usually heat up my food in my Tatung Rice Cooker because I don’t have to look after it (it wont boil over or anything) and I don’t have to clean up an extra pot or pan.

You put a rack in the bottom of the rice cooker, pour in a little water (usually 1/2 cup of water is enough to reheat something but it doesn’t need to be exact) put your bowl on the rack, top the bowl with an overturned small plate (so extra steam doesn’t get into your food) and press the switch down and 10-15 minutes later your food is warm and you can eat.

rice cooker graphic

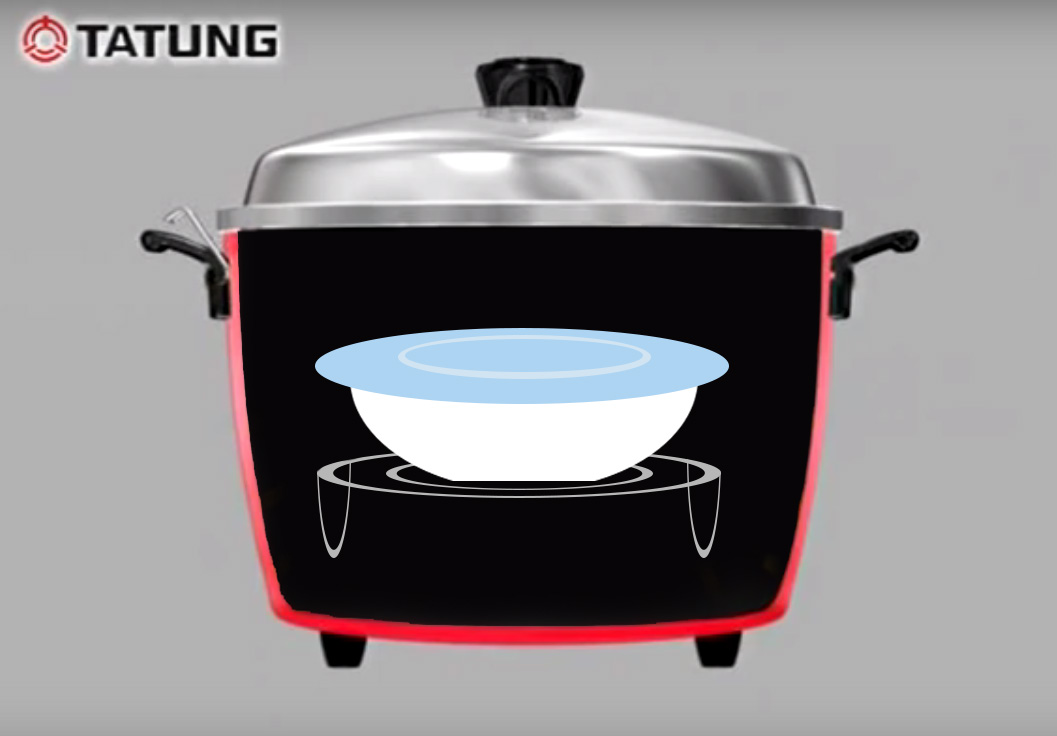
(A little graphic that I edited together to show my rice cooker reheating technique for you more visual people.)

I only freeze raw meat when I’m not sure what to do with it. It’s kind of a hassle to thaw it and cook, and I find that if there’s already cooked meat in the freezer then it makes weeknight dinners much easier as you only need to reheat it.

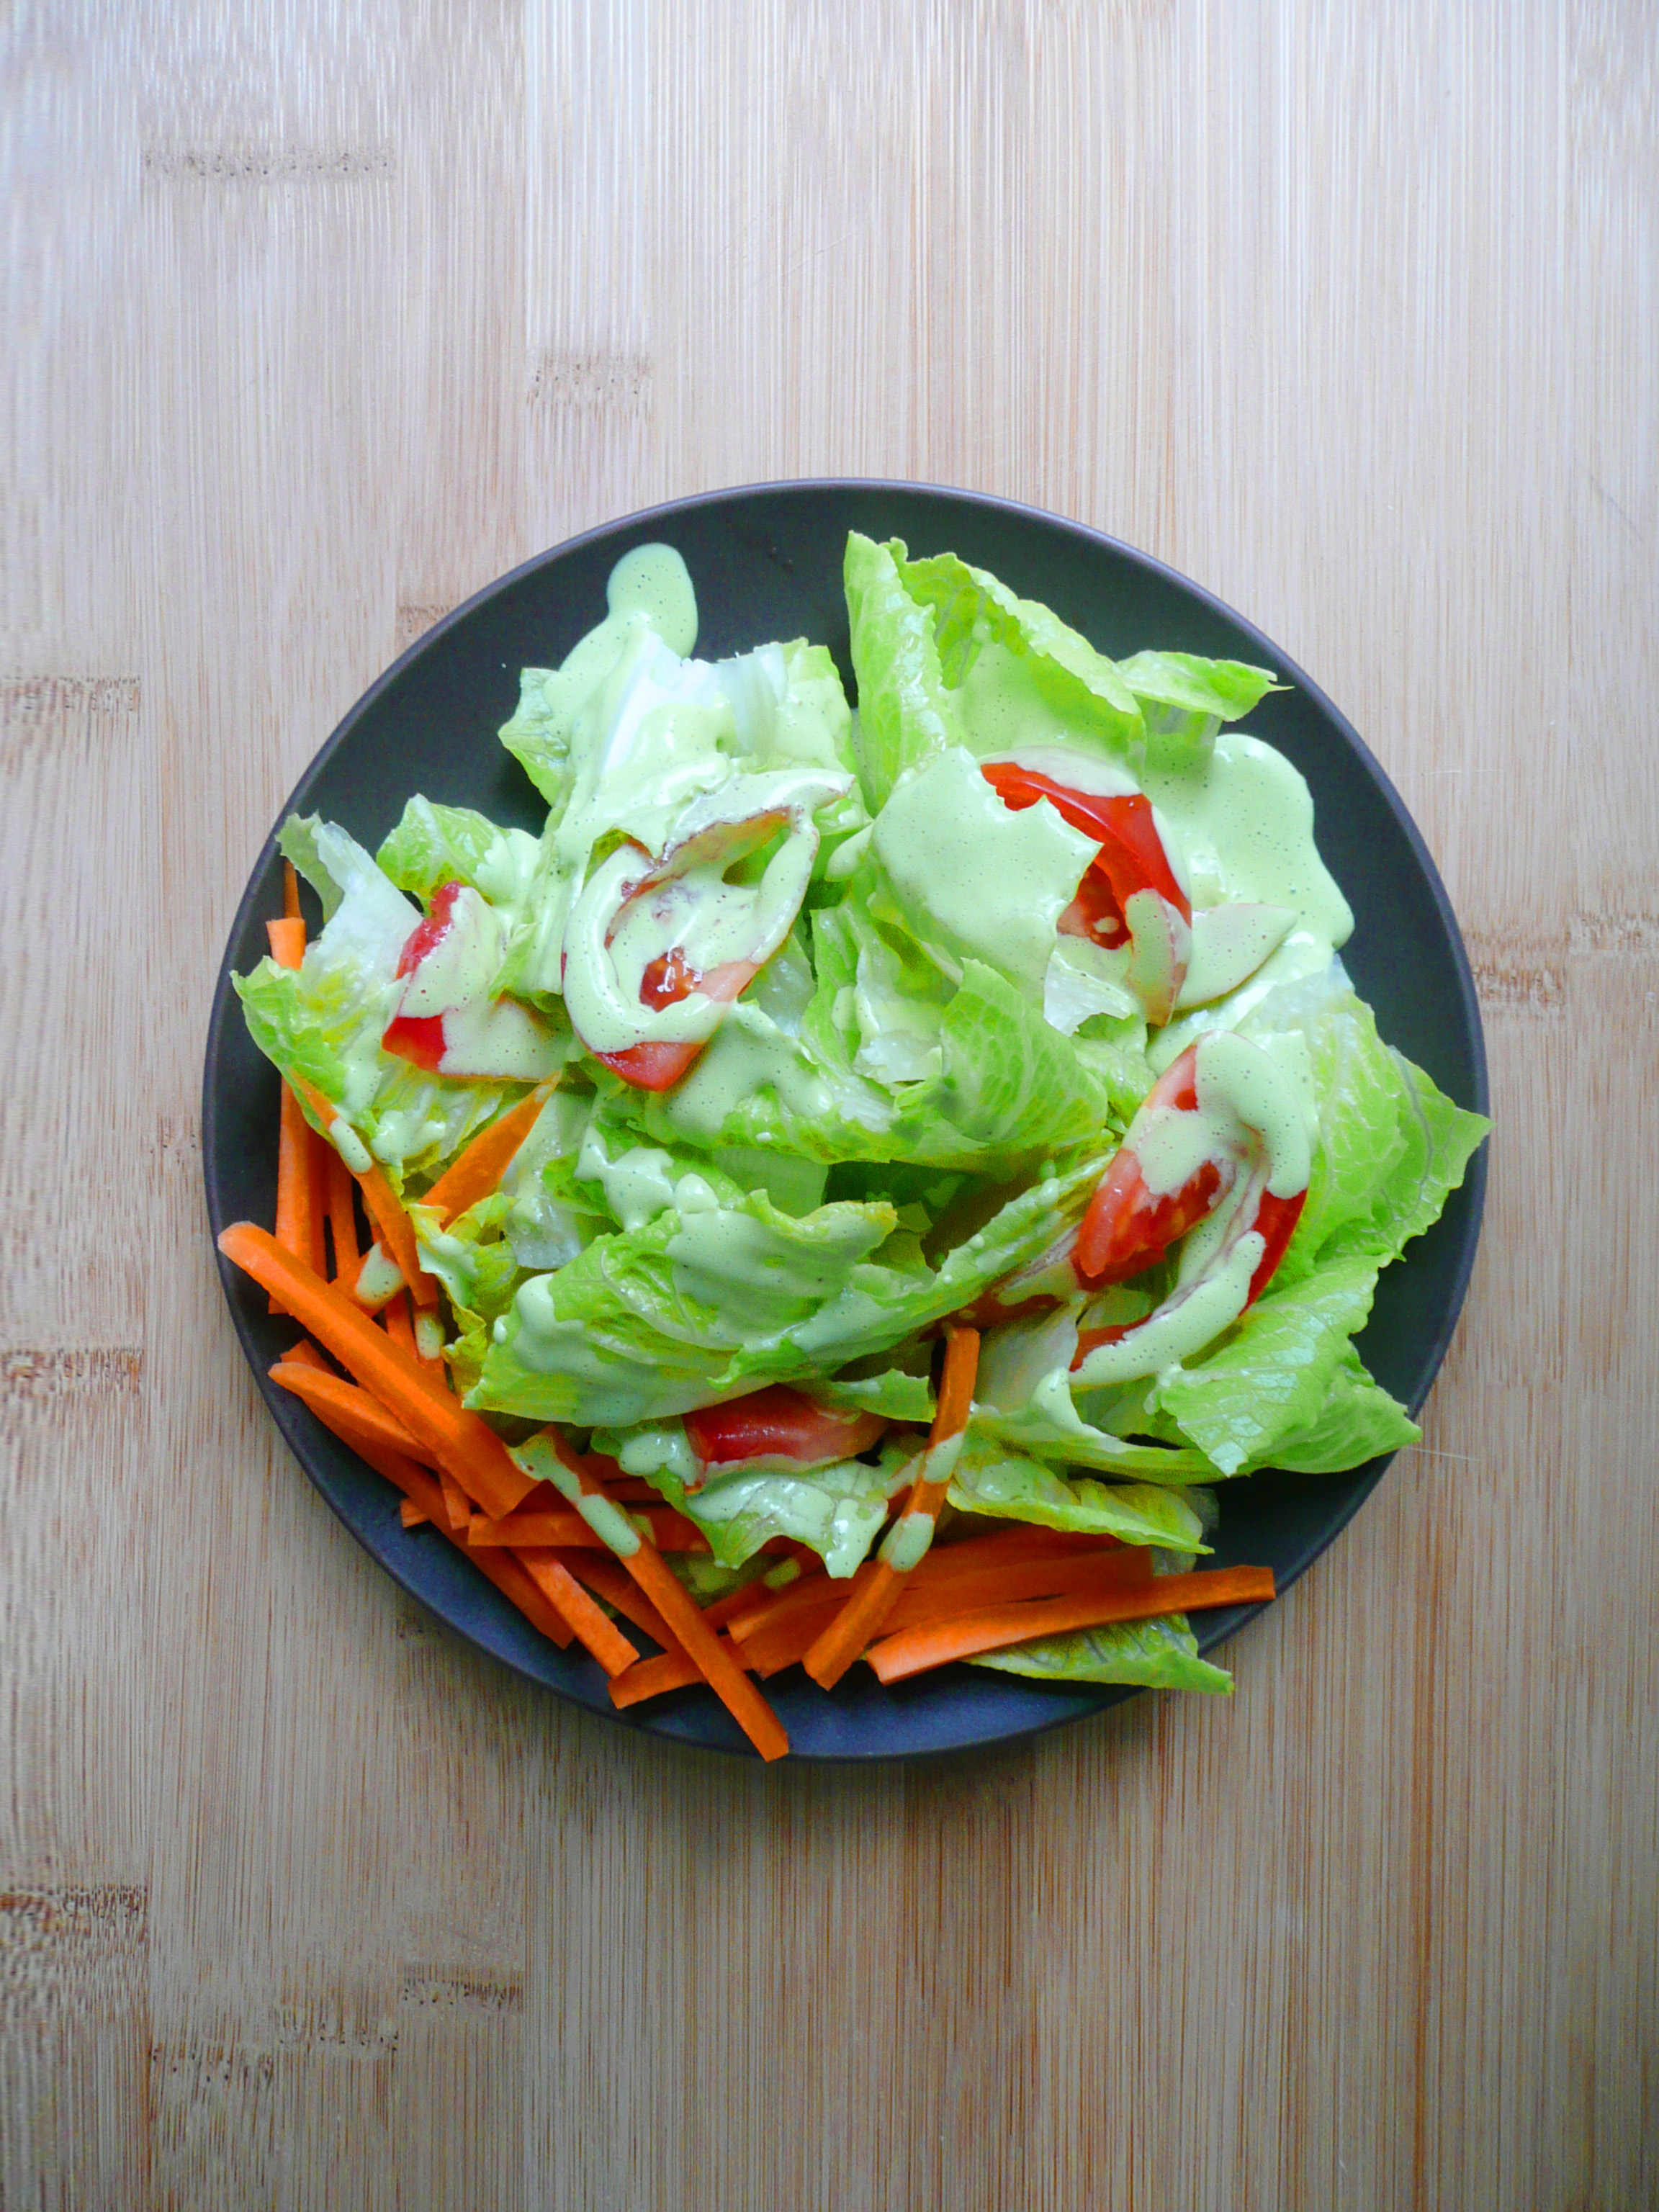
You can also make homemade salad dressings on the weekend. That way all you have to do when you get home is tip some spring mix into a bowl, cut a tomato and pour over some dressing for a healthy salad.

3. Bring Snacks

Make sure that you have something healthy that you can snack on during the day. When you’re starving you’ll eat just about anything in sight. If you have healthy snacks on hand then your automatic reaction will be to eat those foods because it’s such an easy choice.

4. Read the Labels / Healthier Shortcut Foods

There will be times where you’re on the go, you don’t have your normal food with you or you forgot / didn’t have time to cook this week. That’s ok. It takes some effort, but I find that it’s helpful to read food labels and pick convenience foods that have ingredients that you can pronounce and recognize.

I try not to buy convenience foods, but there are a few brands that I like and will eat on occasion either for a treat or if I don’t want to cook one day. I like Larabars (some have sugar and some don’t but you have to read the label) and Amy’s frozen meals and soups are great. Amy’s food is all organic, and they have some great gluten free and vegan options as well. I’ve never eaten any Amy’s food that I didn’t like, it’s all pretty good.

5. Using Measuring Cups / Kitchen Scale

Sometimes measuring out your food can be helpful. I usually weigh out the meat I eat each day because for a long time I would just eyeball it and assume I was eating enough protein. The first time I bothered to weigh out how much meat I was eating I found that had actually been eating half the amount of meat (by ounce) that I thought that I had been. Oops.

I don’t normally measure out the rest of my food, but if you find that you’re having trouble eating too much or too little during the day then sometimes it can be helpful to measure your food out as long as you don’t do it obsessively. Measuring cups and kitchen scales are just tools to help you along your healthy eating journey.

6. Be Kind to Yourself

This is the most important tip when you’re on a new healthy eating journey. There are going to be times when you eat something that isn’t good for you but it satisfies something in your soul, and that’s ok! It’s not a big deal if you eat a donut or cake (or bacon…yum…) every once in a while. Seriously.

If you eat something indulgent every once in a while, enjoy it! It’s a treat. There are lots of amazing and delicious healthy foods out there, but sometimes you just want to eat something you ate when you were a kid, or you’re out with friends at The Cheesecake Factory. Enjoy those days, don’t beat yourself up about them. Just make sure you eat some vegetables the next day and it will all work out.

If you’re going through something really stressful, it might be that you eat a little less healthy than you normally do for a period of time. Try to be extra kind to yourself during these times. Do the best you can in regards to your food choices, eat some vegetables, and once you’re through the rough patch you’ll probably find it easier to eat in a way that works for your body.

I hope that that these tips are helpful!

Happy January!

Elaine


One Year Later…And Christmas!

20181123_135914

(The pumpkin that I carved to celebrate the blog’s 1st birthday!)

My first post on this blog was November 19, 2017. I’ve officially been blogging for over a year now!

It’s been a really fun year, but not the most comfortable one. I purposely pushed myself to try things that I was afraid to do this year, and writing this blog had a lot to do with that.

Before starting the blog, I had been writing recipes down for a year and a half, but I was afraid to share them. What if nobody read them? What if there were better recipes out there? What if I was terrible at food photography? What if the recipes weren’t as good as I thought they were?

Eventually I worked up the courage to just try anyways. Just try and do the things that I very much wanted to do (but was afraid to). So I posted the Thanksgiving recipes that I would have wanted when I first figured out that I had food sensitivities.

And you know what? Nothing terrible happened.

Then I took another leap of faith and wrote another recipe, and another after that. A year later I’ve written 50+ recipes! And I’m proud of every single one of them.

Green Goddess 3

(Parsley Green Goddess Dressing)

But I’ll let you in on a secret – halfway through every post I would think What’s the point?

During every single one of those posts I worried that my photography wasn’t good enough, and that my writing wasn’t good enough. I worried that the blueberry muffin recipe that I had tested 7+ times was never going to come out right (turns out the 10th try they came out perfect!)

p1080289-1

(Muffin Success! Finally…)

A year after starting this blog I’ve learned that the point is still that you try anyways. You do your best, and it’s probably going to work out ok.

Not everything is a smashing success, I only post the recipes that I’m proud of on the blog. The recipes that didn’t turn out so great I just worked on and polished until I knew that they were the very best that I could make them.

This year I designed leggings, backpacks, duffel bags, t-shirts, art prints, and even furniture for my society6 shop! I had no idea that was possible a year ago!

It’s so exciting when someone buys something that you made because they think that it’s cool, and the fact that I’ve been able to donate part of my earnings to a girls education charity (a cause that I really believe in) makes having my society6 shop as a creative outlet even more rewarding.

I also discovered the joys of shopping at the local farmers market! It’s so much fun to see all the amazing food that is produced locally and it just makes your heart happy to see all the colorful different kinds of vegetables, squash, and living herbs that you can’t find in a supermarket.

20180930_160635~2

I also tried intricately carving pumpkins this year!

If you want to do this I would highly recommending wearing a stainless steel mesh glove on your non-dominant while you’re carving. 

I carved the pumpkin on the left first, then after a few days I carved it a little more until it turned into the pumpkin on the right.

20181201_144824

Here’s a closer look at the final result. I’m pretty proud of it I have to say. I watched a few YouTube videos on Thai melon carving and that’s how I figured out how to carve the roses. Maybe I’ll try carving melons next year…

For Christmas I made this Dala Horse for my friend Katie. She’s part Swedish, and I wanted to make her something to say “Thank you for being an awesome friend this year!” This is the first Dala Horse that I’d ever made and loved the process of making it.

20181220_130112-2

I made it from some red merino wool craft felt that I had been unsure about what to do with. This one turned out so well that I was excited to make more of them.

So I made these two horses sharing a carrot…

clone tag: -4019565997308188355

Then I made a few more Dala Horses…

clone tag: 7517880155277458167
clone tag: 5206238601296770273

All in all I made 10 Dala Horses this year (personalized for various friends and family members). They took a lot of work (and were made from scraps of things that I had from other projects), but they came out so well!

I hope that 2018 treated you well, and that you are having a great holiday season!


Thanksgiving Chicken

clone tag: 1738347936203128812

I love Thanksgiving! It’s one of my favorite holidays of the year.

Friends, family, good food. What’s not to love?

One funny thing about Thanksgiving in my family is that I’m the only one that really loves turkey. Everyone else prefers chicken.

But that actually works out ok (even on Thanksgiving)! Most of the turkeys at the local supermarket are really big 20 lb birds, which is way too much turkey for our family to finish, so a 4-5 lb chicken is the perfect size for us. With all the side dishes and desserts (cornbread dressing, mashed potatoes, pumpkin tarts, apple tarts, and pecan tarts), everyone ends up very happy and full by the end of Thanksgiving dinner.

Also, those turkeys are expensive. Even if you buy a conventionally raised turkey, a 20 lb turkey is going to be about $50. This chicken was $8, and it was free-range and organic to boot.

How did I get a free-range organic chicken for $8? I just bought it on the sell by date and it was marked 50% off.

The grocery store also sold a little packet of mixed fresh herbs (thyme, sage, and rosemary) for $2.50, that plus an onion and some frozen celery (that I had stashed in the freezer from about a month ago) meant that this beautiful roast chicken added up to about $11-$12 for 4-6 servings. Much more affordable than $50.

And if you’re far from home this Thanksgiving, and you’re making dinner for two, you can make this chicken and have some great leftovers to pack for lunch.

Some great things about this recipe are that it still has all those rich flavors that we associate with a Thanksgiving turkey, AND you don’t even need to make a gravy! You can spoon the rich pan juices from this chicken over mashed potatoes and cornbread dressing to your heart’s content. It will be just as delicious as any gravy, (with less work) promise.

clone tag: 2934890611313498100

Sprigs of rosemary and thyme flavor the chicken from the inside out, and I tuck sage leaves under the skin for some color and extra flavor. The most delicious parts of that chicken are right under those leaves, so make sure to get some chicken with a sage leaf or two!

Thanksgiving Chicken

Makes 4-6 delicious servings

Ingredients

4 lb chicken


1/2 an onion (cut into 4 wedges)

2 sprigs of thyme

2 4 inch sprigs of rosemary

8 inch stalk of celery (cut into 1/2 inch slices)


2 1/2 tbsp olive oil

9-10 fresh sage leaves

sea salt

black pepper


1 cup of water


Instructions

1. Preheat the oven to 425 degrees F.

2. Wash your herbs, measure out the olive oil and water, and cut up your onion and celery and set all of this aside onto a separate plate along with some salt and pepper and a few toothpicks.

3. Whether or not your wash your chicken is completely up to you. There’s some controversy about if you should do it or not.

Personally, I do wash chicken before cooking it. I fill a big bowl of water in the sink and submerge the chicken, then pour out the water (this way the water doesn’t splash off the chicken). I do this a few times until the water runs clear. The chicken then goes into your roasting dish (I’m using a 12 inch oval CorningWare casserole dish) and the big bowl goes straight into the dishwasher.

Once the chicken goes into the oven, I sanitize the sink and any surfaces that the raw chicken may have touched.

clone tag: 4547346532438281968

4. Dry the chicken off with a paper towel. Put the onion wedges, thyme, rosemary, and celery inside the chicken and tie the legs together with some kitchen twine.

Gently separate the chicken skin from the chicken breast and tuck the sage leaves around under the skin. If the skin tears, don’t worry about it. The chicken will still be golden brown and amazing! Just use a few toothpicks to arrange the chicken skin back into place.

Rub the skin with olive oil, sprinkle over salt and pepper, and tuck in the wingtips using a few toothpicks to hold them in place while the chicken is roasting.

Pour the water into the bottom of the baking dish.

clone tag: 3141653108858848348


5. Roast the chicken for 50 min – 1 hr 15 minutes, or until the chicken is golden brown and a thermometer measures 165F in the thickest part of the thigh.


clone tag: -7849446987528649024

Look at that crispy skin! Yum.

Let the chicken rest 10-20 minutes before carving. Pull out the toothpicks and serve the chicken with the delicious pan juices.

clone tag: 708306459663070278

Ta-da! You just made a glorious roast chicken for Thanksgiving!

One more thing – this chicken still has a little magic left.

After dinner, pull the meat off the bones stash it in the fridge for later. Put the carcass with all the herbs and vegetables still inside of it into a slow cooker with a splash of apple cider vinegar and fill the pot with water (I cut off the kitchen twine before I put the bones into the slow cooker but I’m not sure if it’s really necessary). Turn the heat to low and cook for 24-48 hours.

Strain out the solids, and you will be left with an incredible and flavorful bone broth!

Add in some of your leftover chicken along with some vegetables and you will have a beautiful soup to warm you up on a cold day.

Wishing you and your family a very Happy Thanksgiving!

Elaine

clothes

This Can Go…

I was going to call this blog post “Mini Steps Towards Minimalism” but then I realized that it was never going to be my goal to become one of those minimalists that you see on YouTube.

While I admire the self discipline it takes to have only 10 items of clothing (and live a very very simple life), homes that look like museums just don’t suit me.

A cozy home to me includes a few extra sets of sweatpants and pajamas for lounging around in front of the fire in wintertime. A cozy home means having a few extra plates for when friends and family come over to share a meal. Having these extra things around the house make life a little more awesome.

Life can be messy sometimes, and it’s ok not to have everything you own paired down to the point where everything can be perfectly arranged and stacked in neat rows.

That being said, I decided recently that I wanted to get rid of some things that I no longer need. These are the kind of things that I packed away during various moves that remained in their boxes (until now) to be dealt with at a later date.

Here are some of the things that I found when I started going through these forgotten boxes…

20181010_170612-2

Blue scarf  with hearts that I haven’t worn in 10 years, I hope that you will find someone who thinks that you are awesome!

Burned out light bulb that I wanted to recycle, but didn’t know how to (and therefore threw into a box during a move) – you get to go to Home Depot’s recycling program! Hurray!

Bright yellow jeans that fit me perfectly (but that I was always too scared to wear because I was afraid of accidentally spilling something on them) you are going out into the world to bring some fearless person a lot of happy pastel jean filled days!

Pink skirt, I hope that you find someone that loves you as much as I once did.

What I’ve found myself saying as I’ve gone through this stuff is a simple phrase, “This can go.” I don’t need these items anymore.

I don’t need to keep books and magazines that I haven’t read in years.

I don’t need to keep my textbooks from college.

I don’t need anything that doesn’t fit me anymore, including clothes or anything else that no longer suits me.

And you know what? It feels really good to let it all go. Hopefully these items will find other homes and bring other people the same joy that they once brought me.

When I started going through the forgotten boxes about a month ago my goal was to try and get rid of 5 items a day (by “get rid of” I mean to sort items into boxes to either donate or sell, or to put them straight into a recycling bin or into the trash. You can give stuff to Goodwill in batches so that you don’t have to drive over there everyday.

I have gotten rid of a lot so far, but I haven’t kept perfectly to the 5 item a day rule. Some days when I’m on a roll I’ll get rid of 30 things, and other days I’ll forget to get rid of anything at all. Cumulatively through, I’m making good progress.

Rooms are a little neater (closets even more so), only my favorite books are the ones on my shelves now. One cool thing that happened is that through this process I found 5 pairs of jeans that I had forgotten that I’d even owned. I tried all of them on, and I’m going to keep 1 pair and get rid of the rest.

I may never be the organization maven that is Marie Kondo, but I don’t need to be. I can just make my own little corner of the world a little neater and that still counts for something.

I hope that you give this process a try if you’re feeling like you could use a change. If you need a little inspiration, channel your inner Marie Kondo by way of Emily Gilmore. When Lorelei asked Emily why she was getting rid of some expensive chairs during the latest series of Gilmore Girls, Emily says “They don’t bring me joy.”

I have less stuff now, and not having to search for things that I love definitely makes life a little more joyful.

I hope that you have a great week!

Elaine

mini pumpkins

Halloween – Quick & Easy (Last Minute No Carve) Pumpkin Decorating!

Halloween is one of my favorite holidays! It’s always so fun to see everyone’s costumes, and I have many happy childhood memories of eating lots and lots of candy.

Let me tell you, when you have dietary restrictions, the most difficult holiday isn’t Thanksgiving, it’s Halloween, because there’s always leftover candy and you have to give it away quick, or else you find that you’re eaten half the bag before you know it.

I don’t speak from experience of course…

But sometimes eating half a bag of left over Halloween candy once a year is SO worth feeling crummy afterwards.

Especially when you have white chocolate Kit Kats or white chocolate peanut butter cups… which are just extra awesome.

Another thing that makes Halloween super fun is decorations! While I love carving pumpkins at Halloween, it can be messy and time consuming and if you’ve left your Halloween decorating to the last minute, you can still make adorable decorations to put in the window to welcome all the trick or treaters!

clone tag: -2224802199802910510

There are lots of tutorials for spray painting pumpkins, but I wanted to be able to cook with these after Halloween, so I used painters tape to make low tack stickers to put on these mini sugar pie pumpkins.

If you don’t have time to do this DIY, another option is just to buy some colorful stickers at the craft store and stick them onto the pumpkins instead. The store bought stickers might be harder to pull of the pumpkins, but I think that if you press the store bought stickers to your skin before putting them onto the pumpkins, the stickers might lose a little of their tackiness and be easier to pull of the pumpkins when you’re read to cook with them.

This DIY is best done a few days ahead of time if possible so that you can be sure the stickers are really dry before you start cutting them, but can also be done in about an hour or two before you want to start decorating the pumpkins if you use hairdryer to help the paint and Modge Podge layers dry quickly.

For your homemade stickers, you will need:

-painters tape

-acrylic paint

-ziptop bags

-Modge Podge (optional)

-glitter (optional)

-brushes

-scissors

-hairdryer (if you’re doing this DIY at the last minute)

Instructions

1. Lay your ziptop bag flat on the table and overlap pieces of painters tape by about 1/2 an inch over the bag. You want to have about 2 layers of tape on the plastic.

clone tag: -4494802101336254546

2. Paint a thin layer of acrylic paint of your choice over the painters tape. Allow to dry, or use a hairdryer to dry the paint quickly. Paint on more layers of color (using the hairdryer between layers) until you’re happy with the result.

Optional – Everything is more fun with glitter! If you want your stickers to be glittery, mix a little bit of Modge Podge with a generous amount of glitter and paint it over the top of your painted painters tape. Use a hairdryer to speed up the drying process.

What I first did is I painted the tape with acrylic paint and then sprinkled glitter on over the top while the paint was still wet, thinking that it would be tacky enough to keep the glitter on. That turned out not to be the case, and there was tons of glitter fallout (which you’ll see in the pictures, but a little glitter just makes things more festive! :D). I ended up having to vacuum up a lot of glitter, but it all came out ok in the end. I fixed the problem by spreading some Modge Podge over the top of each glittery sticker with my finger and blasted them with a hairdryer to get them to dry quickly and voila! No more glitter fallout.

clone tag: 8765980823518095111

So glittery! And super affordable!

clone tag: 7427284561683169572

Once the layers of paint and Modge Podge are dry, cut away the excess plastic from the sticker tape. Peel the plastic off the back of the sticker tape and then cut out whichever shapes you like and stick them onto your pumpkins.

Give each sticker a good press once you place them onto the pumpkins and decorate to your heart’s content!

clone tag: 6629403141417885135

This is the disco mini sugar pie pumpkin…

clone tag: -6387611760906468731

The Cinderella pumpkin (this variety of mini pumpkin is naturally white so I didn’t have to paint it). I love the glittery stars! This pumpkin looks so elegant!

clone tag: -6372366725628939485

The sweetheart pumpkin…

clone tag: -353266238720428542

And the Jack-o-lantern pumpkin enjoying the sunshine.

clone tag: -8858926983194438683

All the mini pumpkins in their 2018 class picture…

20181019_161833

And the Jack-o-lantern pumpkin being extra friendly and steppin’ forward to wish you a very Happy Halloween!

pumpkin banner

A Trip to the Farmers Market

20180930_153326~2

It’s Fall!

My favorite season of the year.

It’s time to wear cozy socks, cuddle up with a book by the fire and drink / eat pumpkin spice flavored things with joy!

I love seeing all the autumn leaves turn color and am very much looking forward to Halloween and Thanksgiving (of course my favorite holidays are always food related…).

Recently, I discovered a local farmers market nearby and I didn’t know what I was missing until I went there. My weekly trips there are something that I look forward to on the weekends.

I’ve almost always shopped at grocery stores before, and it is so neat to be able to see all the different kinds of food that are produced in my local area. There are shelves with local honey, dried herbs, lots of different vegetables (I saw a purple bell pepper for the first time here a few weeks ago), and locally produced beef and lamb as well.

I buy fresh eggs often here. They come in a beautiful array of colors, from white, to brown, to pastel blue. The fresh eggs also taste so good, and the hens that produce them are free ranged.

20180930_160635~2

These beautiful carrots were $1.99 / lb, which is more expensive than the $1.29 / lb at the local grocery store, but these were locally grown. I also usually buy kale and lettuce here as well, and they are usually about 50 cents more per bunch. For not very much more, it seems really exciting to be able to support local farmers in my area.

I love seeing all the different kinds of squash that they had at the farmers market. A lady came by with a cart piled high with all kinds of them which she mentioned that she was going to use for decoration.

20180930_153504~3

I can see why, all of them look interesting. These beauties are Cinderella Pumpkins. So cool! I’ve never seen these kinds of pumpkins before.

It was also super cute to see parents taking pictures of their toddlers holding little pumpkins. What a sweet memory.

20180930_153626

They also sell lovely herbs (both dried and live plants) there. Here are a variety of mints!

20180930_153235~2

Two squash that kind of look like spaceships…

20180930_153215~2

And more varieties of squash!

Do you have farmers markets where you are? What’s you’re favorite thing to buy there?

Elaine

My Society6 Shop Designs

Hi Friends! I know I’ve been a little quiet on the blog lately, but there’s a good reason for that.

I opened my society6 shop a few weeks ago, and I’ve been working on some exciting new things to share with you! I’ve been designing all sorts of fun things and I hope that you will like them as much as I do.

5% of anything that I make from Society 6 sales will be donated to a girls education charity ($1 from each sale in my Etsy shop will be donated as well).

Since it’s back to school season, let’s start with the backpacks first!

Backpacks are an essential item for going back to school and these are some of the backpacks that I designed. I wanted them to be really fun and make you happy when you look at them (because school isn’t always easy) and hopefully having a fun backpack can bring a little brightness to any school day.

Each backpack is a unisex size, has a padded back and bottom, and has an interior pocket that fits up to a 15 inch laptop. I would loved to have any of these backpacks when I was a student and heading back to school.


I also designed some fun tote bags – these are great to keep folded in your purse or backpack for grocery shopping.


These are the awesome leggings that I designed! It still kind of amazes me that someone can wear something that I dreamed up. The teal design is in the color scheme “Unicorns Frolic, ” (which I thought was such a sweet and cheerful name). I designed the pattern so that it would be flattering on a lot of different shapes and be bold and eye catching. I can totally see myself running around in any of these leggings, as well as exercising, or relaxing at home in them. Leggings are an all occasion item, and these are sleek enough to wear just about anywhere.


I’ve got a few tops that are available in the shop, and I’ll be adding more soon. I wanted the shirts to look chic and modern and look great on everyone.


This is super neat! I’ve added furniture to my shop recently as well! There are coffee tables, credenzas, benches and side tables in the shop, and many of them allow you to choose between black or gold hardware so that it’s easy to match your existing furniture or design scheme.


Last, but not least are my favorite items in the shop – the duffle bags!

duffle Screen Shot 2018-08-09 at 1.18.14 AM

When I was working out the color scheme and patterns I was thinking of what I would want to take with me to the airport. I love duffle bags because you can use them for your work out gear in everyday life, or fold them into your luggage when you go on a trip and fill them up with souvenirs or gifts to bring back for your friends and family.

The duffle bags come in a few different sizes. The two here are in the design “Cherry Blossom Garden” in Deep Blue and Blush Pink shades.

Screen Shot 2018-09-09 at 6.55.32 PM

So cute!

You can find more items I designed here.

Thanks so much for looking! I’ll be back with more recipes and DIYs soon.

I hope that you have a great week!

Elaine


P.S. Which one is your favorite item?