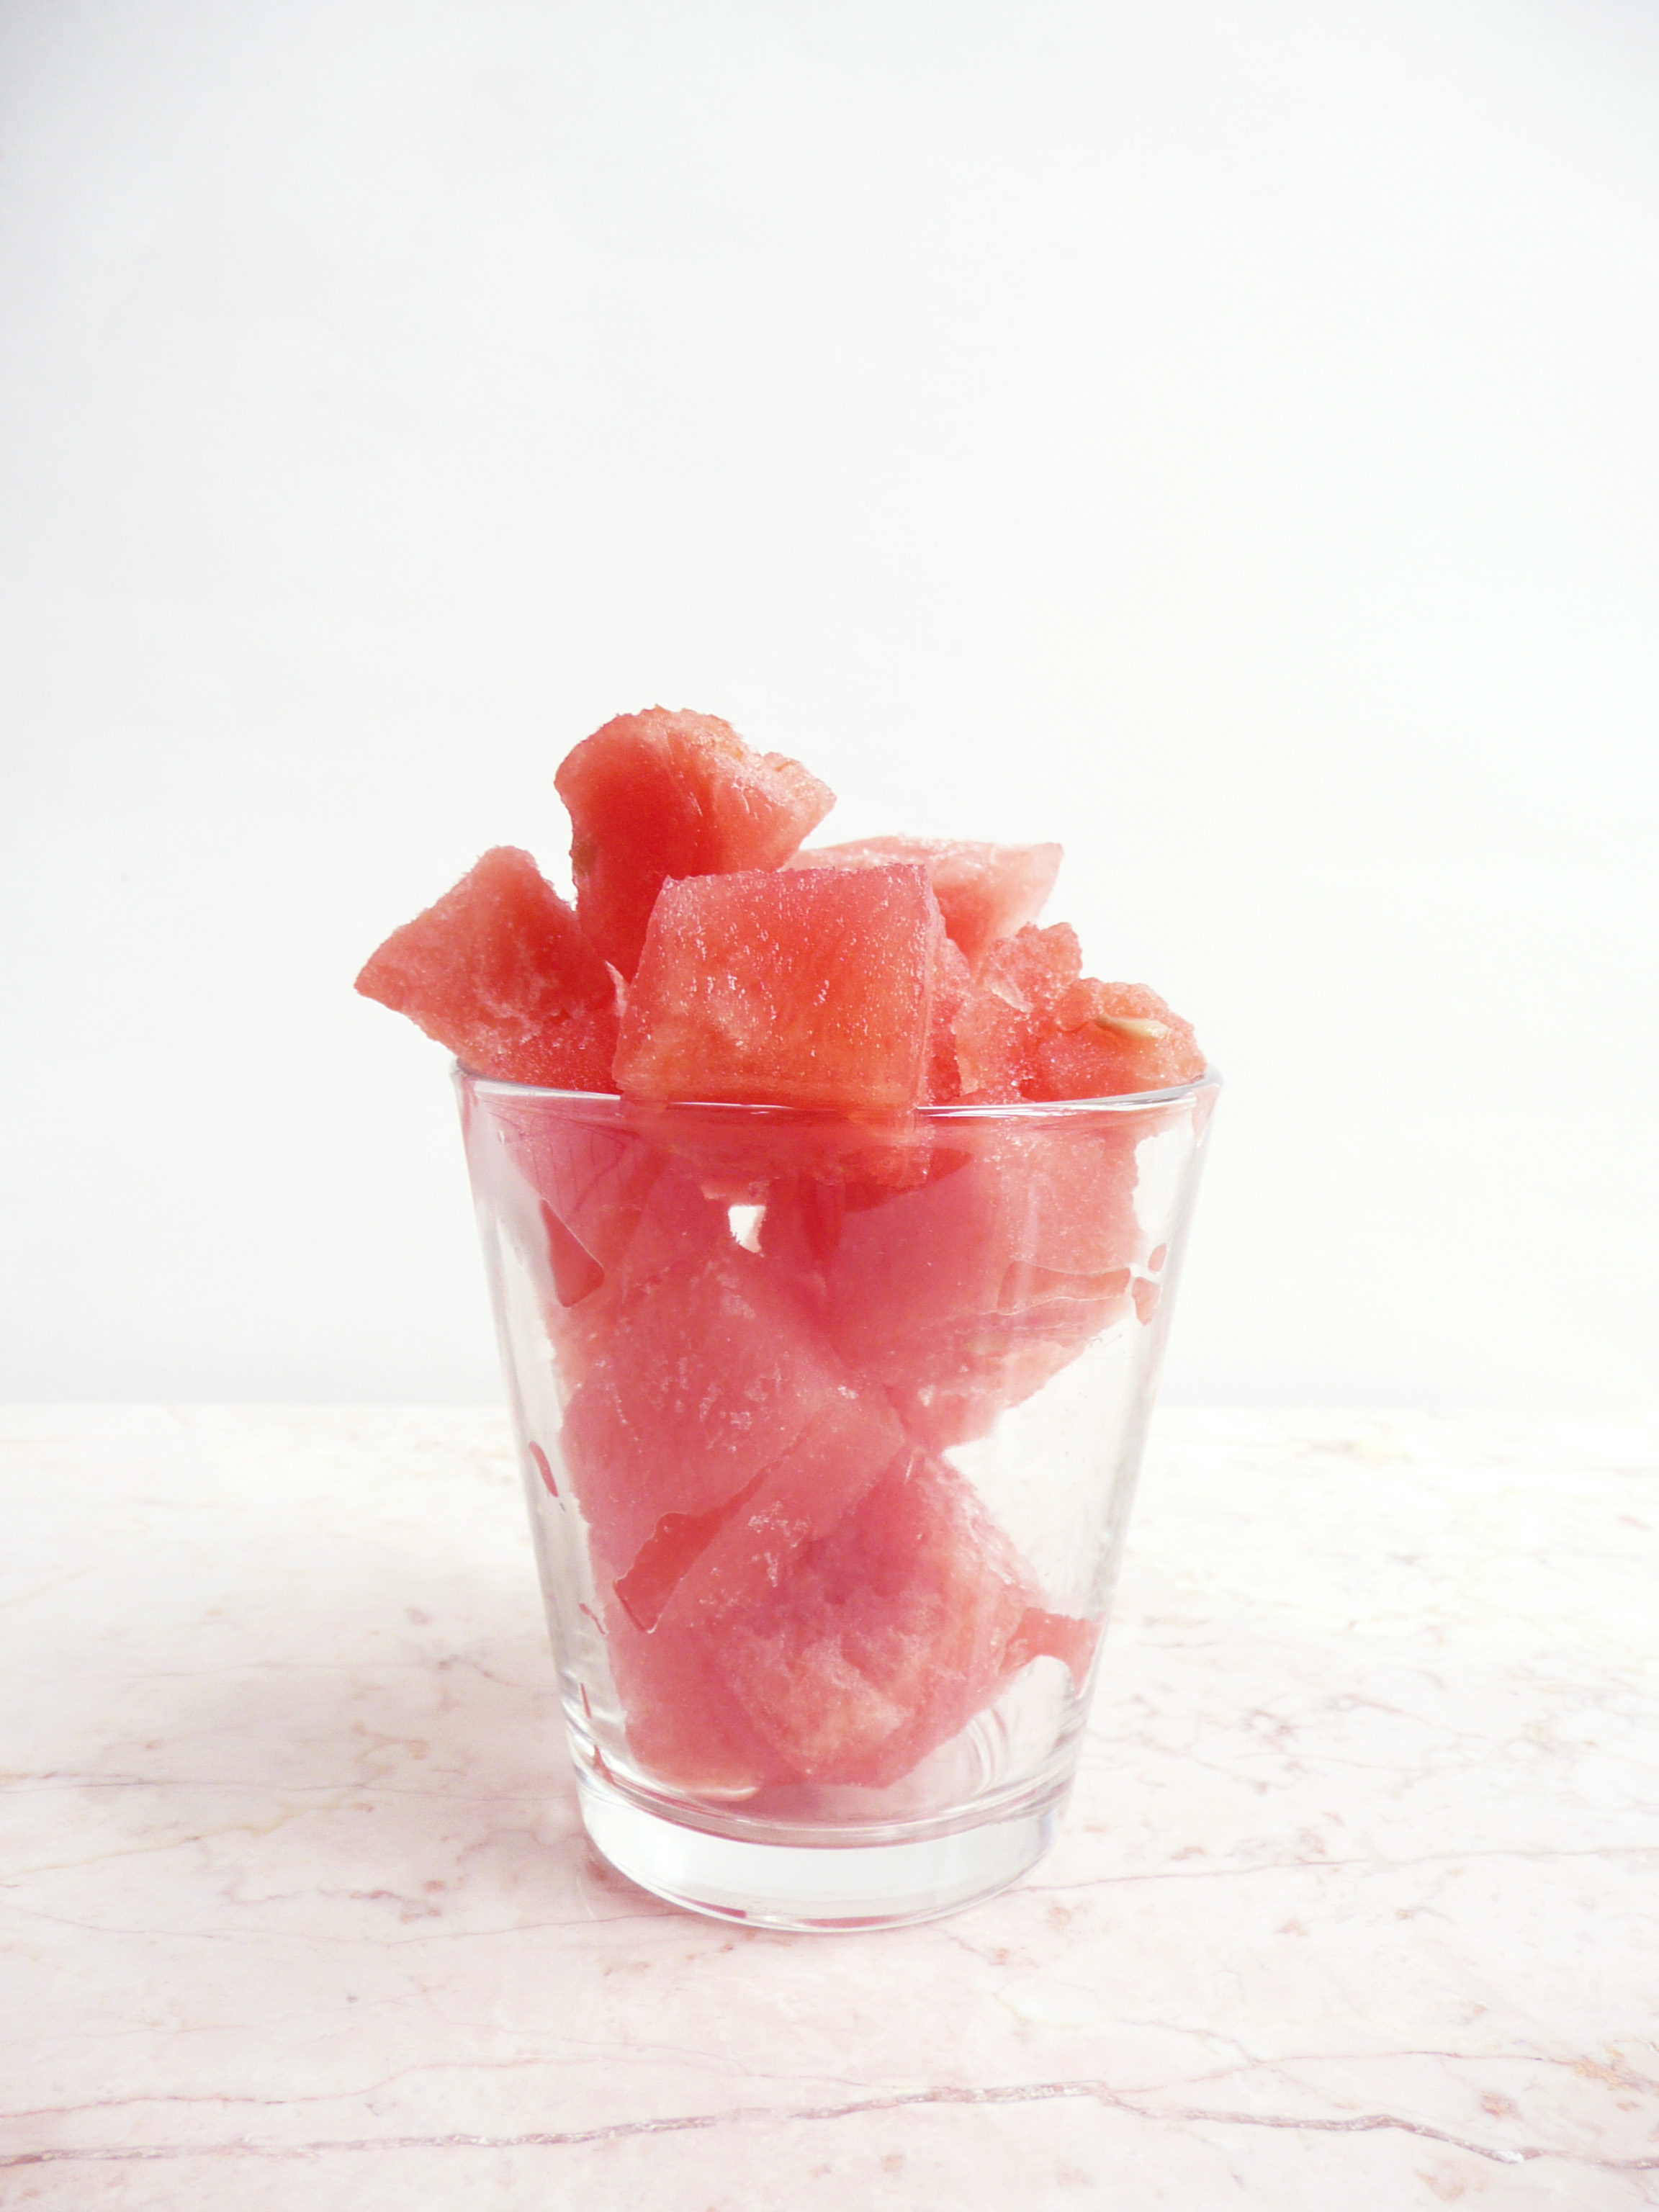
Iced Watermelon Cubes

Iced Watermelon Cubes – A Healthy Ice Cream Alternative

watermelon cubes 2

If you’re living through a heat wave at the moment what you probably want most in the world is something sweet, cold, and refreshing to eat.

Here is the simplest of desserts to keep on hand for a hot day. These little cubes of frozen watermelon are delicious and perfect for popping into your mouth (straight from the freezer) to cool you down.

Refined sugar free, dairy free, paleo, and all that jazz… but what’s really important is that they taste so good!

Iced Watermelon Cubes

Makes lots and lots of servings

Ingredients

1 sweet seedless watermelon (pick the sweetest one you can find)

That’s it! 😀


Instructions

1. Cut the watermelon into 3/4 inch cubes (this is a perfect size as they can be eaten straight from the freezer and they thaw quickly too).

2. Freeze the cubes flat in ziptop bags.

To serve, scoop about 1 – 1.5 cups (or however much you want) of the frozen watermelon cubes into a bowl and eat with a spoon.

Ta-Da! I hope that these little cubes of watermelon joy make your summer days a little more awesome. 🙂

Mango Lemon Sorbet (No Churn) – Quick and Easy, Vegan, Paleo

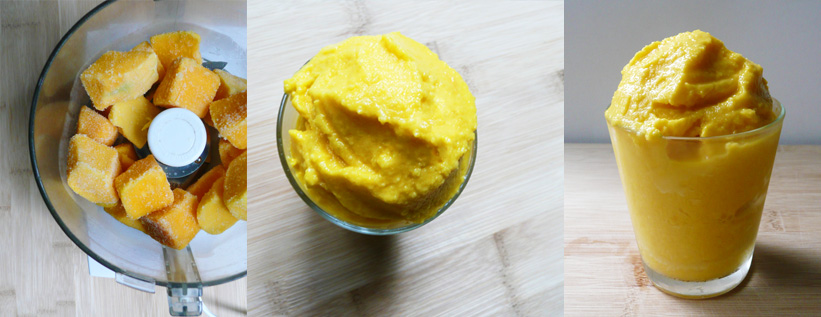
mango 4

Sometimes the best kinds of foods are the ones that remind you of what you ate when you were growing up.

When I was a kid, we would often get takeout pasta and pizza from a local family owned Italian restaurant. The food was always good, but for me the highlight was getting to eat Italian ices anytime we ordered from that restaurant. This Mango Lemon Sorbet reminds me eating those Italian ices out of paper cups on hot summer days.

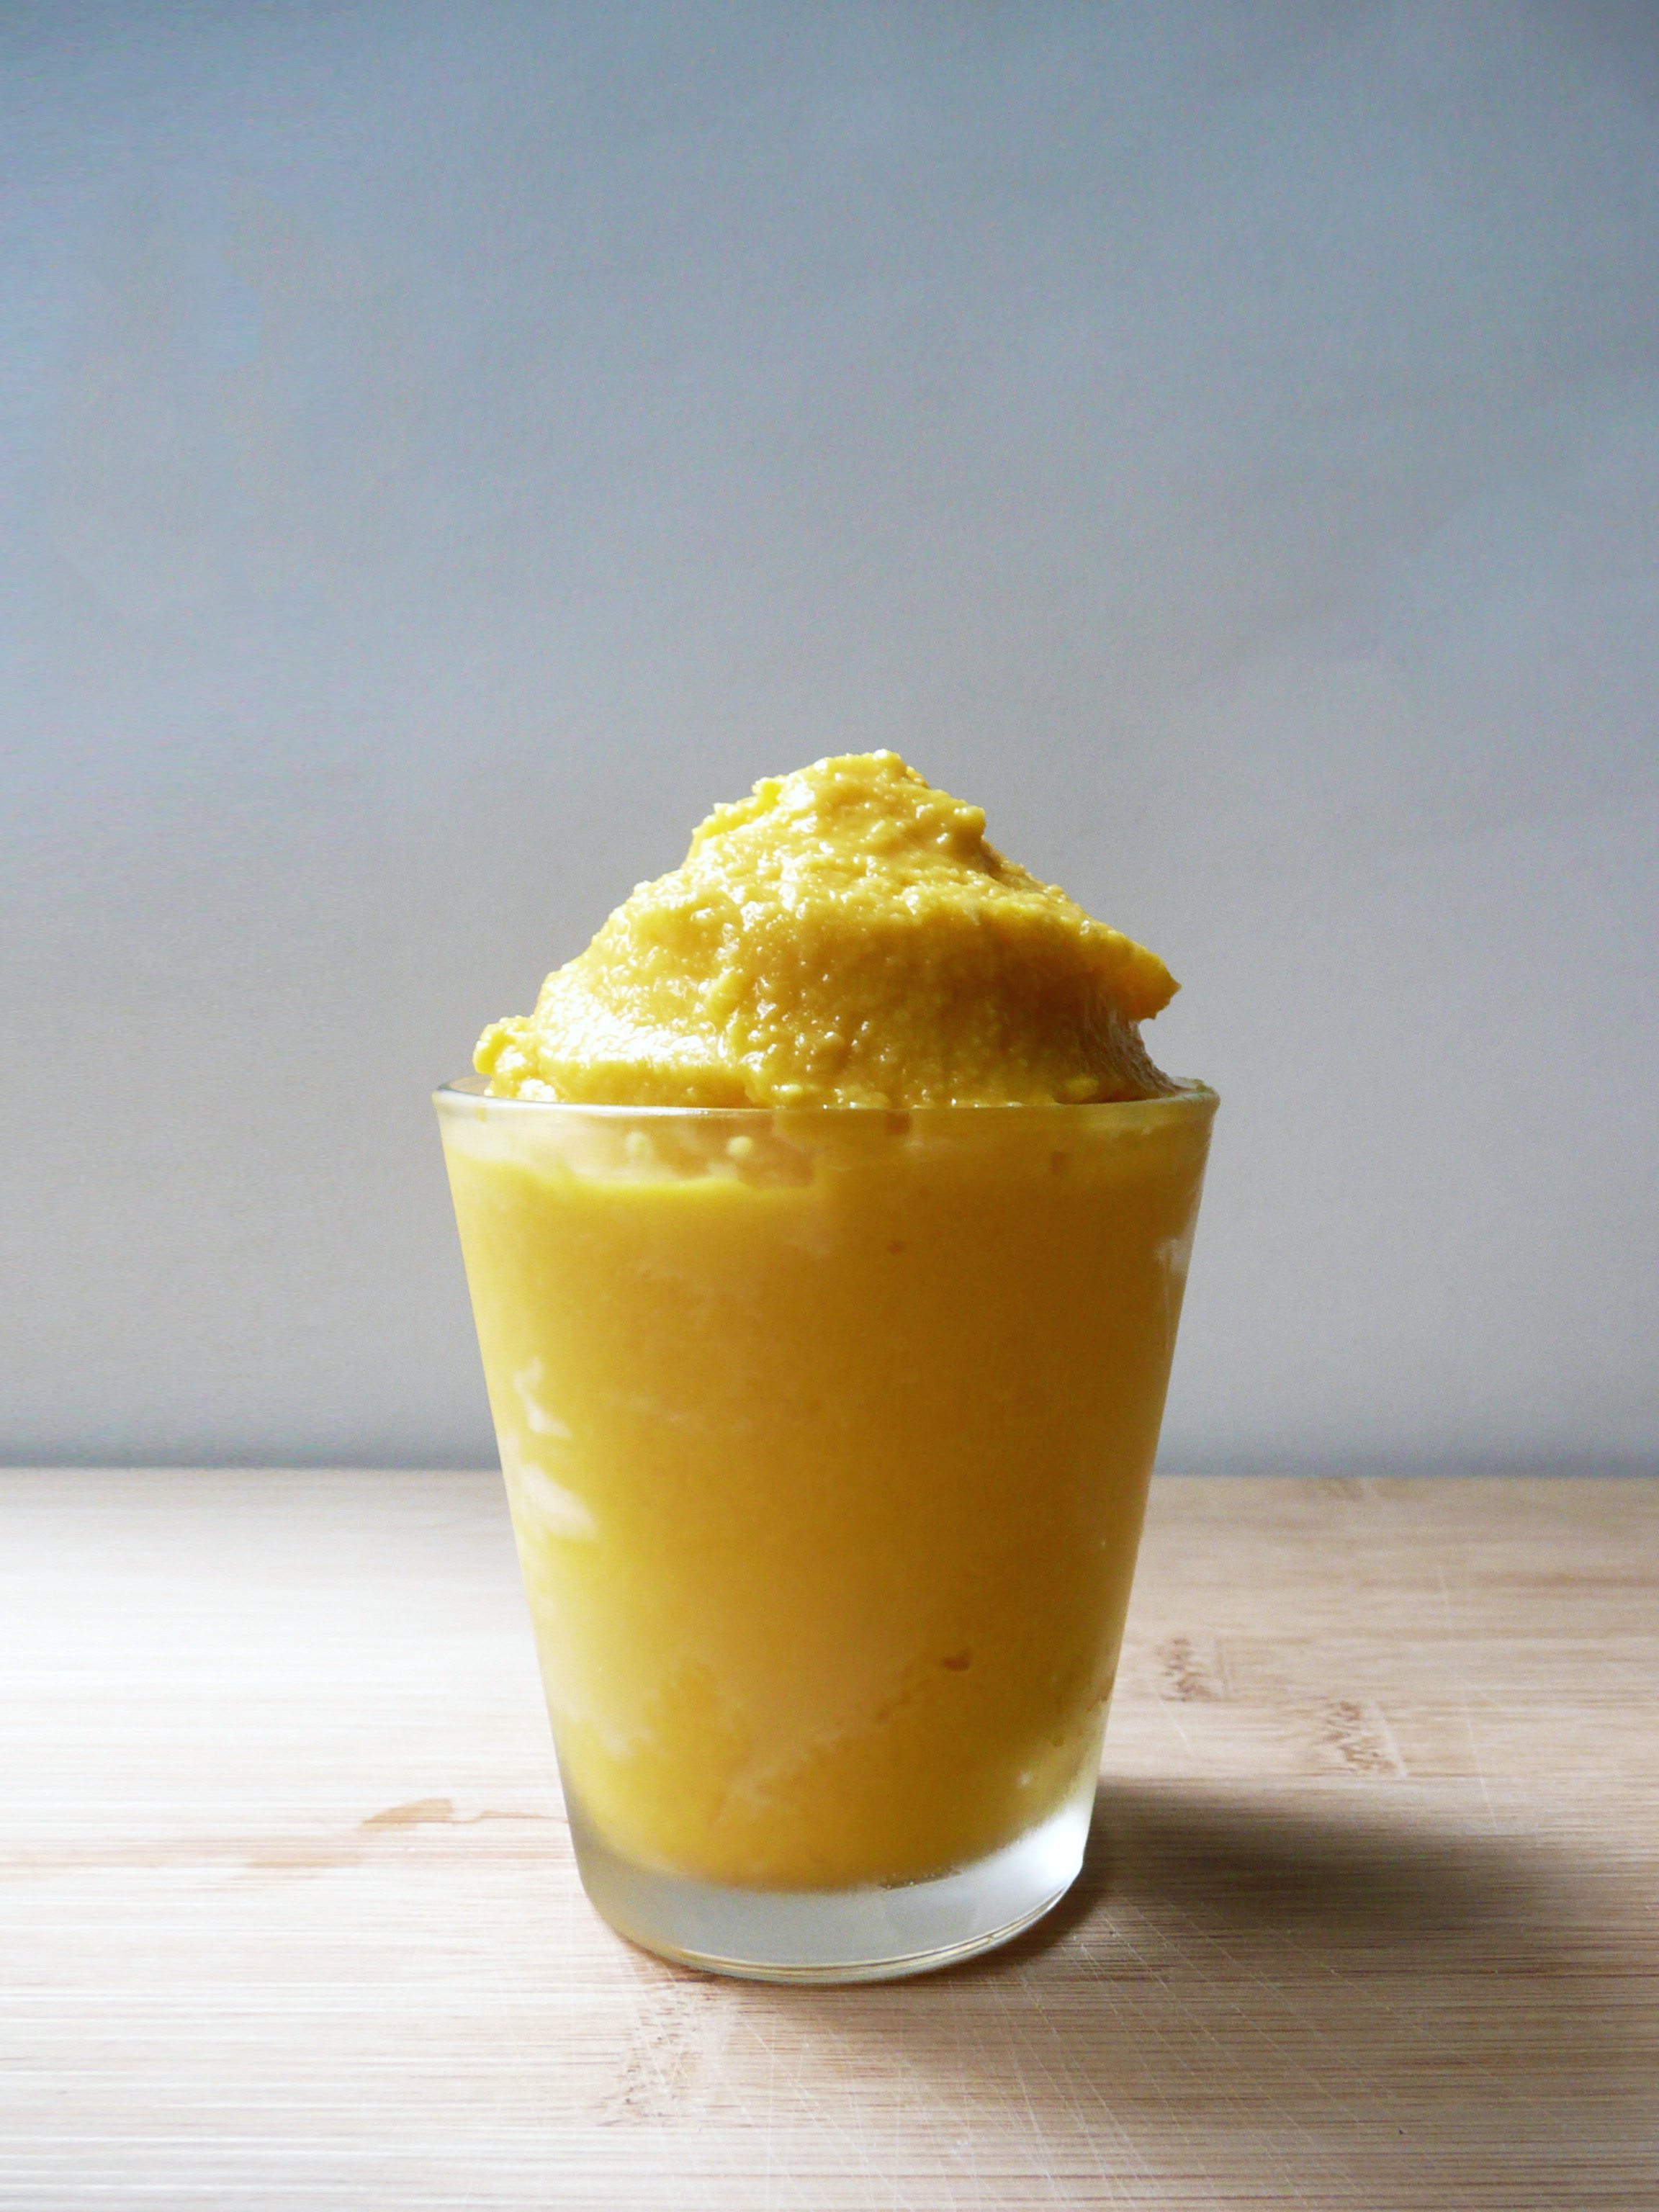
mango sorbet 2

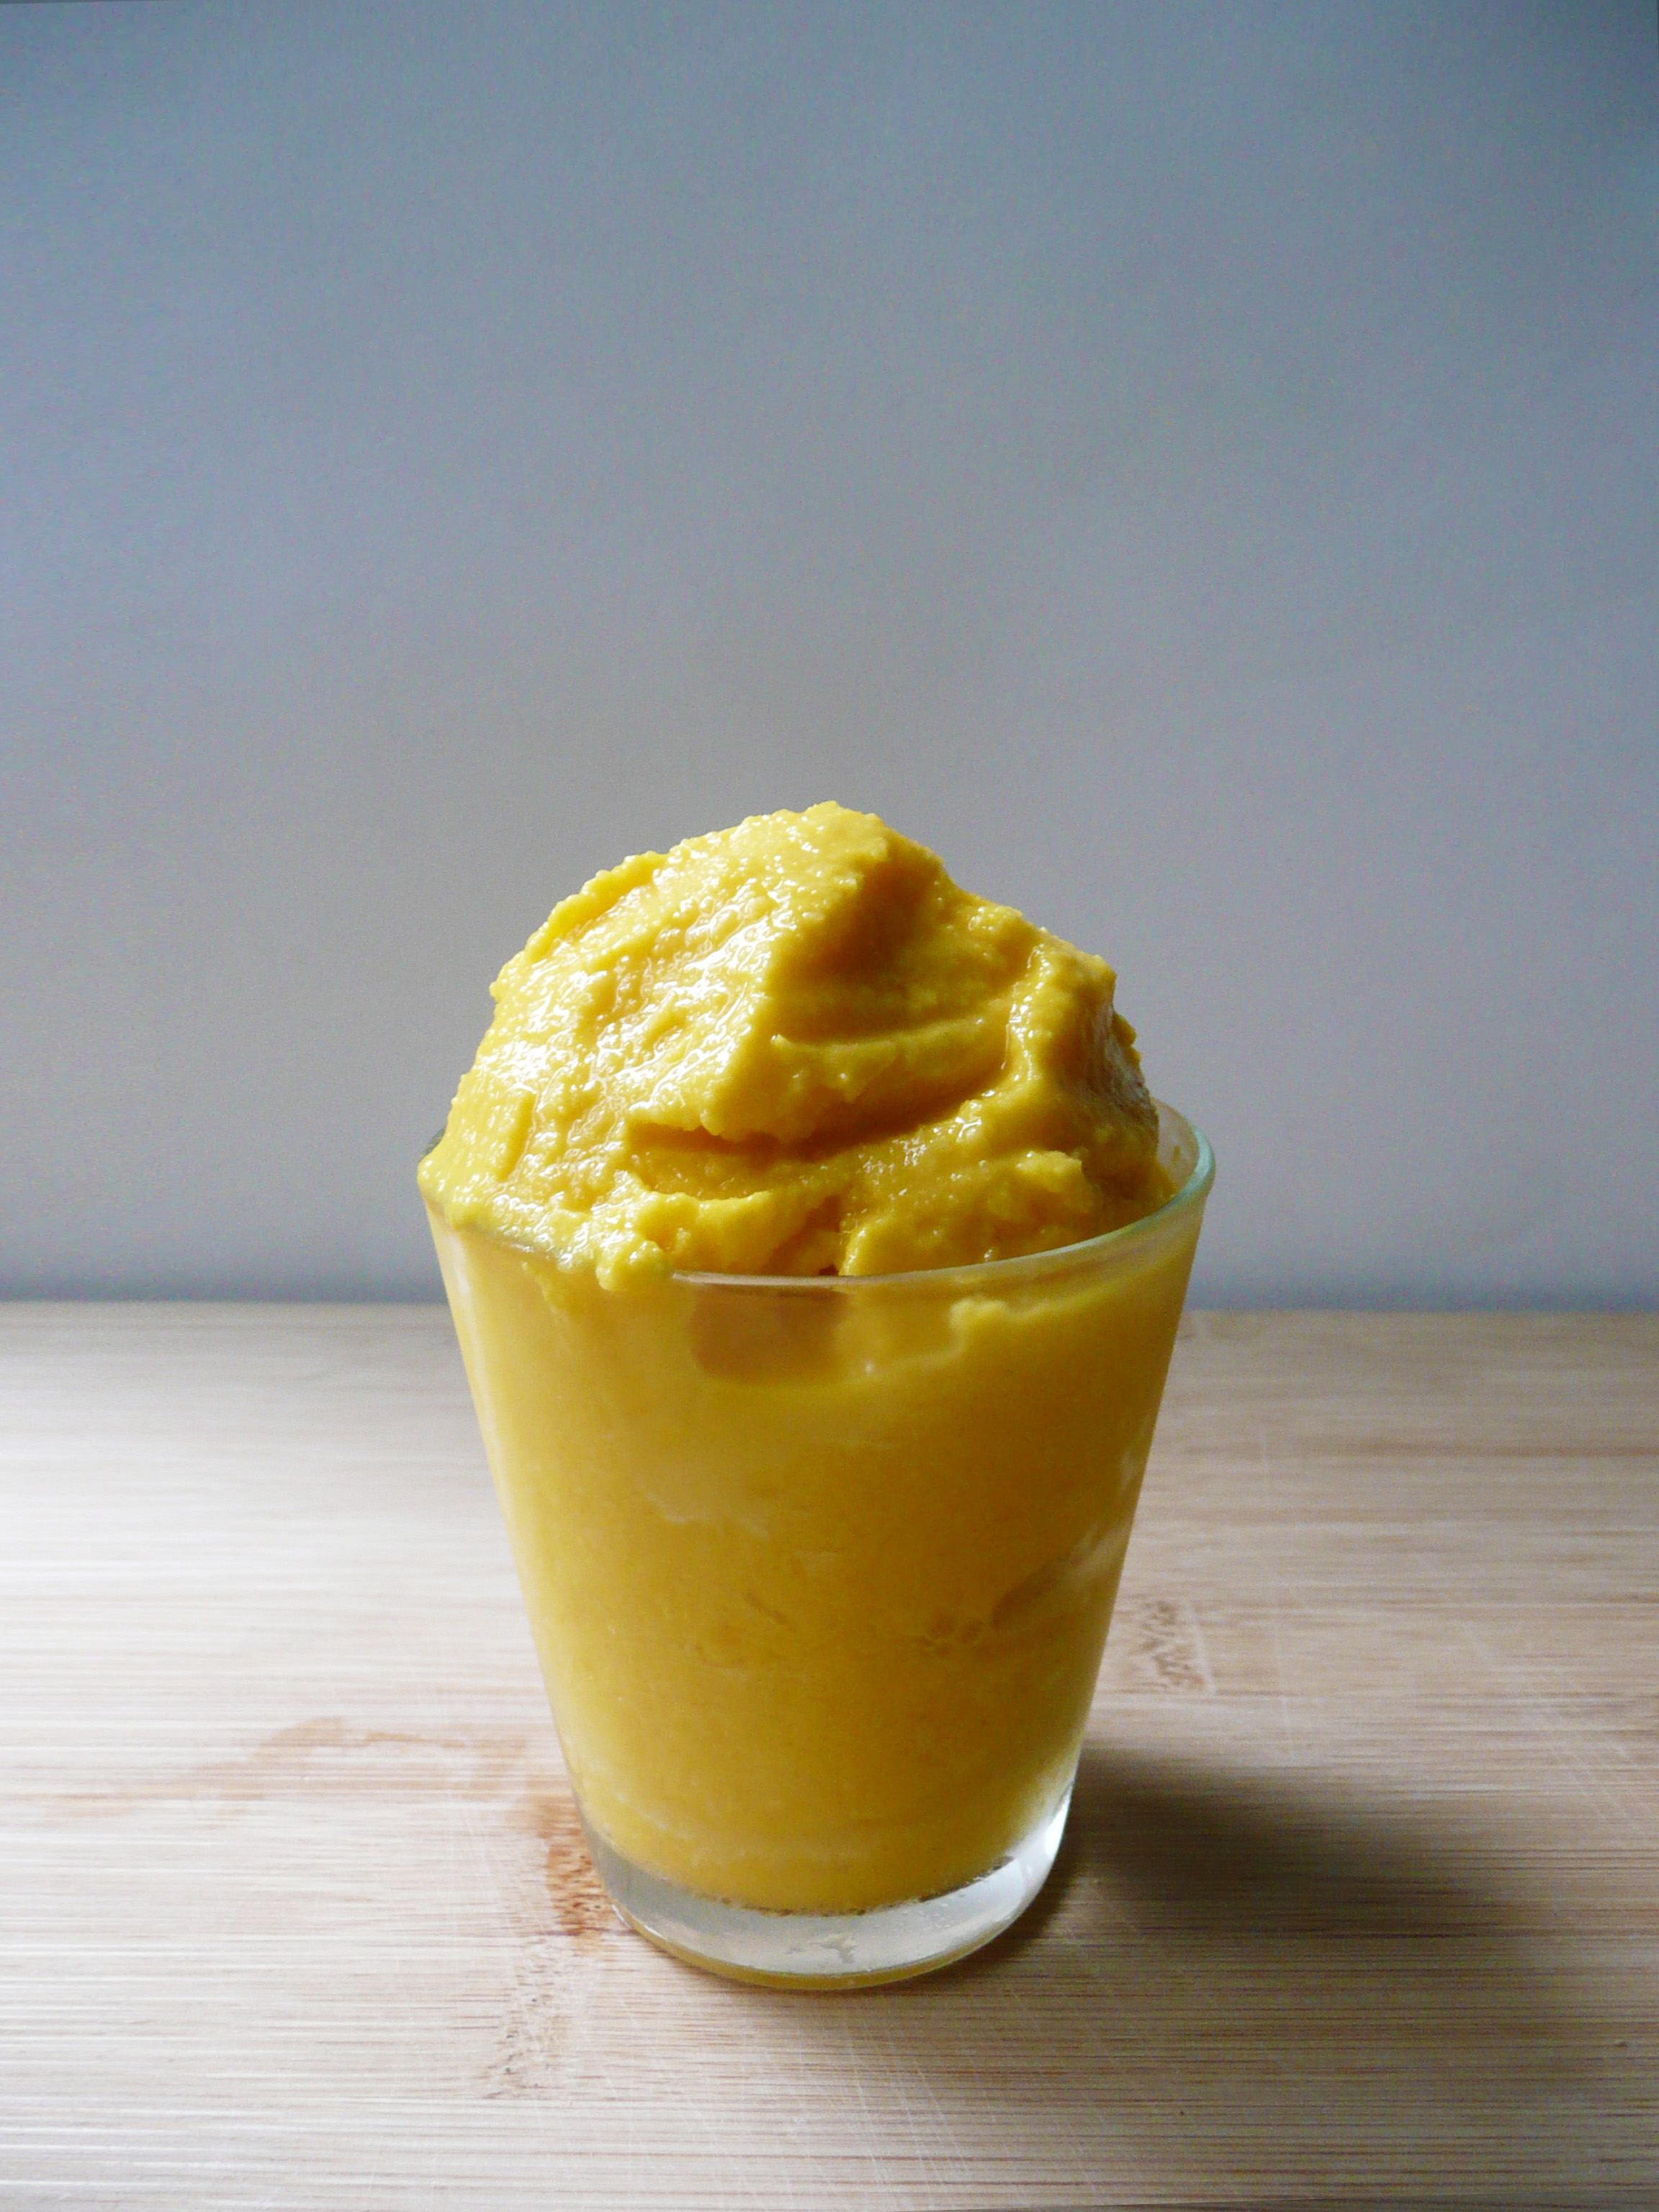
Mango Lemon Sorbet is incredibly simple to make, and you don’t even need an ice cream maker! The mango gives the sorbet a joyful tropical flavor, and the lemon zest gives it a brightness and zing. Each bite just tastes incredible.

This recipe would also work well if you have a number of ripe mangoes that you don’t quite know what to do with before they become overripe.

mango sorbet 3

You can cut them into 1 inch chunks, freeze them, and make this mango sorbet anytime you like! It’s a delicious and satisfying way to cut down on food waste.

Mango Lemon Sorbet

Makes 1 generous serving (about 3 scoops)

Ingredients

2 cups frozen mango (1 inch chunks)

2 tbsp maple syrup*

1/2 tsp lemon zest (lime zest also works well)**

4 tbsp avocado oil (or any neutral flavored oil)***

1/4 cup water

Notes –

* The store bought frozen mango that I used wasn’t very sweet, so if your frozen mango is naturally very sweet, you can probably add less maple syrup. Just add a little at a time until you’re happy with the sweetness of the sorbet.

You can also omit the maple syrup entirely, and replace the water with 1/4 cup of apple juice instead if you’re trying avoid added sweeteners. The sorbet won’t be quite as sweet as it would be with the maple syrup, but will still taste really good.

**I actually used the frozen lemon rinds from this post for the lemon zest I used in this recipe.

** There is a part of the brain that lights up in the presence of a fat and sugar, so adding that little bit of fat makes the sorbet taste better, and helps to increase the absorption of the vitamin A from the frozen mango.

Instructions

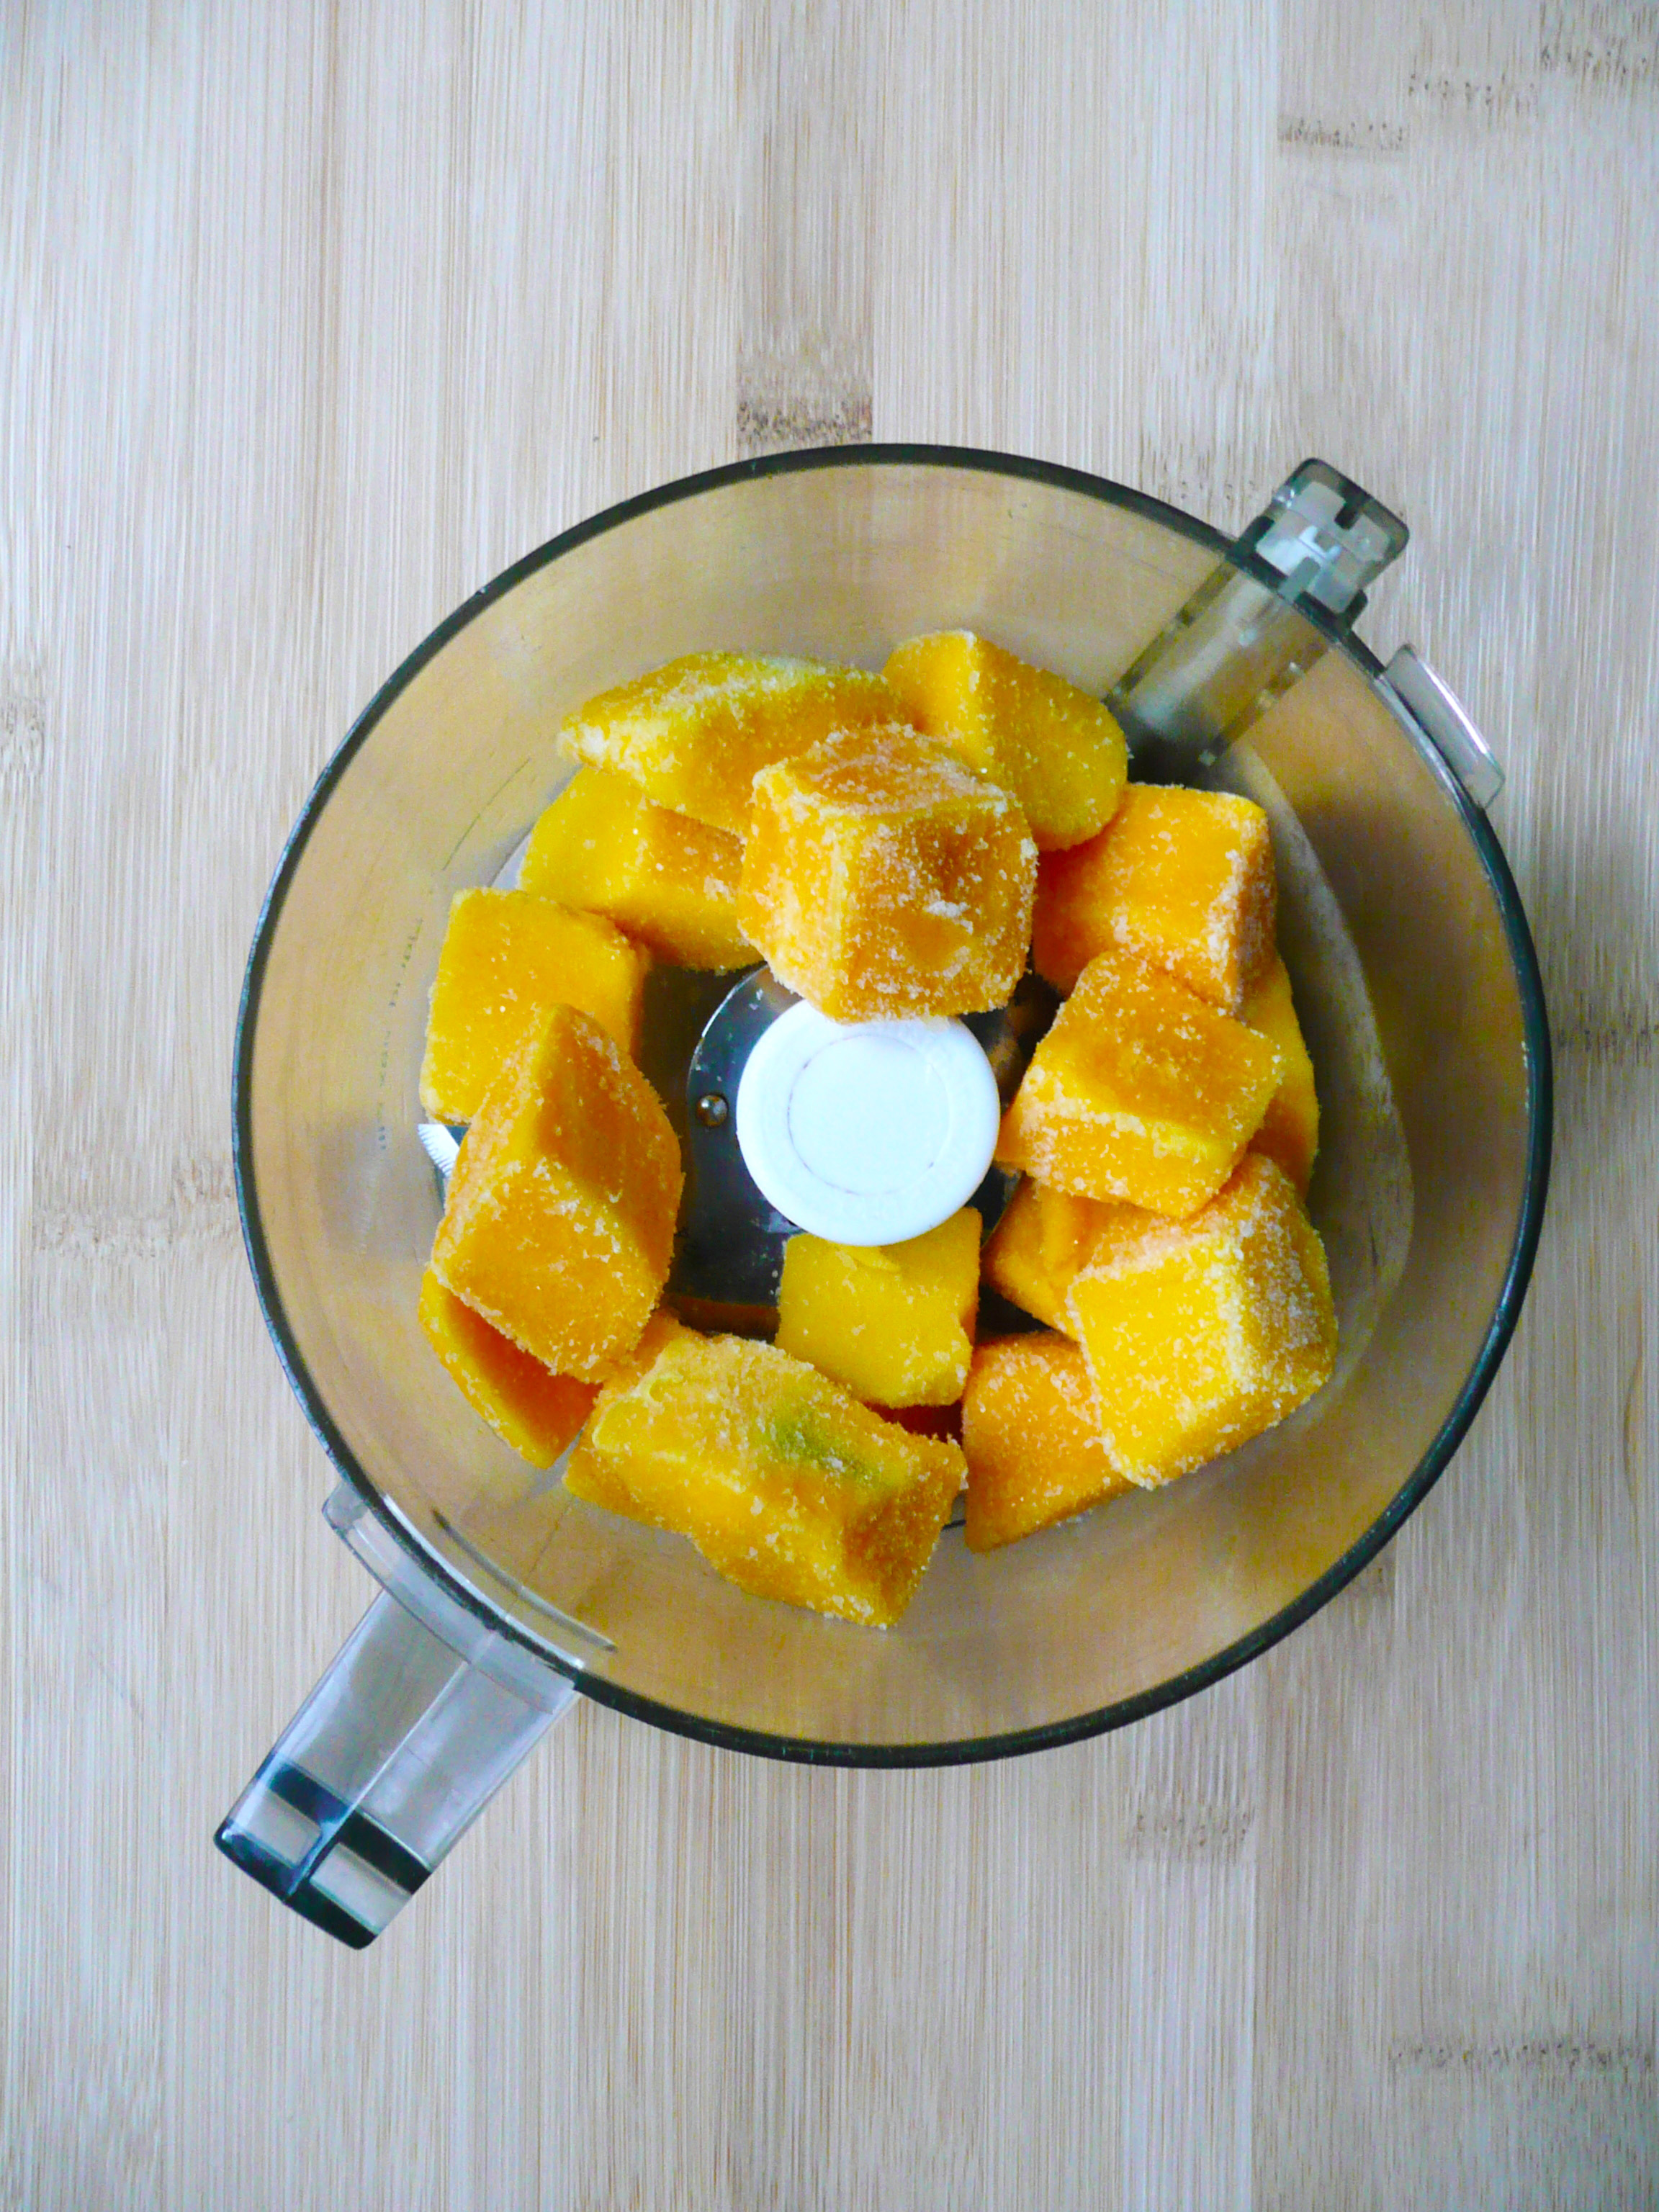
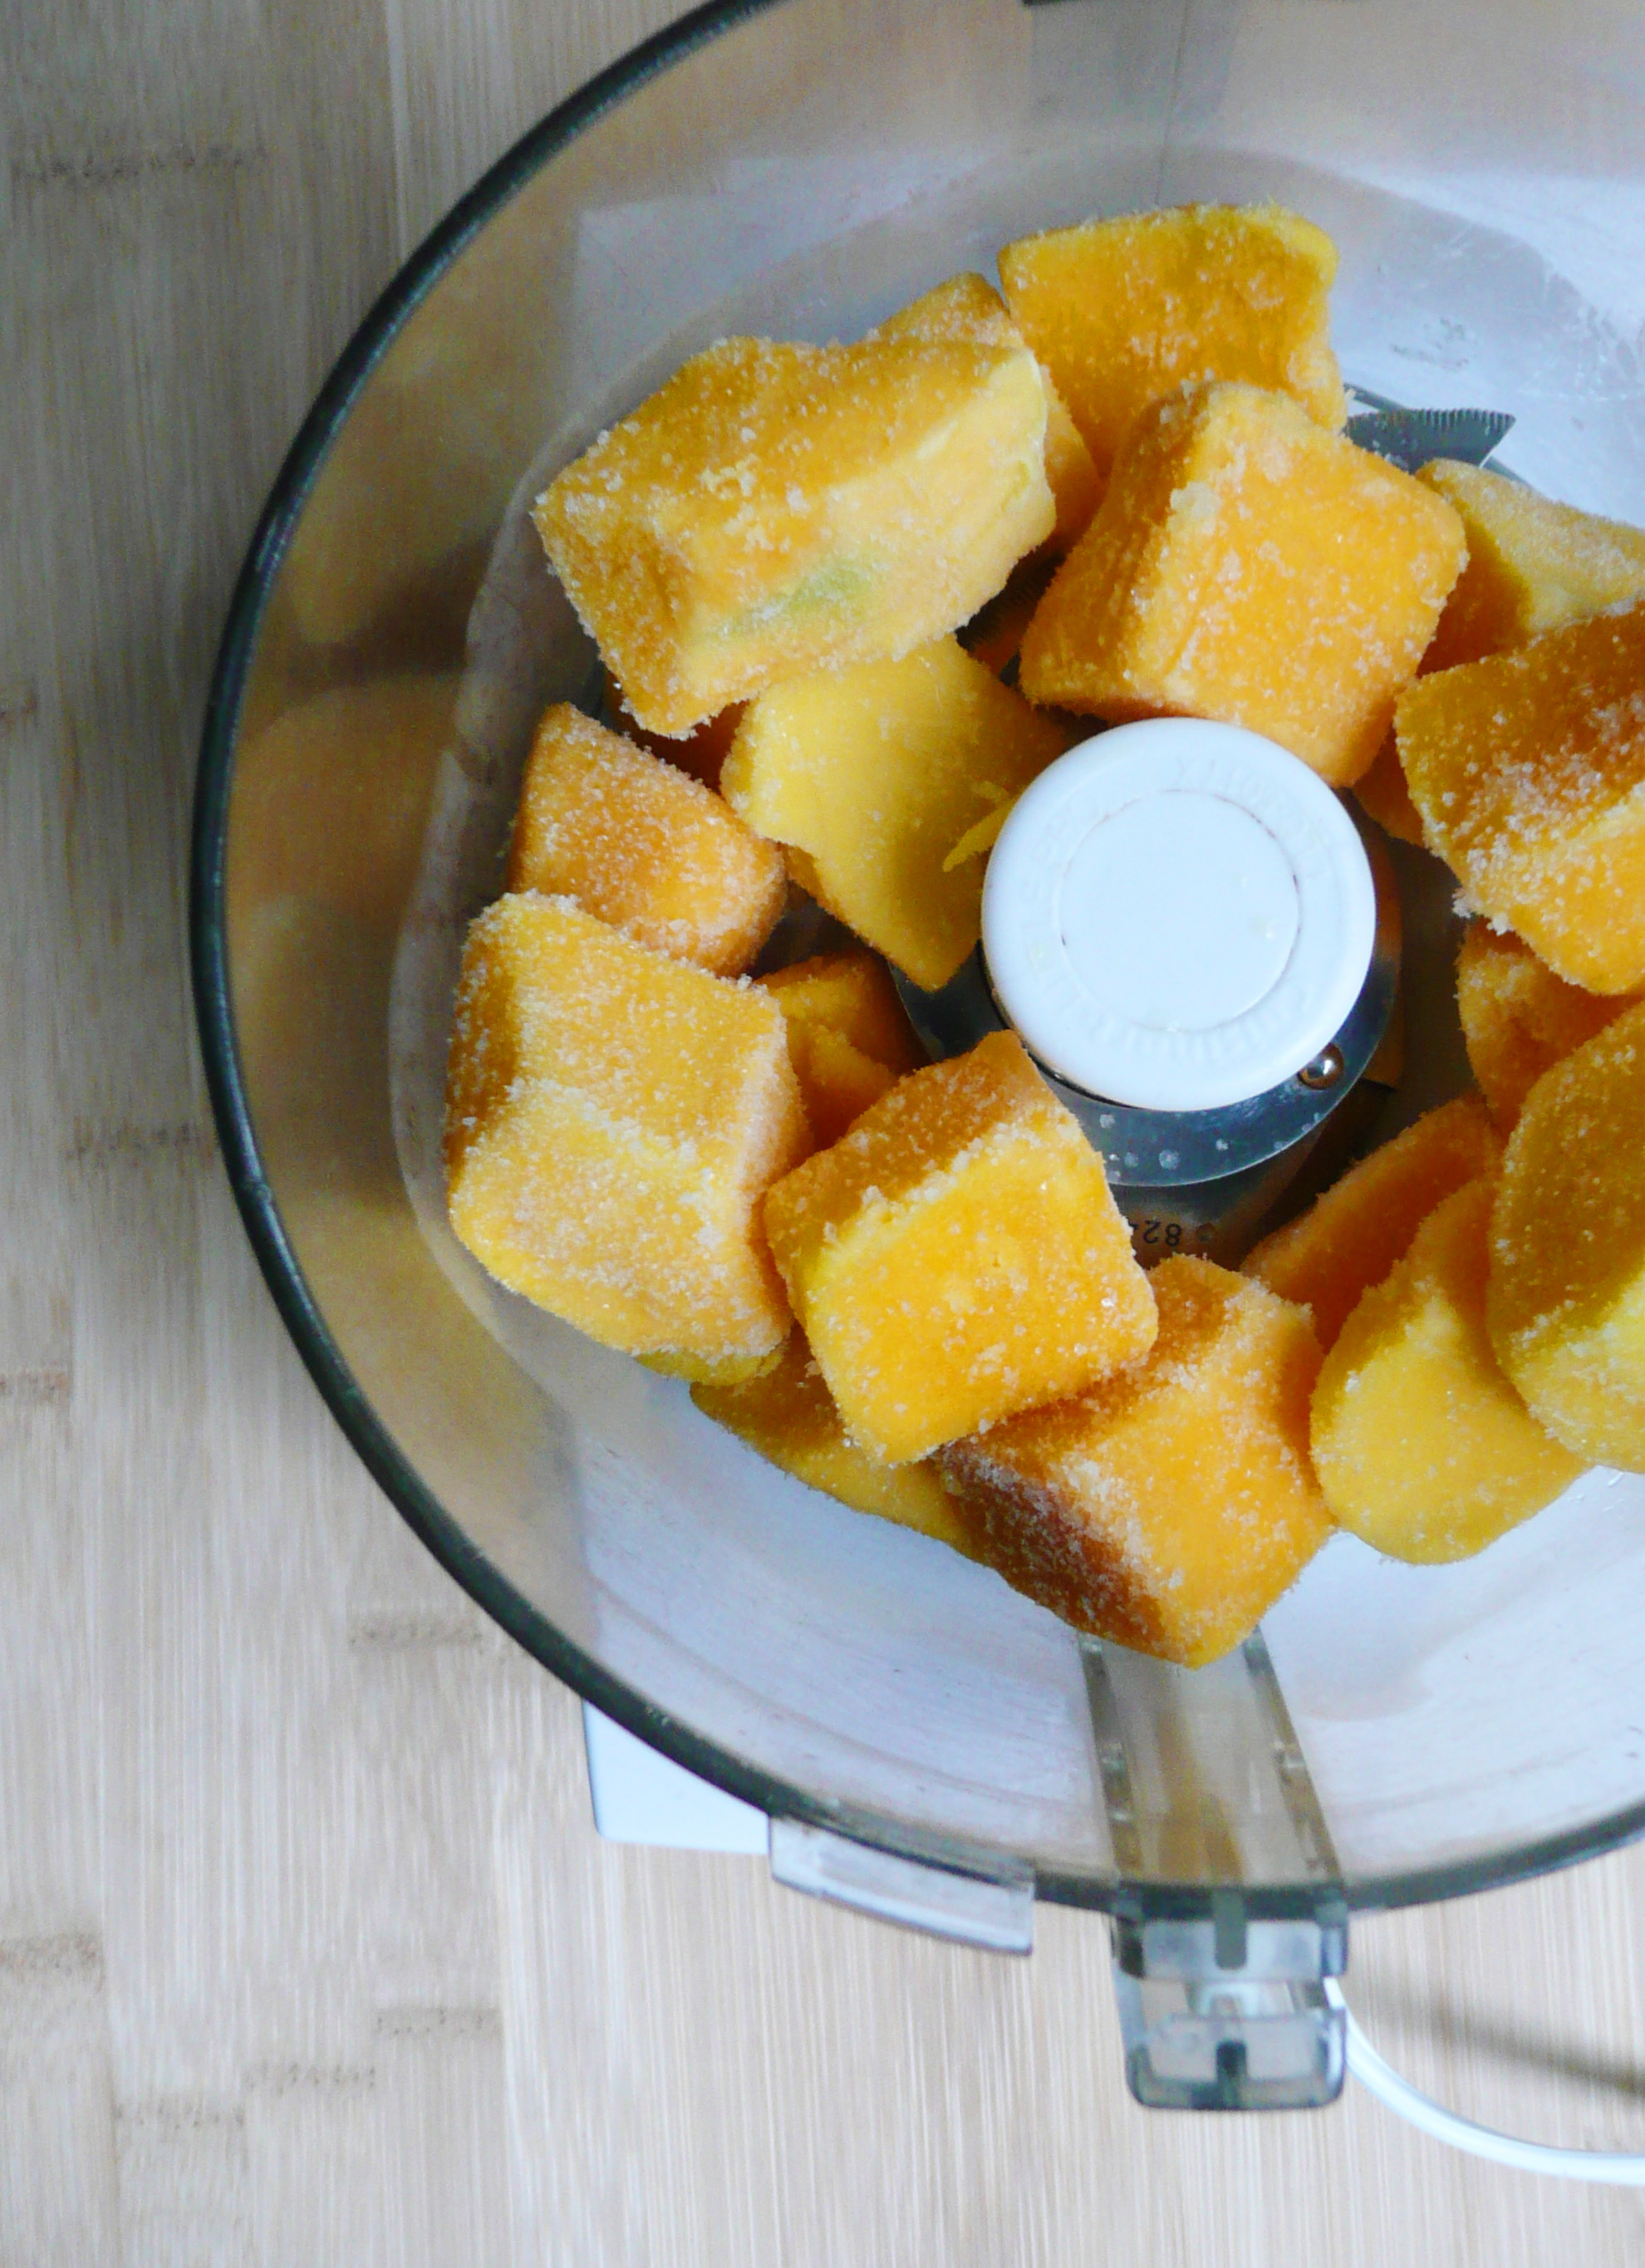
1. Lay your mango pieces onto a plate in a single layer, giving a little space between each piece of frozen mango if possible. Allow the mango to defrost for 15-20 minutes until you can pierce the cubes of mango with a fork with little resistance.

2. Transfer the mango to a food processor and add in the water, avocado oil, lemon zest and maple syrup to taste.

Blend until smooth, stopping to occasionally scrape down the sides of the food processor with a spatula.

3. Serve immediately, or you can make a big batch of this and freeze it it for later in an airtight container. Allow to defrost for a bit before scooping and serving.

mango sorbet 5

So good… and so simple to make! I’ll definitely be making this more often come summertime.

Happy Eating!

Joyful Fruit Salad – Vegan, Paleo

fruit salad

There’s a really funny writer/actor/comedienne extraordinaire named Tiffany Haddish who has a dish called “Joyful Greens.” She says that they are “Joyful Greens” because she smiles when she picks the collard greens from her garden, she smiles when she washes them, and she smiles when she cooks them. All that joy, love and care that she puts into growing and preparing the greens make them extra delicious.

Taylor Swift also loves Tiffany’s Joyful Greens. Tiffany brought them with her to one of Taylor’s dinner parties and where they also dined on homemade barbecue chicken, potato salad, and cornbread (don’t we all wish that we could have been at that dinner party? It’s sounds amazing.)

Here’s a video of Tiffany teaching Oprah and Ellen how to make them.


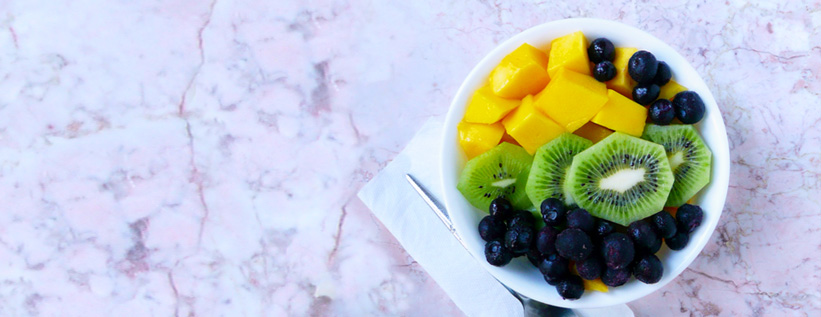
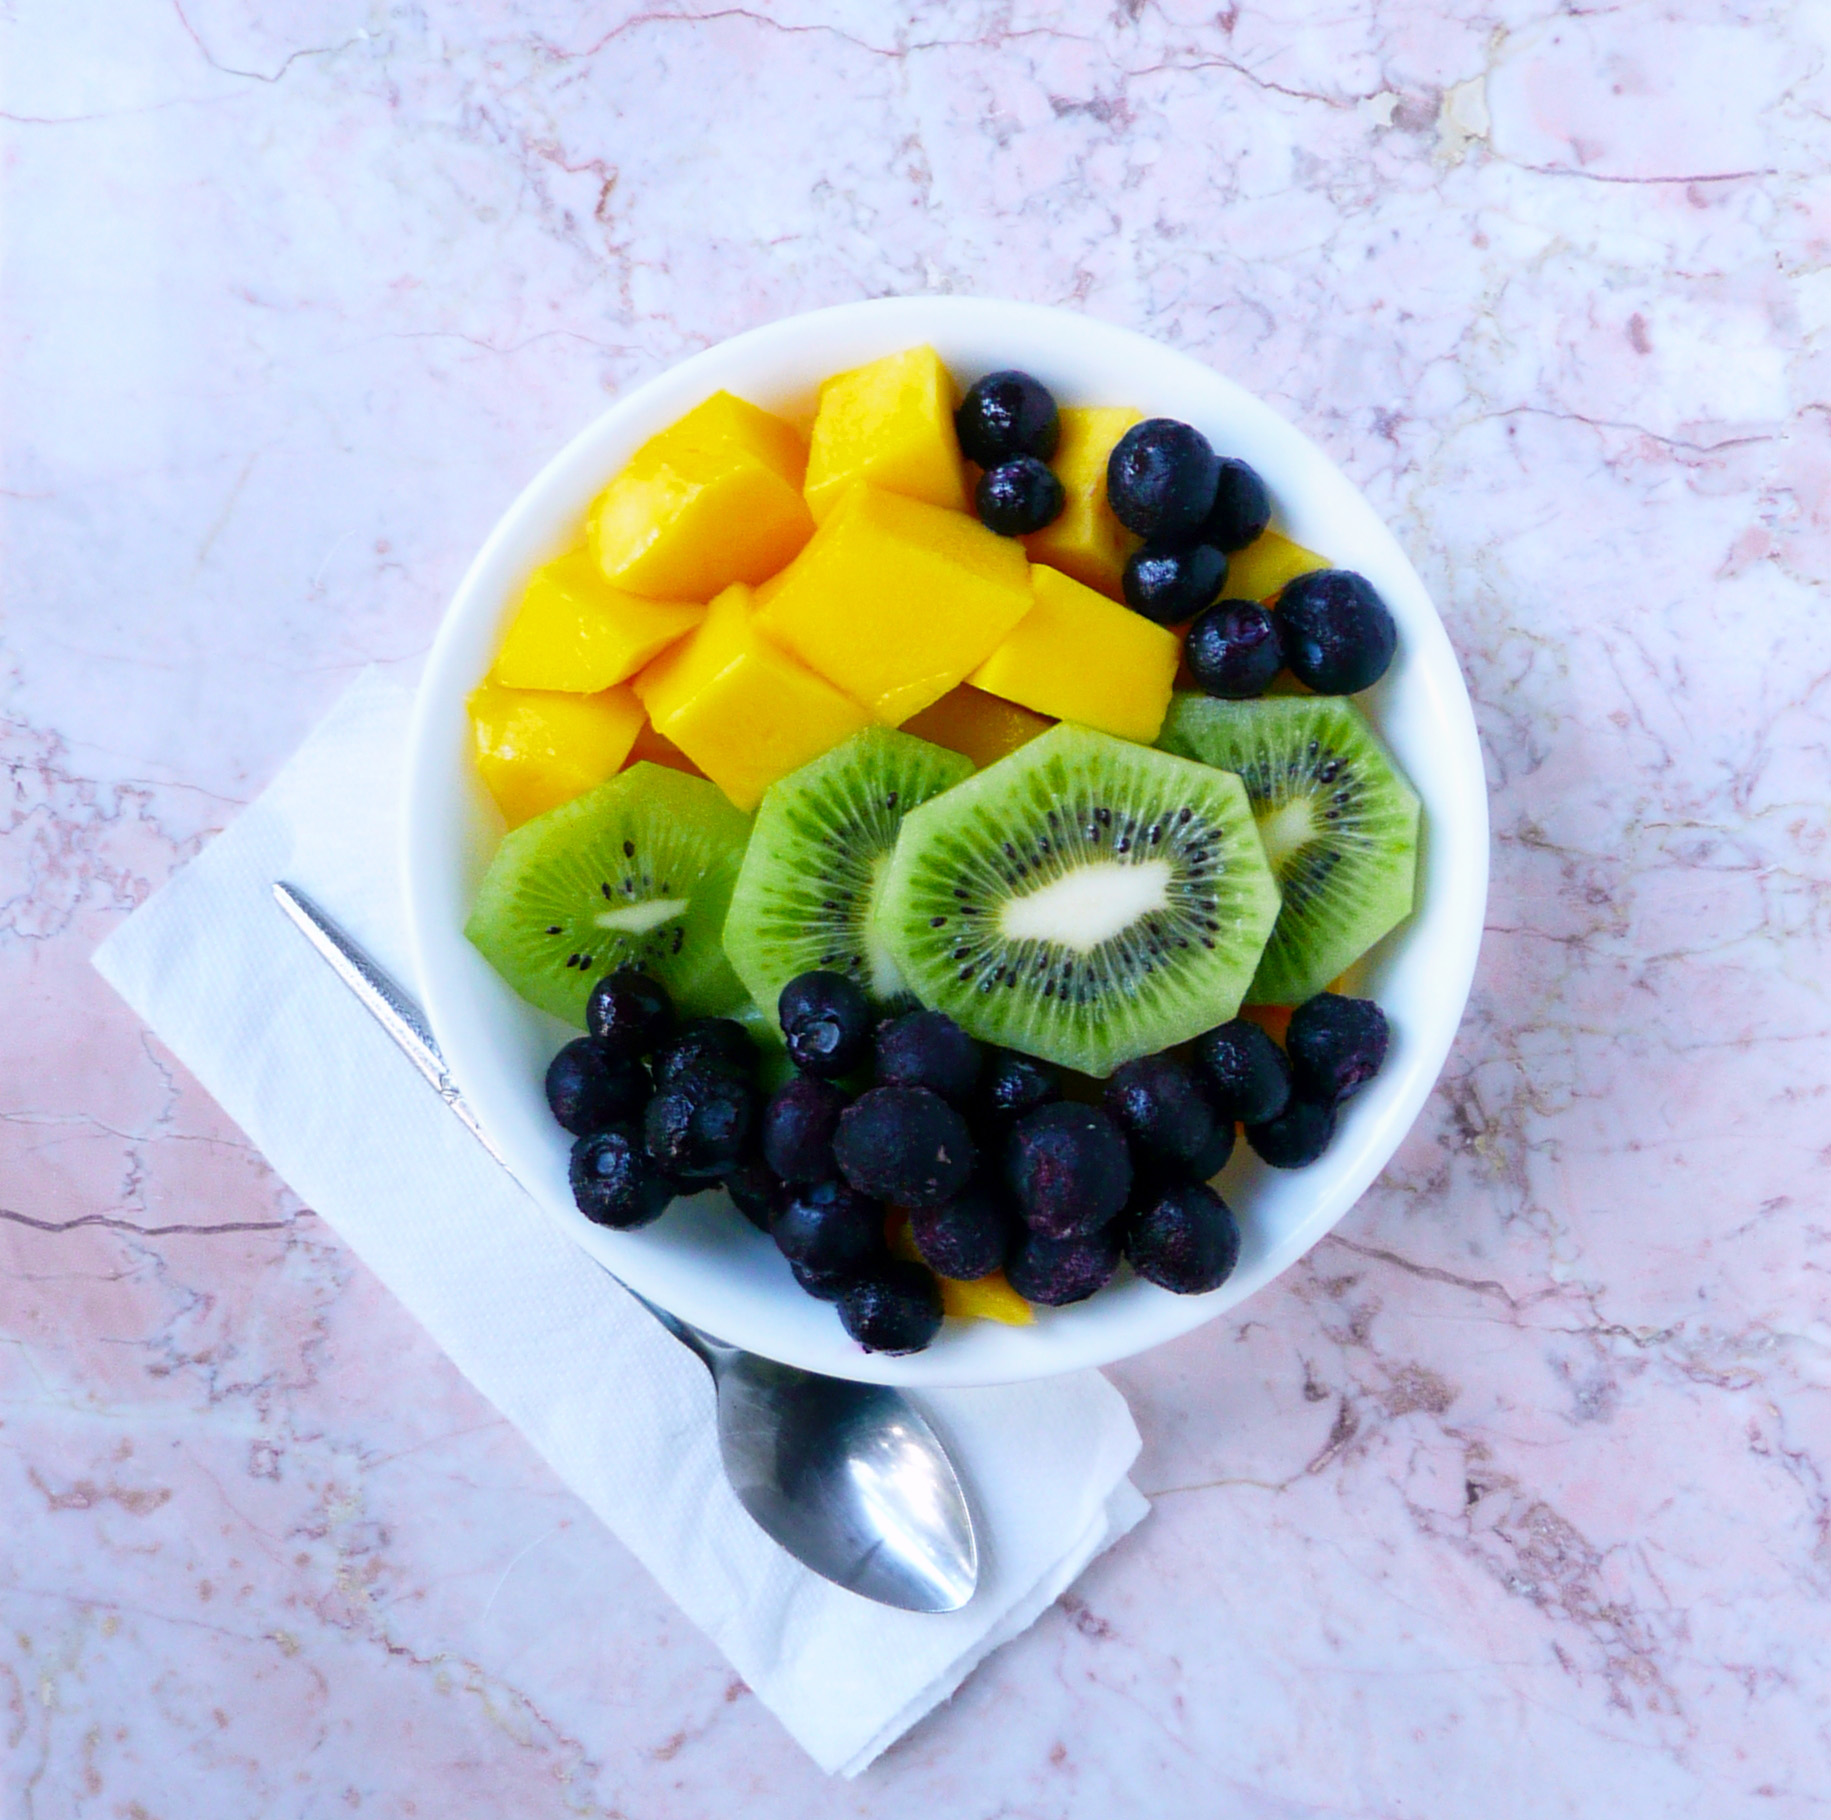
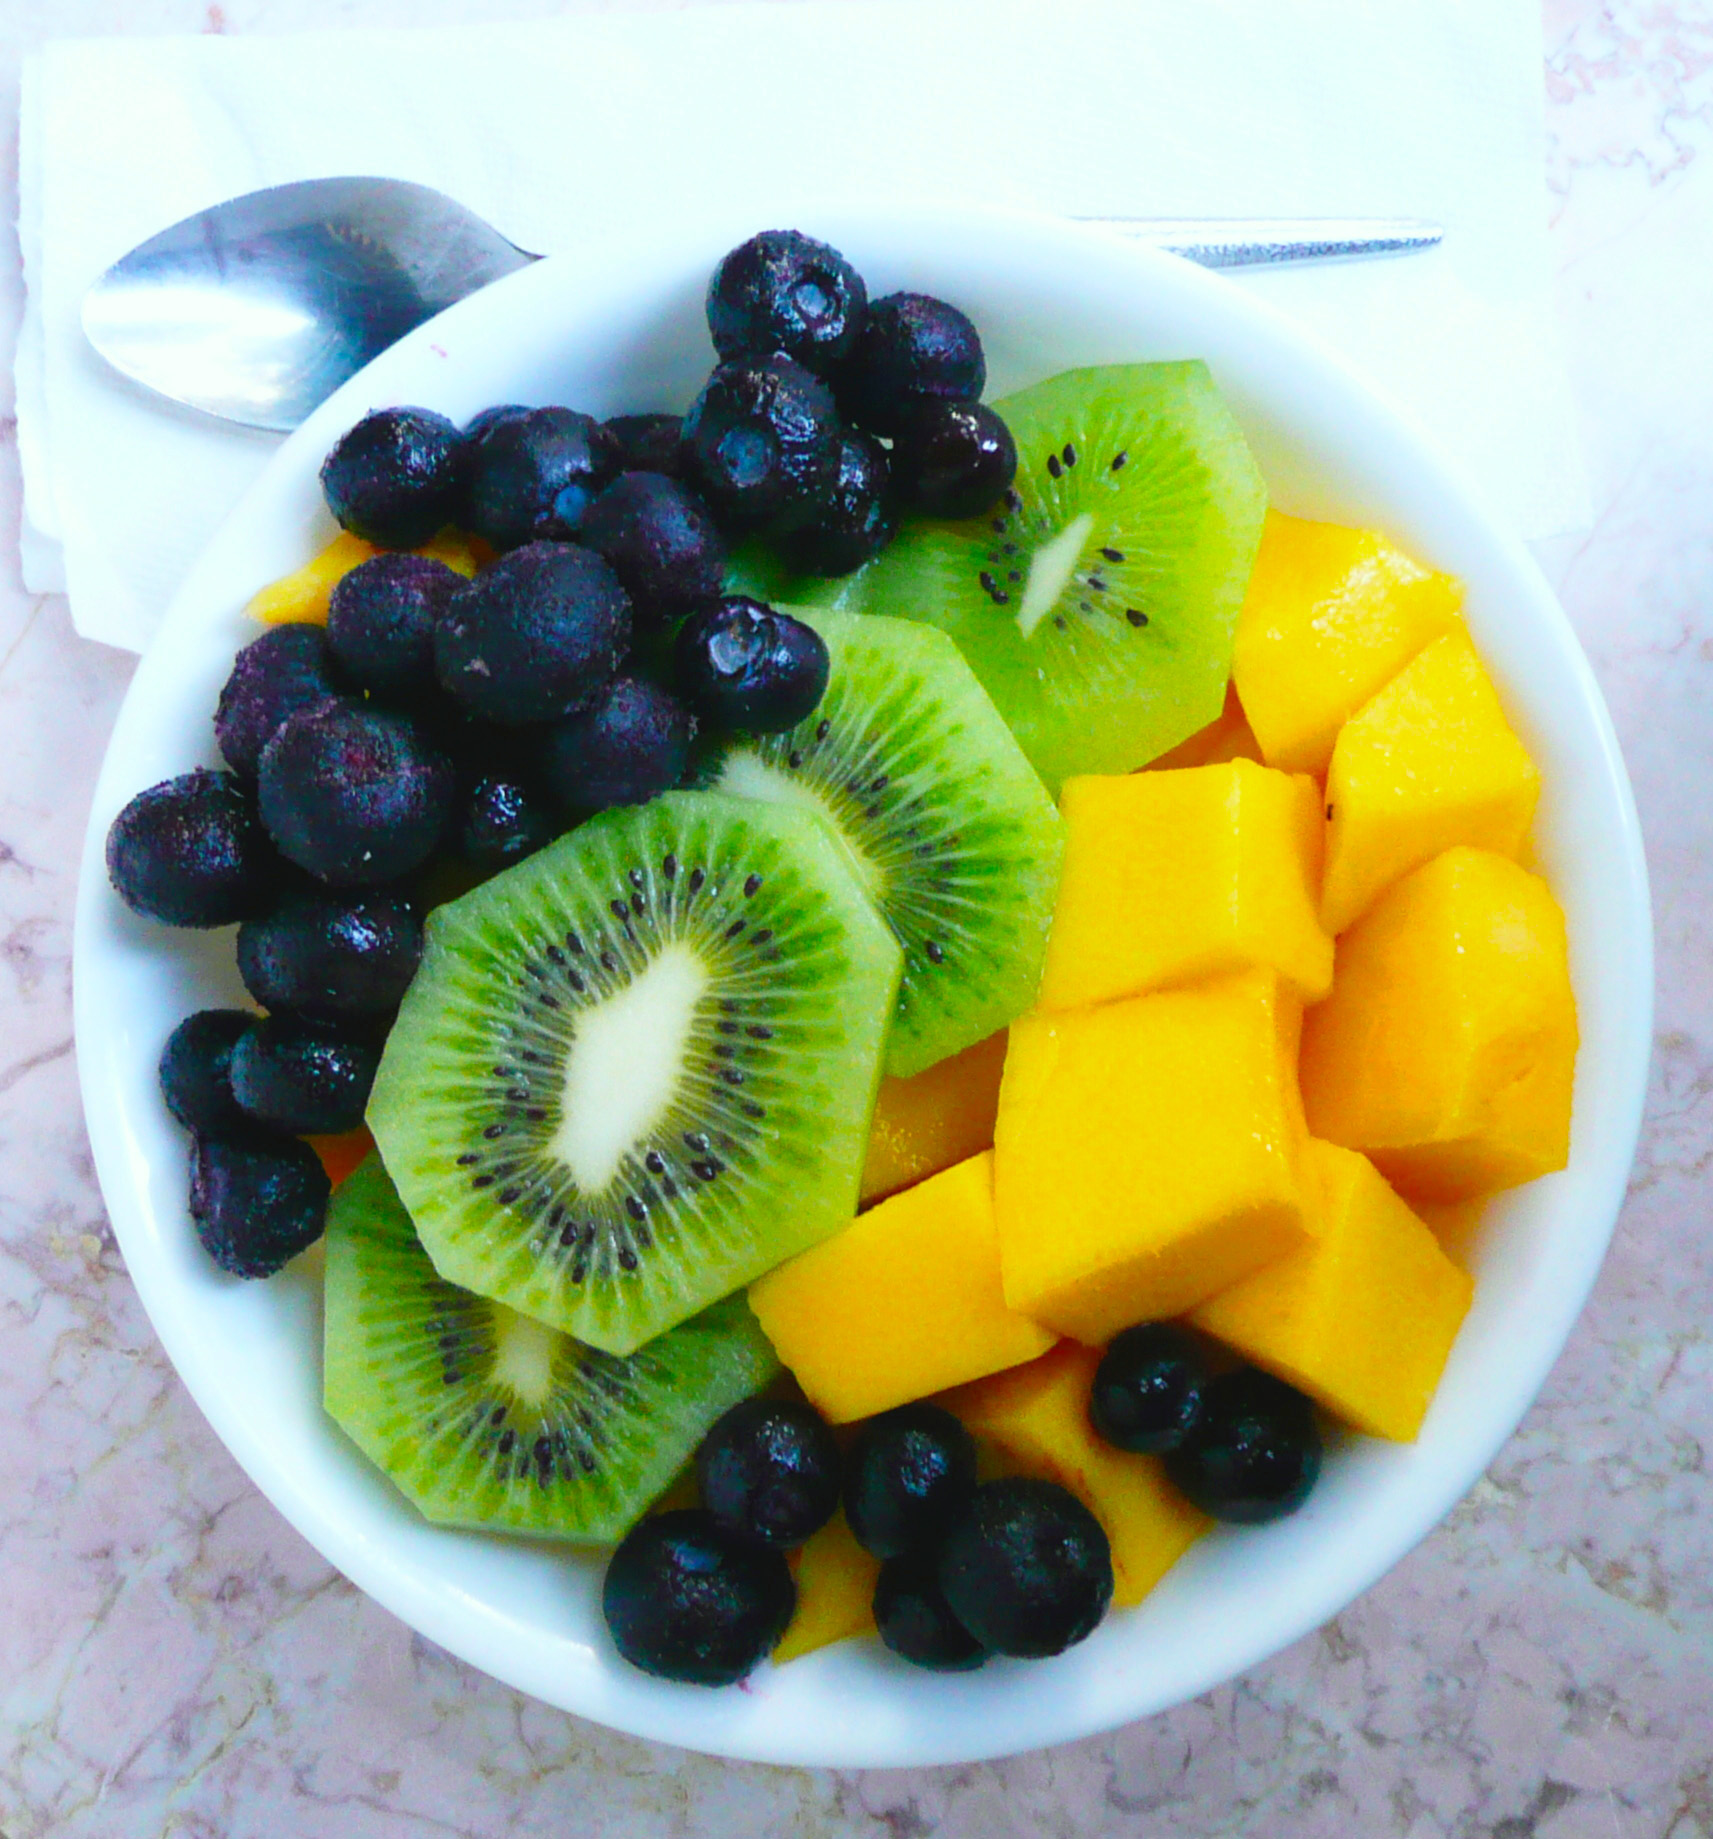
While I didn’t grow these fruits myself, this is my joyful fruit salad. It’s joyful because you smile while you’re picking out the fruit (you smile at how wonderful and sweet that ripe mango smells), you smile when you see how bright and happy the different colors of the fruits are together, and you smile when you eat it (because it tastes so good…)

It’s super quick to put together, and I like packing it in a lunch because the colors look so cheerful together that I always look forward to eating it. This combination of fruits taste lovely together, and eating it feels like a real treat.


Fruit Salad 3


Joyful Fruit Salad

Makes 1 generous serving

Ingredients

1 ripe mango*

1 ripe kiwi**

1/3 cup blueberries (fresh or frozen)


Notes – *Ripe mangoes smell very sweet and fragrant. Mangoes that aren’t ripe won’t smell much like anything.

** Ripe kiwis are soft, but not squishy. If you have one that’s really firm, go ahead and leave alone for a couple days and it will ripen up.


Instructions

1. Cut the mango into 3/4 inch cubes (or cut it up however you like, this is just how I do it).

There are many ways to cut up a mango. I slice the cheeks off either side of the seed, then try and carefully slice off any remaining mango flesh that I can off of the seed. Then I cut the mango cheeks into 3/4 inch strips and use a paring knife to carefully separate the peel from the mango flesh (kind of like how you would peel an apple with a paring knife). I then cut the peel away from the slices of mango that I cut away from the seed into rough chunks and add them to a bowl with the rest of the cubed mango.

I’ve also seen people use a potato peeler to peel the mango and then slice the mango cheeks off either side of the seed, but I don’t do it that way because I find that the mango gets really slippery to hold while you’re trying to make your initial cuts.

All this is to say, cut up your mango in a way that works for you. The fruit salad will still be awesome.

2. Peel your kiwi and slice it into 1/4 inch slices.

How I peel a kiwi – Cut 1/4 inch off the top and bottom of your kiwi. Sit it flat on your cutting board and make 1/2 inch slices down the sides of the kiwi, cutting as close to the peel as you can until you’ve cut off all the kiwi peel.

You can also cut 1/4 inch off the top and bottom of a kiwi and slide spoon between the kiwi peel and the green flesh. Rotate your spoon under the peel until the peel has completely separated from the fruit.

3. Add your kiwi to the bowl of cubed mango along with the blueberries.

Enjoy!


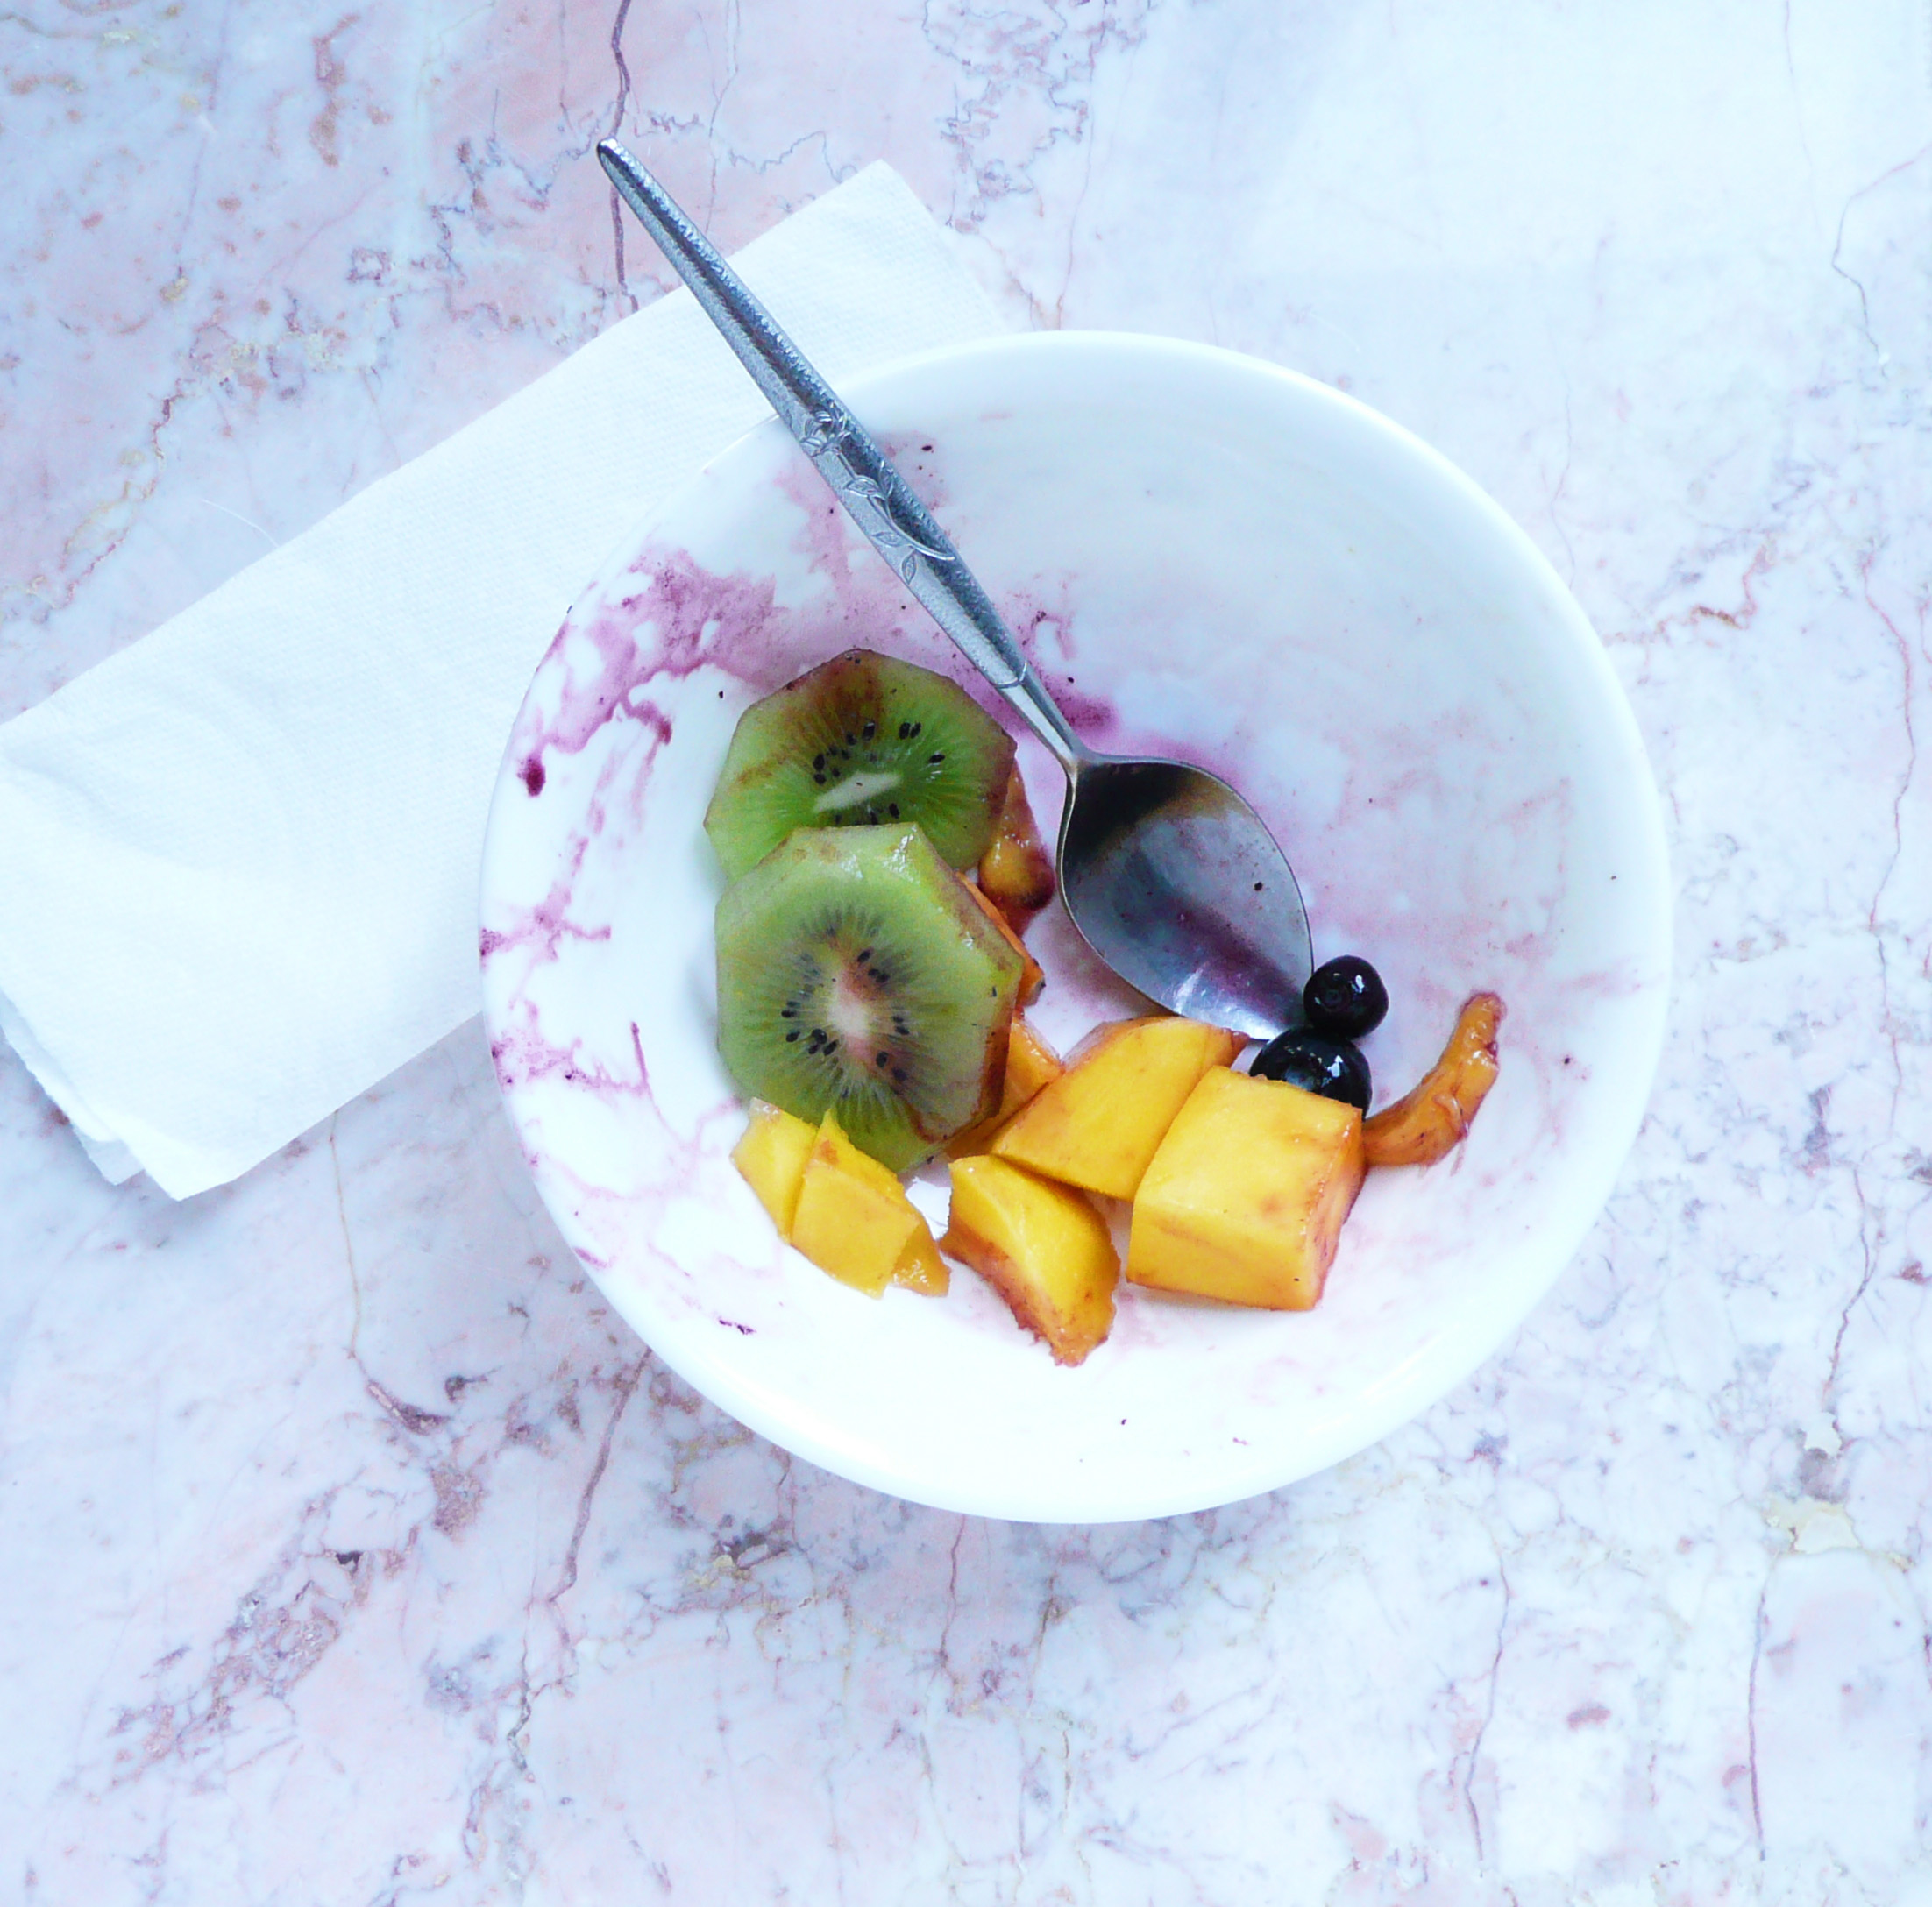
fruit salad empty

What the bowl looks like once I packed the rest of it into a mason jar for tomorrow’s lunch. This is what was leftover, which looks very pretty on it’s own.

No worries, this didn’t go to waste. I ate it right after I took the picture, and I felt very happy and grateful.

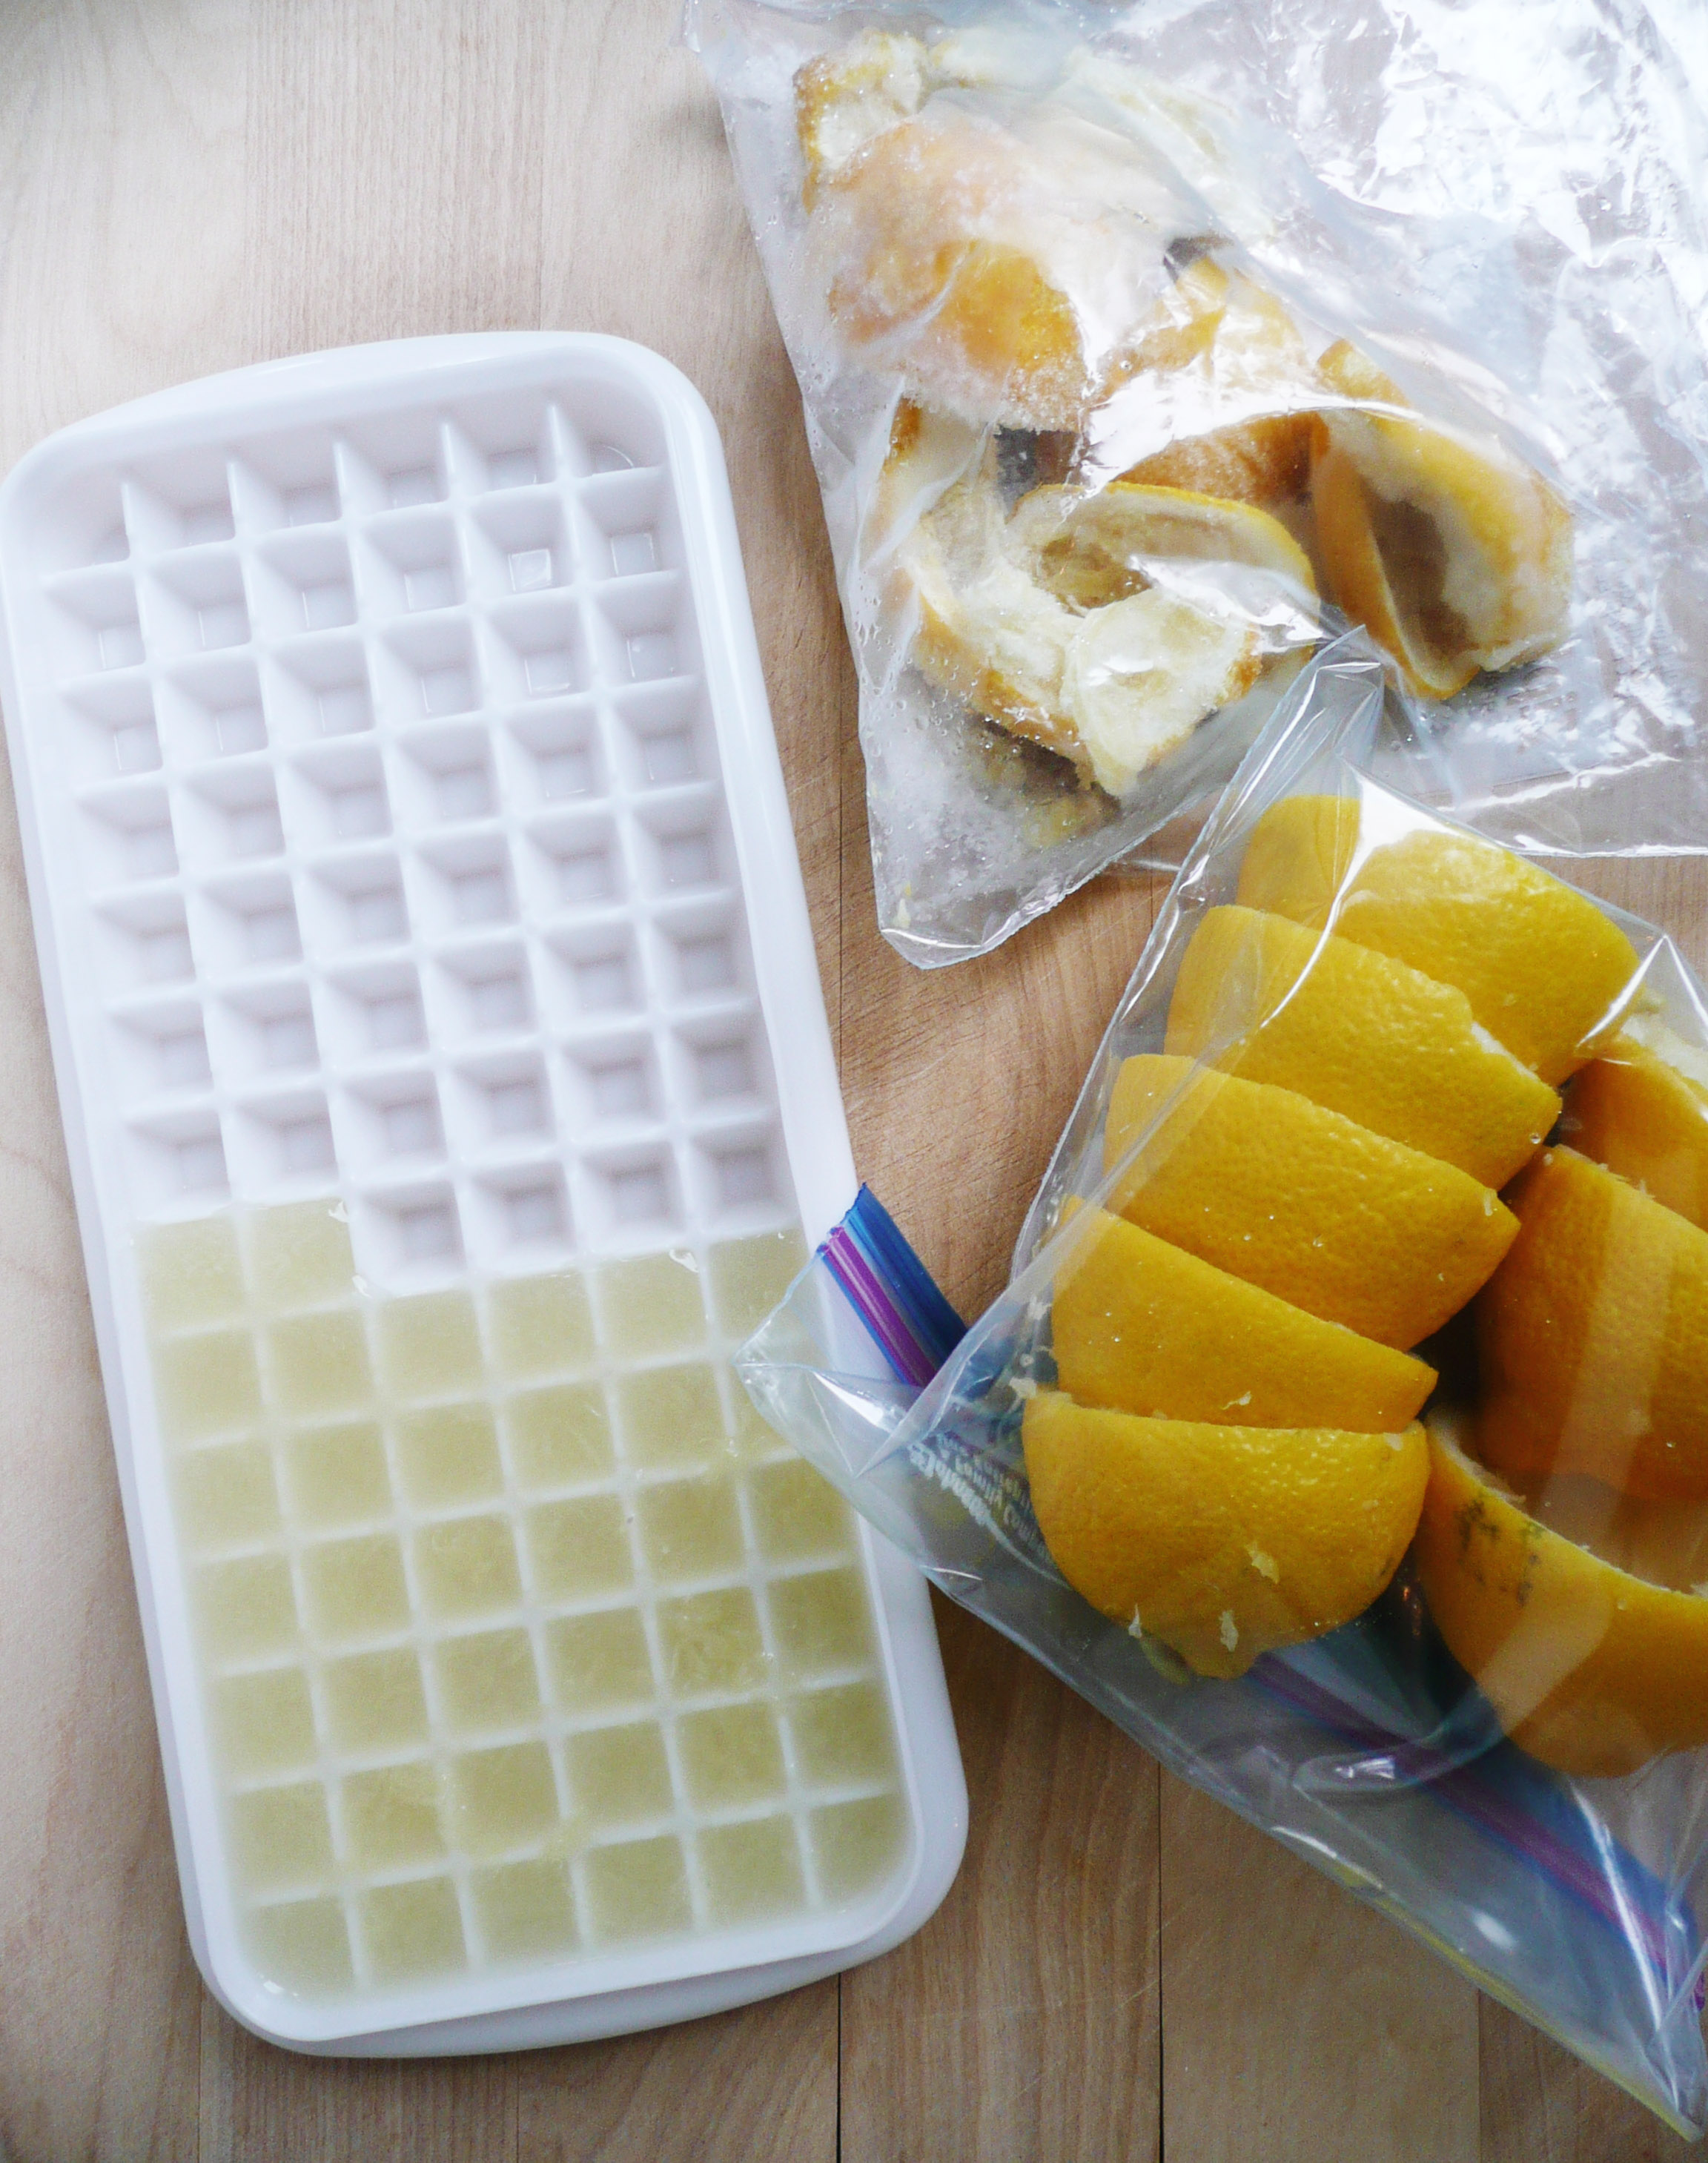
frozen lemons

What To Do With Leftover Lemons – How To Freeze Lemons

P1060487- edit 2

Lemons tend to be expensive. A single organic lemon can cost in the neighborhood of $1.30 – $1.70 depending on the store, so it’s usually a cheaper option to buy the 2 lb bag of organic lemons for about $5 instead.

This means that I usually end up with a bag of lemons when I only needed 1 or 2 of them.

If you’re ever in this pinch and trying to figure out what to do with the rest of your lemons before they go bad, then freezing them is a really good option.

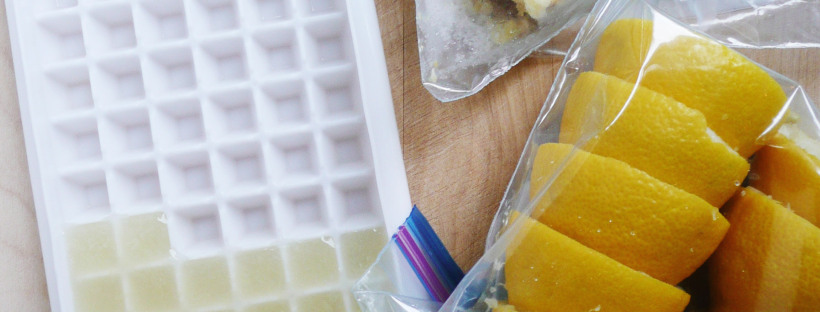
I wash the lemons, then juice them and pour the lemon juice into an ice cube tray. Once frozen, pop the lemon juice cubes into a zip top bag and stash them in your freezer until you’re ready to use them. The lemon juice cubes melt quickly and are a great way to always have lemon juice always on hand. I used an ice cube tray from daiso, which just happens to make smaller ice cubes, but a normal ice cube tray will work just as well.

I add the lemon juice cubes to tea, or to chicken soup with brown rice and quinoa, or quinoa tabbouleh.

You can freeze the lemon rinds as well in a separate zip top bag, and grate them from frozen on a microplane to add lemon zest to your dishes.

When I have a cold, I’ll toss a few of the frozen lemon rinds into a pot and boil them with some water, ginger, turmeric, black pepper, a tablespoon of coconut oil, and honey for a soothing tea.

However you use your frozen lemons, I hope that this trick brings you many happy lemony dishes!

Vanilla Extract

Kitchen Tip – Easy Way To Get The Cap Off A Vanilla Extract Bottle

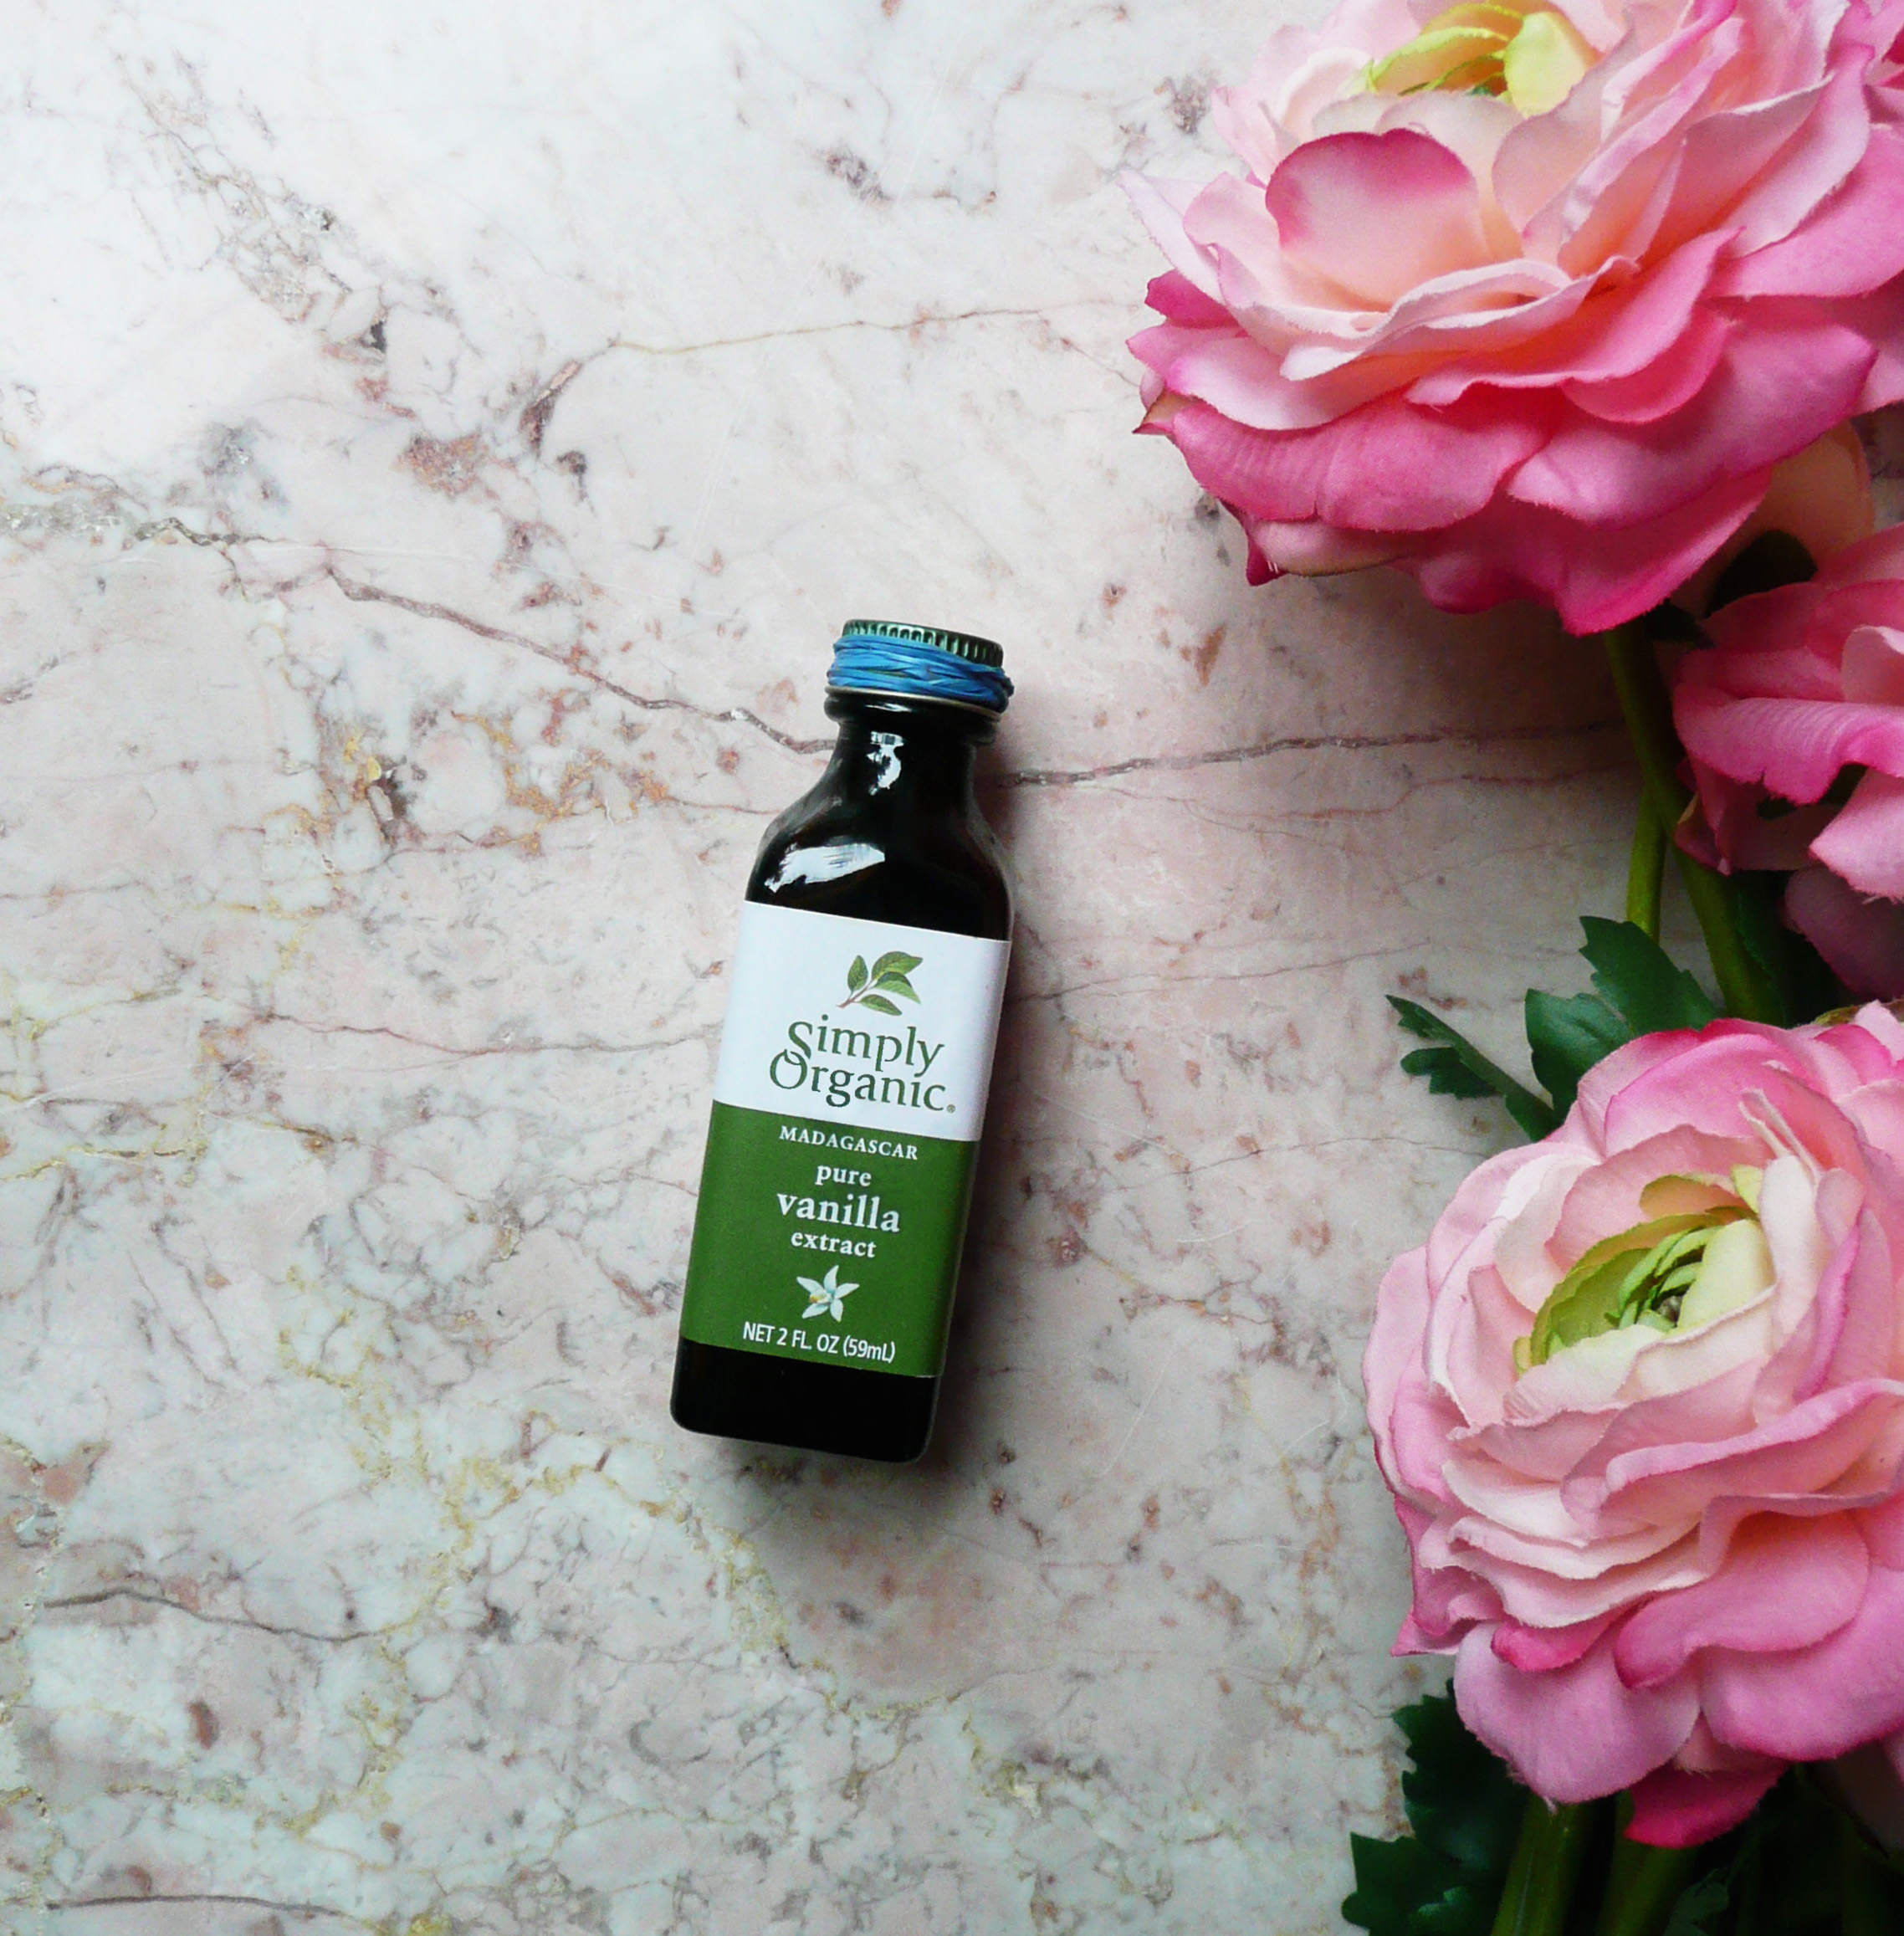
vanilla


If you’ve ever known the struggle of baking cookies and not being able to get the little cap off of the vanilla extract bottle, this one’s for you.

Here’s the secret –

Wrap a few thin rubber bands around the cap of the vanilla extract. The rubber bands make the smooth metal of the cap easier to grip. The bottle of extract should be a breeze to open after that.

I use the rubber bands that come wrapped around vegetables like kale, or green onions, or bunches of cilantro or parsley. It’s a thrifty solution, and makes baking with vanilla extract much much easier.

This idea for this came to me when I was testing the recipe for the maple vanilla sugar cookies. For a moment I was concerned that I was not going to be able to get the cap off of the bottle of extract, and I actually thought for a second “Do I really need vanilla in this recipe?”

The answer was “Yes. You do need vanilla in maple vanilla sugar cookies.” So I had to come up with a solution pretty quickly, and here we are!

I hope that this kitchen tip helps you to never again be held back from your baking dreams by another difficult to open vanilla extract cap!

Happy Baking!


Maple Vanilla Sugar Cookies

Maple Vanilla Sugar Cookies – Gluten Free, Refined Sugar Free, Dairy Free, Egg Free, Vegan

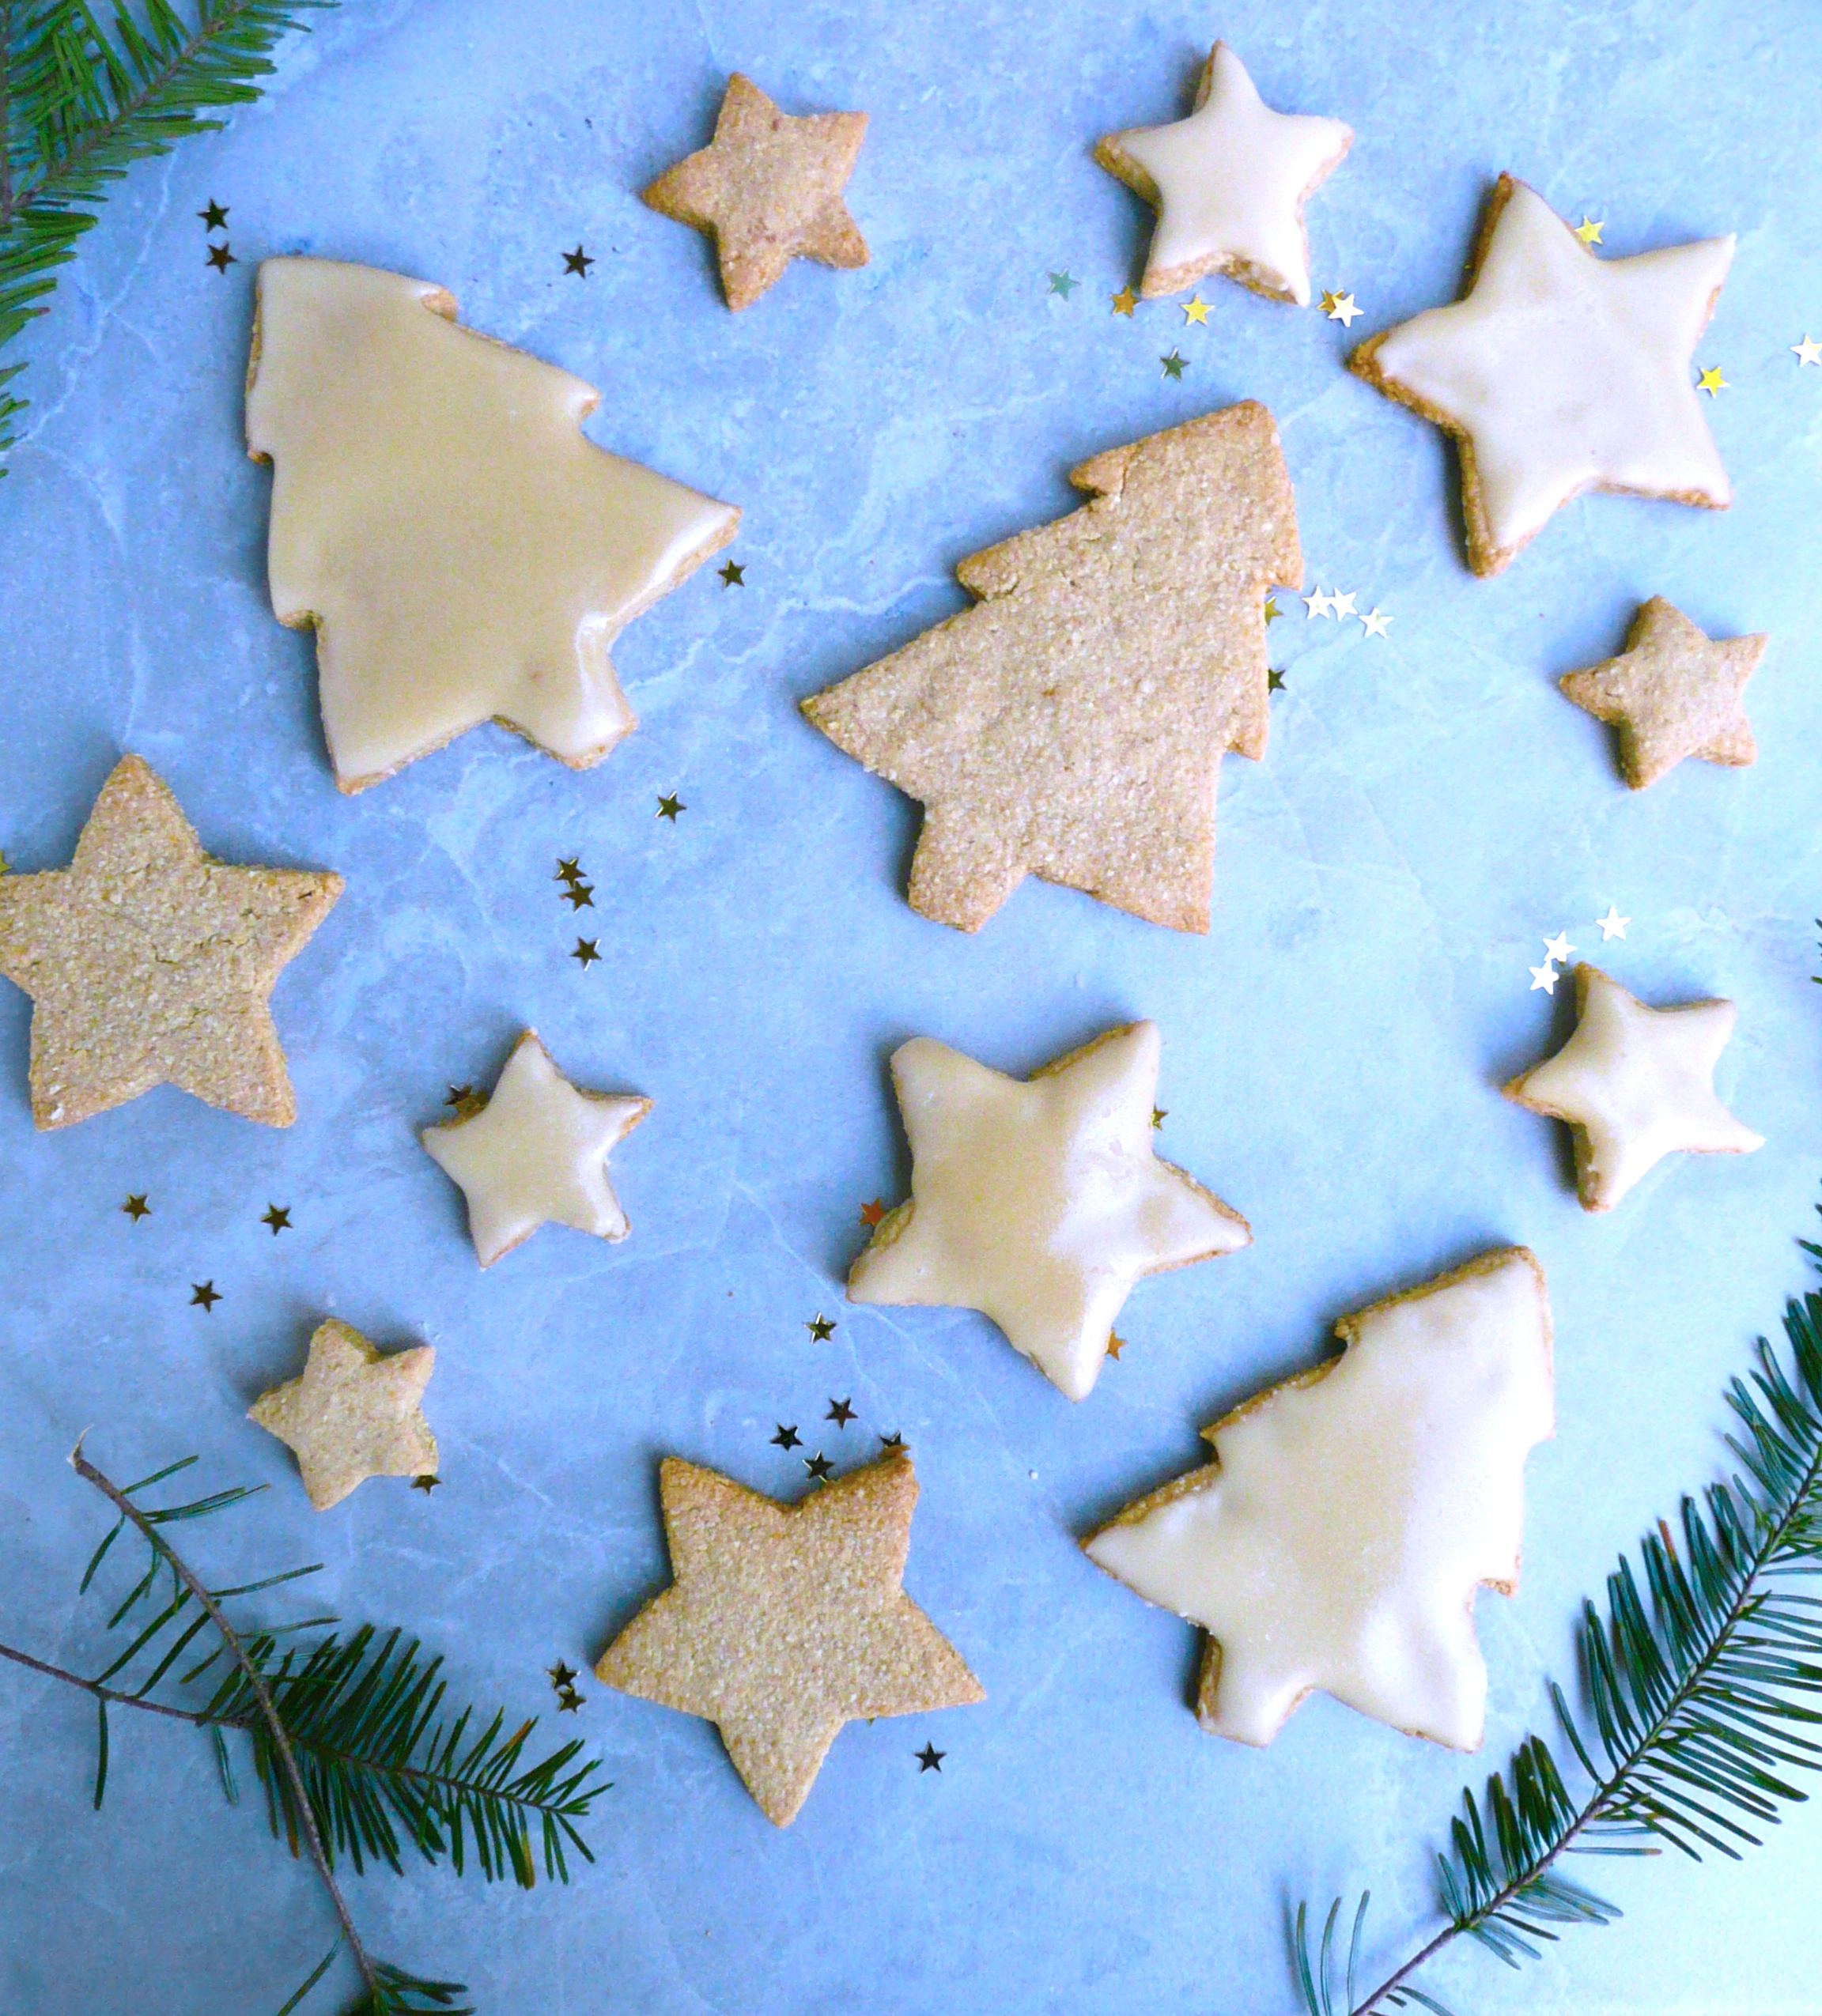
P1080165

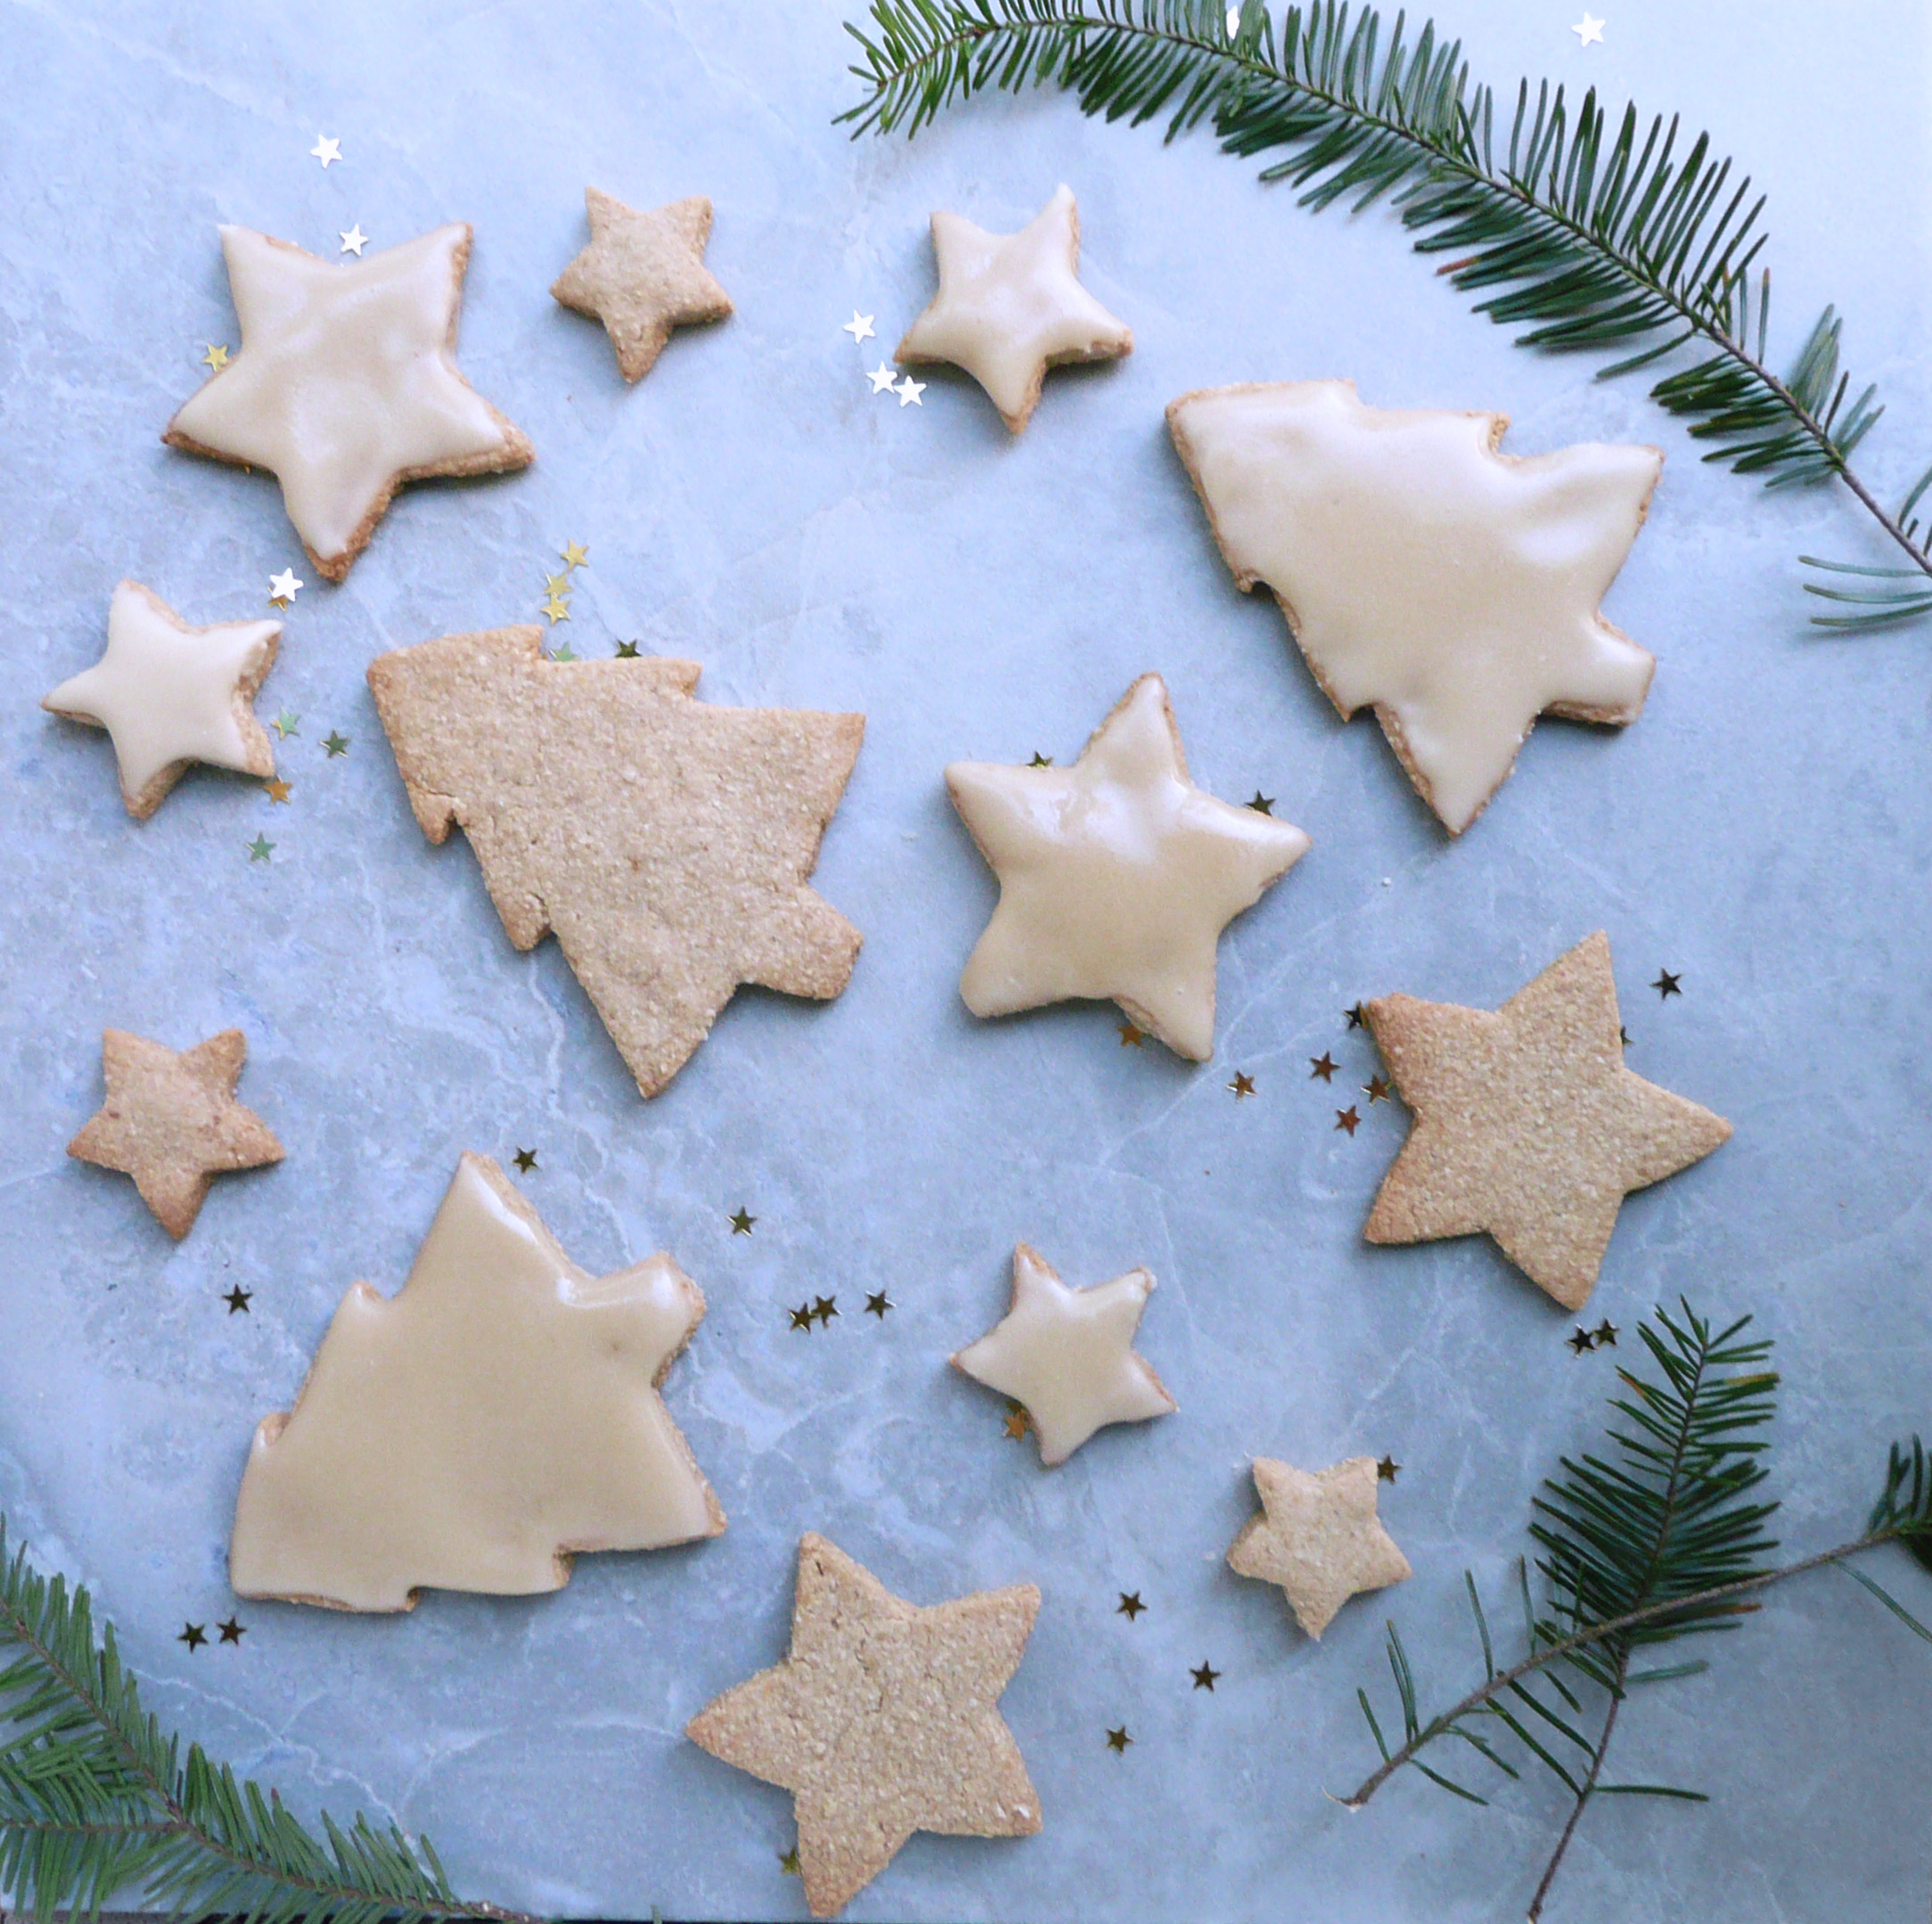
These are great cookies, and super simple to make. They are sort of a cross between a traditional sugar cookie, and a fortune cookie. They have a wonderful crunchiness and the maple gives them a lovely sweetness.

Another good thing about these cookies is that they don’t contain any baking soda or baking powder, so the shape of the cookies don’t spread out or distort at all during baking.

The shape that you put the cookies into the oven is the same shape that they come out of the oven, perfect for holiday cookies.

You make them exactly the same way as the gingerbread cookies (hence the same instructions are repeated here) and the maple vanilla flavor really shines through in these cookies.

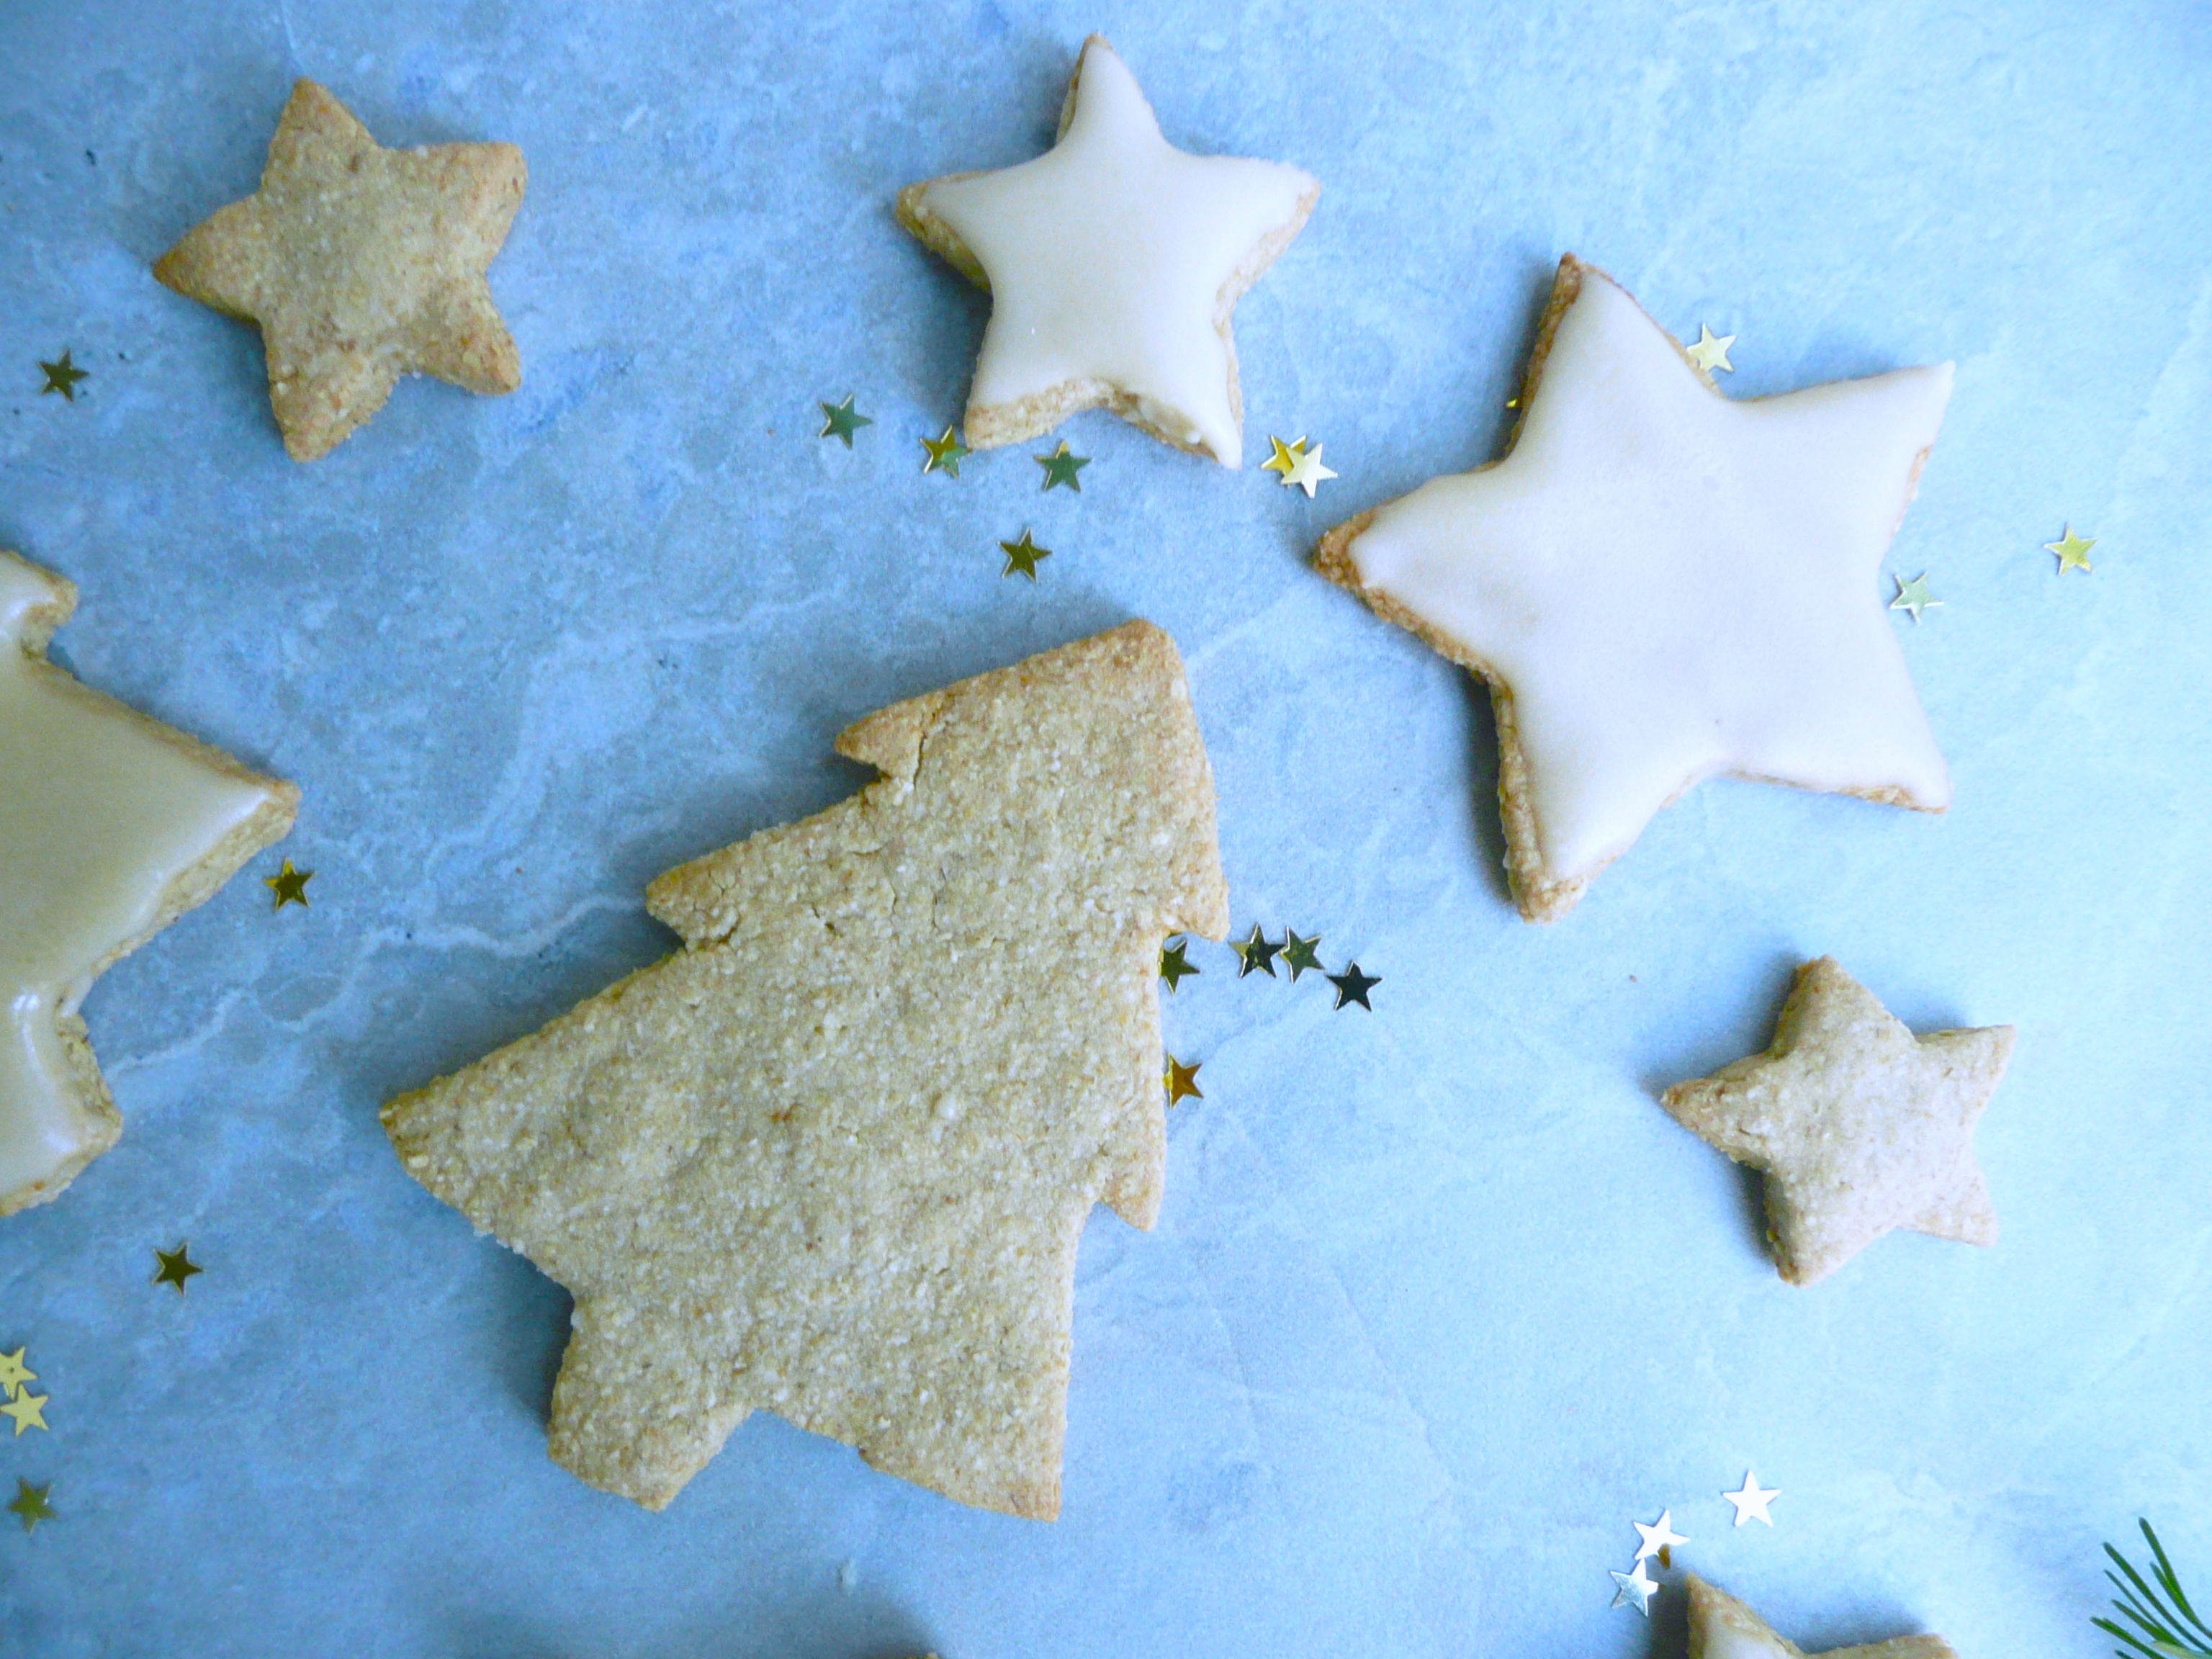
They aren’t too sweet, and I love them most when they are completely frosted with the maple vanilla icing. If you also love sweeter cookies, you can double the icing recipe. They frosting really gives the cookies a very polished look and makes them taste even more amazing.


Maple Vanilla Sugar Cookies

Makes 10 – 12 cookies


Ingredients


2 tbsp water

½ level tsp psyllium husk powder *


tiny pinch of sea salt

1 ¼ cup + 2 tbsp oat flour **


¼ cup + 1 tsp maple syrup

½ tsp + 1/8 tsp vanilla extract


2 tbsp + 2 tsp melted refined coconut oil ***


Notes – *Psyllium husk powder gels like nothing else, and there’s no great substitute for it. I found mine in the bulk spice section of the local Fred Meyer, but Whole Foods, Trader Joes have been known to carry it as well. If it’s not in the natural foods, or bulk spice section, check the dietary supplement/ digestive health (where the Metamucil is) section of the store or pharmacy as it’s sometimes sold there as well.

** I grind oats into oat flour using a blender. Don’t grind the oats in a food processor because the flour won’t be fine enough.

Any extra oat flour I don’t use in the recipe goes into an airtight container and I use it for another recipe.

If you’re making the cookies for someone who has celiac disease, use certified gluten free oats, as the oats from the bulk bins can sometimes be processed on the same equipment as wheat.

*** I used the refined coconut oil from Trader Joes, which is filtered and not bleached. It’s the fat of coconut oil, without the flavor which works great for these cookies. You can use regular coconut oil for this recipe, but it probably will give the cookies a mild coconut flavor. Because I used the refined coconut oil, these cookies didn’t taste of coconut at all.


Instructions

1. In a small bowl stir together the water and psyllium husk, try to stir out all the lumps. Set aside for a few minutes and let it gel.

2. In a medium size bowl, sift the oat flour, and salt together.

3. Add the maple syrup, and vanilla to the oat flour mixture, and stir until well combined. Add in the gelled psylium husk and stir until you no longer see any bits of the gel.

4. Add the melted refined coconut oil to the mixture and stir until well combined. It will look very sticky, but don’t worry. There’s no need to add any additional flour, the coconut oil will firm up in the fridge and the dough will sort itself out.

5. Let the dough sit in the bowl for 2-3 minutes and it should be firm enough to scoop onto some plastic wrap. Wrap it up and refrigerate for at least 3 hours.

sugar cookie


6. Preheat your oven to 325 F. Cut the top and sides off of a gallon size Ziploc bag and open it and lay it flat to form a long rectangle.

Dip a paper towel in a little bit of neutral flavored oil (like avocado oil or vegetable oil) and oil the inside of the plastic. Don’t use the coconut oil for this, it solidifies too quickly and the dough ends up sticking to it.

7. Take the dough out of the fridge and cut it in half. Wrap the half you’re not working with in plastic wrap and set to the side.

If the dough breaks when you try to roll it out, you can knead it with your hands for a little bit so that the coconut oil in the dough melts a little from the heat in your hands. It should soften up and become easier to work with after this.

If the dough is too sticky to work with, you can add about 1 tbsp of oat flour, and knead it into the dough to combine, or put it back into the fridge to firm up for a few minutes.

P1080174


Roll out your dough between the layers of oiled plastic to 1/4 of an inch thick, re-oiling the plastic each time your re-roll out the dough.

Cut out the shapes with the cookie cutters. Use something like the flat edge of the back of a butter knife (an offset spatula would be perfect for this) and run it under the cookies to get them to release from the plastic.

If there are any little bits of the dough stuck to the plastic after you peel your cookies off, make a little ball out of your scrap dough, and drag it over the plastic and it should clean it right off.

If your finding it difficult to remove the cookies from the plastic (especially for more complex shapes like snowflakes), cut the cookie shapes out using the cookie cutters, and remove the excess cookie dough from around your cookies. Then lay the cookies that are stuck on the plastic onto a plate and stick them in the freezer for 10-15 minutes. After that, the cookies should be firm enough to peel off the plastic and set them onto the baking sheet.

I usually use my finger to press the sides of the cookies smooth, just to clean up the edges.

Place the cookies onto a silpat or parchment lined baking sheet and bake at 325 for 34- 38 minutes (I baked them for 36 minutes) until just lightly golden brown about the edges and firm to the touch.

Allow the cookies to cool before icing.

P1080152 copy

Enjoy!

Happy Holidays!

Gingerbread Cookies

Gingerbread Cookies – Gluten Free, Dairy Free, Refined Sugar Free, Nut Free, Vegan

P1080121

It just doesn’t really feel like Christmas without gingerbread cookies.

These cookies are free from nuts, gluten, refined sugar, dairy, egg free and completely vegan.

They are also delicious.

They are actually the best gingerbread cookies I’ve ever had. Who knew you could make amazing gingerbread cookies that work with so many dietary restrictions?

These cookies are crunchy, and not too sweet. They have a lovely warm flavor to them, and are perfectly spiced (without being too spicy) so they are perfect for kids as well.

The black pepper is optional, but I do think that it gives the cookies a wonderful complex rich flavor.

Another good thing about these cookies is that they don’t contain any baking soda or baking powder, so the shape of the cookies don’t spread out or distort at all during baking.

The shape that you put the cookies into the oven is the same shape that they come out of the oven, perfect for holiday cookies.

If you like your cookies on the sweeter side, double the recipe for the Maple Vanilla Icing and give those cookies a good coating of icing. So good…

P1080137


Gingerbread Cookies

Makes 10 – 12 cookies


Ingredients


2 tbsp water

½ level tsp psyllium husk powder *


1 tsp vanilla

3 tbsp + 1 tsp maple syrup

1 tbsp + ½ tsp organic unsulfered blackstrap molasses


1/8 level tsp ground black pepper (optional)

¾ level tsp ground ginger

1 ¼ level tsp + 1/8 level tsp ground cinnamon

1 ¼ cup oat flour + 3 tbsp oat flour **

tiny pinch of sea salt


3 tbsp + 1 tsp melted refined coconut oil ***


Notes – *Psyllium husk powder gels like nothing else, and there’s no great substitute for it. I found mine in the bulk spice section of the local Fred Meyer, but Whole Foods, Trader Joes have been known to carry it as well. If it’s not in the natural foods, or bulk spice section, check the dietary supplement/ digestive health (where the Metamucil is) section of the store or pharmacy as it’s sometimes sold there as well.

** I grind oats into oat flour using a blender. Don’t grind the oats in a food processor because the flour won’t be fine enough.

Any extra oat flour I don’t use in the recipe goes into an airtight container and I use it for another recipe.

If you’re making the cookies for someone who has celiac disease, use certified gluten free oats, as the oats from the bulk bins can sometimes be processed on the same equipment as wheat.

*** I used the refined coconut oil from Trader Joes, which is filtered and not bleached. It’s the fat of coconut oil, without the flavor which works great for these cookies. You can use regular coconut oil for this recipe, but it probably will give the cookies a mild coconut flavor. Because I used the refined coconut oil, these cookies didn’t taste of coconut at all.


Instructions

1. In a small bowl stir together the water and psyllium husk, try to stir out all the lumps. Set aside for a few minutes and let it gel.

2. In a medium size bowl, sift the oat flour, spices and salt together.

3. Add the maple syrup, molasses and vanilla to the oat flour mixture, and stir until well combined. Add in the gelled psylium husk and stir until you no longer see any bits of the gel.

4. Add the melted refined coconut oil to the mixture and stir until well combined. It will look very sticky, but don’t worry. There’s no need to add any additional flour, the coconut oil will firm up in the fridge and the dough will sort itself out.

5. Let the dough sit in the bowl for 2-3 minutes and it should be firm enough to scoop onto some plastic wrap. Wrap it up and refrigerate for at least 3 hours.

P1080096

6. Preheat your oven to 325 F. Cut the top and sides off of a gallon size Ziploc bag and open it and lay it flat to form a long rectangle.

Dip a paper towel in a little bit of neutral flavored oil (like avocado oil or vegetable oil) and oil the inside of the plastic. Don’t use the coconut oil for this, it solidifies too quickly and the dough ends up sticking to it.

7. Take the dough out of the fridge and cut it in half. Wrap the half you’re not working with in plastic wrap and set to the side.

If the dough breaks when you try to roll it out, you can knead it with your hands for a little bit so that the coconut oil in the dough melts a little from the heat in your hands. It should soften up and become easier to work with after this.

If the dough is too sticky to work with, you can add about 1 tbsp of oat flour, and knead it into the dough to combine, or put it back into the fridge to firm up for a few minutes.

P1080124

Roll out your dough between the layers of oiled plastic to 1/4 of an inch thick, re-oiling the plastic each time your re-roll out the dough.

Cut out the shapes with the cookie cutters. Use something like the flat edge of the back of a butter knife (an offset spatula would be perfect for this) and run it under the cookies to get them to release from the plastic.

If there are any little bits of the dough stuck to the plastic after you peel your cookies off, make a little ball out of your scrap dough, and drag it over the plastic and it should clean it right off.

If your finding it difficult to remove the cookies from the plastic (especially for more complex shapes like snowflakes), cut the cookie shapes out using the cookie cutters, and remove the excess cookie dough from around your cookies. Then lay the cookies that are stuck on the plastic onto a plate and stick them in the freezer for 10-15 minutes. After that, the cookies should be firm enough to peel off the plastic and set them onto the baking sheet.

I usually use my finger to press the sides of the cookies smooth, just to clean up the edges.

Place the cookies onto a silpat or parchment lined baking sheet and bake at 325 for 34- 38 minutes (I baked them for 36 minutes) until just slightly darkened about the edges and firm to the touch.

For small cookies (about 1-1.5 inches in size) bake for 22-24 minutes, until slightly darker around the edges.

Allow the cookies to cool before icing.

P1080131

Enjoy!

Happy Holidays!


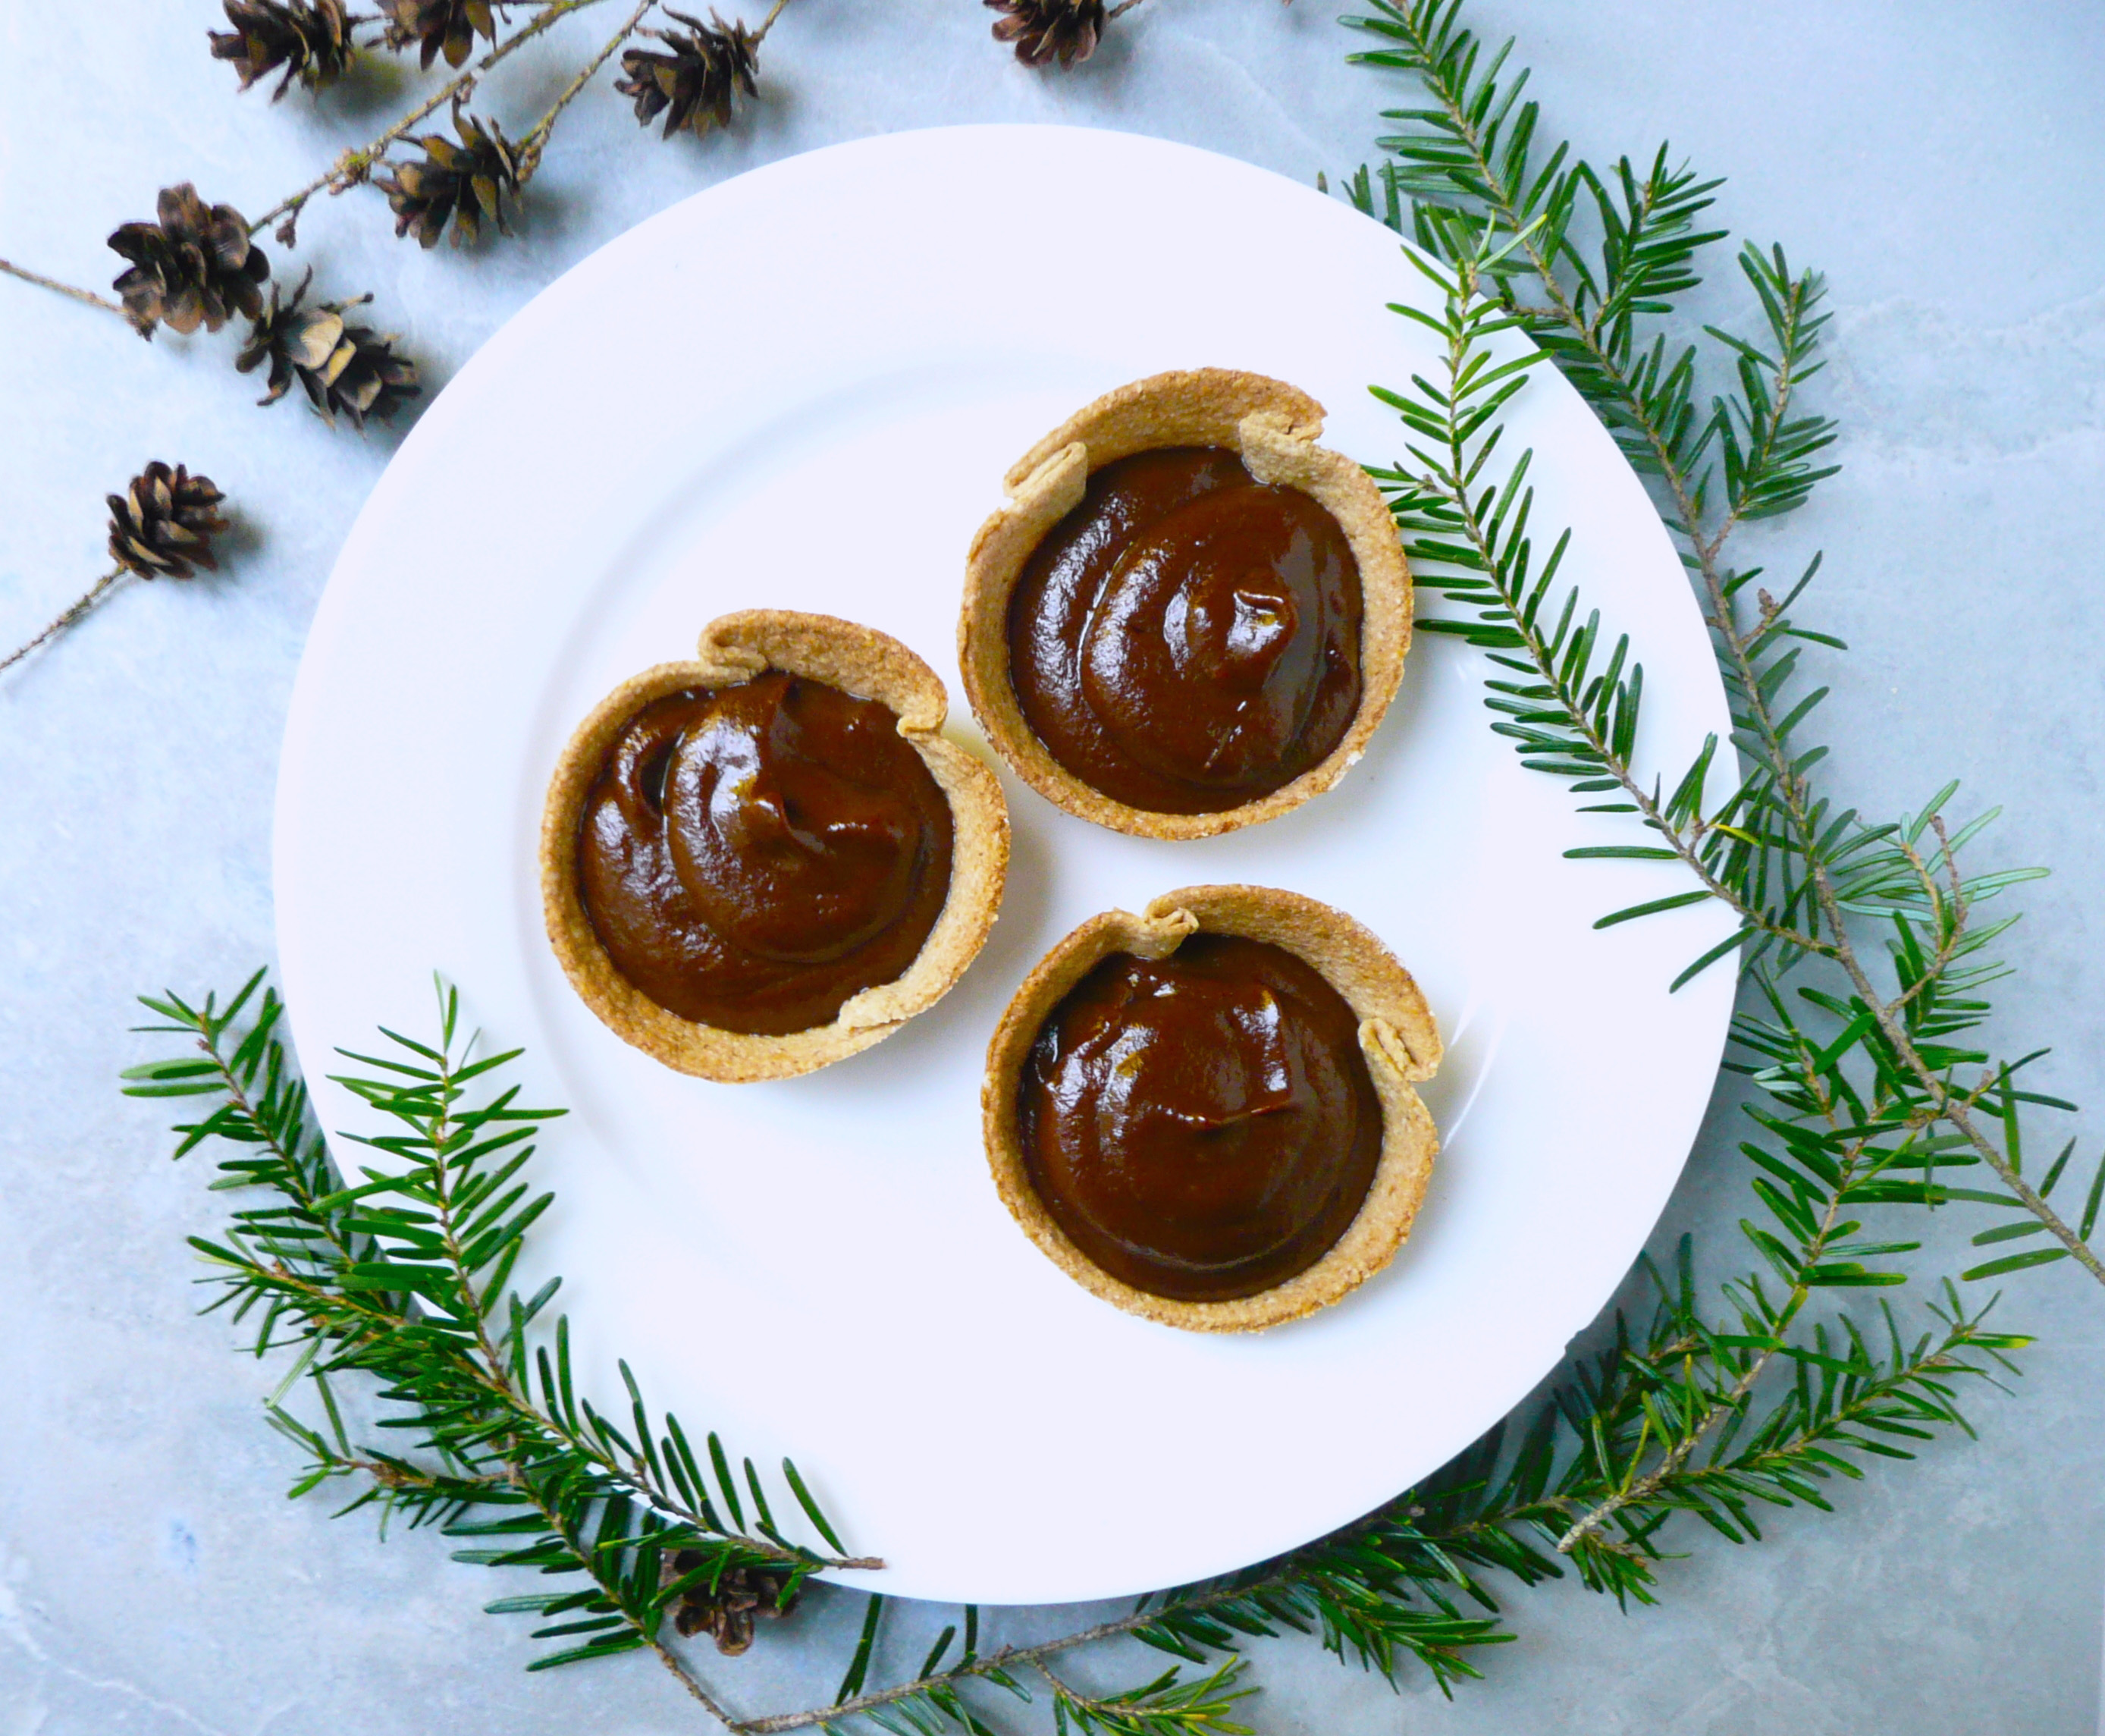
Mini Chocolate Peppermint Pies – Vegan, Gluten Free, Dairy Free Tarts

P1070527

Before I cut out gluten, dairy, and refined sugar out of my diet, one of the things that I looked forward to every Christmas was the arrival of the Ghirardelli Chocolate Peppermint Bark Squares at the local grocery stores.

How I loved those little squares… so creamy, and rich, and wonderful. I loved opening each of those little brightly colored red and white wrappers.

I loved the little crunchy bits of that swirled in amongst the smooth bright flavor of the peppermint white chocolate. They were so festive, and eating each one felt like such a treat.


P1070601

This year, I decided that I would come up with a recipe to get that same sort of feeling of eating a chocolate peppermint treat at Christmastime, (but one that I could eat with my dietary restrictions) so that I wouldn’t feel like I was missing out on anything.

These little tarts are vegan, and nut (without the cashew cream) / soy / and gluten free, so they will work with a variety of food sensitivities and food allergies, and would be a good dessert to bring for any holiday party.

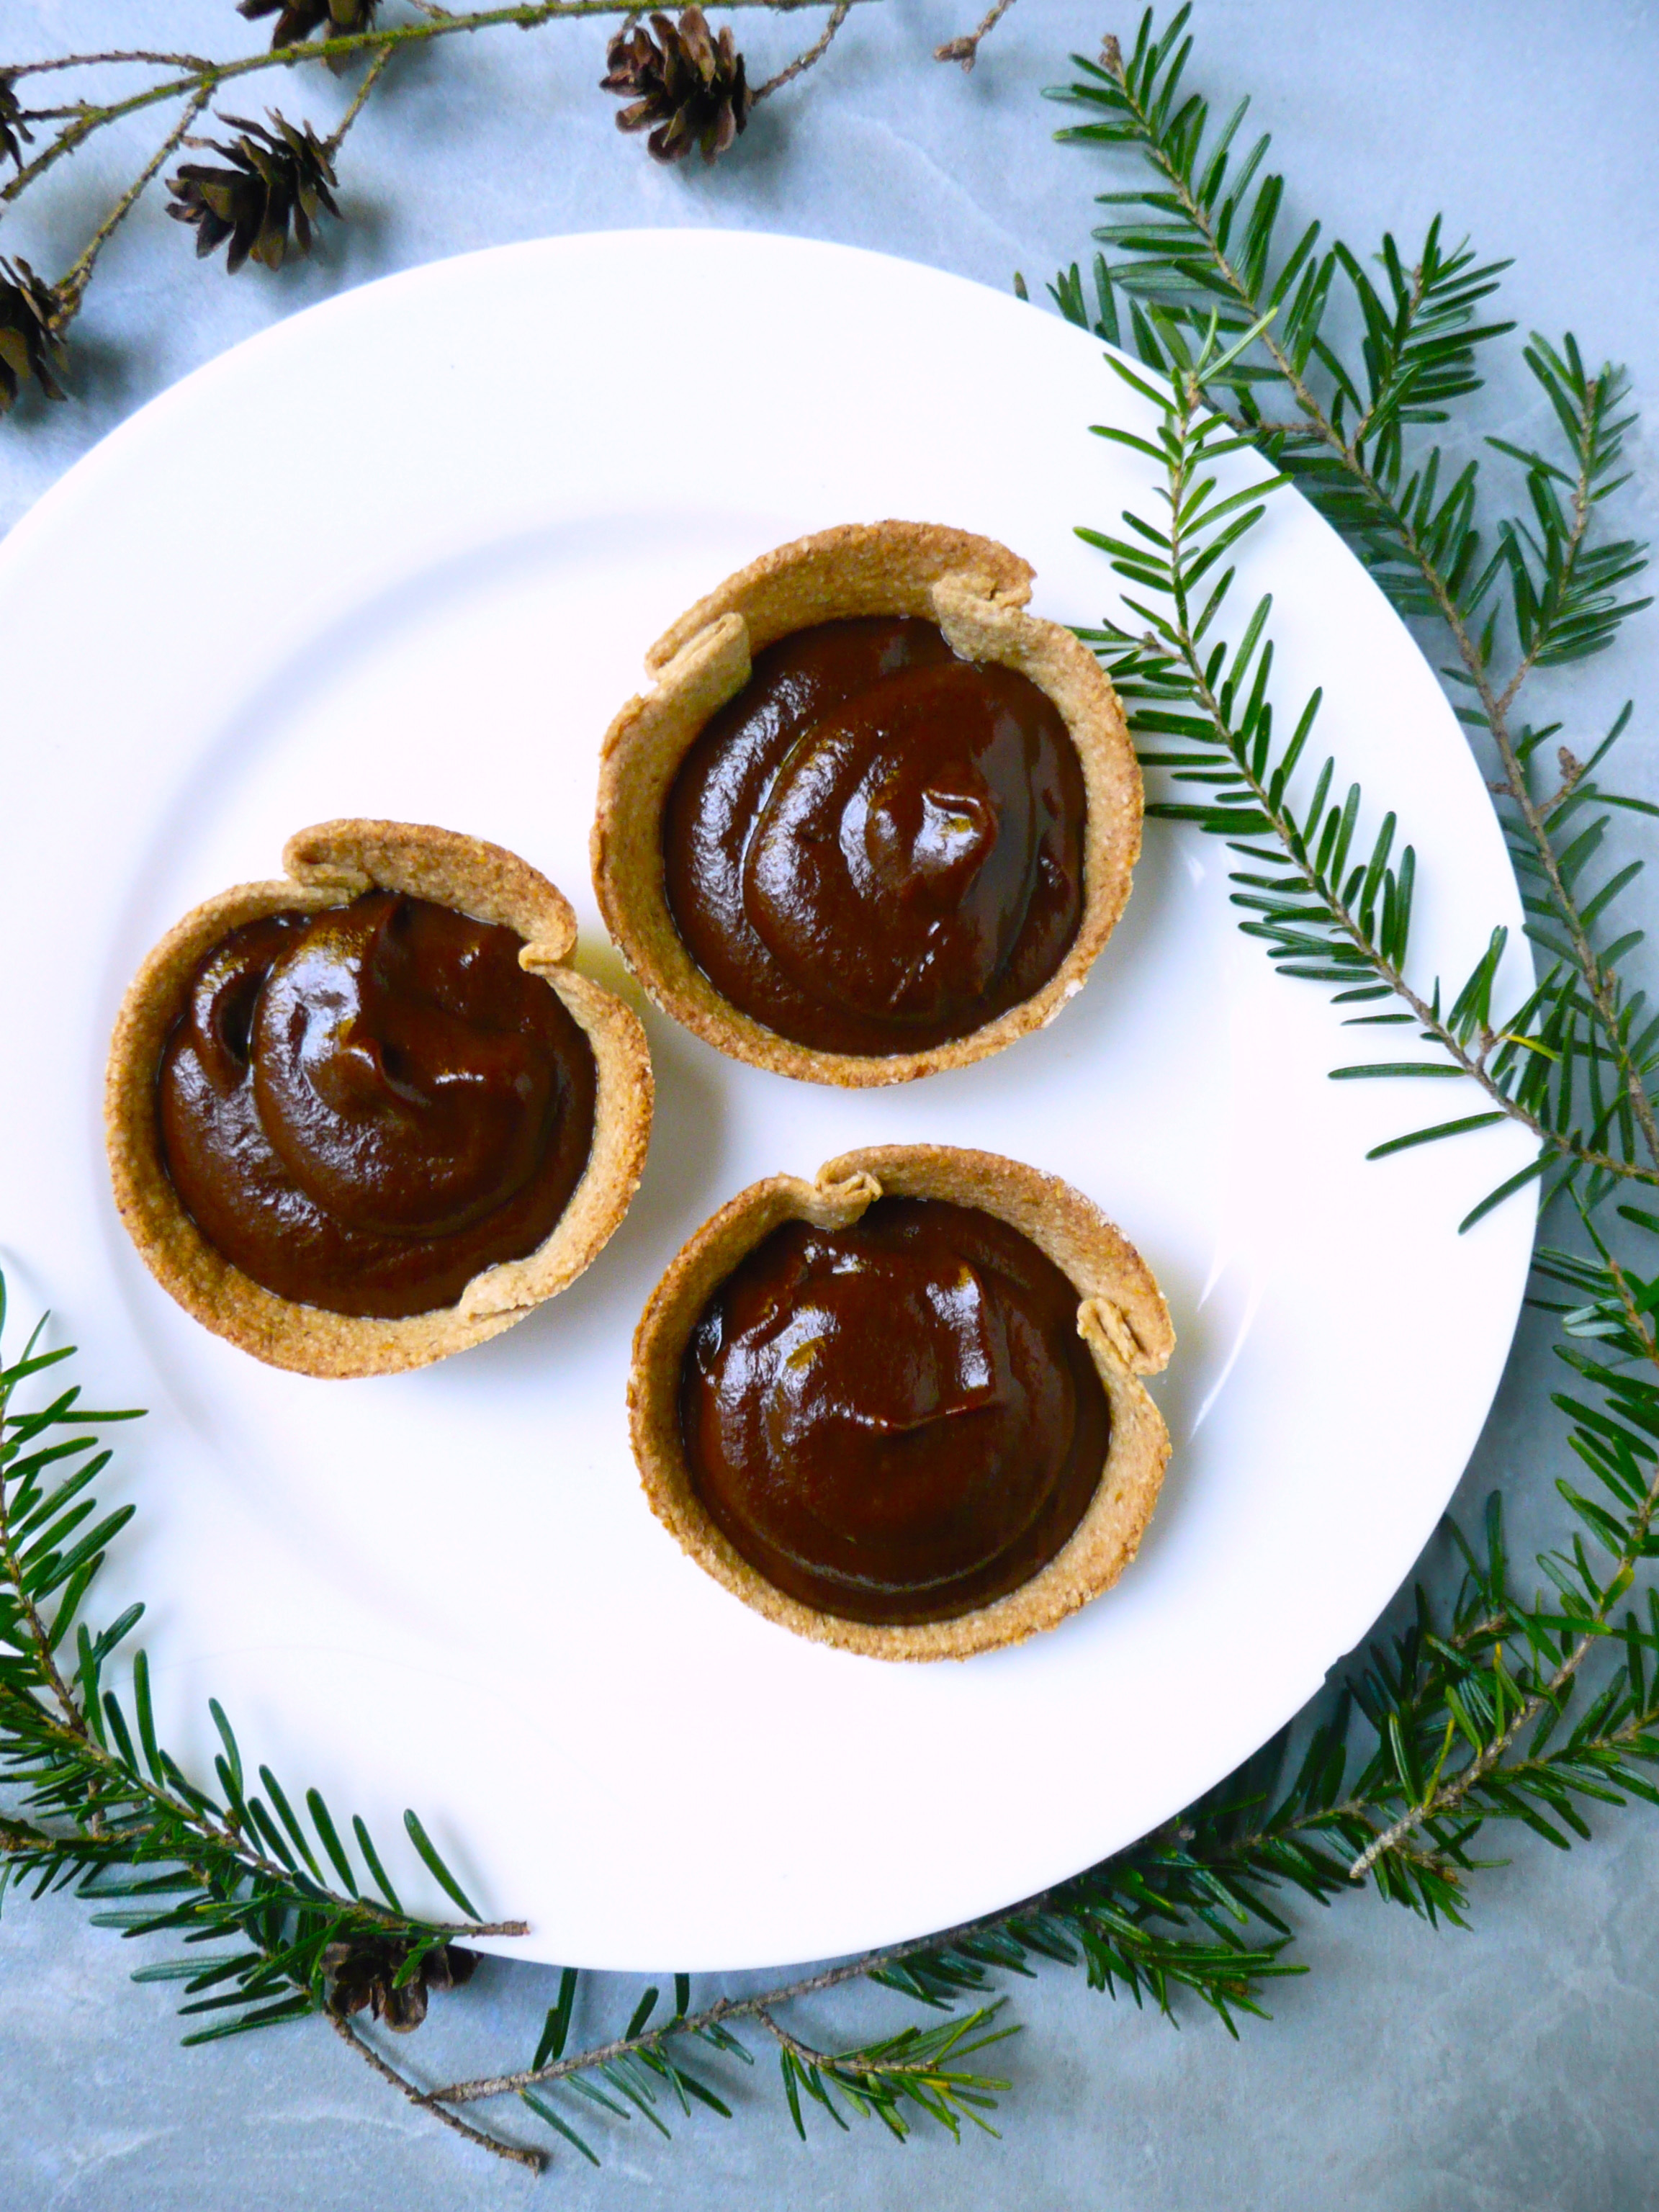
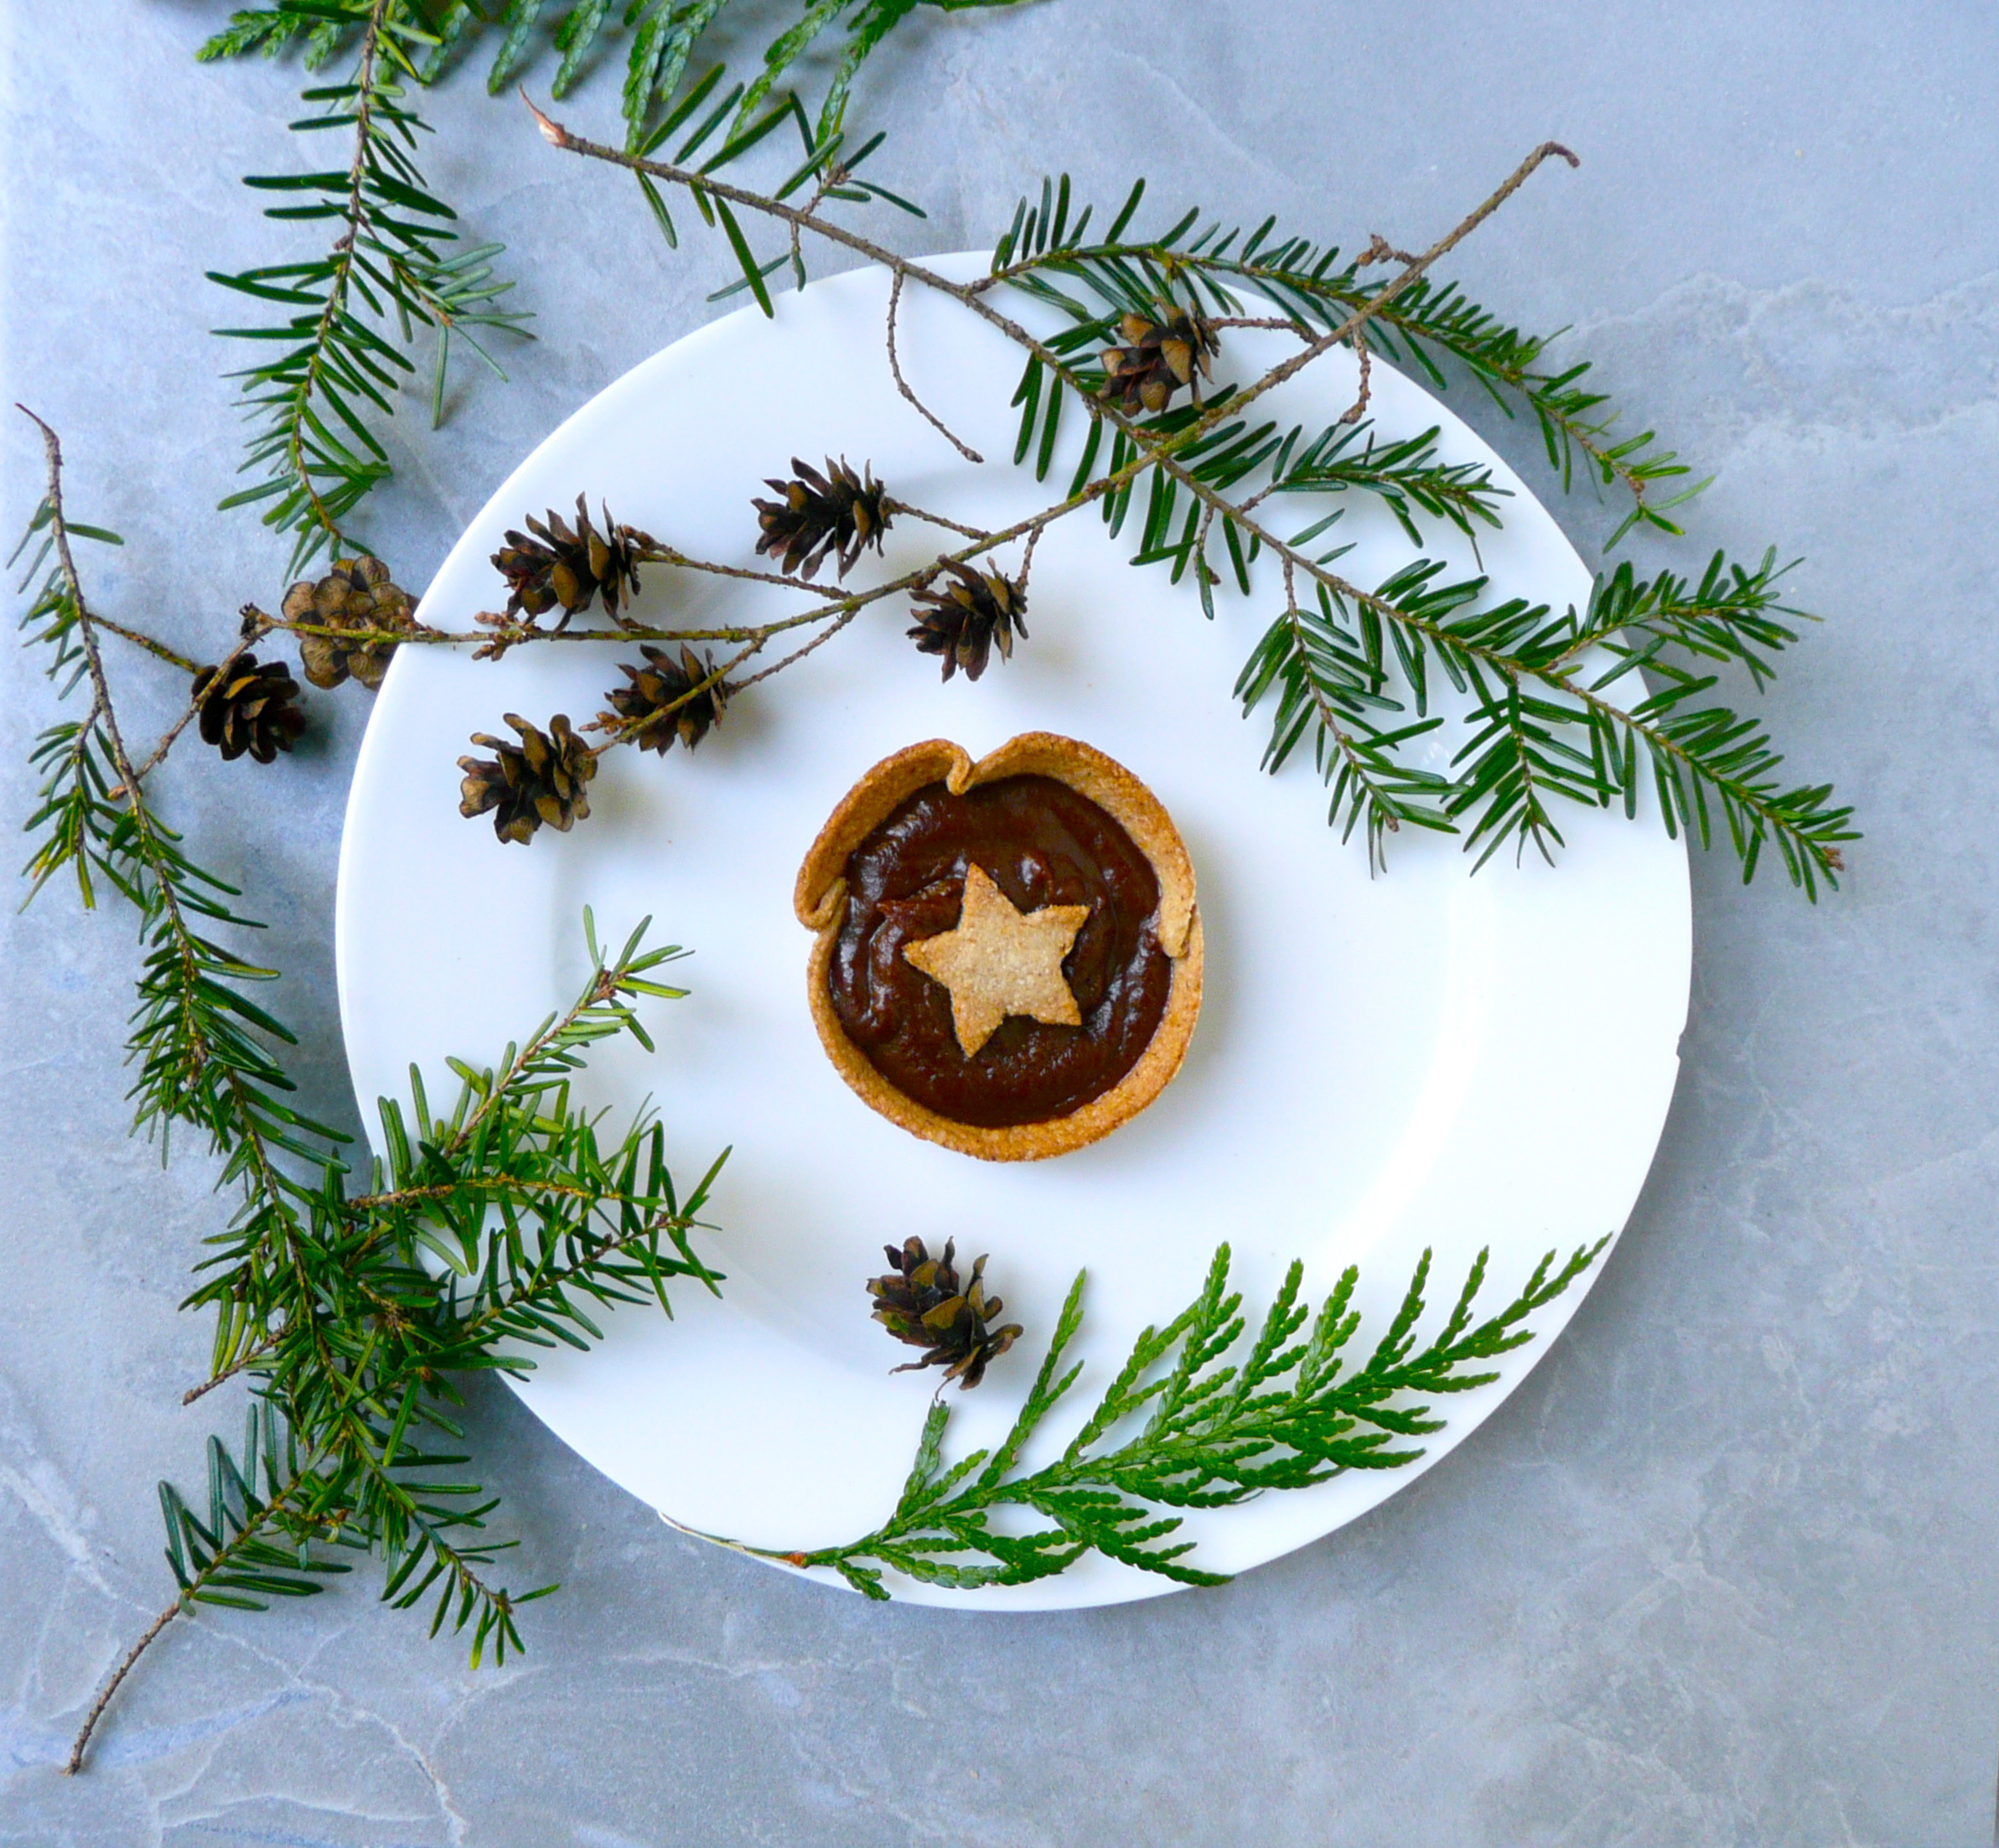
You can make this mixture ahead of time and spoon it into the tart shells right before serving. You can eat them as is, or top them with some cashew whipped cream, or a little star made from the scraps of your pie crust for a more festive look.

Any way that you eat them, I hope that you really enjoy them this holiday season!


P1070523


Makes 6 tarts

(Ingredient amounts for 12 tarts listed at the end of the post)


Ingredients

1/2 cup roasted sweet potato puree

5 tbsp maple syrup

4 tbsp unsweetened cocoa powder (I used the Ghirardelli’s brand one)

1 tsp strong coffee or espresso*

6 tbsp melted coconut oil **

1/8 tsp peppermint extract (I used the McCormick brand one) ***

tiny pinch of sea salt to taste


Instructions

1. Melt the coconut oil, and add it along with all the other ingredients into a food processor and process until smooth.

2. Taste the mixture, and if the peppermint flavor isn’t strong enough, add another drop of peppermint extract at a time to the mixture until you’re happy with the flavor.

Peppermint extract can be very strong, and there’s a very fine line between it being perfectly minty in flavor, and way too strong.

If you accidentally add too much extract, you can add in a little more of the other ingredients to balance the flavor out again. This recipe is pretty forgiving and can take a little tweaking if need be.

If your sweet potato puree was cold from the fridge before you blended the mixture together, the coconut oil may have set before it had a chance to incorporate with the rest of the ingredients. What you can do in this case is gently heat and stir the mixture over a double boiler until it’s glossy and smooth.

For serving, if you want the mixture to be sort of soft and pudding-like, you can gently heat the mixture up again using a double boiler, just until the coconut oil melts and the mixture turns glossy, and then spoon it into the tart shells. Coconut oil melts at 76 °F, so it won’t take long to heat up. For the pictures in this post, I heated the filling using this method before dolloping the filling into the shells, which gives the tarts a beautiful finish.

I prefer the texture when the filling has been refrigerated. It’s like a cross between a fudgy peppermint chocolate frosting and a chocolate mousse. Once you spoon it into the tart shells, you can give the filling a glossy finish (it won’t have the same “dollop” look, but will still look really nice) by dipping a teaspoon into hot water, and smoothing out the tops of the tarts before topping them with cashew whipped cream, a little pie crust star, or leaving them as they are.

3. Spoon the filling into the tart shells and serve immediately.


I used this recipe for the tart shells. For the stars, I used the scrap dough, cut them out using a small star shaped cookie cutter and baked them on a silpat at 375 for 10-15 minutes until golden brown around the edges.


* I add 1 tsp ground Italian Roast Coffee to a mug with 1/4 cup of hot water, allow it to cool, cover with plastic wrap and then refrigerate this overnight. This strong coffee is good to have on hand for this recipe, but also for adding a depth of flavor to other chocolate things like hot chocolate, brownies, and even chocolate frosting.

**I used regular coconut oil, and there is the faintest hint of coconut flavor in these tarts. If you that’s not really your thing, you can used refined coconut oil instead so that you don’t get that hint of coconut flavor in the tarts.

*** I would prefer to use an organic peppermint extract, but this is just the one that I had on hand, and the flavor is good.


P.S. I’ll let you in on a little secret – this recipe makes enough filling for about 7 1/2 tarts, but what that means is that you can fill the 6 tart shells, and save the extra filling as a treat to eat later after all the holiday parties. When you get home, you can look forward to having a quiet moment to yourself to sit in your jammies, and eat this and fall asleep watching Christmas specials on TV. No one will ever know…


For 12 tarts

1 cup roasted sweet potato puree

10 tbsp maple syrup

8 tbsp unsweetened cocoa powder (I used the Ghirardelli’s brand one)

2 tsp strong coffee or espresso

12 tbsp melted coconut oil

1/4 tsp peppermint extract (I used the McCormick brand one)

tiny pinch of sea salt to taste


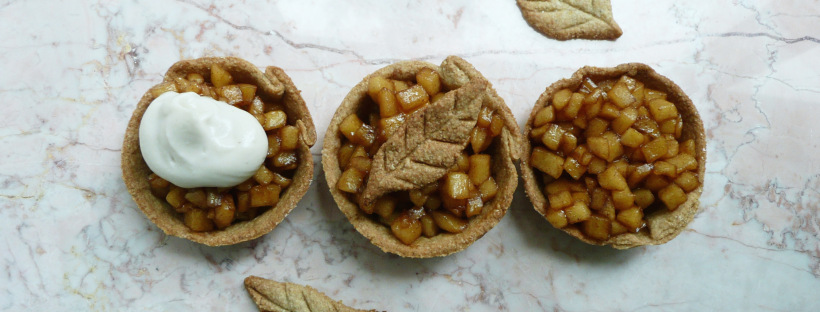
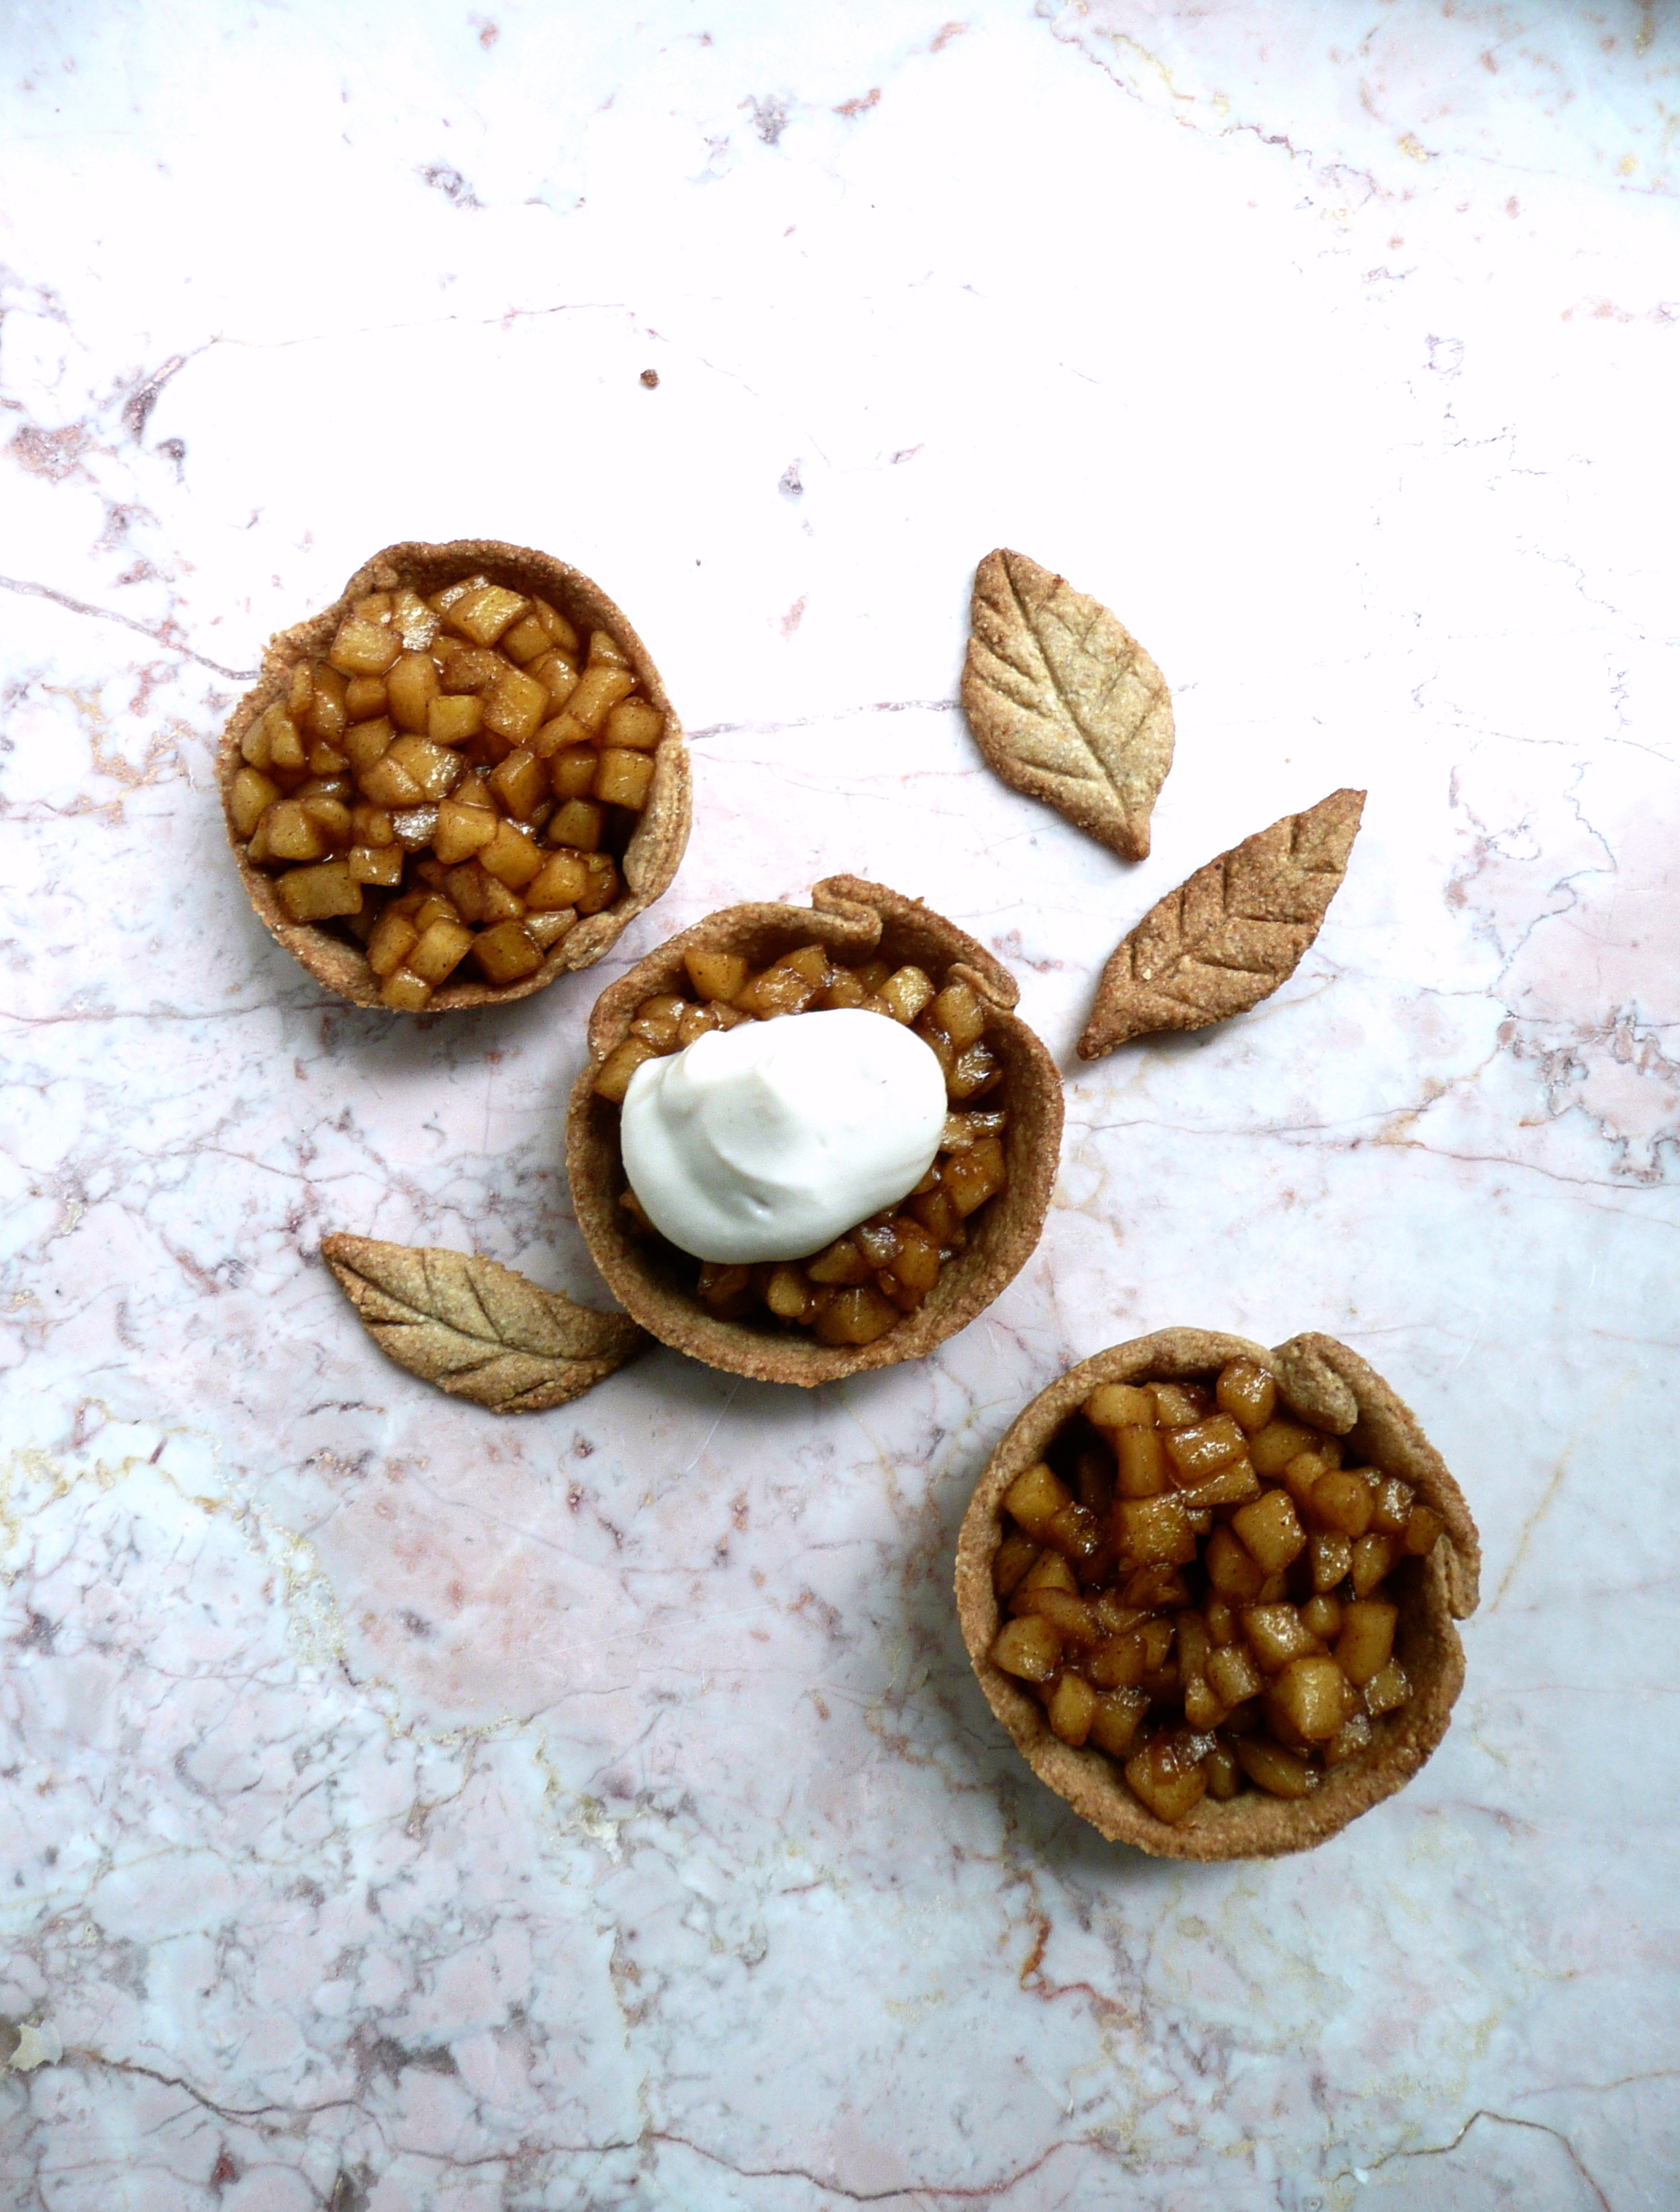
apple tarts

Apple Tarts – Dairy Free, Gluten Free, Vegan

P1060750-2

Happy Thanksgiving!

This is a bonus recipe, my gift to you for Thanksgiving! I hope that your family will enjoy them as much as my family does.

Apple tarts are full of fall flavors, and conjure up happy memories (or simply lovely daydreams) of wearing plaid (lots of plaid), and being bundled up in warm hats, scarves and mittens, and going to the local orchard for a fun day of apple pickin’ with friends and family.

These tarts are simple to make, they just require about 35 minutes of your time, and a bit of stirring. I made up a batch of apple filling last night, and it’s just sitting in the fridge as we speak. I’ll spoon it into the tart crusts and top them with some cashew whipped cream right before serving.

You can easily double the batch to make the filling for 12 tarts, and I’ll leave the measurements for 12 tarts at the bottom of post, just in case you need them. You may have to slightly adjust the cooking times for the bigger batch.

Apple Tarts

Makes 6

Ingredients

2 Fuji Apples – cut into 1/4 inch dice (about 2 1/2 cups)

1/2 cup maple syrup

1 1/2 cups water


1/4 level tsp ground cinnamon

3/4 tsp vanilla extract

2 tsp avocado oil (or any neutral flavored oil)


Instructions

1. In a medium saucepan (if doubling the recipe, us a large pot instead) cook the apples, water and maple syrup over medium high heat for 20 minutes, stirring frequently.

Wear an oven mitt and a shirt with long sleeves to stir the mixture, as the steam from the cooking apples can be hot.

2. Turn the heat to medium, and cook for another 10 minutes stirring constantly.

Don’t touch the mixture with your hands during the final 10 minutes, or until it cools, as we’re basically making a caramel with apples in it. You don’t want to burn yourself from the hot sugar mixture.

The pieces of diced apple will become golden brown, and there shouldn’t be any more pools of liquid in the pan. The mixture will become more difficult to stir, and lots of tiny tiny bubbles will form on the bottom of the pan while you stir.

The mixture is done cooking when you can turn your spoon to the side and most of the apple mixture on the spoon will stick to the spoon instead of falling back into the pot.

3. Take the pan off the heat, and carefully scrape the mixture into a bowl and allow to cool.


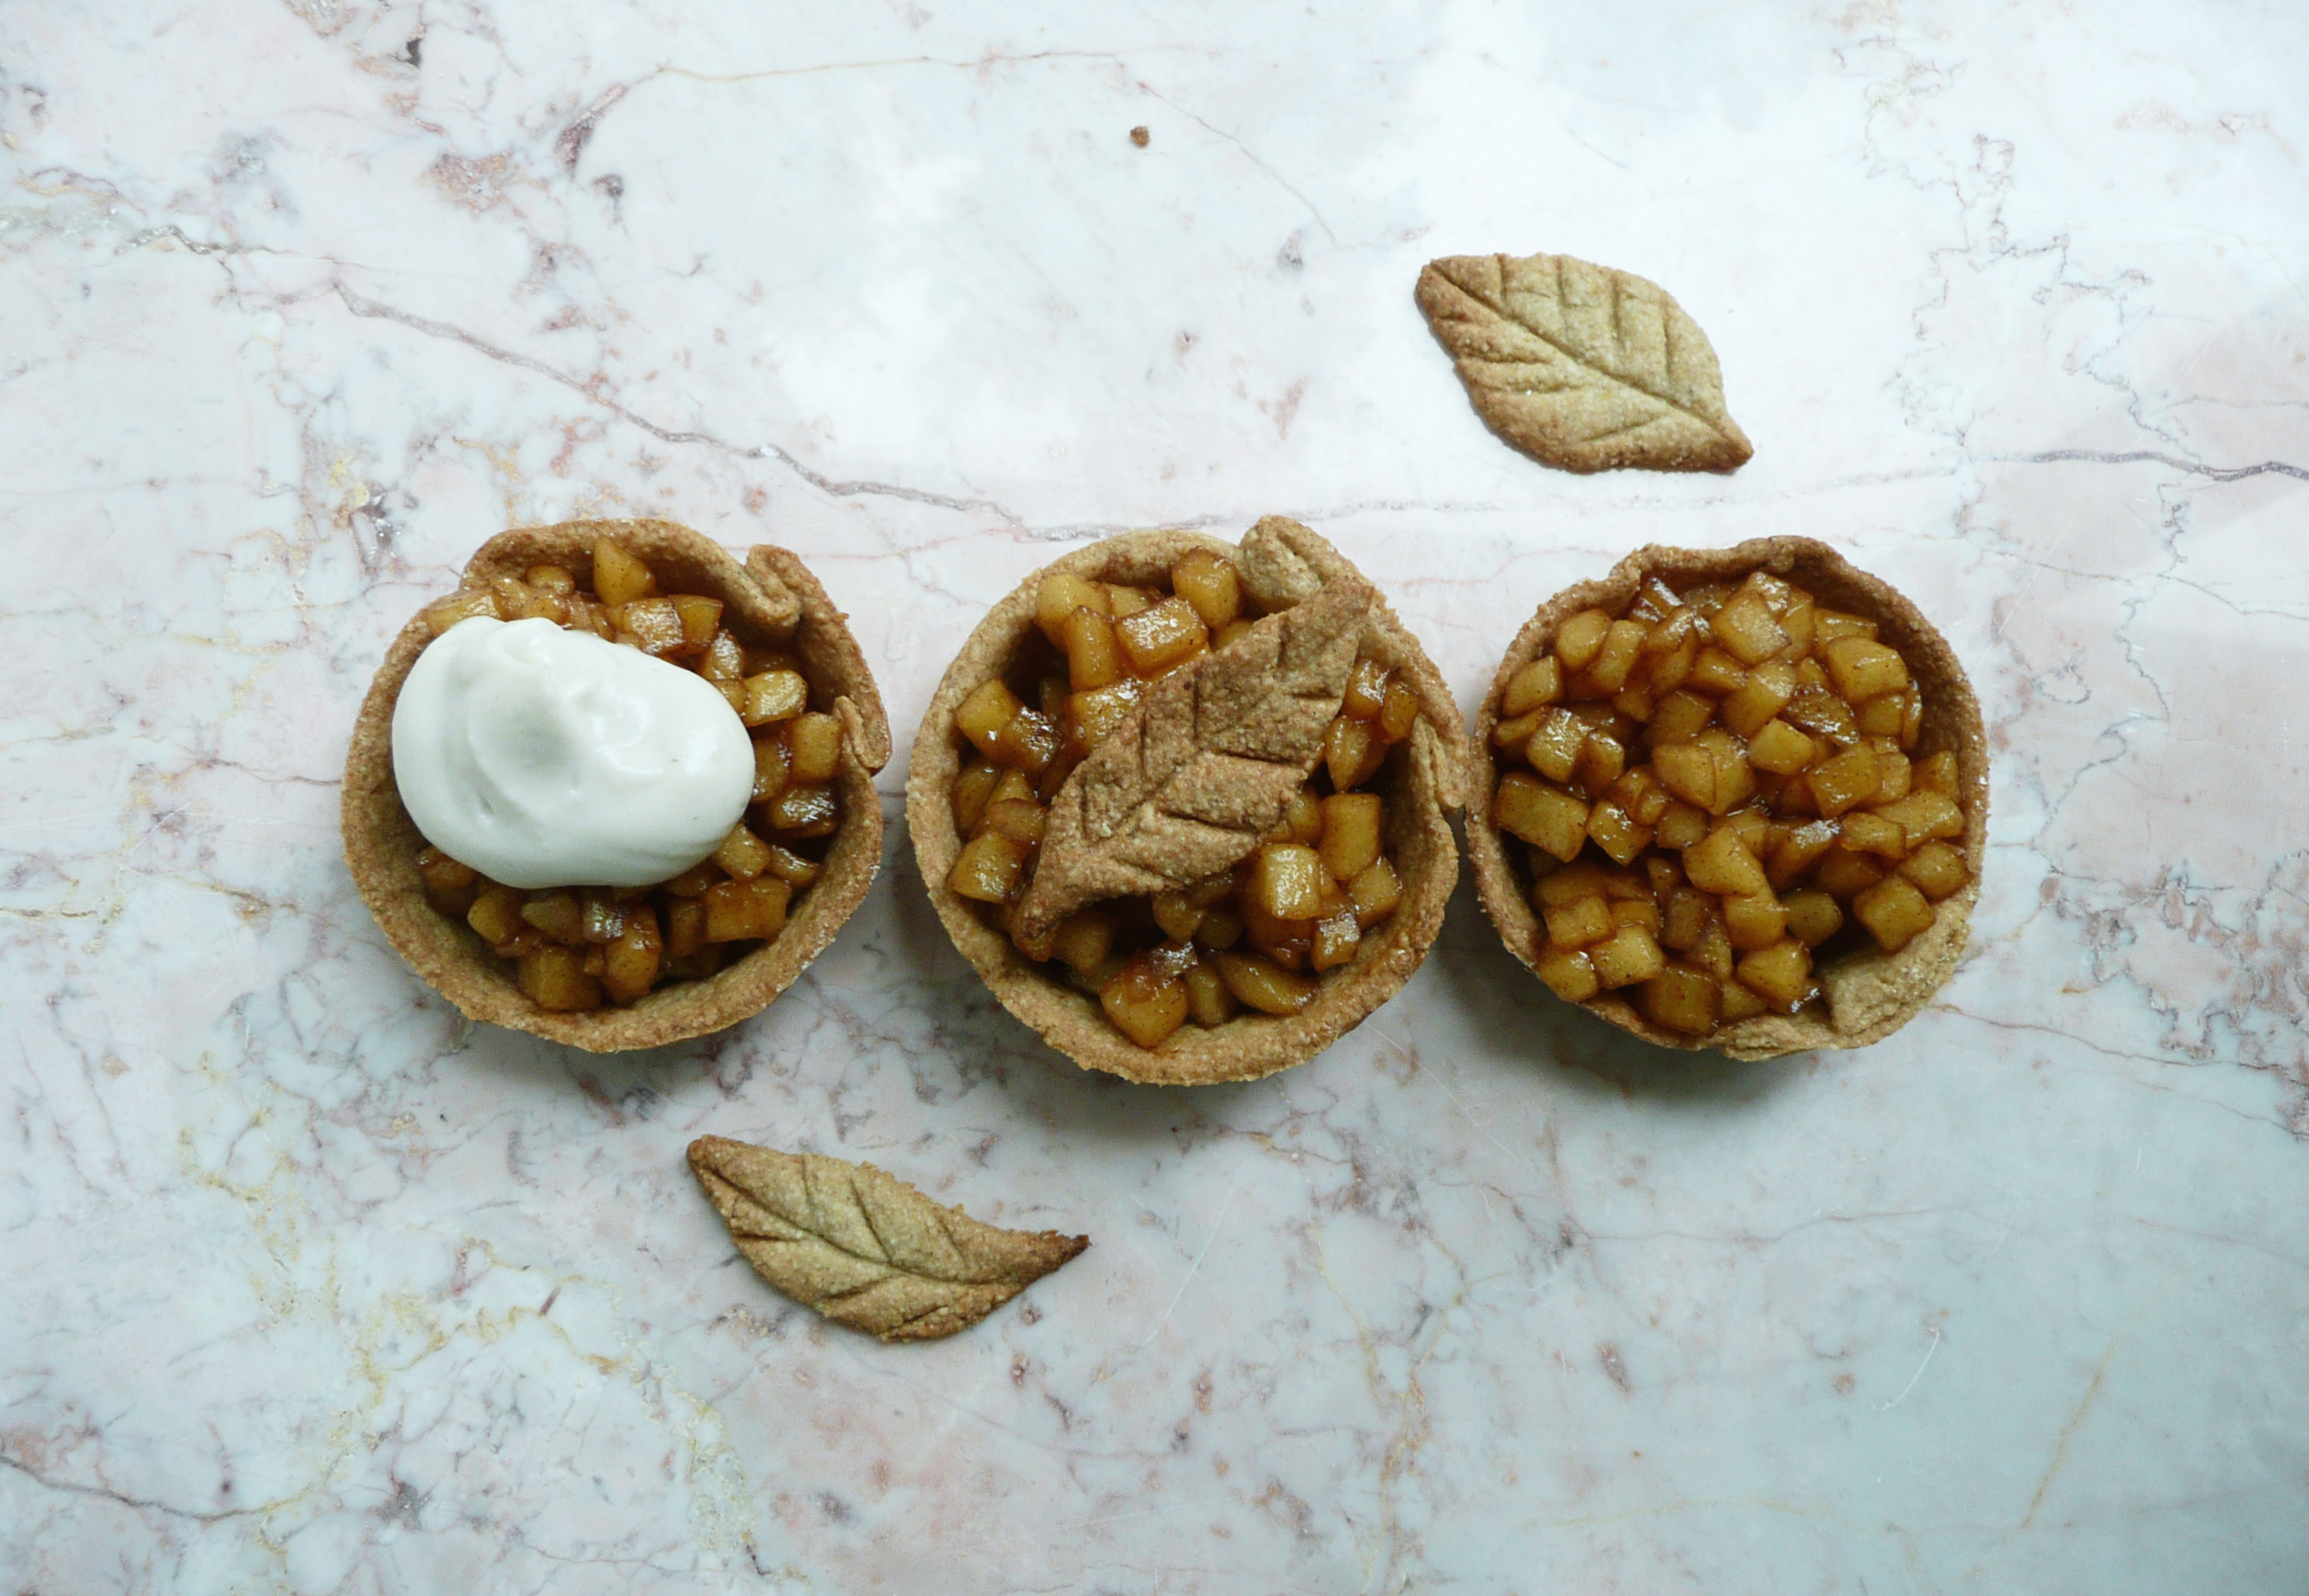
P1060779

I kinda love how the middle tart almost looks like an apple pie version of a golden snitch. An apple tart with the wings of golden (gluten free) pie crust!

4. Add the cinnamon, vanilla extract, and oil to the cooled apple mixture and stir to combine. Spoon about 2 tbsp of the apple mixture onto each tart shell, and top with a dollop of cashew whipped cream. Serve immediately.


For 12 tarts

4 Fuji Apples – cut into 1/4 inch dice (about 5 cups)

1 cup maple syrup

3 cups water

1/2 level tsp ground cinnamon

1 1/2 tsp vanilla extract

4 tsp avocado oil (or any neutral flavored oil)


Pecan Tarts

Pecan Tarts – Dairy Free, Gluten Free, Vegan

P1060884

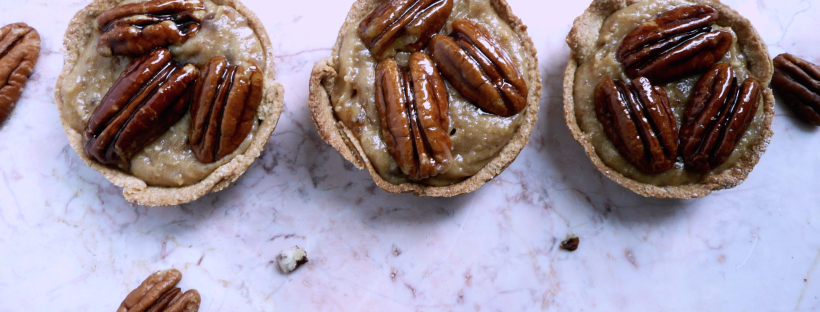
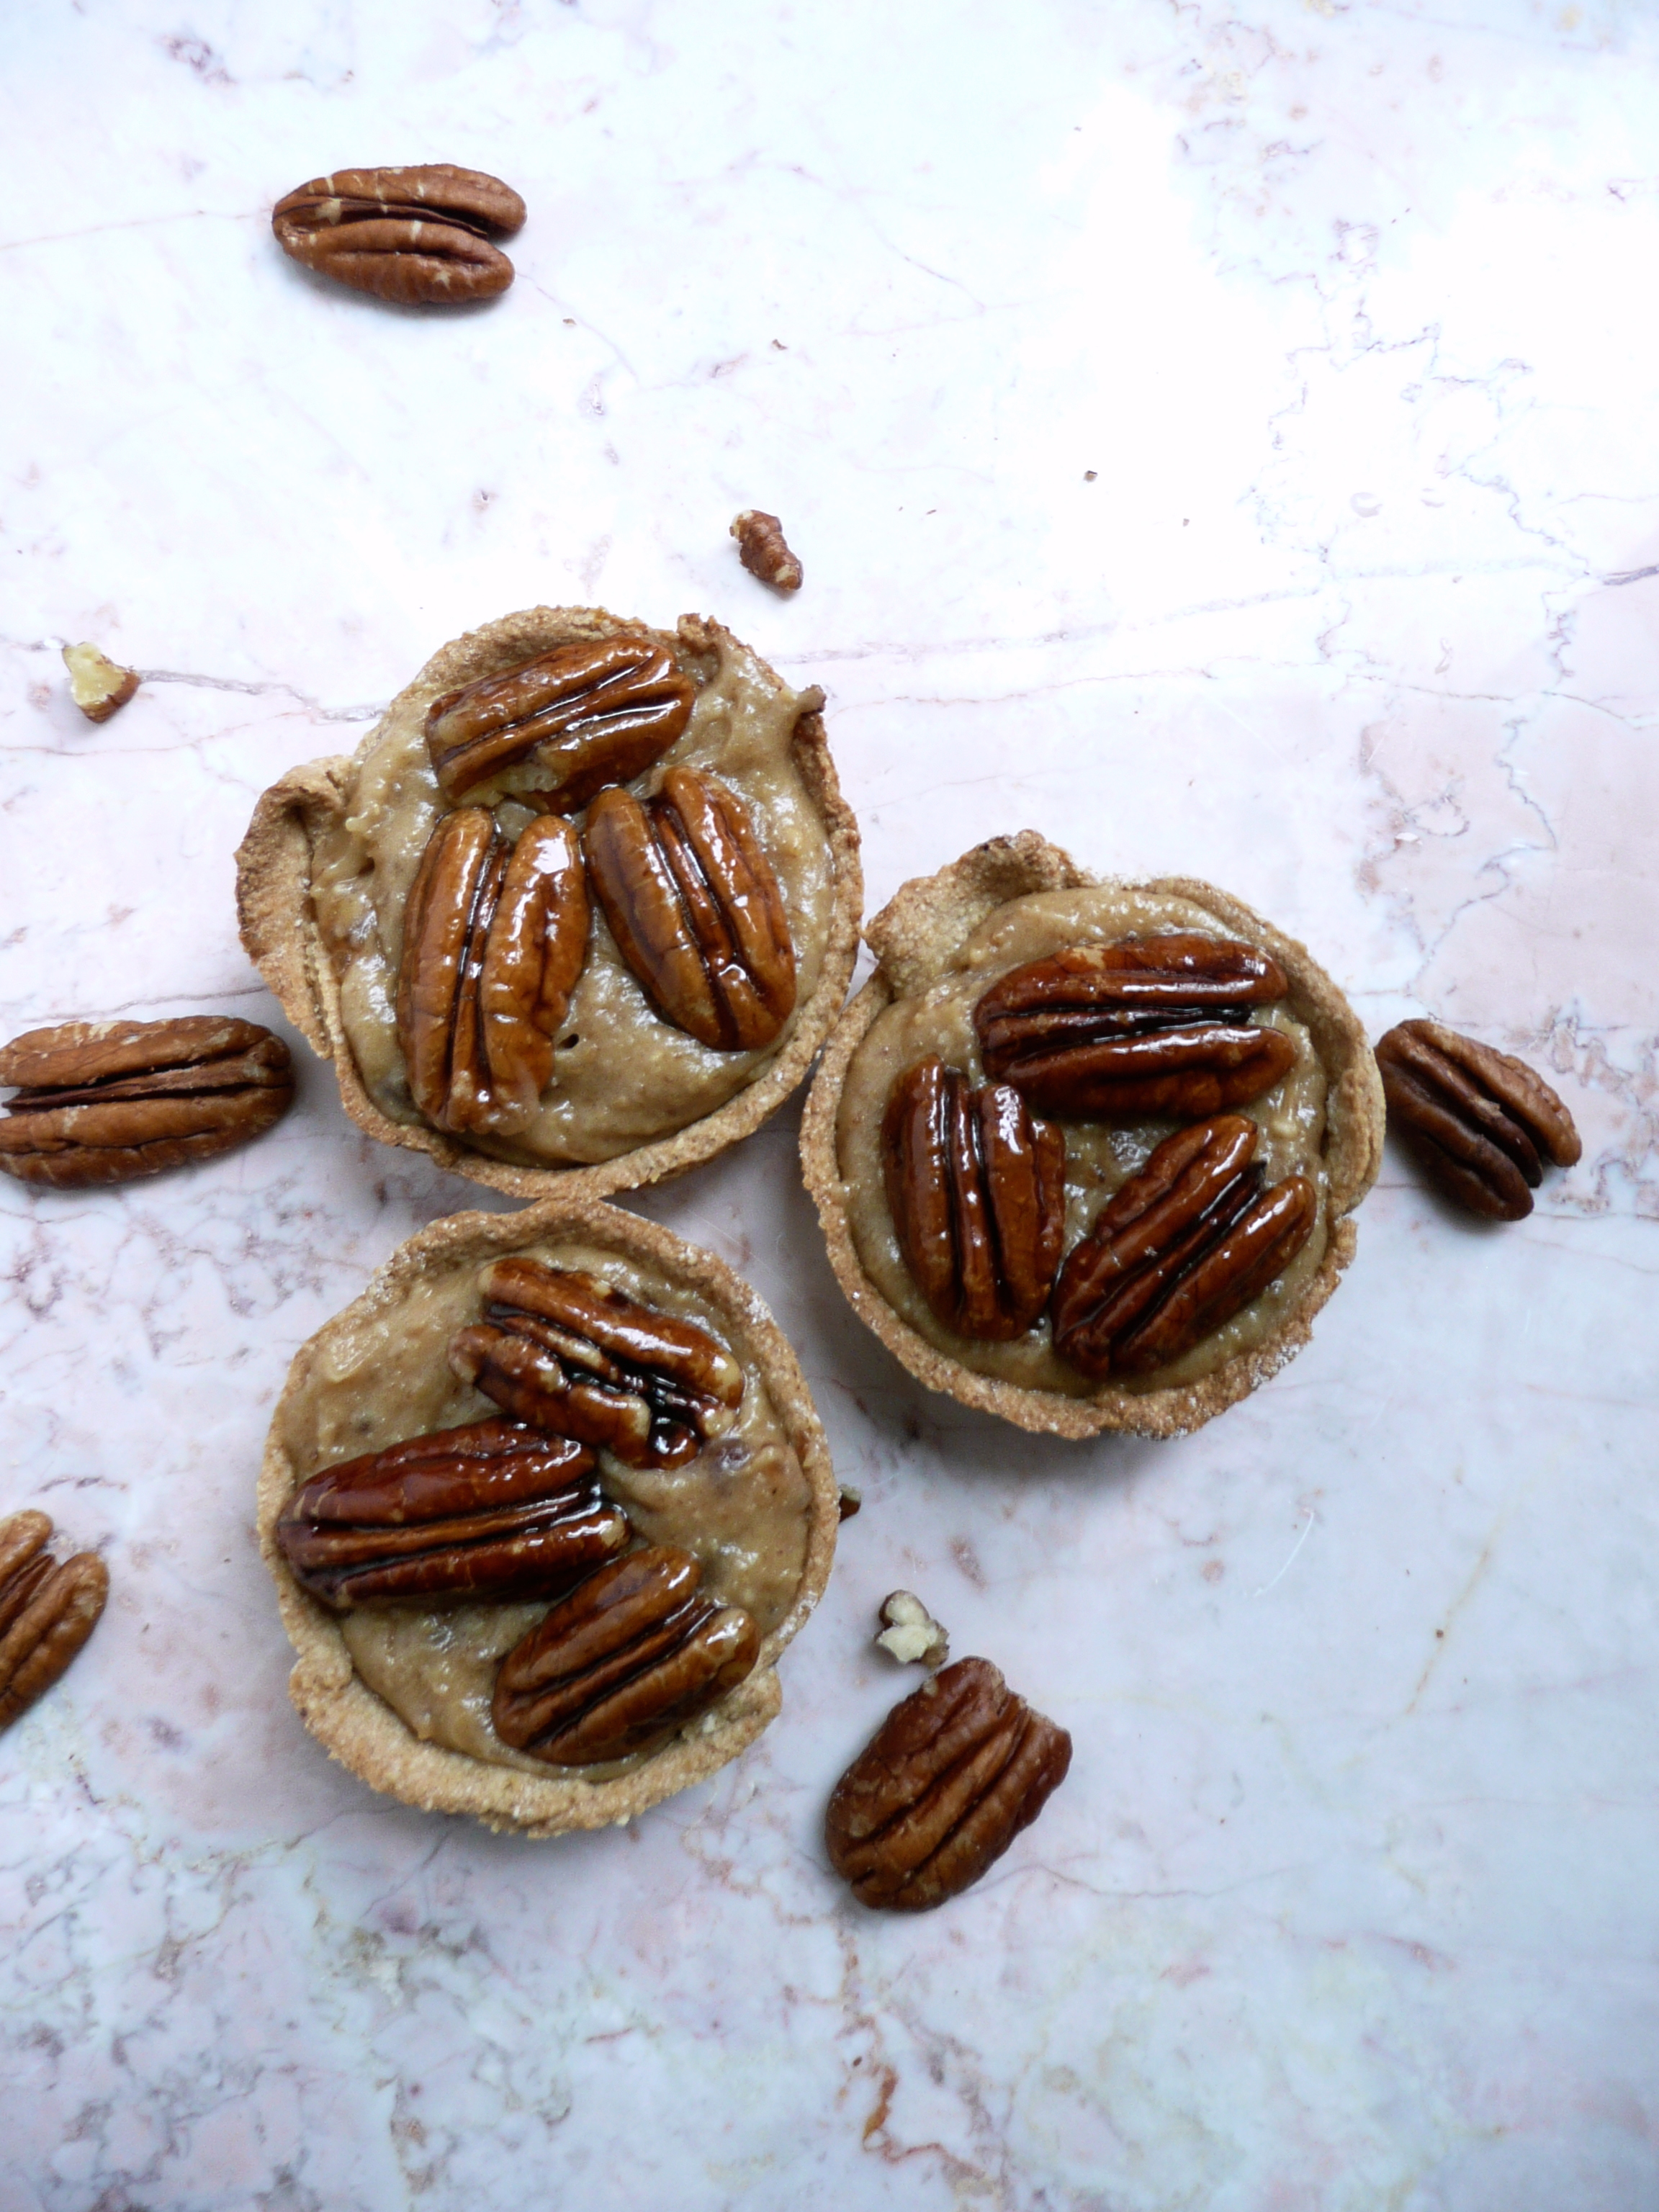
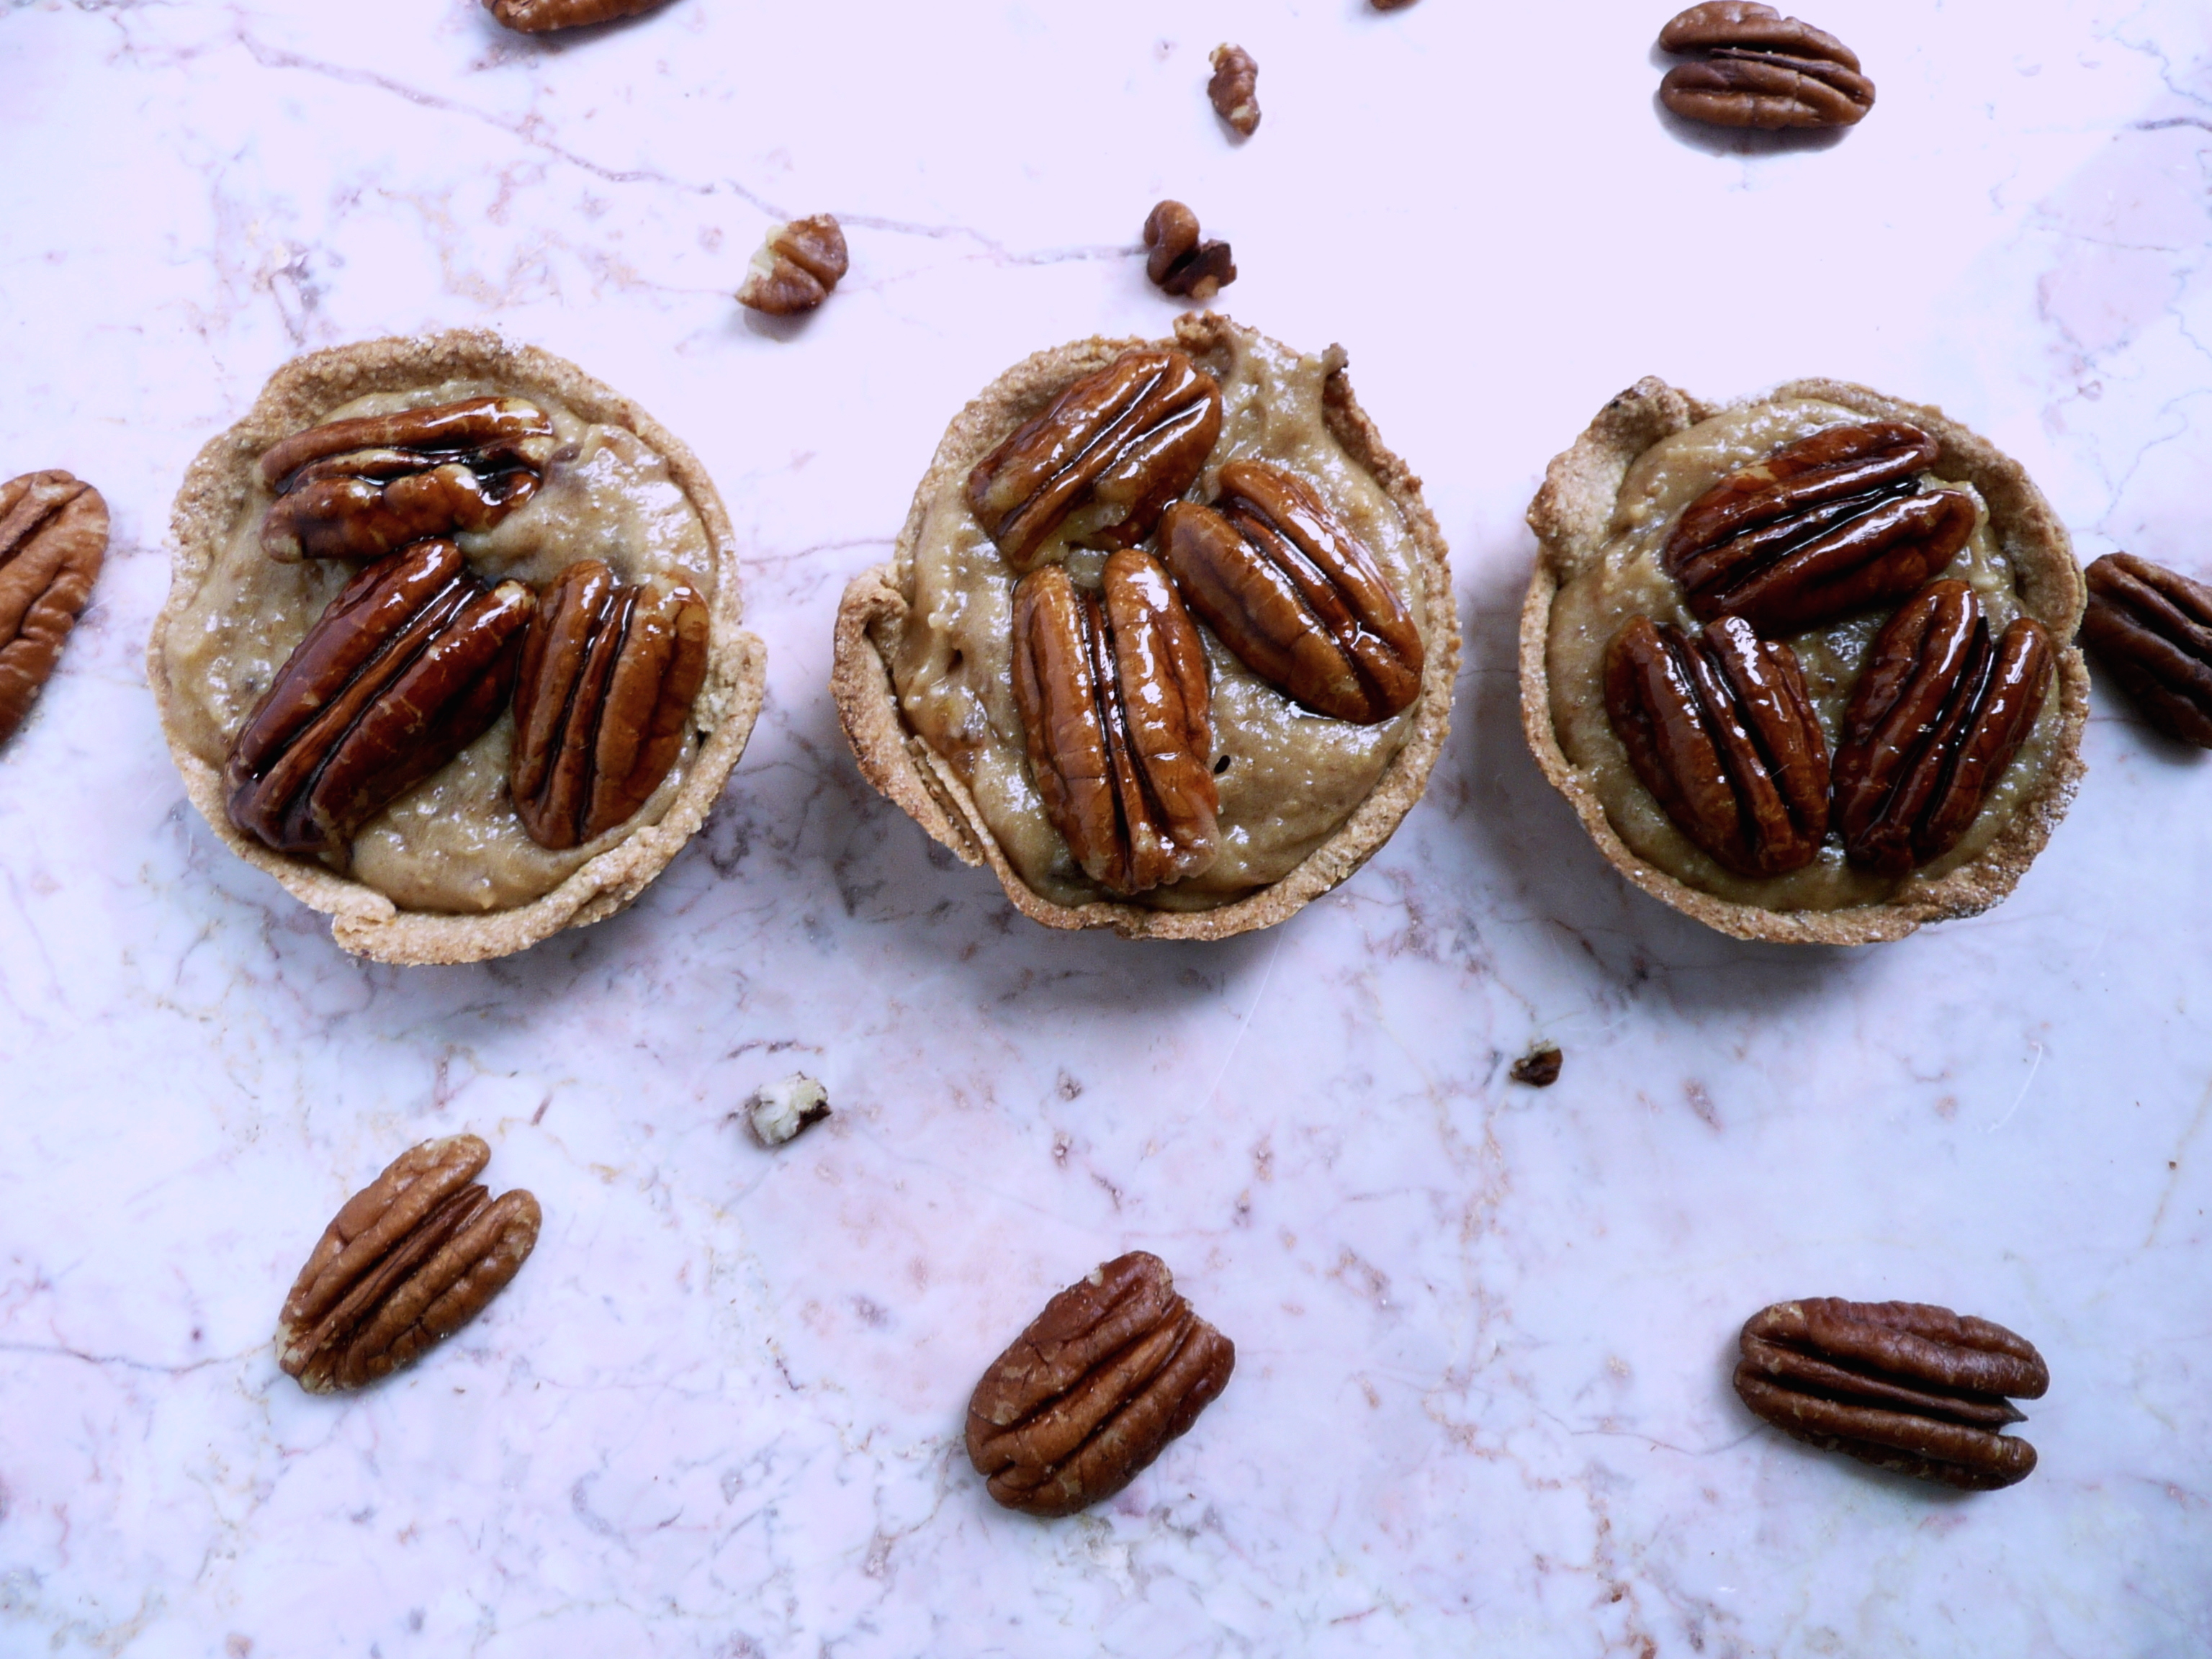
These pecan tarts are awesome! They really taste like pecan pie. The pinch of salt really makes these mini pecan pies sing. I hope that you love them as much as I do.

You can make the filling ahead of time, and just stir through the toasted pecans through right before serving. I’d make the candied pecans the day you want to serve them so that they stay crunchy.

This recipe makes 4 tarts, which is sort of a funny amount, so I’ll put the measurements for 12 tarts at the bottom of post just in case you want to make 12 instead. You may have to slightly adjust the cooking times for the bigger batch of toasted and candied pecans.

You can use this recipe to make the gluten free tart shells.

P1060874

Pecan Tarts

Makes 4 tarts

For the filling

¼ ts. vanilla extract

1/3 cup raw cashews

3 tbsp. maple syrup

6 diglet dates – about a scant 1/3 cup

1 tbsp. water

pinch salt

Instructions

1. Grind the cashews in a food processor until they look like breadcrumbs. Scrape down the sides of the processor occasionally, and add in the maple syrup and blend until the mixture looks like heavy cream, with little bits of cashews running through it.

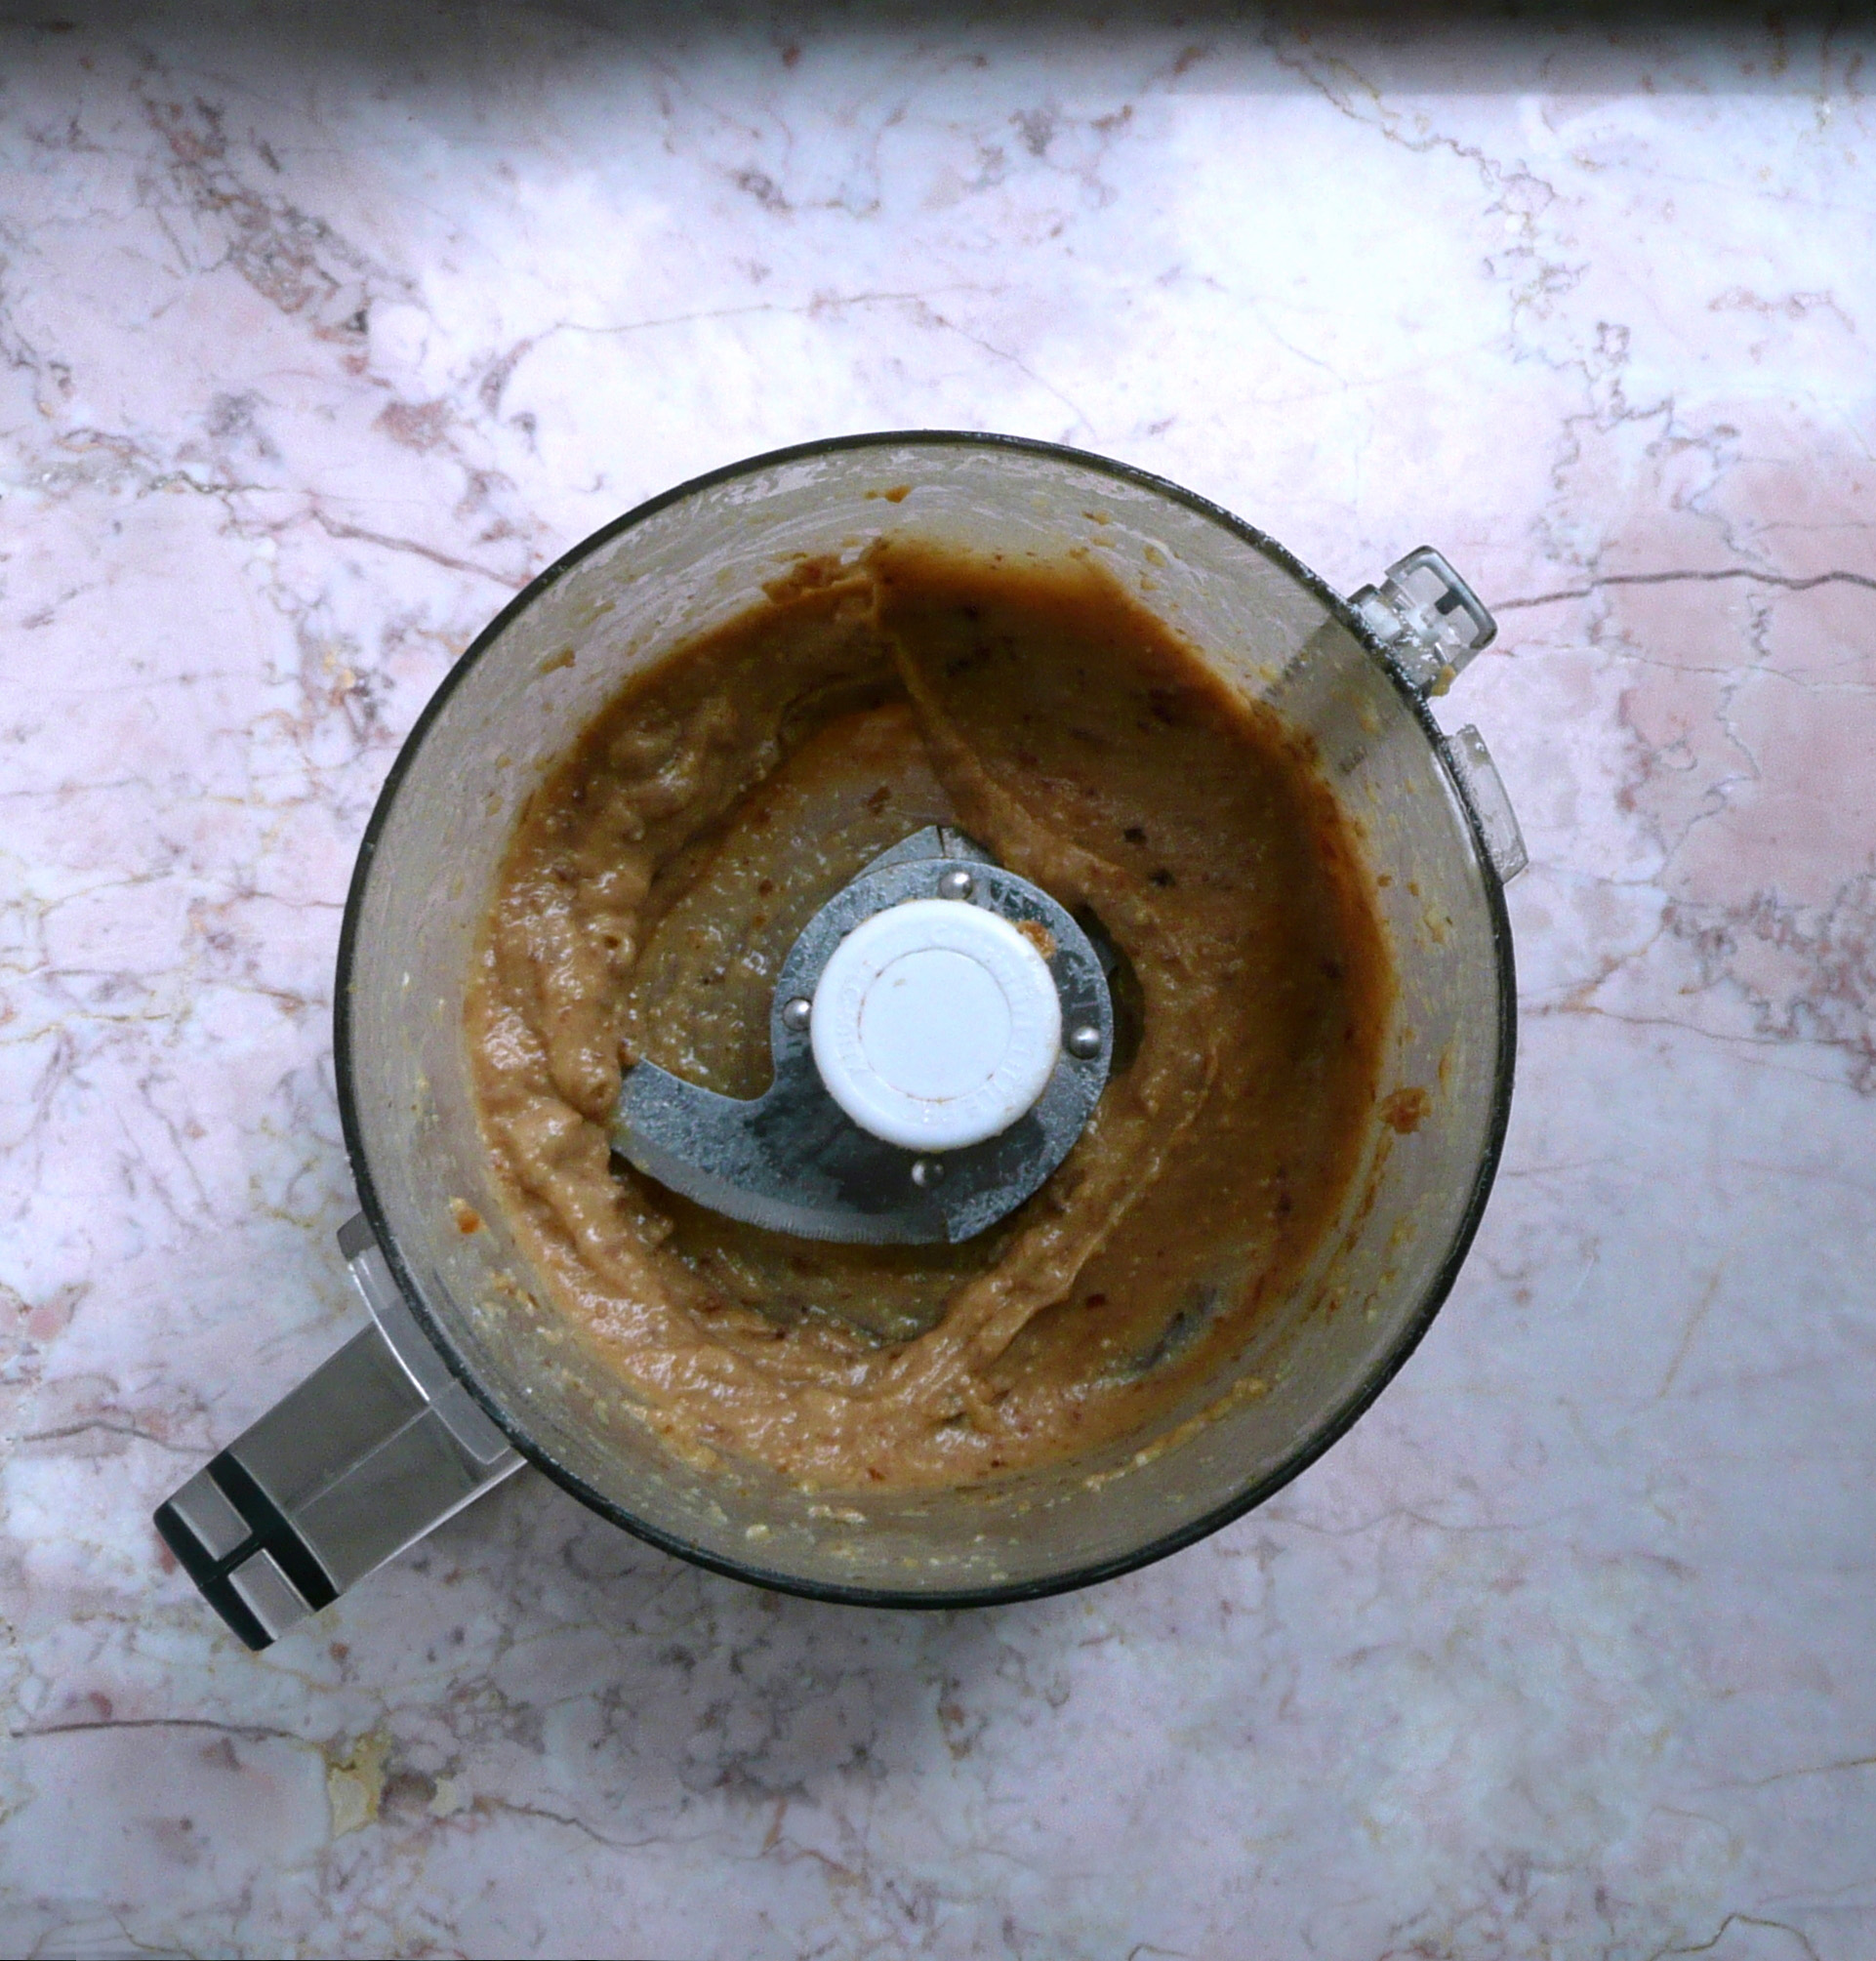
2. Chop the dates into ¼ inch dice and add them to the cashew mixture. Blend for 3-4 minutes until relatively smooth, a few lumps of cashews or date here and there are ok.

This is what the mixture should look like when it’s done.

P1060849

3. Scrape the mixture out into a bowl and set aside.

Toasted Chopped Pecans

¼ cup whole pecans

Instructions

1. Chop the pecans into ¼ inch dice. Cook them in a dry pan over medium heat for 2-3 minutes, stirring constantly until toasted and fragrant.

2. Add the toasted pecans to the cashew mixture and stir until mixed through.

3. Allow the pan to cool, then carefully wipe out any tiny bits of leftover toasted pecans with a bit of folded paper towel, as they can burn when you use the same pan to cook the candied pecans.

Candied Pecans

12 whole pecans (3 pecans per tart) about ¼ cup

2 tbsp. maple syrup

Instructions

1. Toast the whole pecans until fragrant in a dry pan over medium heat for about 2 minutes, stirring frequently so they don’t scorch.

2. Add in the maple syrup and stir the pecans constantly for another 30 seconds, then take the pan off the heat. Continue stirring the pecans off the heat until the caramel coats the nuts.

3. Pour the candied pecans onto a silpat or a piece of parchment paper (on in pinch, a lightly oiled plate) and arrange them with two forks so they aren’t touching each other, and allow to cool.

Don’t touch the hot caramel or the candied nuts until they are cool. It’s super tempting to touch hot sugar, but you don’t want to burn yourself.

If you stir the nuts too long over the heat, the syrup can crystallize, and the coating on the pecans can go cloudy and rough textured. If this happens, it’s ok! It just means that the pecans will be extra crunchy, and they will still taste great.

4. Add about 1 ¾ tbsp. of filling to each tart shell. Top each tart with 3 candied pecans (4 candied pecans is two sweet, and 2 isn’t sweet enough) and serve.

Getting the leftover caramel off of utensils and saucepans is really easy. Just put the caramel covered utensils in the pot that you candied the pecans in, pour in some warm water and let the pan sit for an hour or two. The sugar will dissolve into the water, and you can just pour it out and put everything straight into the dishwasher.

For 12 tarts

For the filling

¾ ts. vanilla extract

1 cup raw cashews

½ cup + 1 tbsp. maple syrup

18 diglet dates – about a scant 1 cup

3 tbsp. water

3 pinches of salt

Toasted Chopped Pecans

 ¾ cup pecans

Candied Pecans

36 whole pecans (3 pecans per tart) about ¾ cup

6 tbsp. maple syrup