One Year Later…And Christmas!

20181123_135914

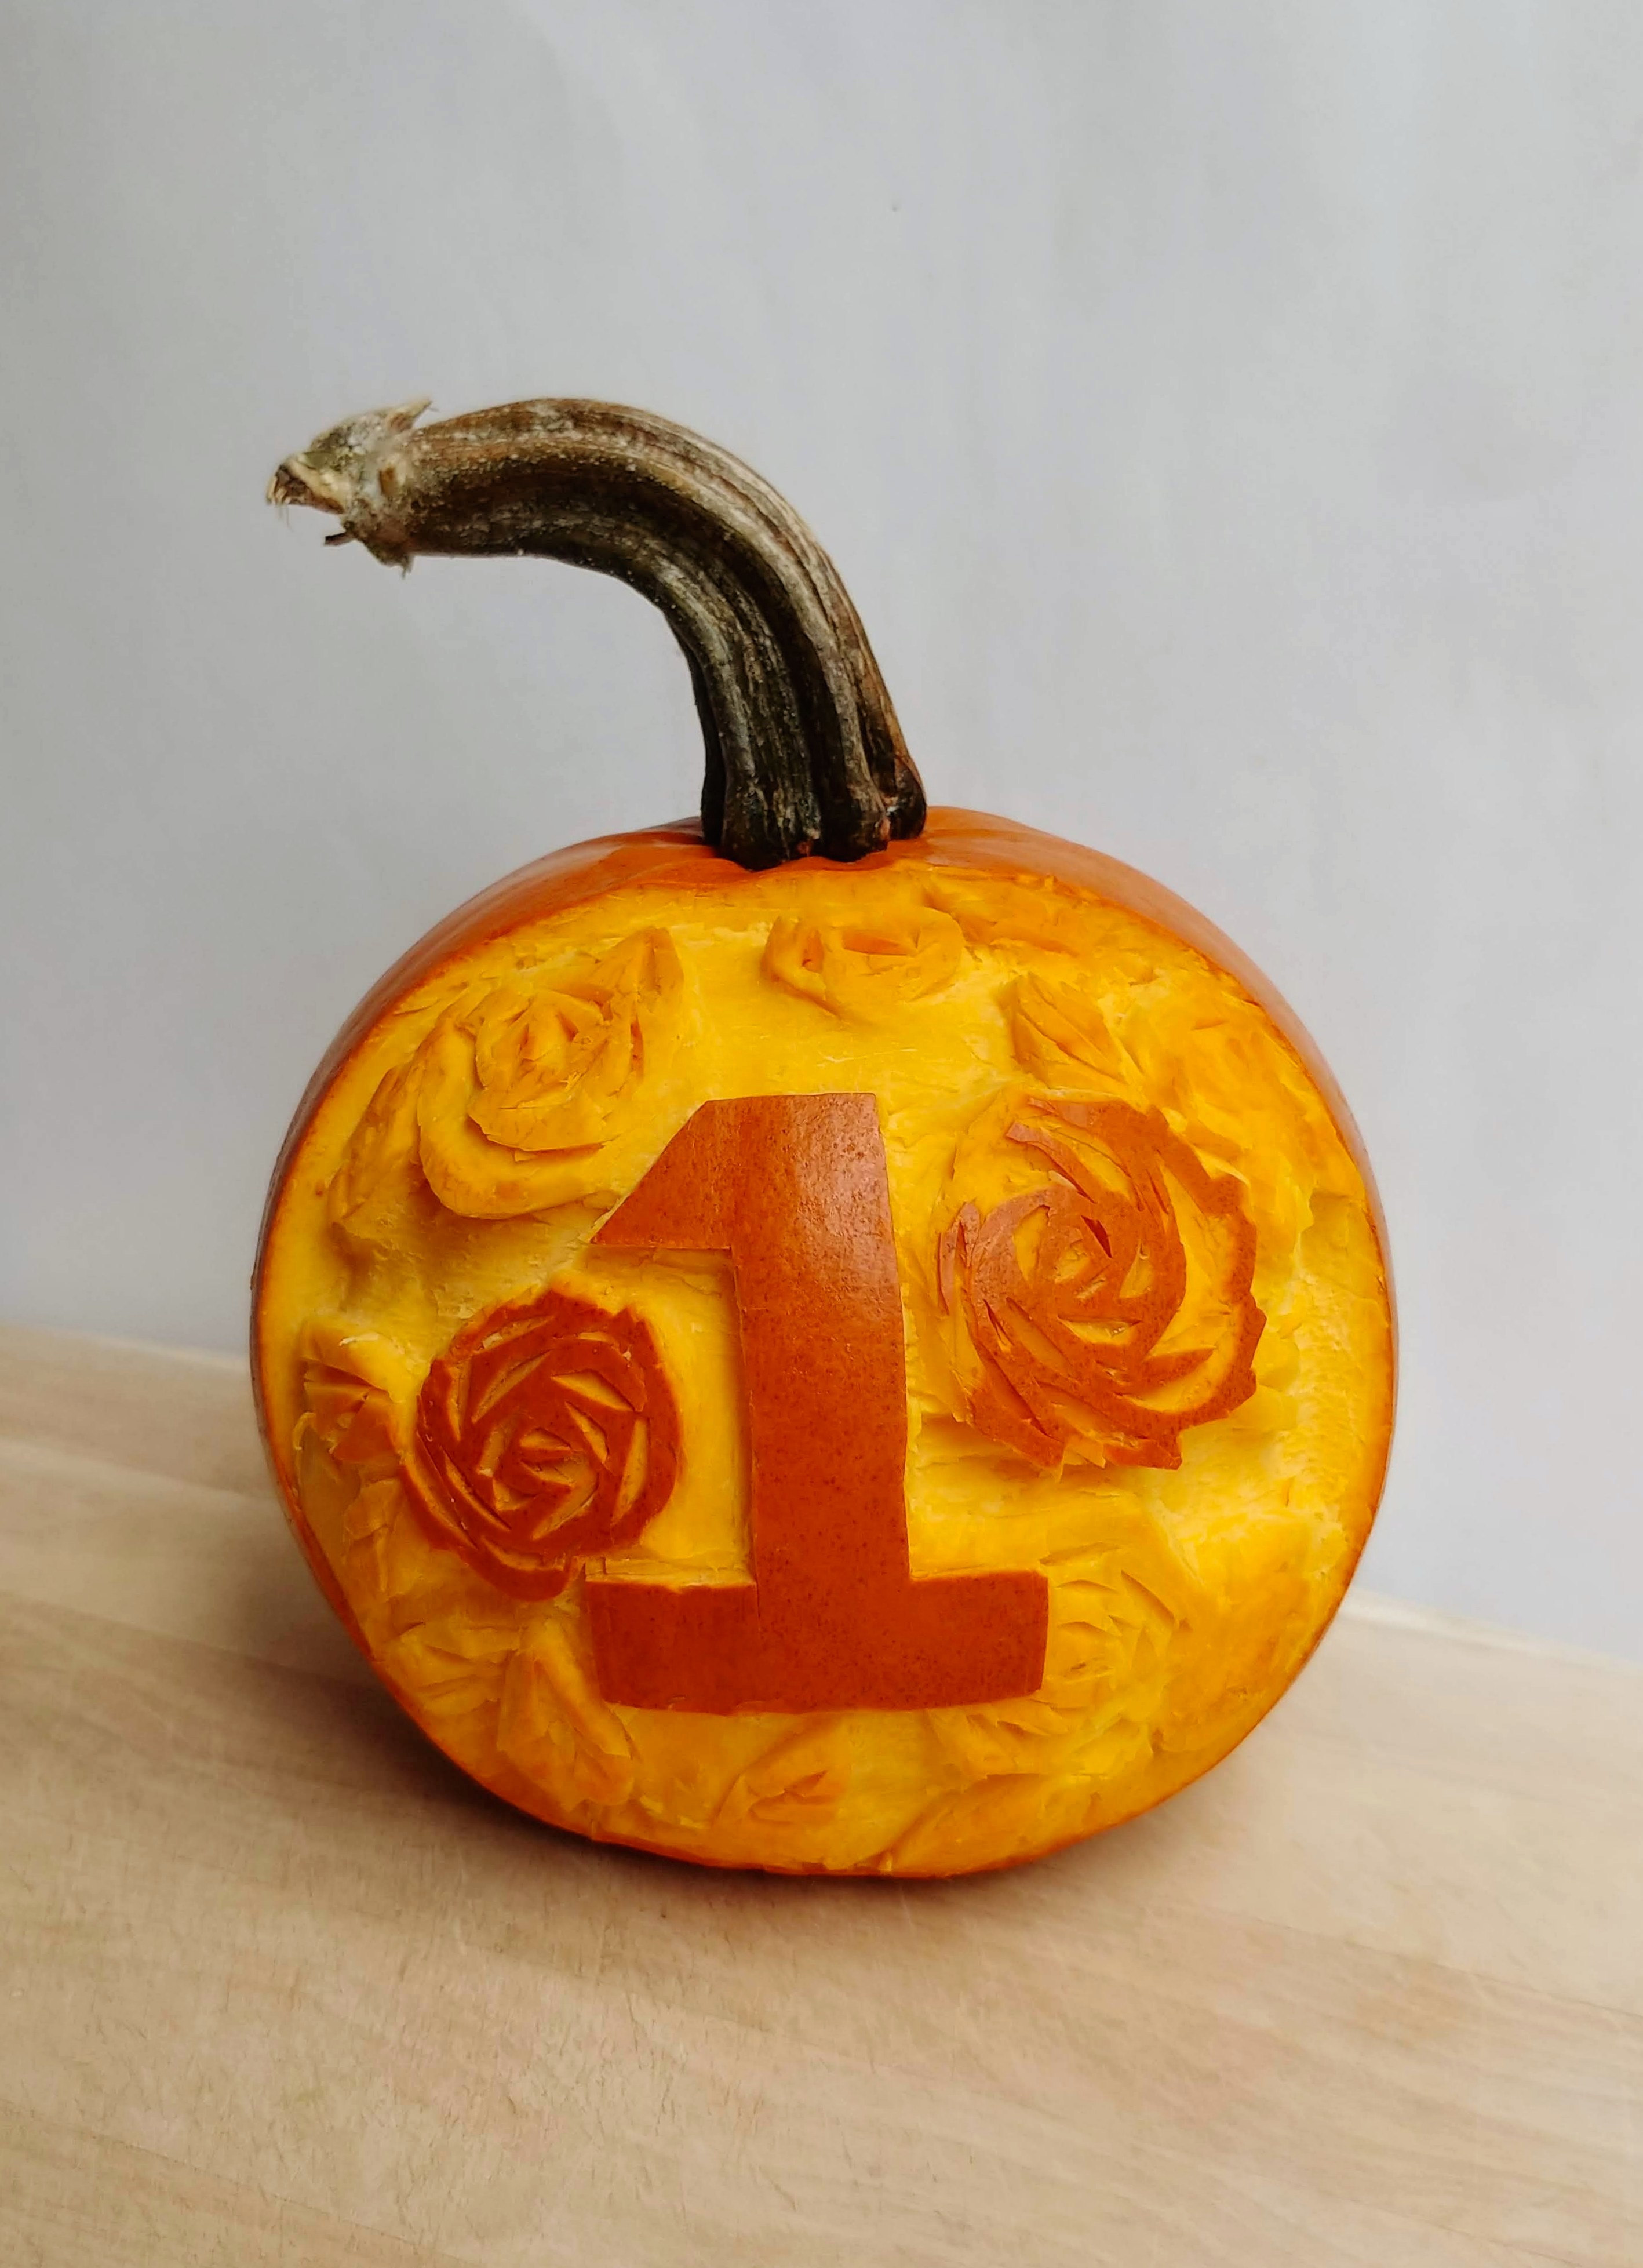
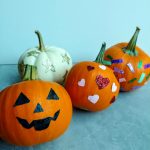
(The pumpkin that I carved to celebrate the blog’s 1st birthday!)

My first post on this blog was November 19, 2017. I’ve officially been blogging for over a year now!

It’s been a really fun year, but not the most comfortable one. I purposely pushed myself to try things that I was afraid to do this year, and writing this blog had a lot to do with that.

Before starting the blog, I had been writing recipes down for a year and a half, but I was afraid to share them. What if nobody read them? What if there were better recipes out there? What if I was terrible at food photography? What if the recipes weren’t as good as I thought they were?

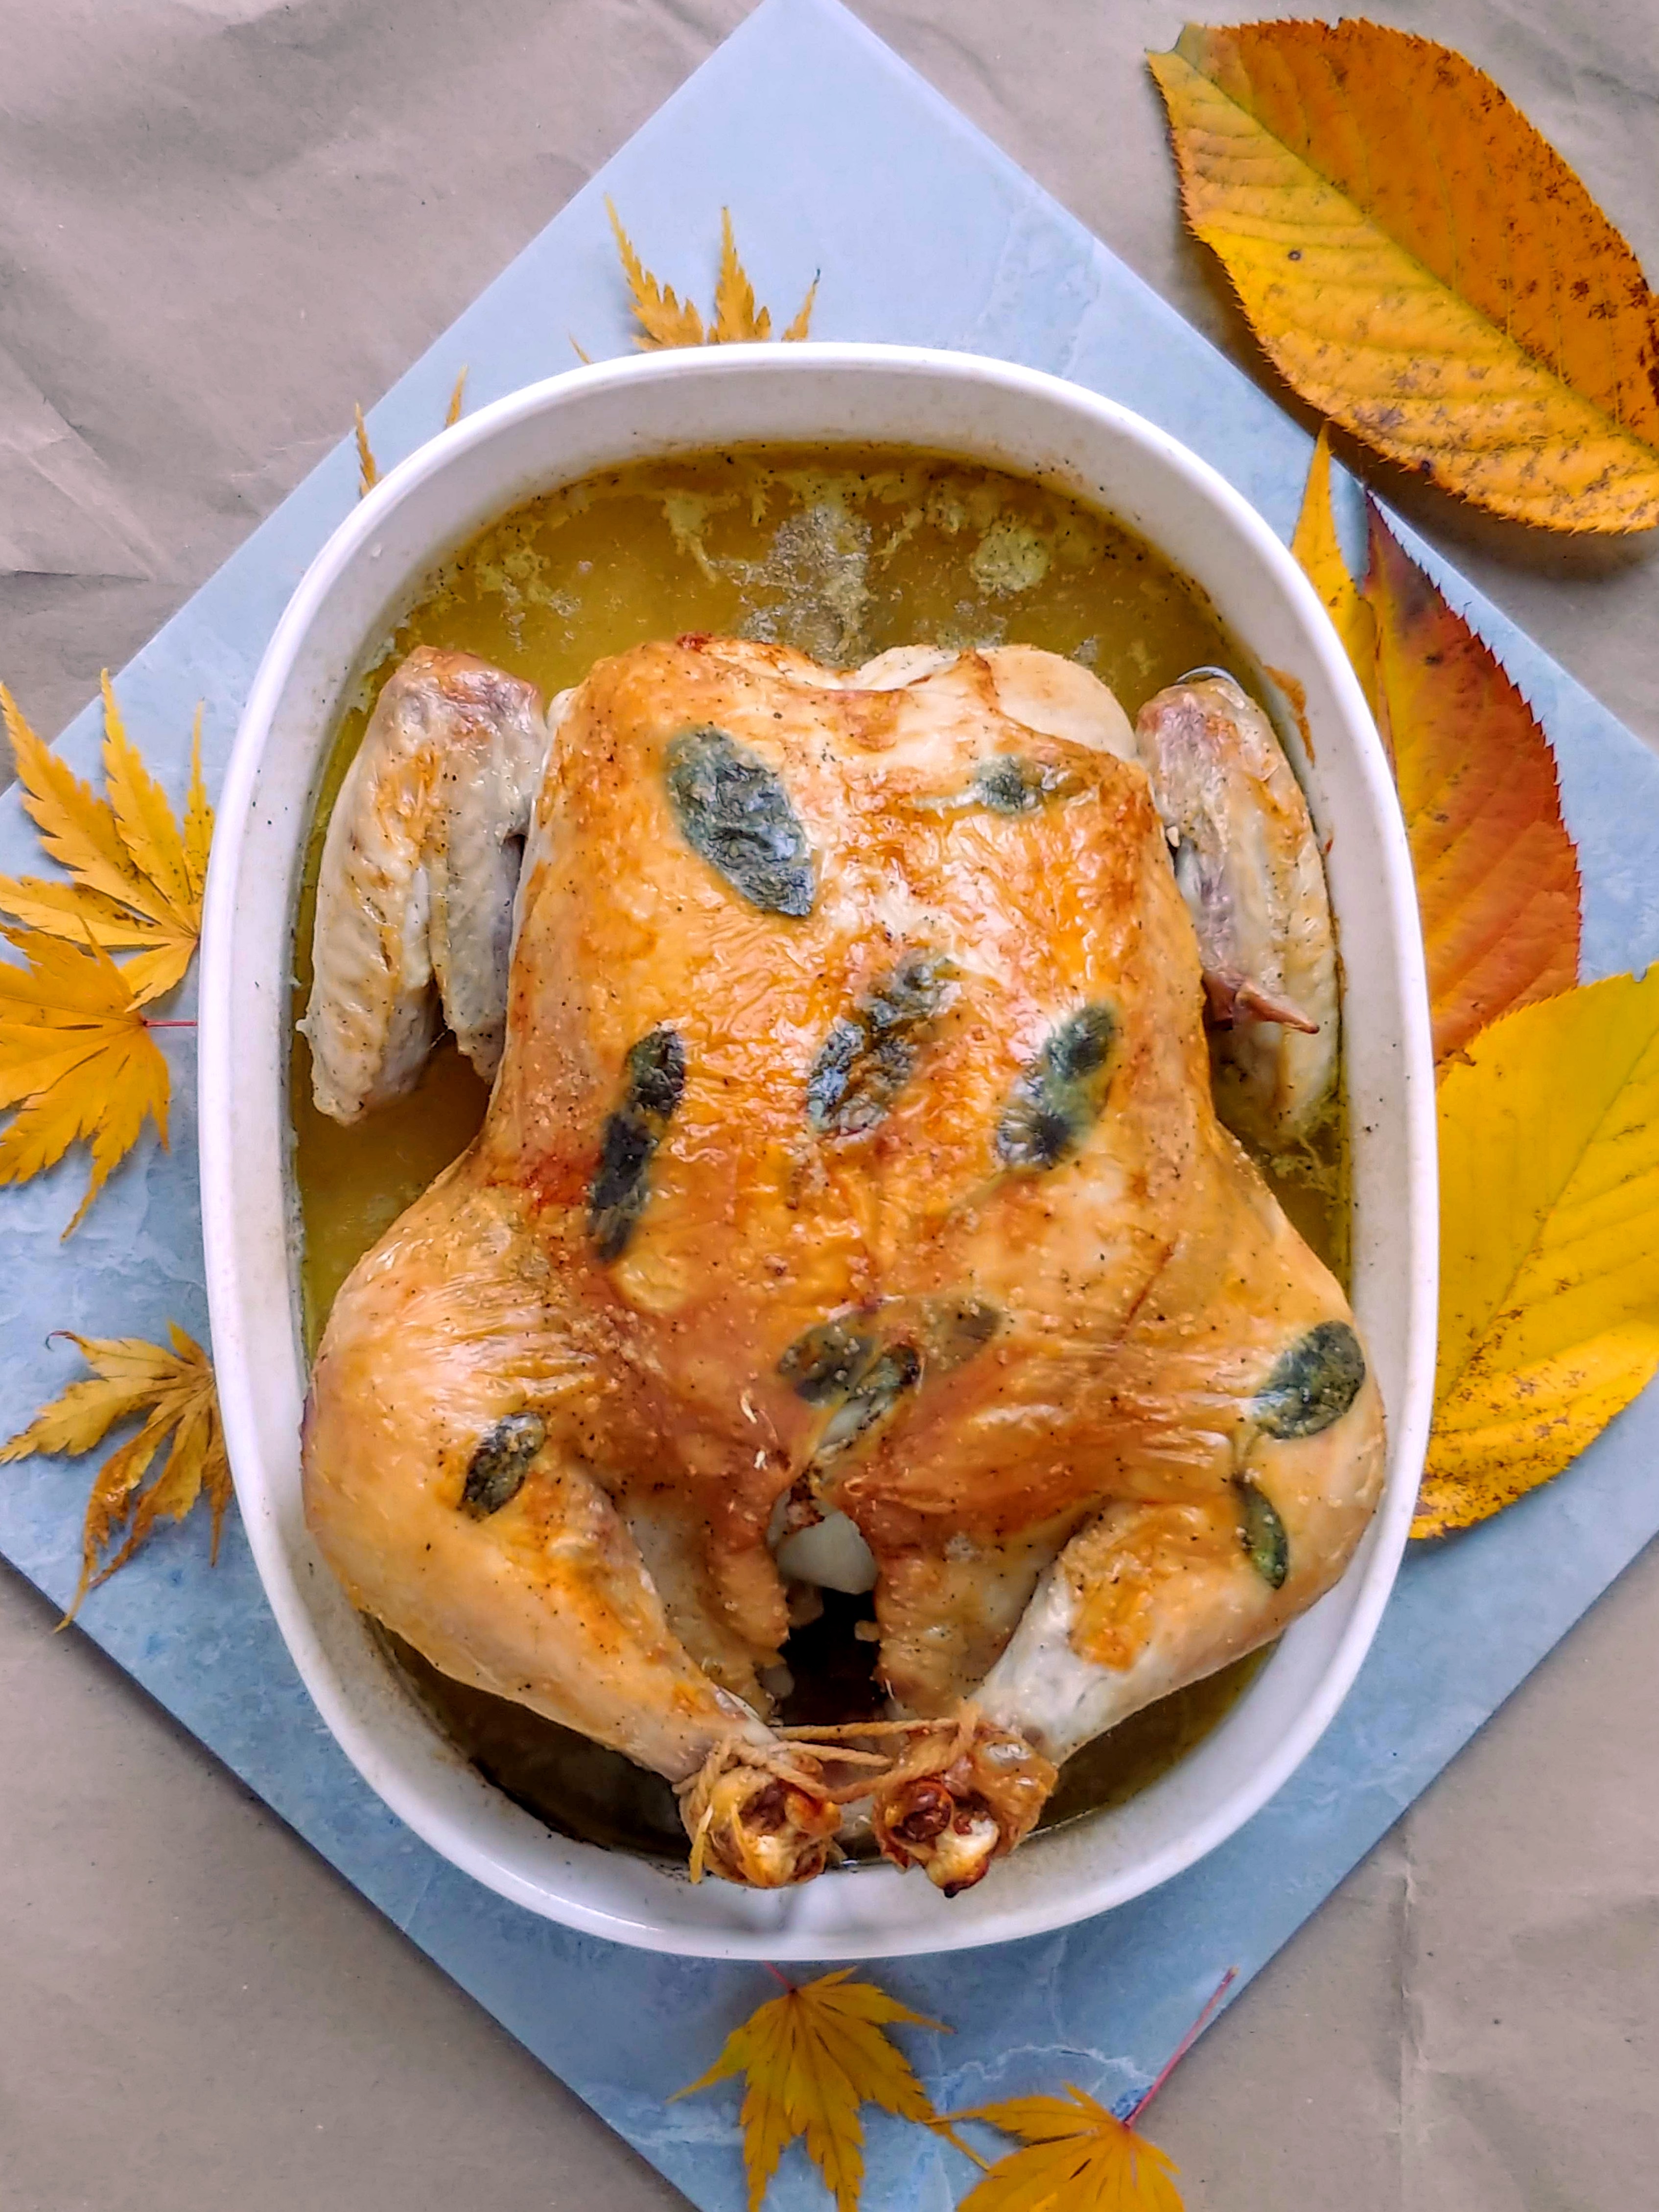
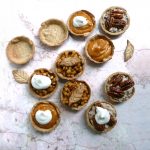
Eventually I worked up the courage to just try anyways. Just try and do the things that I very much wanted to do (but was afraid to). So I posted the Thanksgiving recipes that I would have wanted when I first figured out that I had food sensitivities.

And you know what? Nothing terrible happened.

Then I took another leap of faith and wrote another recipe, and another after that. A year later I’ve written 50+ recipes! And I’m proud of every single one of them.

Green Goddess 3

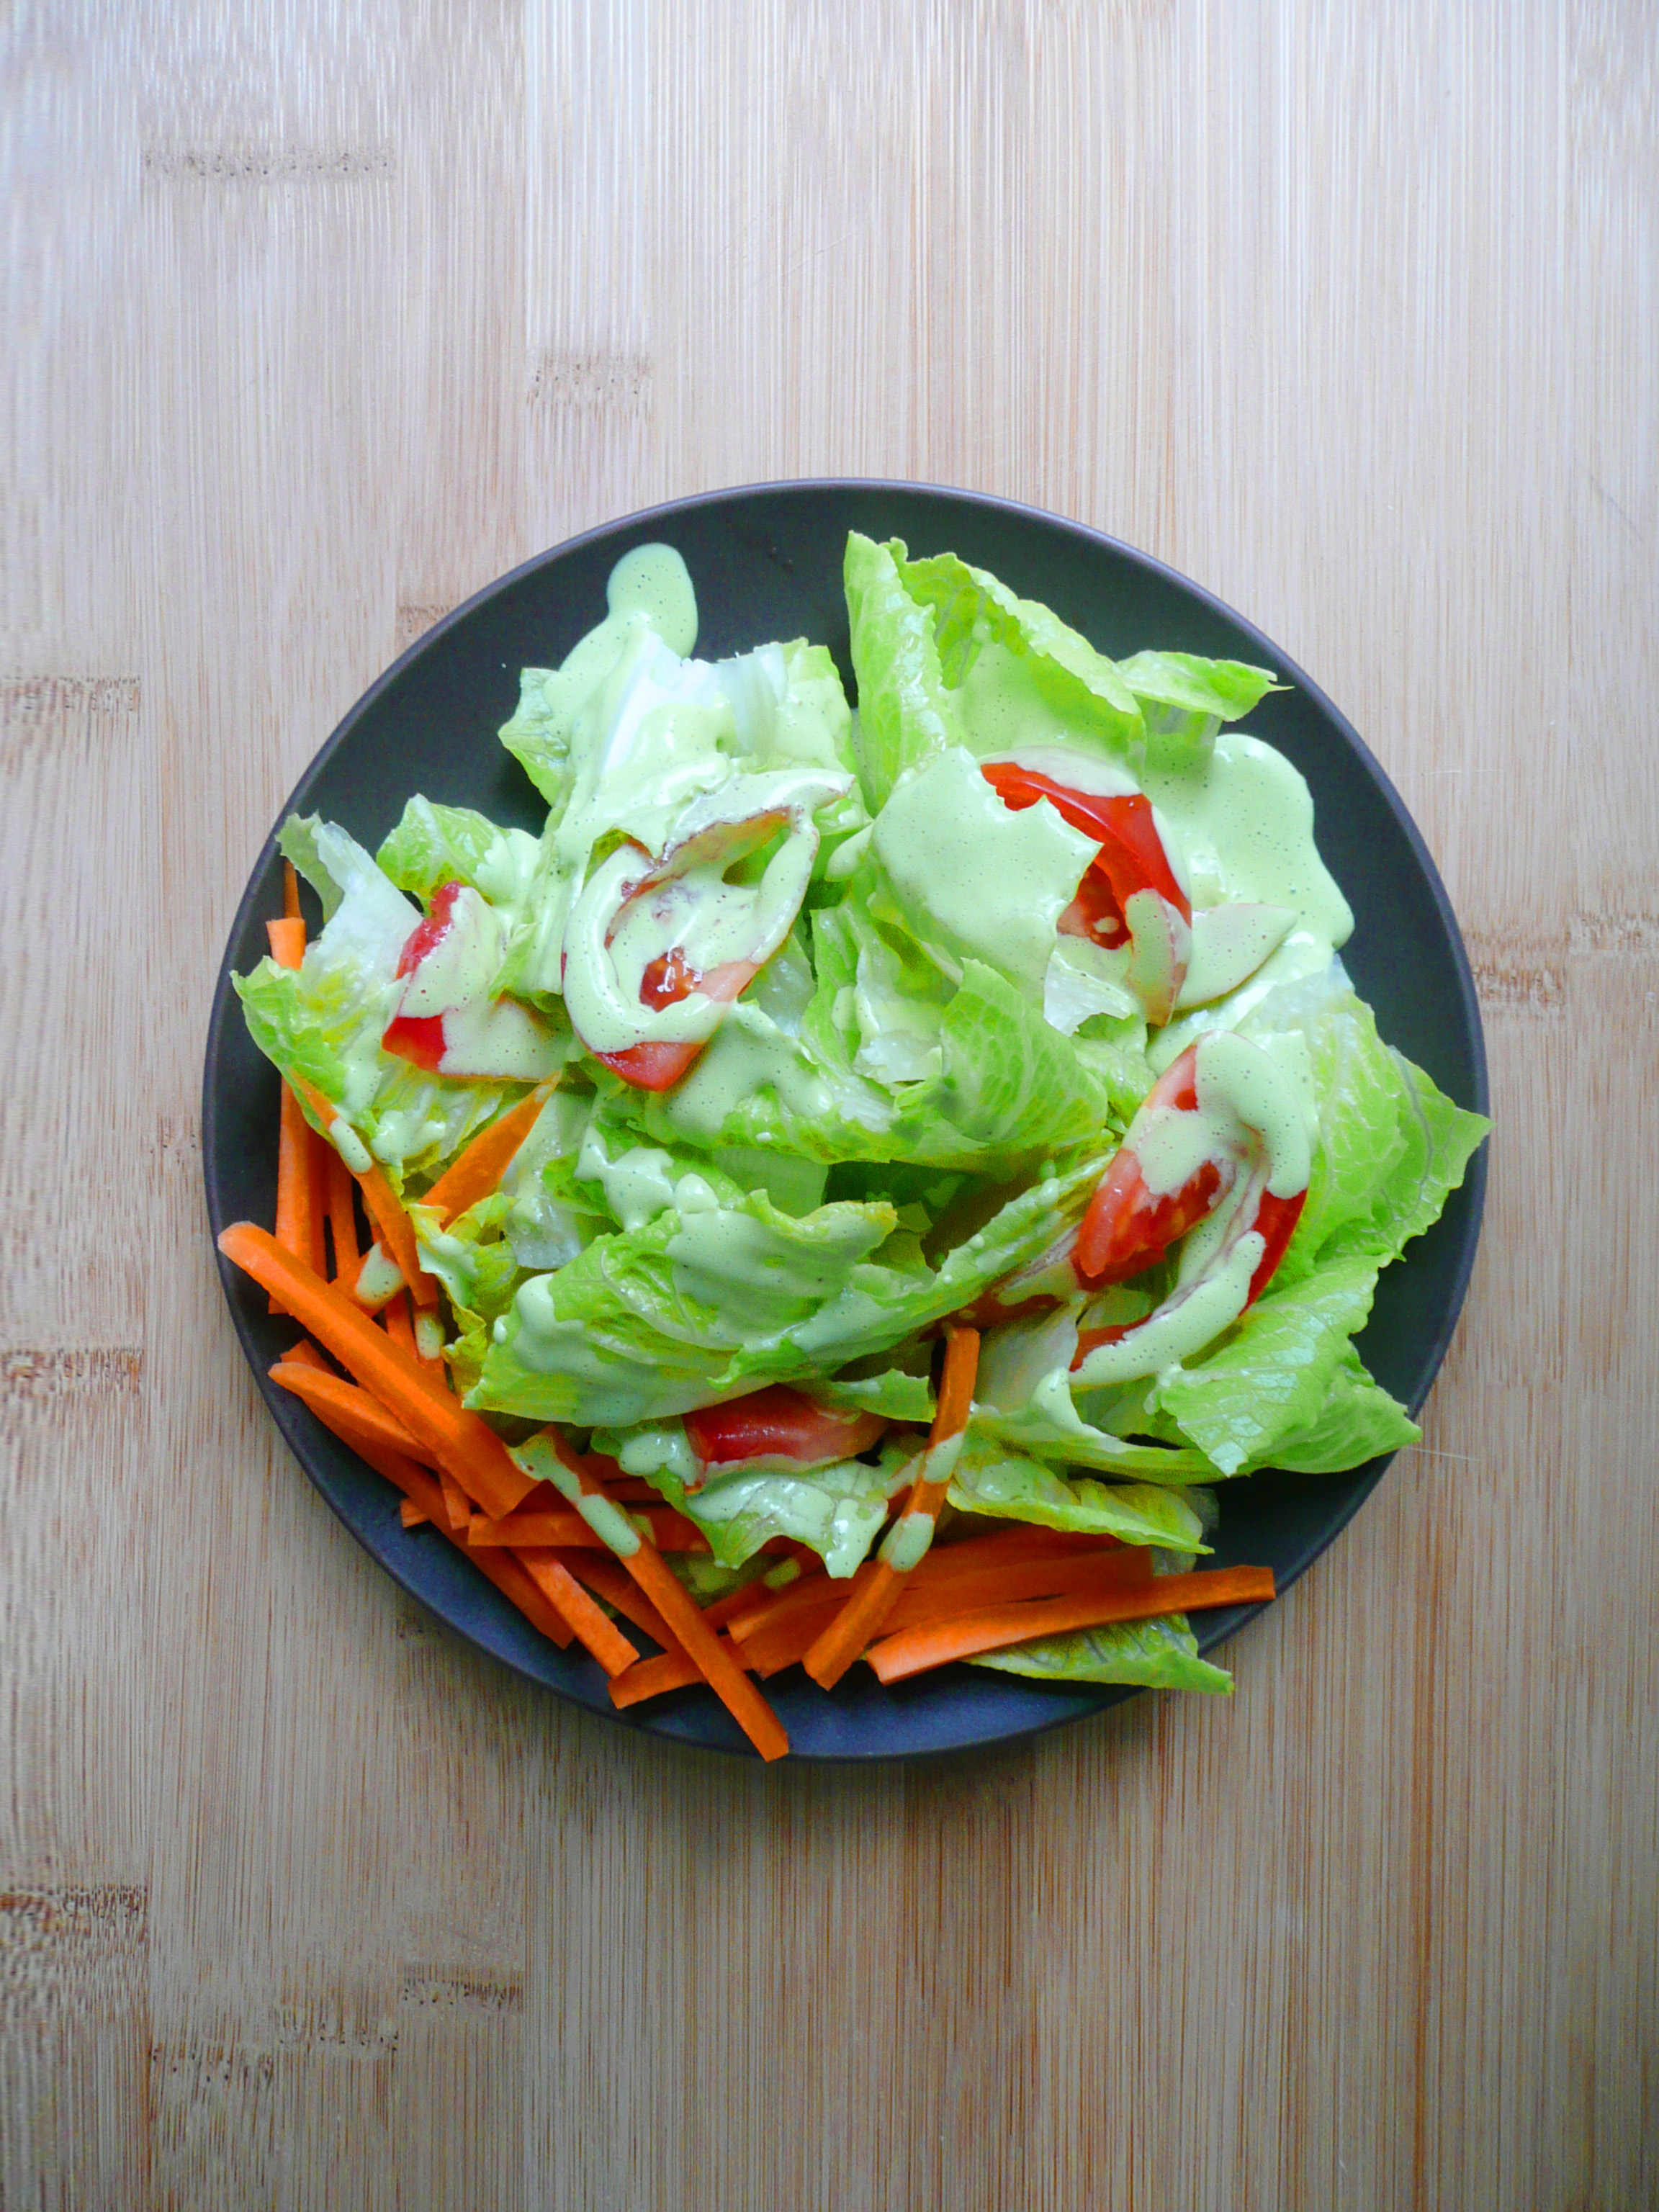
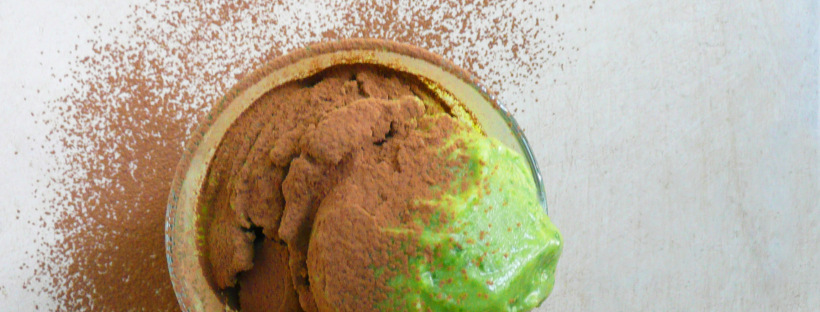
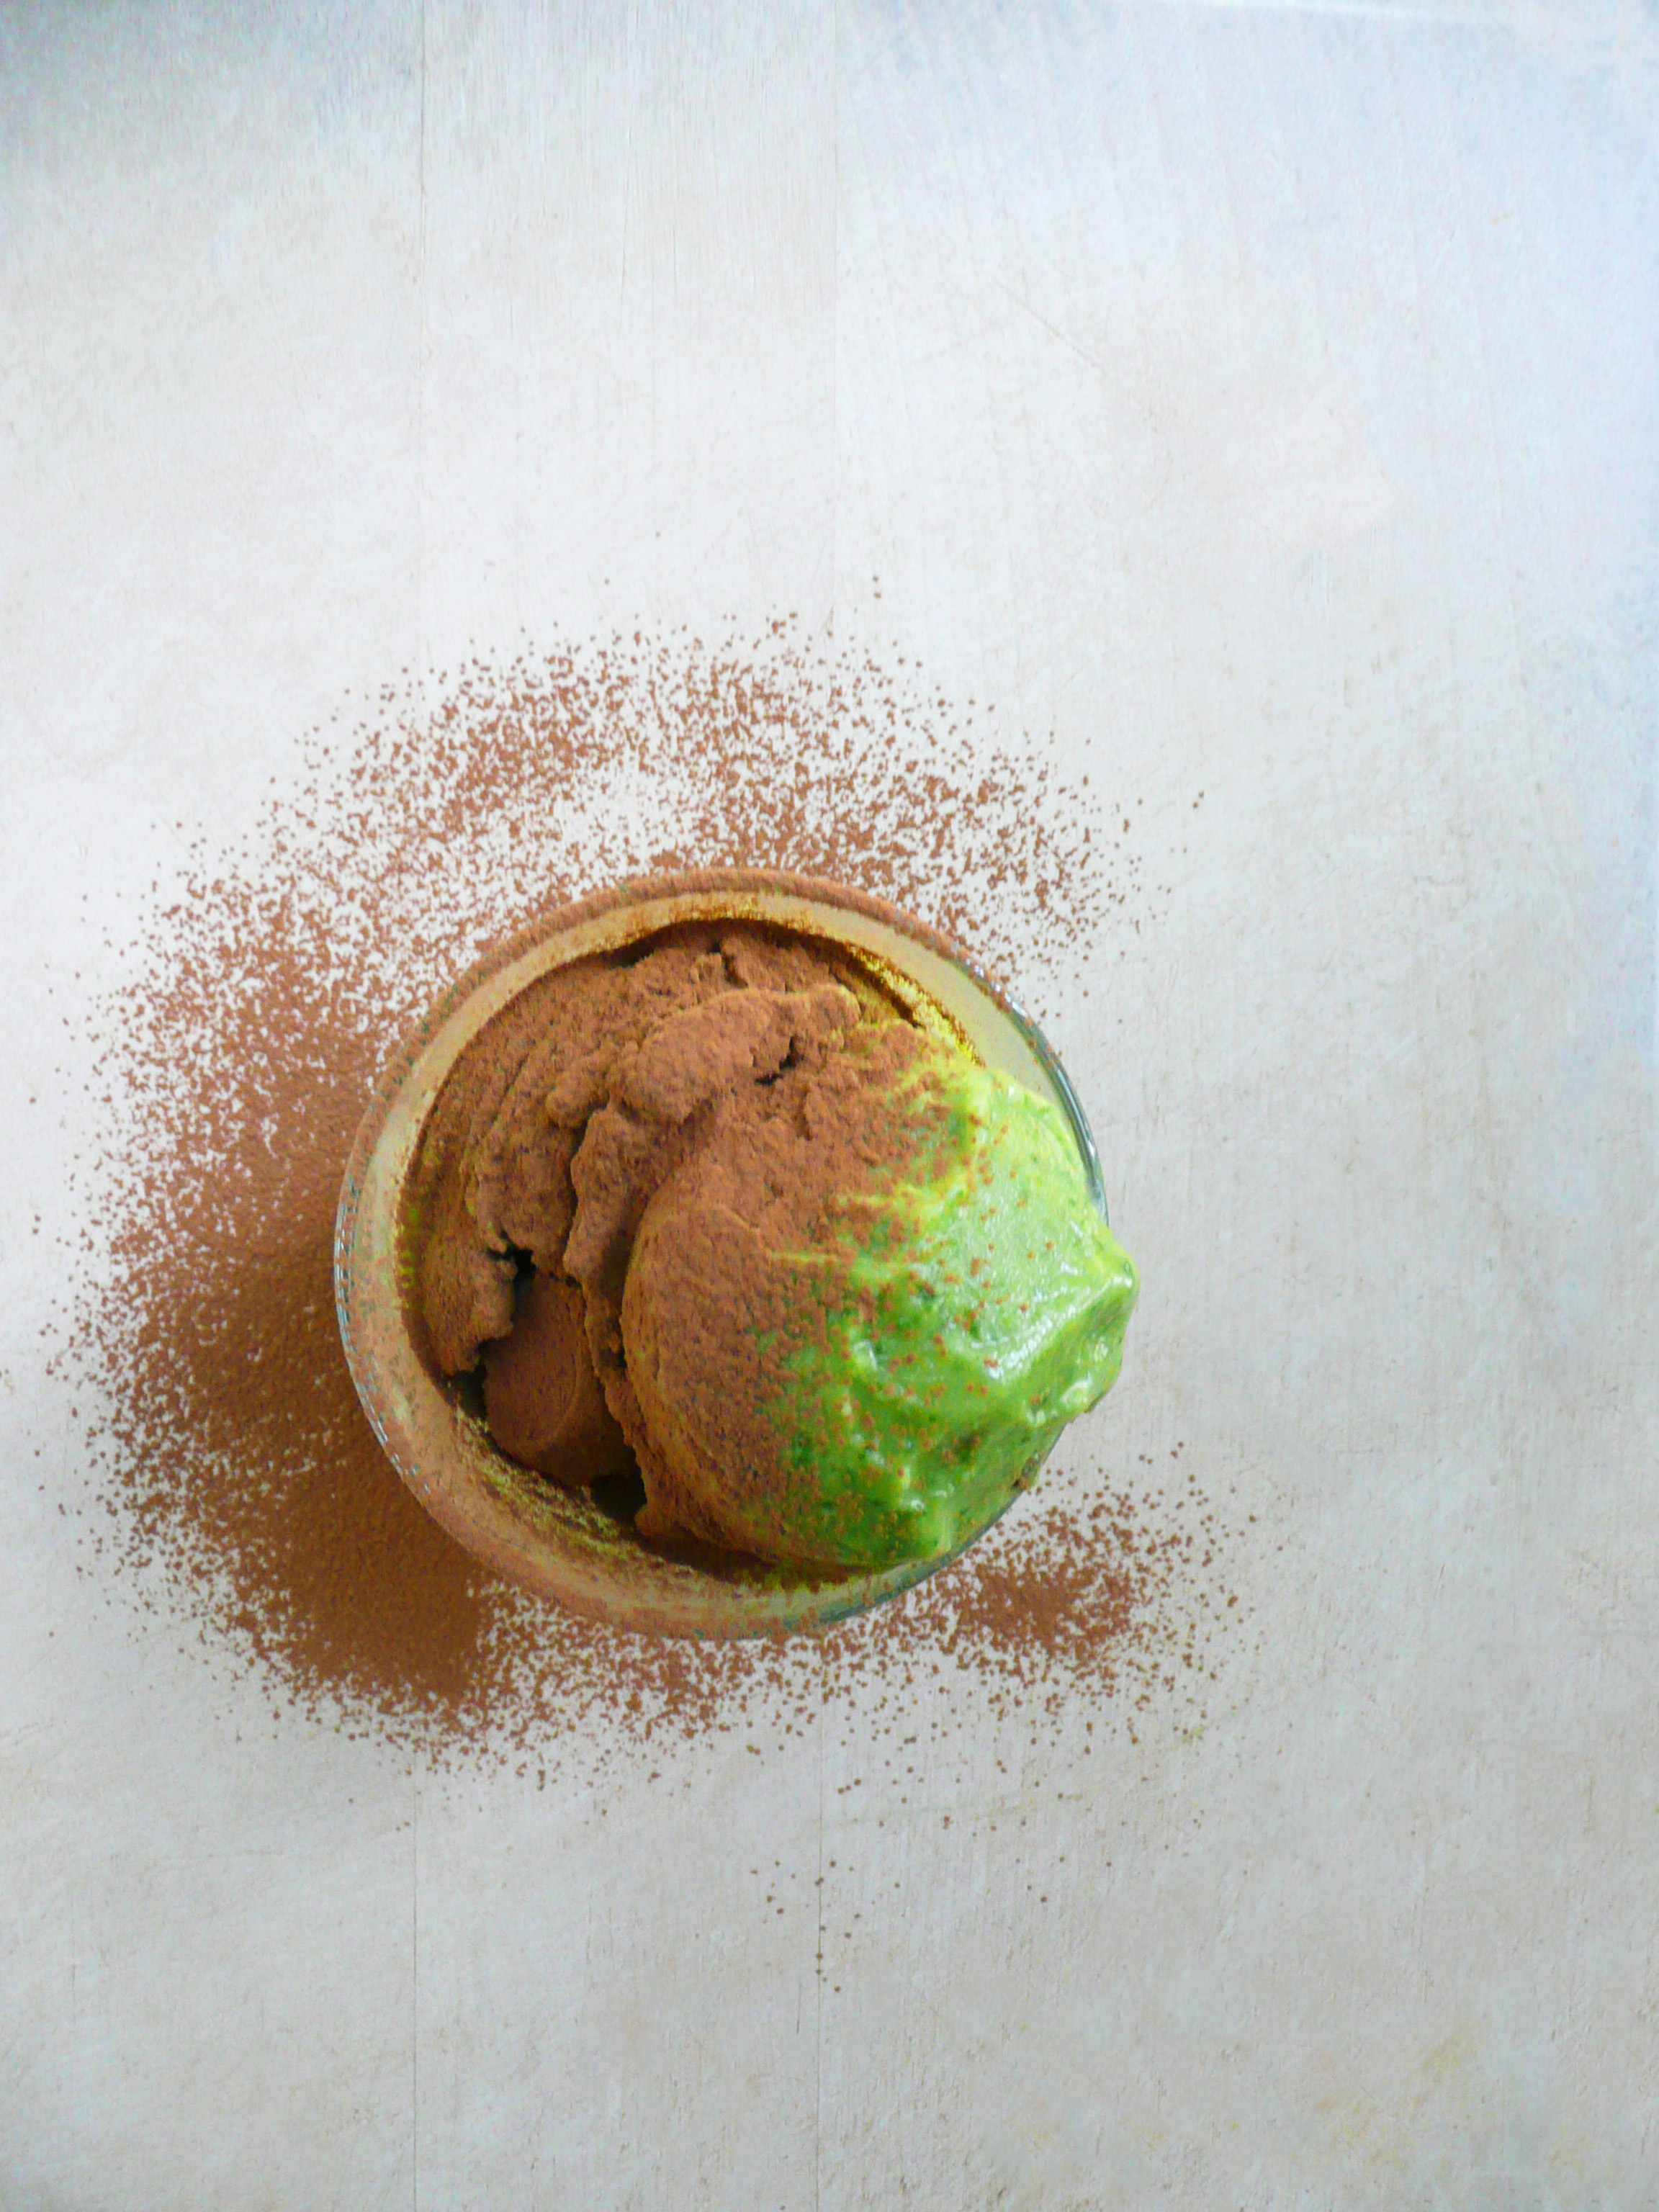
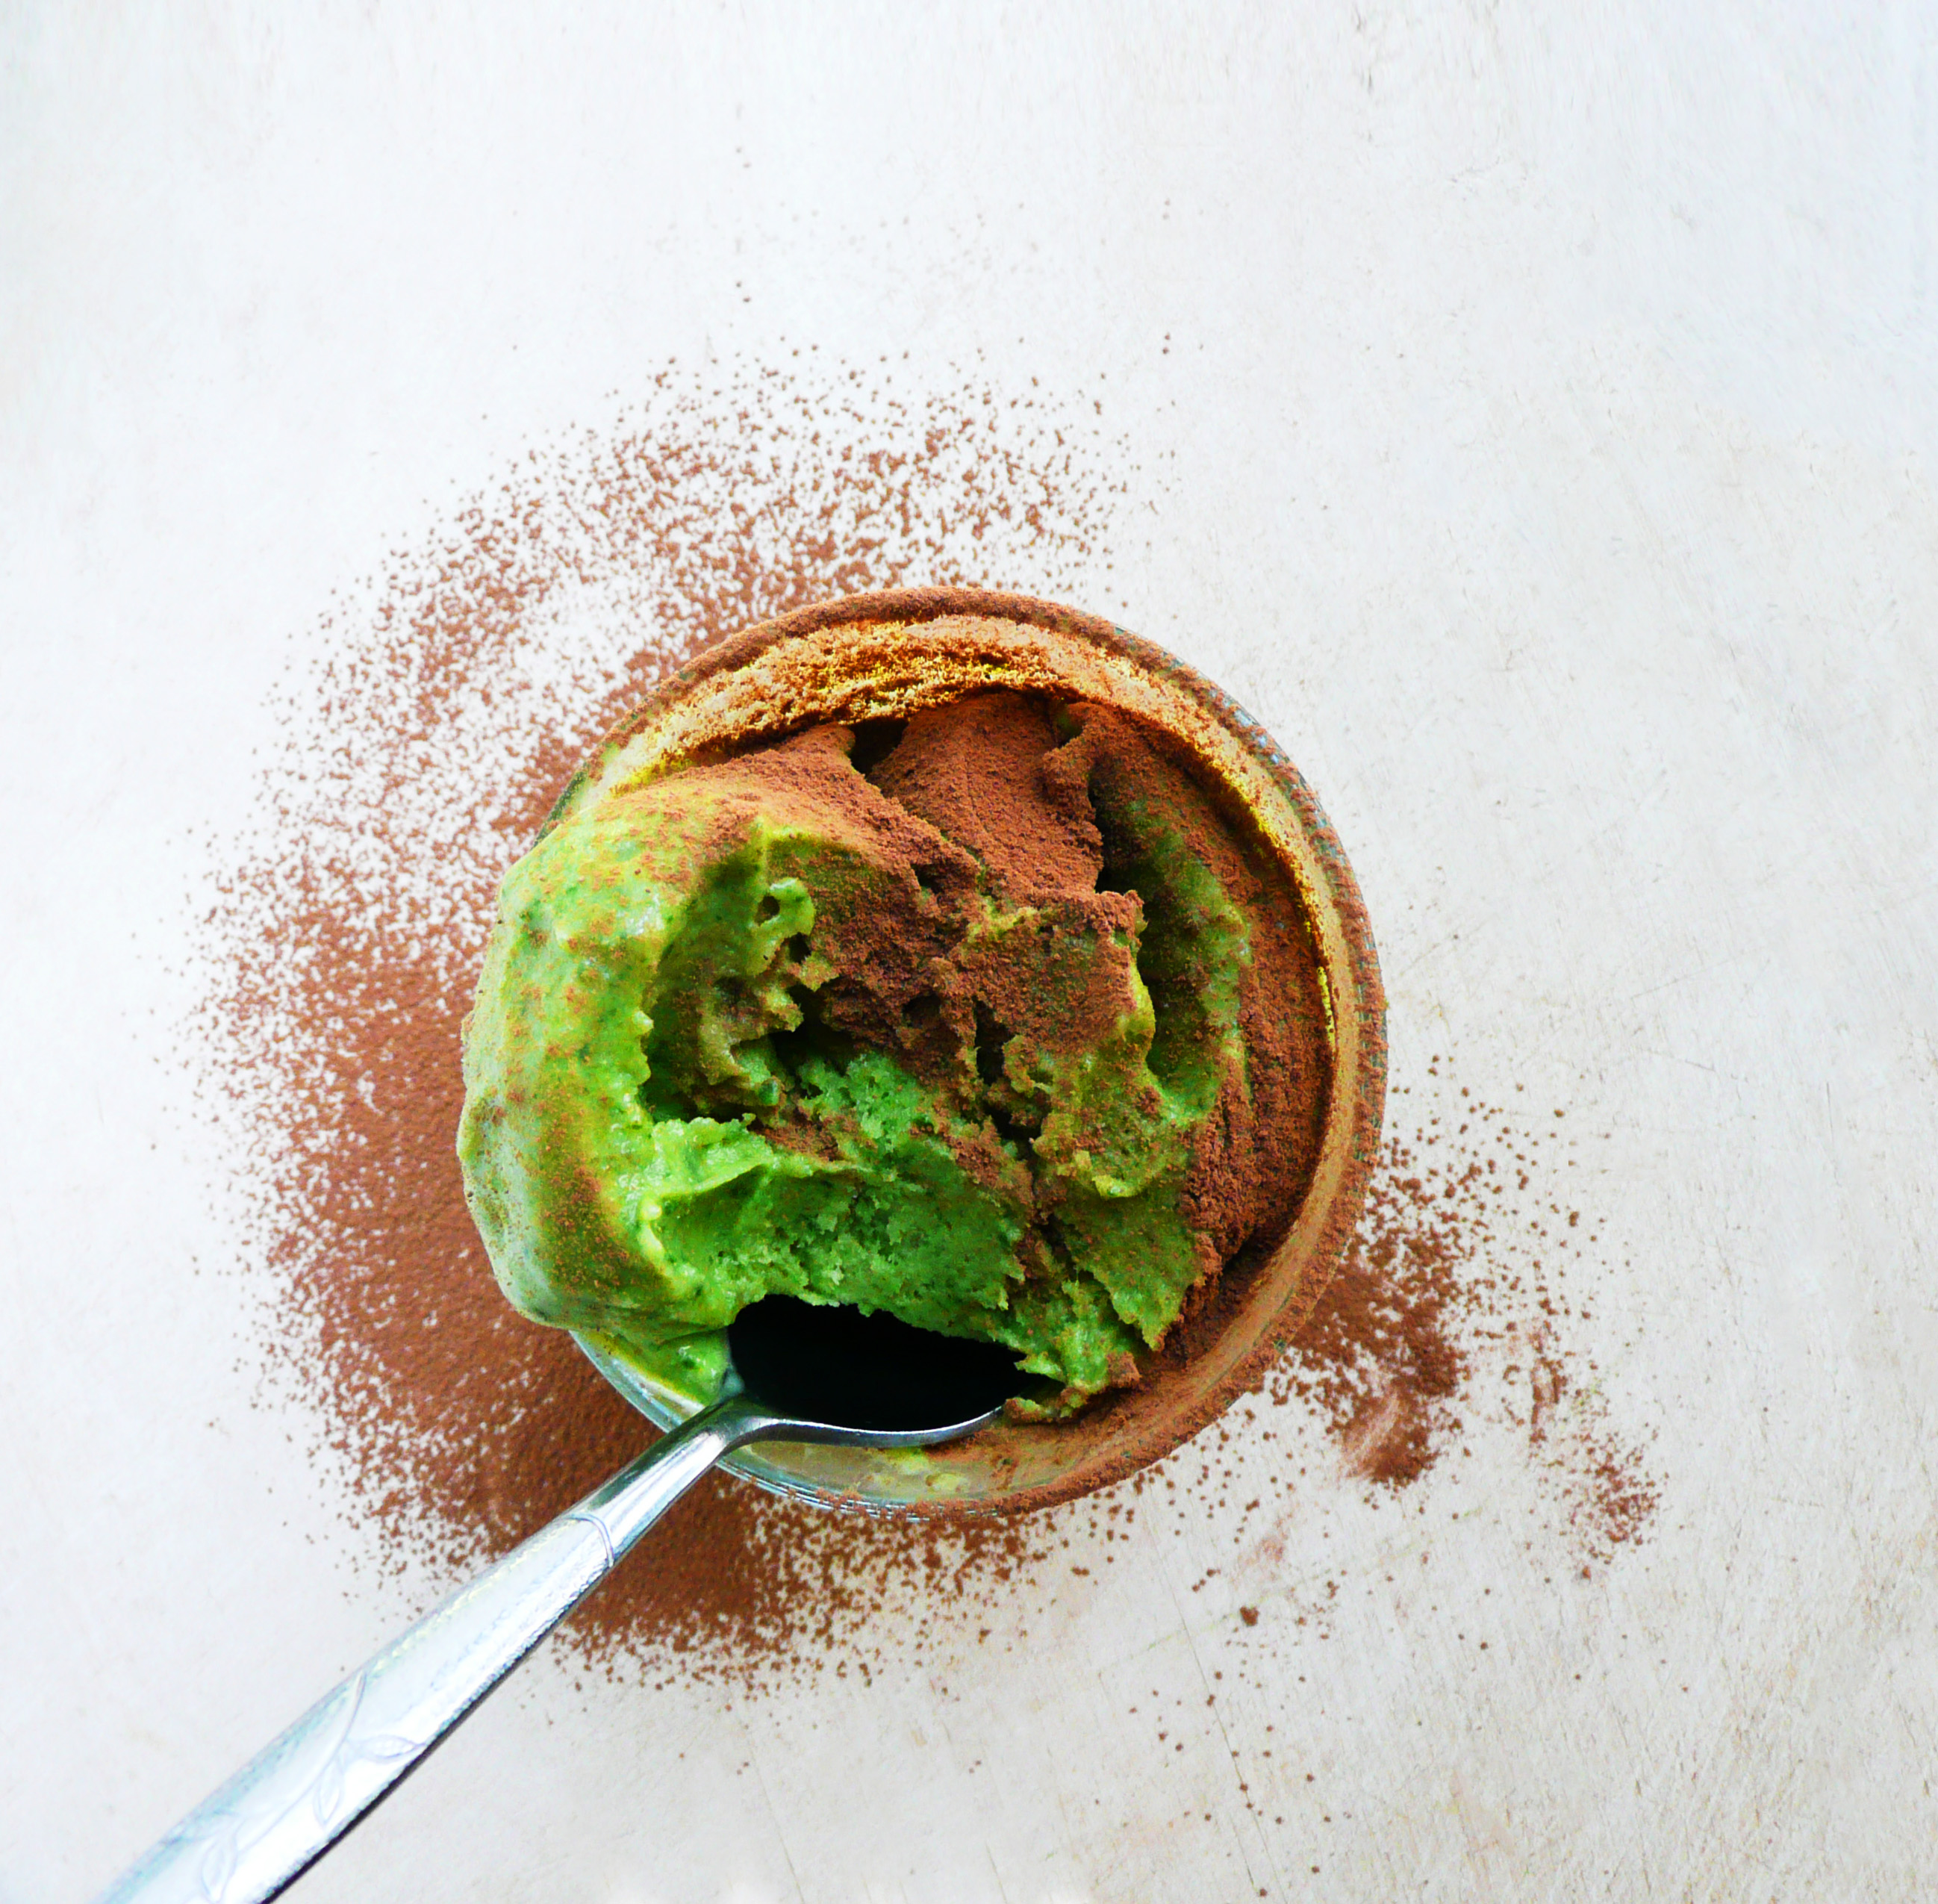
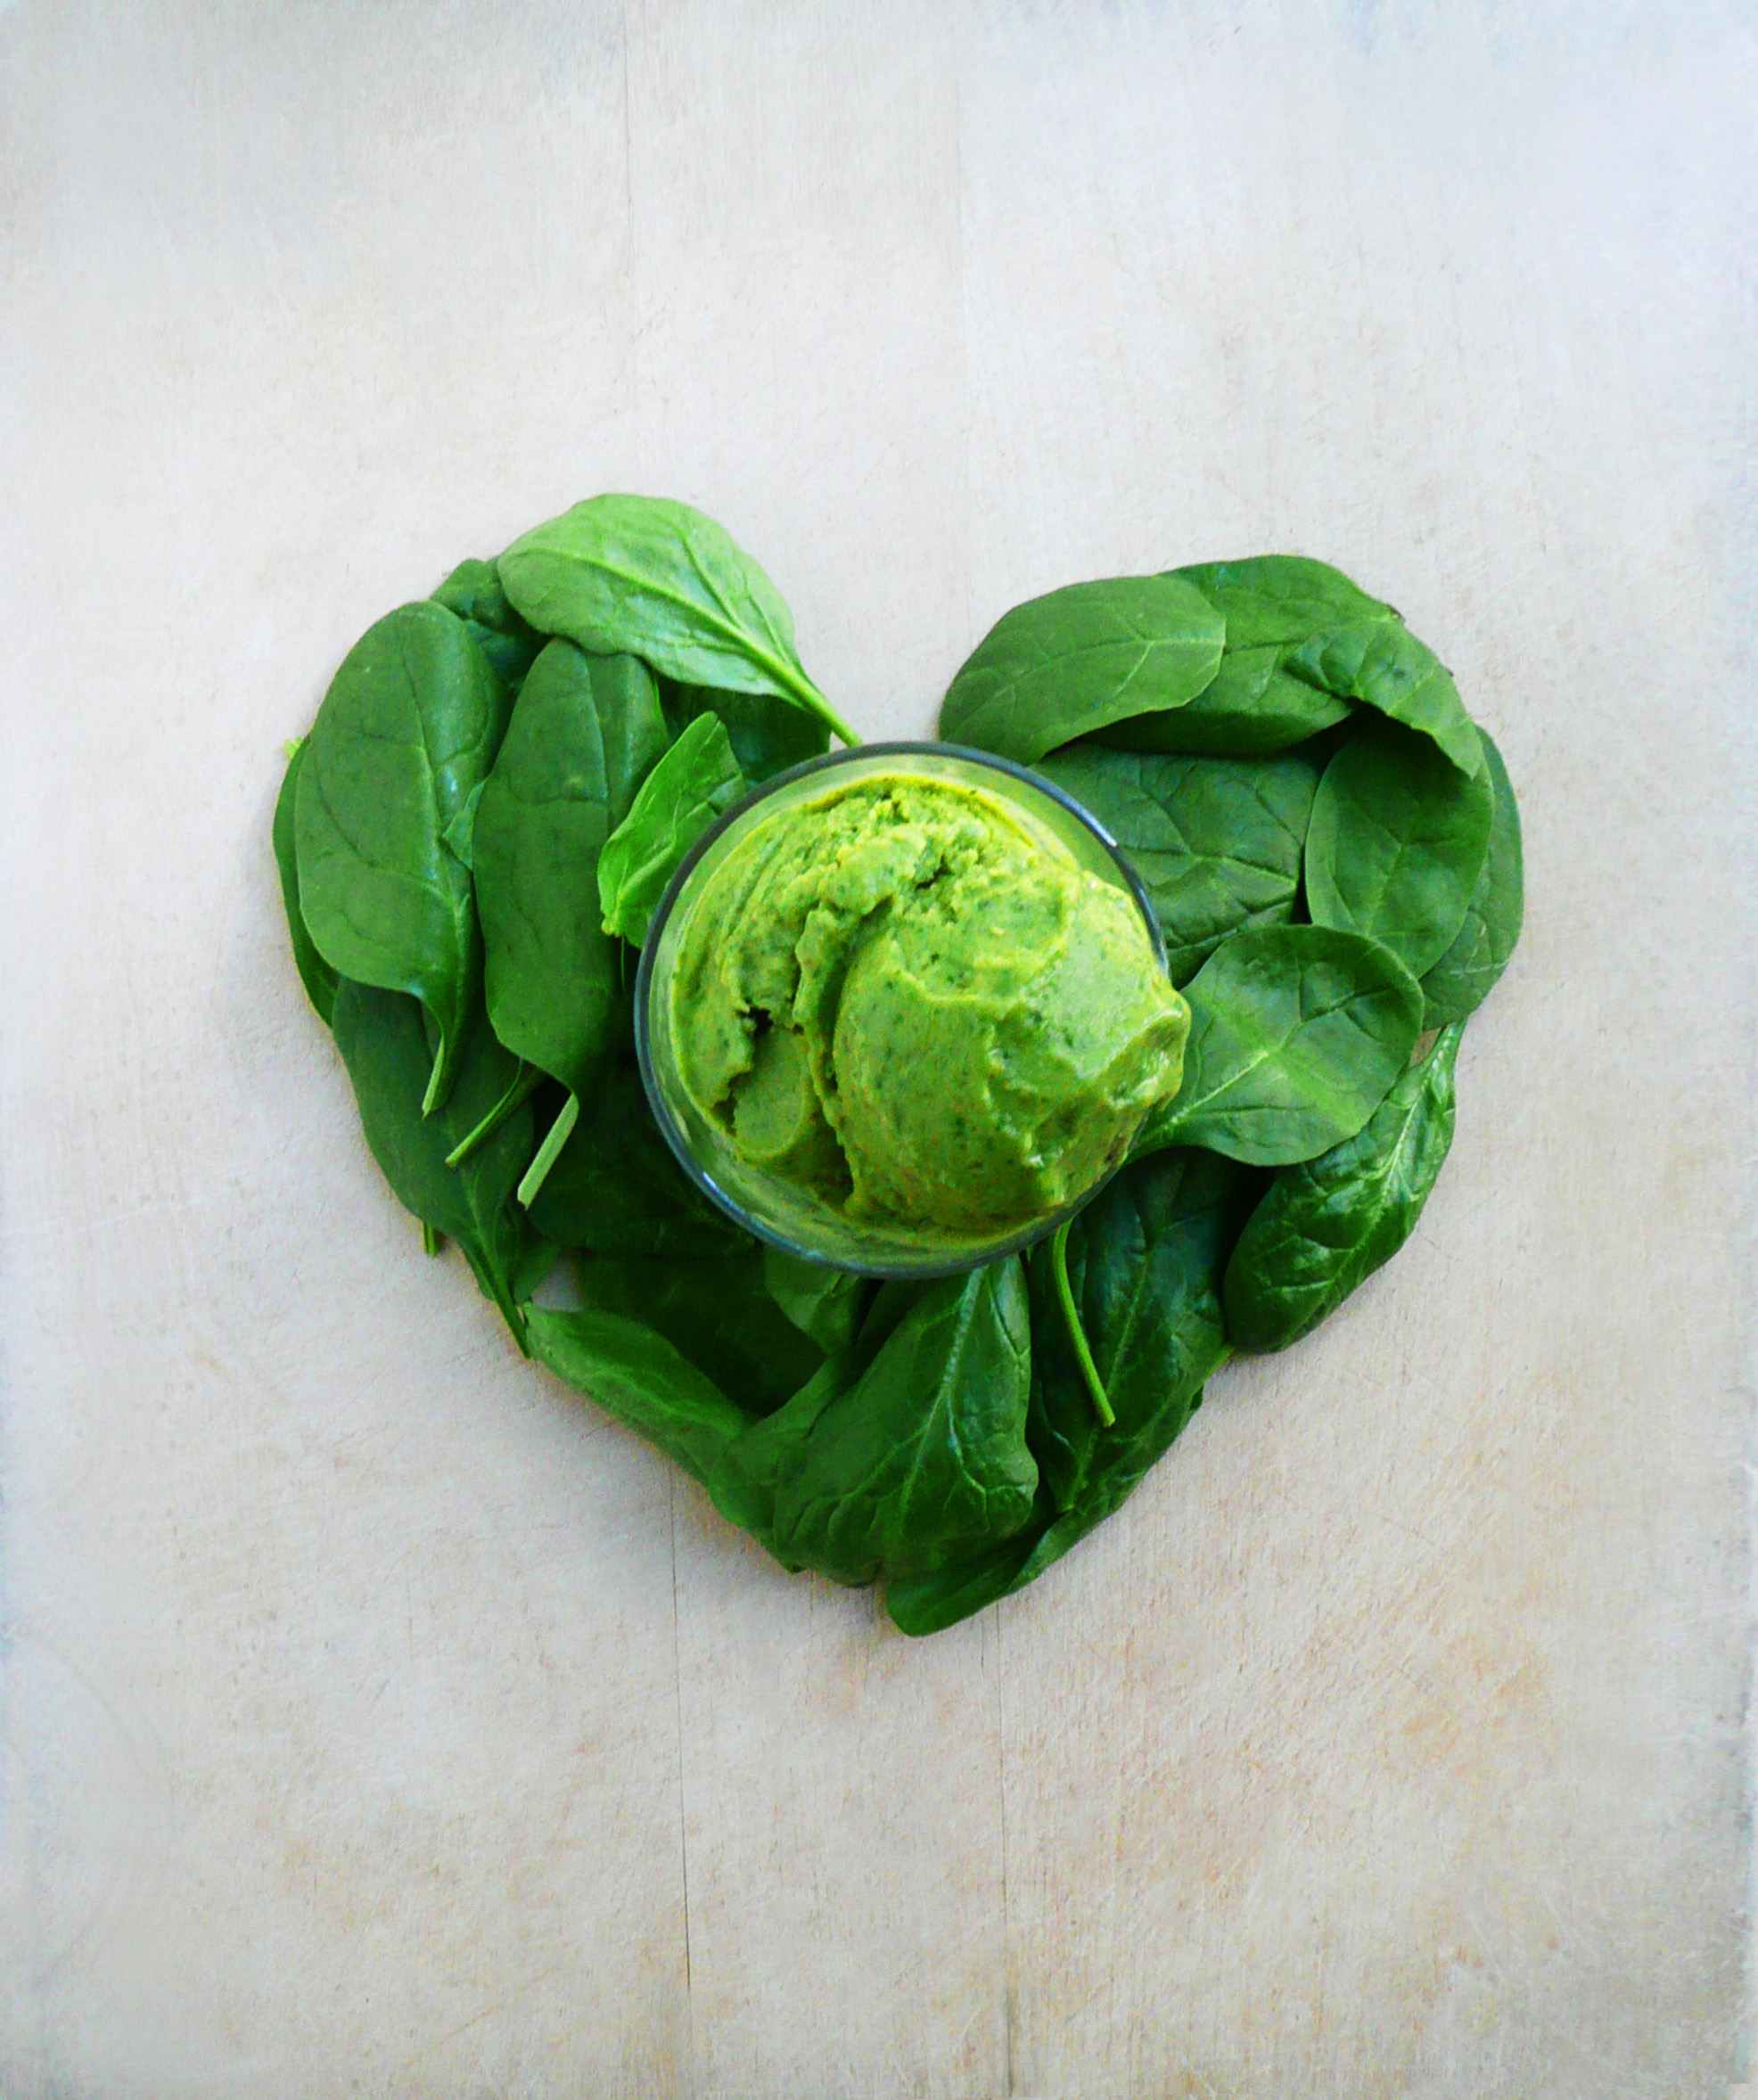
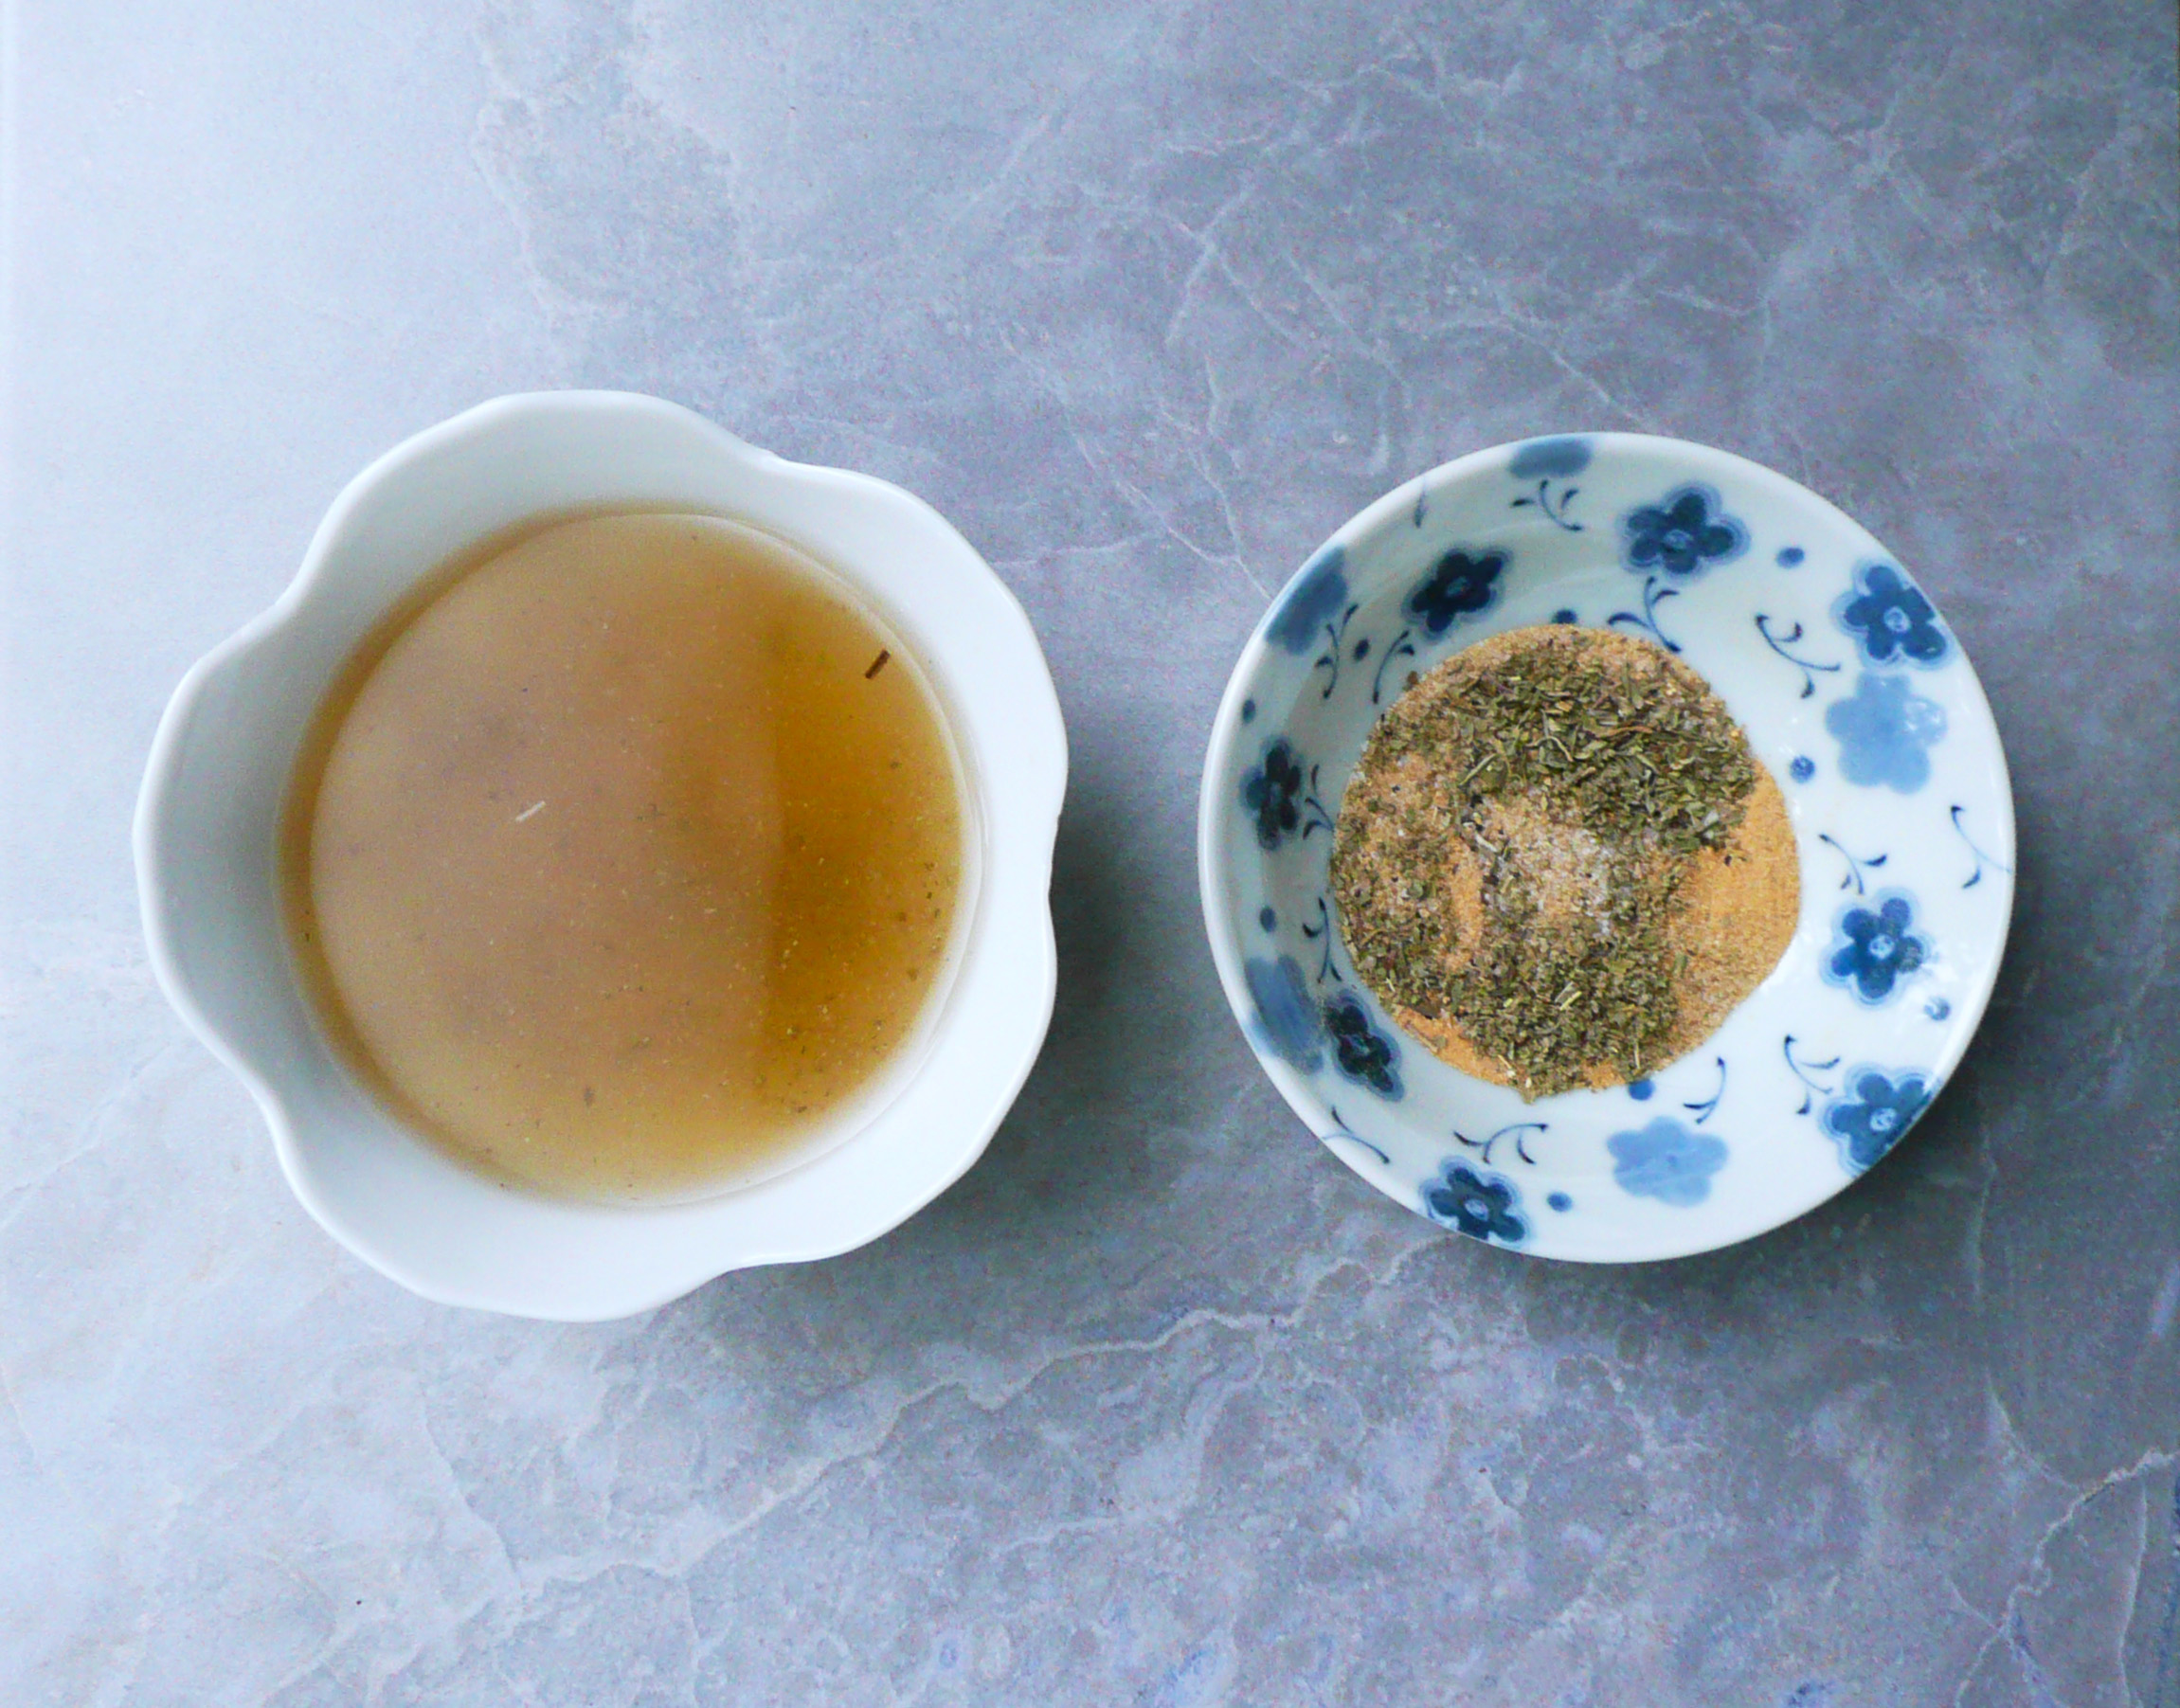
(Parsley Green Goddess Dressing)

But I’ll let you in on a secret – halfway through every post I would think What’s the point?

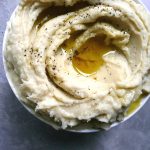
During every single one of those posts I worried that my photography wasn’t good enough, and that my writing wasn’t good enough. I worried that the blueberry muffin recipe that I had tested 7+ times was never going to come out right (turns out the 10th try they came out perfect!)

p1080289-1

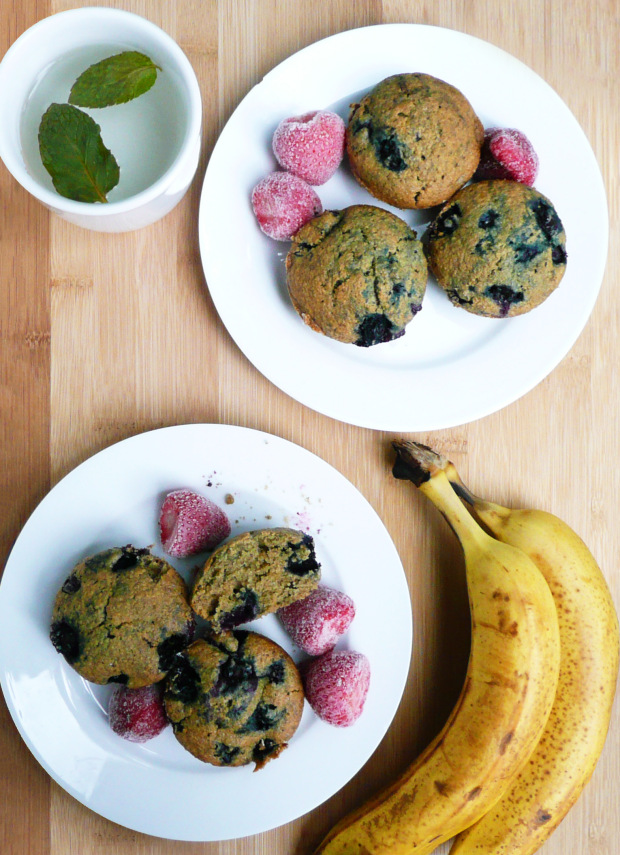
(Muffin Success! Finally…)

A year after starting this blog I’ve learned that the point is still that you try anyways. You do your best, and it’s probably going to work out ok.

Not everything is a smashing success, I only post the recipes that I’m proud of on the blog. The recipes that didn’t turn out so great I just worked on and polished until I knew that they were the very best that I could make them.

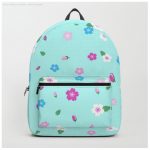
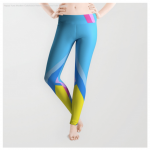
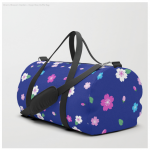
This year I designed leggings, backpacks, duffel bags, t-shirts, art prints, and even furniture for my society6 shop! I had no idea that was possible a year ago!

It’s so exciting when someone buys something that you made because they think that it’s cool, and the fact that I’ve been able to donate part of my earnings to a girls education charity (a cause that I really believe in) makes having my society6 shop as a creative outlet even more rewarding.

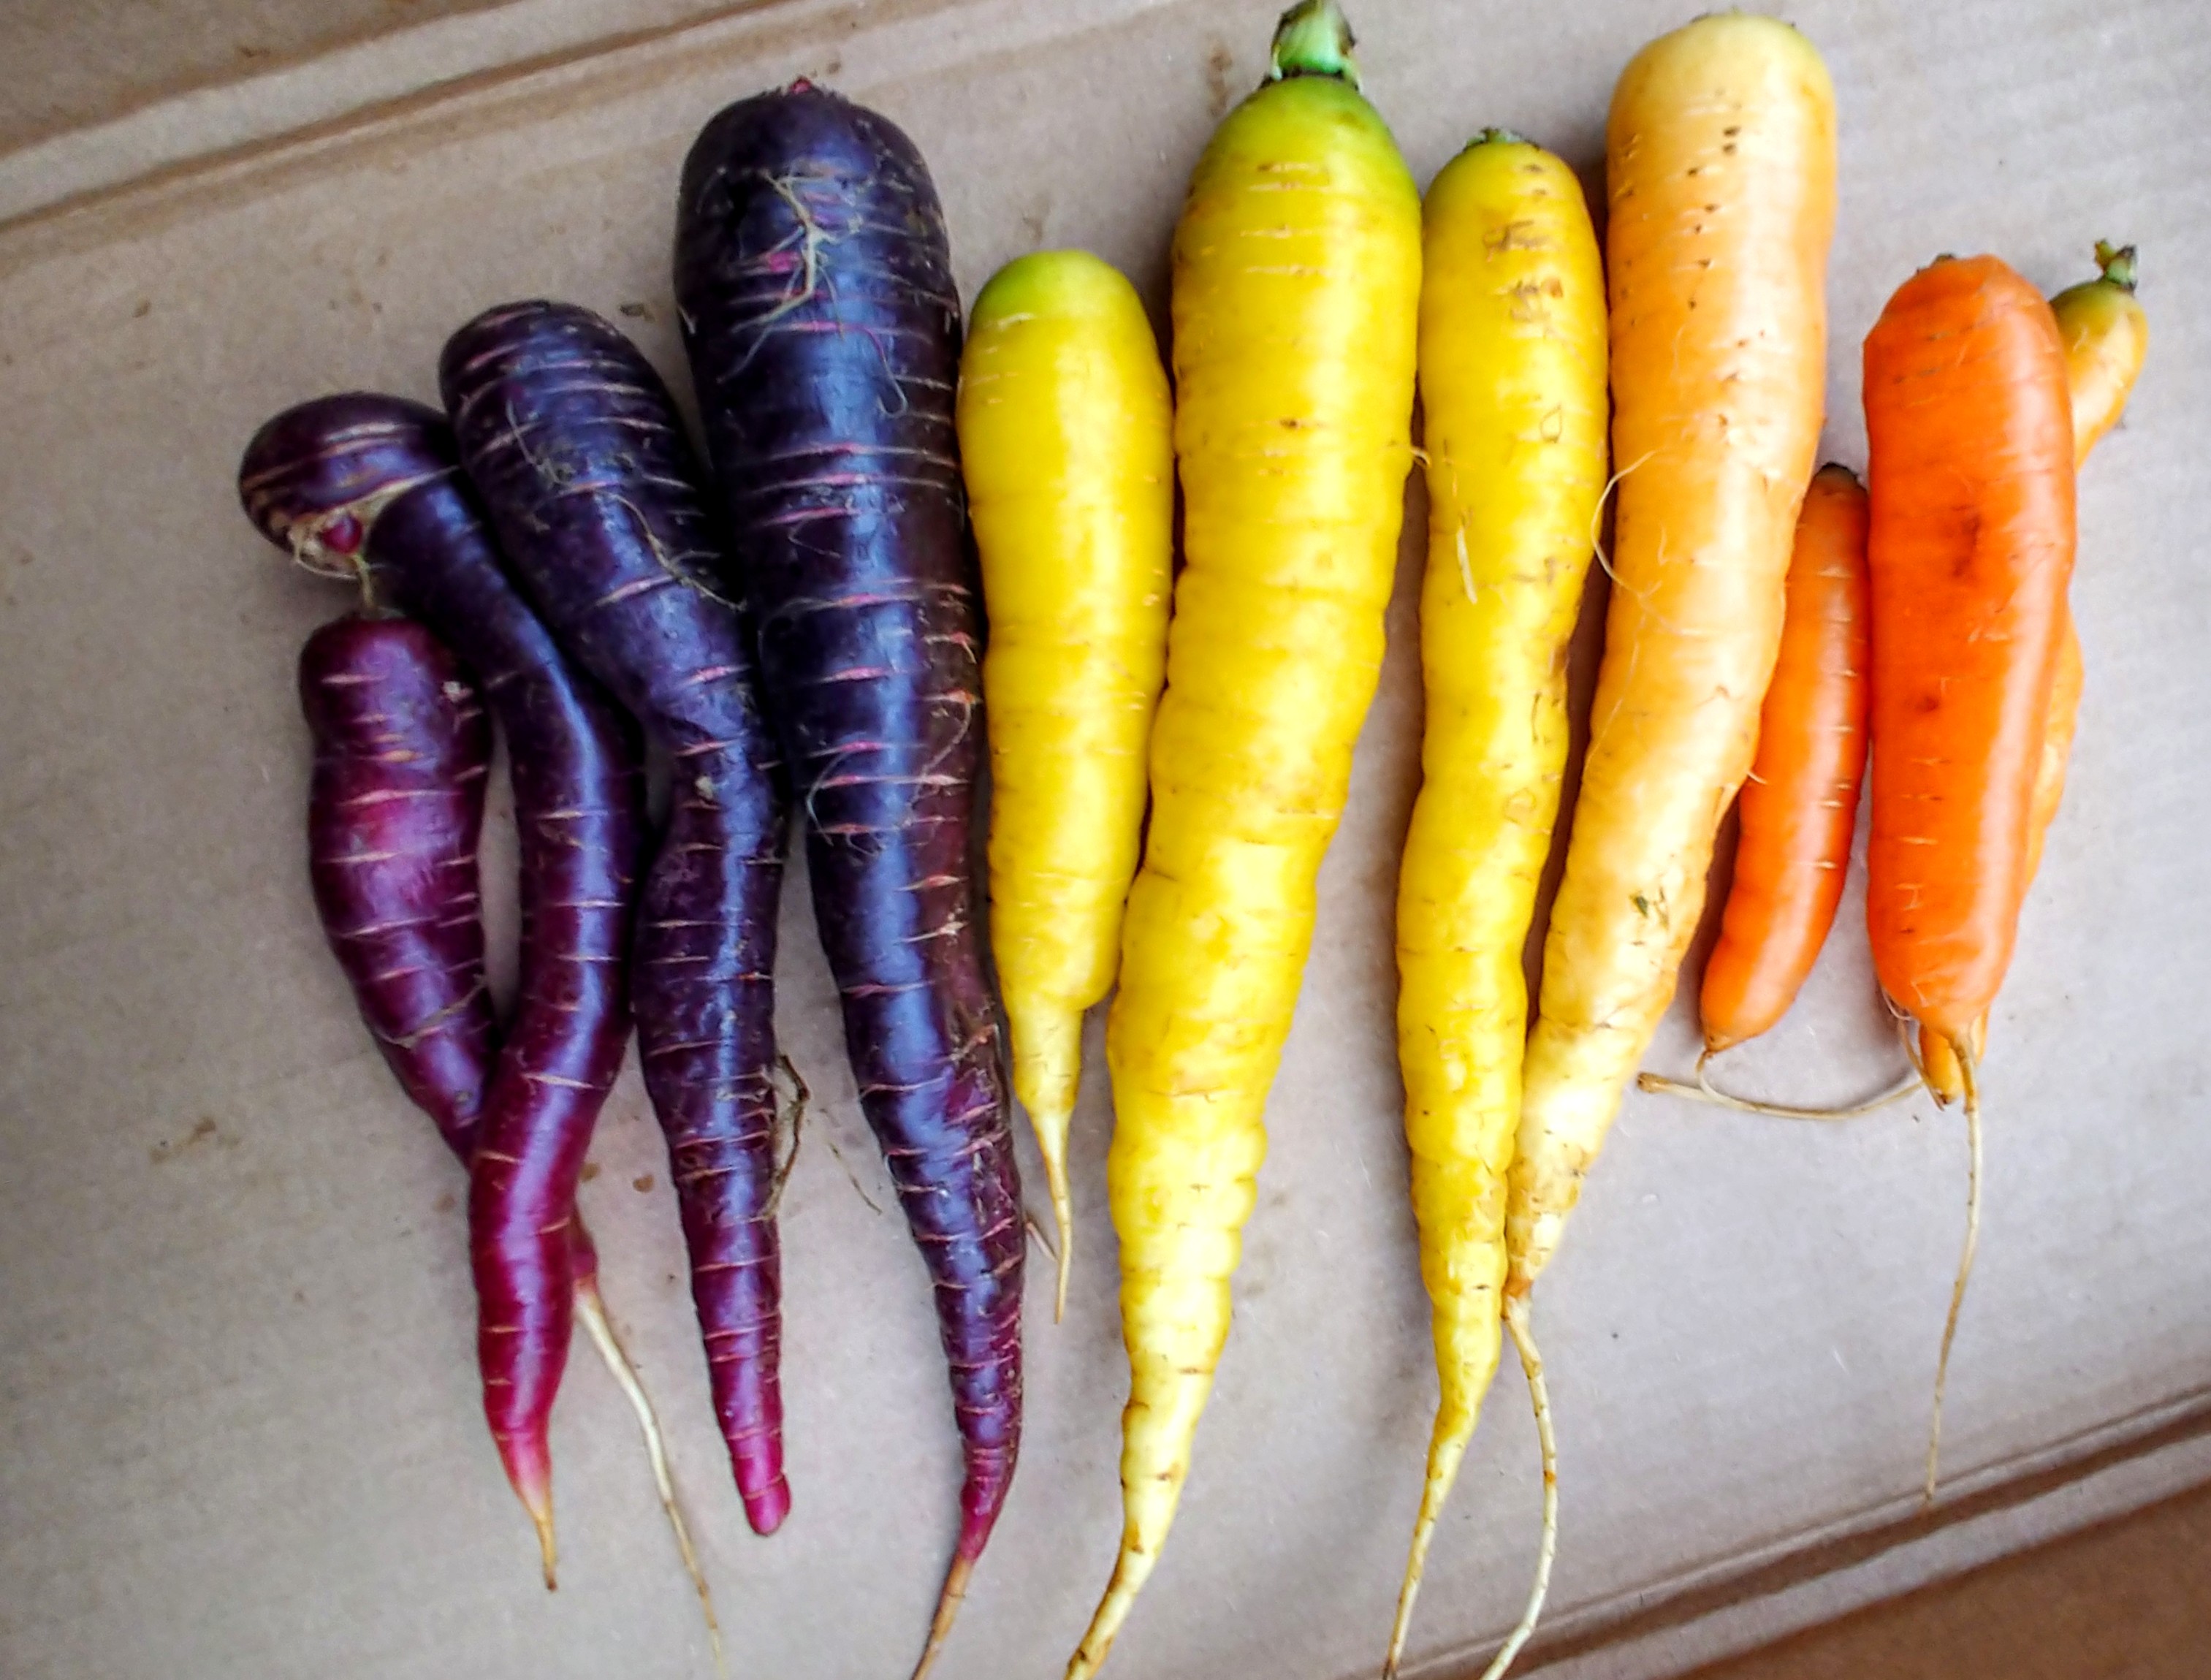
I also discovered the joys of shopping at the local farmers market! It’s so much fun to see all the amazing food that is produced locally and it just makes your heart happy to see all the colorful different kinds of vegetables, squash, and living herbs that you can’t find in a supermarket.

20180930_160635~2

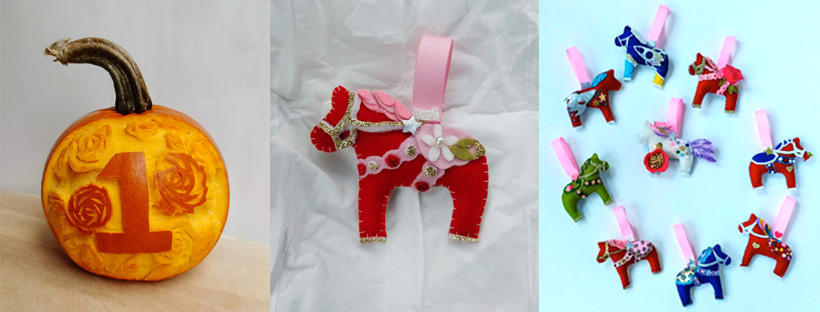
I also tried intricately carving pumpkins this year!

If you want to do this I would highly recommending wearing a stainless steel mesh glove on your non-dominant while you’re carving. 

I carved the pumpkin on the left first, then after a few days I carved it a little more until it turned into the pumpkin on the right.

20181201_144824

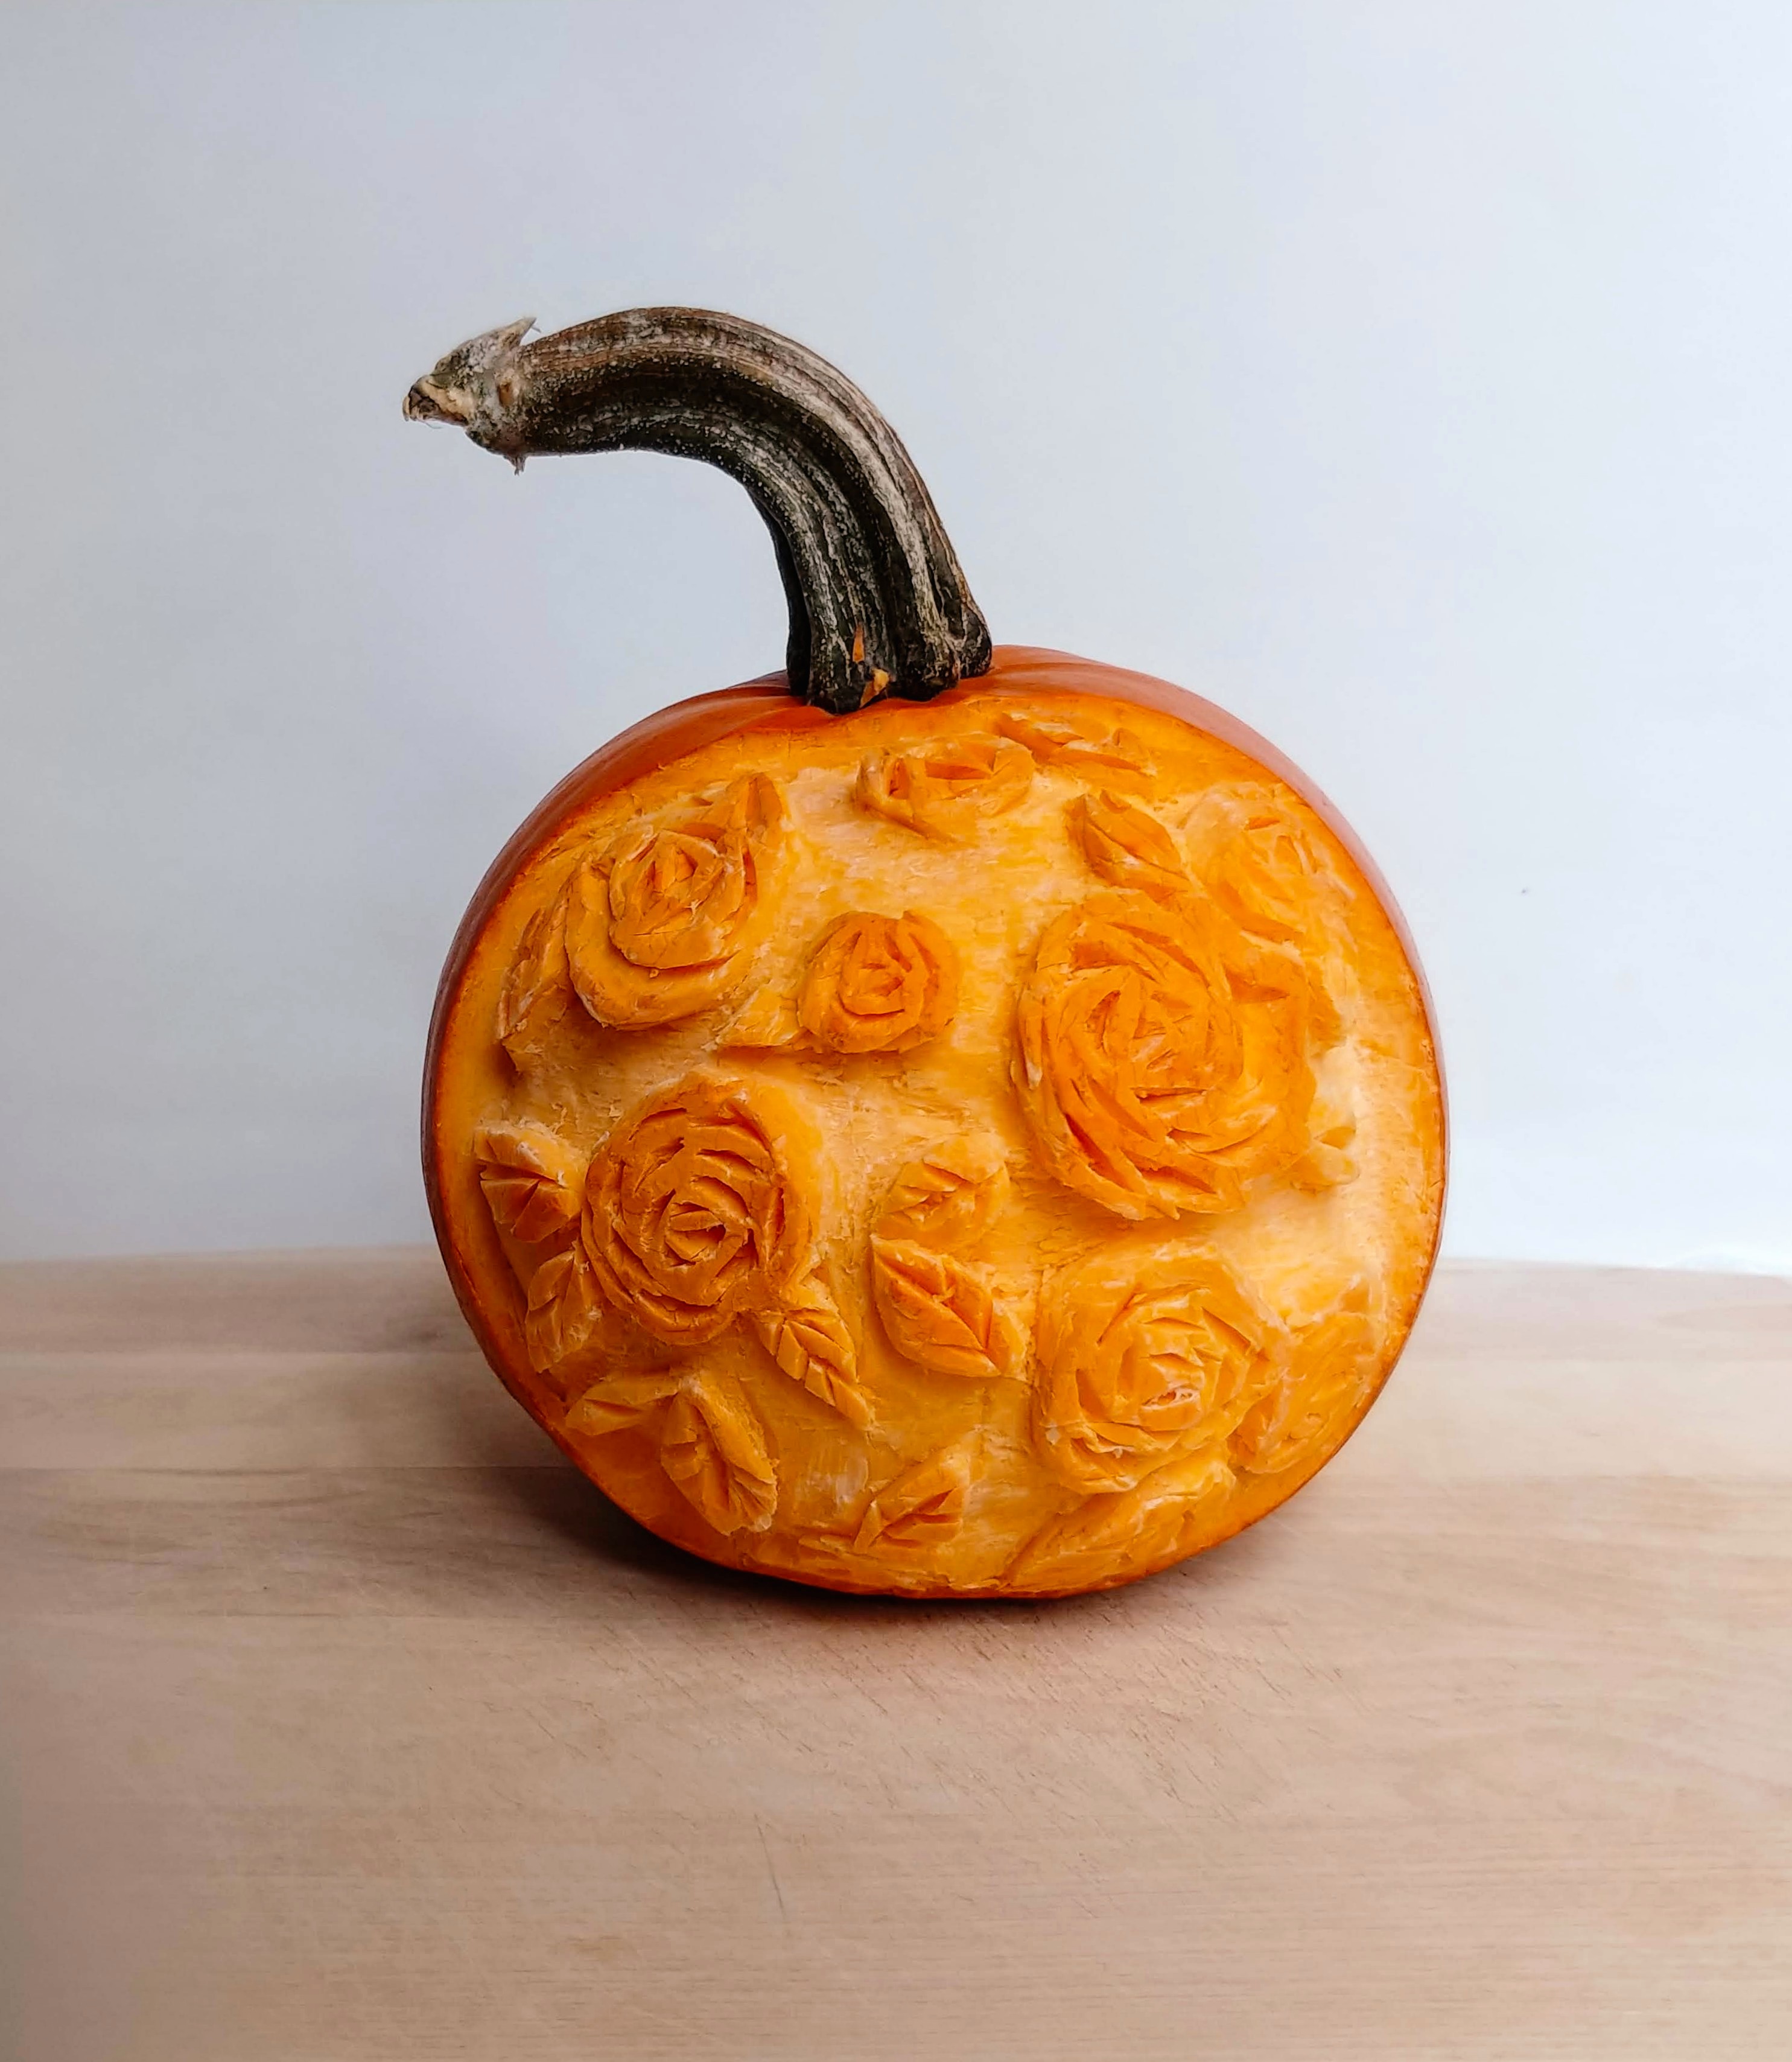
Here’s a closer look at the final result. I’m pretty proud of it I have to say. I watched a few YouTube videos on Thai melon carving and that’s how I figured out how to carve the roses. Maybe I’ll try carving melons next year…

For Christmas I made this Dala Horse for my friend Katie. She’s part Swedish, and I wanted to make her something to say “Thank you for being an awesome friend this year!” This is the first Dala Horse that I’d ever made and loved the process of making it.

20181220_130112-2

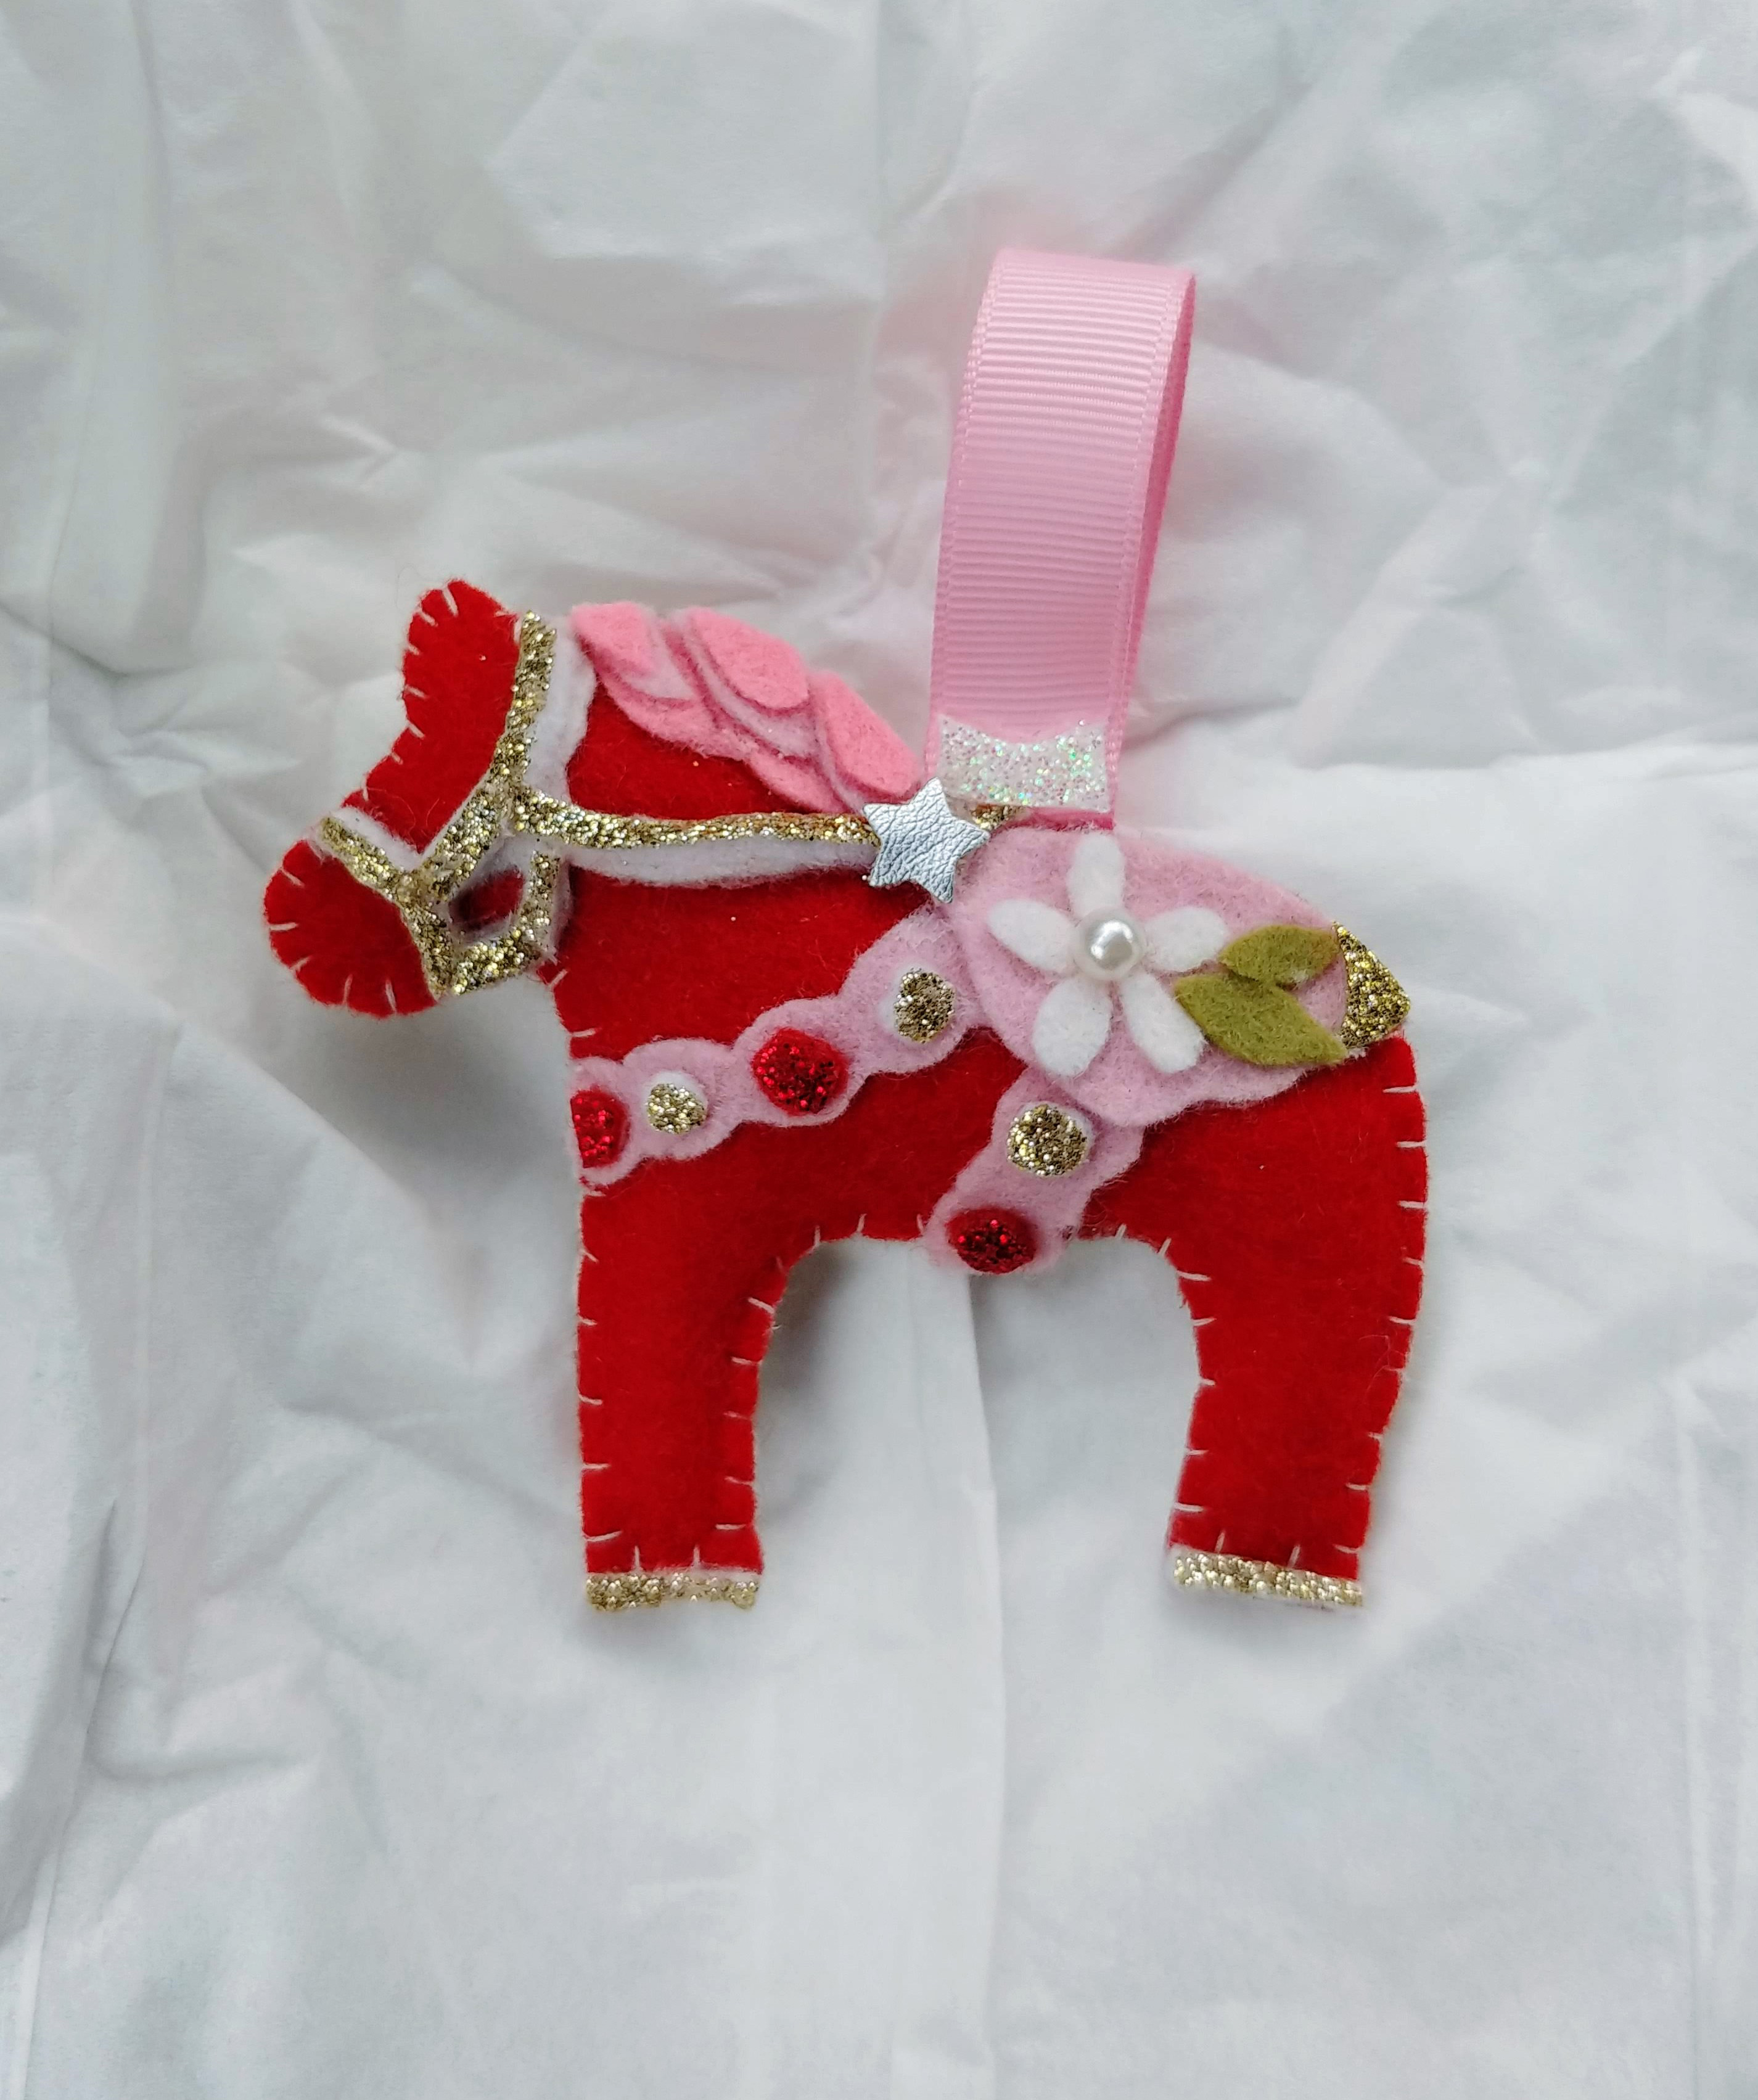
I made it from some red merino wool craft felt that I had been unsure about what to do with. This one turned out so well that I was excited to make more of them.

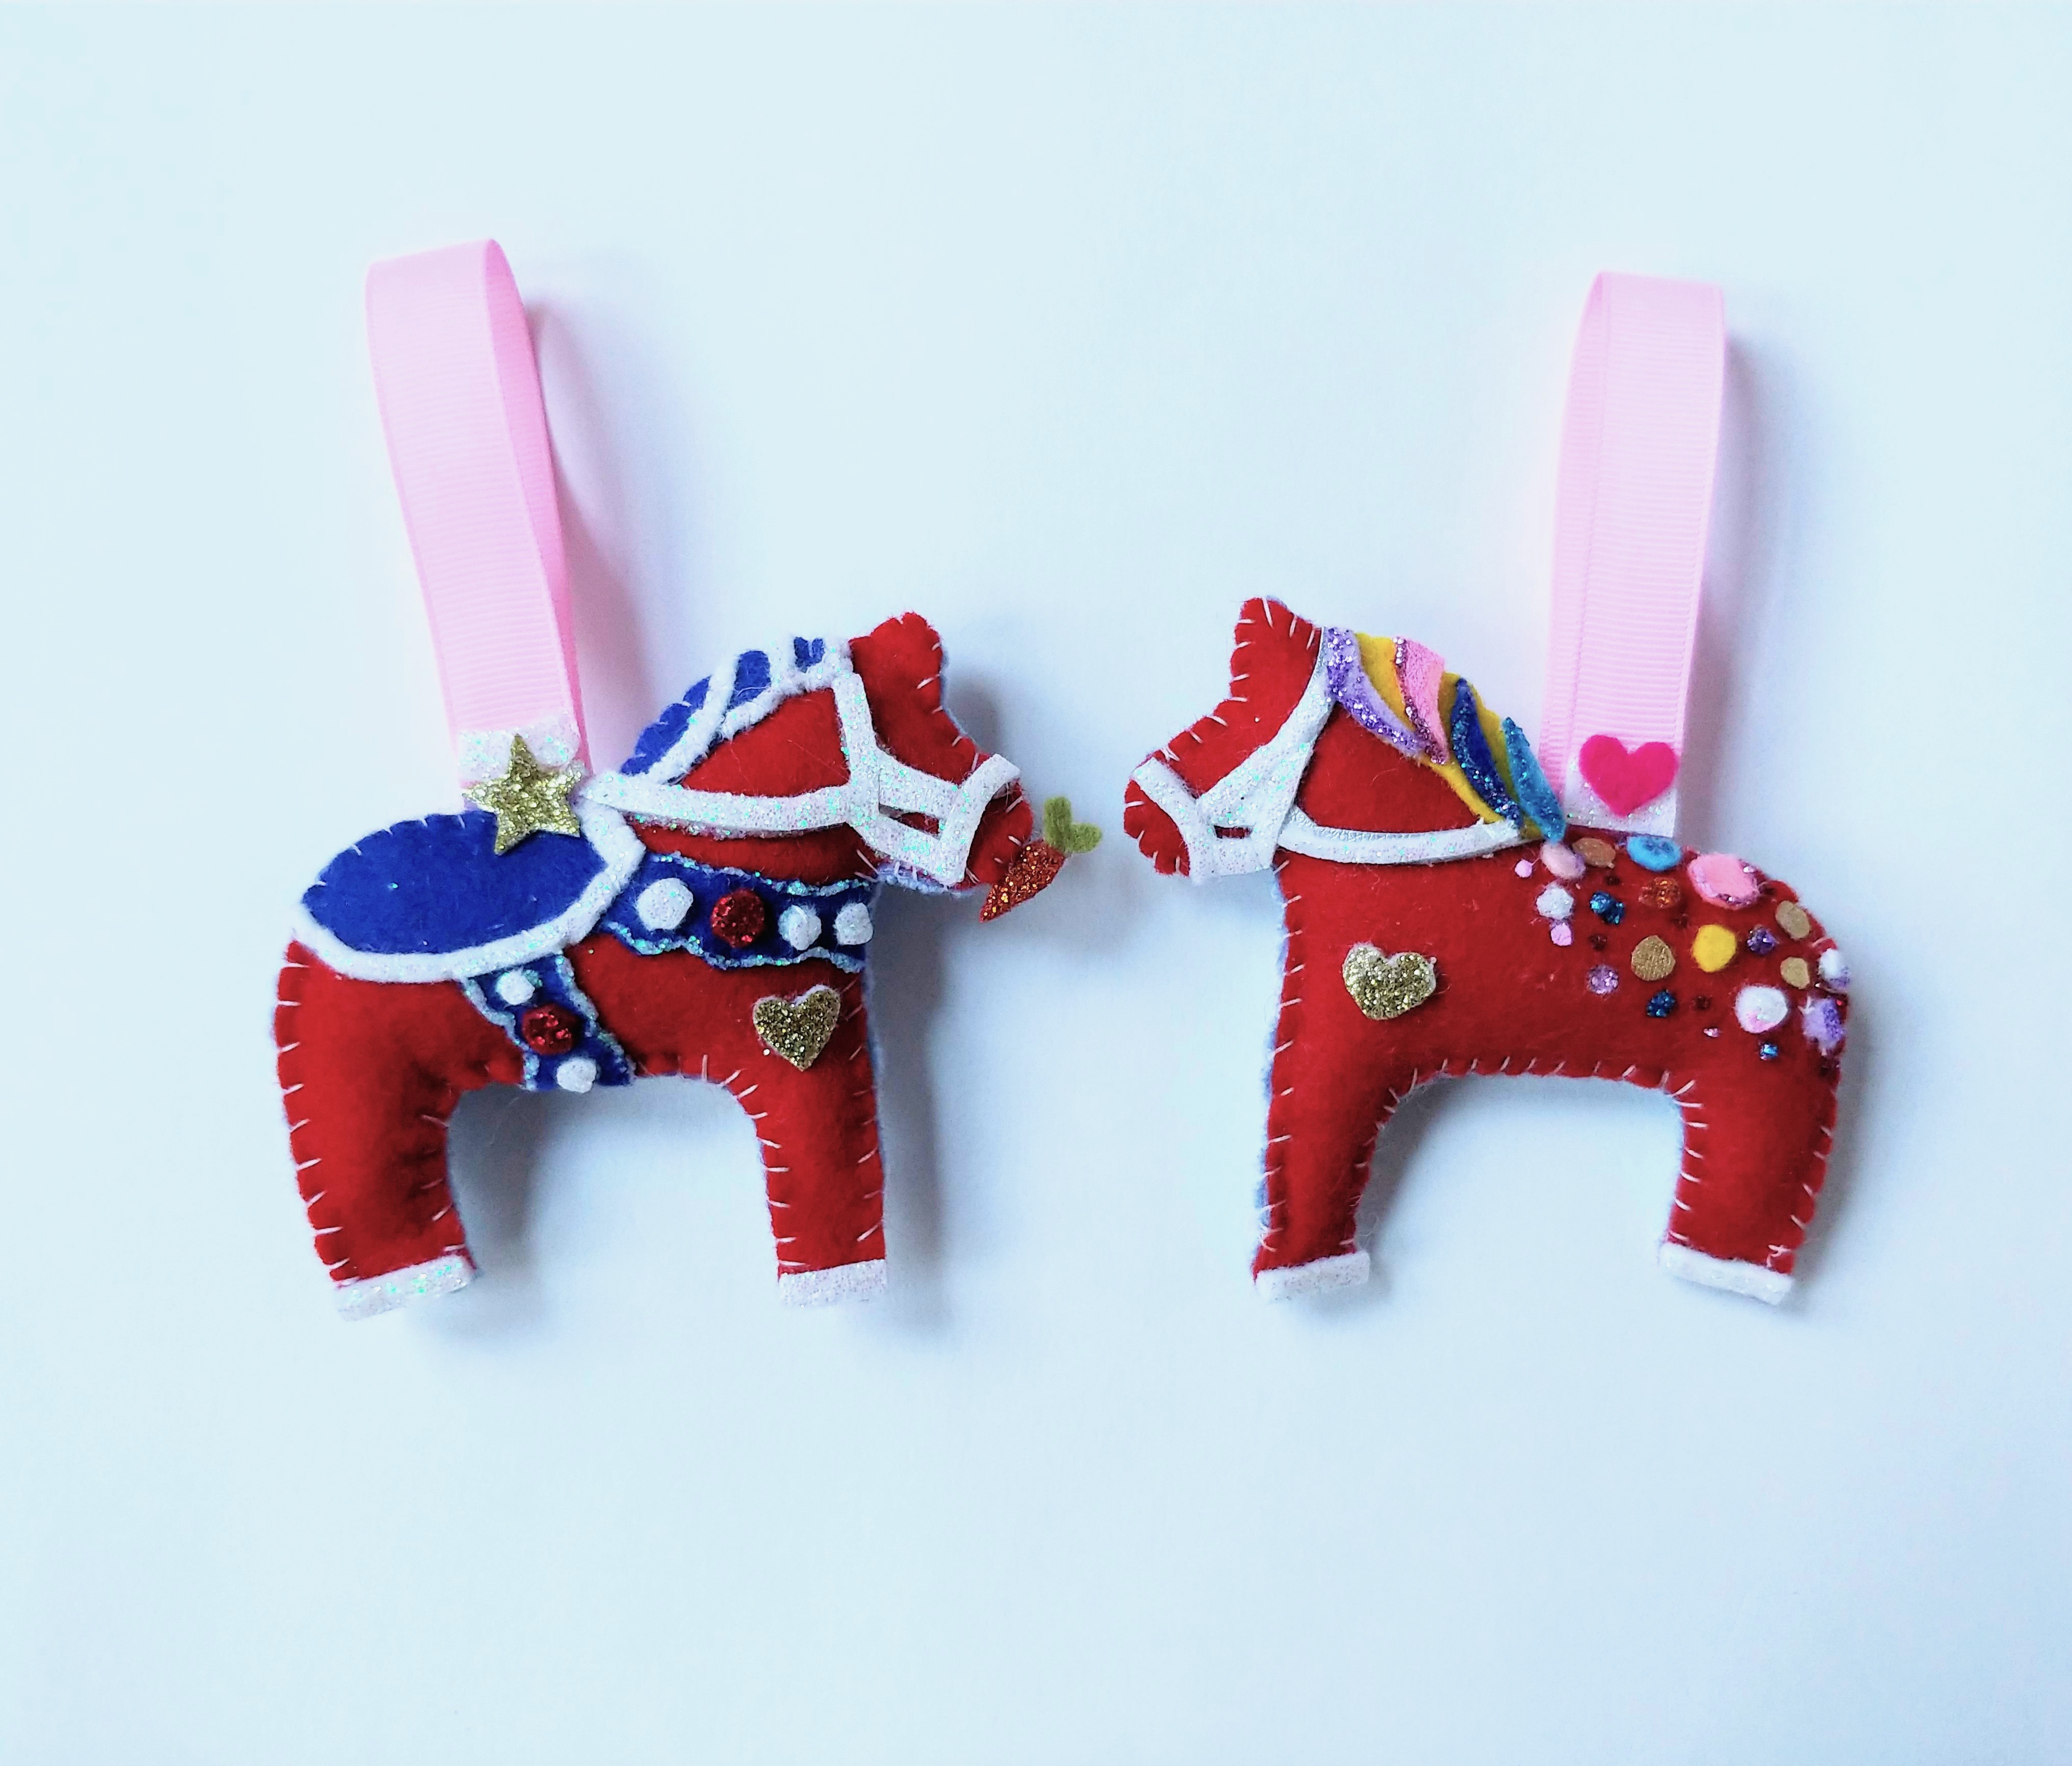
So I made these two horses sharing a carrot…

clone tag: -4019565997308188355

Then I made a few more Dala Horses…

clone tag: 7517880155277458167
clone tag: 5206238601296770273

All in all I made 10 Dala Horses this year (personalized for various friends and family members). They took a lot of work (and were made from scraps of things that I had from other projects), but they came out so well!

I hope that 2018 treated you well, and that you are having a great holiday season!


Thanksgiving Chicken

clone tag: 1738347936203128812

I love Thanksgiving! It’s one of my favorite holidays of the year.

Friends, family, good food. What’s not to love?

One funny thing about Thanksgiving in my family is that I’m the only one that really loves turkey. Everyone else prefers chicken.

But that actually works out ok (even on Thanksgiving)! Most of the turkeys at the local supermarket are really big 20 lb birds, which is way too much turkey for our family to finish, so a 4-5 lb chicken is the perfect size for us. With all the side dishes and desserts (cornbread dressing, mashed potatoes, pumpkin tarts, apple tarts, and pecan tarts), everyone ends up very happy and full by the end of Thanksgiving dinner.

Also, those turkeys are expensive. Even if you buy a conventionally raised turkey, a 20 lb turkey is going to be about $50. This chicken was $8, and it was free-range and organic to boot.

How did I get a free-range organic chicken for $8? I just bought it on the sell by date and it was marked 50% off.

The grocery store also sold a little packet of mixed fresh herbs (thyme, sage, and rosemary) for $2.50, that plus an onion and some frozen celery (that I had stashed in the freezer from about a month ago) meant that this beautiful roast chicken added up to about $11-$12 for 4-6 servings. Much more affordable than $50.

And if you’re far from home this Thanksgiving, and you’re making dinner for two, you can make this chicken and have some great leftovers to pack for lunch.

Some great things about this recipe are that it still has all those rich flavors that we associate with a Thanksgiving turkey, AND you don’t even need to make a gravy! You can spoon the rich pan juices from this chicken over mashed potatoes and cornbread dressing to your heart’s content. It will be just as delicious as any gravy, (with less work) promise.

clone tag: 2934890611313498100

Sprigs of rosemary and thyme flavor the chicken from the inside out, and I tuck sage leaves under the skin for some color and extra flavor. The most delicious parts of that chicken are right under those leaves, so make sure to get some chicken with a sage leaf or two!

Thanksgiving Chicken

Makes 4-6 delicious servings

Ingredients

4 lb chicken


1/2 an onion (cut into 4 wedges)

2 sprigs of thyme

2 4 inch sprigs of rosemary

8 inch stalk of celery (cut into 1/2 inch slices)


2 1/2 tbsp olive oil

9-10 fresh sage leaves

sea salt

black pepper


1 cup of water


Instructions

1. Preheat the oven to 425 degrees F.

2. Wash your herbs, measure out the olive oil and water, and cut up your onion and celery and set all of this aside onto a separate plate along with some salt and pepper and a few toothpicks.

3. Whether or not your wash your chicken is completely up to you. There’s some controversy about if you should do it or not.

Personally, I do wash chicken before cooking it. I fill a big bowl of water in the sink and submerge the chicken, then pour out the water (this way the water doesn’t splash off the chicken). I do this a few times until the water runs clear. The chicken then goes into your roasting dish (I’m using a 12 inch oval CorningWare casserole dish) and the big bowl goes straight into the dishwasher.

Once the chicken goes into the oven, I sanitize the sink and any surfaces that the raw chicken may have touched.

clone tag: 4547346532438281968

4. Dry the chicken off with a paper towel. Put the onion wedges, thyme, rosemary, and celery inside the chicken and tie the legs together with some kitchen twine.

Gently separate the chicken skin from the chicken breast and tuck the sage leaves around under the skin. If the skin tears, don’t worry about it. The chicken will still be golden brown and amazing! Just use a few toothpicks to arrange the chicken skin back into place.

Rub the skin with olive oil, sprinkle over salt and pepper, and tuck in the wingtips using a few toothpicks to hold them in place while the chicken is roasting.

Pour the water into the bottom of the baking dish.

clone tag: 3141653108858848348


5. Roast the chicken for 50 min – 1 hr 15 minutes, or until the chicken is golden brown and a thermometer measures 165F in the thickest part of the thigh.


clone tag: -7849446987528649024

Look at that crispy skin! Yum.

Let the chicken rest 10-20 minutes before carving. Pull out the toothpicks and serve the chicken with the delicious pan juices.

clone tag: 708306459663070278

Ta-da! You just made a glorious roast chicken for Thanksgiving!

One more thing – this chicken still has a little magic left.

After dinner, pull the meat off the bones stash it in the fridge for later. Put the carcass with all the herbs and vegetables still inside of it into a slow cooker with a splash of apple cider vinegar and fill the pot with water (I cut off the kitchen twine before I put the bones into the slow cooker but I’m not sure if it’s really necessary). Turn the heat to low and cook for 24-48 hours.

Strain out the solids, and you will be left with an incredible and flavorful bone broth!

Add in some of your leftover chicken along with some vegetables and you will have a beautiful soup to warm you up on a cold day.

Wishing you and your family a very Happy Thanksgiving!

Elaine

Classic Homemade Deviled Eggs – Paleo

easter egg 2

Like many people, I love a good deviled egg. There is something about these little bites of heaven that is both kind of fancy, but very comforting at the same time.

They take a little time and care, but they are everybody’s favorite thing to eat at a party.

You can top them with just about anything from chives to smoked salmon, but I like paprika on my deviled eggs because it gives a little color and flare, with just a hint of spice.

Deviled eggs are best when they are made ahead of time so that they get a chance to get nice and cold in the fridge. You can store them in an airtight container and snack them if you get hungry, or make a big batch of them and bring them to an Easter party this weekend.

easter egg 3

Classic Homemade Deviled Eggs

Makes 4 deviled eggs (but you can easily scale this recipe up)

Ingredients

2 eggs

2 tbsp of mayo (I used an avocado oil mayo, but feel free to use your favorite mayo)

1/2 tsp yellow mustard

3/4 tsp water

Sprinkle of paprika for garnish


Instructions

1. Place your eggs in a pot and cover with about 3/4 – 1 inch of room temperature water. Cover and bring the pot to a boil over medium high heat. Take the pan off the heat, and set aside (keeping the lid on the pot) and set a timer for 12 minutes.

2. After 12 minutes, take a slotted spoon and transfer the eggs to a big bowl of ice water and let them sit for 20 minutes. Peel and slice the eggs in half. If the eggs still feel warm at this point, transfer them to an airtight container and refrigerate until completely cool.

If the egg yolks are too warm when you mix them with the mayo, the filling for the deviled eggs will split, so you want the eggs to be nice and cold before you move on to the next step.

3. You can mash up the filling for the deviled eggs in a bowl with a fork, but the I find that the way to get the smoothest texture is to use a food processor. Add the cooked egg yolks, mayo, mustard and water to a food processor and blend until smooth (or mash together in a bowl with a fork, it will taste just as good).

If the food processor overmixes the filling and you see that the filling has separated, that’s ok. It’s an easy fix.

Add a few drops of water to a bowl with about about 1/4 – 1/2 tsp of the deviled egg filing. Mix together until smooth and it should become creamy and emulsified again. Keep whisking in little bit of the separated filling mixture into the emulsified filling (adding the occasional little bit of water if needed to get the mixture to become smooth again) until all the separated mixture has been whisked into the smooth mixture.

Don’t be afraid to adjust the taste of the filling to your liking. If you like a more spicy deviled egg, add a little more mustard (or use dijon mustard instead of yellow mustard if you want to live on the edge). If you like creamier and milder flavored deviled egg, add a little more mayo. It’s completely up to you, so make the deviled egg that you want to eat.

4. Spoon the filling into a ziploc bag and cut off a bit of one corner of the bag. Pipe the filling into the cooked egg whites and then sprinkle each deviled egg with a bit of paprika.

You can also skip piping the mixture and just spoon it into the cooked egg whites instead to give the deviled eggs a more friendly and comfortable kind of charm.

eggs easter

However you make them, I’m sure that they will taste AMAZING.

Happy Easter!

mint ice cream

Mint Chocolate Ice Cream – Dairy Free, Paleo, Vegan, Refined Sugar Free

mint ice cream

When I first realized that St. Patrick’s Day was coming up, I was at a bit of a loss as to what to make to celebrate.

So I googled “Traditional Irish Food” and pictures of things like shepherd’s pie, Irish stew, and colcannon popped up, along with literally a picture of a potato. That’s right, a plain ol’ uncooked potato.

After I finished laughing for a good solid minute (that lone potato really cracked me up), I decided to go check out what was in the fridge and see if I could come up with a recipe from the ingredients that I already had. After a quick glance at the bananas on the counter, I opened the fridge to find that I still had a big box of baby spinach. After a little tinkering, I came up with a recipe for this gorgeous ice cream.

mint ice cream 4

Ireland is the Emerald Isle after all, and this recipe borrows just a bit of that lush green color just in time for St. Patrick’s Day.

This amazing mint chocolate ice cream is rich and creamy, and you can’t taste the baby spinach at all, but it gives the ice cream it’s lovely bright green color without any food coloring. Little flecks of dark green dance across every beautiful spoonful, making every bite a little more festive, a little more special.

Sprinkle over a little cocoa powder before just serving and every delicious bite will taste just like a Thin Mint cookie, but in ice cream form (which is even better).

mint ice cream 2

That little bit of cocoa gives a little bit of bitterness which goes incredibly well with the brightness of the mint and allows the flavor of the ice cream to really sing.

This recipe is also a great way to use up extra baby spinach and overripe bananas. The avocado oil seems like a funny addition, but it adds a real creaminess and makes it taste more like traditional mint ice cream.

Mint Chocolate Ice Cream

Makes a generous serving for 1 (about 3 scoops)

Ingredients

2 bananas

1/2 cup packed baby spinach leaves

5 1/2 tsp – 6 1/4 tsp maple syrup

5 tsp avocado oil (or any neutral flavored oil)

1/8 cup water

1/8 tsp peppermint extract (or more to taste)

the tiniest sprinkle of sea salt imaginable (optional)

A little cocoa powder to sprinkle over the ice cream before serving

Instructions

1. Peel and slice the bananas into 1/2 inch slices. Put a piece of plastic wrap over a plate and arrange the banana slices in a single layer over the plastic wrapped plate. Cover with another layer of plastic wrap and freeze until solid.

2. Allow the bananas to defrost for 5-8 minutes until just thawed. Add the bananas, baby spinach, maple syrup, avocado oil, water, and peppermint extract to a food processor.

Blend until smooth. Taste and add in the tiniest sprinkle of sea salt if desired, and at this point you can add more mint flavoring if you like (add a drop at a time as this stuff is strong).

3. Once you’re happy with the flavor of the ice cream, scoop the ice cream into a dish and sprinkle with cocoa powder. Serve.

Notes – The bananas that I used were medium sized and they were ripe but were only lightly speckled brown, so if the bananas that you use are very brown and sweet, then you can probably decrease the amount of maple syrup.

The measurements that I ended up using in my own batch were 6 1/4 tsp maple syrup, and 1/8 tsp + 3 drops of peppermint extract (as I like a strong minty flavor in this ice cream).

You can also make the ice cream ahead of time and put it into something like a plastic snapware container and stash it in the freezer. This works especially well if you want to be able to scoop it into pretty scoops of ice cream for a nice presentation.

mint ice cream 5

So much minty chocolate goodness in one bite…

baby spinach heart copy

Happy St. Patrick’s Day!

Nian Gao (Chinese New Year Cake with Red Bean Paste) – Dairy Free, Refined Sugar Free

P1080469-2

Nian Gao is a very traditional dish for Lunar New Year.

The word for “sticky” in Mandarin is a homonym for the Mandarin word for “year” so it’s considered good luck to eat nian gao, or “year cake” at Lunar New Year.

This recipe tastes identical to the version that my mom made when I was growing up, but is dairy and refined sugar free.

If you’ve never had nian gao before, think of it as basically a big baked mochi that’s slightly crisp on the outside and chewy in the middle with little pockets of sweet red bean filling.

Doesn’t that sound amazing?

This recipe is very simple to make. It’s basically pour everything into a bowl, stir and bake for a little more than an hour.

When I made a test batch I thought that it would be enough for 4-6 servings, but it’s so good that it was polished off very quickly. So, really, it will probably serve more like 2-3 people, so make extra if your family members are big eaters like mine are.

Nian Gao Recipe (Year Cake)

Adapted from this recipe

Makes 4-6 servings

Ingredients

1/4 level tsp + 1/8 level tsp baking soda

8 oz of sweet rice flour (I used the Koda Farms Mochiko Sweet Rice Flour)

1 egg + 1/2 an additional beaten egg (about 3 tbsp)*

5 tbsp melted coconut oil**

1/2 cup maple syrup

1 cup water

Red Bean Paste Filling

1/4 cup maple syrup

1 1/2 cups drained red beans ***

*You can replace the 1/2 egg with 1/2 tbsp ground flax seed and 3 tbsp hot water. Let the mixture stand for 10 minutes before using.

**There is the tiniest hint of coconut flavor from the coconut oil, but most people probably won’t notice. If you can’t stand coconut, you can used refined coconut oil instead. I like the Trader Joe’s one because it’s filtered to remove the coconut flavor instead of being bleached.

*** This recipe uses a lot of the red beans from the red bean soup, so if you’re planning on serving red bean soup for Lunar New Year, I would recommend making an extra batch of red bean soup just to use for the red bean filling in this Nian Gao recipe. You probably have some soup left over which you can send home with guests so it will all be eaten and people will go home happy.

Instructions

1. Preheat the oven to 350.

Grease your baking dish with either coconut oil, or a neutral flavored oil, and flour it with a few tbsp of sweet rice flour and set it to the side.

2. Stir together the 1/4 cup of maple syrup with the red beans. Use the back of a spoon to smush about 1/3 of the red beans against the side of the bowl. This took me about 20-30 seconds. You want some texture in the red bean paste when it’s baked, and some bits that are a little smooth.

3. In medium sized bowl, stir together the baking soda, sweet rice flour, melted coconut oil, egg (and the flax egg), 1/2 cup of maple syrup, and water. Stir until smooth.

4. I used a 8.5 x 11 inch oval casserole dish, but you can bake it in whatever size dish you have, just as long as the batter is an inch thick in the baking dish.

The nian gao batter plus the red bean filling is 4 1/3 cups in volume. If you want to see if your baking dish will work for this recipe, pour 4 1/3 cups of water into the baking dish and see if the layer of water is 1 inch deep. If it is, then that baking dish should work for this recipe.

Scoop 1 1/2 cups of the nian gao batter into the baking dish so that the batter covers the entire bottom of the dish. Spoon over the red bean filling into puddles all over the batter, this doesn’t need to be perfectly even, in fact it’s better if it isn’t as the nian gao will hold together better if there isn’t a smooth layer of red bean filling separating the top and bottom of the batter.

P1080449

Spoon over the rest of the remaining batter and use the back of your spoon to slightly swirl the batter and red bean filling.

P1080456

5. Bake at 350 for 1 hr and 15 minutes until golden brown on top and a toothpick comes out clean. It will be slightly crispy on top.

Allow the nian gao to cool to room temperature before cutting and serving.

If you don’t want to bother with the red bean filling, you can make the cake without it. I’ve only made it with the red bean filling, but if you make the nian gao without it, it will take less time to bake.

I would bake it at 350 and start checking to see if it’s done after 30 minutes. Other nian gao recipes that I’ve seen online without red bean filling seem to take about 45-60 minutes in the oven.

nian gao picture

Happy Lunar New Year!


Tang Yuan

Lunar New Year – Homemade Tang Yuan Recipe – Refined Sugar Free

P1080412

Lunar New Year is always an exciting time of year. It’s a time when we all get together and eat lots of amazing food.

Every Asian culture celebrates Lunar New Year a little differently, but growing up Chinese American, we always made sure that we ate fish (for prosperity), noodles (for long life), oranges (for wealth), and tang yuan during the Lunar New Year feast.

“Tang” means soup, and “yuan” means round. “Yuan” also signifies a family gathering around a table, so this is why tang yuan are eaten at Lunar New Year.

Tang yuan are chewy sweet rice balls. They can be filled with anything (there are peanut butter ones, taro ones, and black sesame ones too) but these are filled with sweet red bean paste, which is one of my favorite fillings.

These tang yuan are easy to make, and refined sugar free but still taste just like the ones I grew up eating.

My family eats them with red bean soup, and this is the perfect thing to warm you right up during cold weather that we’re having.

I hope that you eat these tang yuan surrounded by lots of loved ones this Lunar New Year.


Tang Yuan (Sweet Rice Balls with Red Bean Filling)

Makes 12 Tang Yuan (about 3 – 4 servings) *

Ingredients

1/2 cup drained red beans **

1/8 cup maple syrup

1/2 cup sweet rice flour – 90 g (I used the Koda Farms Mochiko Sweet Rice Flour)***

1/4 cup warm water – 60 g

* 3 – 4 Tang Yuan per person should be ok if you’re eating a big meal for Lunar New Year, but my family usually eat a lot of them. Some people want 8 tang yuan in their bowl, some want 5, so it’s a good idea to make some extra ones just in case. This recipe can easily be doubled or tripled if need be, and it’s nice to have some extra tang yuan on hand in the winter months when you want a sweet warm snack.

**Make the red bean soup first, then use those some of those red beans in this recipe. drain about 1 cup of beans and liquid before you measure the 1/2 cup. You want the 1/2 of beans to be almost all beans with very little liquid. Press the red beans lightly with the back of a spoon while the red beans are in a sieve so that you get as much excess liquid out of the beans as possible. You can save the liquid and add it back into the red bean soup, or keep it to the side to and eat it with a drizzle of maple syrup if you don’t want to make the red bean soup thinner.

*** I recommend weighing the sweet rice flour if possible for the best results.


Instructions

1. Add the drained red beans into a food processor with the 1/8 cup of maple syrup (I know that it doesn’t seem like much sweetener, but it gives just the right amount of sweetness to the tang yuan) and blend until smooth. It will look like this when it’s done.

P1080377

2. Cook the mixture in a small saucepan on medium high for 7-8 minutes, stirring constantly until thickened. It should be a similar texture to jam when you’re done.

P1080383

3. Take the pan off the heat and allow to cool. The mixture should be reduced to just over 1/3 cup of red bean paste. Lay plastic wrap over a plate, and scoop a 1/2 tsp amount of the red bean paste into your hands and roll into a ball. Place the ball on the plate and repeat until you use up all the red bean paste. You should get about 12 little balls of paste in total. Cover lightly with plastic wrap and freeze for at least 1 hour until solid.

4. When the red bean balls are frozen solid, add the warm water to the sweet rice flour and stir with a fork until a shaggy dough is formed. Knead the dough together with your hands for 1-2 minutes until smooth.

P1080399

5. Divide the dough into 12 pieces and keep the pieces of dough that you’re not working with covered with plastic wrap so that it doesn’t dry out.

Take the red bean paste balls out of the freezer. If you’re working with a double or triple batch, take about 12 red bean paste balls out of the freezer at a time, that way that don’t defrost before you cover them in the dough. It’s much easier to wrap the red bean paste in the dough if the red bean paste is frozen solid.

Wet your hands, and flatten each piece of dough into a small disk in your hand and pinch and fold the dough together to cover the red beans paste and roll until the ball is smooth.

P1080401

If you’re a visual learner, this video shows how it’s done starting at the 2:30 min mark.


The first time I tried covering the balls in the dough, I did it with dry hands and it was much more difficult to work with than when my hands were wet. When I tried it again with wet hands, I made a double batch and only had trouble covering about 4 out of 24 of the tang yuan.

If the dough is too dry, it won’t stick to the red bean paste. You can peel off the dough and knead in a few drops of water before trying to cover the red bean paste again.

If the dough is too wet, it also won’t stick to the ball of red bean paste, but it will stick to just about everything else. In that case, just knead it with your hands for a little bit until it dries out a little and try again. Don’t worry if you can see little flecks of red bean paste on the outside of the tang yuan. No one will notice once they are in the soup.

If you get an air bubble around the red bean paste and the dough is not sticking to the ball, pull all the dough off of the ball, wet your hands, knead it the dough a little and try covering the ball again. This technique works better than trying to squeeze the air out which tends to make the rest of the dough pull away from the ball as well.

Once you’re done rolling the tang yuan, put them onto a plate lined in plastic wrap and cover lightly with another layer of plastic wrap and freeze until solid. Once frozen, transfer the tang yuan into an air-tight container and stash in your freezer until you are ready to cook them.

When you want to cook them, warm up some red bean soup (or you can also eat the tang yuan in the water that you cook them in with a little maple syrup drizzled over for sweetness).

Then bring a pot of water to the boil. Add the tang yuan (cook a few extra in case a few break open while cooking), cover with the lid and turn the heat down to medium low. Let the tang yuan cook until they float (about 6-8 minutes) lifting the lid to check on them occasionally. Once they are floating, put the lid back on and then set a timer 3 minutes let them continue cooking over medium low until the timer goes off.

If some of the tang yuan break open, don’t worry about. Just ladle those ones into your bowl (cook’s treat, you can also ask if anyone else wants the extras) and they will taste just as good as the whole ones.

For the Miniature Tang Yuan – You can also make little (non-filled tang yuan) as well, and those are even easier to make.

Stir together 1/4 cup (45g) sweet rice flour with 1/8 cup warm water (30 g) and knead until smooth. Roll the dough into a long snake and keep cutting the dough in half until you have 32 little pieces of dough about the size of a centimeter. Roll each little piece of dough into a ball and place them on a plate lined in plastic wrap. Over lightly with another piece of plastic wrap and freeze until solid.

The cooking instructions for the little tang yuan (no matter if they are freshly made or frozen) is to bring a pot of water to the boil. Add in the little tang yuan, cover, and set a time for 3 minutes.

When the timer is up, scoop out the little tang yuan with a slotted spoon and add them to the red bean soup. Ta-da! Extra adorableness for Lunar New Year!

To Serve – Ladle the red bean soup into bowls, top with your tang yuan and drizzle over some maple syrup.

What I do when I eat this soup is I’ll drizzle over about 1 tbsp of maple per bowl and don’t stir it in. That way, each time you take a bite you get a little hint of sweetness and you use less sweetener overall in the soup.

P1080412-2

I hope that you and your family have a lucky, wonderful, safe and prosperous Lunar New Year!

Happy Eating!


Lunar New Year – Red Bean Soup Recipe, Refined Sugar Free, Maple Syrup

red bean soup

Red bean soup is a recipe that my family makes often. Red bean is a very popular flavor in Asian desserts (there’s red bean ice cream, red bean filling in mochi, and even red bean popsicles), and I’ve grown up eating this soup all my life.

This soup is a sweet soup that warms you up in the winter, and it goes great with tang yuan, which are a traditional chewy sweet rice balls that signify family togetherness and are eaten at celebrations like weddings, and especially at Lunar New Year.

This soup is normally made with a lot of cane sugar, but I make the soup with maple syrup instead. My trick for using less sweetener when eating this soup is to drizzle about 1 tbsp of maple syrup on top of each bowl, and to not stir it in.

That way each time you take a bite, you get that little hint of sweetness and you end up using less maple syrup overall.

Another good way to cut down the sweetener in red bean soup is to cook the soup in a slow cooker. The beans taste sweeter when cooked this way, and with a few tang yuan and a drizzle of maple syrup, I promise you that you won’t miss the cane sugar version because this one is amazing.

If you need to cook red bean soup in a hurry, you can do this on the stove top in about 1 – 1 1/2 hours. The texture of the beans won’t be quite as soft and tender as the slow cooker red bean soup, but the stove top version will still be very good.

If you’re expecting to serve this to more than 6 people for Lunar New Year, I recommend making two batches of this soup. If you have extra, you can send it home with people and everyone will be extra happy for Lunar New Year.


Sweet Red Bean Soup Recipe

Makes 4 – 6 servings (if you use some of the red beans to make tang yuan, 6-8 servings if you don’t).

Ingredients

1 lb Adzuki Beans (aka Red Beans, preferably organic)

10.5 cups of filtered water

– maple syrup for serving


Instructions

Slow Cooker Directions

1. Give the beans a good rinse. Add them to a large pot and cover them with 1.5 inches of cool filtered water. Bring the beans to a boil, then set a time for 2 minutes and let the beans boil until the timer goes off.

2. Drain the beans and add them to a slow cooker along with 10.5 cups of filtered water. Cover, and let the beans cook on high for 9-10 hours until the beans are very soft and tender.

Stove Top Directions –

1. Give the beans a good rinse. Add them to a large pot and cover them with 1.5 inches of cool filtered water. Bring the beans to a boil, then set a time for 2 minutes and let the beans boil until the timer goes off.

2. Drain the beans and add them back into the pot along with 10.5 cups of filtered water. Cover, bring the beans to a boil again, then turn the heat down to medium low and let the beans cook covered for 1 – 1 1/2 hours until the beans are soft. Give the beans a stir every now and then, and if the water looks a little low, add a little more water. The soup is done when you can easy smush a bean between your thumb and forefinger.

If after an hour and a half of cooking the beans are still firm (older beans sometimes take longer to cook) turn the heat up to medium and cook for another 30-45 minutes and the beans should be soft by then.

Serve the soup with homemade tang yuan and a drizzle of maple syrup.

Happy Lunar New Year!

Vanilla Extract

Kitchen Tip – Easy Way To Get The Cap Off A Vanilla Extract Bottle

vanilla


If you’ve ever known the struggle of baking cookies and not being able to get the little cap off of the vanilla extract bottle, this one’s for you.

Here’s the secret –

Wrap a few thin rubber bands around the cap of the vanilla extract. The rubber bands make the smooth metal of the cap easier to grip. The bottle of extract should be a breeze to open after that.

I use the rubber bands that come wrapped around vegetables like kale, or green onions, or bunches of cilantro or parsley. It’s a thrifty solution, and makes baking with vanilla extract much much easier.

This idea for this came to me when I was testing the recipe for the maple vanilla sugar cookies. For a moment I was concerned that I was not going to be able to get the cap off of the bottle of extract, and I actually thought for a second “Do I really need vanilla in this recipe?”

The answer was “Yes. You do need vanilla in maple vanilla sugar cookies.” So I had to come up with a solution pretty quickly, and here we are!

I hope that this kitchen tip helps you to never again be held back from your baking dreams by another difficult to open vanilla extract cap!

Happy Baking!


Instant Homemade Vegetable Stock

Instant Homemade Vegetable Stock Mix – Vegan, Soy-free, Gluten-Free

P1080022-2

Vegetable stock is easy to make, but can be a little bit of hassle, and takes up a lot of space in the freezer. Store bought veggie stock can be expensive, and it can have a lot of added ingredients that leave you wondering “What is organic caramel coloring?” and “Why does it need to be in vegetable stock?” I find myself asking the same questions when I read the back of soup bouillon labels as well.

If you too have these questions (and are wondering if there is an easier way to make vegetable stock with less additives) this might be the answer that you’ve been looking for.

This is a super simple and easy recipe to always have vegetable stock on hand. This recipe is soy free, thrifty and easy to customize.

We’re going to basically make a spice mix that contains a lot of flavors that you would normally find in vegetable stock. You can almost think of it as a tea. Admittedly, it takes 10 minutes to steep (so not quite “instant”) but it’s still pretty quick.

You can also make a large batch of this veggie stock mix and put it into a little jar to use as needed.

If you don’t like the little bits of dried spices in your soup, you can strain the broth through a coffee filter, or place the spices in some layers of cheese cloth, tie it up with some kitchen twine and place it into your soup pot (basically like a tea bag) to fish out later once the flavors of the broth have infused.

I hope that this recipe helps you make lots of wonderful soups in the future. I plan on making a noodle soup with this pretty soon. Perfect for the cold weather.


Makes a scant 2 tbsp of veggie stock mix = 4 cups of vegetable stock

Ingredients

1 tsp granulated onion

3/4 tsp + 1/8 tsp celery salt

1/4 tsp + 1/8 tsp of granulated garlic

1/4 tsp dried rubbed sage

1/4 tsp dried parsley

1/4 – 1/2 tsp sea salt

1/8 tsp black pepper


Instructions

Stir all the spices together. Add the mixture to 4 cups of boiling water and allow to steep for 5-10 minutes. You can strain the mixture at this point or leave the spices in the stock depending on your preference.

Use in your favorite soup recipes, or add some noodles, and some veggies for a quick and filling lunch or dinner.

Enjoy!

Maple Vanilla Icing

Maple Vanilla Icing – Refined Sugar Free, Dairy Free, Vegan

P1080184

No gingerbread cookies or sugar cookies would be complete without icing! This is a super easy and allergy friendly icing for gingerbread cookies, and sugar cookies. Perfect for decorating cookies around the holidays!

Maple Vanilla Icing

Makes about 1/4 cup

Ingredients

3 tbsp + 2 tsp maple syrup

3 tbsp sweet rice flour (I used the Koda Farms Mochiko Sweet Rice Flour)

3 tbsp + ½ tsp melted refined coconut oil (I used one from Trader Joes)

¼ tsp + 1/8 tsp vanilla extract

tiny tiny pinch of salt

Instructions

1. Stir together the maple syrup, sweet rice flour, and vanilla extract until smooth.

2. Add in the melted refined coconut oil and stir until well combined.

3. Allow the icing to sit for a minute or two until the coconut oil cools a little and it’s easier to spread or pipe onto cookies.

To get a glossy finish on the cookies, ice the cookies while the icing is still warm, and use the back of a teaspoon smooth the icing to the edges of the cookie. If the icing firms up too much to frost with, just put the icing over a double boiler to gently melt the coconut oil and it will smooth right out again.

You can also use this icing to pipe with. I just scooped the icing in to a ziploc bag, cut off a tiny bit of the corner of the bag and used it to pipe the frosting onto the cookies.

If you want to pipe with the frosting, add in about 1/4 – 1/2 tsp more of the sweet rice flour to the frosting (to get a firmer frosting) and pipe the icing while the icing is still a warm.

If the icing gets firm to pipe with, scoop it out of the bag, heat it in a double boiler again, allow to cool for a minute and then scoop the icing back in to the bag, and pipe the icing as usual.

If it does look a little rough in places, you can dip your finger in some warm water and smooth down the rough edges, or use a wet toothpick for ever more precision in cleaning up the edges of your icing.