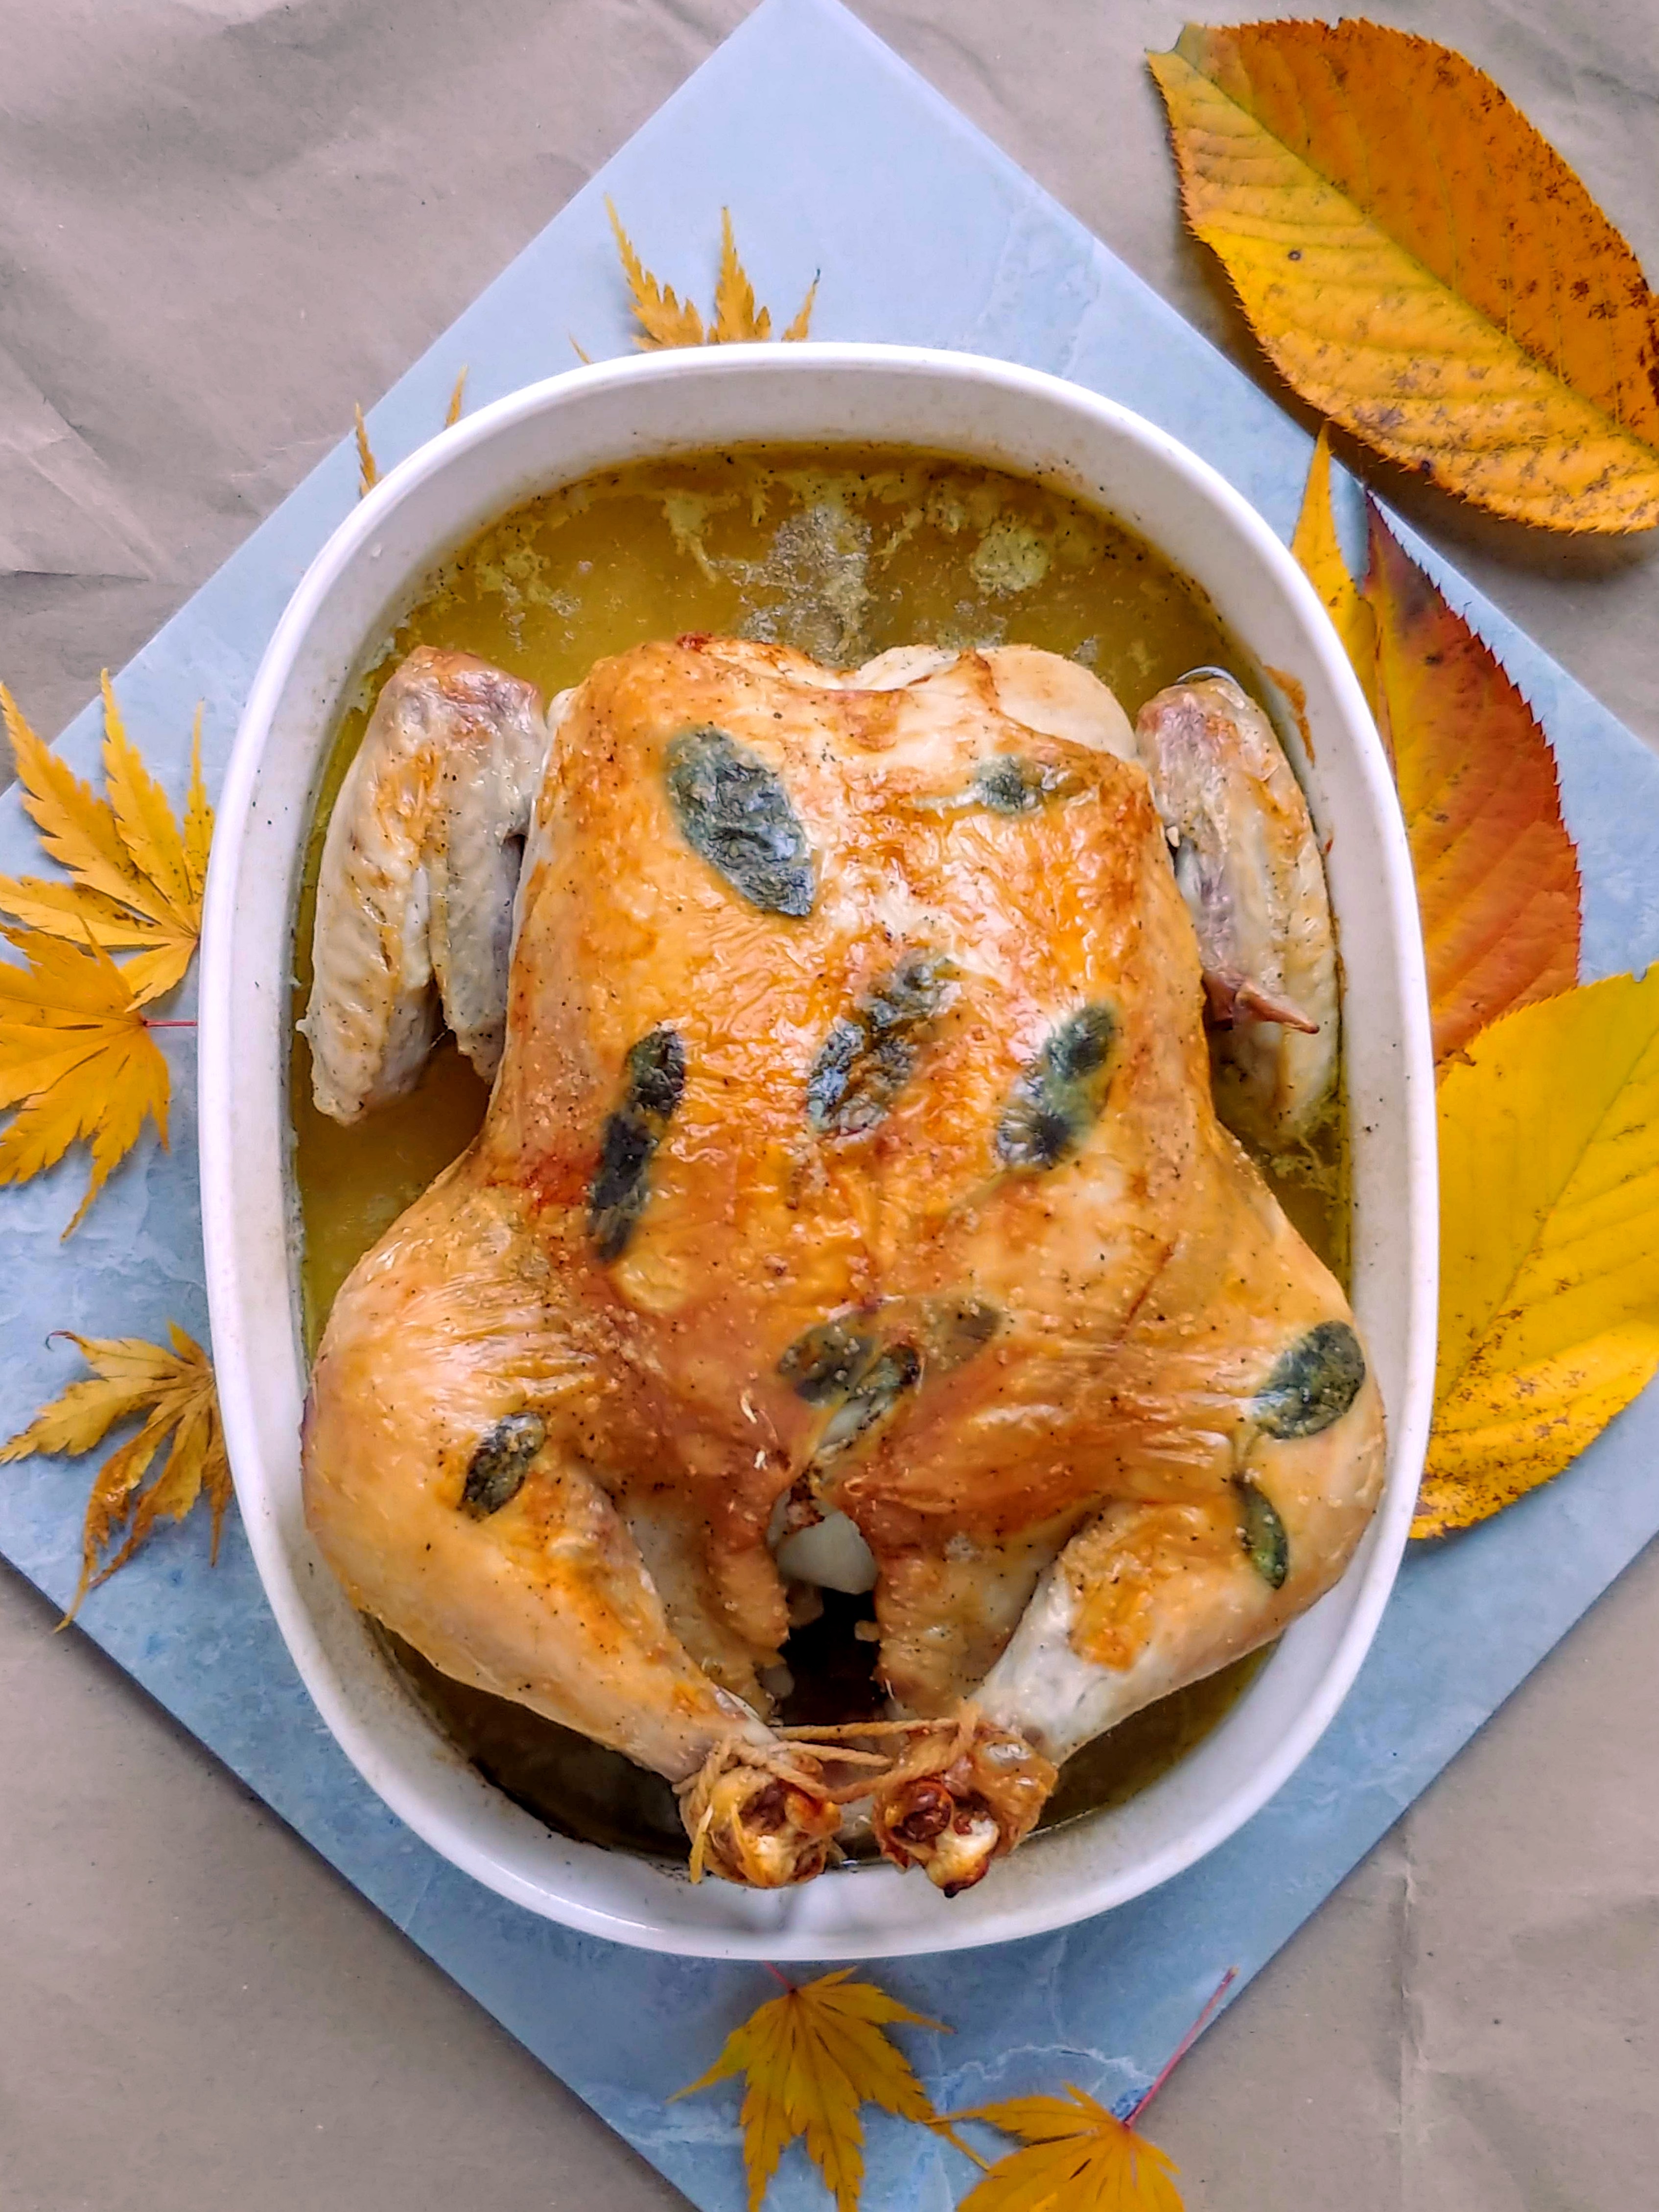
Thanksgiving Chicken

clone tag: 1738347936203128812

I love Thanksgiving! It’s one of my favorite holidays of the year.

Friends, family, good food. What’s not to love?

One funny thing about Thanksgiving in my family is that I’m the only one that really loves turkey. Everyone else prefers chicken.

But that actually works out ok (even on Thanksgiving)! Most of the turkeys at the local supermarket are really big 20 lb birds, which is way too much turkey for our family to finish, so a 4-5 lb chicken is the perfect size for us. With all the side dishes and desserts (cornbread dressing, mashed potatoes, pumpkin tarts, apple tarts, and pecan tarts), everyone ends up very happy and full by the end of Thanksgiving dinner.

Also, those turkeys are expensive. Even if you buy a conventionally raised turkey, a 20 lb turkey is going to be about $50. This chicken was $8, and it was free-range and organic to boot.

How did I get a free-range organic chicken for $8? I just bought it on the sell by date and it was marked 50% off.

The grocery store also sold a little packet of mixed fresh herbs (thyme, sage, and rosemary) for $2.50, that plus an onion and some frozen celery (that I had stashed in the freezer from about a month ago) meant that this beautiful roast chicken added up to about $11-$12 for 4-6 servings. Much more affordable than $50.

And if you’re far from home this Thanksgiving, and you’re making dinner for two, you can make this chicken and have some great leftovers to pack for lunch.

Some great things about this recipe are that it still has all those rich flavors that we associate with a Thanksgiving turkey, AND you don’t even need to make a gravy! You can spoon the rich pan juices from this chicken over mashed potatoes and cornbread dressing to your heart’s content. It will be just as delicious as any gravy, (with less work) promise.
clone tag: 2934890611313498100

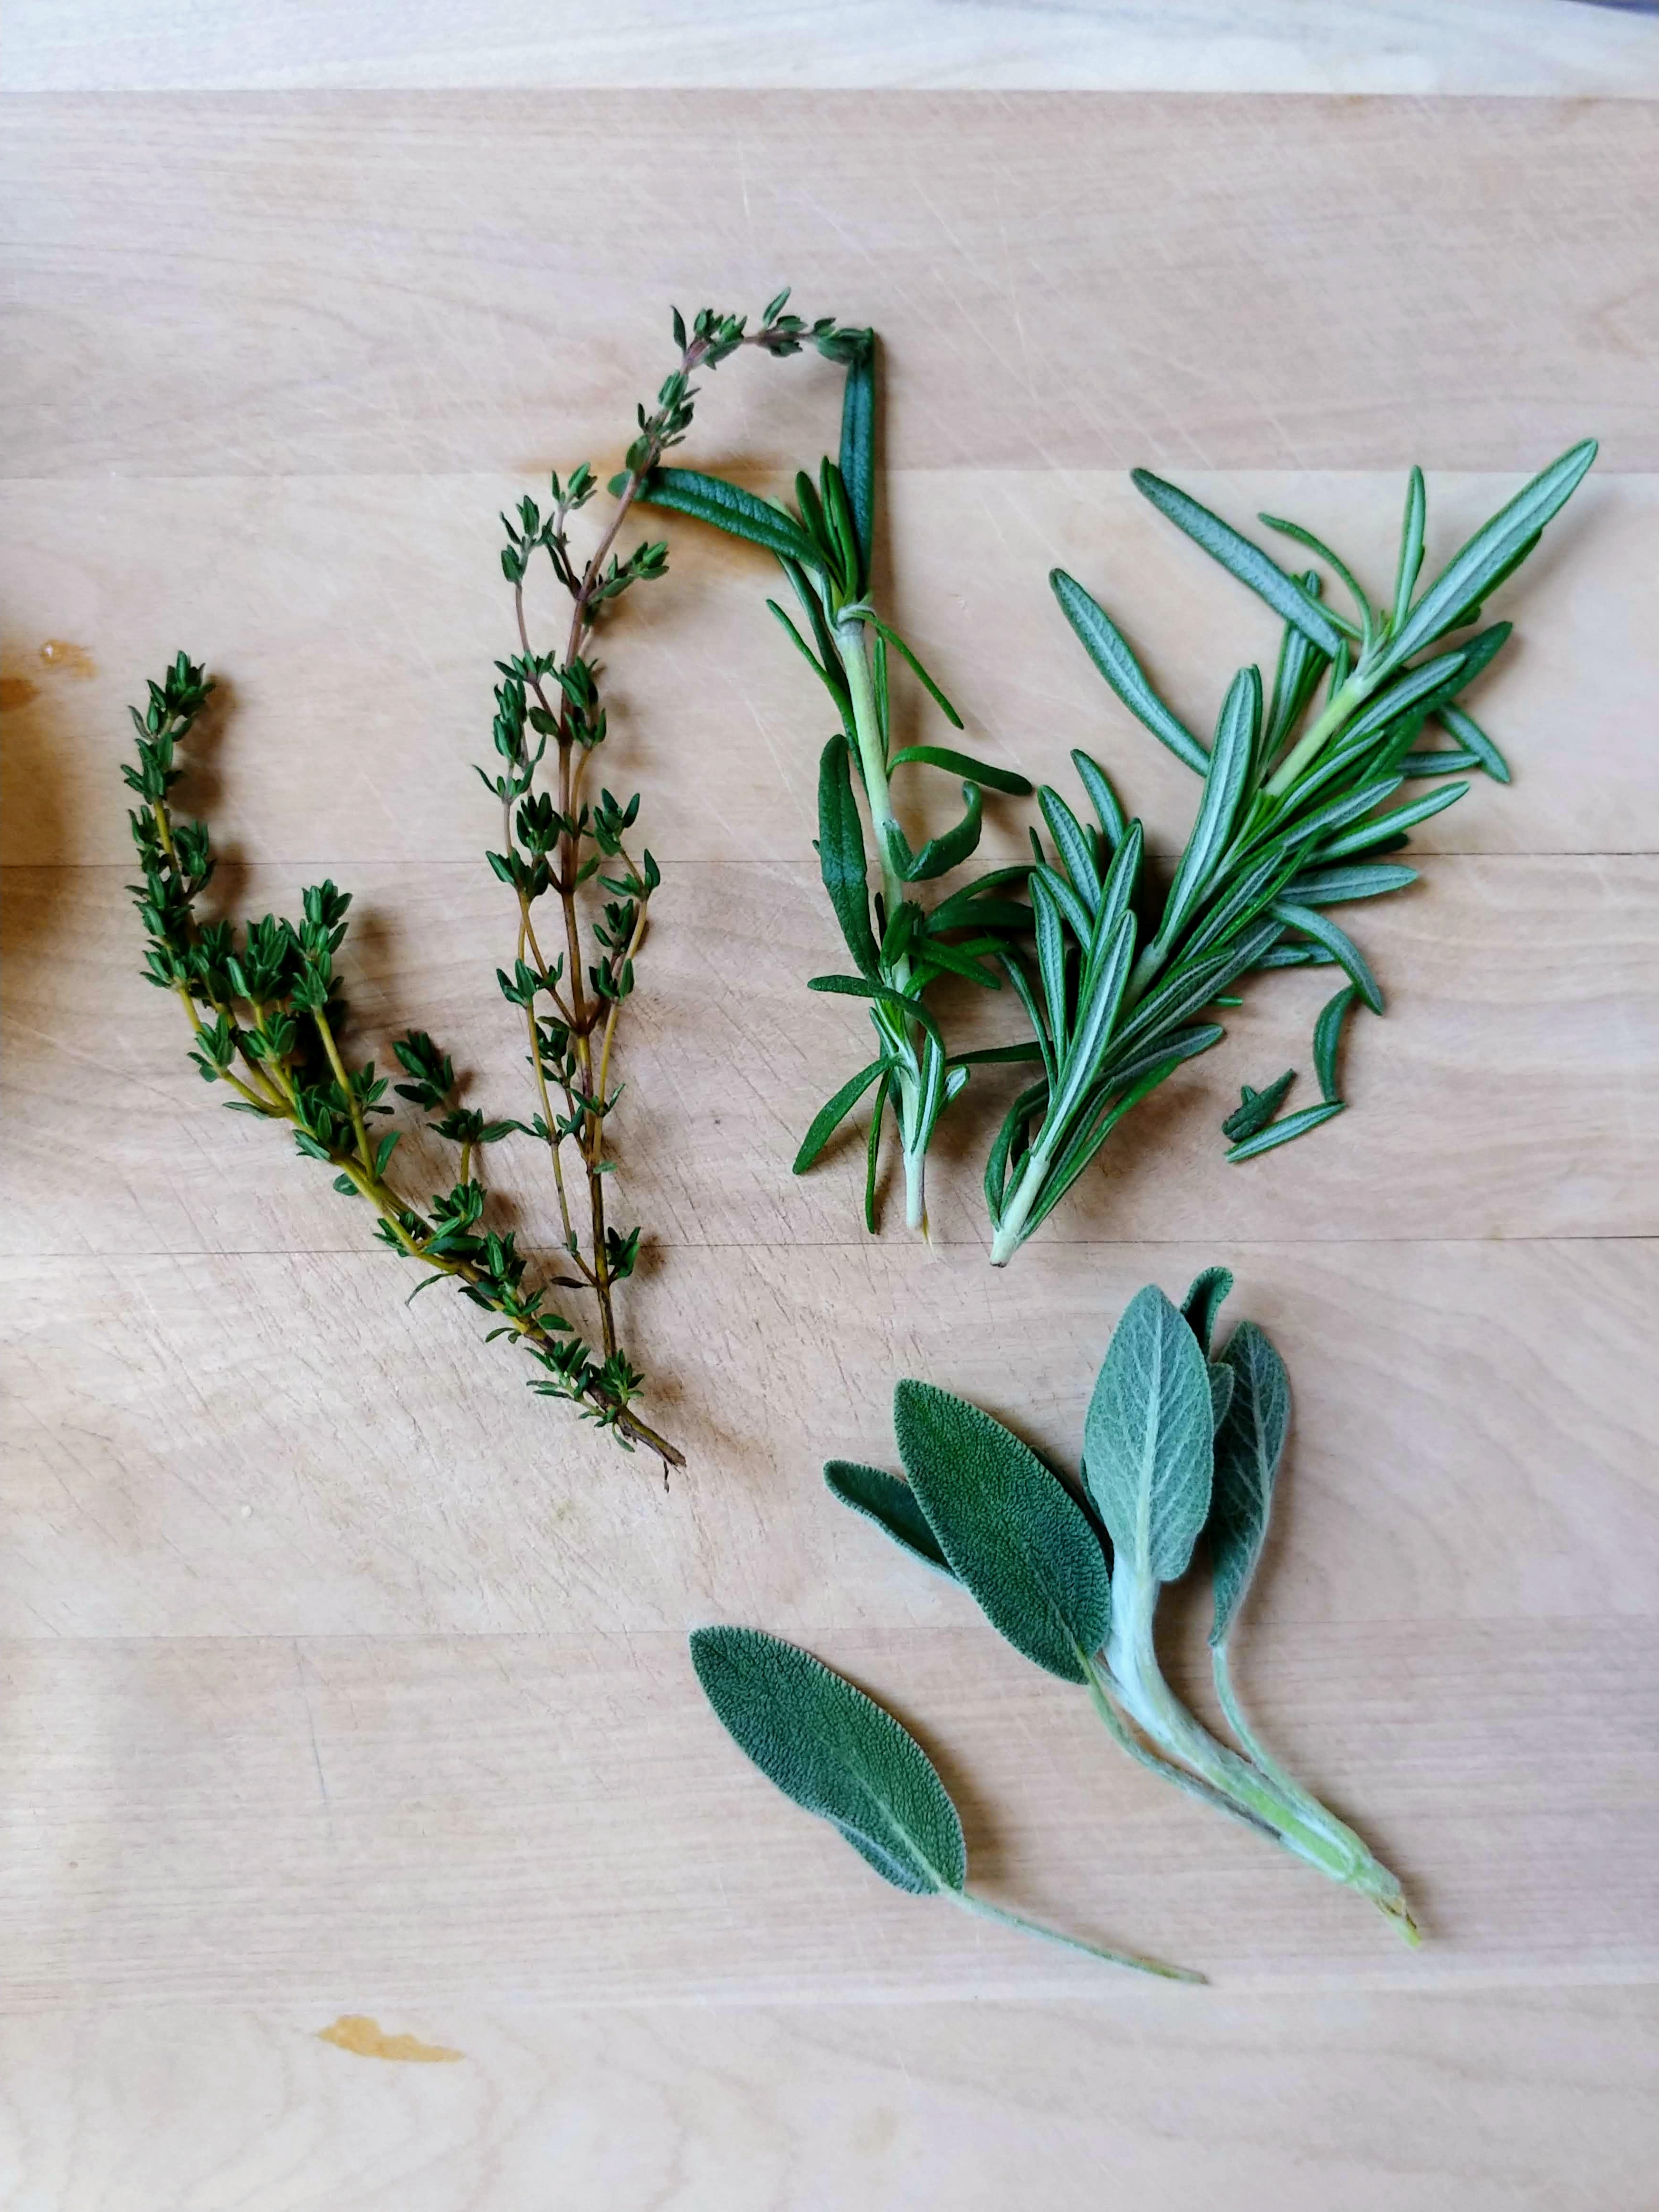
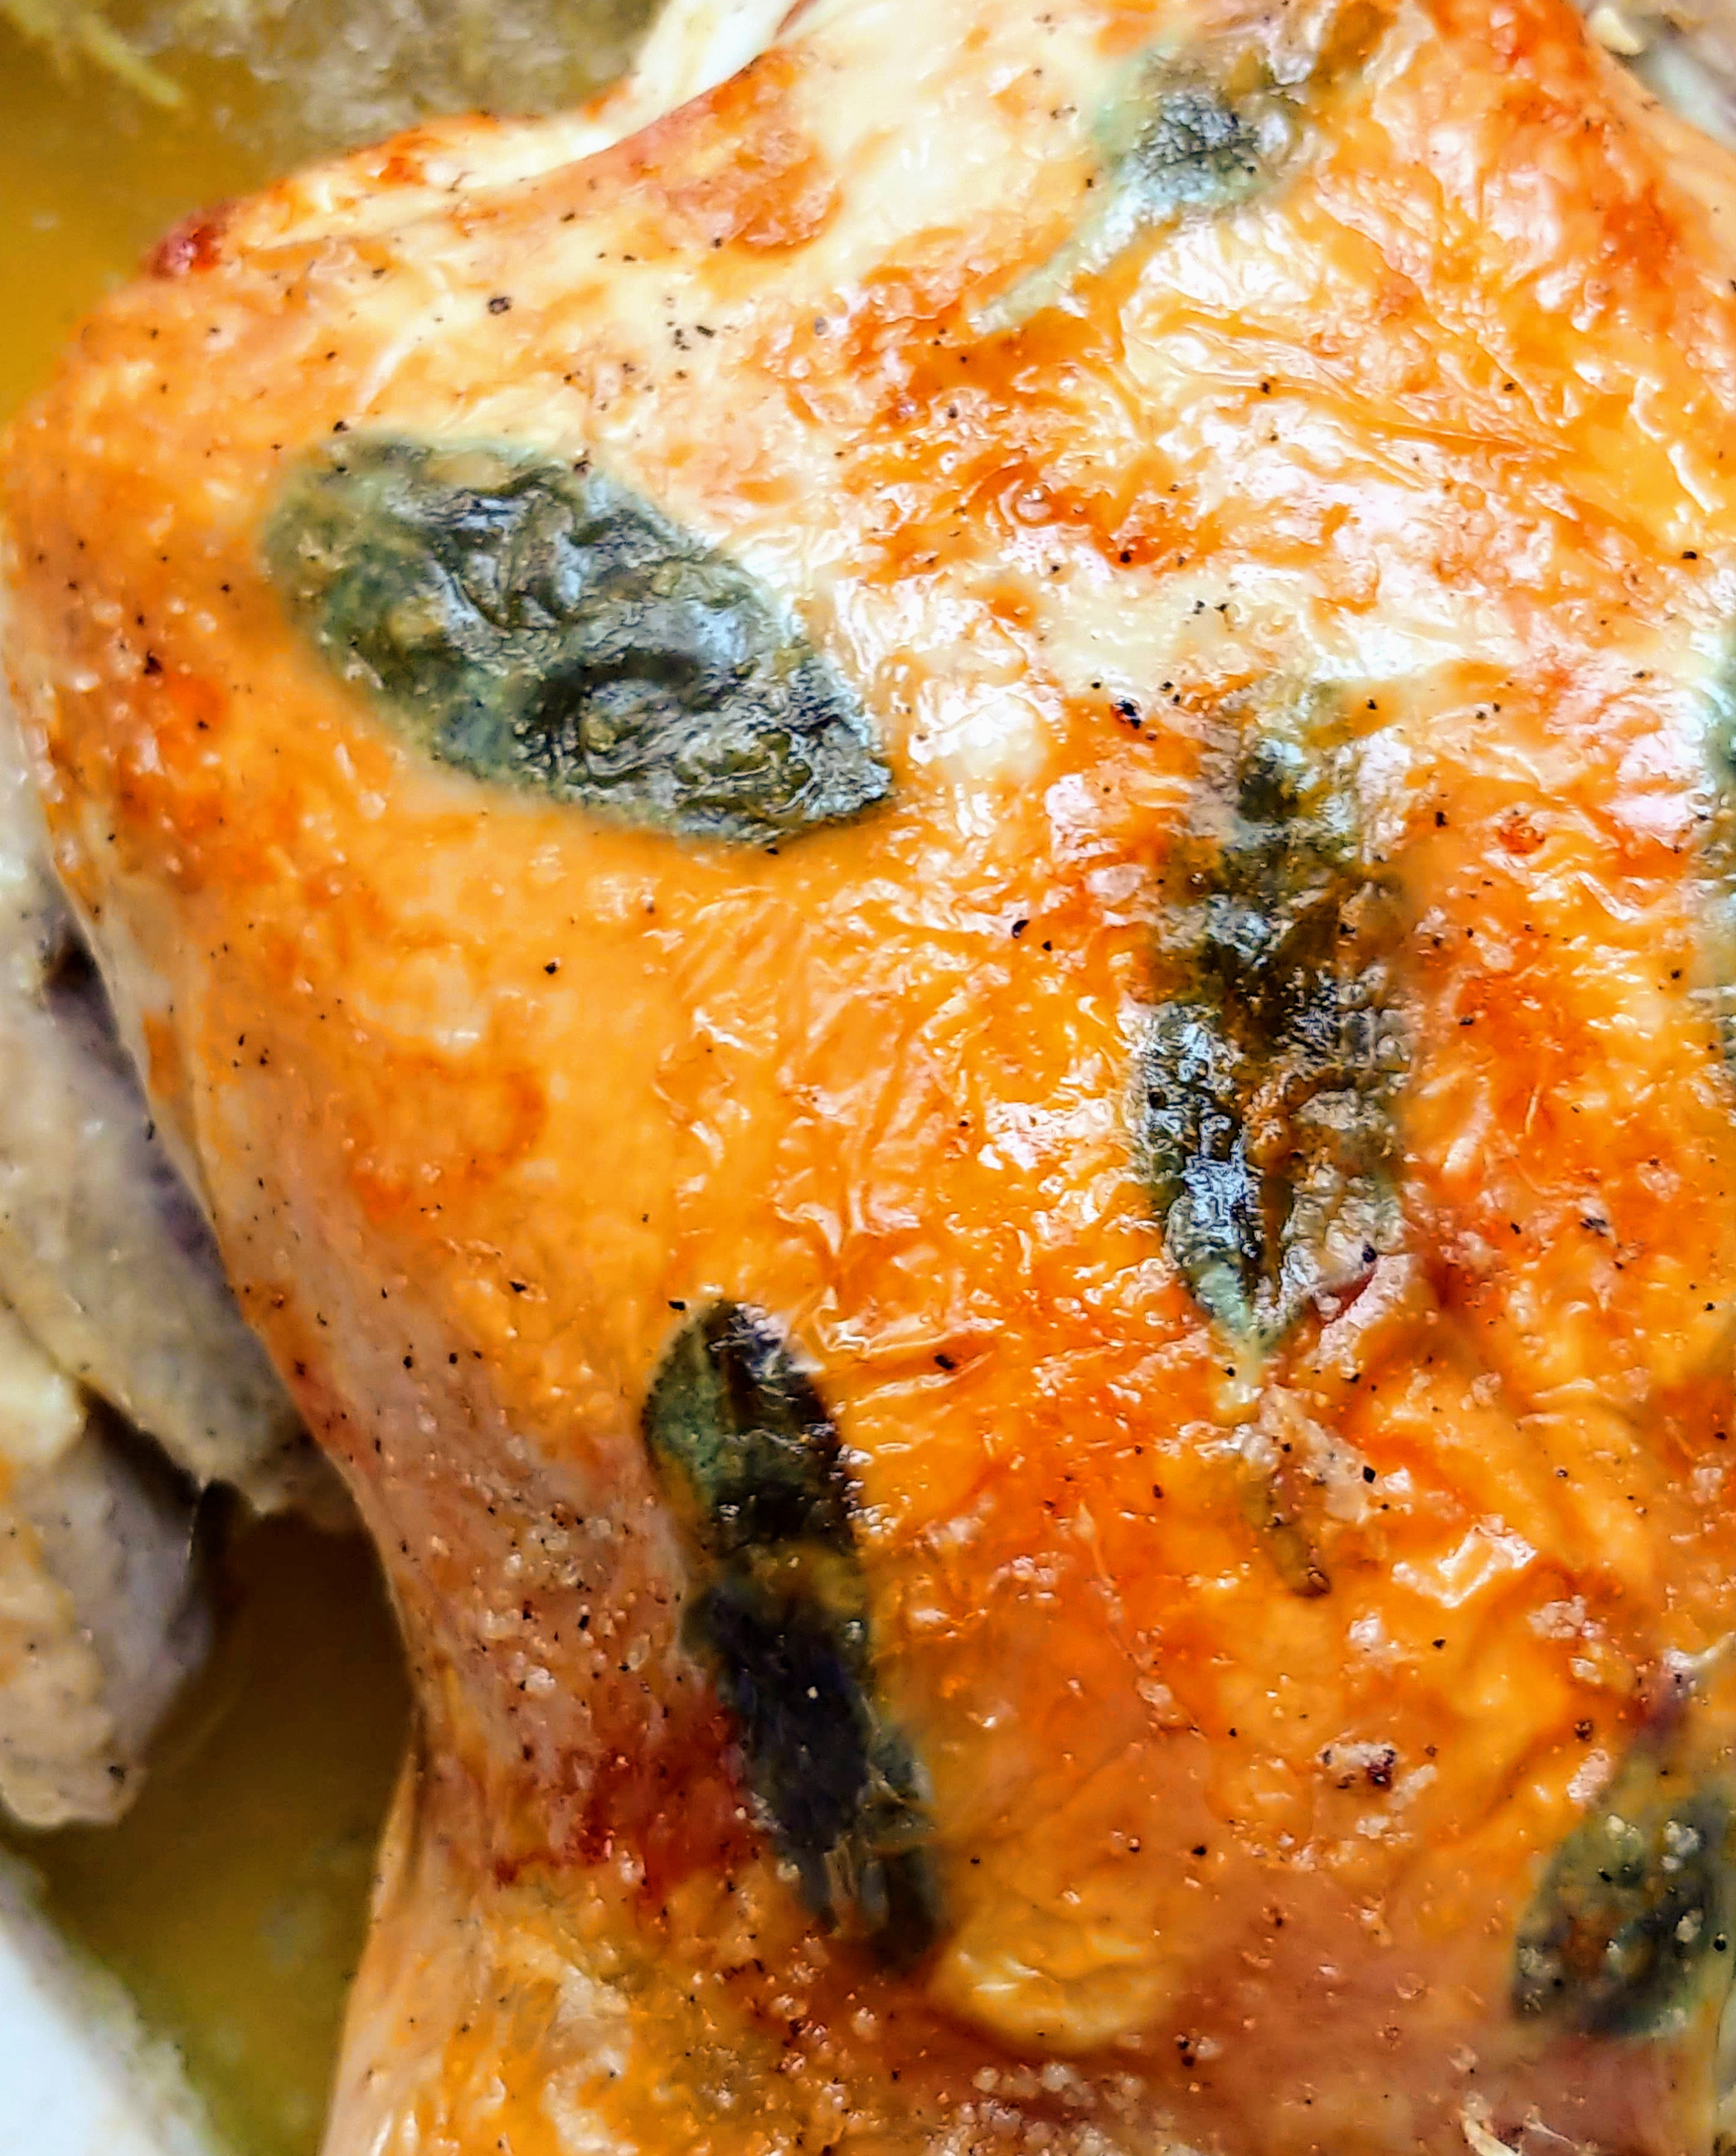
Sprigs of rosemary and thyme flavor the chicken from the inside out, and I tuck sage leaves under the skin for some color and extra flavor. The most delicious parts of that chicken are right under those leaves, so make sure to get some chicken with a sage leaf or two!

Thanksgiving Chicken

Makes 4-6 delicious servings

Ingredients

4 lb chicken


1/2 an onion (cut into 4 wedges)

2 sprigs of thyme

2 4 inch sprigs of rosemary

8 inch stalk of celery (cut into 1/2 inch slices)


2 1/2 tbsp olive oil

9-10 fresh sage leaves

sea salt

black pepper


1 cup of water


Instructions

1. Preheat the oven to 425 degrees F.

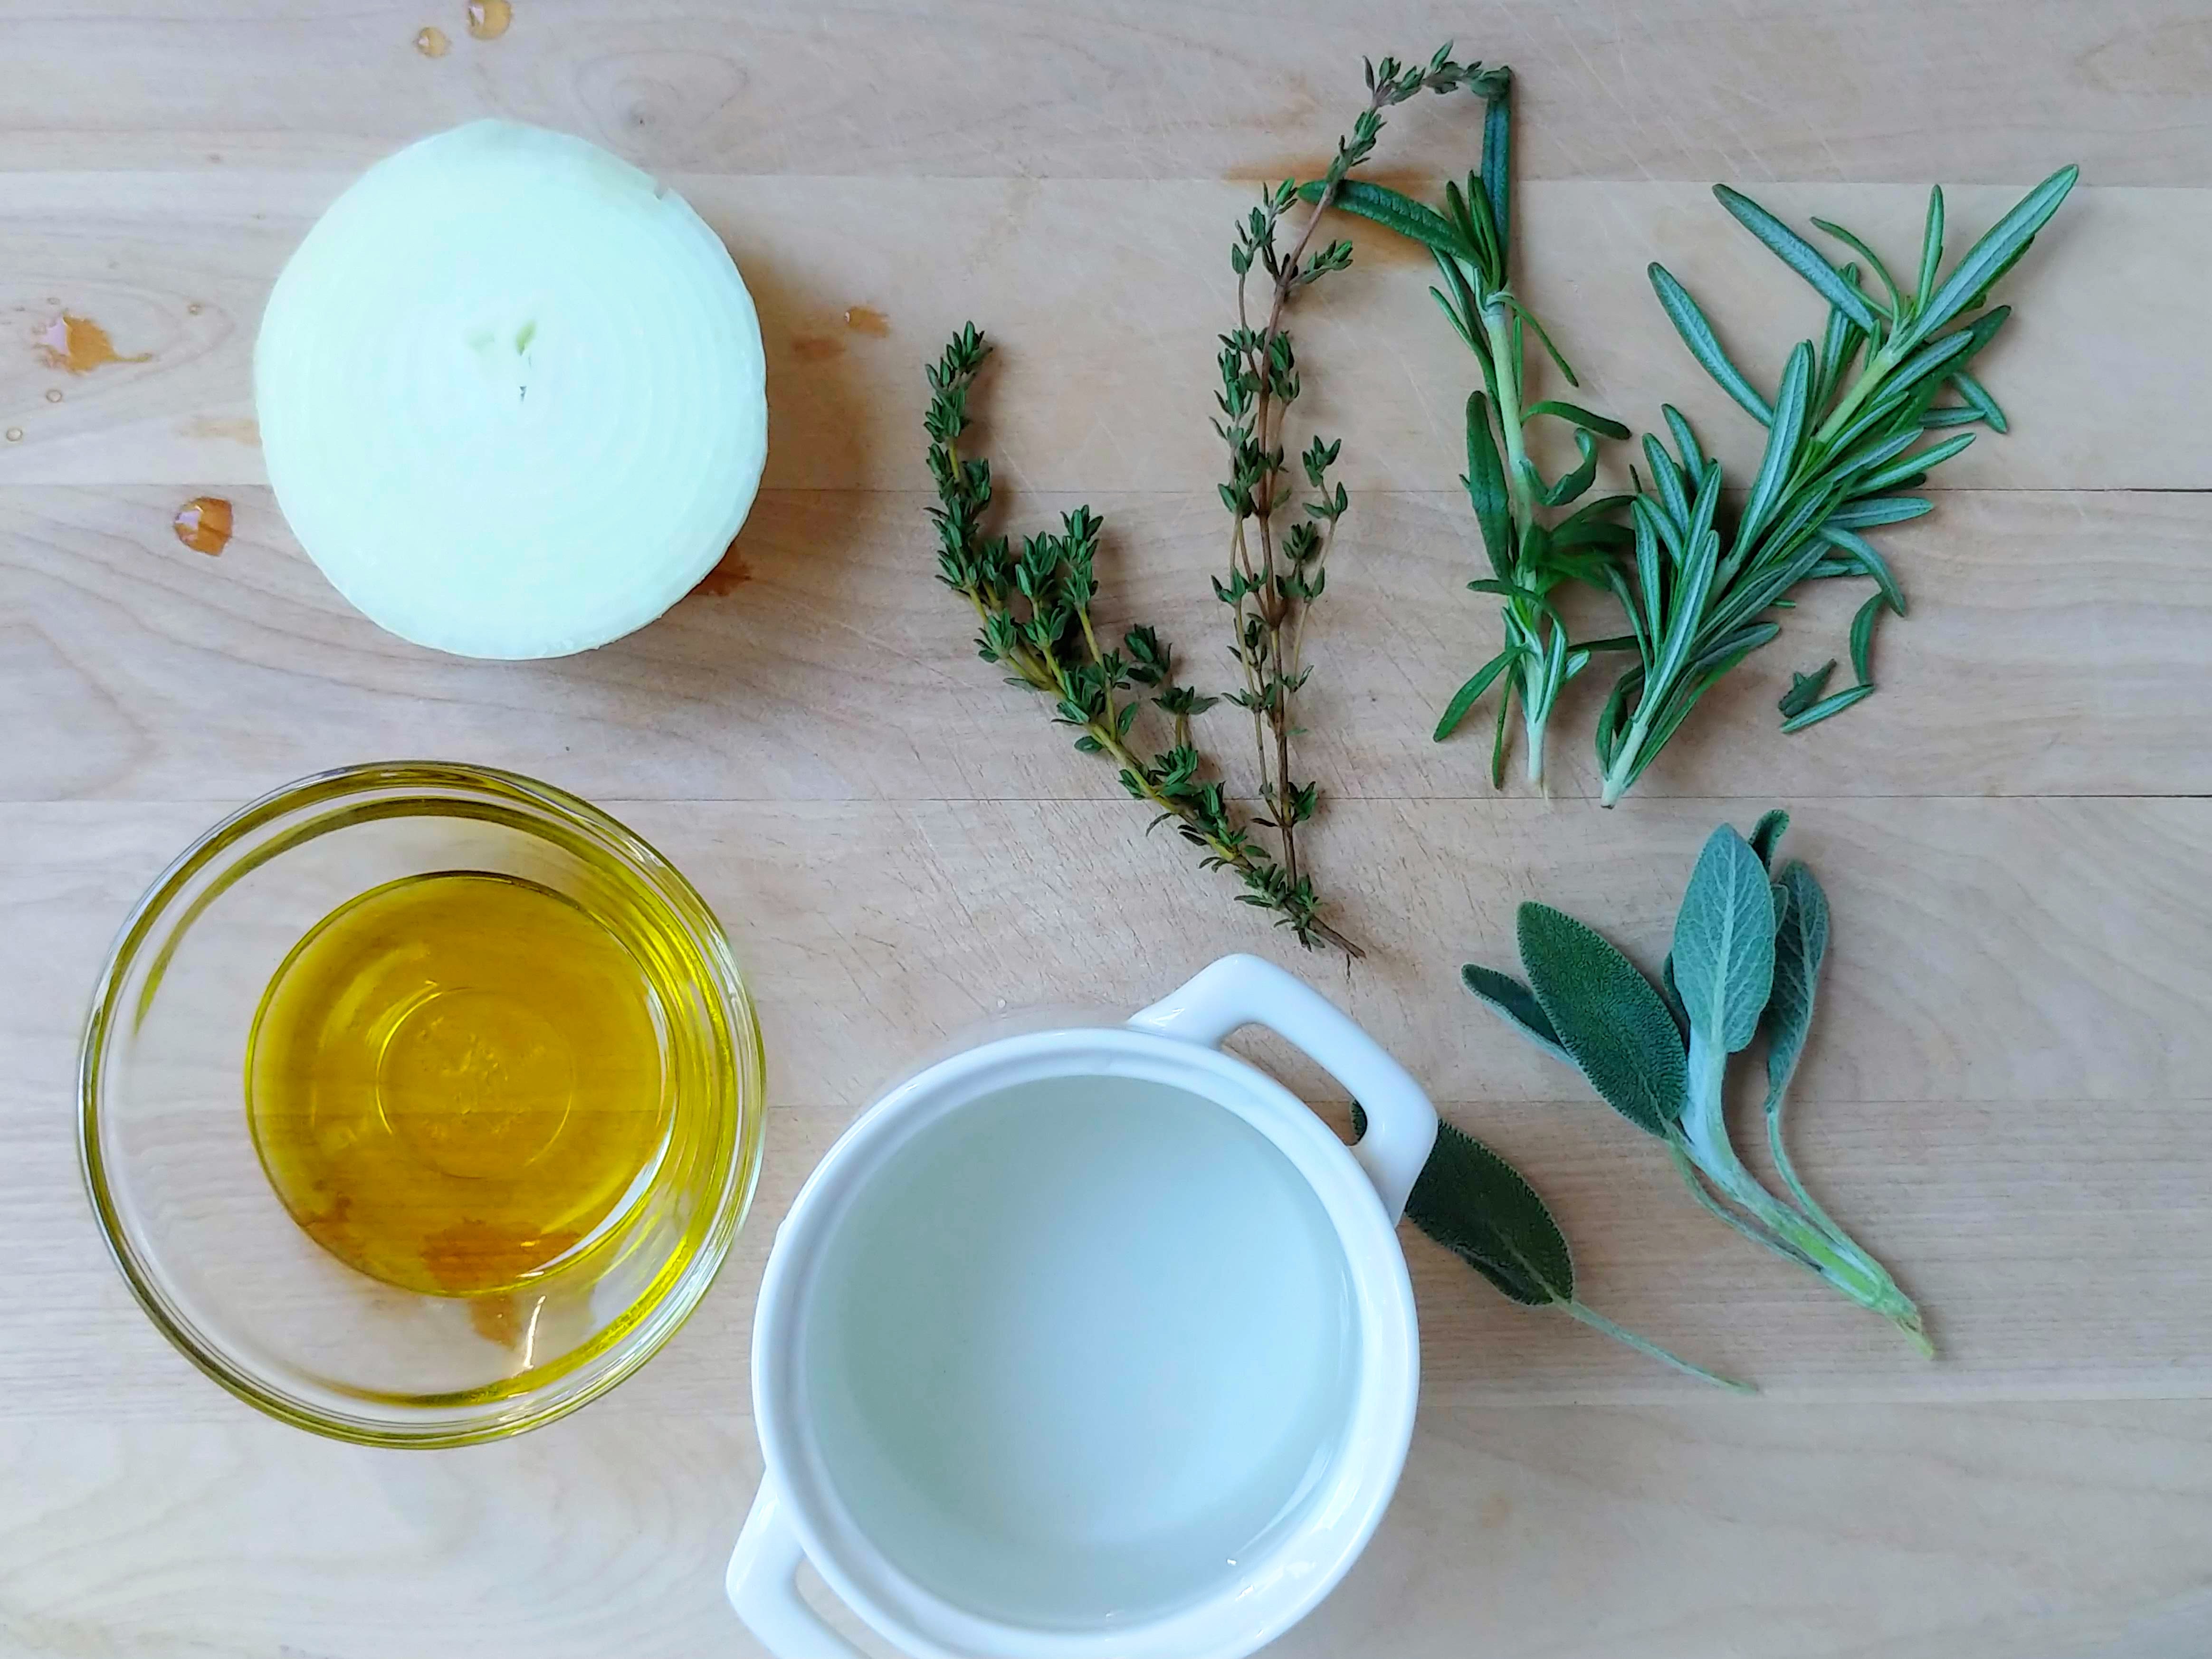
2. Wash your herbs, measure out the olive oil and water, and cut up your onion and celery and set all of this aside onto a separate plate along with some salt and pepper and a few toothpicks.

3. Whether or not your wash your chicken is completely up to you. There’s some controversy about if you should do it or not.

Personally, I do wash chicken before cooking it. I fill a big bowl of water in the sink and submerge the chicken, then pour out the water (this way the water doesn’t splash off the chicken). I do this a few times until the water runs clear. The chicken then goes into your roasting dish (I’m using a 12 inch oval CorningWare casserole dish) and the big bowl goes straight into the dishwasher.

Once the chicken goes into the oven, I sanitize the sink and any surfaces that the raw chicken may have touched.
clone tag: 4547346532438281968

4. Dry the chicken off with a paper towel. Put the onion wedges, thyme, rosemary, and celery inside the chicken and tie the legs together with some kitchen twine.

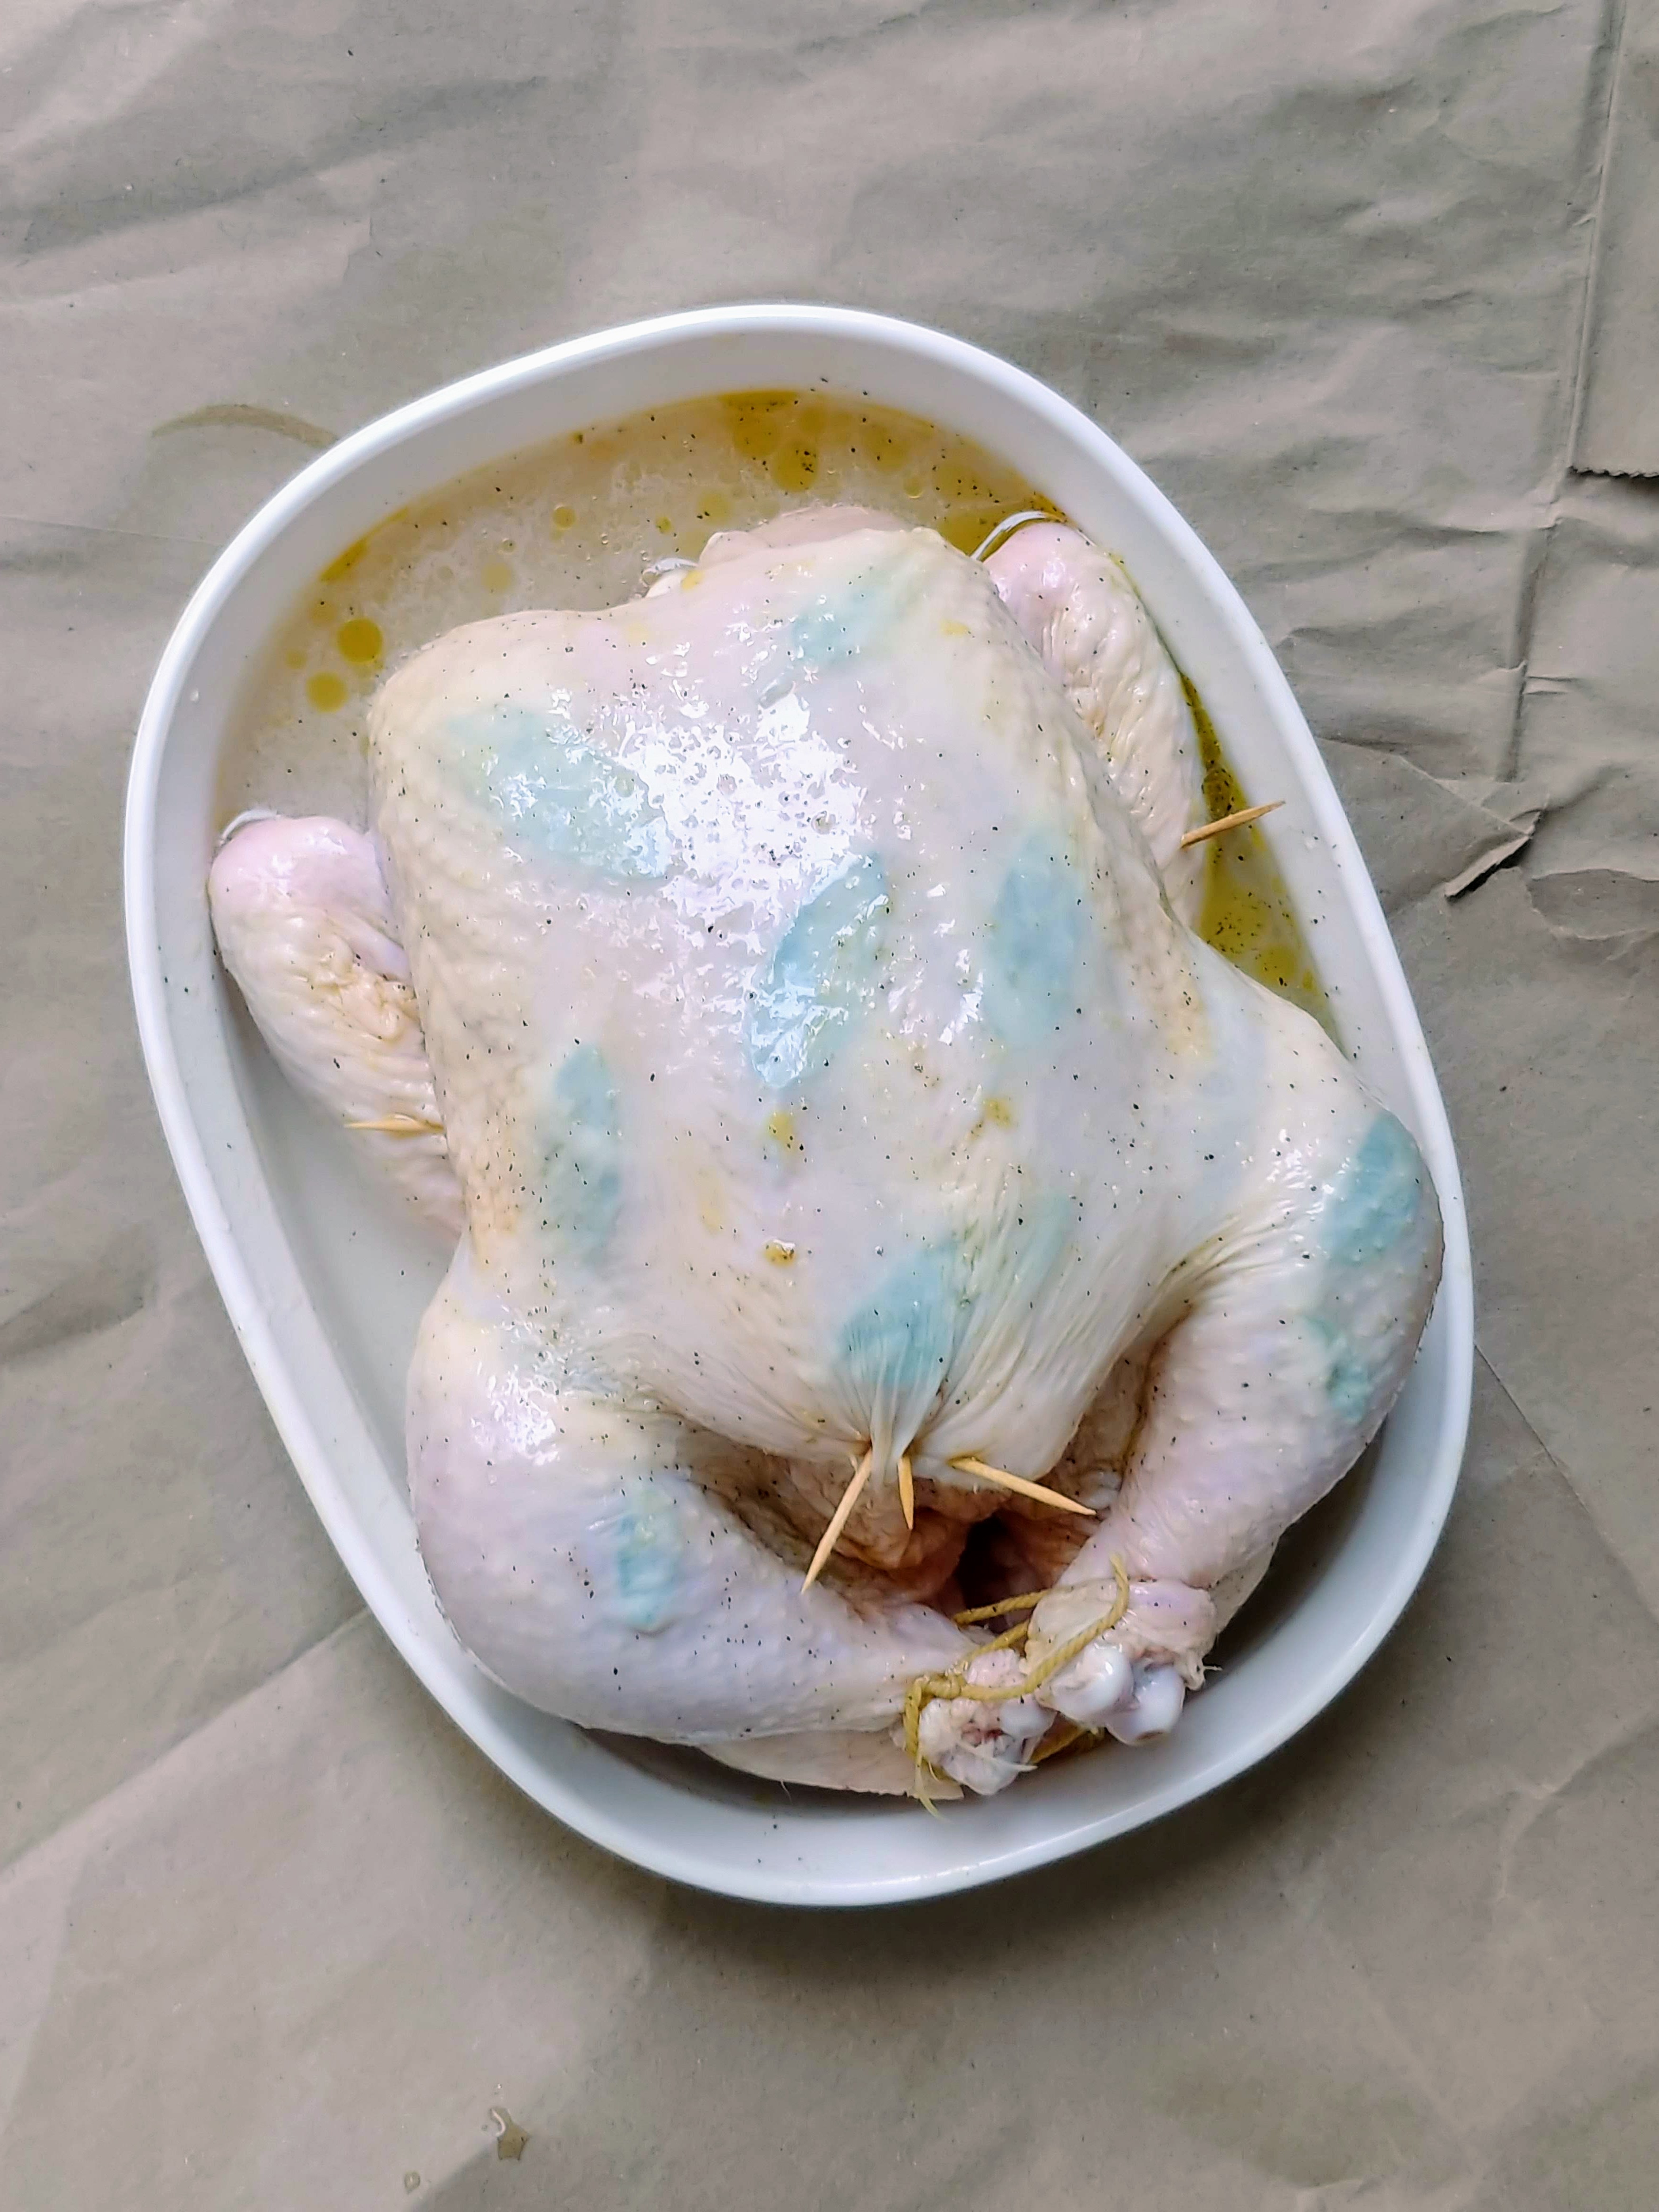
Gently separate the chicken skin from the chicken breast and tuck the sage leaves around under the skin. If the skin tears, don’t worry about it. The chicken will still be golden brown and amazing! Just use a few toothpicks to arrange the chicken skin back into place.

Rub the skin with olive oil, sprinkle over salt and pepper, and tuck in the wingtips using a few toothpicks to hold them in place while the chicken is roasting.

Pour the water into the bottom of the baking dish.
clone tag: 3141653108858848348


5. Roast the chicken for 50 min – 1 hr 15 minutes, or until the chicken is golden brown and a thermometer measures 165F in the thickest part of the thigh.
 

clone tag: -7849446987528649024

Look at that crispy skin! Yum.

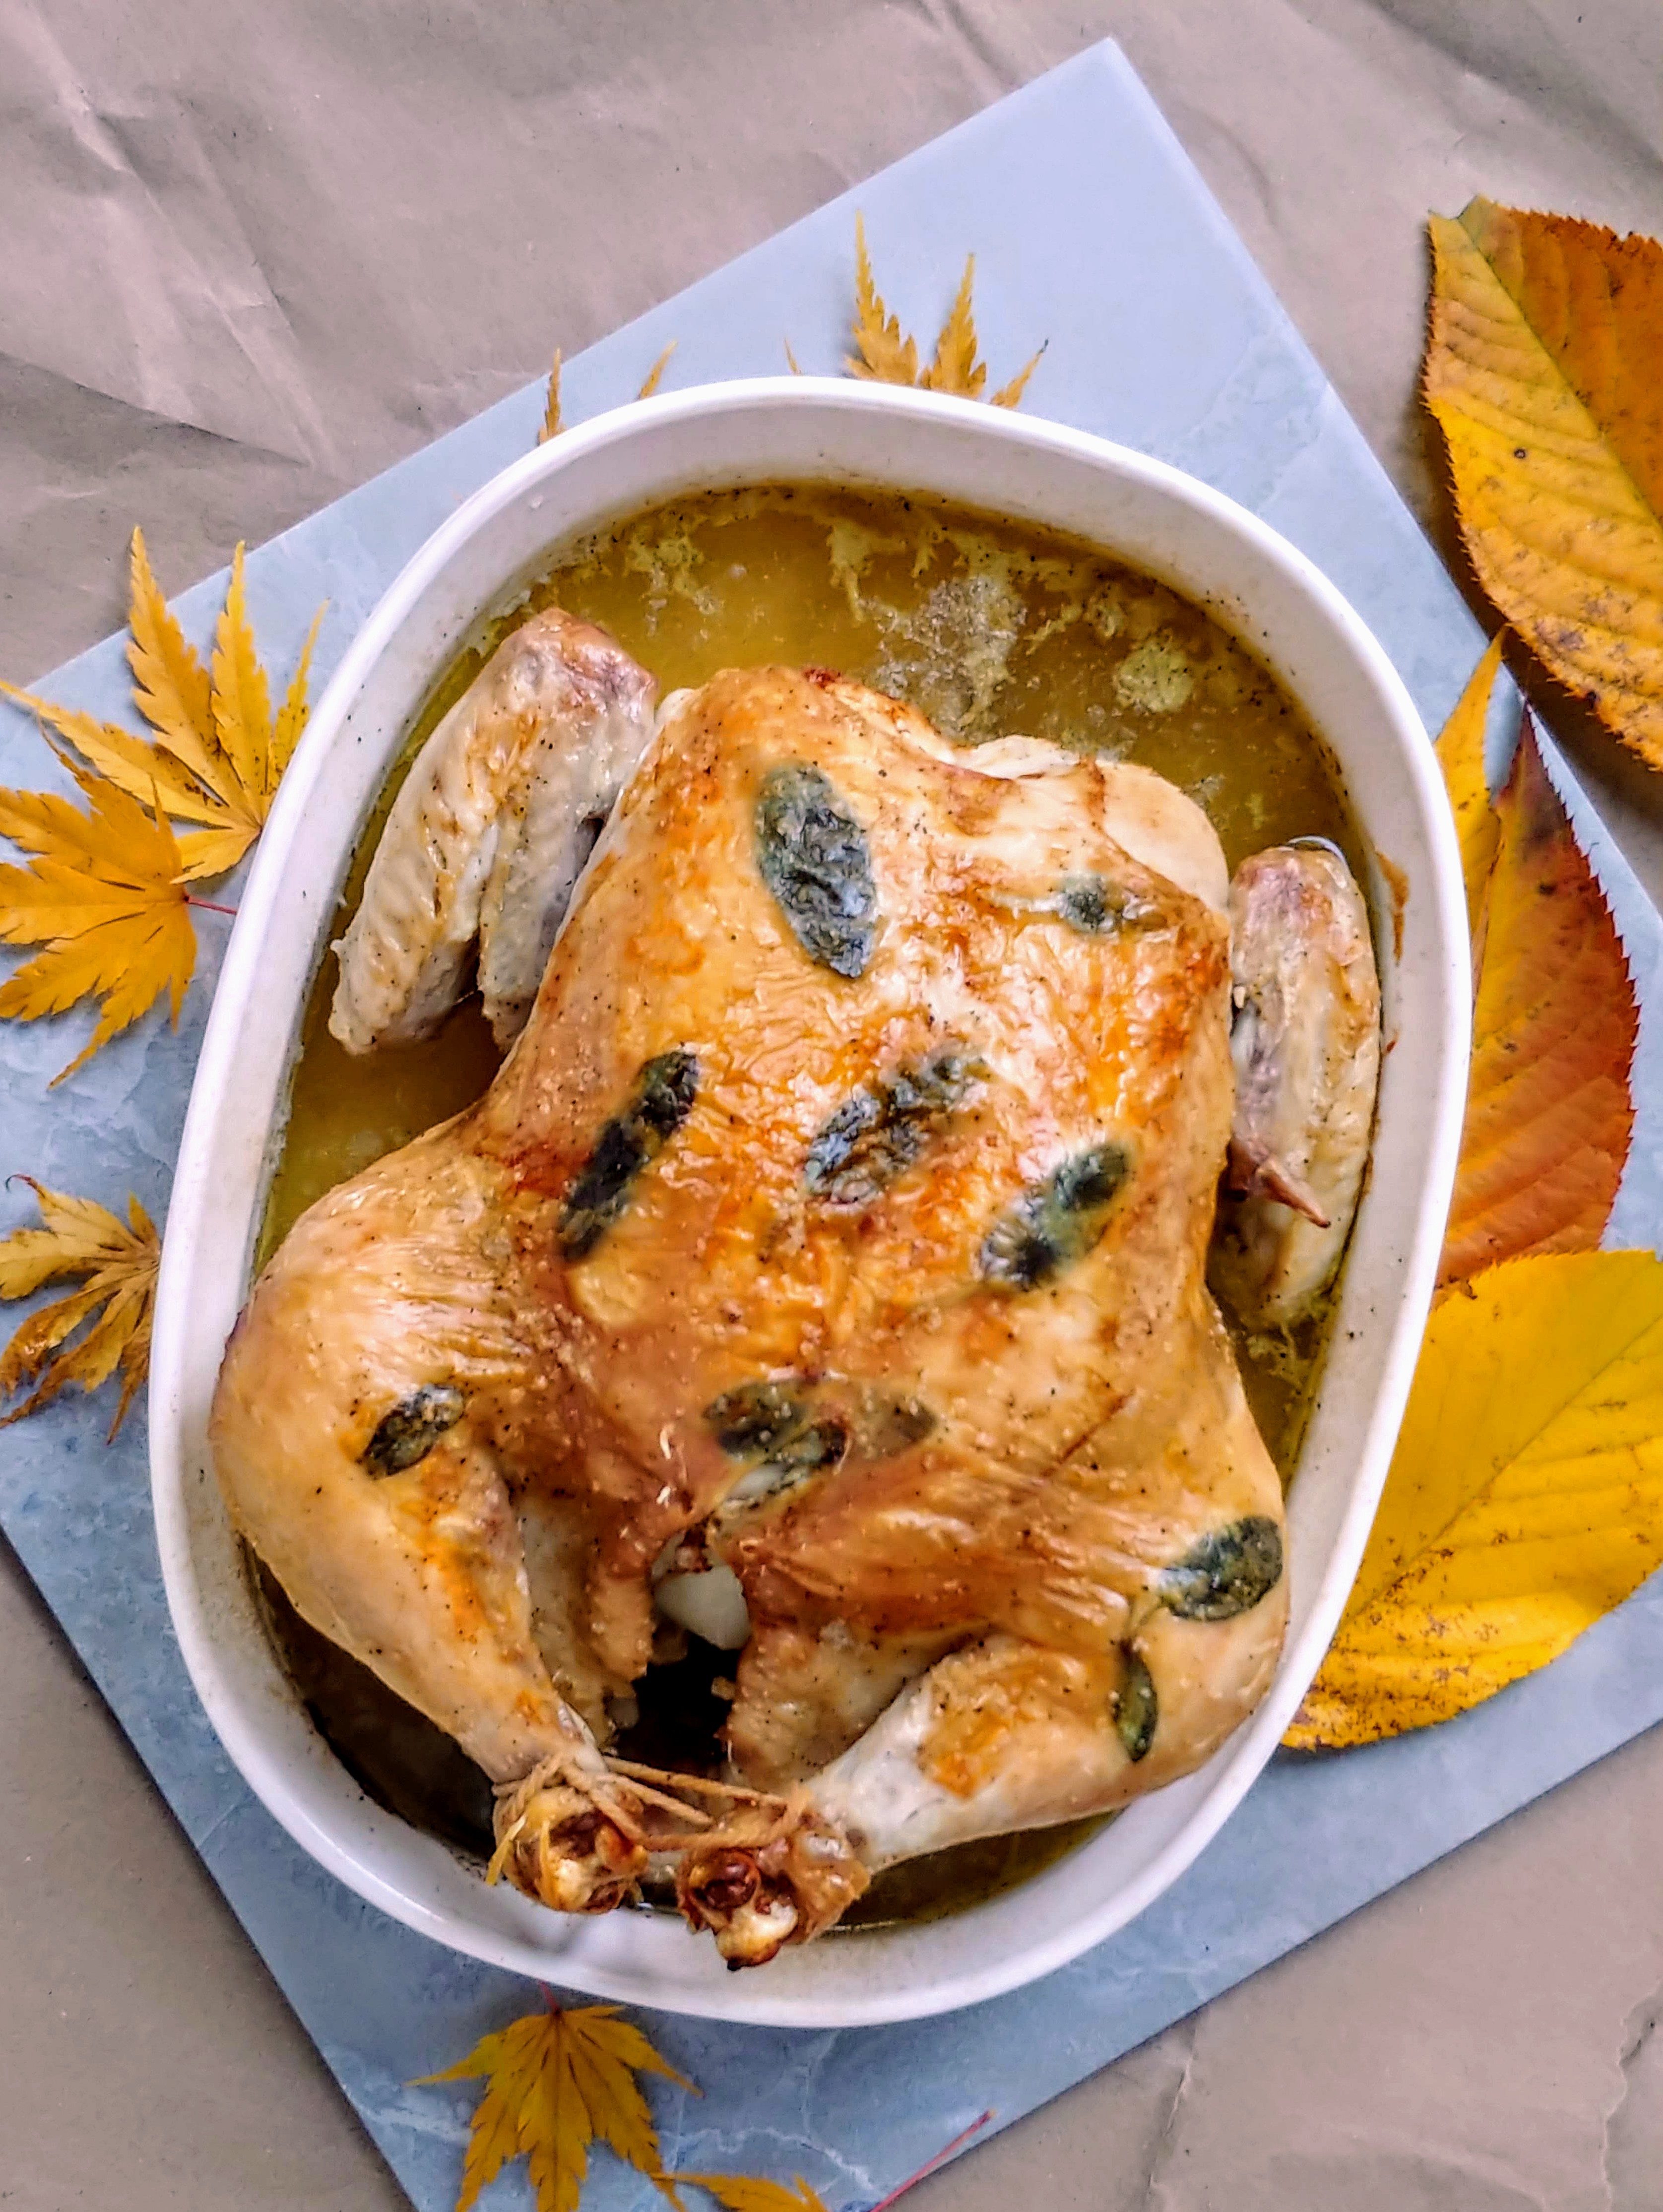
Let the chicken rest 10-20 minutes before carving. Pull out the toothpicks and serve the chicken with the delicious pan juices.
clone tag: 708306459663070278

Ta-da! You just made a glorious roast chicken for Thanksgiving!

One more thing – this chicken still has a little magic left.

After dinner, pull the meat off the bones stash it in the fridge for later. Put the carcass with all the herbs and vegetables still inside of it into a slow cooker with a splash of apple cider vinegar and fill the pot with water (I cut off the kitchen twine before I put the bones into the slow cooker but I’m not sure if it’s really necessary). Turn the heat to low and cook for 24-48 hours.

Strain out the solids, and you will be left with an incredible and flavorful bone broth!

Add in some of your leftover chicken along with some vegetables and you will have a beautiful soup to warm you up on a cold day.

Wishing you and your family a very Happy Thanksgiving!

Elaine

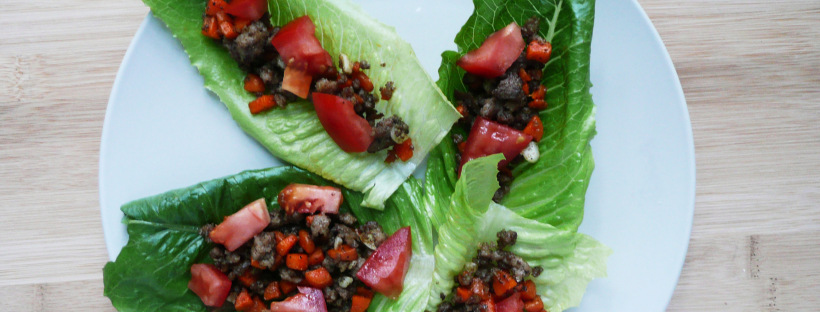
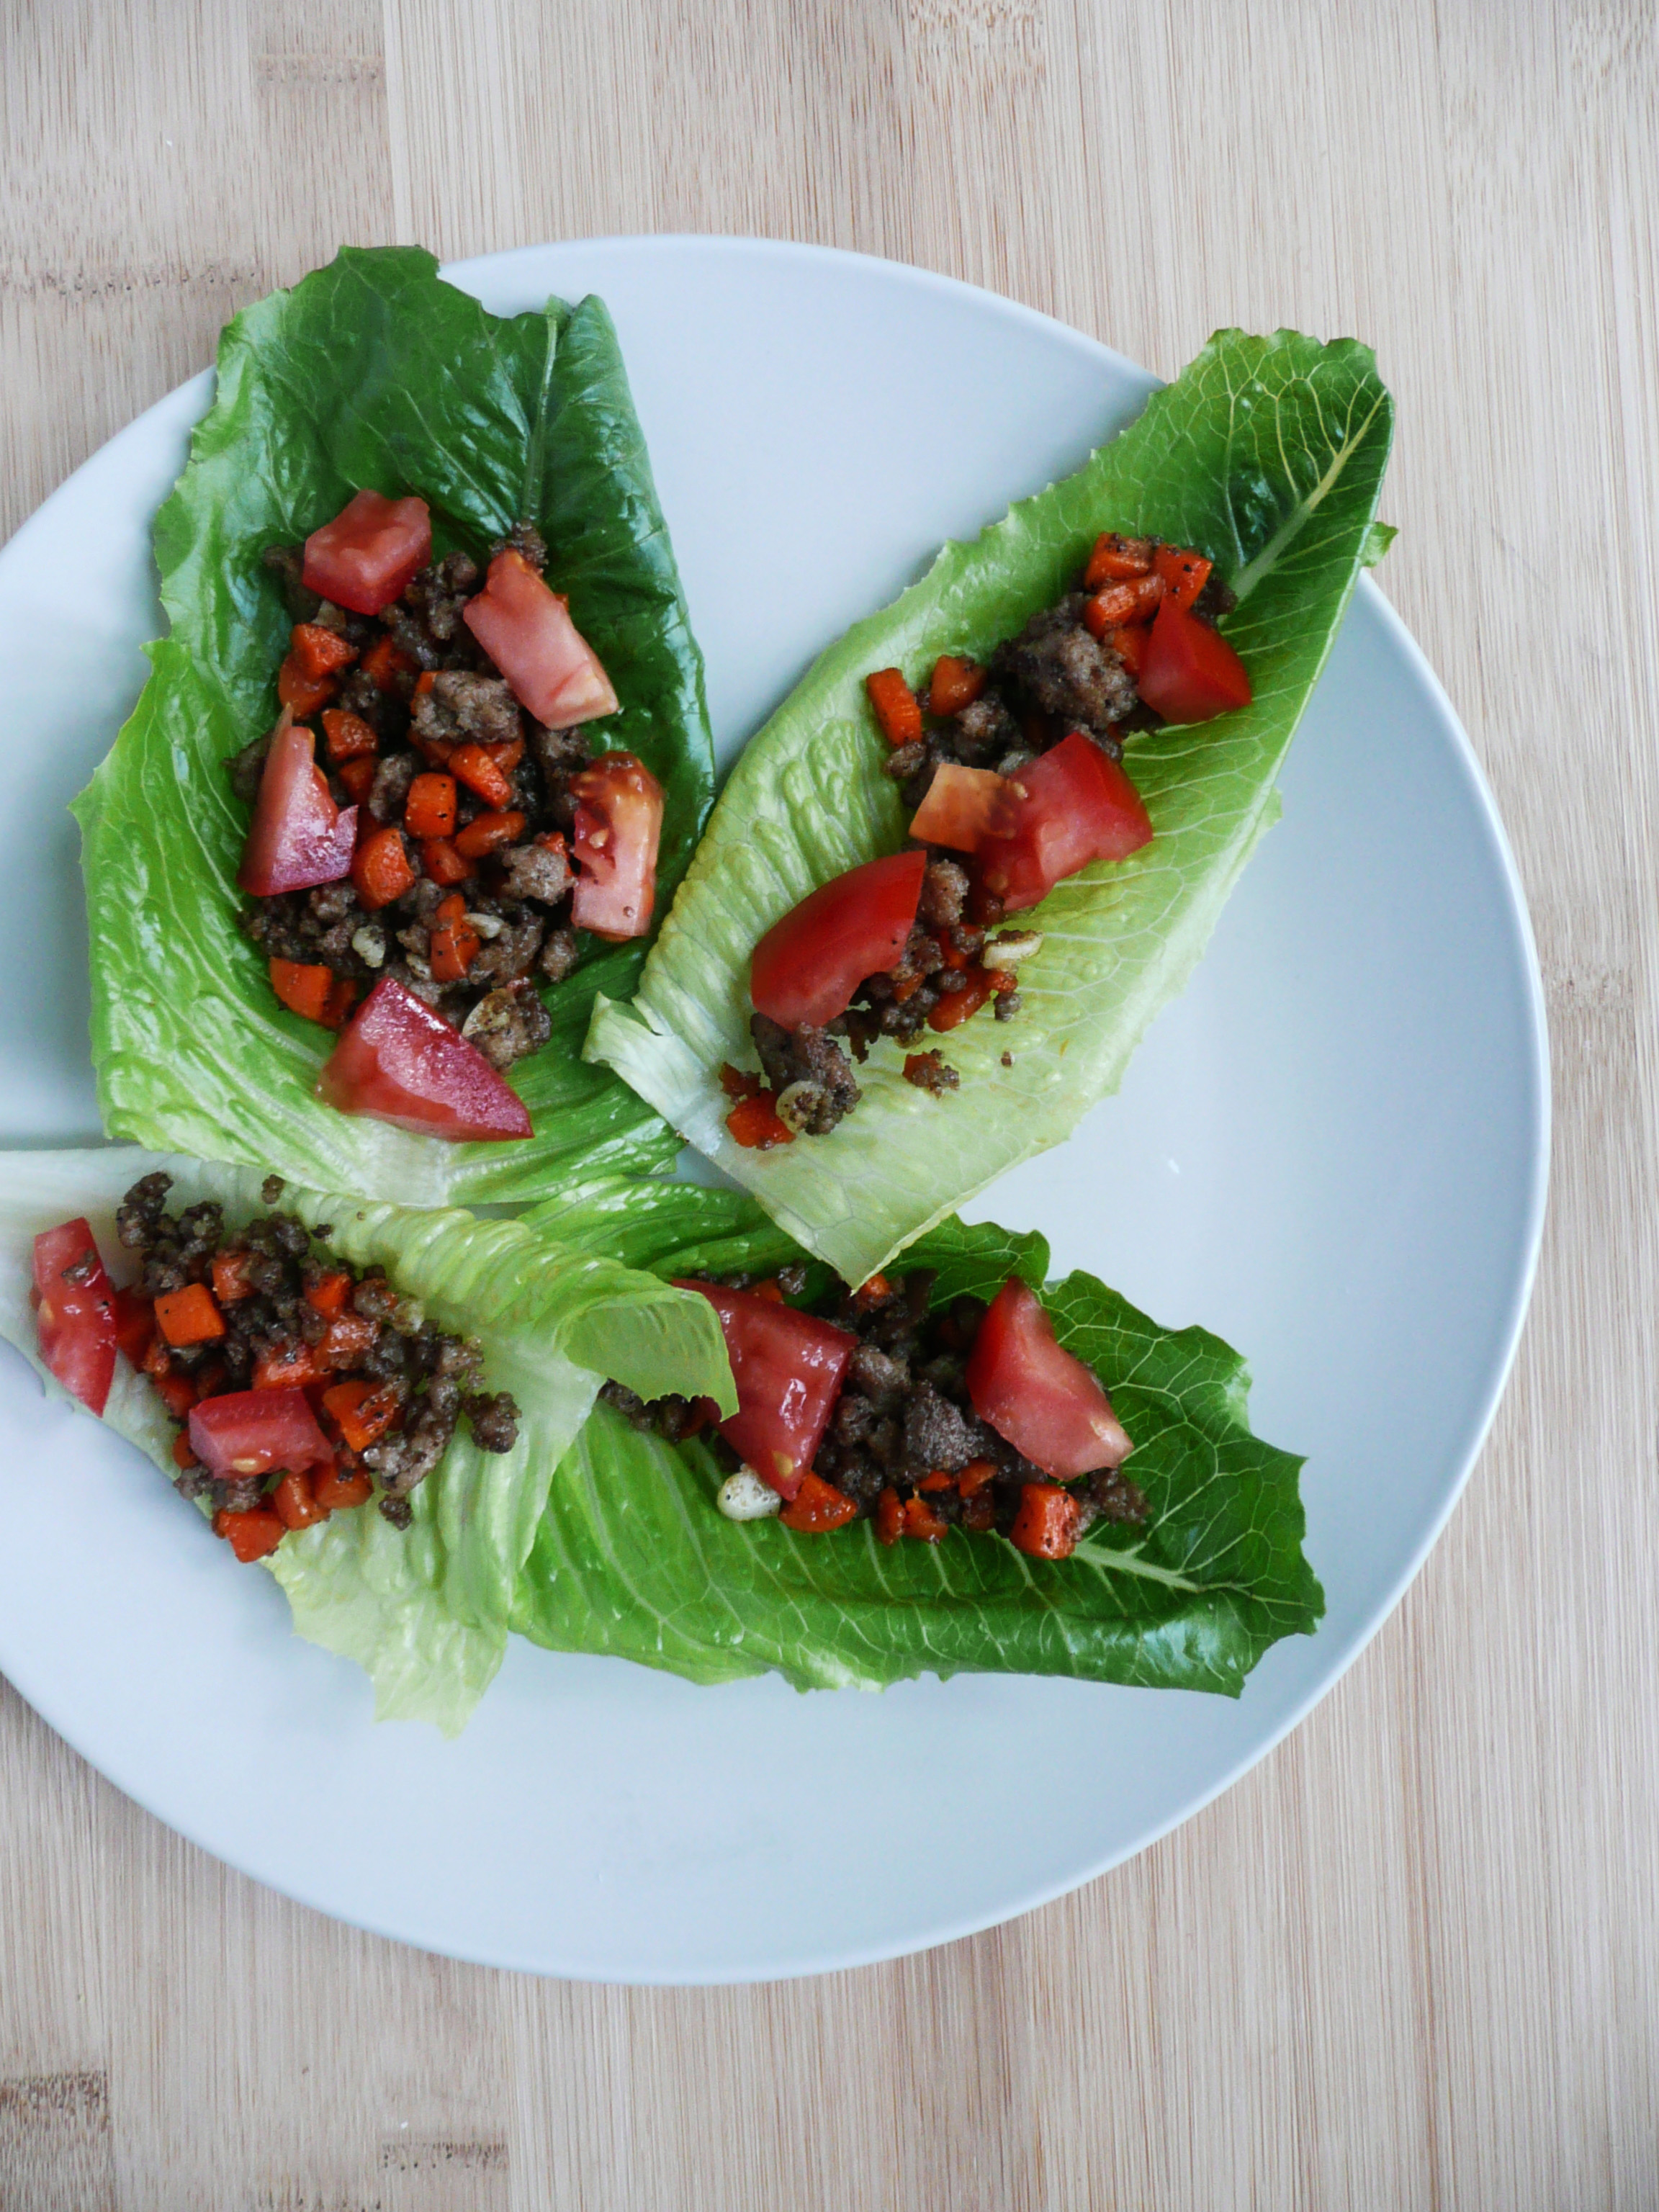
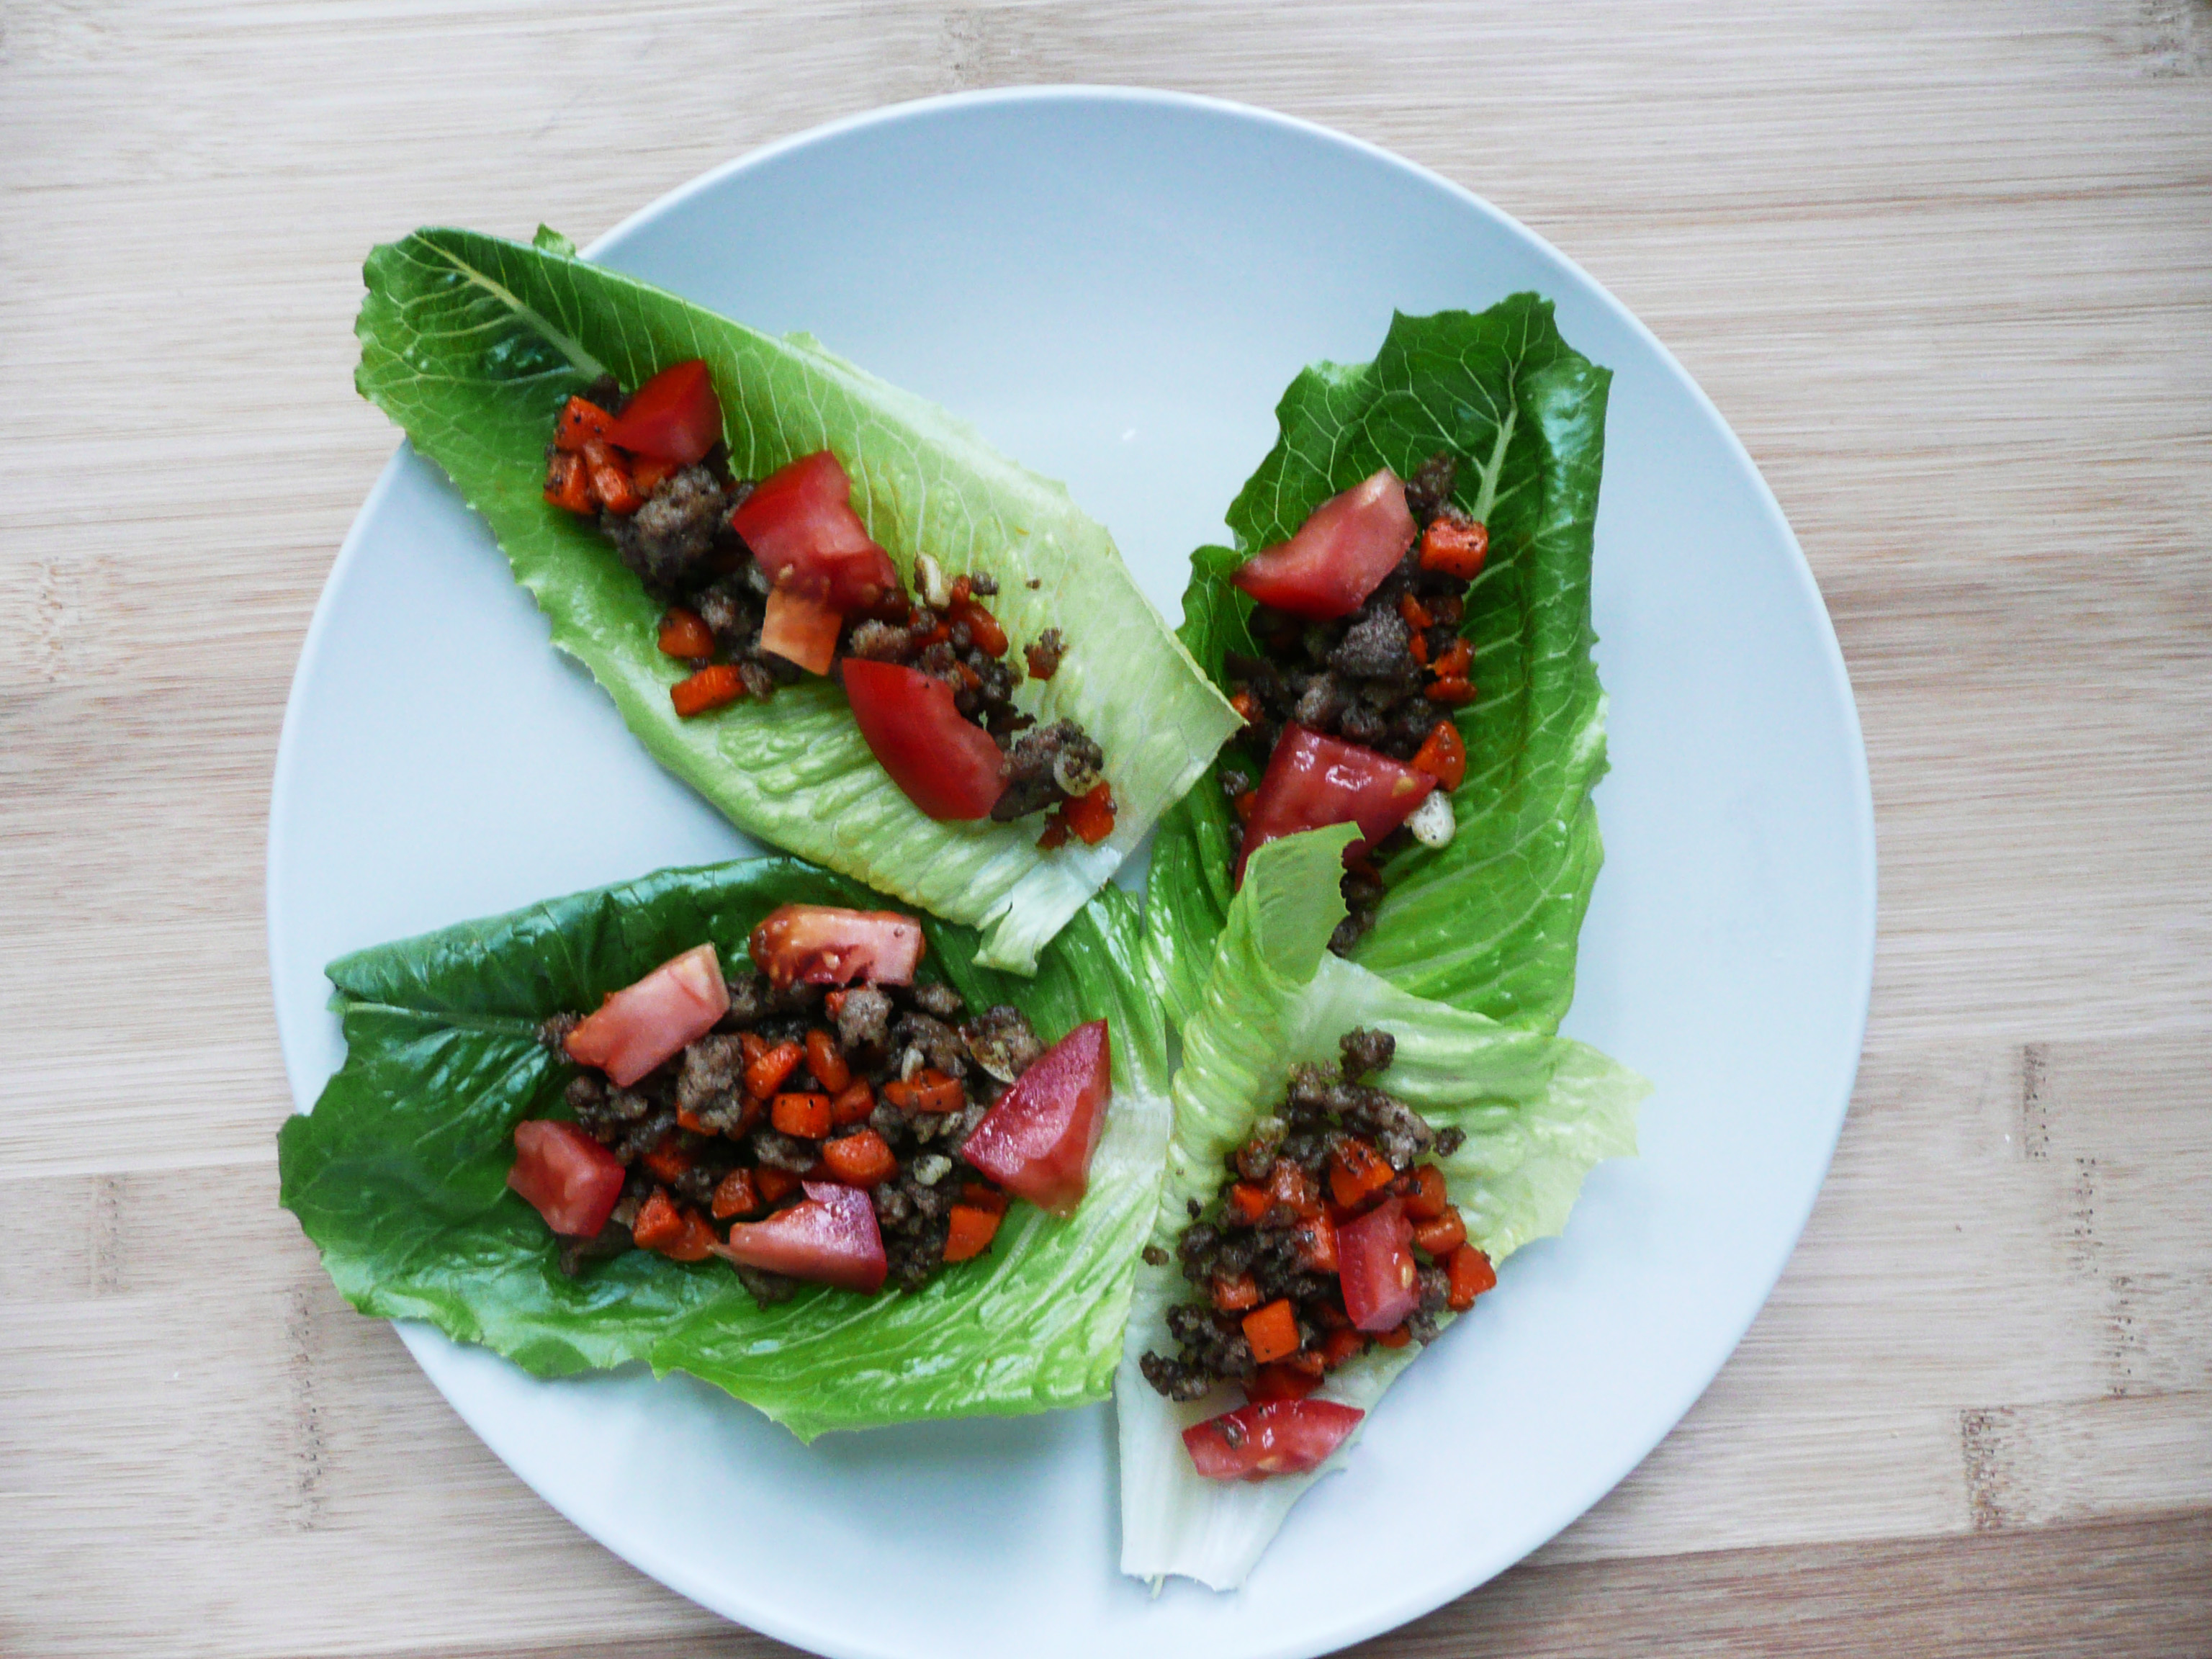
lamb lettuce cups

Easy Weeknight Cumin Lamb Lettuce Cups

Lamb lettuce cups 2

These easy cumin lettuce cups are super delicious and budget friendly.

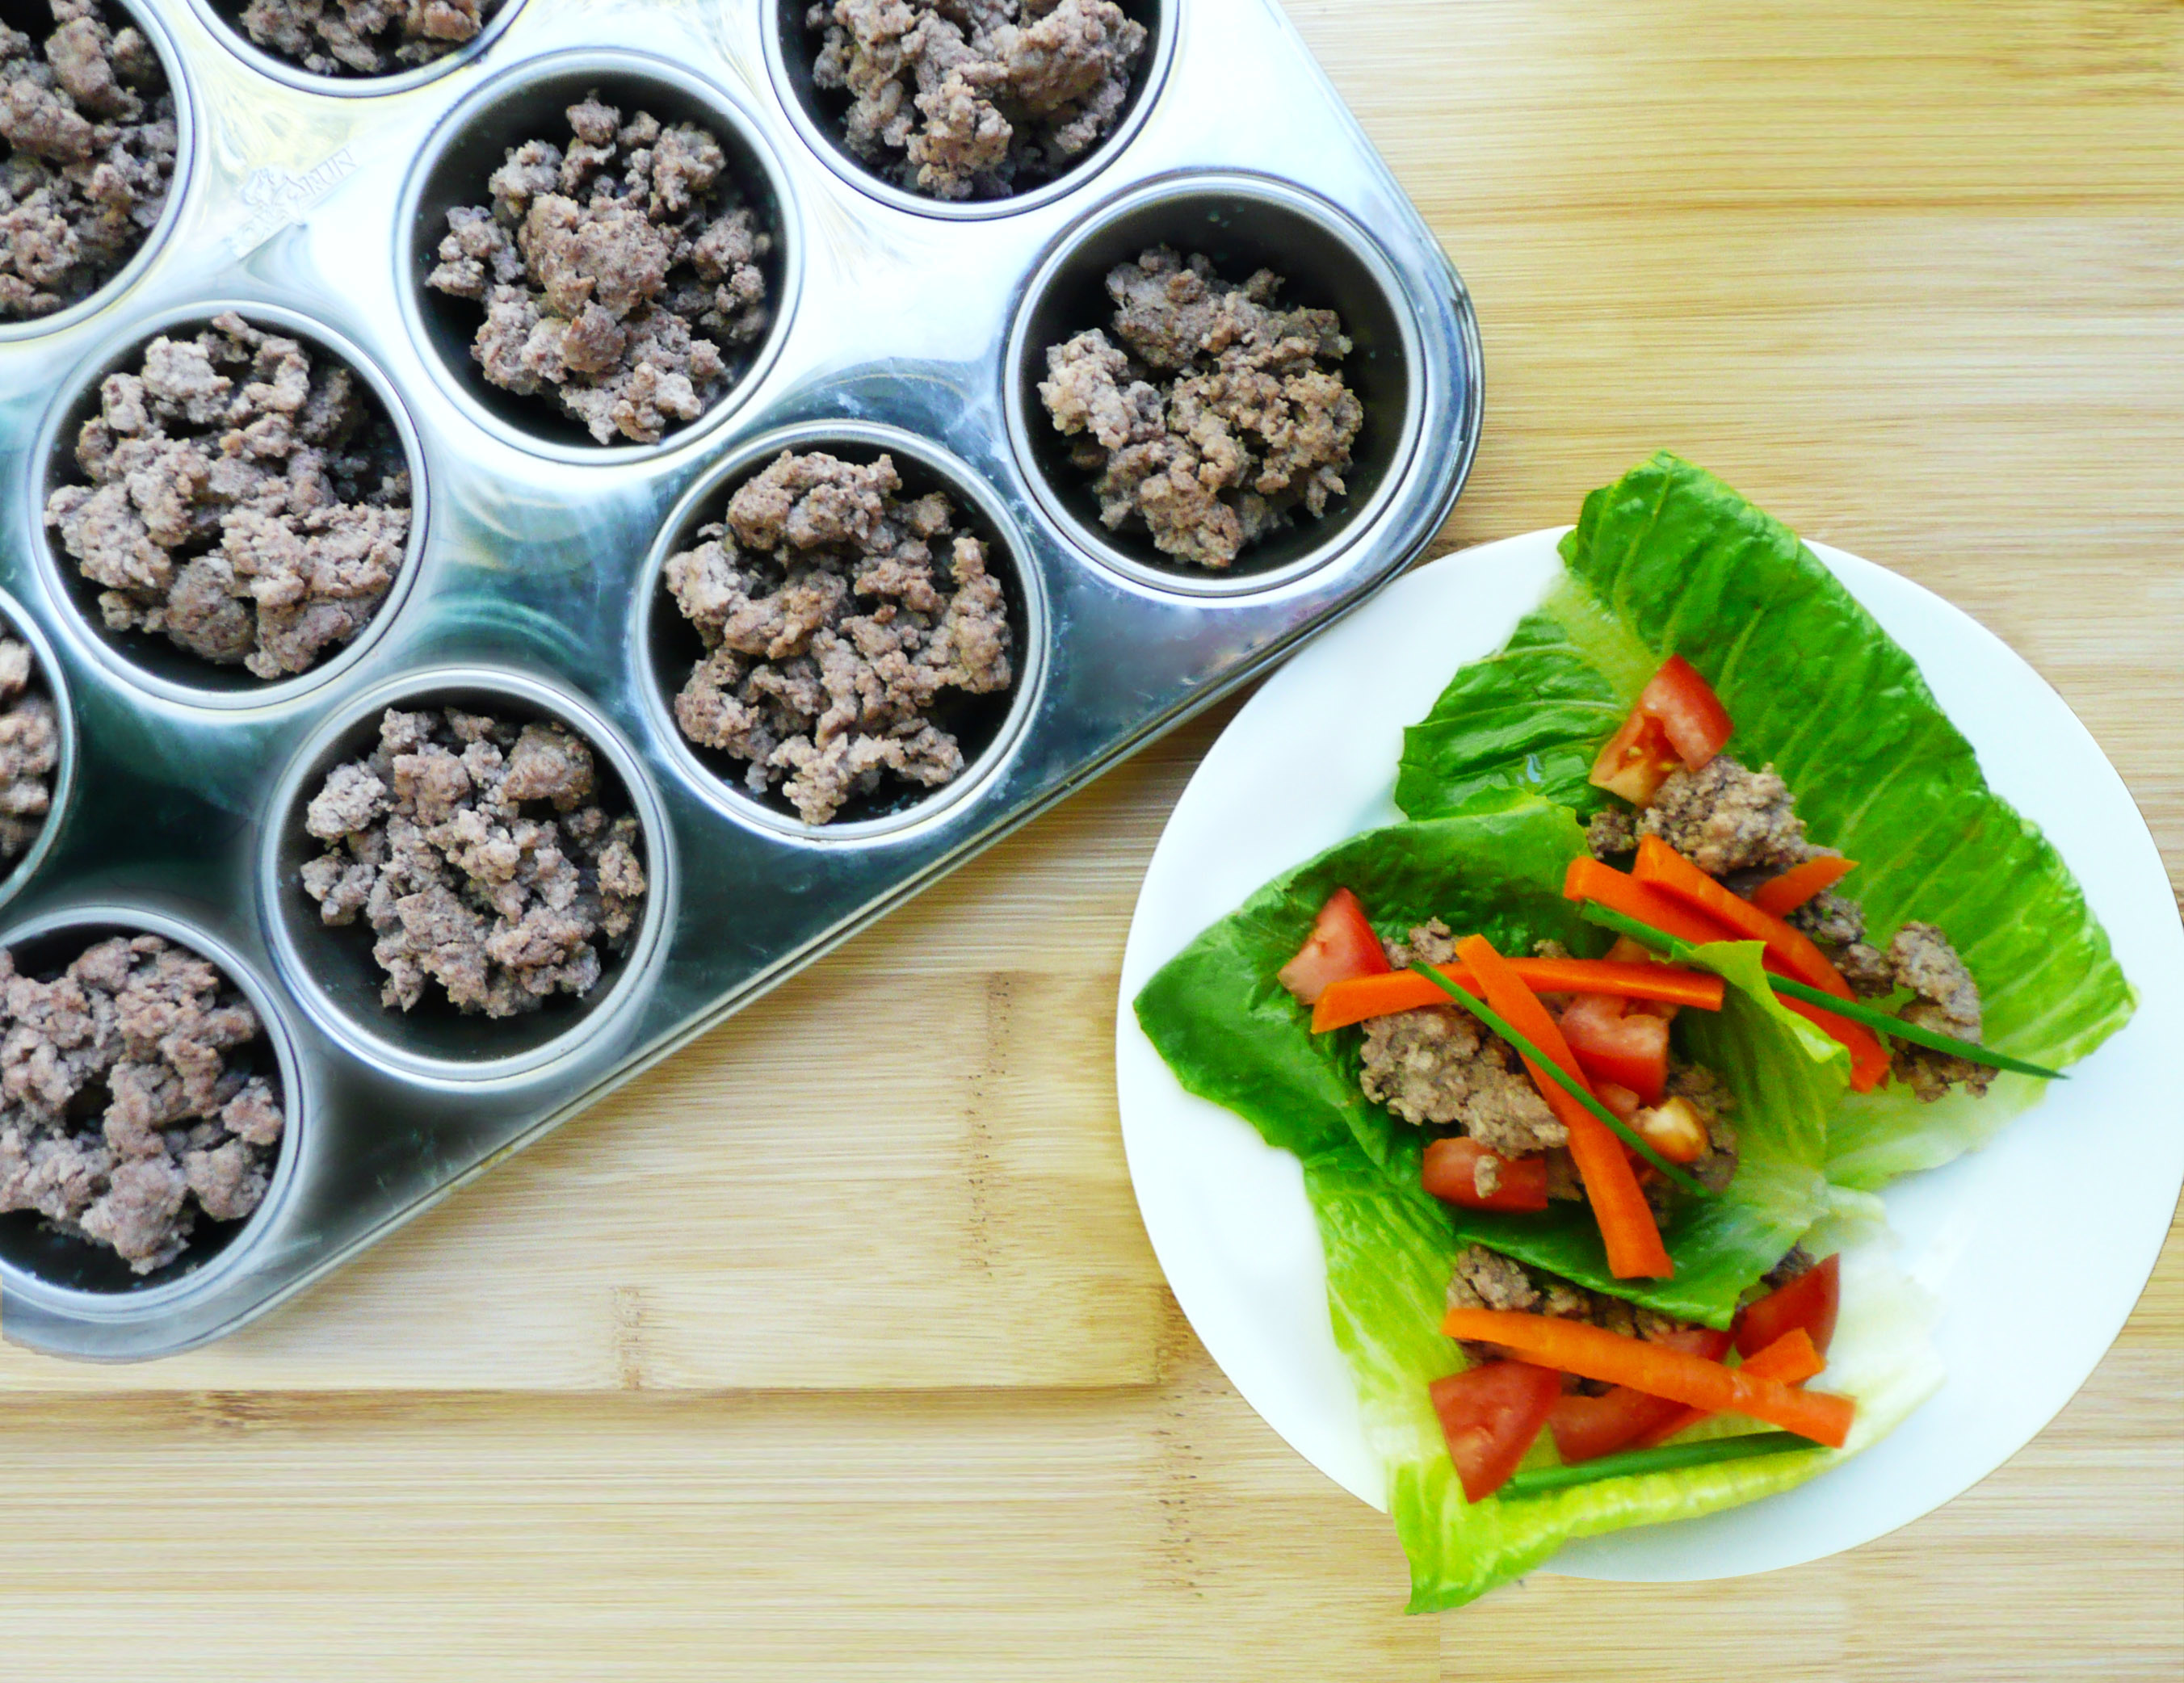
I used lamb and garlic that I had frozen previously. Adding those ingredients to a few spices, a carrot, along with some diced tomato and romaine leaves makes for a quick and healthy meal, perfect for a busy weeknight dinner.


Easy Weeknight Cumin Lettuce Cups

Makes 1 serving

Ingredients

1 tbsp olive oil

3-4 cloves of garlic, finely chopped (I used frozen garlic that I had, but fresh works great too)

1/2 cup cooked ground lamb *

1/3 cup finely diced carrot (about 1 small carrot)

4 tbsp water


1/2 tsp granulated onion

1/4 tsp ground cumin

pinch of salt and pepper (add more to taste)


romaine lettuce leaves and diced tomato (for serving)

Notes – * The lamb that I used was frozen solid in a 1/2 cup portion. I added that to the pan without defrosting it (it defrosted in the pan while the other ingredients were cooking).

If you use cooked lamb that is defrosted, you may have to adjust your cooking time slightly (and probably add a little more water so that the carrots have a little more time to cook through).


Instructions

1. Add the lamb, spices, olive oil, garlic, carrots and water to a medium sauce pan and cook the mixture over medium heat for about 7 minutes until the water has cooked off.

2. Turn the heat to medium high and sauté the mixture for another 3 minutes or so until the meat has browned and the carrots can be pierced with a fork without resistance.

3. Allow the mixture to cool for a few minutes, add more salt and pepper to taste and serve on romaine lettuce leaves and top with diced tomato.

Lamb lettuce cups 1

Happy Eating!


grass fed meat banner

How I Save Money On Grass Fed Meat (Without Coupons!)

Grass Fed Meat 1

I stumbled upon this money saving tip this past Father’s Day.

I was at my local grocery store early in the morning and on a whim decided to check out the meat section. It was a nice surprise to see that they had started carrying grass fed lamb (it used to be that in my area only Whole Foods carried grass fed lamb).

The grass fed lamb ribs were pretty expensive though, about $15 / lb and I wasn’t quite in the mood to spend that much. So I kept browsing and saw that they also had grass fed ground lamb.

Then I looked at the price – $6.99 / lb. Eh, not cheap but not too terrible either.

Then I saw the 50% off stickers.

Huh?

Grass fed lamb for $3.50 / lb? That is a great deal!

As it turns out, the sell by date was June 17th (which was the same day as Father’s Day this year) and that’s why the ground lamb was 50% off. That was the last day that they could sell the lamb before they took it off the shelves.

One of my family members told me later that grocery stores also do the same thing with dairy products (they discount them on the sell by date).

The sell by date is not the same as the expiration date. There’s more info on this here.

Obviously, if you’re going to buy meat on the sell by date, you do that at your own risk (’cause no one can completely guarantee the safety of raw meat).

Personally though, I looked for packages where the plastic wrap wasn’t puffy and the meat still smelled ok.

I wouldn’t use this meat for anything like a rare burger, and I would make sure to cook it thoroughly.

I ended up buying 4 lbs of grass fed meat for about $14. The ground lamb was packaged in those vacuum packed blocks and looked just as good as the ground beef that was packaged the same way (but was a week or two away from the sell by date).

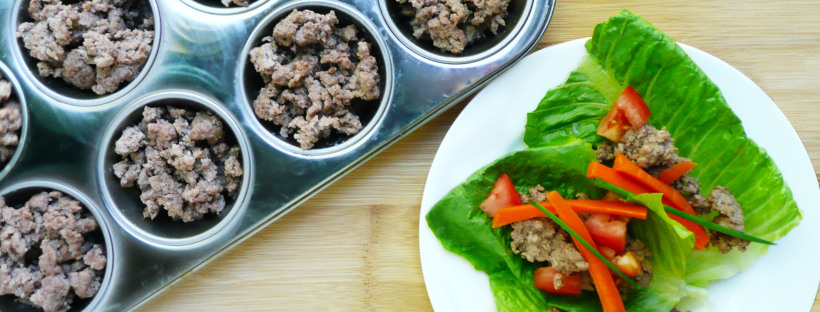
So I took it all home, cooked it off in a big pot, drained off the excess fat and spooned the cooked lamb into muffin pans and froze it. I then transferred the blocks of ground lamb into ziptop bags.

The little individual portions of frozen lamb are really convenient and make life a lot easier as they defrost quickly and you can add them to anything for a quick dinner.

So far, I’ve tossed these little blocks of ground lamb into pasta sauce and paleo chili, used them to make Cumin Lamb Lettuce Cups, and made them into a soup with leftover greens and vegetables that I had in my fridge.

Altogether I got 24 half cup servings of ground lamb for $14, which works out to $0.58 per serving. This amount of meat will last me about 2 months (I tend not to eat meat every day).

If I were to do this again – (which I definitely will – saving money is pretty awesome!)

– I would go to my local grocery store and make a note of the sell by dates of the meat was I interested in buying. (This is pretty easy to do during my weekly shopping trip.)

– I would either go to the grocery store the night before the sell by date (sometimes grocery stores will put the discount stickers on the meat the night before) or early in the morning the day of (like before 8:30 am).

– I would cook the meat off that day and freeze it.

I hope that this tip helps to save you some money too!


Chocolate Banana Soft Serve Ice Cream – Refined Sugar Free, Dairy Free, Vegan, Paleo

P1080366

When I think of chocolate desserts, I want something really decadent and rich, with a deep chocolatey flavor.

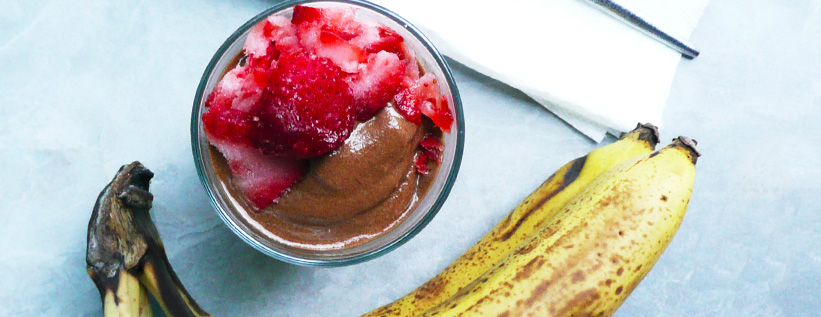
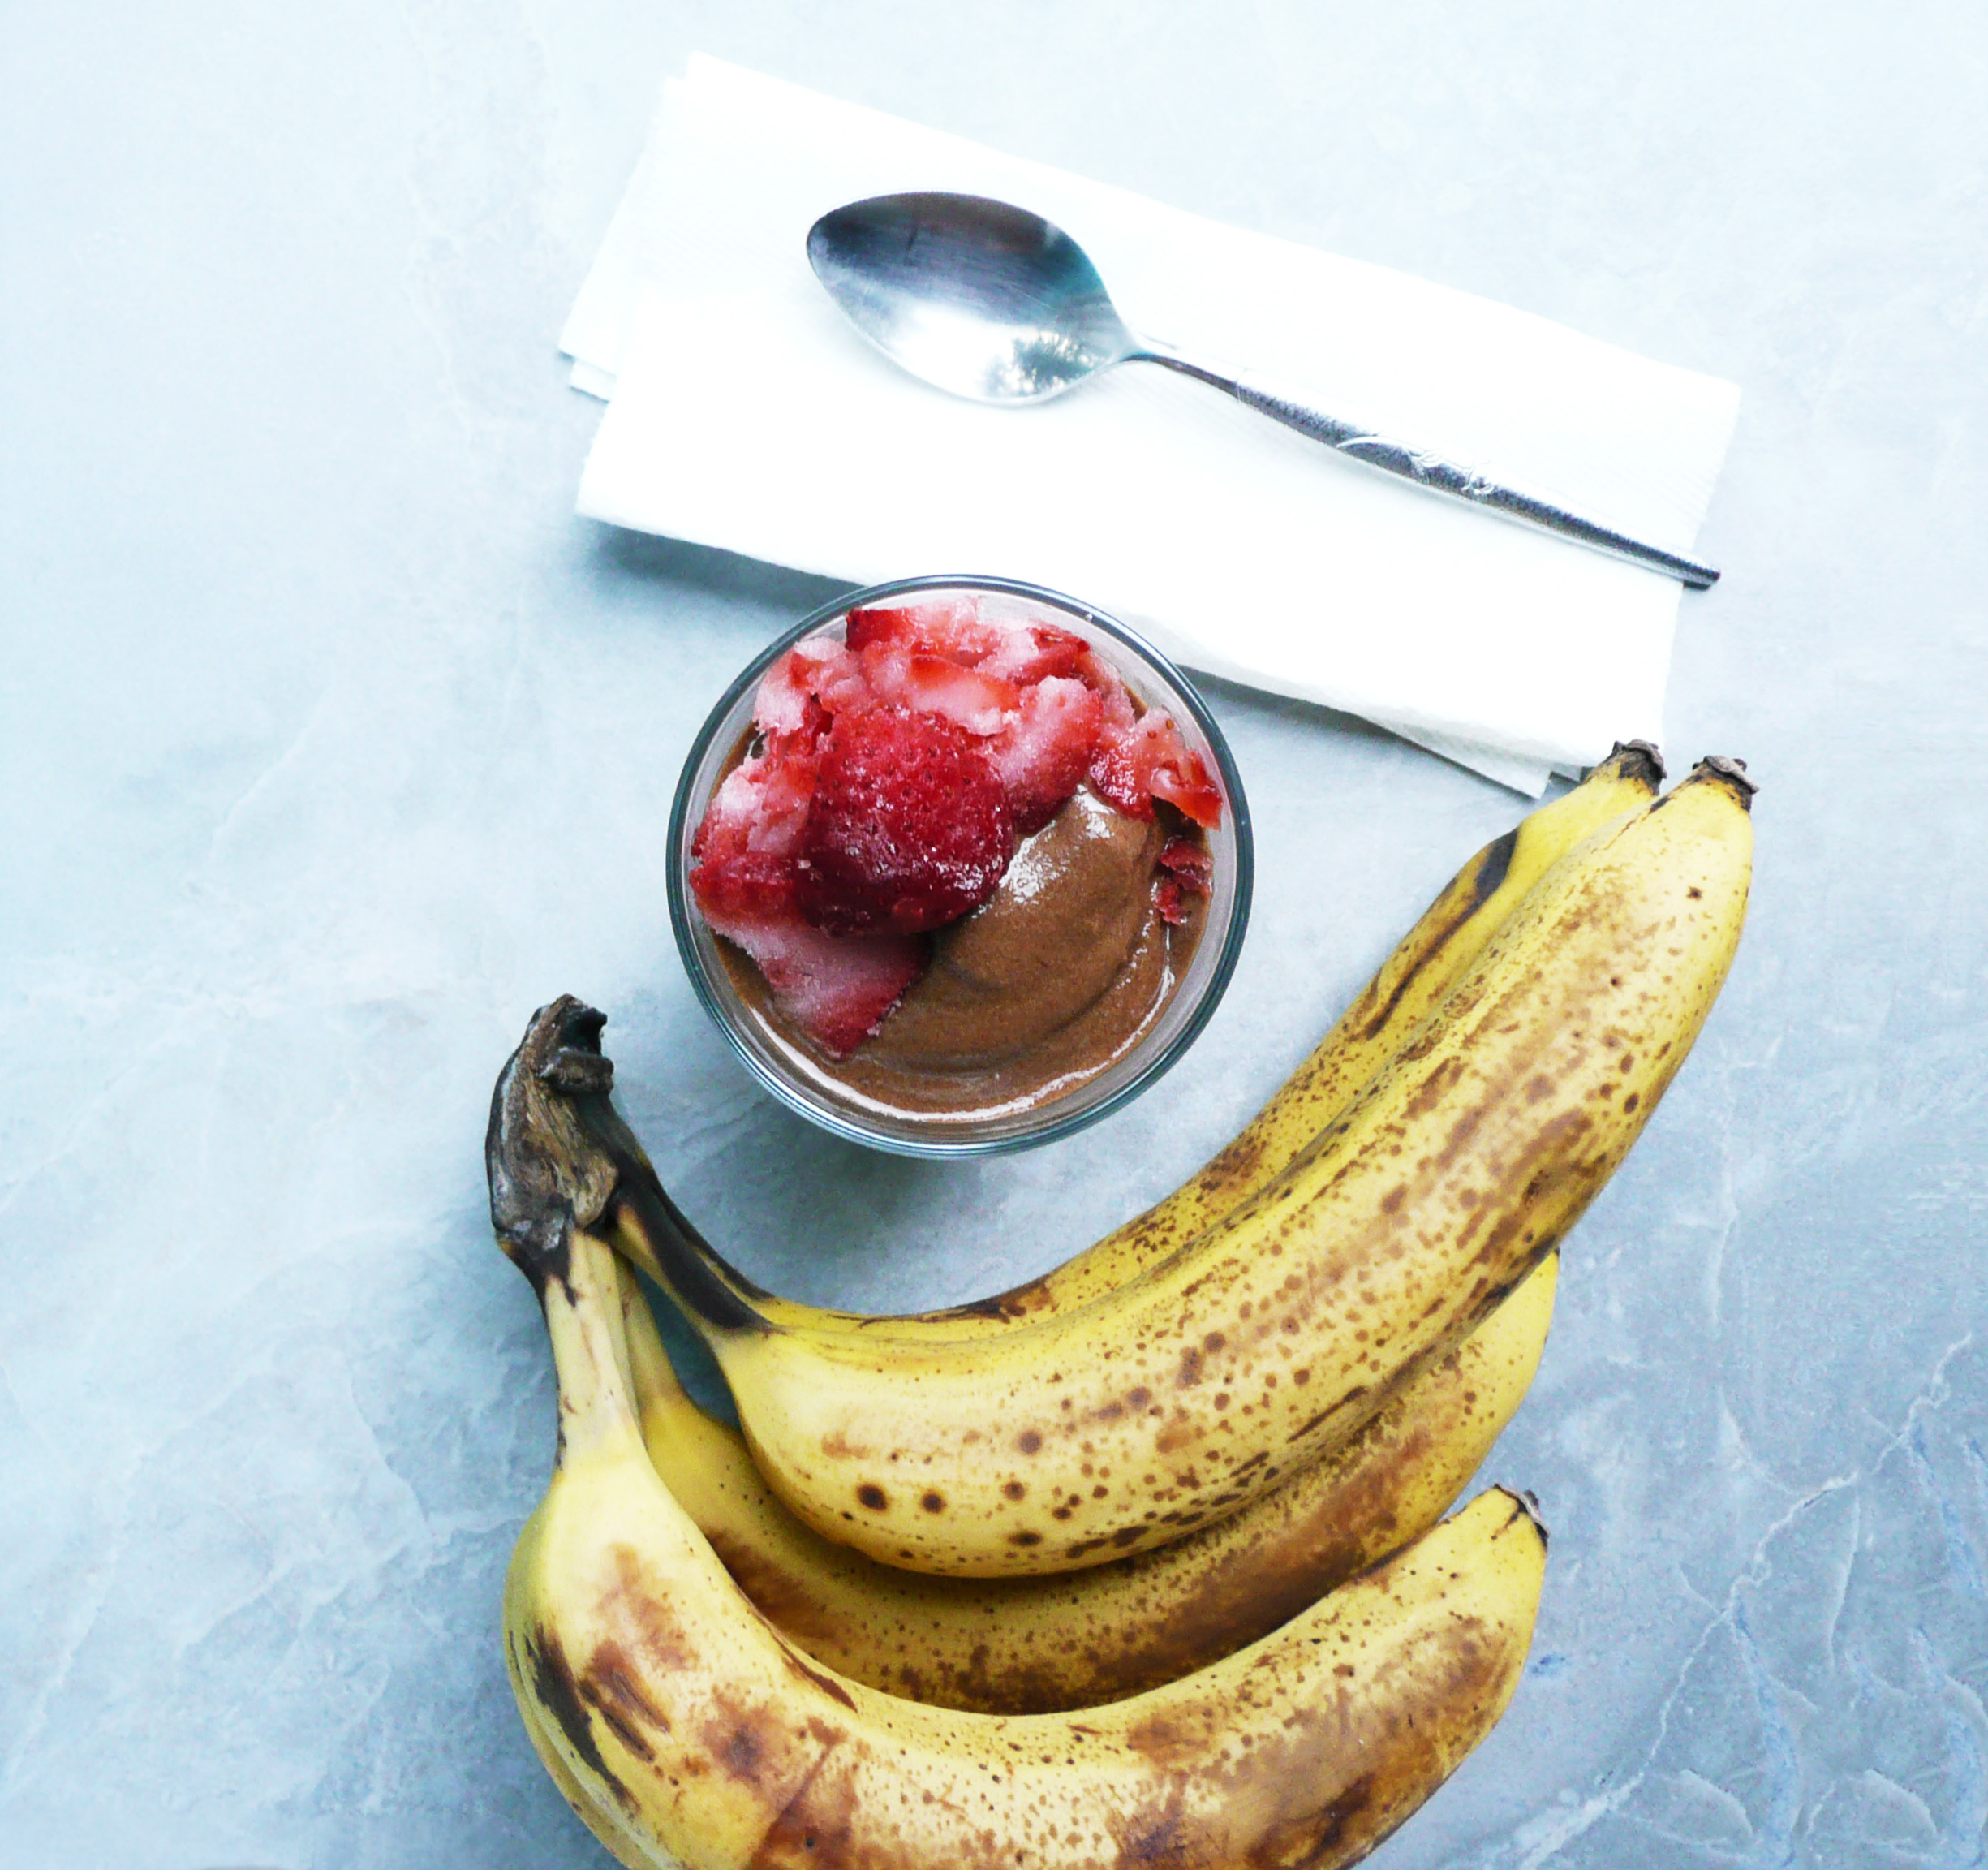
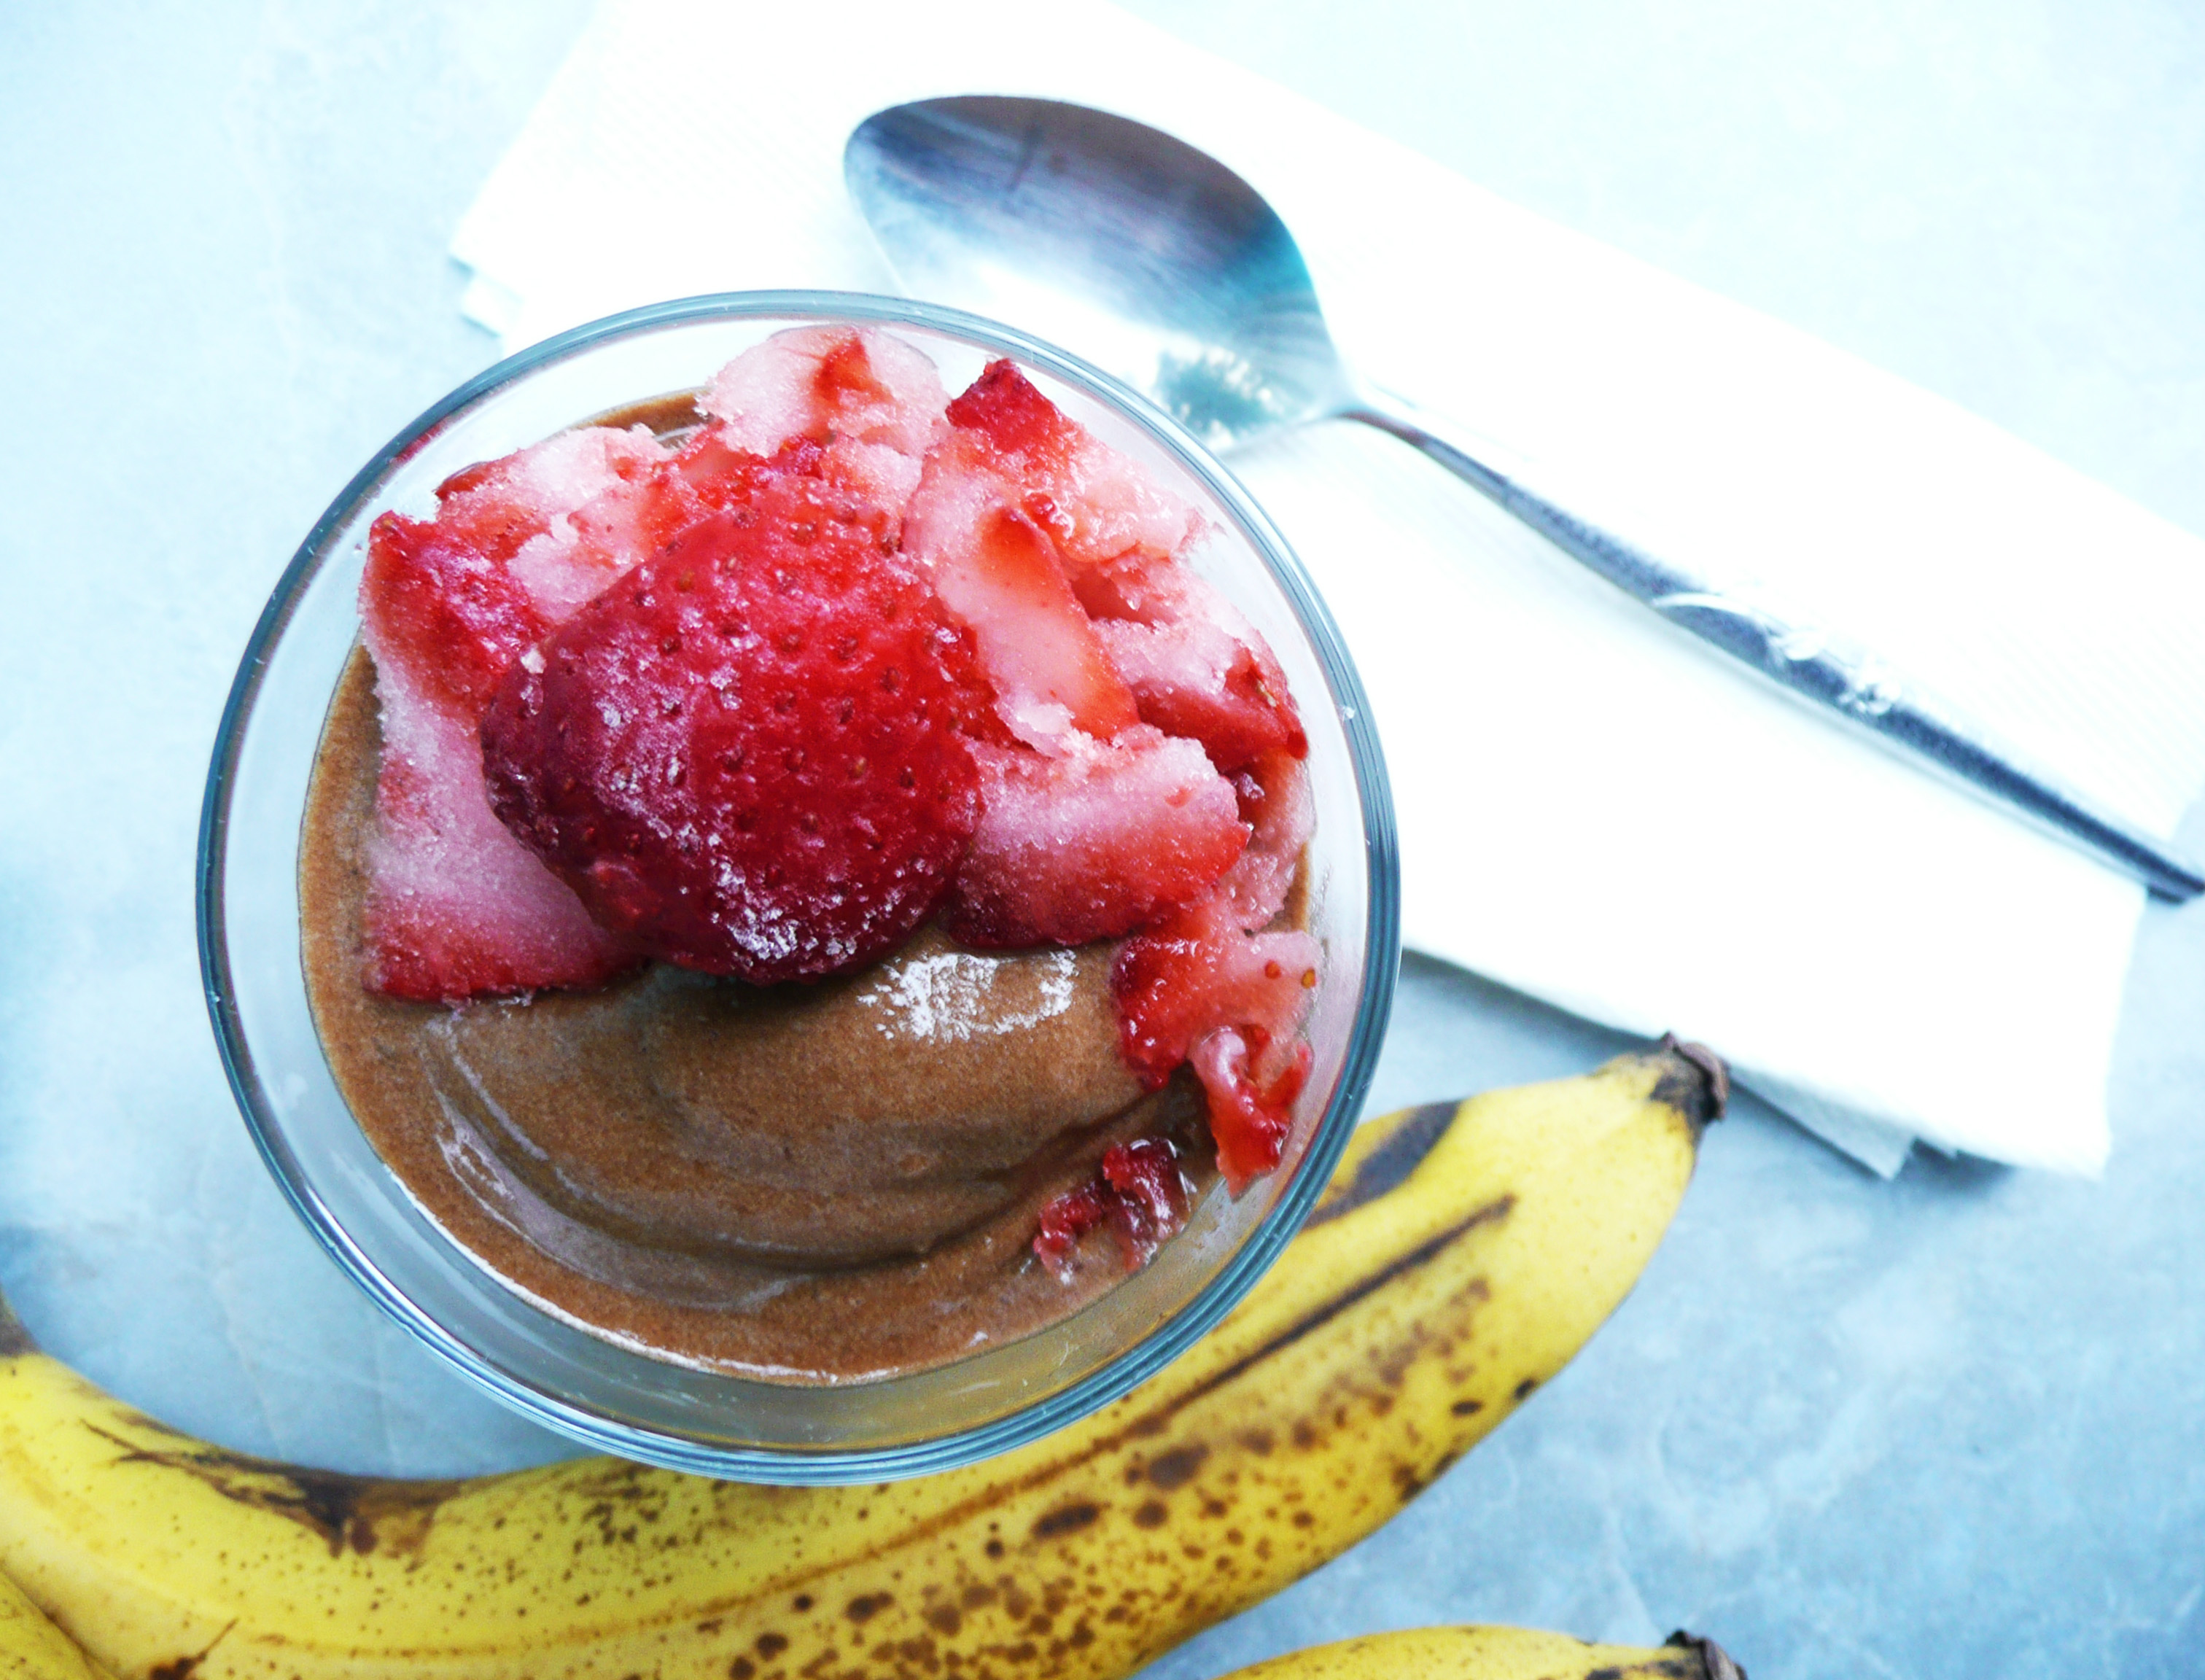
This Chocolate Banana Soft Serve Ice Cream definitely fits the bill. It’s super easy to make, and takes almost no time or effort. It’s so creamy and delicious, and it’s pretty incredible that blended up frozen bananas can turn into such an amazing treat!

When I was working on this recipe, I thought about the rich and creamy chocolate ice cream that would occasionally eat before I went dairy and refined sugar free.

I really tried to get a similar flavor with this recipe, so it does have more cocoa powder and vanilla extract than you would expect it to have, which gives the banana ice cream a similar flavor to the store bought chocolate ice creams of my younger days.

Banana ice cream also cuts down on food waste because it’s the perfect thing to make when you have overripe bananas that you don’t know what to do with. No need to throw them away! Just peel them, and freeze them, and you can have ice cream whenever you want. How cool is that?

You can also adjust the flavor of the ice cream to your liking really easily. If you want it a little sweeter (or if your bananas could have used a little more ripening before you froze them) you can add a little more maple syrup, or more cocoa if you want a deeper chocolate flavor.

However you make it, I hope that this ice cream brings a little more joy to your day.


Chocolate Banana Soft Serve Ice Cream

Makes 1 serving (about 3/4 cup)

Ingredients

1 thawed frozen banana

3 1/2 tbsp unsweetened cocoa powder *

2 1/2 tbsp + 1 tsp maple syrup

2 tbsp + 2 tsp water

1 tsp vanilla extract

tiny tiny pinch of salt


*I didn’t use a heaped tbsp, just sort of slightly higher than a level tbsp. The cocoa powder that I used was the Ghirardelli unsweetened cocoa powder.

Instructions

1. Cut the thawed banana into half inch slices with a paring knife. If the banana is too hard to cut, then let it thaw for another 5 minutes or so before trying to cut it again.

2. Add all the ingredients into a food processor and process until smooth, scraping down the sides of the bowl occasionally.

If you want a firmer texture, you can spoon the mixture into a bowl and put it into a freezer for another 15-20 minutes.

For garnish, I just used a paring knife to shave pieces off a slightly thawed frozen strawberry. It gives it a nice color and a bit of little flair, and the strawberry flavor goes well with the banana and chocolate flavors of the ice cream.

P1080371

Happy Eating!


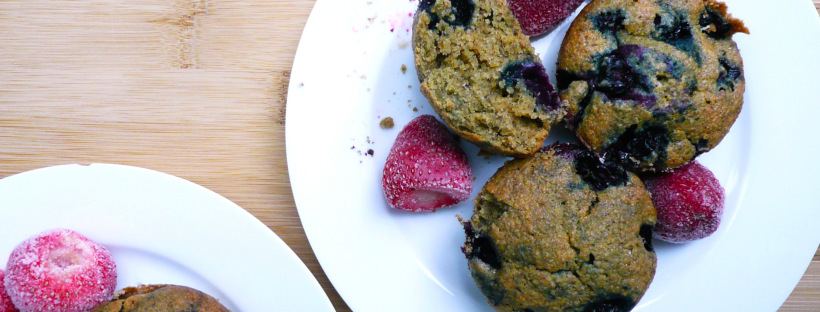
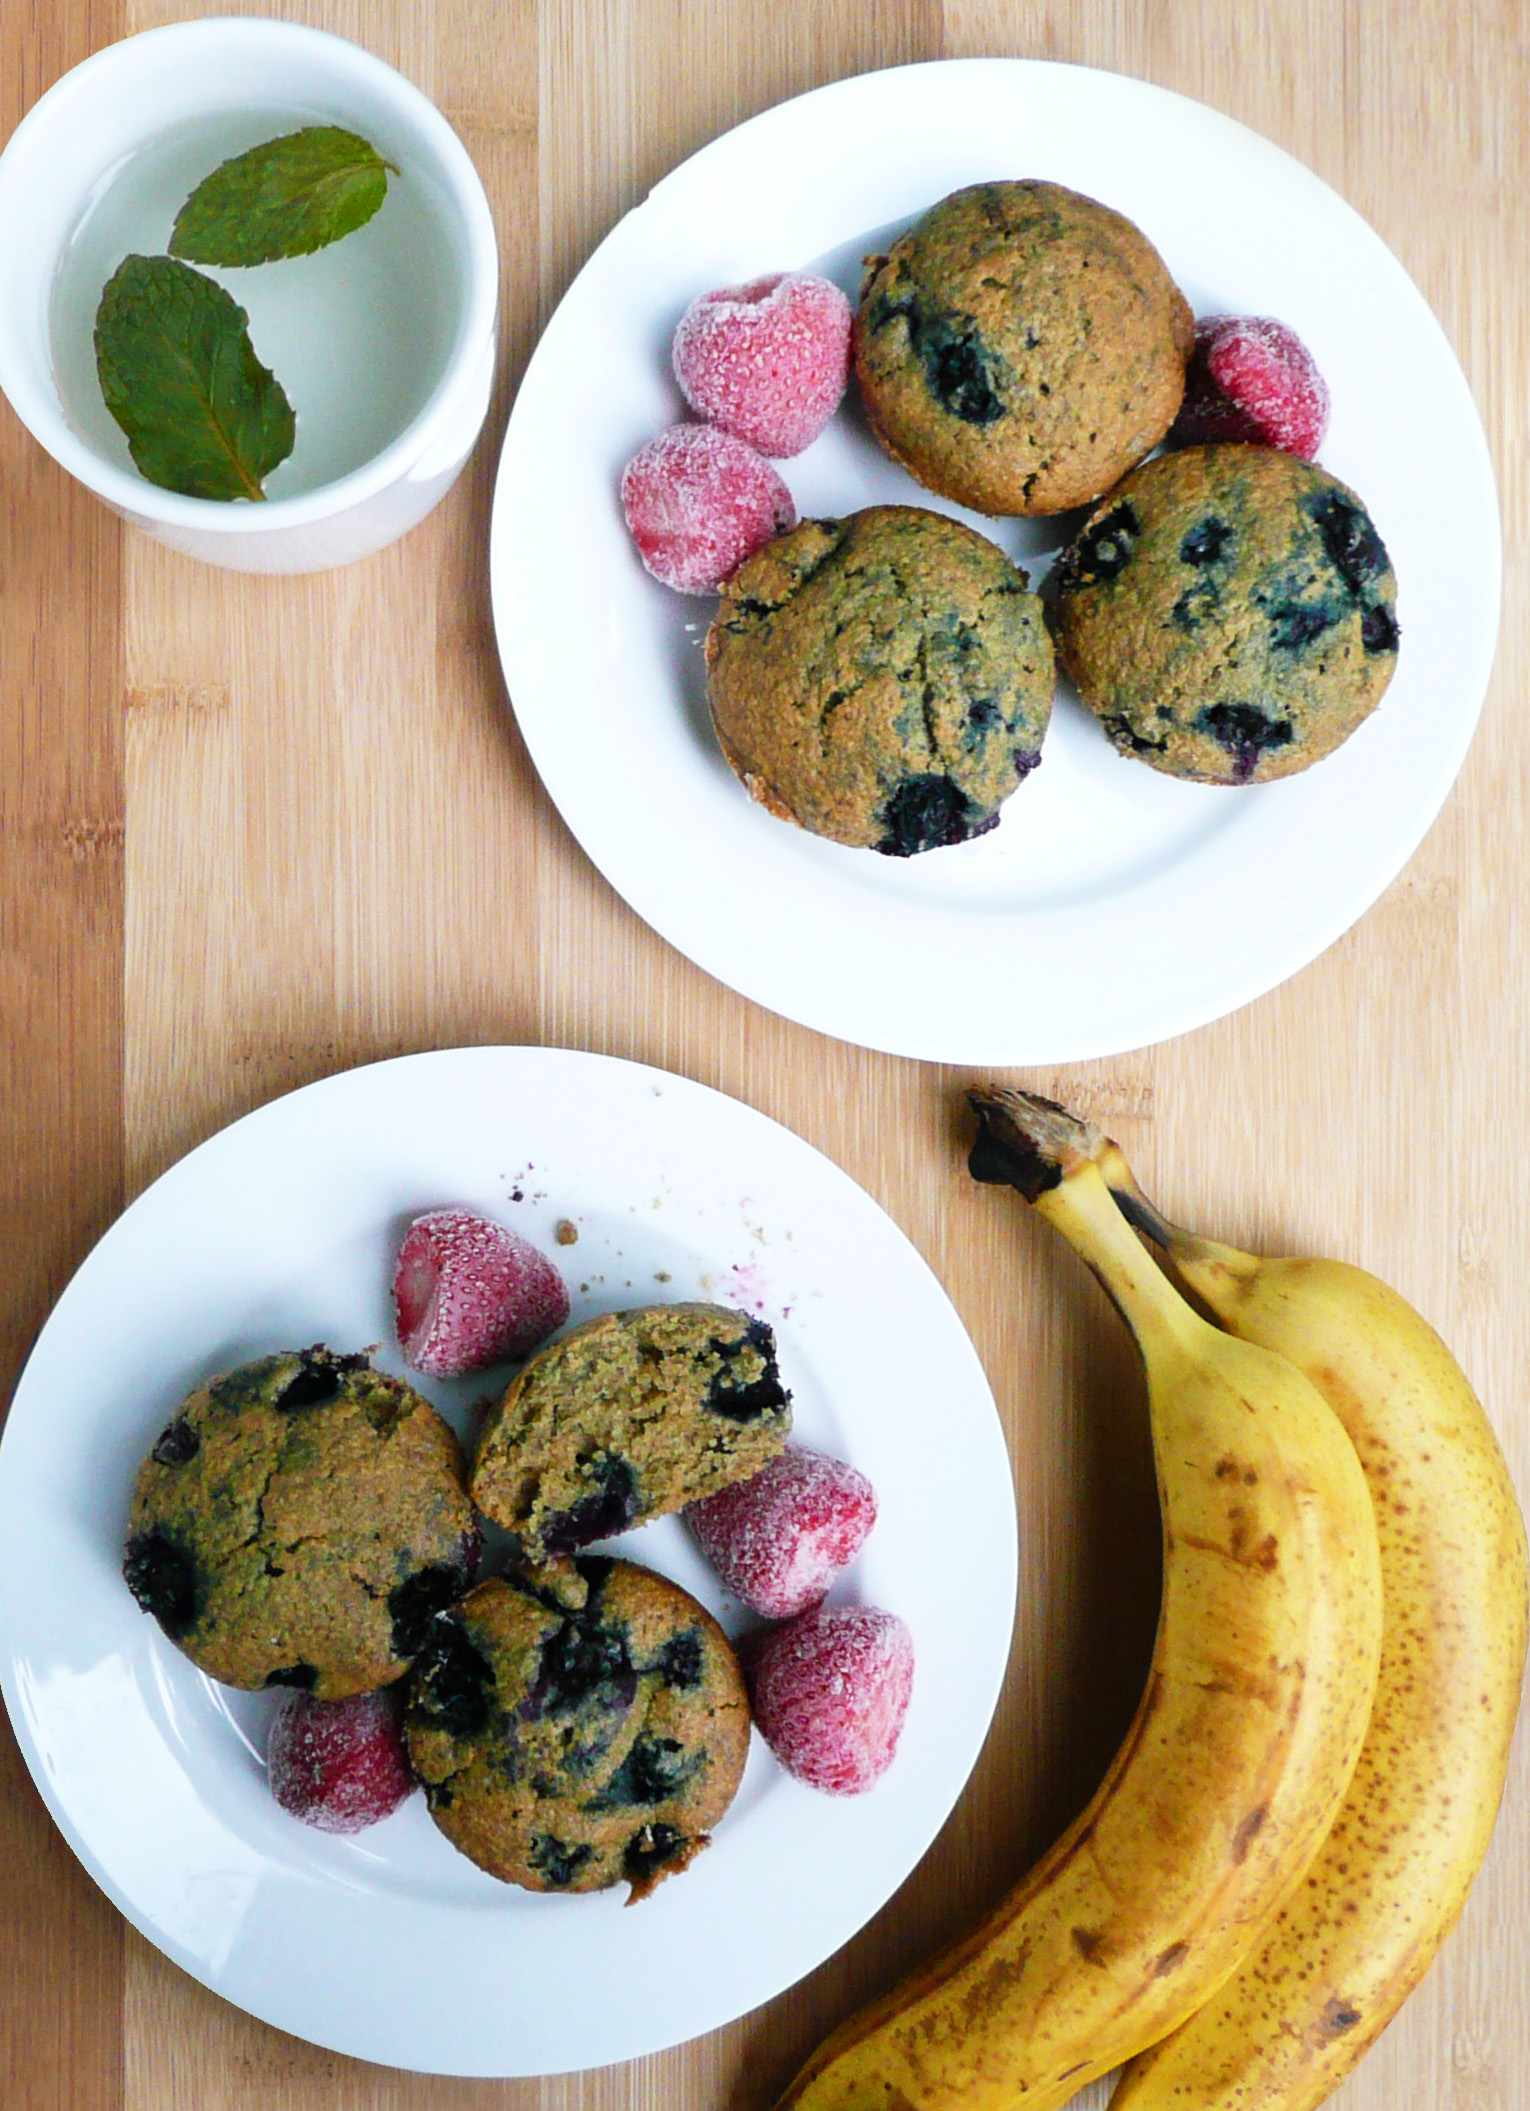
blueberry muffins

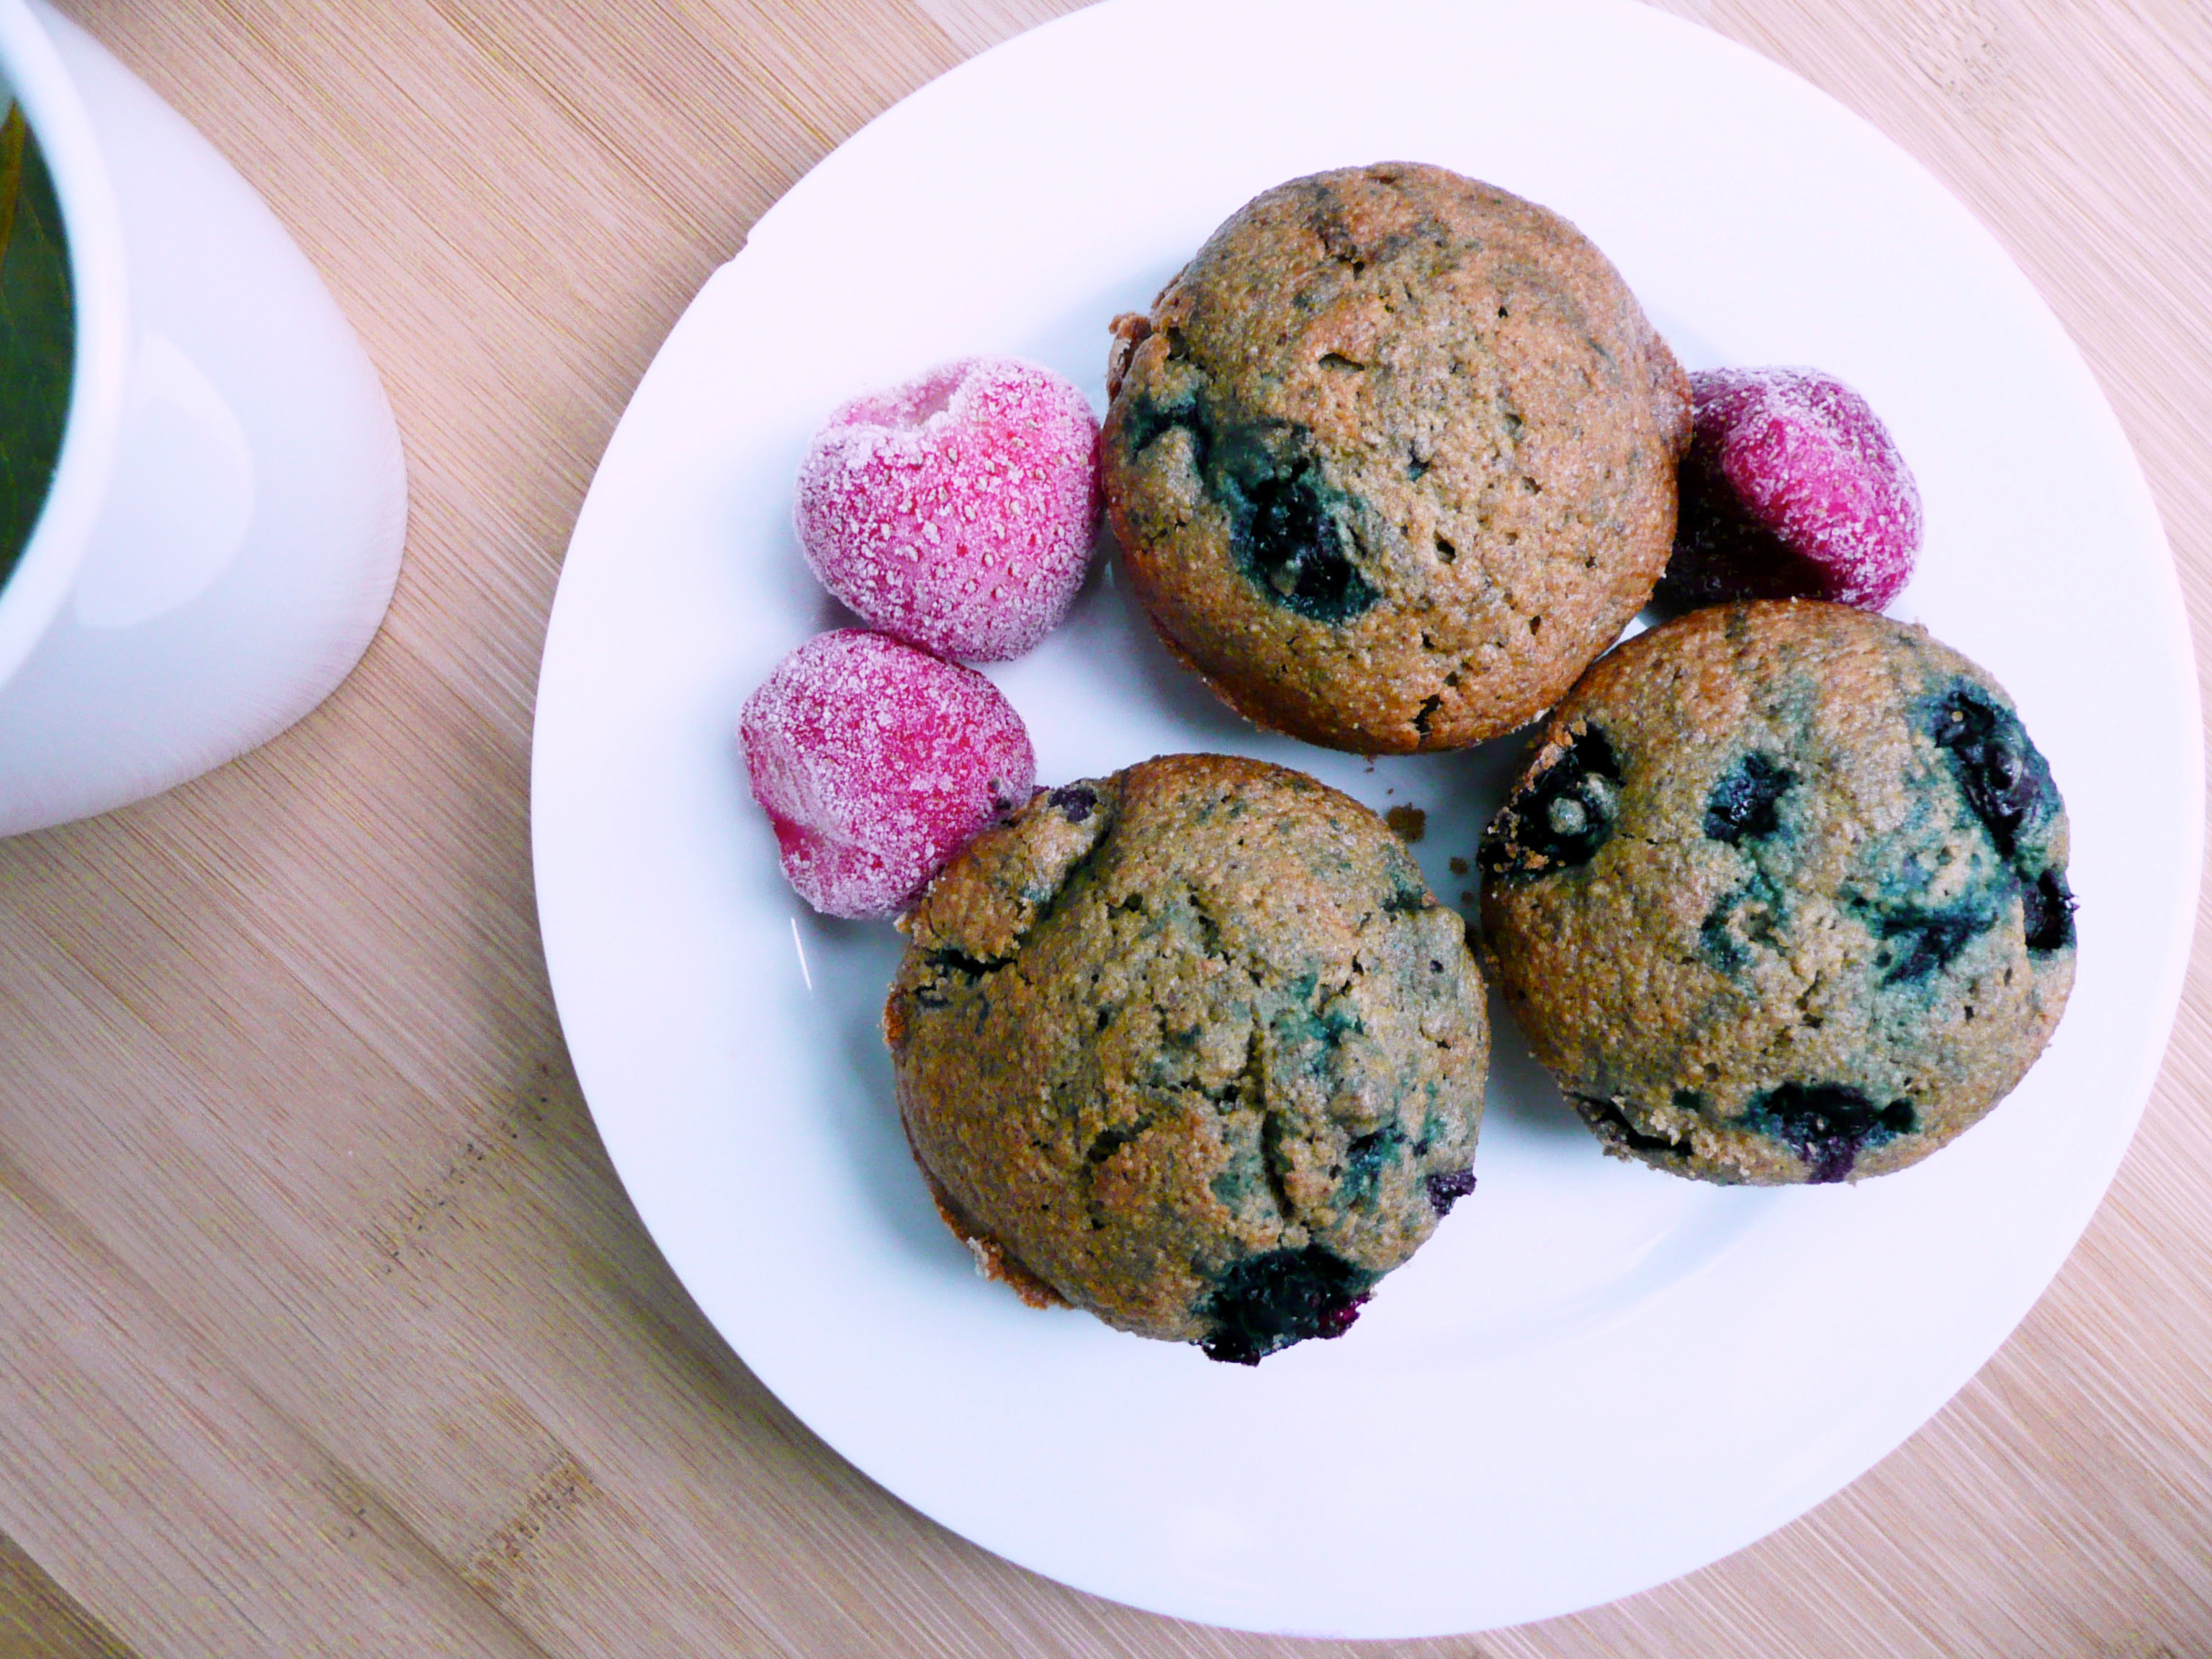
The Best Gluten Free Blueberry Muffins Recipe – Made with Oat Flour – Gluten Free, Dairy Free, Refined Sugar Free

I love blueberries, and I also love blueberry muffins. It’s hard to find someone who doesn’t love them.

P1080289

Lots of us have fond memories of baking them with our families, and there is just something incredibly comforting and nostalgic about them.

A good blueberry muffin is one of the things that I most wanted to eat when I went gluten free, and I’m so glad that I finally came up with a recipe for them!

These delicious blueberry muffins are made with oat flour, and taste just like the muffins that you remember eating when you were a kid.

They are such a treat, and there’s nothing like biting into a freshly baked blueberry muffin on a cold morning with a hot cup of tea.

P1080248

Heaven.

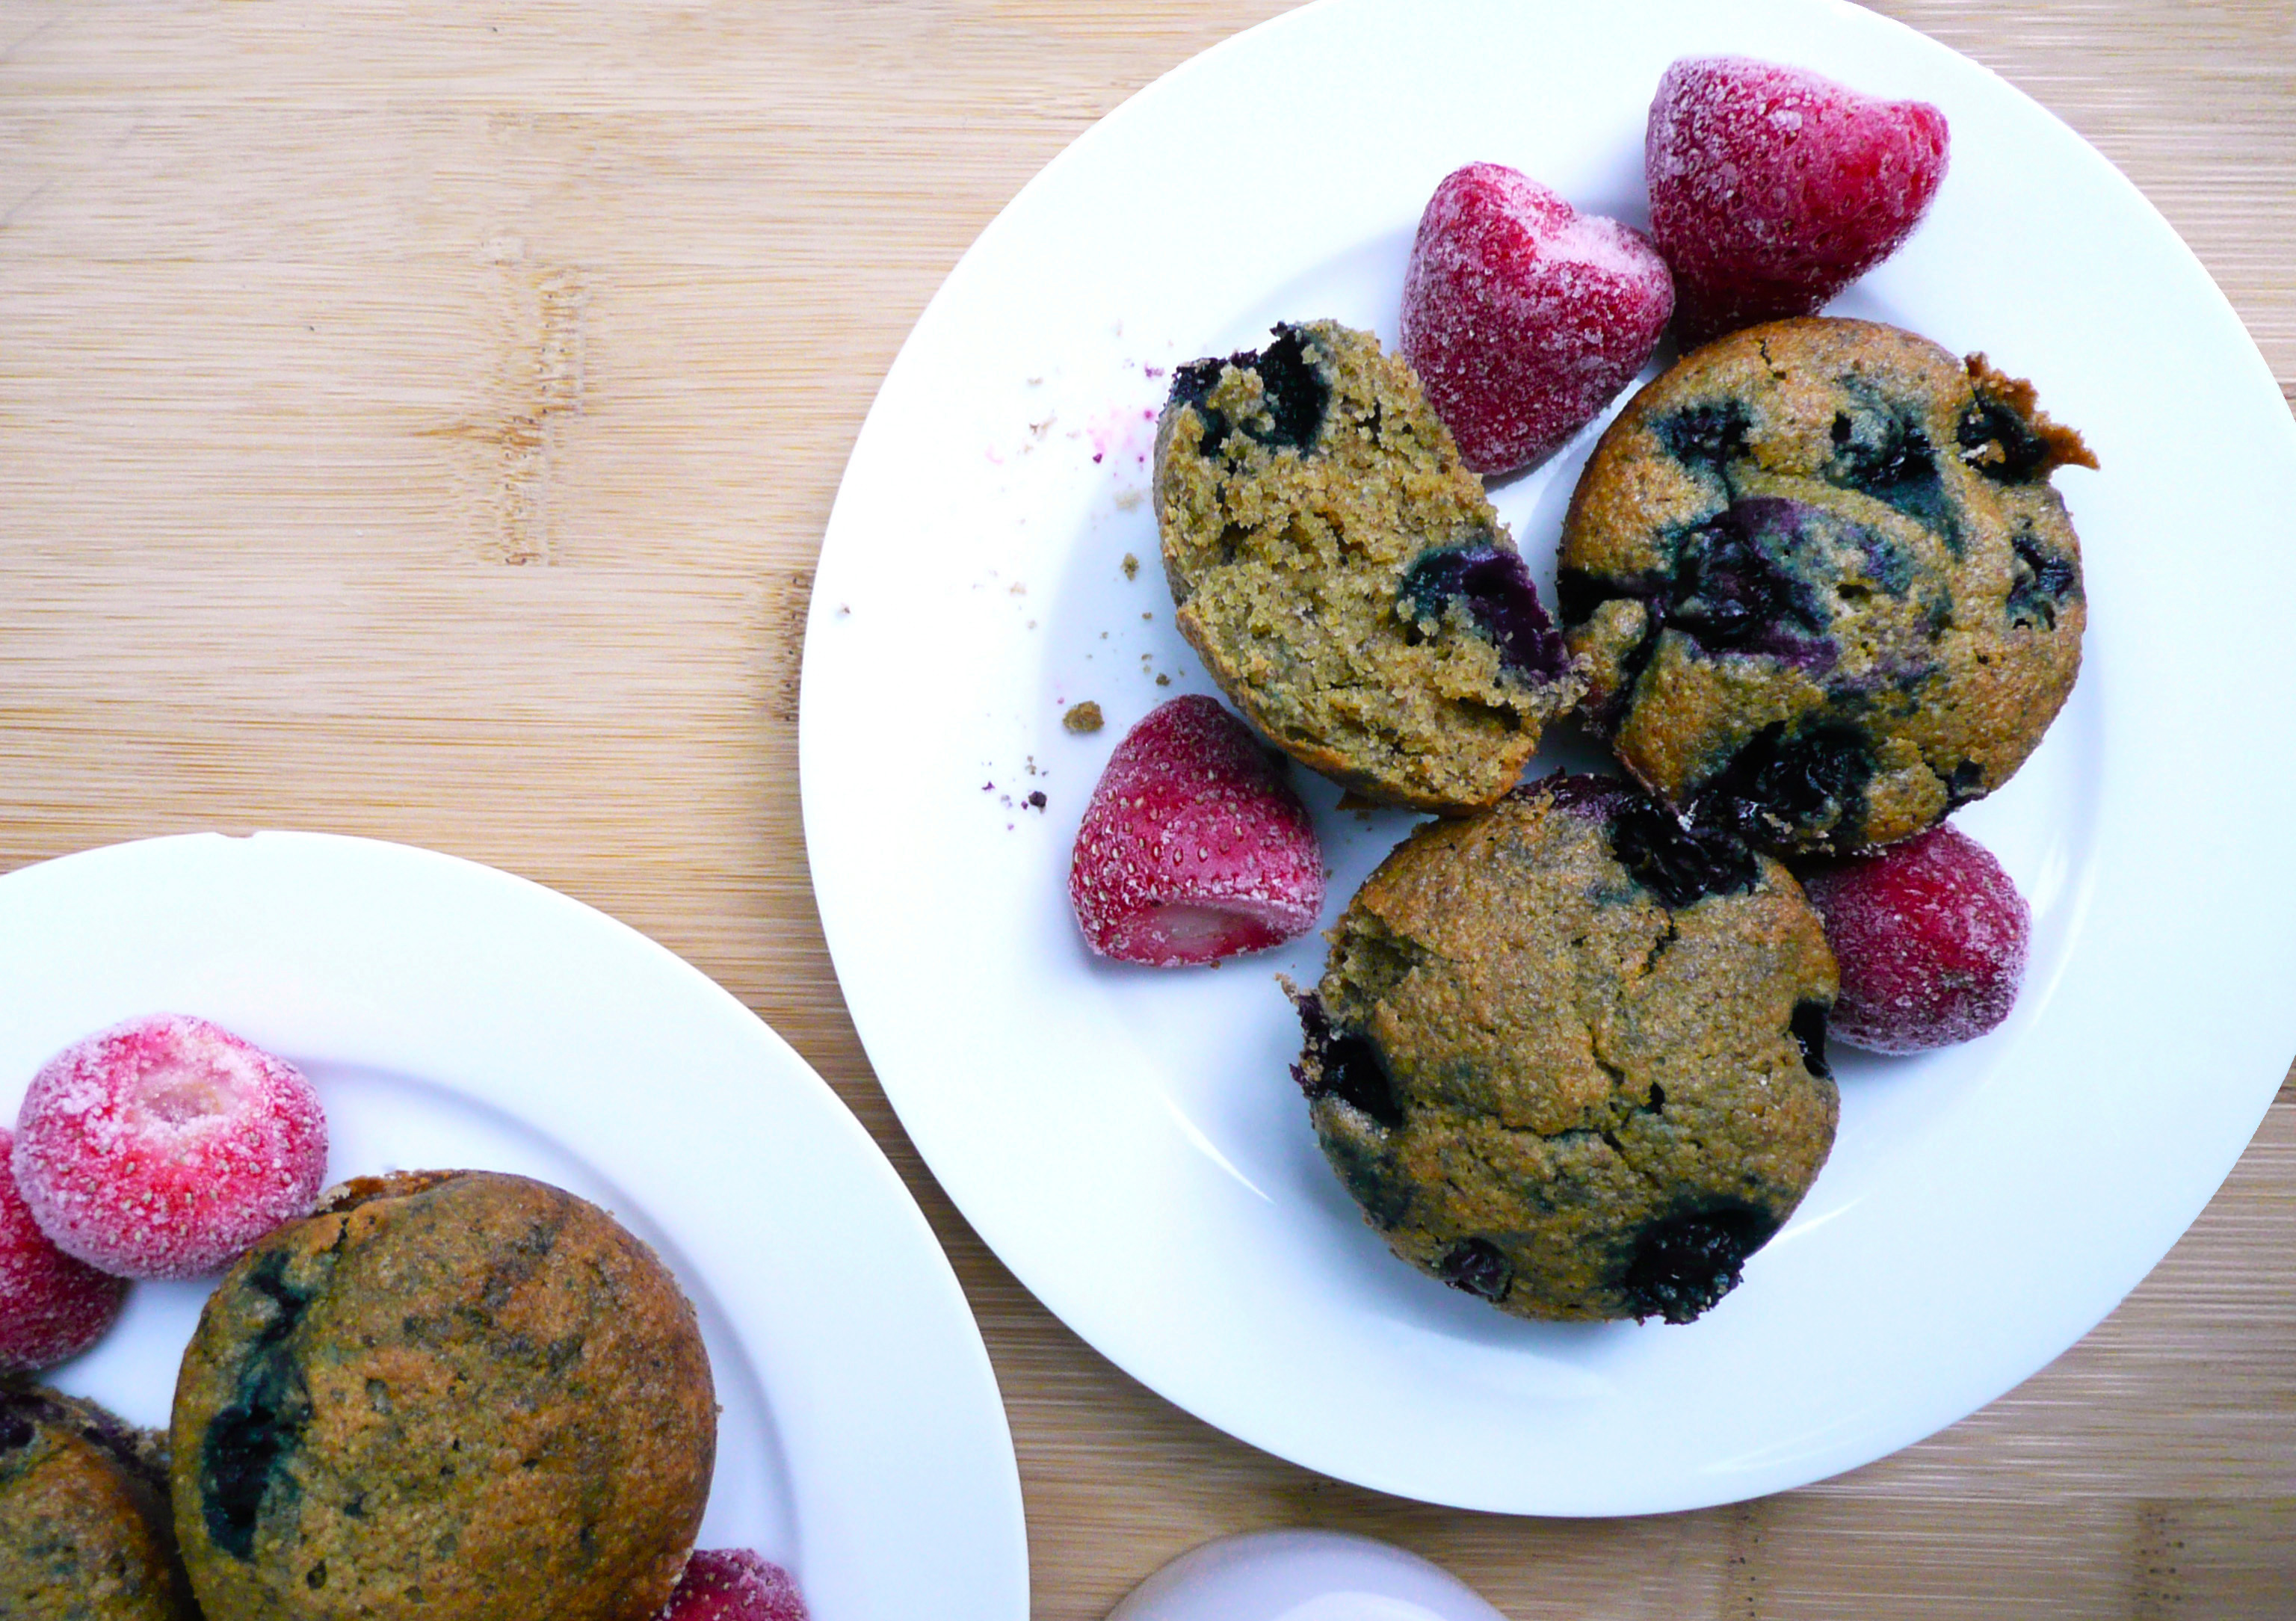
These blueberry muffins taste amazing, and are so good that you won’t believe that they are gluten free, refined sugar free, and dairy free.

They have a really great texture, just like a normal muffin, and aren’t gummy or funny textured at all.

P1080244

They use coconut oil instead of butter, but they don’t taste like coconut at all. They are perfectly sweet, and the bright flavor of the blueberries really shines through each delicious bite.

You won’t miss gluten / dairy muffins after you eat one of these, promise.

I hope that you give them a try!


The Best Gluten Free Blueberry Muffins

Makes 8 muffins


Ingredients

1 1/3 cup of oat flour (135g) *

½ level tsp of baking soda

1 ½ tbsp ground flax seed (6g)

tiny pinch of salt


¼ cup water

1/8 level tsp of psyllium husk powder**


1/3 cup + 1 tbsp maple syrup

2 tbsp of apple cider vinegar

1/3 cup melted coconut oil***

1 egg


1 cup of blueberries – I used frozen, but fresh will work too.


* For the best results, measure out the oat flour and ground flax seed by weight on a digital scale.

I grind rolled oats in a blender until I have a pretty fine flour. Don’t use a food processor for this as the flour won’t be fine enough. If I have any extra flour, I just put in into an airtight container to use for another recipe. I grind the flax seeds using the same method.

** If you don’t have the psyllium husk powder, you can just omit it. Just add the water in with the rest of the liquid ingredients. The muffins will still turn out well, just slightly more crumbly.

*** The coconut oil makes the muffins more solid at temperatures below 76 degrees, but you can heat them up in a toaster oven at a low temperature and they will become soft again. If you want the muffins to be soft all the time, you can probably substitute a neutral flavored oil that’s liquid at room temperature for the coconut oil.


Instructions

1. Grease and flour 8 of the wells in your muffin pan with some coconut oil and oat flour, or you can skip this step and just pop 8 muffin liners into the muffin pan.

2. Mix together the water and psyllium husk powder in a small bowl, and set aside the bowl aside for 5 minutes to allow the psyllium husk to gel.

3. In a large bowl sift together the oat flour, baking soda, salt, and ground flax seed.

4. In a separate medium sized bowl beat the egg, and add in the maple syrup, apple cider vinegar, and the psyllium husk mixture and stir until well combined.

5. Add the melted coconut oil to the flour mixture and give it a good stir. Add in rest of the liquid ingredients to the muffin batter and stir until well combined.

6. Set a timer for 15 minutes and let your muffin mixture rest.

7. Preheat your oven to 350.

8. When the timer goes off, put your blueberries into a sieve and using your snap mesh tea strainer (or you can use another sieve or even a tablespoon) to sift oat flour over your blueberries until they are well coated in the oat flour. Shake the berries in the sieve to get any excess oat flour off of them.

Coating the berries in the oat flour makes it so that the berries don’t sink to the bottom of the muffins while as they bake.

9. Fold the blueberries through your batter (try not to stir the mixture too much, as too much mixing will cause the frozen blueberries to turn the muffin batter purple), and divide the batter equally amongst the 8 muffin wells.

One note about this, because we’re using coconut oil and the berries are frozen, the batter will seize up on you because coconut oil turns solid under 76 degrees F (24 C). If the berries are fresh you shouldn’t have this problem, but it’s fine.

Just do the best you can to divide the batter up as equally as possible, and don’t worry if the mixture looks lumpy when you put the muffins into the oven. The muffins will smooth out in the oven and will bake up beautifully.

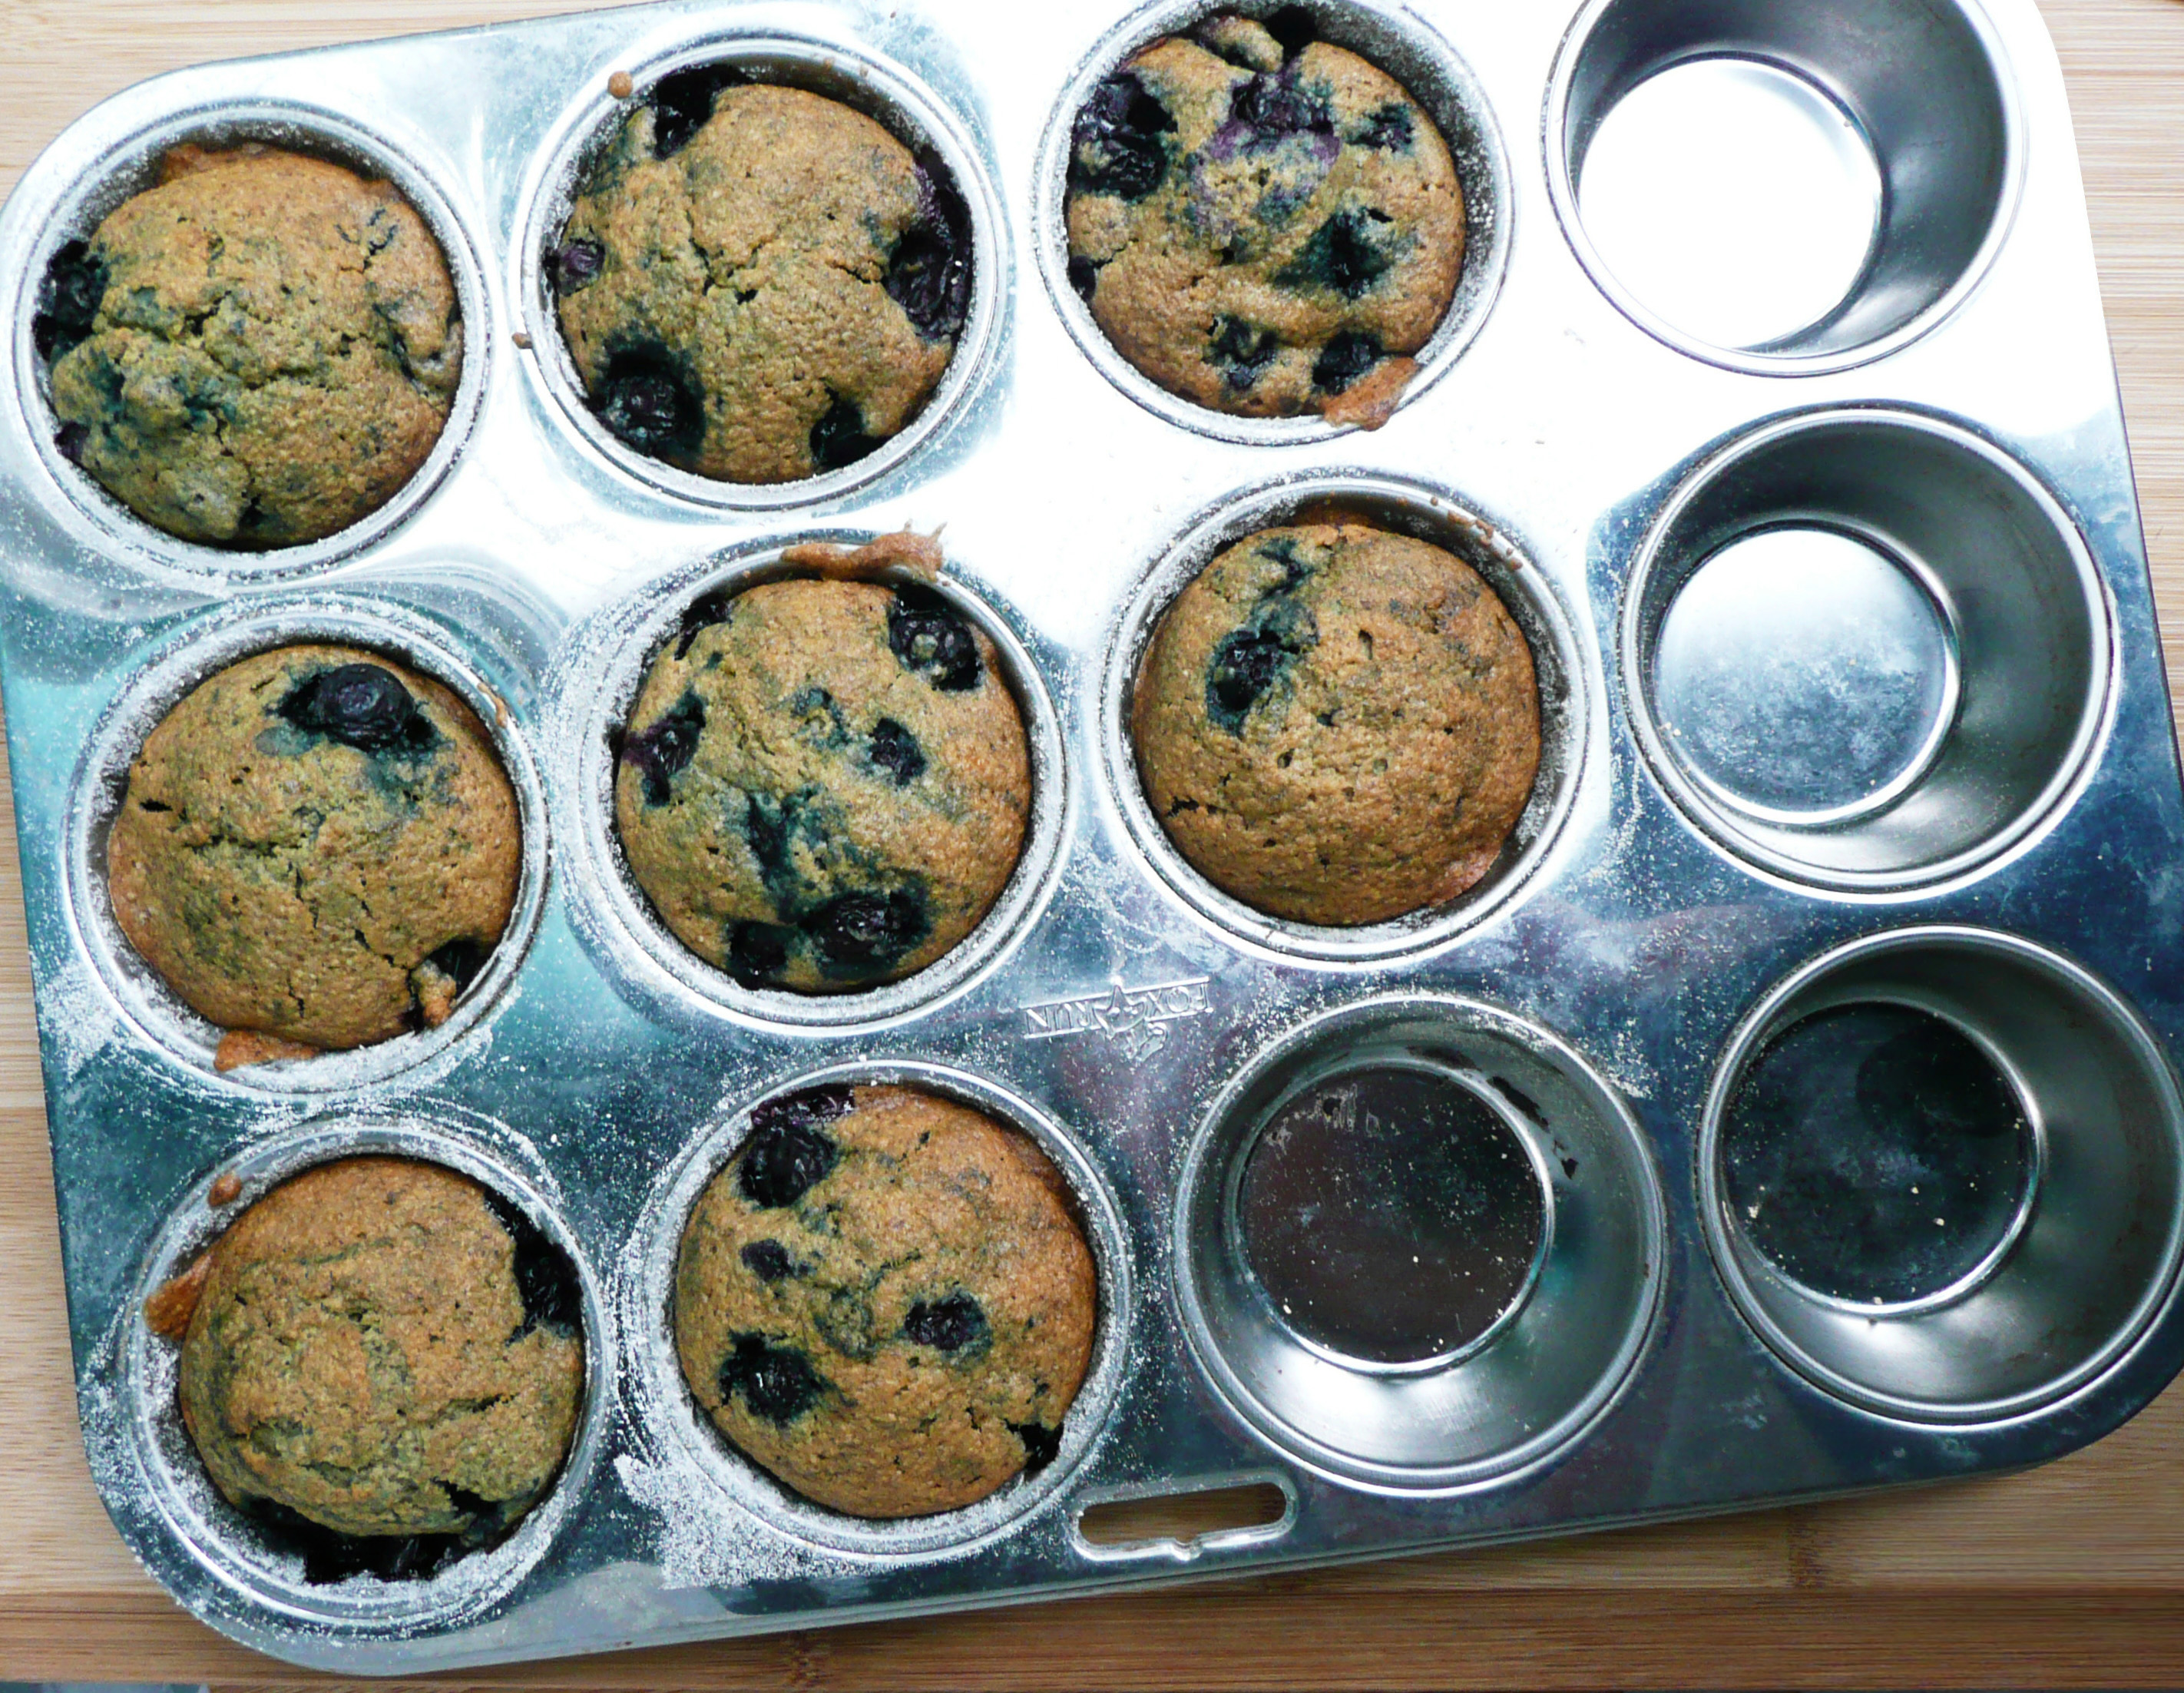
9. Pop the muffins into the oven, and bake for 25 minutes, turning the muffins 180 degrees after they’ve been in the oven for 13 minutes. You don’t have to do this, but it helps the muffins to bake more evenly.

Some of the muffins will look like they are baking more quickly than others. Don’t worry about this as they will all bake up evenly at the end.

11. After the 25 minutes, turn the oven temperature up to 375, and turn the muffin pan by 90 degrees. Allow the muffins to bake for another 10 minutes until they are golden brown.

If you test the muffins with a toothpick, it should come out pretty clean with just a few crumbs here and there.

Allow the muffins to cool in the pan for 30 minutes. Run a knife around the edge of each muffin and pop them out onto a plate and serve.


P1080263

Happy Eating!


Shrimp Pad Thai

Weeknight Shrimp Pad Thai – Easy and Quick Recipe – Refined Sugar Free

P1080345

Pad Thai is the kind of dish that you love to eat, but are not quite sure how to make yourself.

At least that’s what I thought until I found a really easy recipe for pad thai on Goop.

What I really loved about the recipe from Night + Market on Goop was how simple the recipe was. I love pad thai, but most of the recipes that I found online had a lot of specialty ingredients that I would have to go a little out of the way to find.

I never attempted to make it myself before, but that recipe looked so easy, and with a few swaps, I knew that I could make a pad thai that would work with my dietary restrictions.

P1080307-2

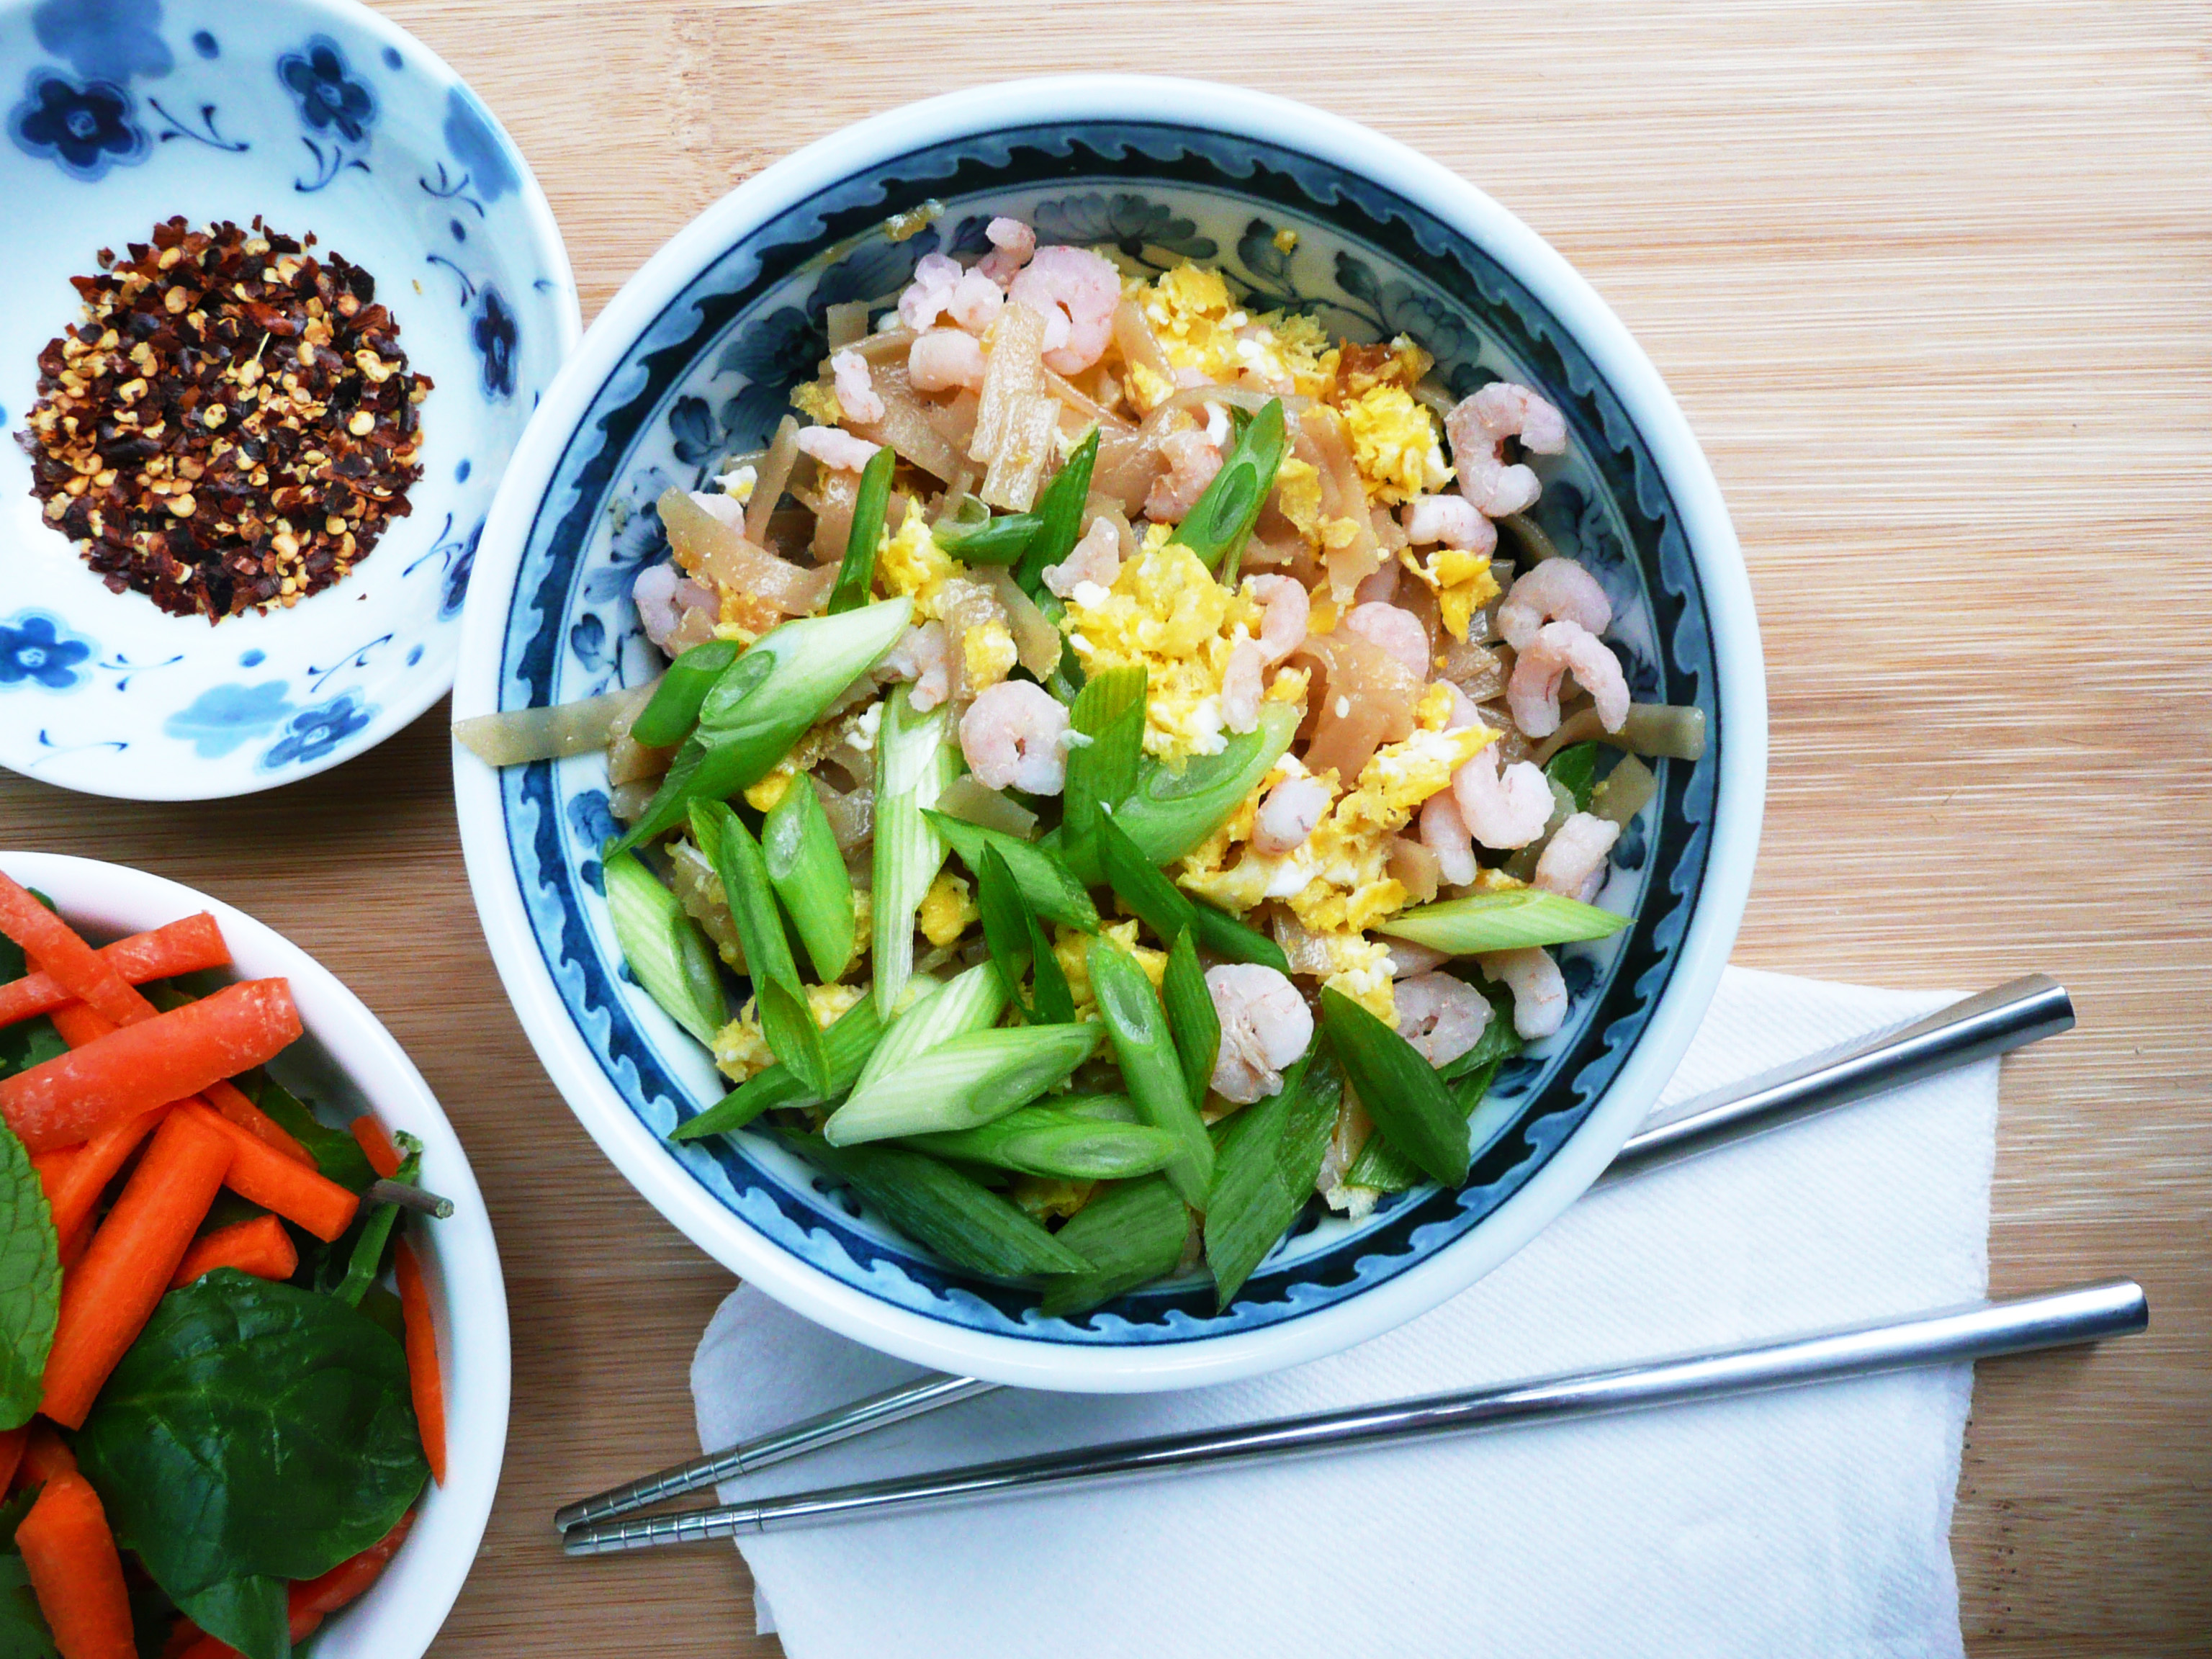
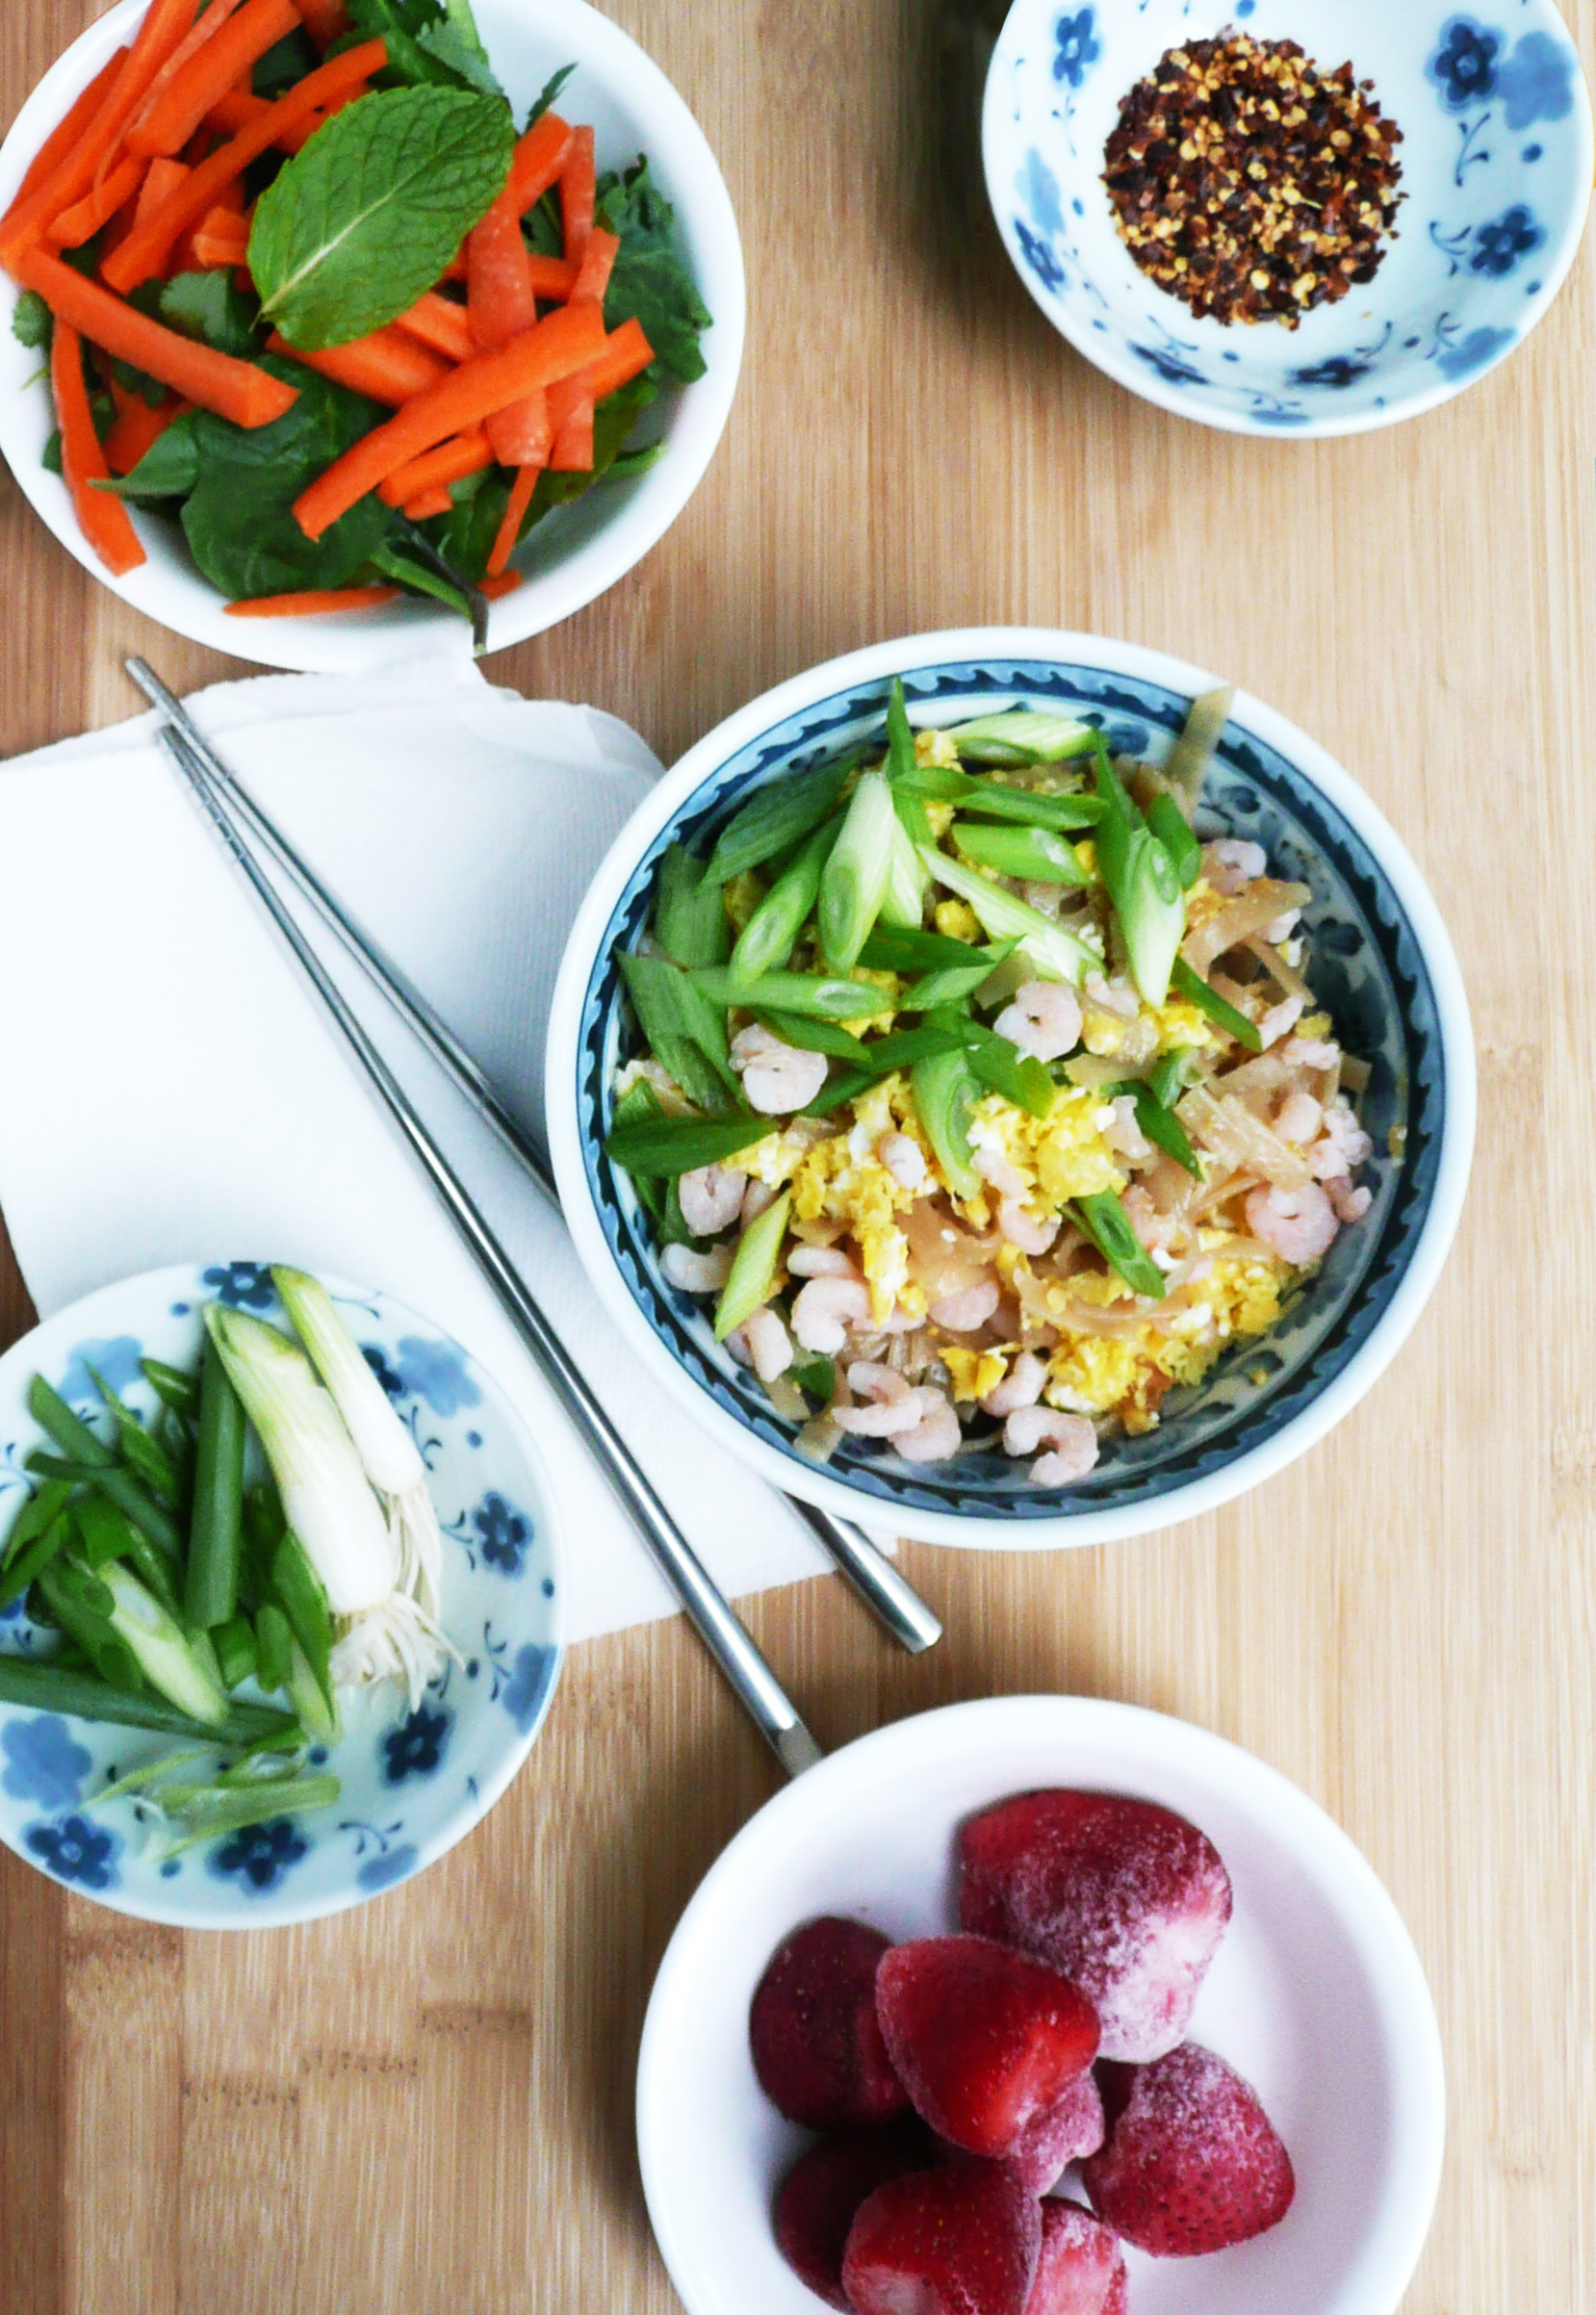
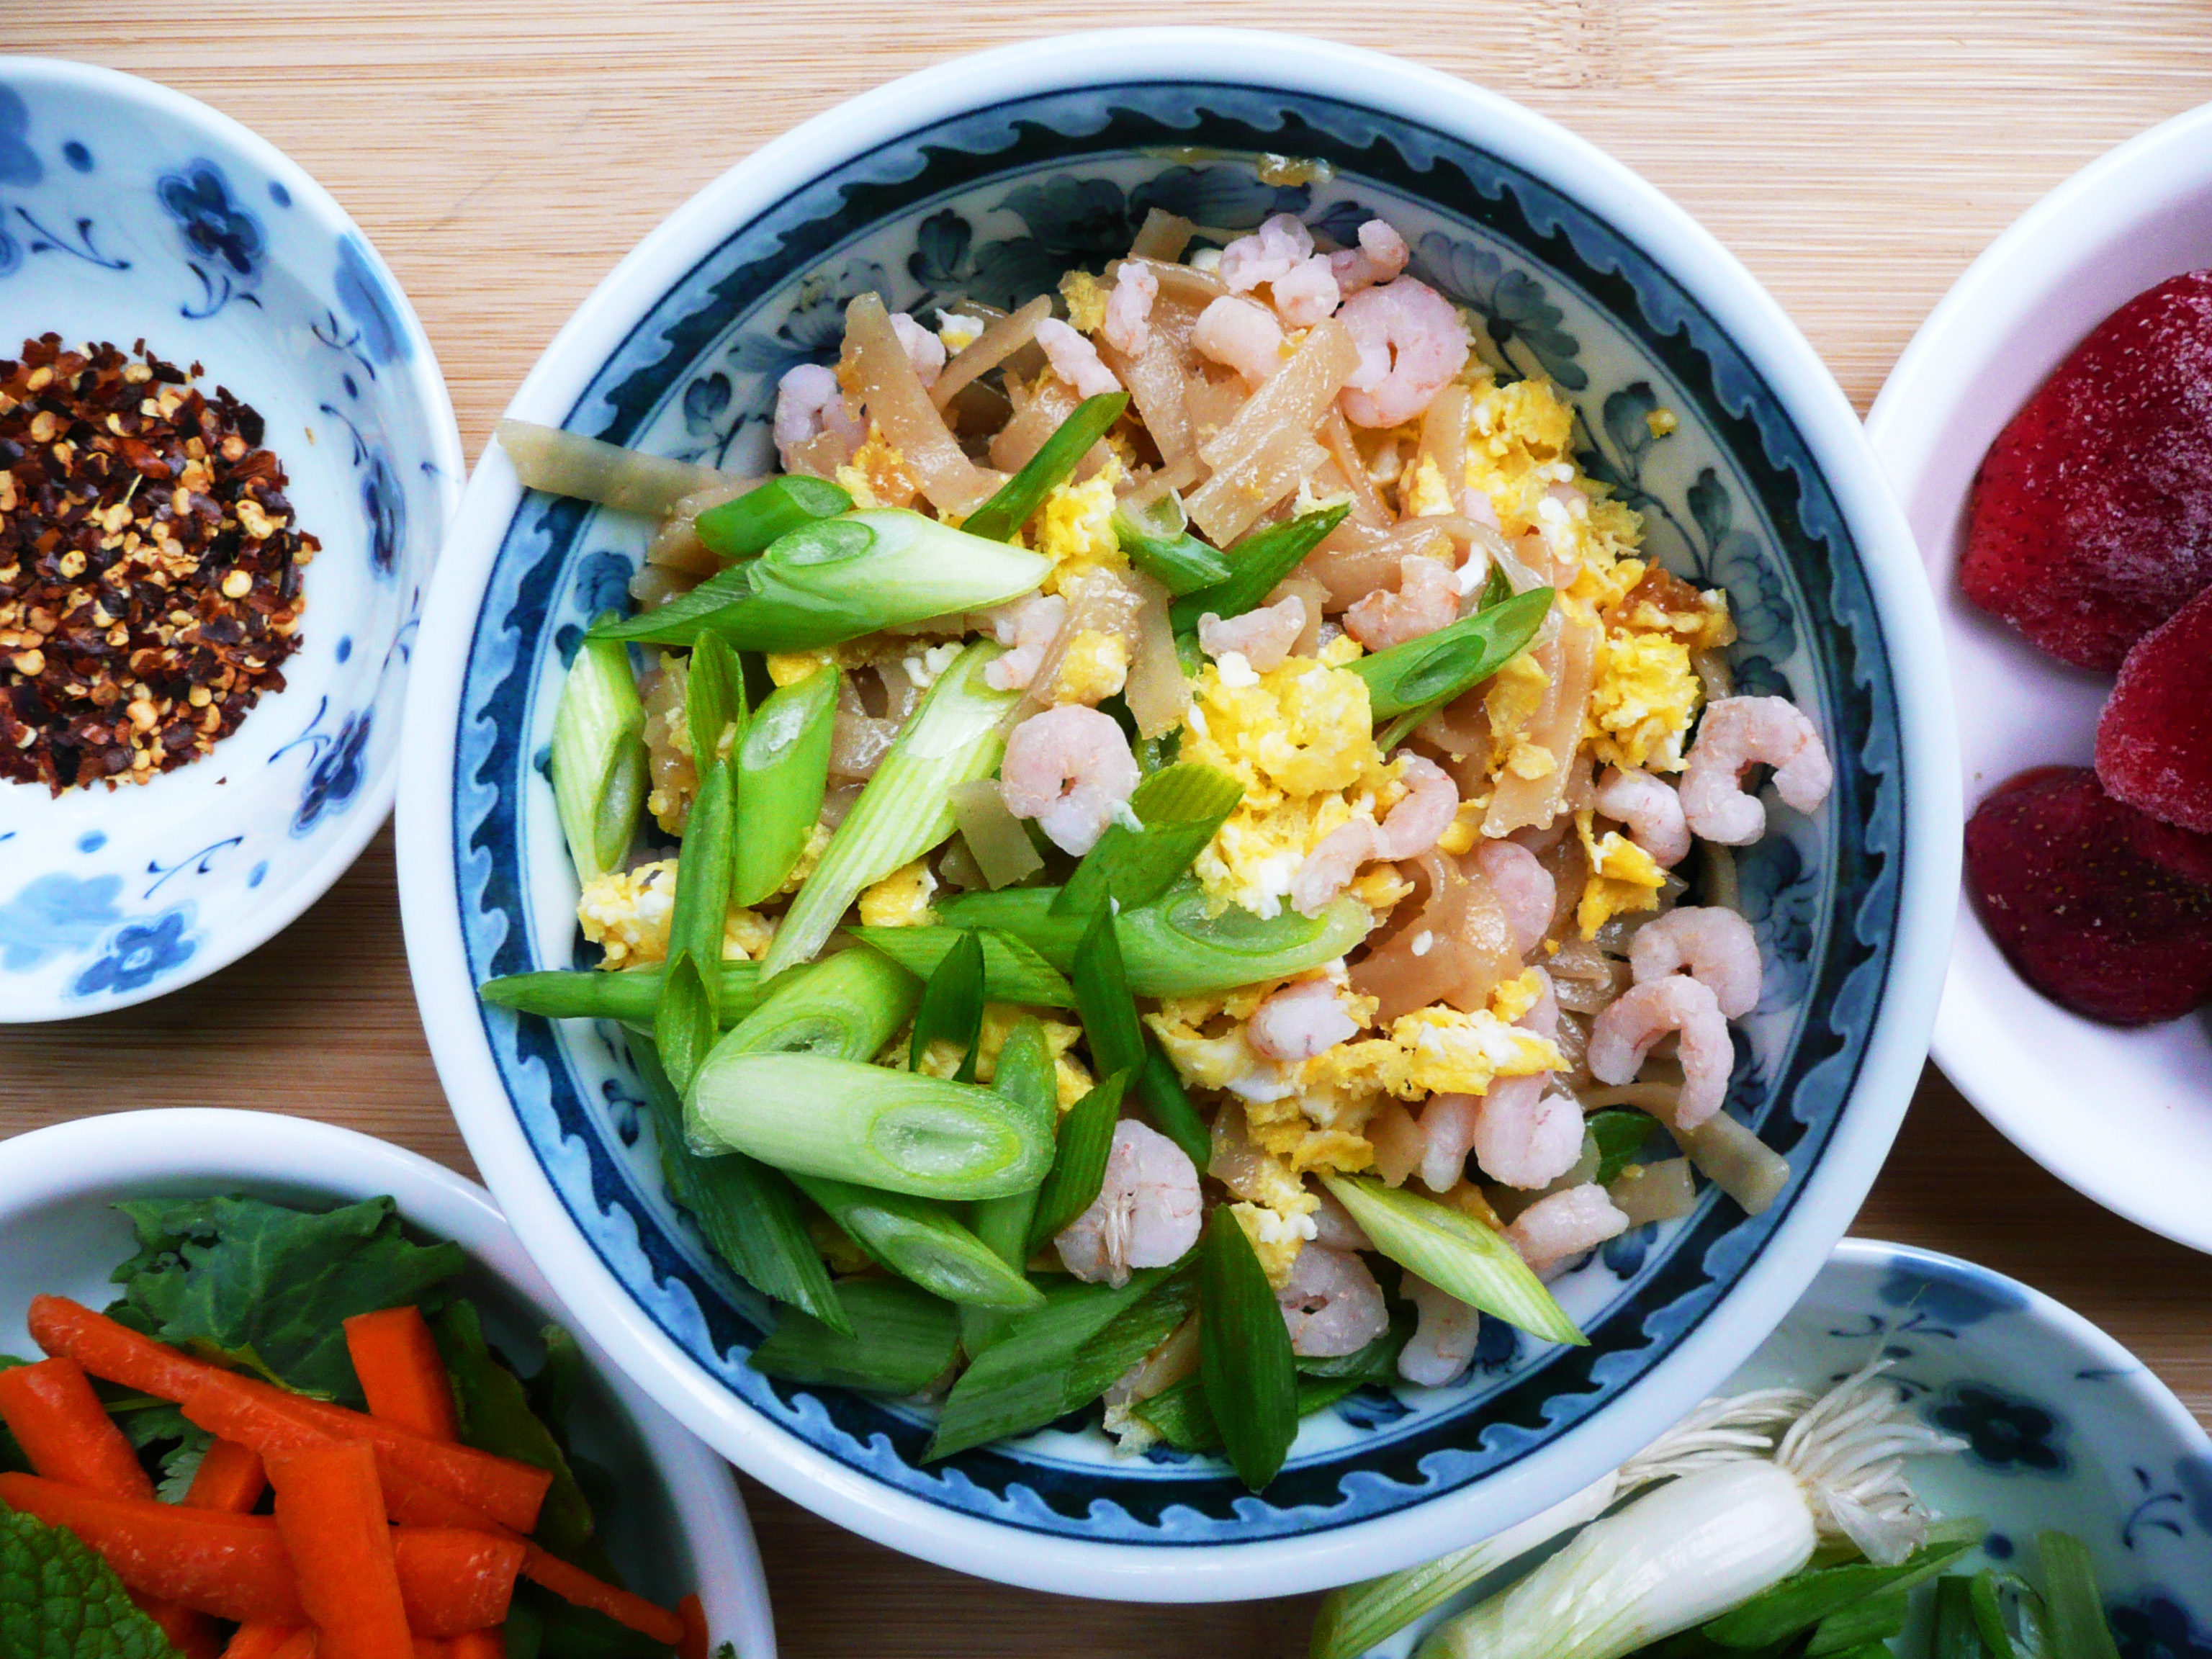
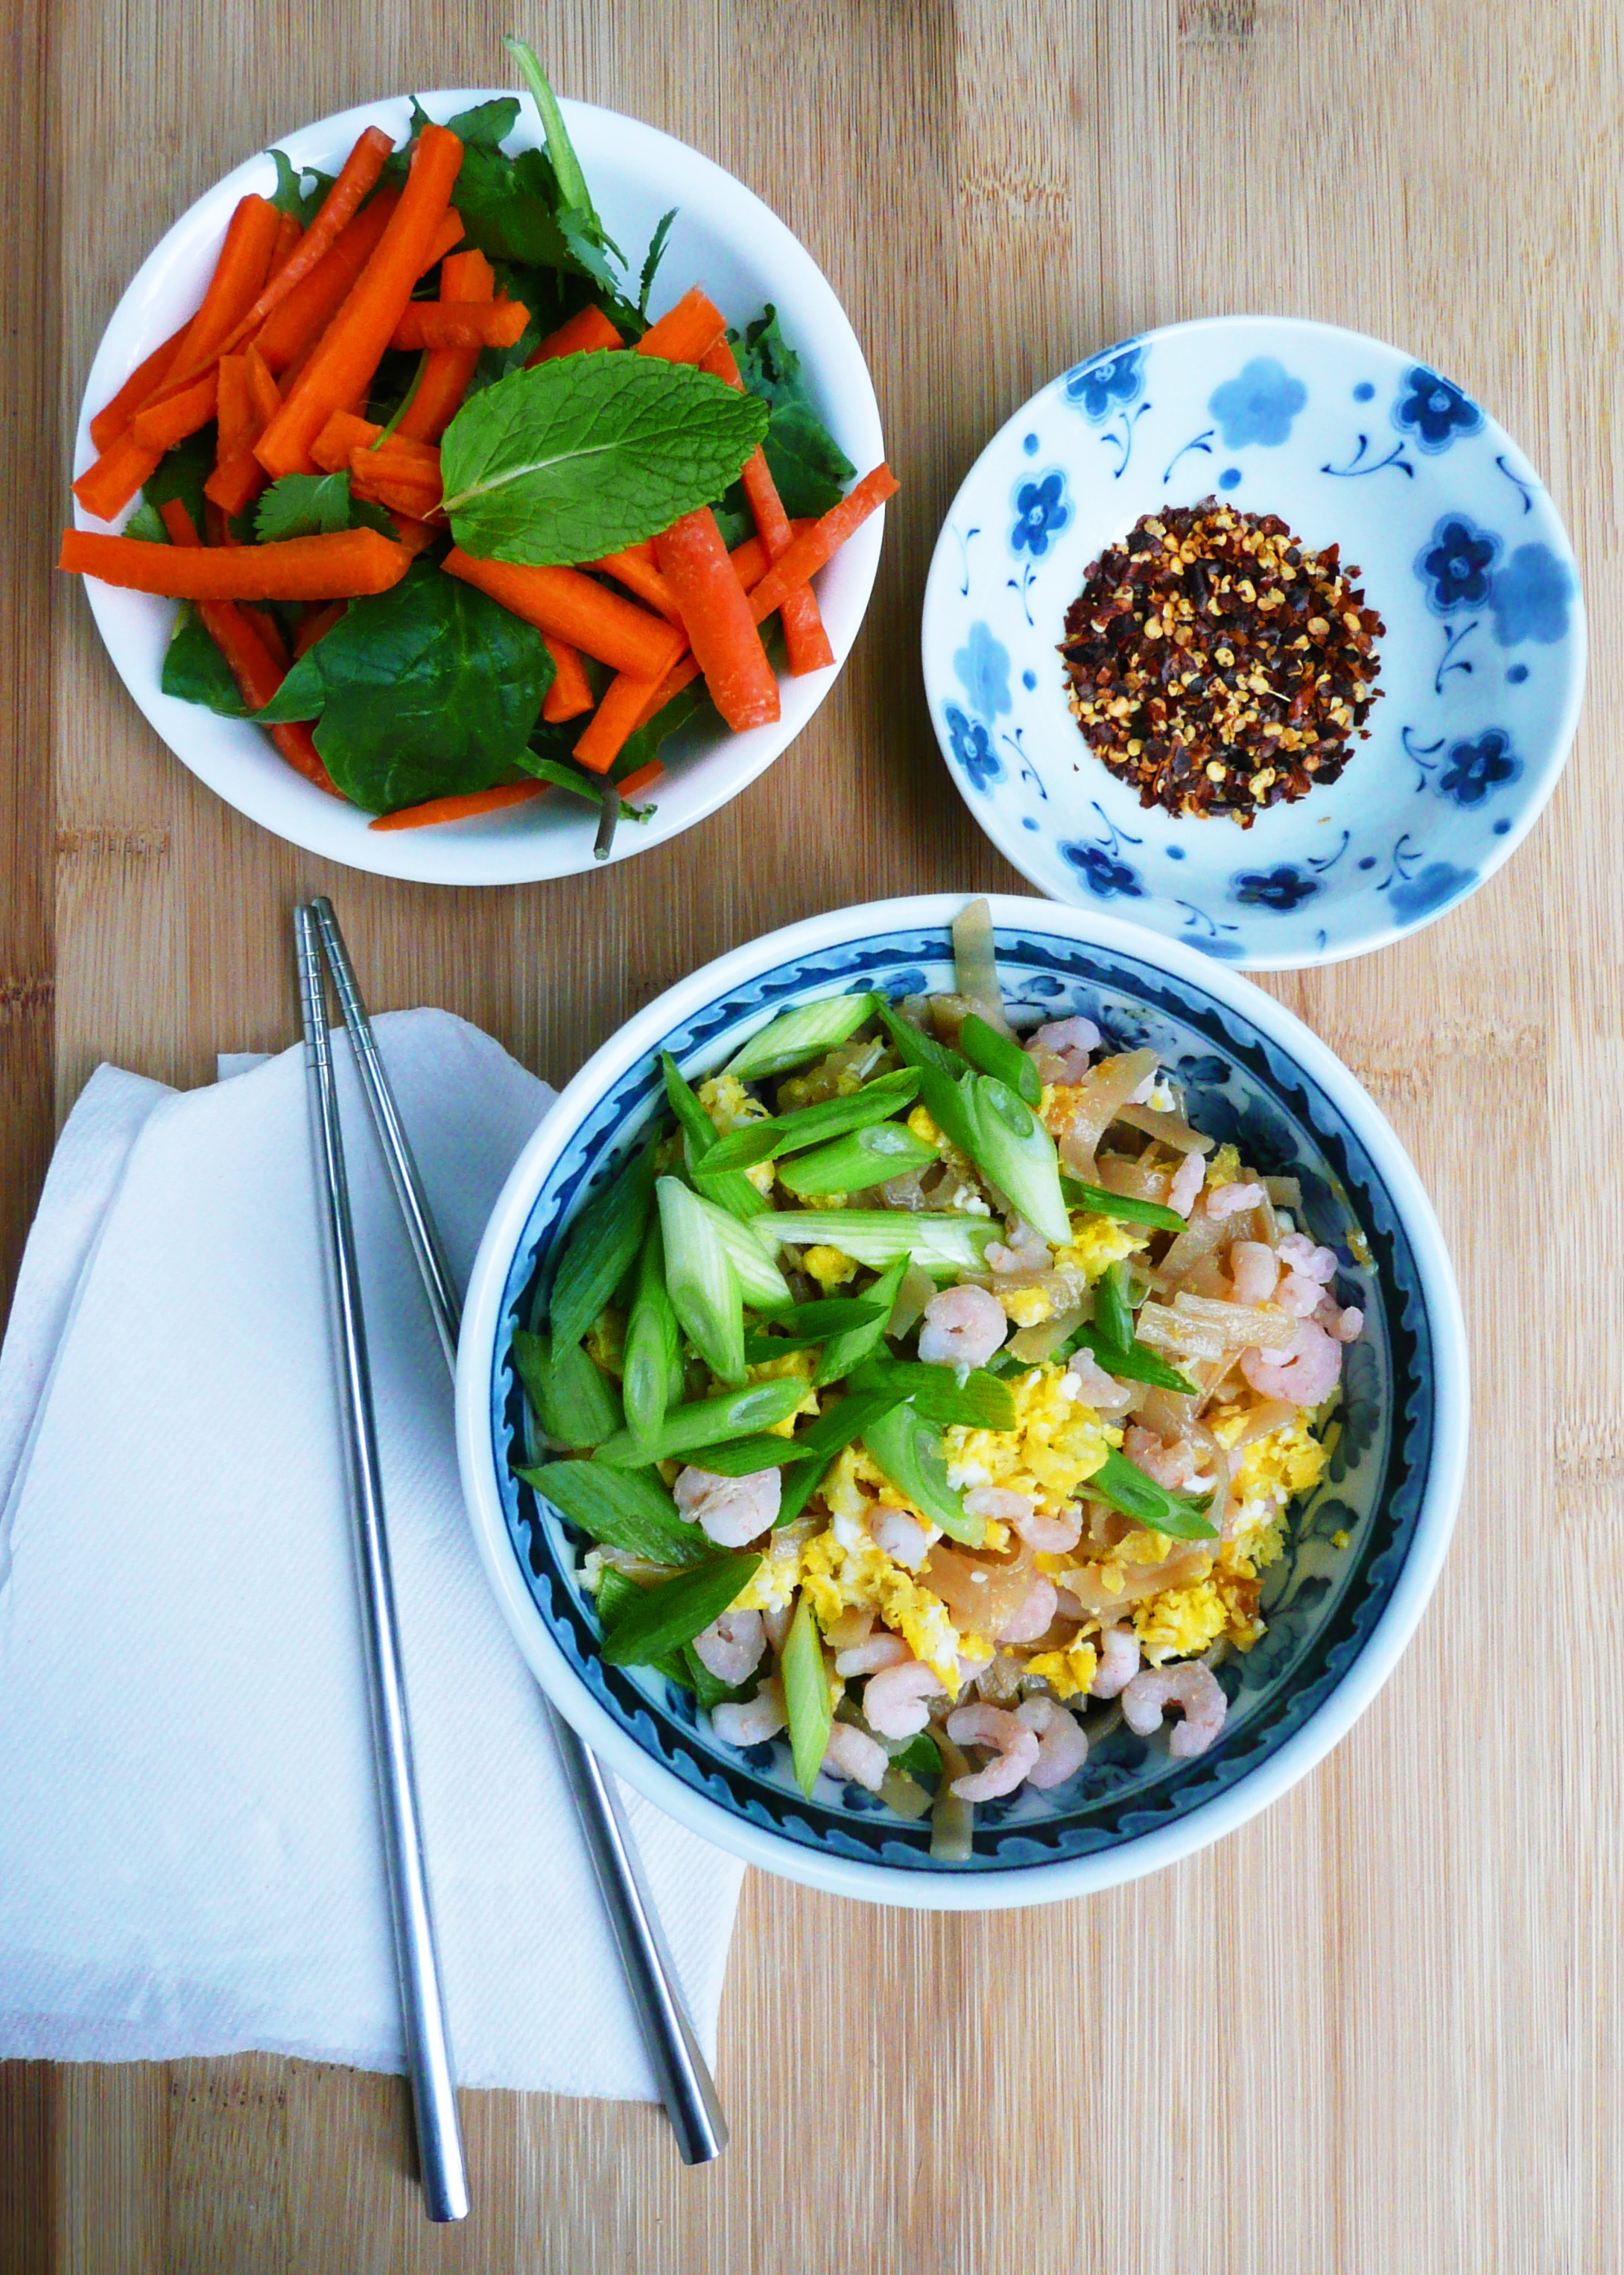
This pad thai is made from ingredients that you can find at your local grocery store, and can be made in about half an hour. Perfect for a weeknight dinner.

Also great if you’re craving pad thai, but don’t live anywhere close to a Thai restaurant…

I used wild caught pink shrimp from Oregon (which I was able to find at my local supermarket in the display case at the seafood section, but I’ve also seen it sold at Costco as well). I only buy this kind of shrimp these days because it’s sustainably harvested, and also because it doesn’t contain any preservatives or ingredients that many other frozen shrimp are processed with.

The working conditions for people who catch, farm, and process shrimp around the world can also be very harsh and inhumane, so by purchasing domestically caught shrimp, I hope that I’m supporting more ethical working conditions for people who work in the shrimping industry.

You can find more information about Oregon Pink Shrimp here. This isn’t an affiliate link, just more info in case you’re curious about how the shrimp are caught.

P1080304

This type of shrimp is pretty inexpensive, at about $8 – $9 per lb, and it’s also just as tasty as the larger shrimp which makes it a good buy in my book. The amount of pink shrimp in this dish cost about $1, so while this pad thai feels very luxurious, it’s actually really budget friendly.

For more information on what to look for when buying shrimp, you can check out this article here.

About the fish sauce, I use the Red Boat brand fish sauce, because it’s only made from anchovies and salt (and therefore paleo, and refined sugar free). You can find it online, but I managed to find a bottle of the 500 ml (17 oz.) size for about $7 at my local Asian market, so it’s worth checking out your local Asian market if you have one nearby to see if they have it cheaper than online.

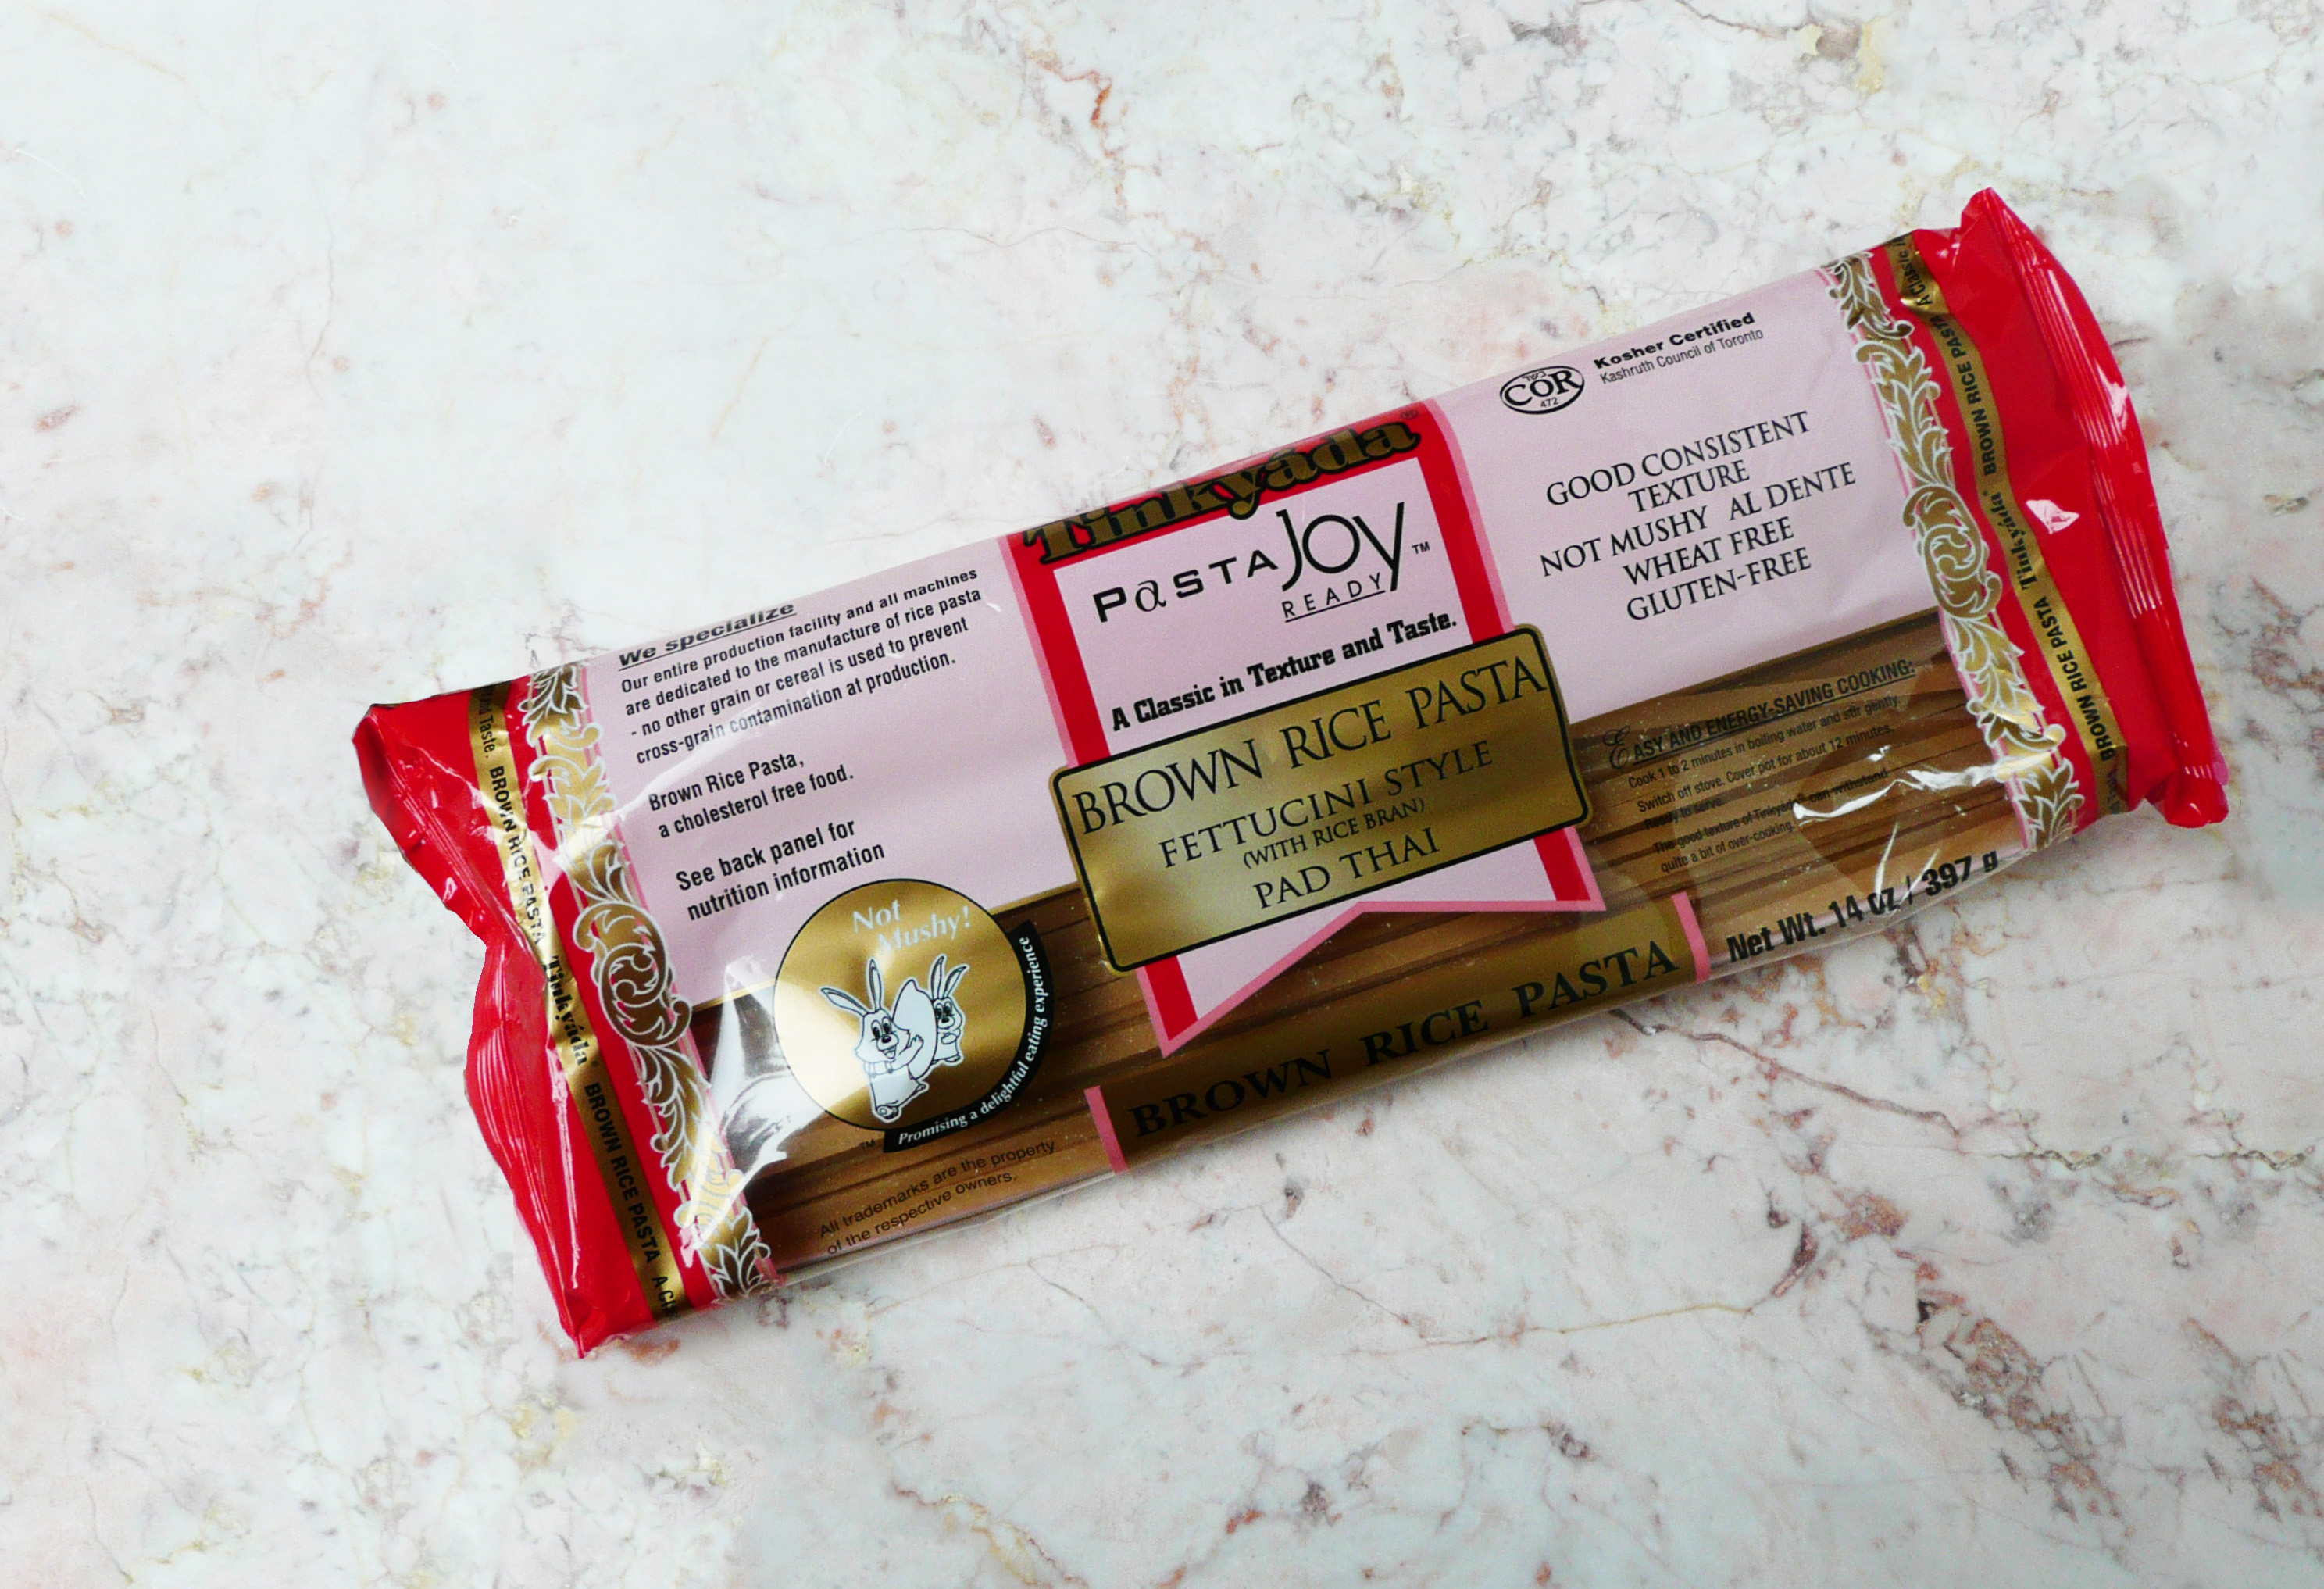
The noodles that I used were Fettuccini Style / Pad Thai noodles from Tinkyada which I found at my local grocery store. They weren’t organic, (but hey, it happens, you do the best you can). They were also on sale, which was definitely a plus, and the noodles worked great for this recipe.

brown rice noodles.jpg

There is a decent amount of maple syrup in this recipe, so if you’re watching your sugar intake, this may not be a meal that you eat every night, but it is certainly a really amazing and tasty dinner to have as a treat every once in a while.

If you’re planning on eating a few sides along with this (like a salad, fruit, etc.) this recipe makes enough for 2 smaller servings, but if you’re just eating it by itself, then it’s really just enough for one person, especially if you’re really hungry.

I hope that you give the recipe a try! It’s so good, and you’ll be super proud that you made a dish that you once thought that you could only enjoy in restaurants.


P1080350

Weeknight Shrimp Pad Thai

Adapted from this recipe.

Makes 2 servings, or 1 larger serving for a very hungry person.


Ingredients

4-5 oz of dried brown rice noodles *

4 tbsp of maple syrup

2 tbsp of fish sauce

2 tbsp of apple cider vinegar

1/3 cup of frozen pink shrimp

1-2 eggs (depending on how hungry you are)

2 green onions, thinly sliced


1 lime, cut into wedges for serving


* Note – If you hold the noodles between your thumb and forefinger, the circle that 4-5 oz. of noodles should make will be about the size of a quarter.

If you can get your hands on some bean sprouts, then definitely add those in too, as they add a nice crunch to the dish. I just couldn’t find any at my local grocery store, but the dish was still incredibly tasty.


Instructions

1. Make a skillet non-stick, and scramble your eggs. Tip the cooked eggs onto a plate and set aside.

2. Put the shrimp into a strainer and rinse under cool water. Place the shrimp into a medium size saucepan and cover them with about an inch of water. Bring the water to a boil and let the shrimp cook for a minute or two before draining. Set the shrimp aside.

The shrimp is already cooked, I just do this because it brings the shrimp up to temperature, but also kills off any potential pathogens that it may have picked up while it was sitting in the display case with raw fish.

3. Fill the medium saucepan with water and then cook your noodles. The directions for this package of noodles said to cook them for 10 -11 minutes, but I only cooked them for 6-7 minutes. You want to undercook your noodles a bit, as you’re going to finish cooking the noodles in the pad thai sauce. Drain the noodles and set aside.

4. Stir together the apple cider vinegar, fish sauce, and maple syrup. Add the sauce to the skillet along with the cooked noodles and cook over medium heat, stirring frequently until the noodles have absorbed all the sauce.

5. Add in the green onions, cooked eggs, and shrimp and stir them through the noodles, and continue to cook them for another 30 seconds or so until the eggs and shrimp are warmed through.

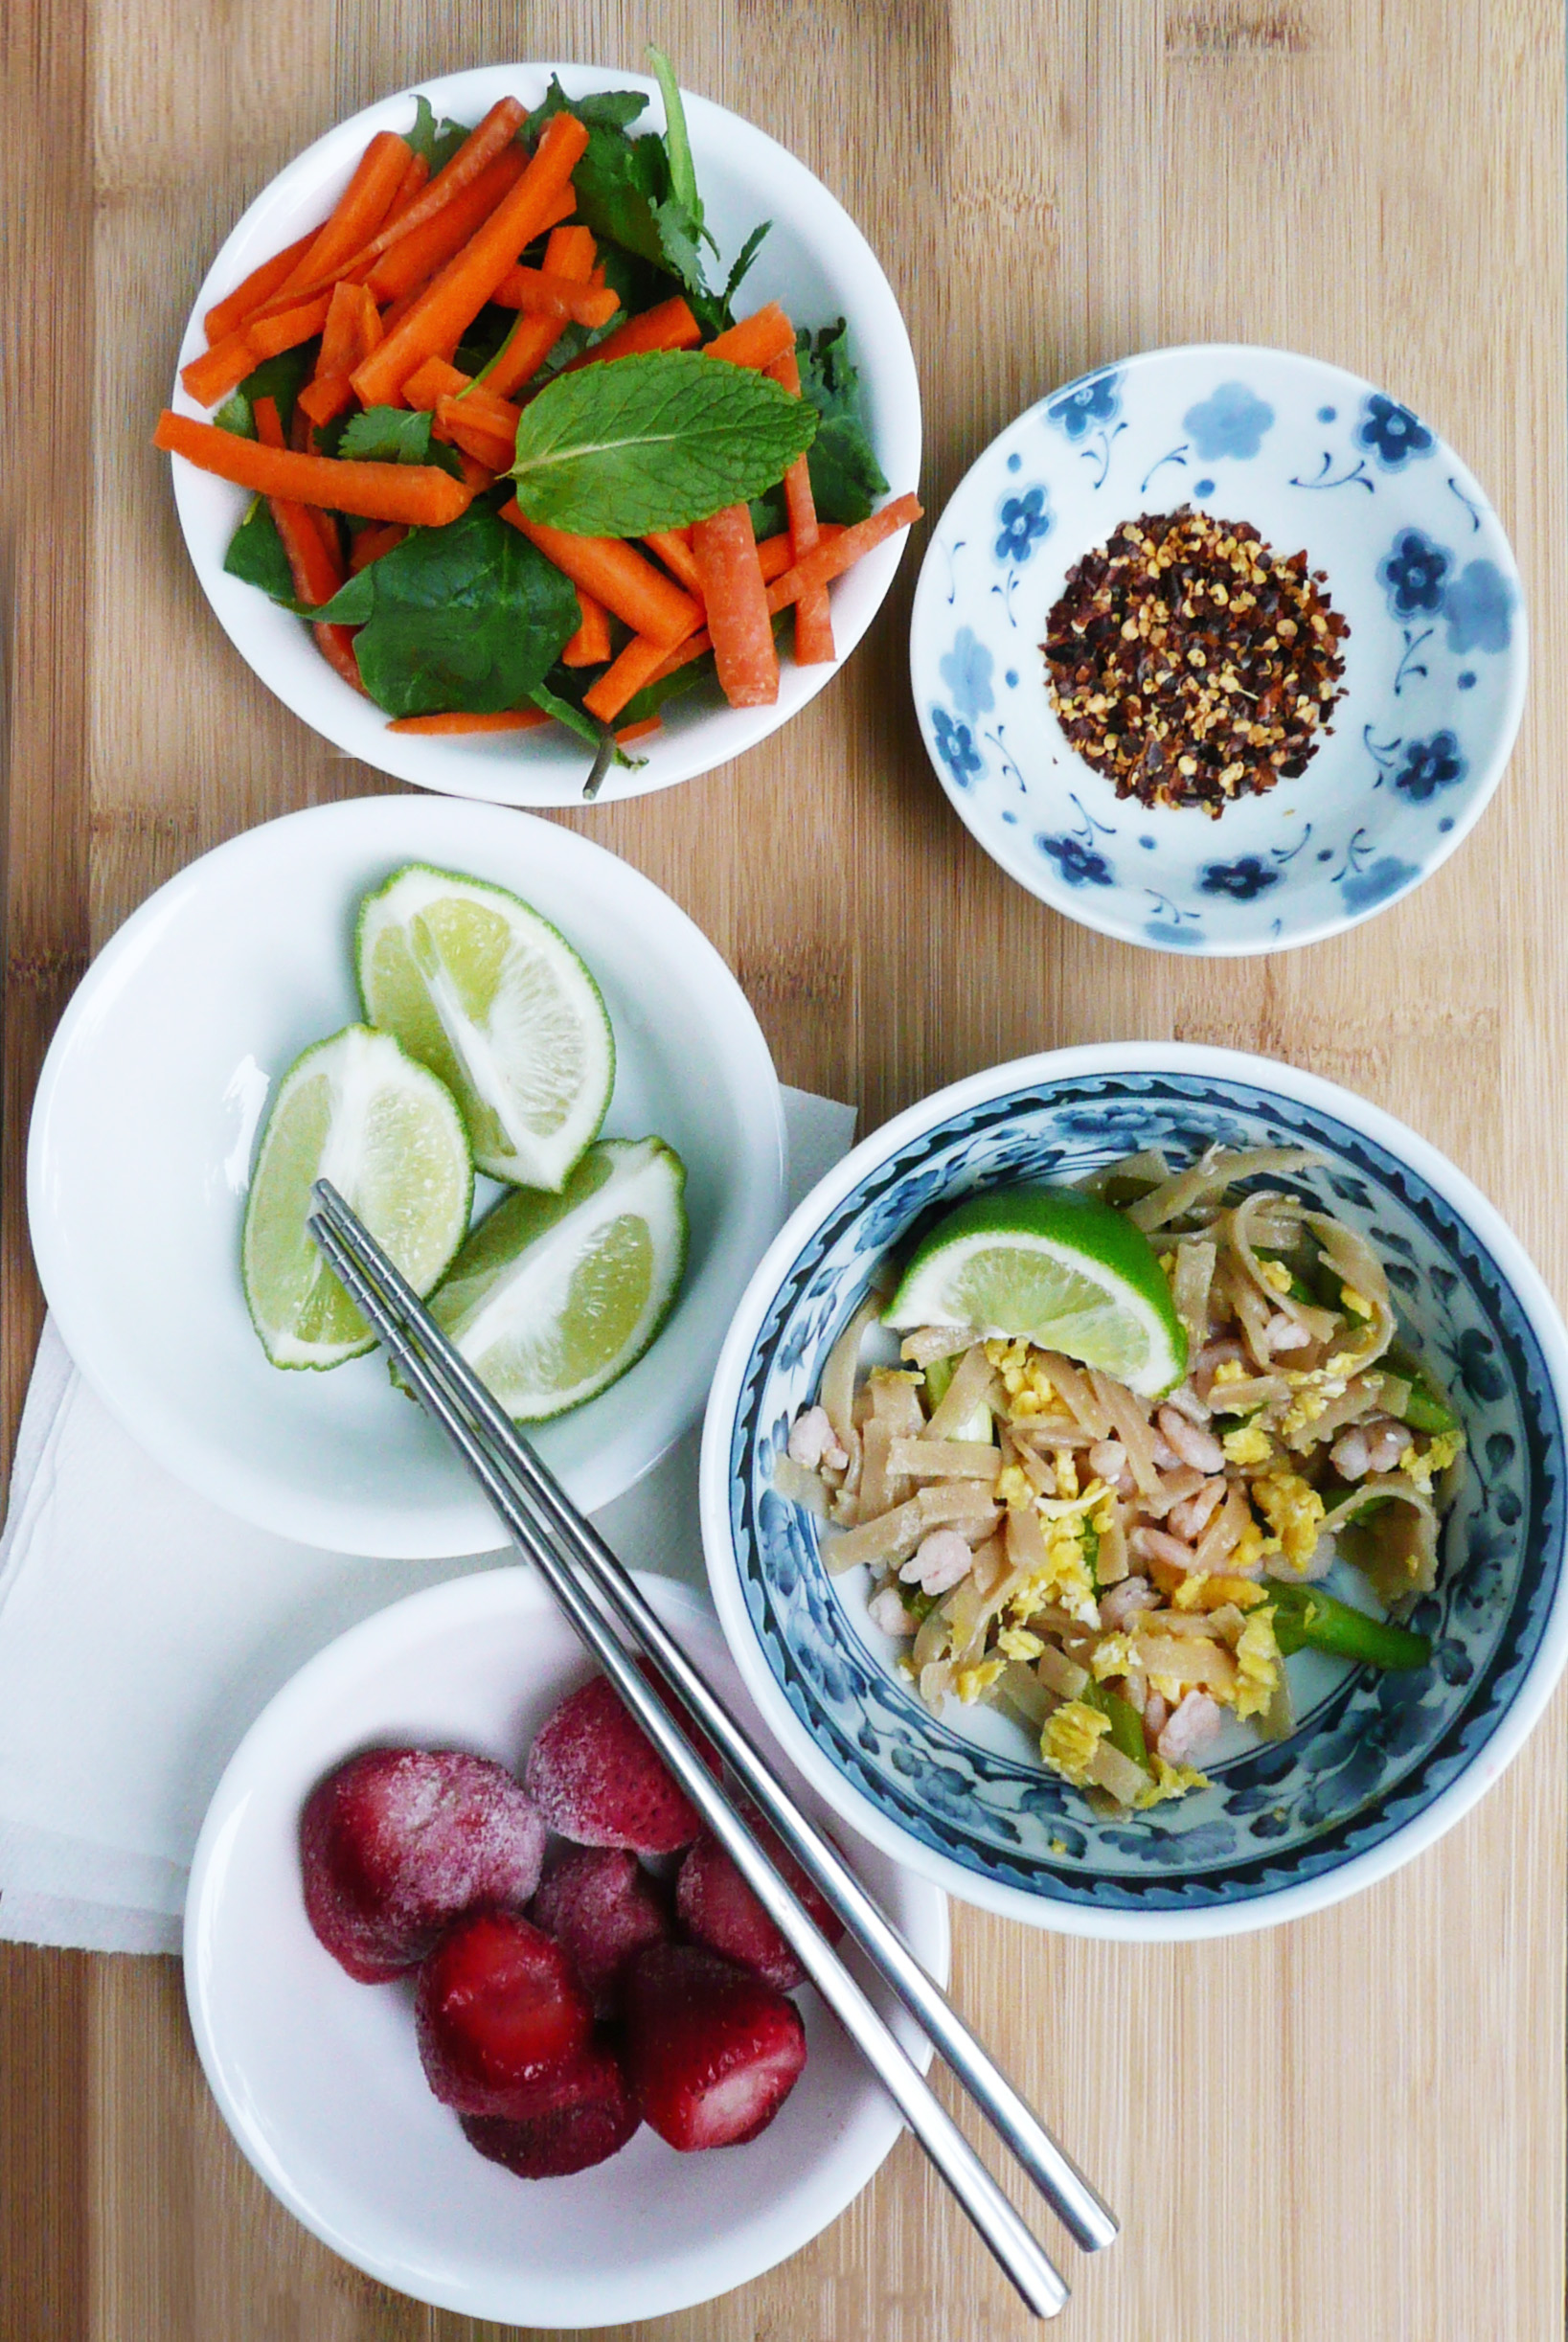
6. Spoon the noodles into a bowl (or two bowls) and serve with lime wedges, and a little bowl of red pepper flakes on the side.


P1080354

(I ate half of the pad thai before I realized that I had forgotten to photograph the lime wedges as well… Whoops. It was so good…)