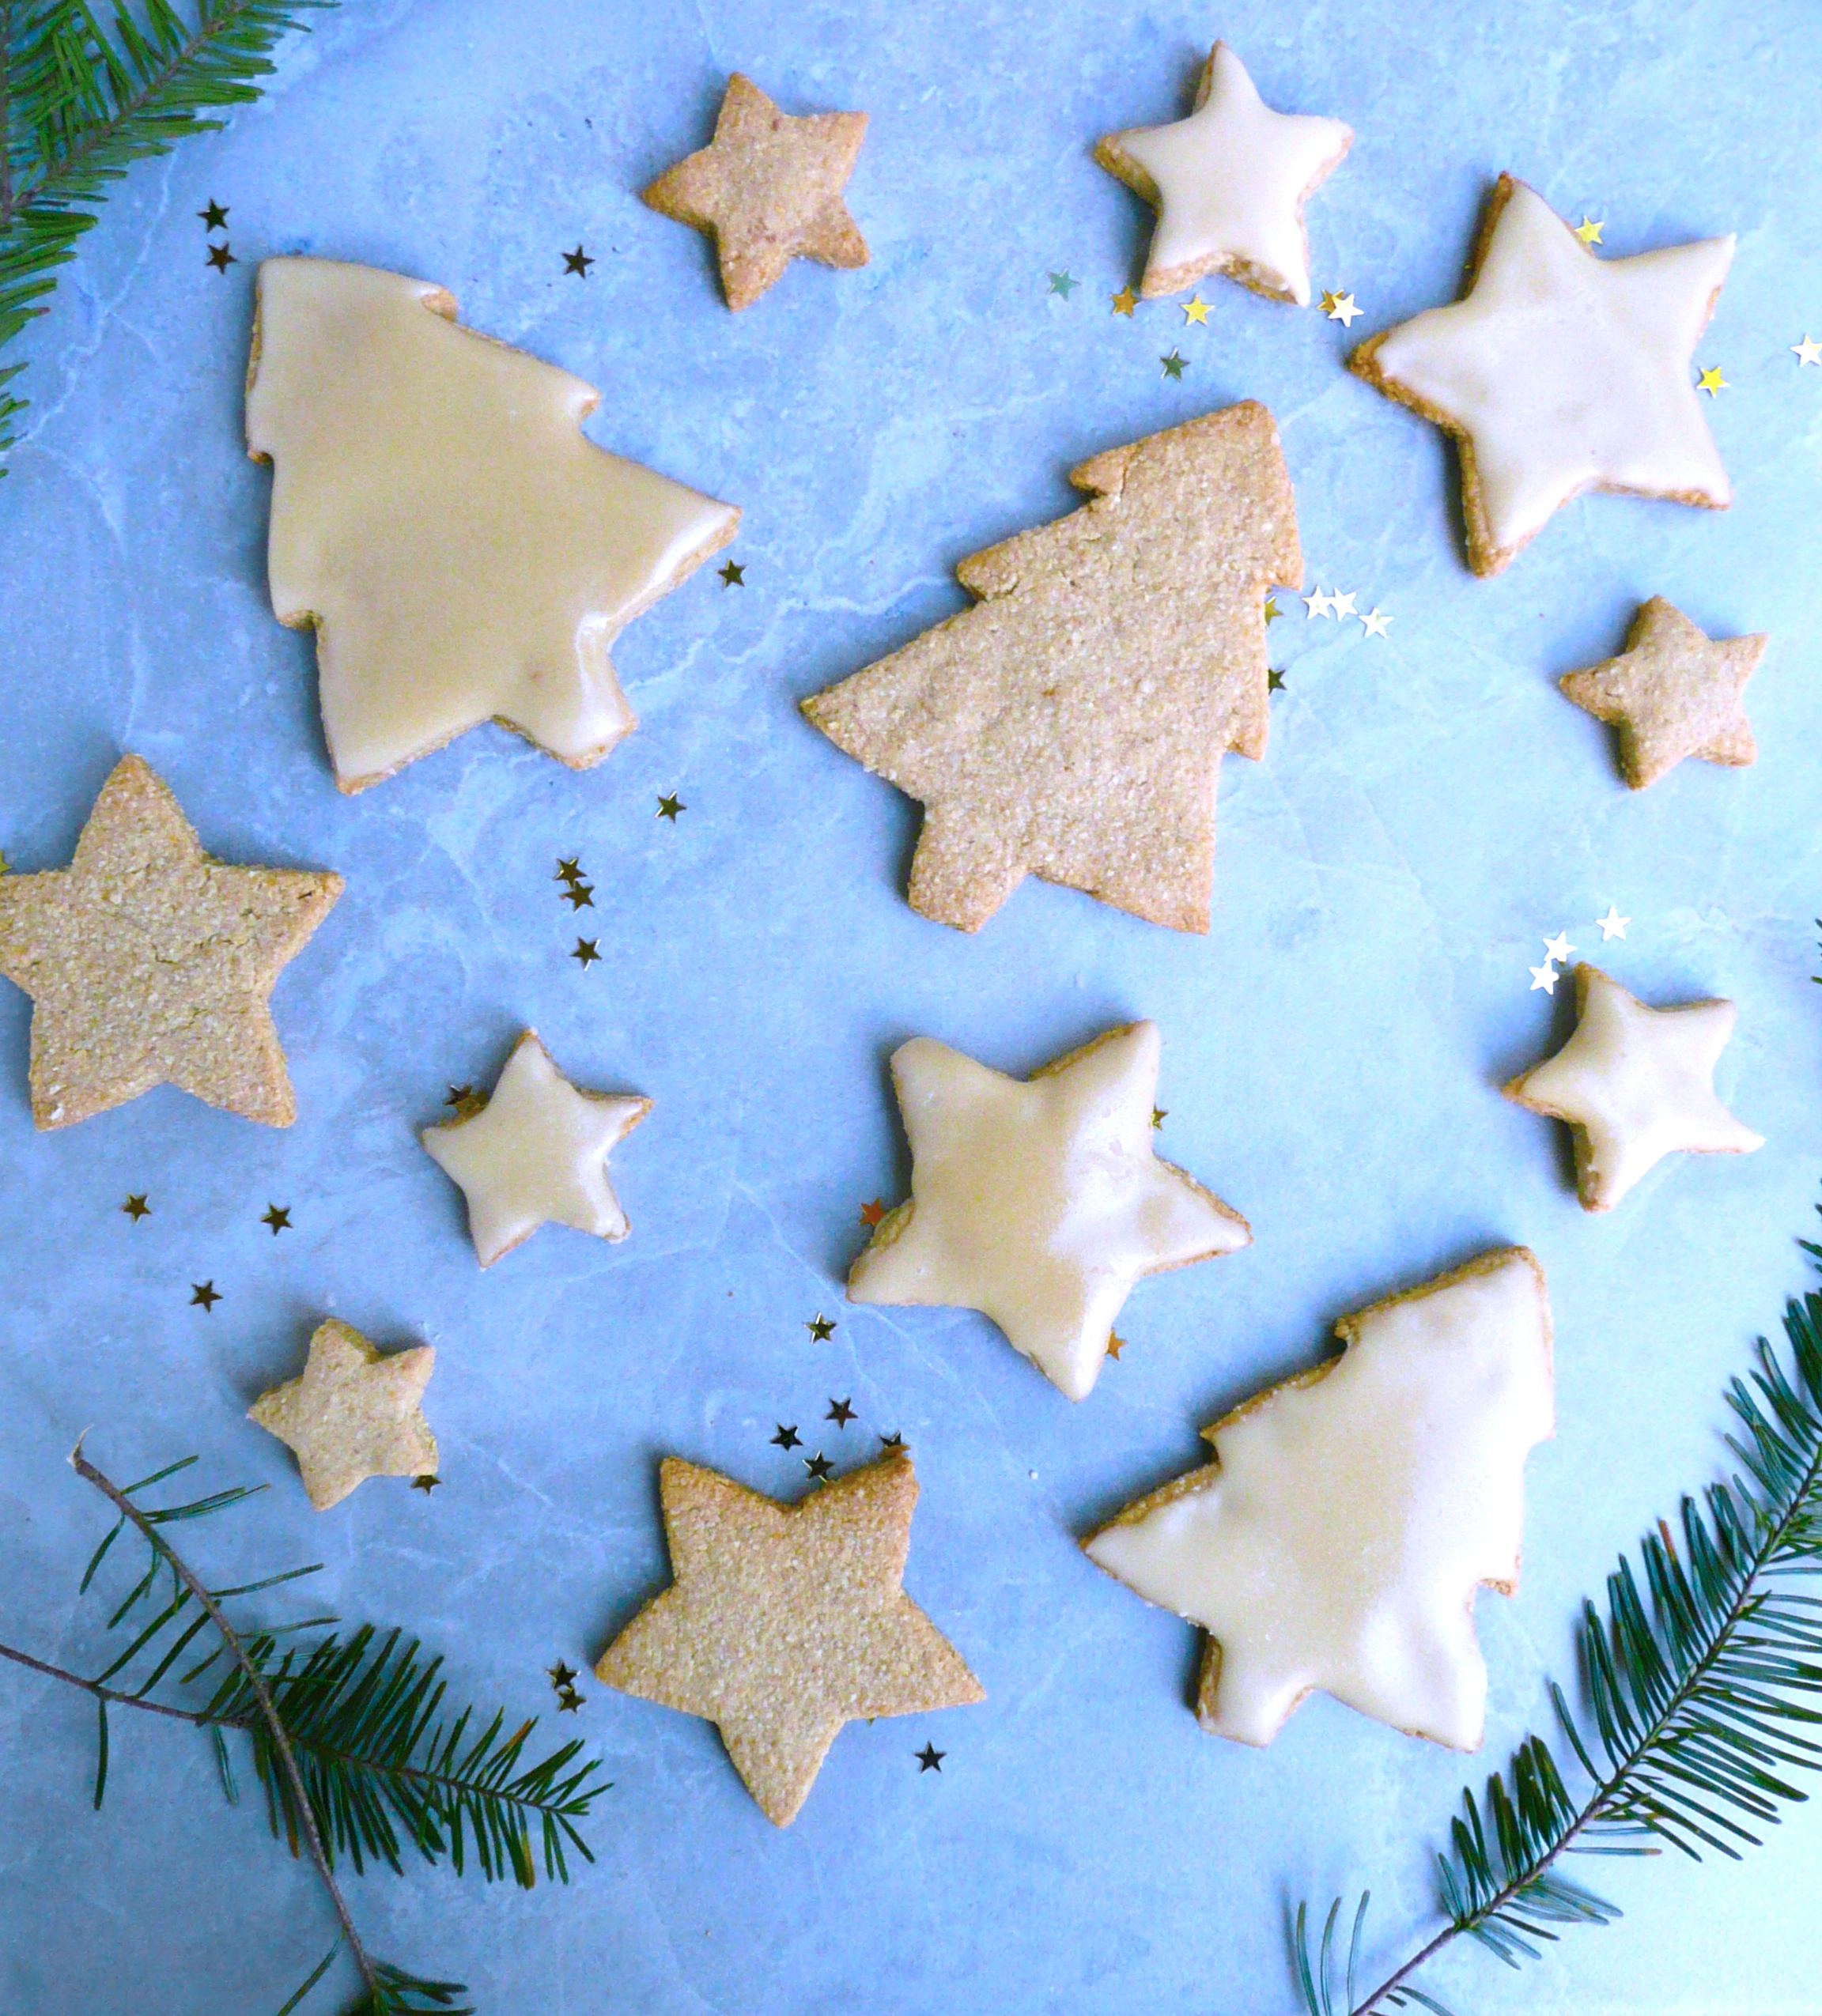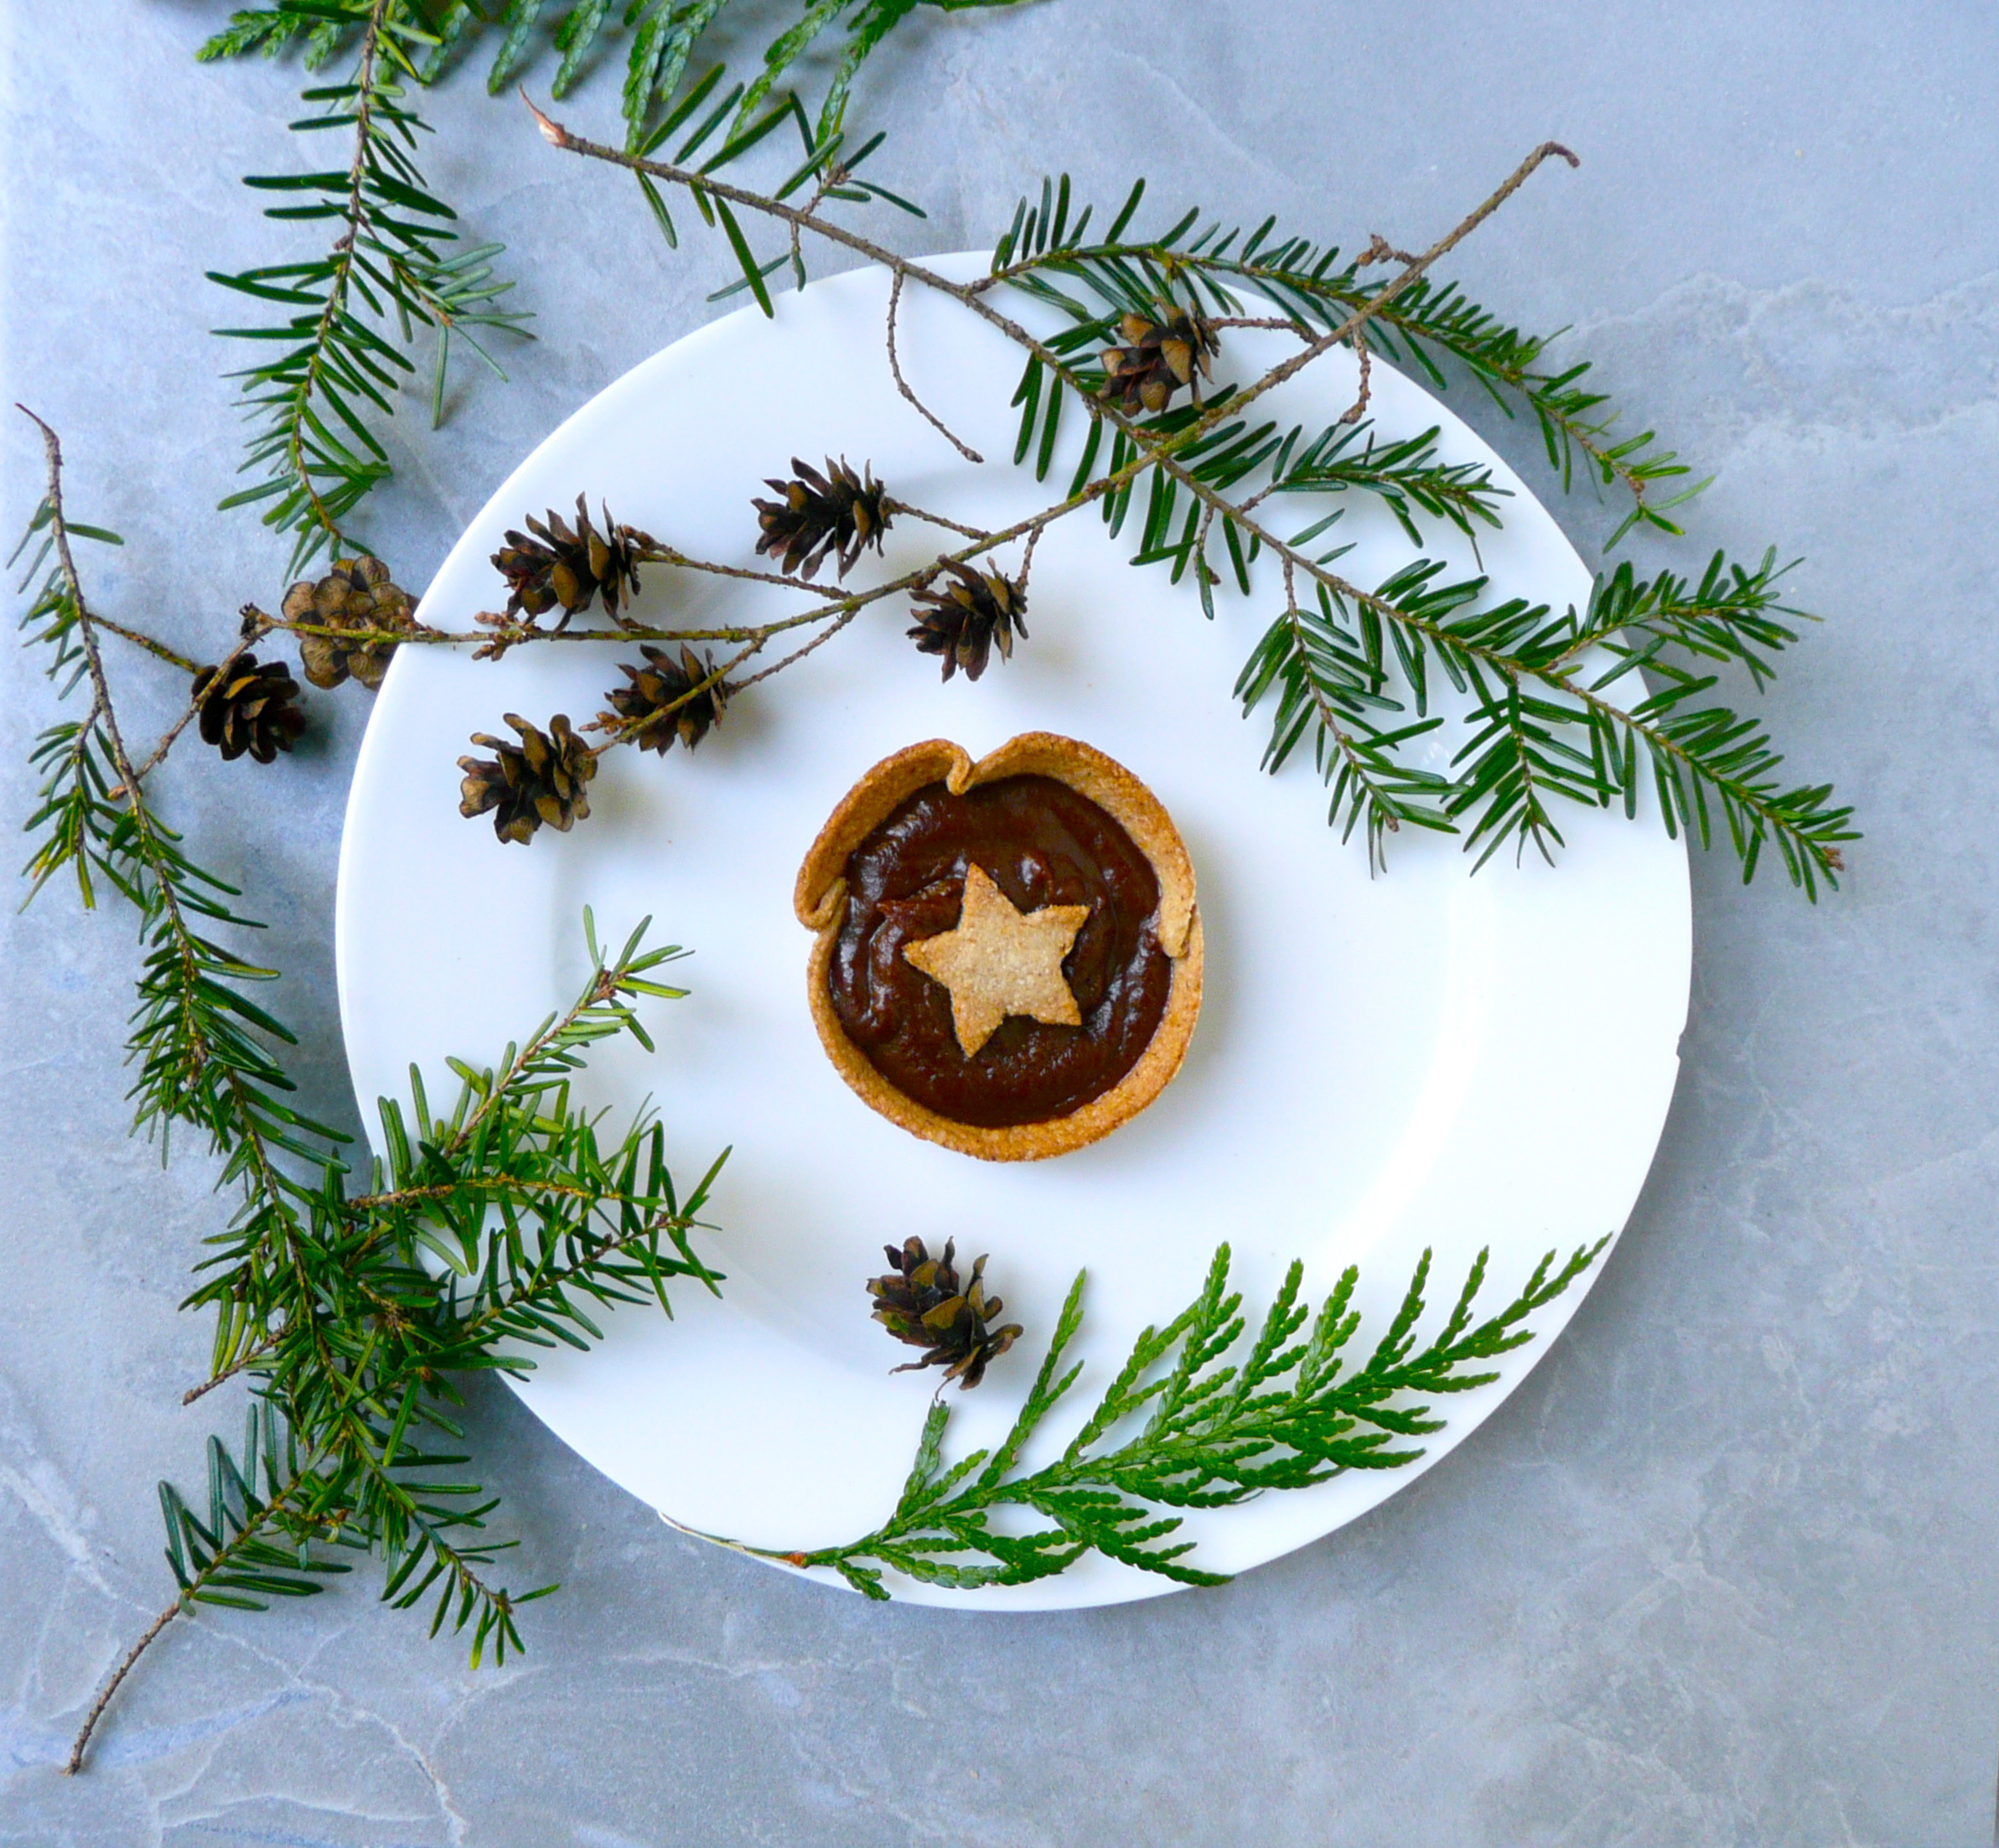
It just doesn’t really feel like Christmas without gingerbread cookies.
These cookies are free from nuts, gluten, refined sugar, dairy, egg free and completely vegan.
They are also delicious.
They are actually the best gingerbread cookies I’ve ever had. Who knew you could make amazing gingerbread cookies that work with so many dietary restrictions?
These cookies are crunchy, and not too sweet. They have a lovely warm flavor to them, and are perfectly spiced (without being too spicy) so they are perfect for kids as well.
The black pepper is optional, but I do think that it gives the cookies a wonderful complex rich flavor.
Another good thing about these cookies is that they don’t contain any baking soda or baking powder, so the shape of the cookies don’t spread out or distort at all during baking.
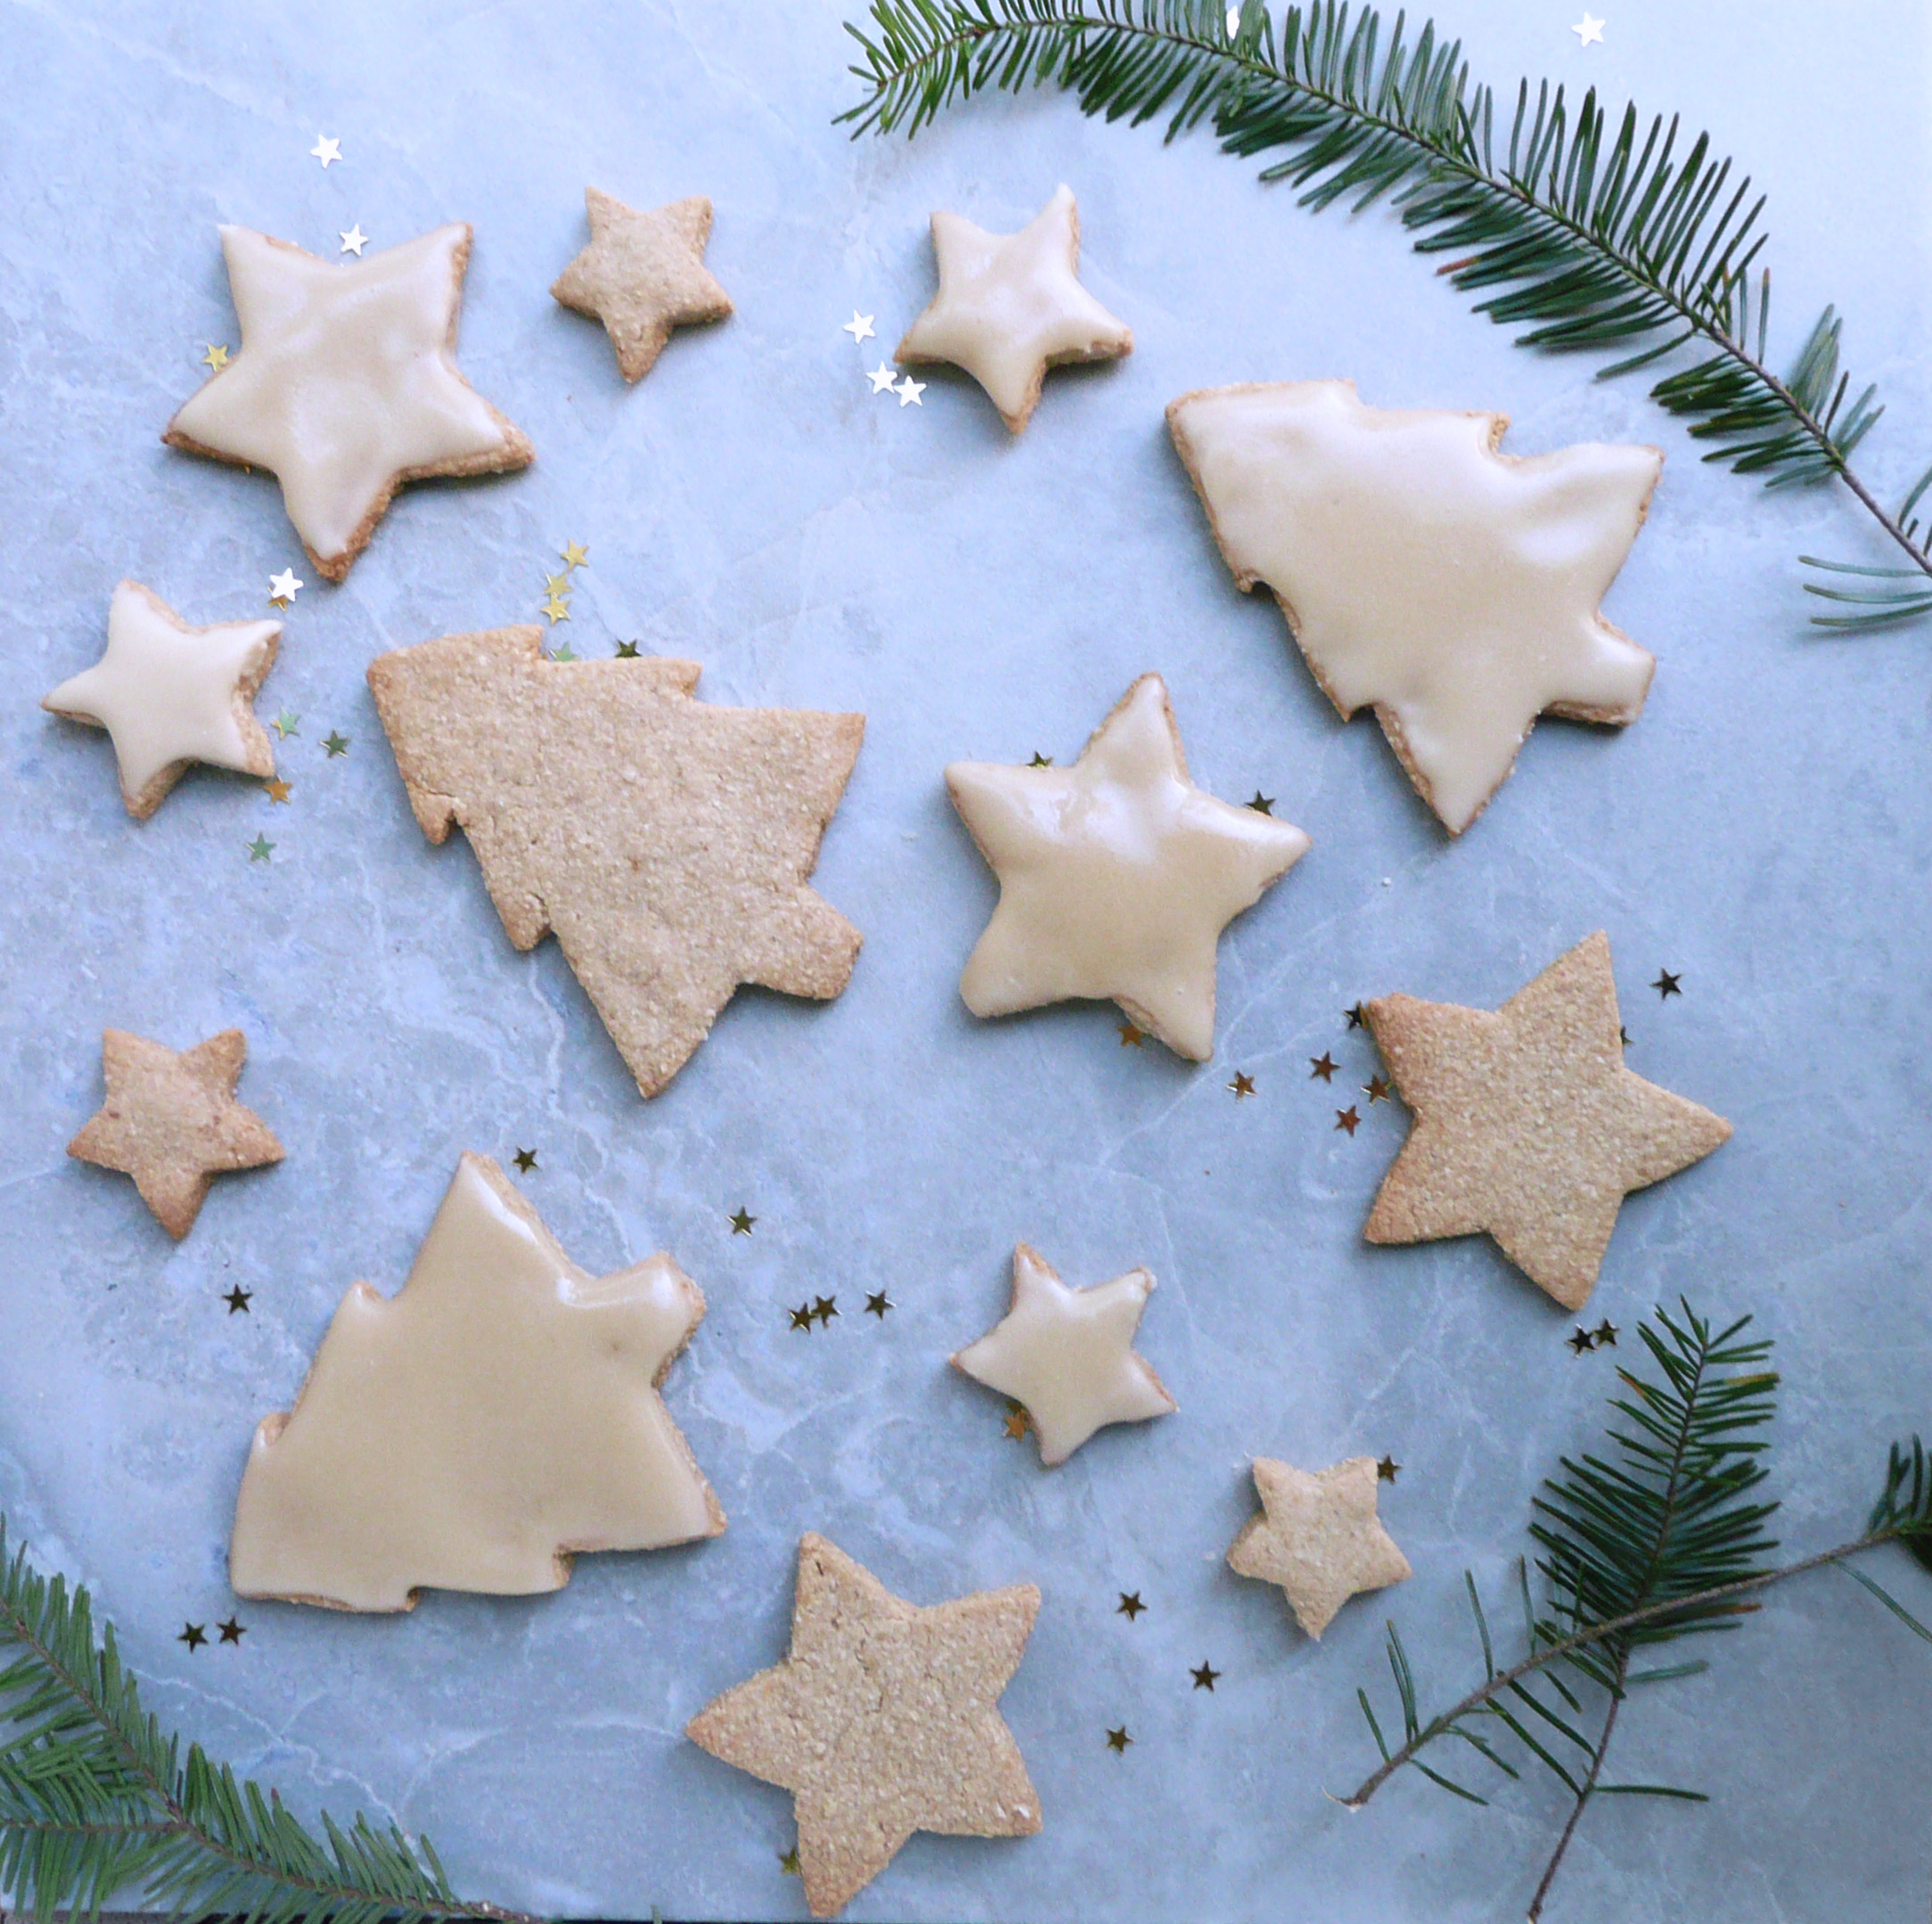
The shape that you put the cookies into the oven is the same shape that they come out of the oven, perfect for holiday cookies.
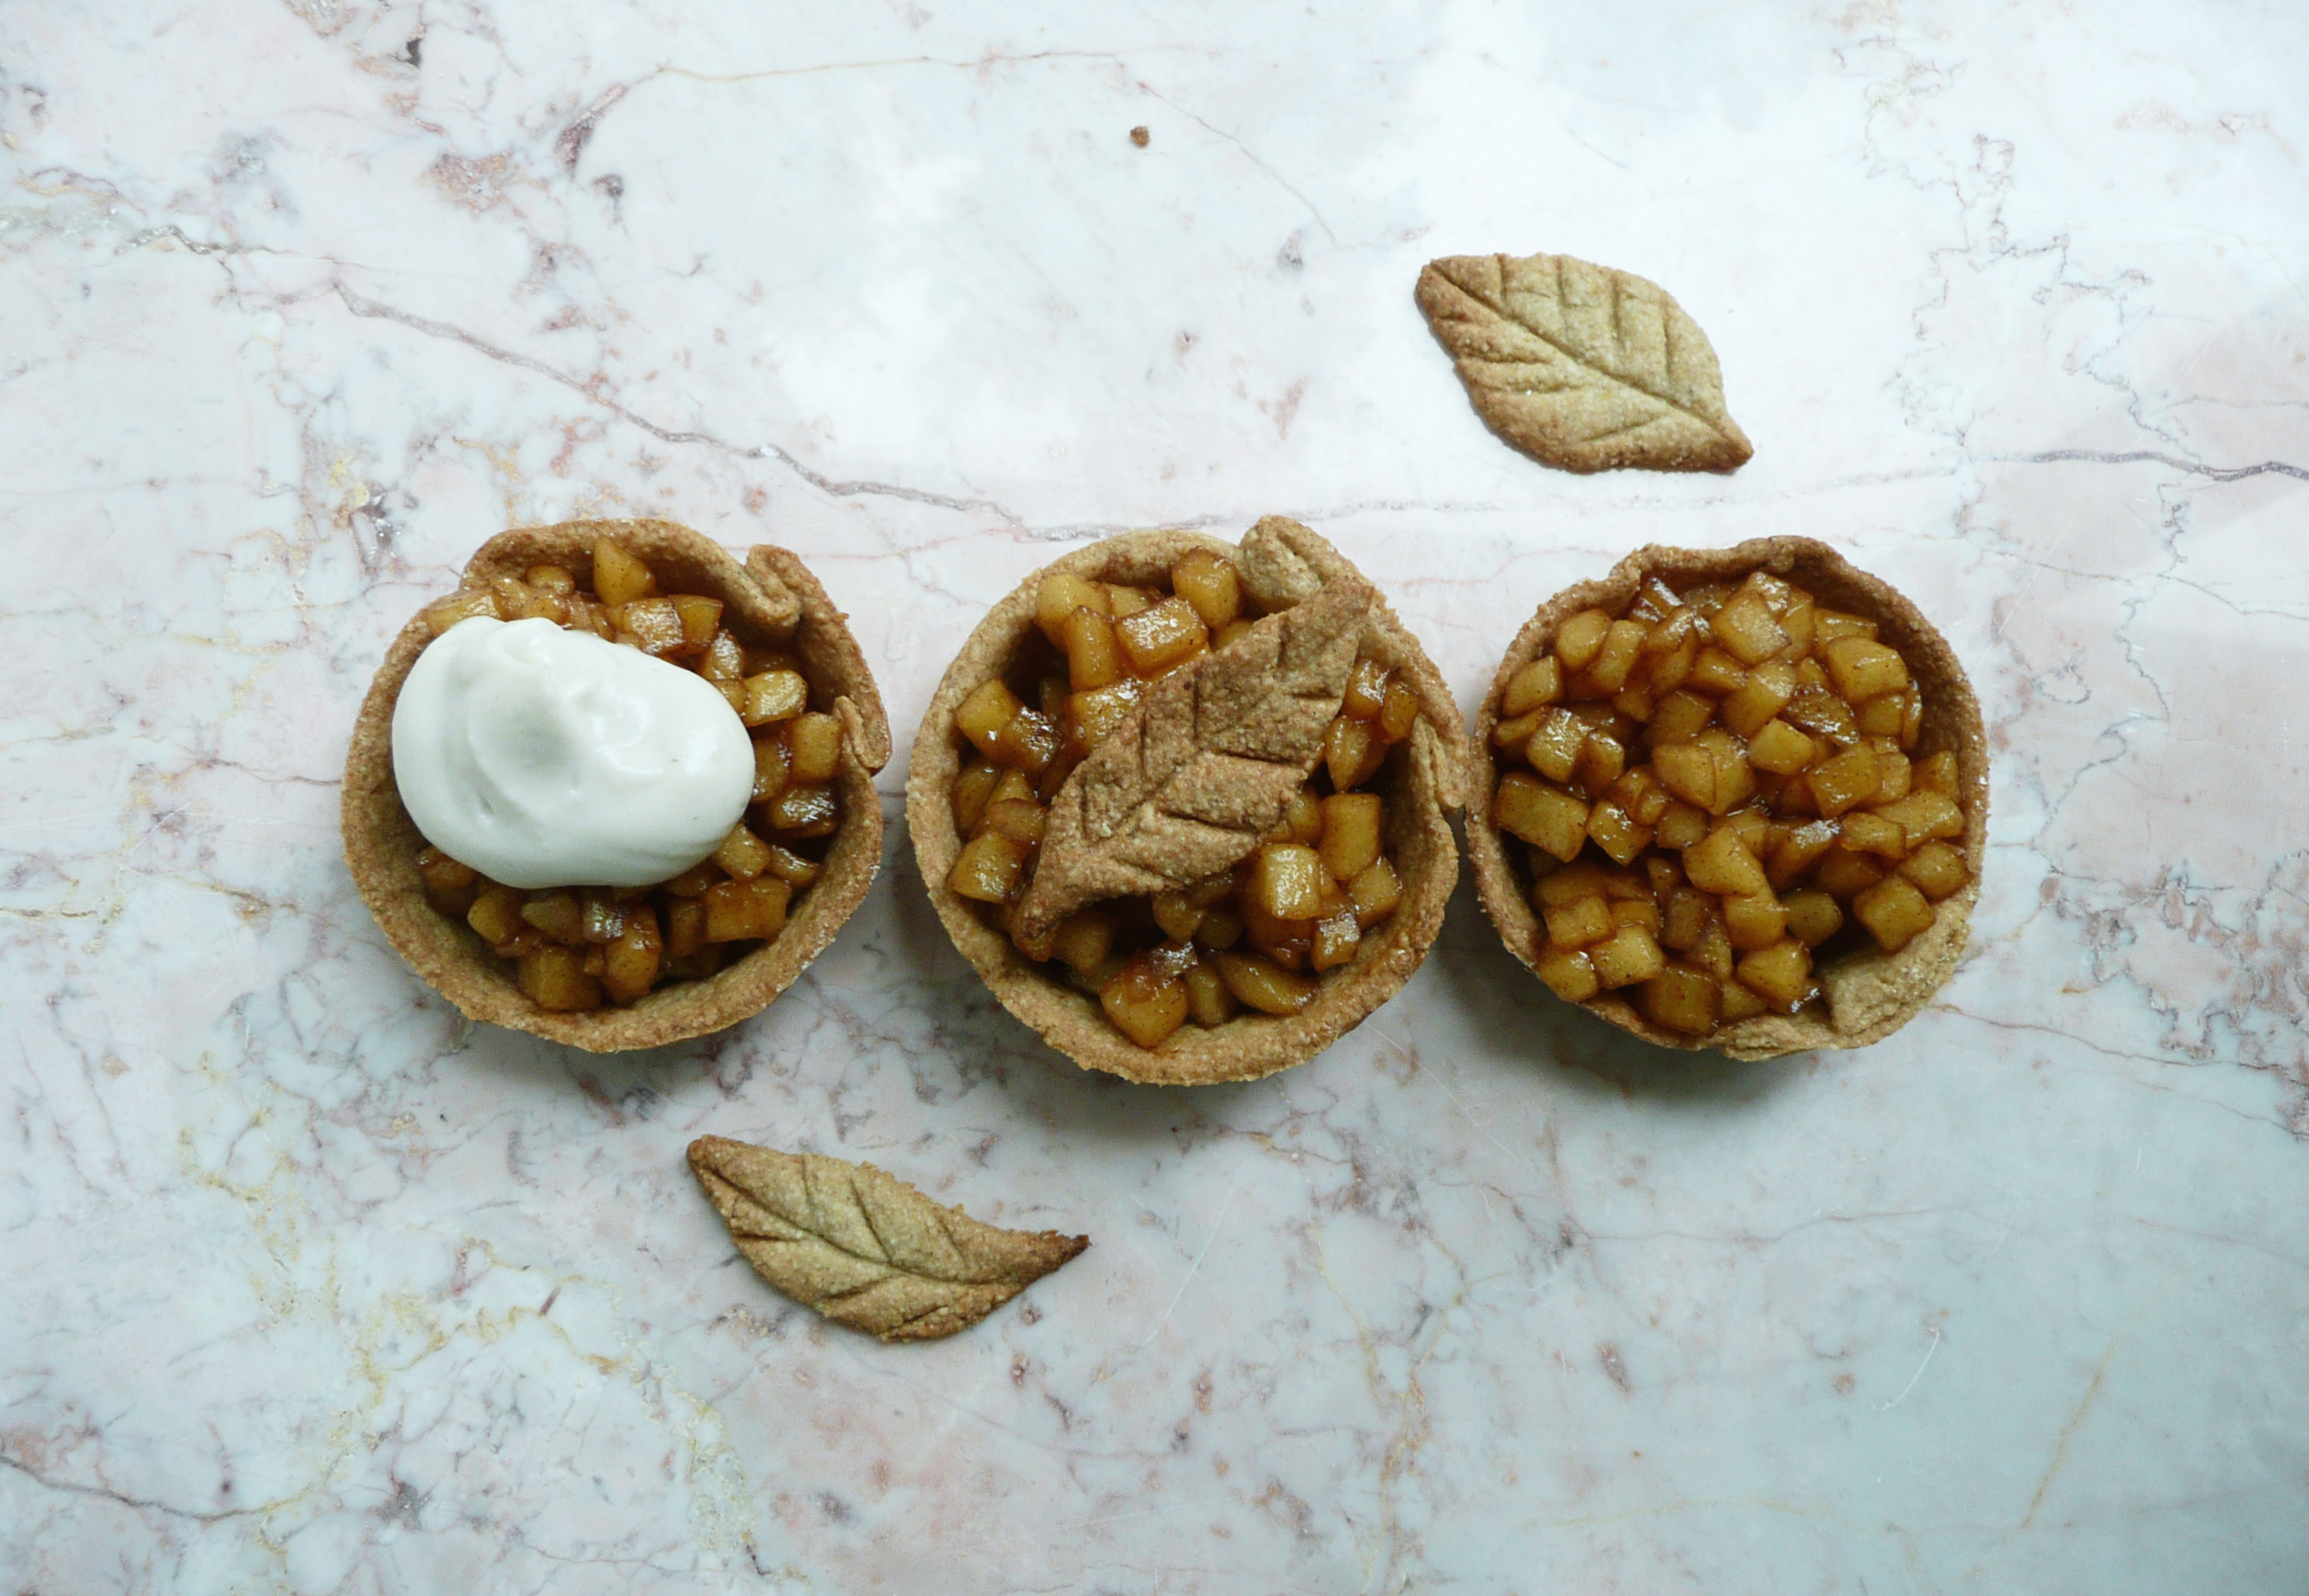
If you like your cookies on the sweeter side, double the recipe for the Maple Vanilla Icing and give those cookies a good coating of icing. So good…

Gingerbread Cookies
Makes 10 – 12 cookies
Ingredients
2 tbsp water
½ level tsp psyllium husk powder *
1 tsp vanilla
3 tbsp + 1 tsp maple syrup
1 tbsp + ½ tsp organic unsulfered blackstrap molasses
1/8 level tsp ground black pepper (optional)
¾ level tsp ground ginger
1 ¼ level tsp + 1/8 level tsp ground cinnamon
1 ¼ cup oat flour + 3 tbsp oat flour **
tiny pinch of sea salt
3 tbsp + 1 tsp melted refined coconut oil ***
Notes – *Psyllium husk powder gels like nothing else, and there’s no great substitute for it. I found mine in the bulk spice section of the local Fred Meyer, but Whole Foods, Trader Joes have been known to carry it as well. If it’s not in the natural foods, or bulk spice section, check the dietary supplement/ digestive health (where the Metamucil is) section of the store or pharmacy as it’s sometimes sold there as well.
** I grind oats into oat flour using a blender. Don’t grind the oats in a food processor because the flour won’t be fine enough.
Any extra oat flour I don’t use in the recipe goes into an airtight container and I use it for another recipe.
If you’re making the cookies for someone who has celiac disease, use certified gluten free oats, as the oats from the bulk bins can sometimes be processed on the same equipment as wheat.
*** I used the refined coconut oil from Trader Joes, which is filtered and not bleached. It’s the fat of coconut oil, without the flavor which works great for these cookies. You can use regular coconut oil for this recipe, but it probably will give the cookies a mild coconut flavor. Because I used the refined coconut oil, these cookies didn’t taste of coconut at all.
Instructions
1. In a small bowl stir together the water and psyllium husk, try to stir out all the lumps. Set aside for a few minutes and let it gel.
2. In a medium size bowl, sift the oat flour, spices and salt together.
3. Add the maple syrup, molasses and vanilla to the oat flour mixture, and stir until well combined. Add in the gelled psylium husk and stir until you no longer see any bits of the gel.
4. Add the melted refined coconut oil to the mixture and stir until well combined. It will look very sticky, but don’t worry. There’s no need to add any additional flour, the coconut oil will firm up in the fridge and the dough will sort itself out.
5. Let the dough sit in the bowl for 2-3 minutes and it should be firm enough to scoop onto some plastic wrap. Wrap it up and refrigerate for at least 3 hours.

6. Preheat your oven to 325 F. Cut the top and sides off of a gallon size Ziploc bag and open it and lay it flat to form a long rectangle.
Dip a paper towel in a little bit of neutral flavored oil (like avocado oil or vegetable oil) and oil the inside of the plastic. Don’t use the coconut oil for this, it solidifies too quickly and the dough ends up sticking to it.
7. Take the dough out of the fridge and cut it in half. Wrap the half you’re not working with in plastic wrap and set to the side.
If the dough breaks when you try to roll it out, you can knead it with your hands for a little bit so that the coconut oil in the dough melts a little from the heat in your hands. It should soften up and become easier to work with after this.
If the dough is too sticky to work with, you can add about 1 tbsp of oat flour, and knead it into the dough to combine, or put it back into the fridge to firm up for a few minutes.

Roll out your dough between the layers of oiled plastic to 1/4 of an inch thick, re-oiling the plastic each time your re-roll out the dough.
Cut out the shapes with the cookie cutters. Use something like the flat edge of the back of a butter knife (an offset spatula would be perfect for this) and run it under the cookies to get them to release from the plastic.
If there are any little bits of the dough stuck to the plastic after you peel your cookies off, make a little ball out of your scrap dough, and drag it over the plastic and it should clean it right off.
If your finding it difficult to remove the cookies from the plastic (especially for more complex shapes like snowflakes), cut the cookie shapes out using the cookie cutters, and remove the excess cookie dough from around your cookies. Then lay the cookies that are stuck on the plastic onto a plate and stick them in the freezer for 10-15 minutes. After that, the cookies should be firm enough to peel off the plastic and set them onto the baking sheet.
I usually use my finger to press the sides of the cookies smooth, just to clean up the edges.
Place the cookies onto a silpat or parchment lined baking sheet and bake at 325 for 34- 38 minutes (I baked them for 36 minutes) until just slightly darkened about the edges and firm to the touch.
For small cookies (about 1-1.5 inches in size) bake for 22-24 minutes, until slightly darker around the edges.
Allow the cookies to cool before icing.

Enjoy!
Happy Holidays!