Kitchen Tip – How to Regrow Green Onions

green onions

Green onions are used in lots of Asian recipes, and they are actually super simple to regrow on your windowsill from the trimmings that you would normally compost.

I cut the green part off the green onions so that there’s about  1.5 – 2 inches of the white part attached to the roots.  Then put the green onion roots in a little jar (old spice jars seem to work well for this) and add about 1.5 inches of cool water into the jar. I put a little piece of folded paper towel under the jar when I put it in the windowsill so that no watermarks stain the wood.

Replace the water everyday (that way the water doesn’t get slimy as quickly). I’ve been able to successfully regrow a trimmed green onion root about 2-3 times.  After that, they get a little too slimy around the roots and it’s time to compost them and wash out the jar.

The picture shows about a week of growth, and you can trim off what you need to add to dishes.

You can also plant the trimmed green onion roots in some soil, and they should regrow a few more times than if they were simply regrown in water.

I hope that this tip helps you save a little money! Let me know how this trick works for you. What would you make with your regrown green onions?

fresh herbs

How to Store Fresh Herbs

P1060471-2

When I used to buy herbs, I always seemed to buy more than I needed. If I recipe called for 2 tbsp of fresh parsley, I never seemed to know what to do with the rest of the herbs, or how to keep them from wilting before I could use them up.

After much experimentation, I throw away way fewer herbs now.

Here is how to keep your herbs fresh –

For Parsley or Cilantro

When you get home from the grocery store, take the rubber band off of the bunch of herbs. Pick out all the wilted sprigs, then loosely roll the bunch of herbs in a few sheets of paper towel. Place the roll back inside of a closed ziploc bag and place in the fridge.

Every few days, take the herbs out of the refrigerator, pick out the wilted sprigs and roll the non-wilted herbs in a few new sheets of paper towel. Compost the old paper towels and your herbs will probably keep for at least a week. Make sure you put them in a spot in your fridge where they won’t accidentally get frozen.

Quick ways to use up Parsley – blend your extra parsley into a pesto with some garlic, almonds, olive oil, salt and pepper. You can also add in kale, or basil, or cilantro to the pesto if you like. Tabbouleh is a great dish to make with excess parsley, and I’ll be posting a recipe for Quinoa Tabbouleh soon.

You can also blend a handful of the parsley with an apple, lemon juice, honey, ginger, water, and blueberries for a smoothie that helps with inflammation and joint pain.

Quick ways to use up Cilantro – you can make pico di gallo with chopped onions, tomatoes, lime juice, salt, and freshly chopped cilantro.

For herbs in clam shells – pick out any wilted stems and leaves, then fold 1-2 paper towels so that they will fit inside the container. Take the herbs out the clam shell, place the folded paper towel on the bottom of the container, put the herbs on top of the paper towels and close the clam shell and place it in your fridge.

Every few days, take the herbs out, pick out the wilted bits, and replace the paper towel before placing it back in the fridge. The herbs should last a few days longer using this technique.

Quick ways to use up Mint – You can add extra mint to tabbouleh, or make a great tea with it. I like to drink mint tea in the morning as it wakes you up without caffeine, and it has a naturally sweet flavor, so you don’t need to add any sweeteners.

I usually add about 7 mint leaves and 2 mint stalks to 1.5 cups of hot water and let it steep for at least 3 minutes before drinking. I leave the mint in the tea as I drink it, but you can remove them from the cup if you like.


Oat Flour and Brown Rice Tortilla Chips

Oat Flour and Brown Rice Tortilla Chips – Gluten Free, Dairy Free, Vegan – Tostadas

P1070082

When I first went gluten free I really missed having something crunchy to dip into hummus, or top with egg salad like a cracker.

When I came up with this recipe I found that it checked lots of carb-y, crunchy boxes.

You can eat these chips with guacamole or hummus. You can mix flax seeds and chia seeds into the dough to make multigrain crackers. For cheesy herby crackers, you can add some granulated garlic, parsley, oregano, and nutritional yeast into the dough and they bake up a treat.

Another thing that you can do with this dough is make tostadas. The tostadas bake up super crunchy and you can top them with anything that makes your heart happy.

I tried making tortilla chips and crackers in all kinds of ways before I came up  with this recipe, but it turns out that leftover brown rice was the key to making a great crunchy oat flour tortilla chip.

If you have leftover brown rice in the fridge, this is a perfect way to use it up. Making these chips / crackers are also so much cheaper than buying gluten-free crackers in the store, and I promise that they taste so much better. And if you can’t tolerate corn chips, this recipe is a great alternative. These chips also go great with my creamy lemon garlic black bean dip.

Brown Rice and Oat Flour Tortilla Chips (Baked)

Makes 10 chips (about 1 generous serving)

Ingredients

1/3 cup cooked short grain brown rice

1/3 cup oat flour

½ tsp olive oil

pinch of salt

1 -1 ½ tsp water


Instructions

1. Preheat the oven to 350 F.

2. Add all the ingredients into a bowl and mash the brown rice into the oat flour with the back of a fork. Squeeze the mixture together in your hands so that the rice incorporates into the oat flour and forms a nice dough. If the dough feels a little dry, add a little water to the dough. If the dough feels too sticky, add a little more oat flour.

3. Divide the dough into 10 equal sized pieces and roll each piece of dough into a ball .

Wet you hands lightly press each ball of dough into a 1/8 inch thick disk onto a silicone baking mat. The mixture won’t spread so the chips can be baked close together as long as they don’t touch.

4. Bake for 15 minutes, then take the chips out of the oven and use a spatula to flip over each chip. Bake for another 15 minutes until crisp.

Let them cool on the silicone baking mat for about 10-15 minutes. They will crisp up even more as they cool.

You can also use this same mixture to make about 3 tostadas about 4-5 inches in diameter (1/8 inch thick). Bake the tostadas for 15 minutes per side at 350 until crisp.

Kitchen Tips – How To Use Every Drop Of Olive Oil

P1070675

One ingredient that I use almost everyday is olive oil.

I use it in salad dressings for it’s peppery bite, drizzle it over soups and pasta sauces to give them richness, and add it to hummus for a smooth and silky texture.

Inevitably, at some point, the bottle runs empty save for a few teaspoons of that beautiful green oil that you can never seem to shake out of the bottle.

If you too can’t stand the thought of letting any food go to waste, this is my solution for getting every last drop of precious oil from the bottle.

Take a wide mouth mason jar and put it inside of a 1 quart measuring cup. Then turn the bottle of oil upside down and place the mouth of the bottle inside of the mason jar. Leave this to sit in an area where it won’t be disturbed for a day or two and all of the oil that’s left over in the bottle should drain into the mason jar.

(Putting the mason jar inside of the big measuring cup makes the bottle of oil and mason jar less likely to tip over.)

Use this reclaimed oil within a day or two, as it has been exposed to air and light and won’t keep for too long before oxidizing.

Thanks for reading!

Happy Cooking!

Chocolate Banana Soft Serve Ice Cream – Refined Sugar Free, Dairy Free, Vegan, Paleo

P1080366

When I think of chocolate desserts, I want something really decadent and rich, with a deep chocolatey flavor.

This Chocolate Banana Soft Serve Ice Cream definitely fits the bill. It’s super easy to make, and takes almost no time or effort. It’s so creamy and delicious, and it’s pretty incredible that blended up frozen bananas can turn into such an amazing treat!

When I was working on this recipe, I thought about the rich and creamy chocolate ice cream that would occasionally eat before I went dairy and refined sugar free.

I really tried to get a similar flavor with this recipe, so it does have more cocoa powder and vanilla extract than you would expect it to have, which gives the banana ice cream a similar flavor to the store bought chocolate ice creams of my younger days.

Banana ice cream also cuts down on food waste because it’s the perfect thing to make when you have overripe bananas that you don’t know what to do with. No need to throw them away! Just peel them, and freeze them, and you can have ice cream whenever you want. How cool is that?

You can also adjust the flavor of the ice cream to your liking really easily. If you want it a little sweeter (or if your bananas could have used a little more ripening before you froze them) you can add a little more maple syrup, or more cocoa if you want a deeper chocolate flavor.

However you make it, I hope that this ice cream brings a little more joy to your day.


Chocolate Banana Soft Serve Ice Cream

Makes 1 serving (about 3/4 cup)

Ingredients

1 thawed frozen banana

3 1/2 tbsp unsweetened cocoa powder *

2 1/2 tbsp + 1 tsp maple syrup

2 tbsp + 2 tsp water

1 tsp vanilla extract

tiny tiny pinch of salt


*I didn’t use a heaped tbsp, just sort of slightly higher than a level tbsp. The cocoa powder that I used was the Ghirardelli unsweetened cocoa powder.

Instructions

1. Cut the thawed banana into half inch slices with a paring knife. If the banana is too hard to cut, then let it thaw for another 5 minutes or so before trying to cut it again.

2. Add all the ingredients into a food processor and process until smooth, scraping down the sides of the bowl occasionally.

If you want a firmer texture, you can spoon the mixture into a bowl and put it into a freezer for another 15-20 minutes.

For garnish, I just used a paring knife to shave pieces off a slightly thawed frozen strawberry. It gives it a nice color and a bit of little flair, and the strawberry flavor goes well with the banana and chocolate flavors of the ice cream.

P1080371

Happy Eating!


Vanilla Extract

Kitchen Tip – Easy Way To Get The Cap Off A Vanilla Extract Bottle

vanilla


If you’ve ever known the struggle of baking cookies and not being able to get the little cap off of the vanilla extract bottle, this one’s for you.

Here’s the secret –

Wrap a few thin rubber bands around the cap of the vanilla extract. The rubber bands make the smooth metal of the cap easier to grip. The bottle of extract should be a breeze to open after that.

I use the rubber bands that come wrapped around vegetables like kale, or green onions, or bunches of cilantro or parsley. It’s a thrifty solution, and makes baking with vanilla extract much much easier.

This idea for this came to me when I was testing the recipe for the maple vanilla sugar cookies. For a moment I was concerned that I was not going to be able to get the cap off of the bottle of extract, and I actually thought for a second “Do I really need vanilla in this recipe?”

The answer was “Yes. You do need vanilla in maple vanilla sugar cookies.” So I had to come up with a solution pretty quickly, and here we are!

I hope that this kitchen tip helps you to never again be held back from your baking dreams by another difficult to open vanilla extract cap!

Happy Baking!


Instant Homemade Vegetable Stock

Instant Homemade Vegetable Stock Mix – Vegan, Soy-free, Gluten-Free

P1080022-2

Vegetable stock is easy to make, but can be a little bit of hassle, and takes up a lot of space in the freezer. Store bought veggie stock can be expensive, and it can have a lot of added ingredients that leave you wondering “What is organic caramel coloring?” and “Why does it need to be in vegetable stock?” I find myself asking the same questions when I read the back of soup bouillon labels as well.

If you too have these questions (and are wondering if there is an easier way to make vegetable stock with less additives) this might be the answer that you’ve been looking for.

This is a super simple and easy recipe to always have vegetable stock on hand. This recipe is soy free, thrifty and easy to customize.

We’re going to basically make a spice mix that contains a lot of flavors that you would normally find in vegetable stock. You can almost think of it as a tea. Admittedly, it takes 10 minutes to steep (so not quite “instant”) but it’s still pretty quick.

You can also make a large batch of this veggie stock mix and put it into a little jar to use as needed.

If you don’t like the little bits of dried spices in your soup, you can strain the broth through a coffee filter, or place the spices in some layers of cheese cloth, tie it up with some kitchen twine and place it into your soup pot (basically like a tea bag) to fish out later once the flavors of the broth have infused.

I hope that this recipe helps you make lots of wonderful soups in the future. I plan on making a noodle soup with this pretty soon. Perfect for the cold weather.


Makes a scant 2 tbsp of veggie stock mix = 4 cups of vegetable stock

Ingredients

1 tsp granulated onion

3/4 tsp + 1/8 tsp celery salt

1/4 tsp + 1/8 tsp of granulated garlic

1/4 tsp dried rubbed sage

1/4 tsp dried parsley

1/4 – 1/2 tsp sea salt

1/8 tsp black pepper


Instructions

Stir all the spices together. Add the mixture to 4 cups of boiling water and allow to steep for 5-10 minutes. You can strain the mixture at this point or leave the spices in the stock depending on your preference.

Use in your favorite soup recipes, or add some noodles, and some veggies for a quick and filling lunch or dinner.

Enjoy!

stainless steel pan

How to Make a Stainless Steel Pan Non-stick (non-toxic)

stainless steel pan 1

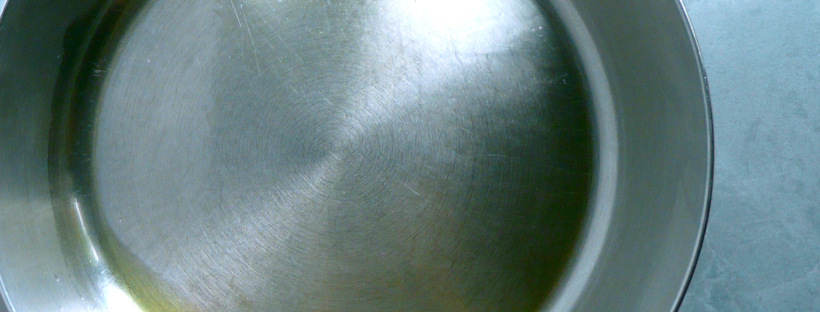
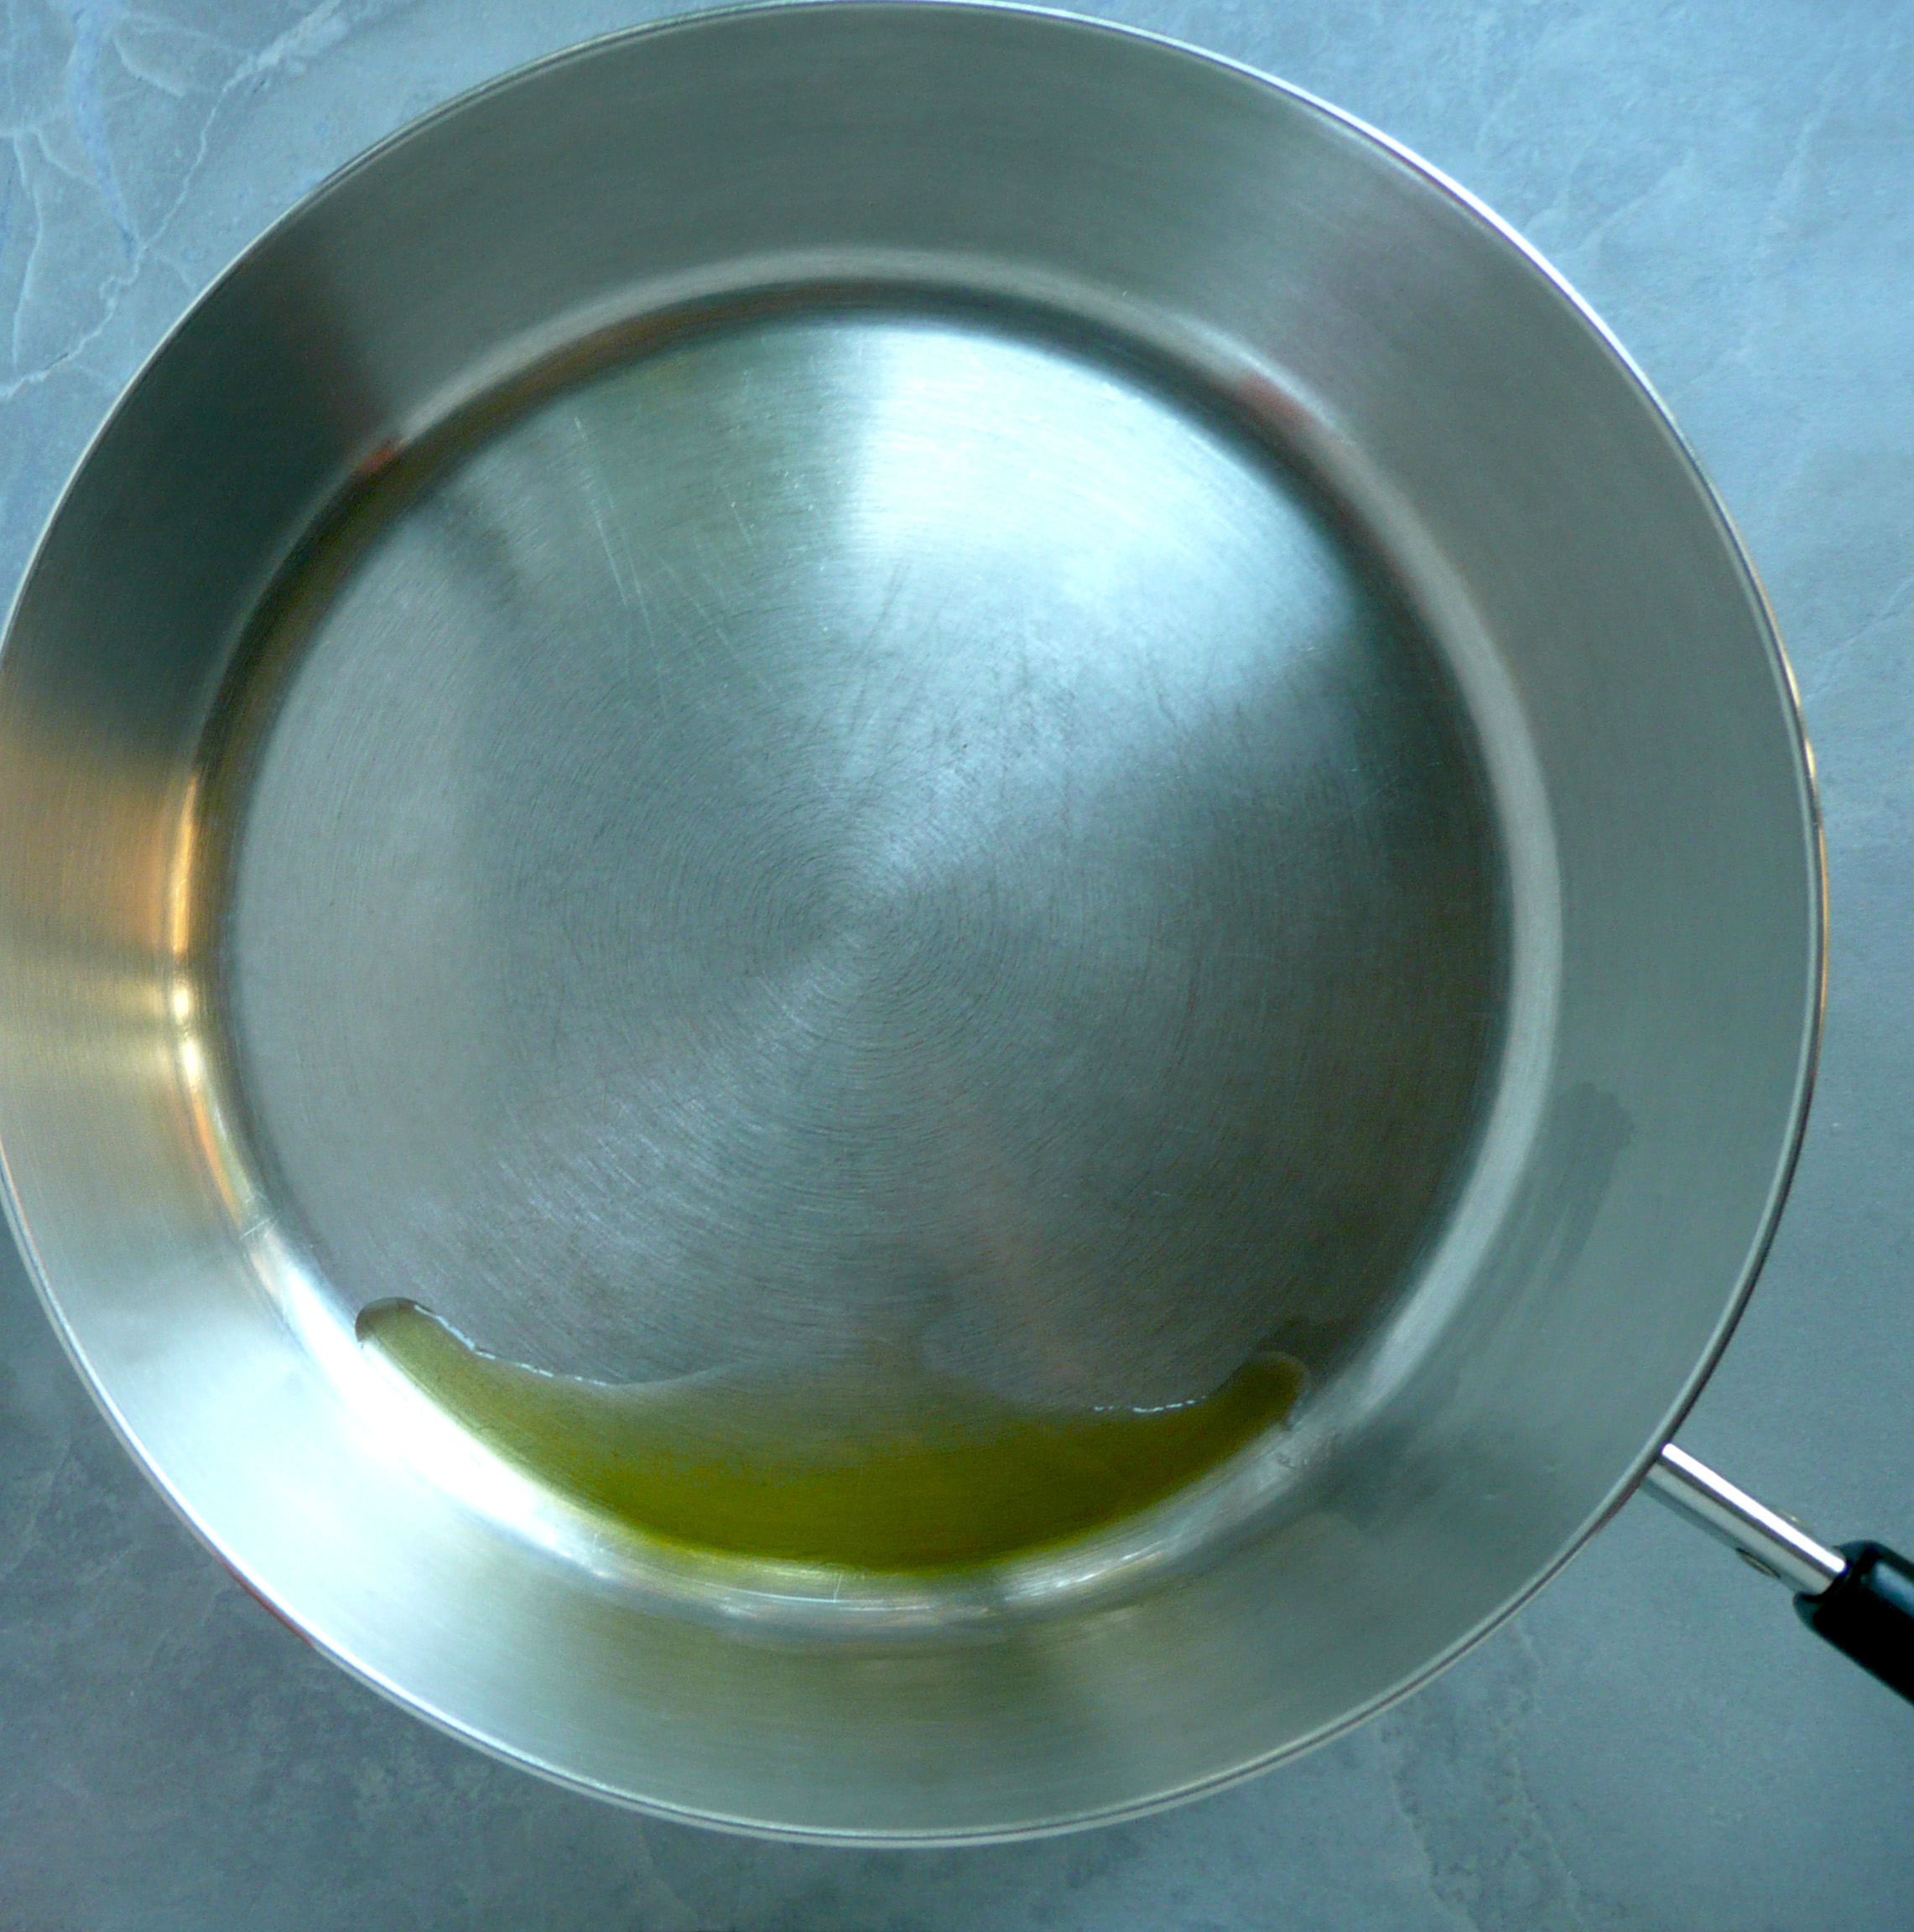
(This is what the pan looks like before the coating of oil).

When I decided to stop using non-stick cookware, one of the hardest thing to get my head around was how I was going to be able to cook things like pancakes and sunny-side up eggs.

I googled “how to make a stainless steel pan non-stick” and wasn’t able to find an answer.

So after much trial and error, I finally figured it out. And it’s actually super simple to do.

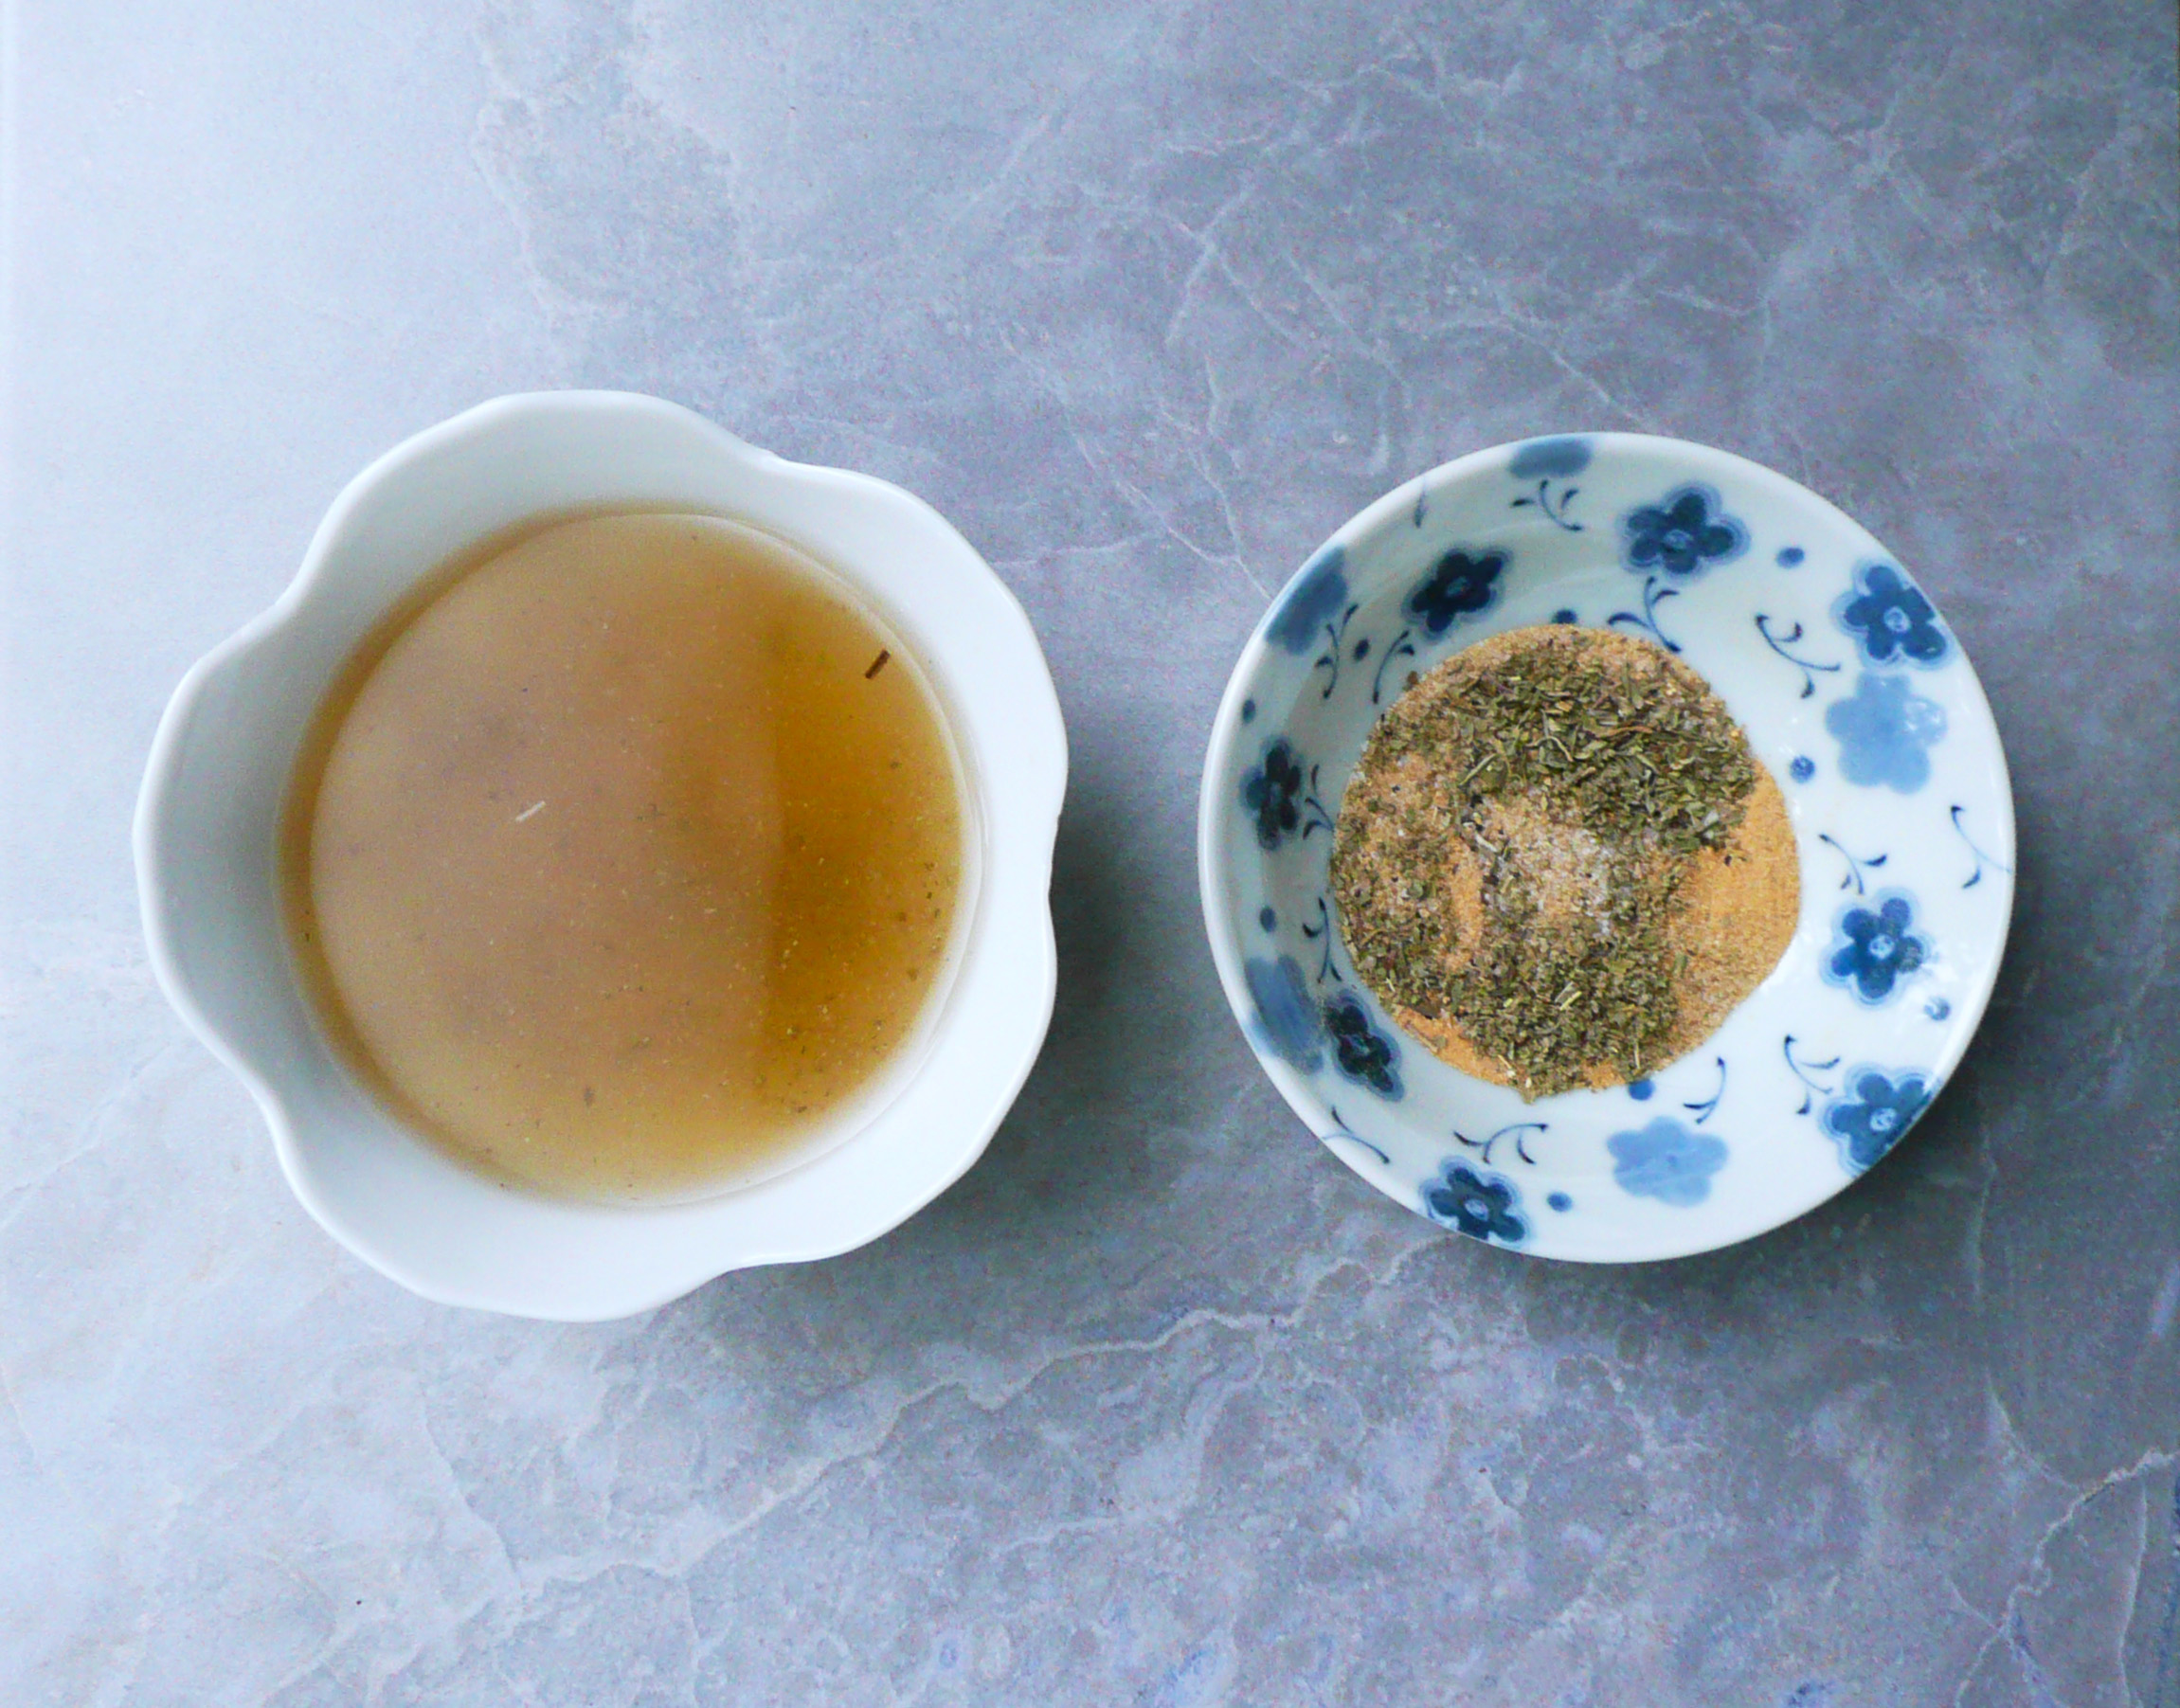
By heating the oil in a pan this way, the oil binds to the surface of the steel (forming a polymer – whatever that means…), creating a temporary non-stick coating. I’ve used this method with olive oil, coconut oil, and avocado various times and all have worked great.

Instructions

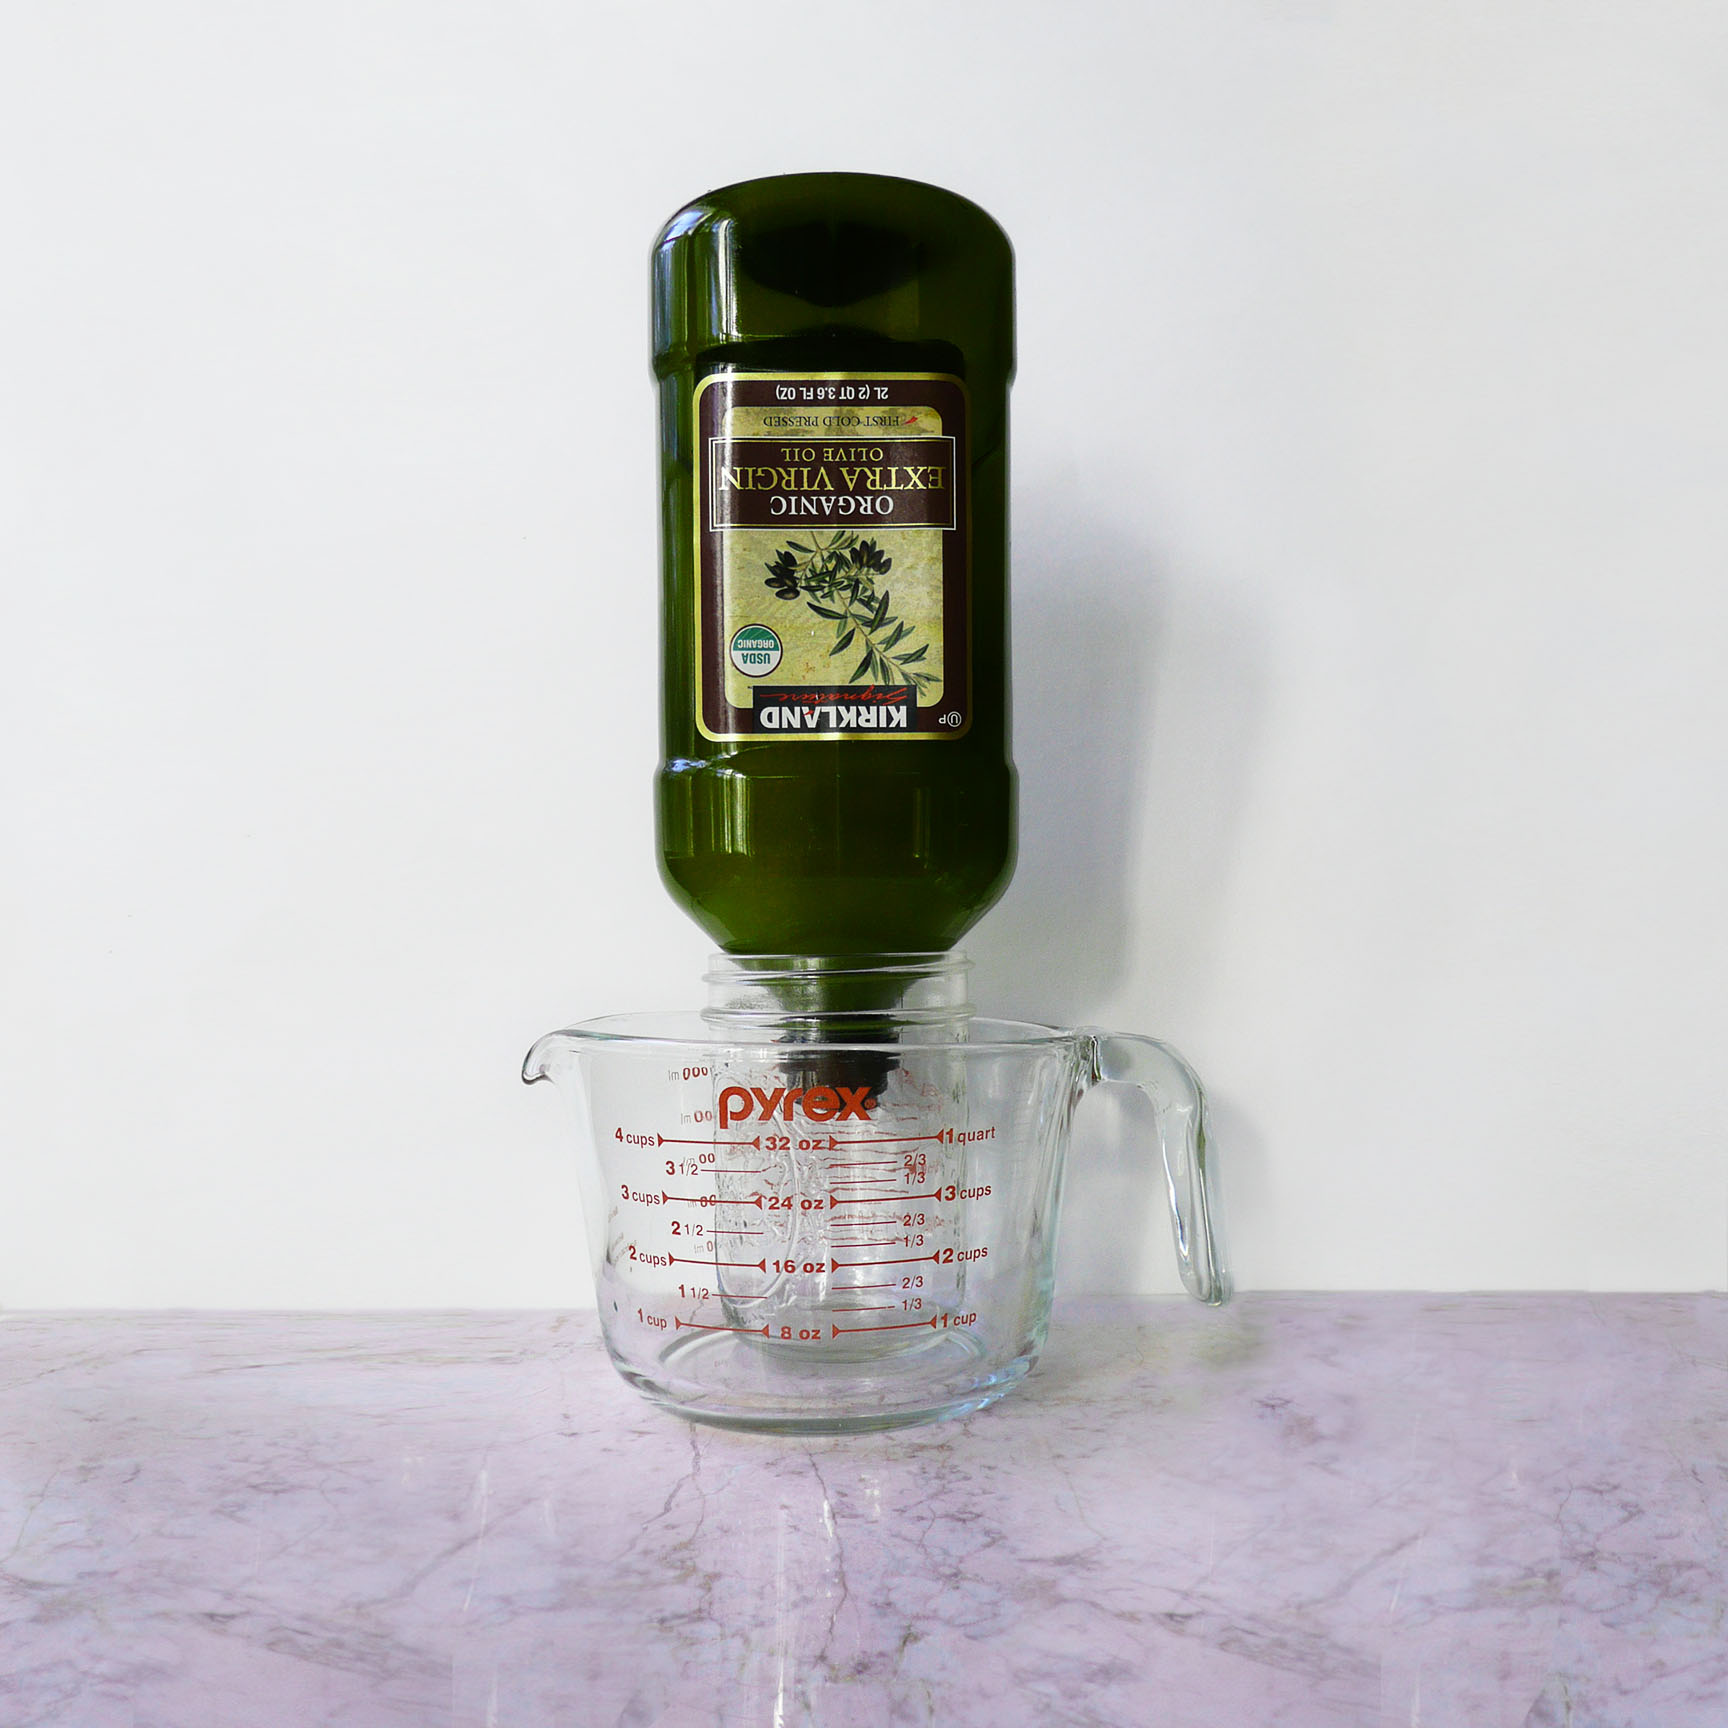
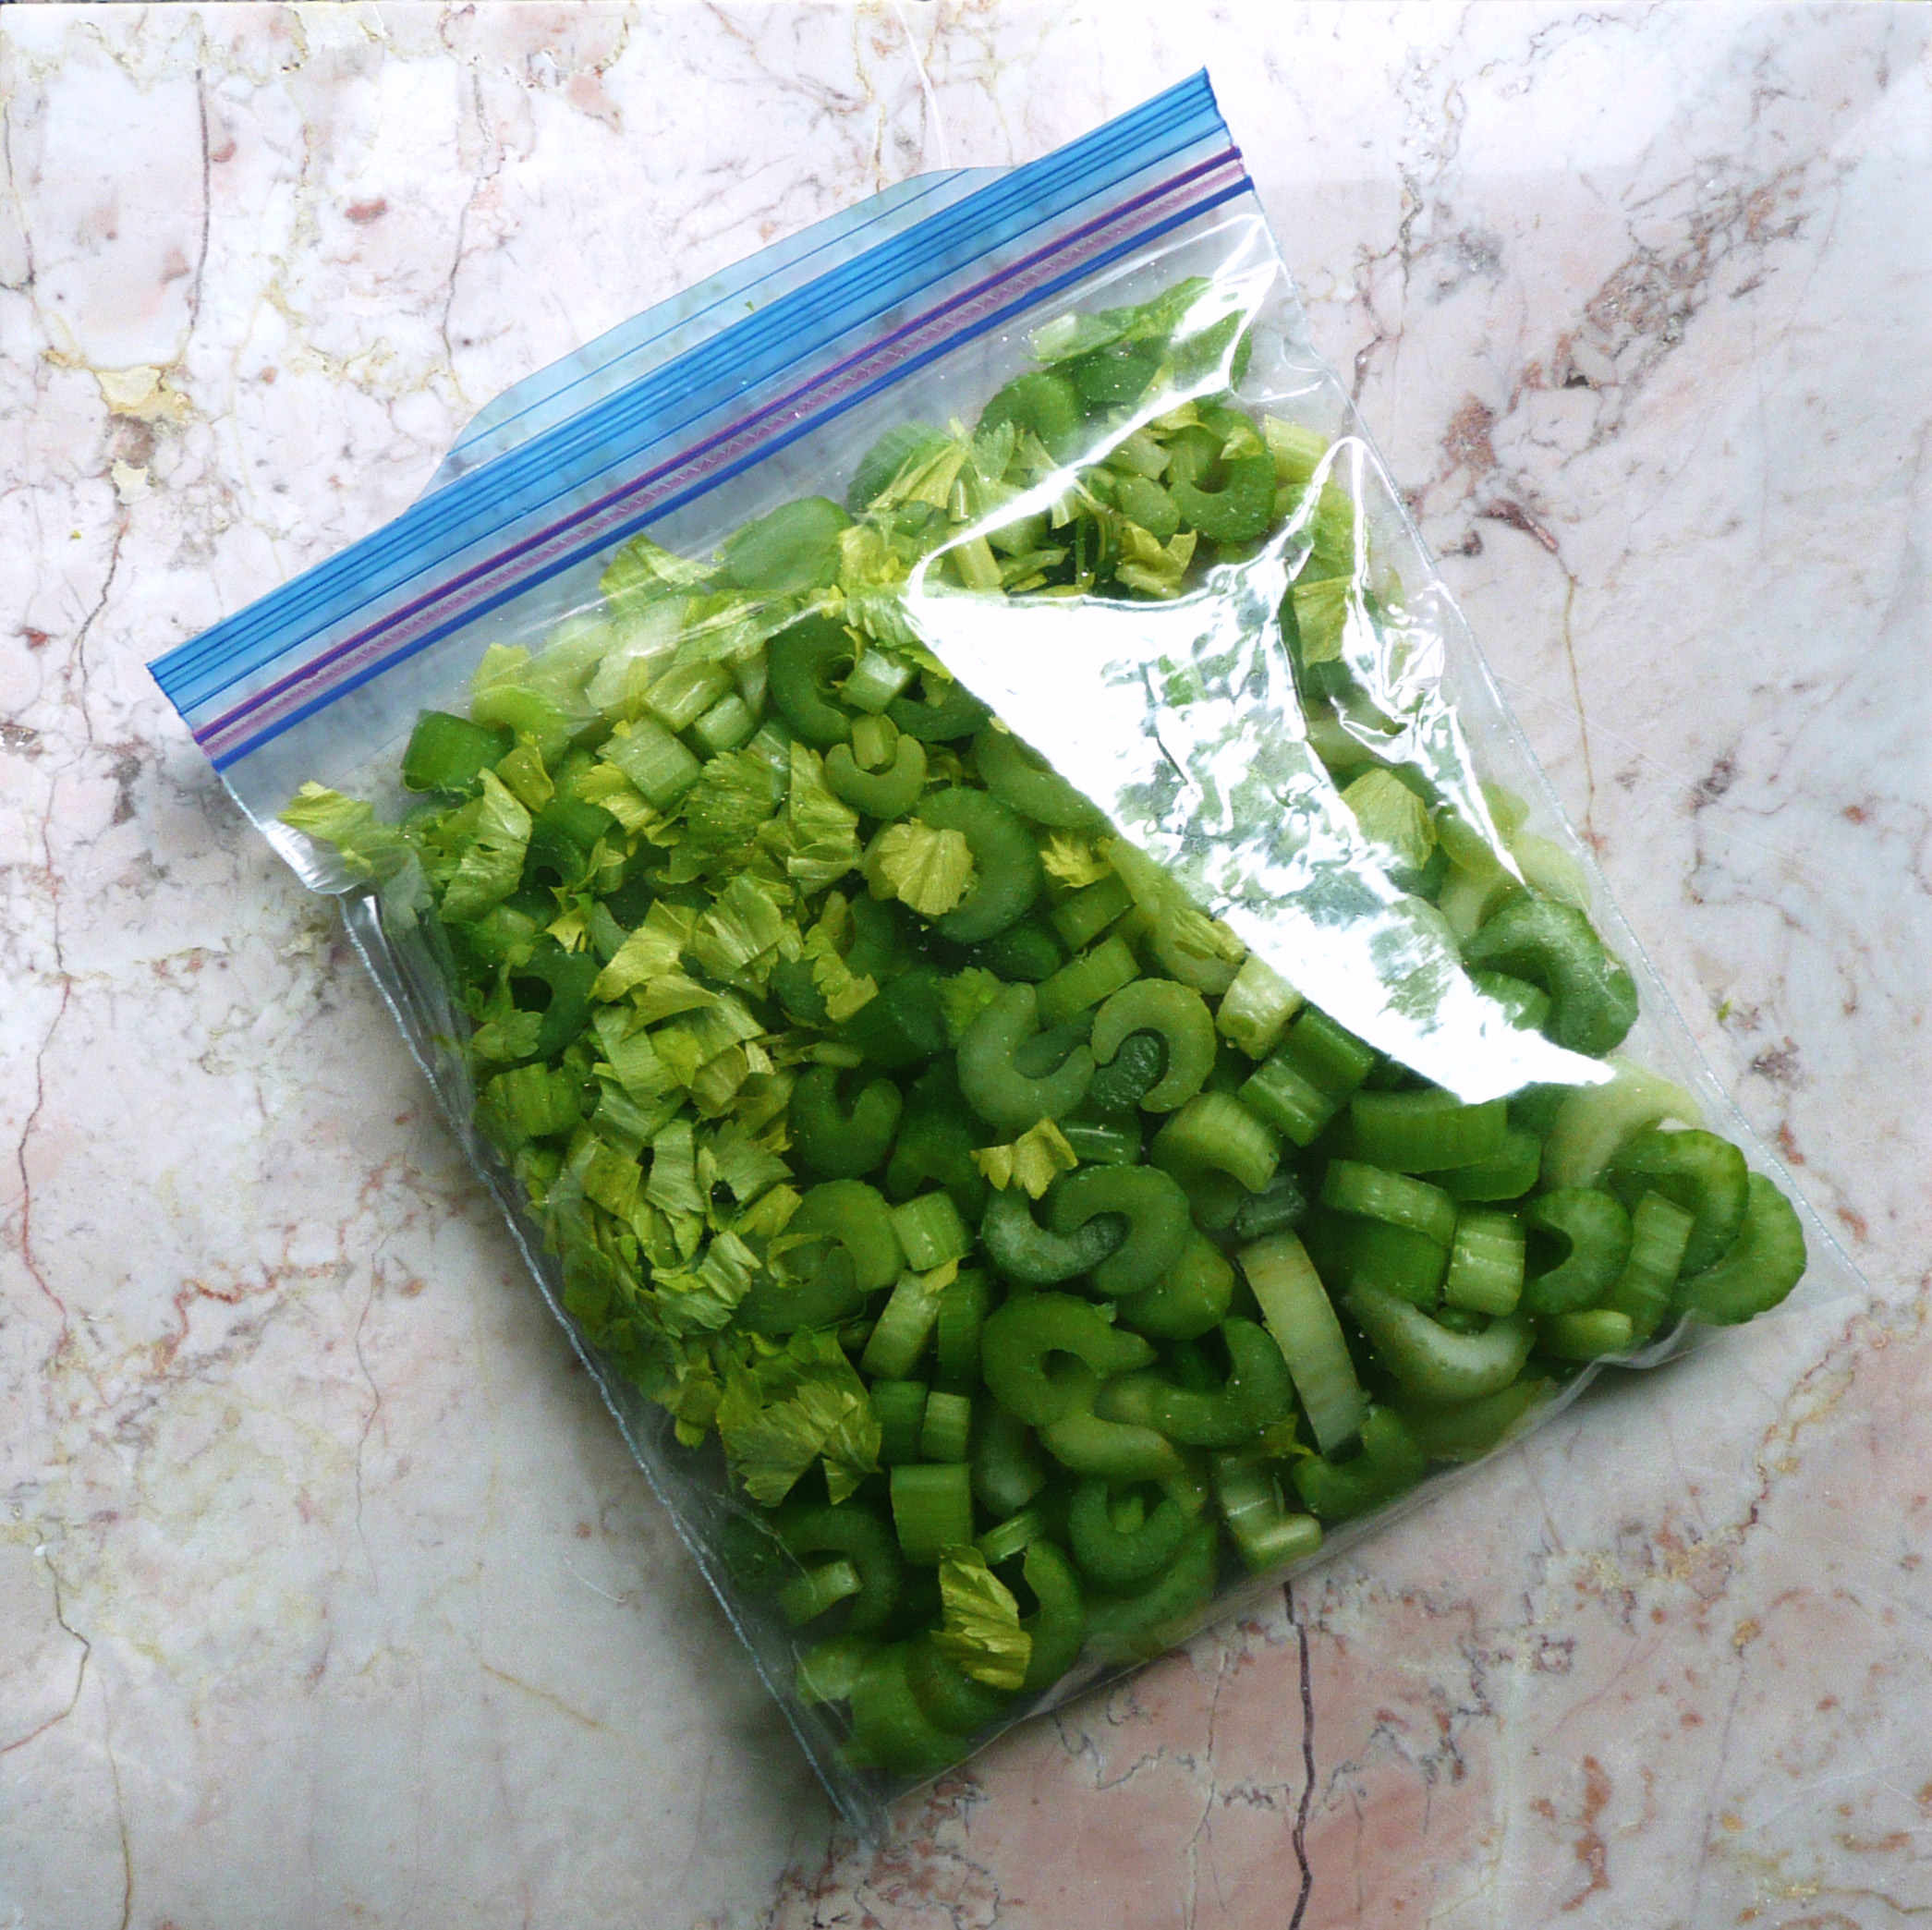
1. Start with a cool stainless steel pan. Rub the bottom of the inside of the pan with probably about ½ tsp (maybe less) of olive oil with either your fingertips or a paper towel. You only need a thin layer, but want to coat the entire bottom of the pan so that there are no gaps in where you put the oil.

2. This can get a little smelly so, I’d turn on the cooking fan for this.

Put the pan onto a cold burner and turn the heat up to medium. Hover your hand a few inches above the pan. When the air over the pan feels about as warm as a warm bath you’d give a baby (so not too hot) then turn the burner off, and leave the pan to cool on the burner while you prep your veggies for your stir-fry, or your pancake batter.

3. Then just cook as usual.

The non-stick coating is temporary, but you should be able to get through cooking a batch of pancakes, or fry a few eggs on this surface just fine before you need to add a little more oil.

When you’re done cooking, you can scrub this non-stick surface off with some baking soda mixed into a paste with a little dish soap and a scrubby sponge. When I need a non-stick surface next time, I just repeat the process.

stainless steel pan 2

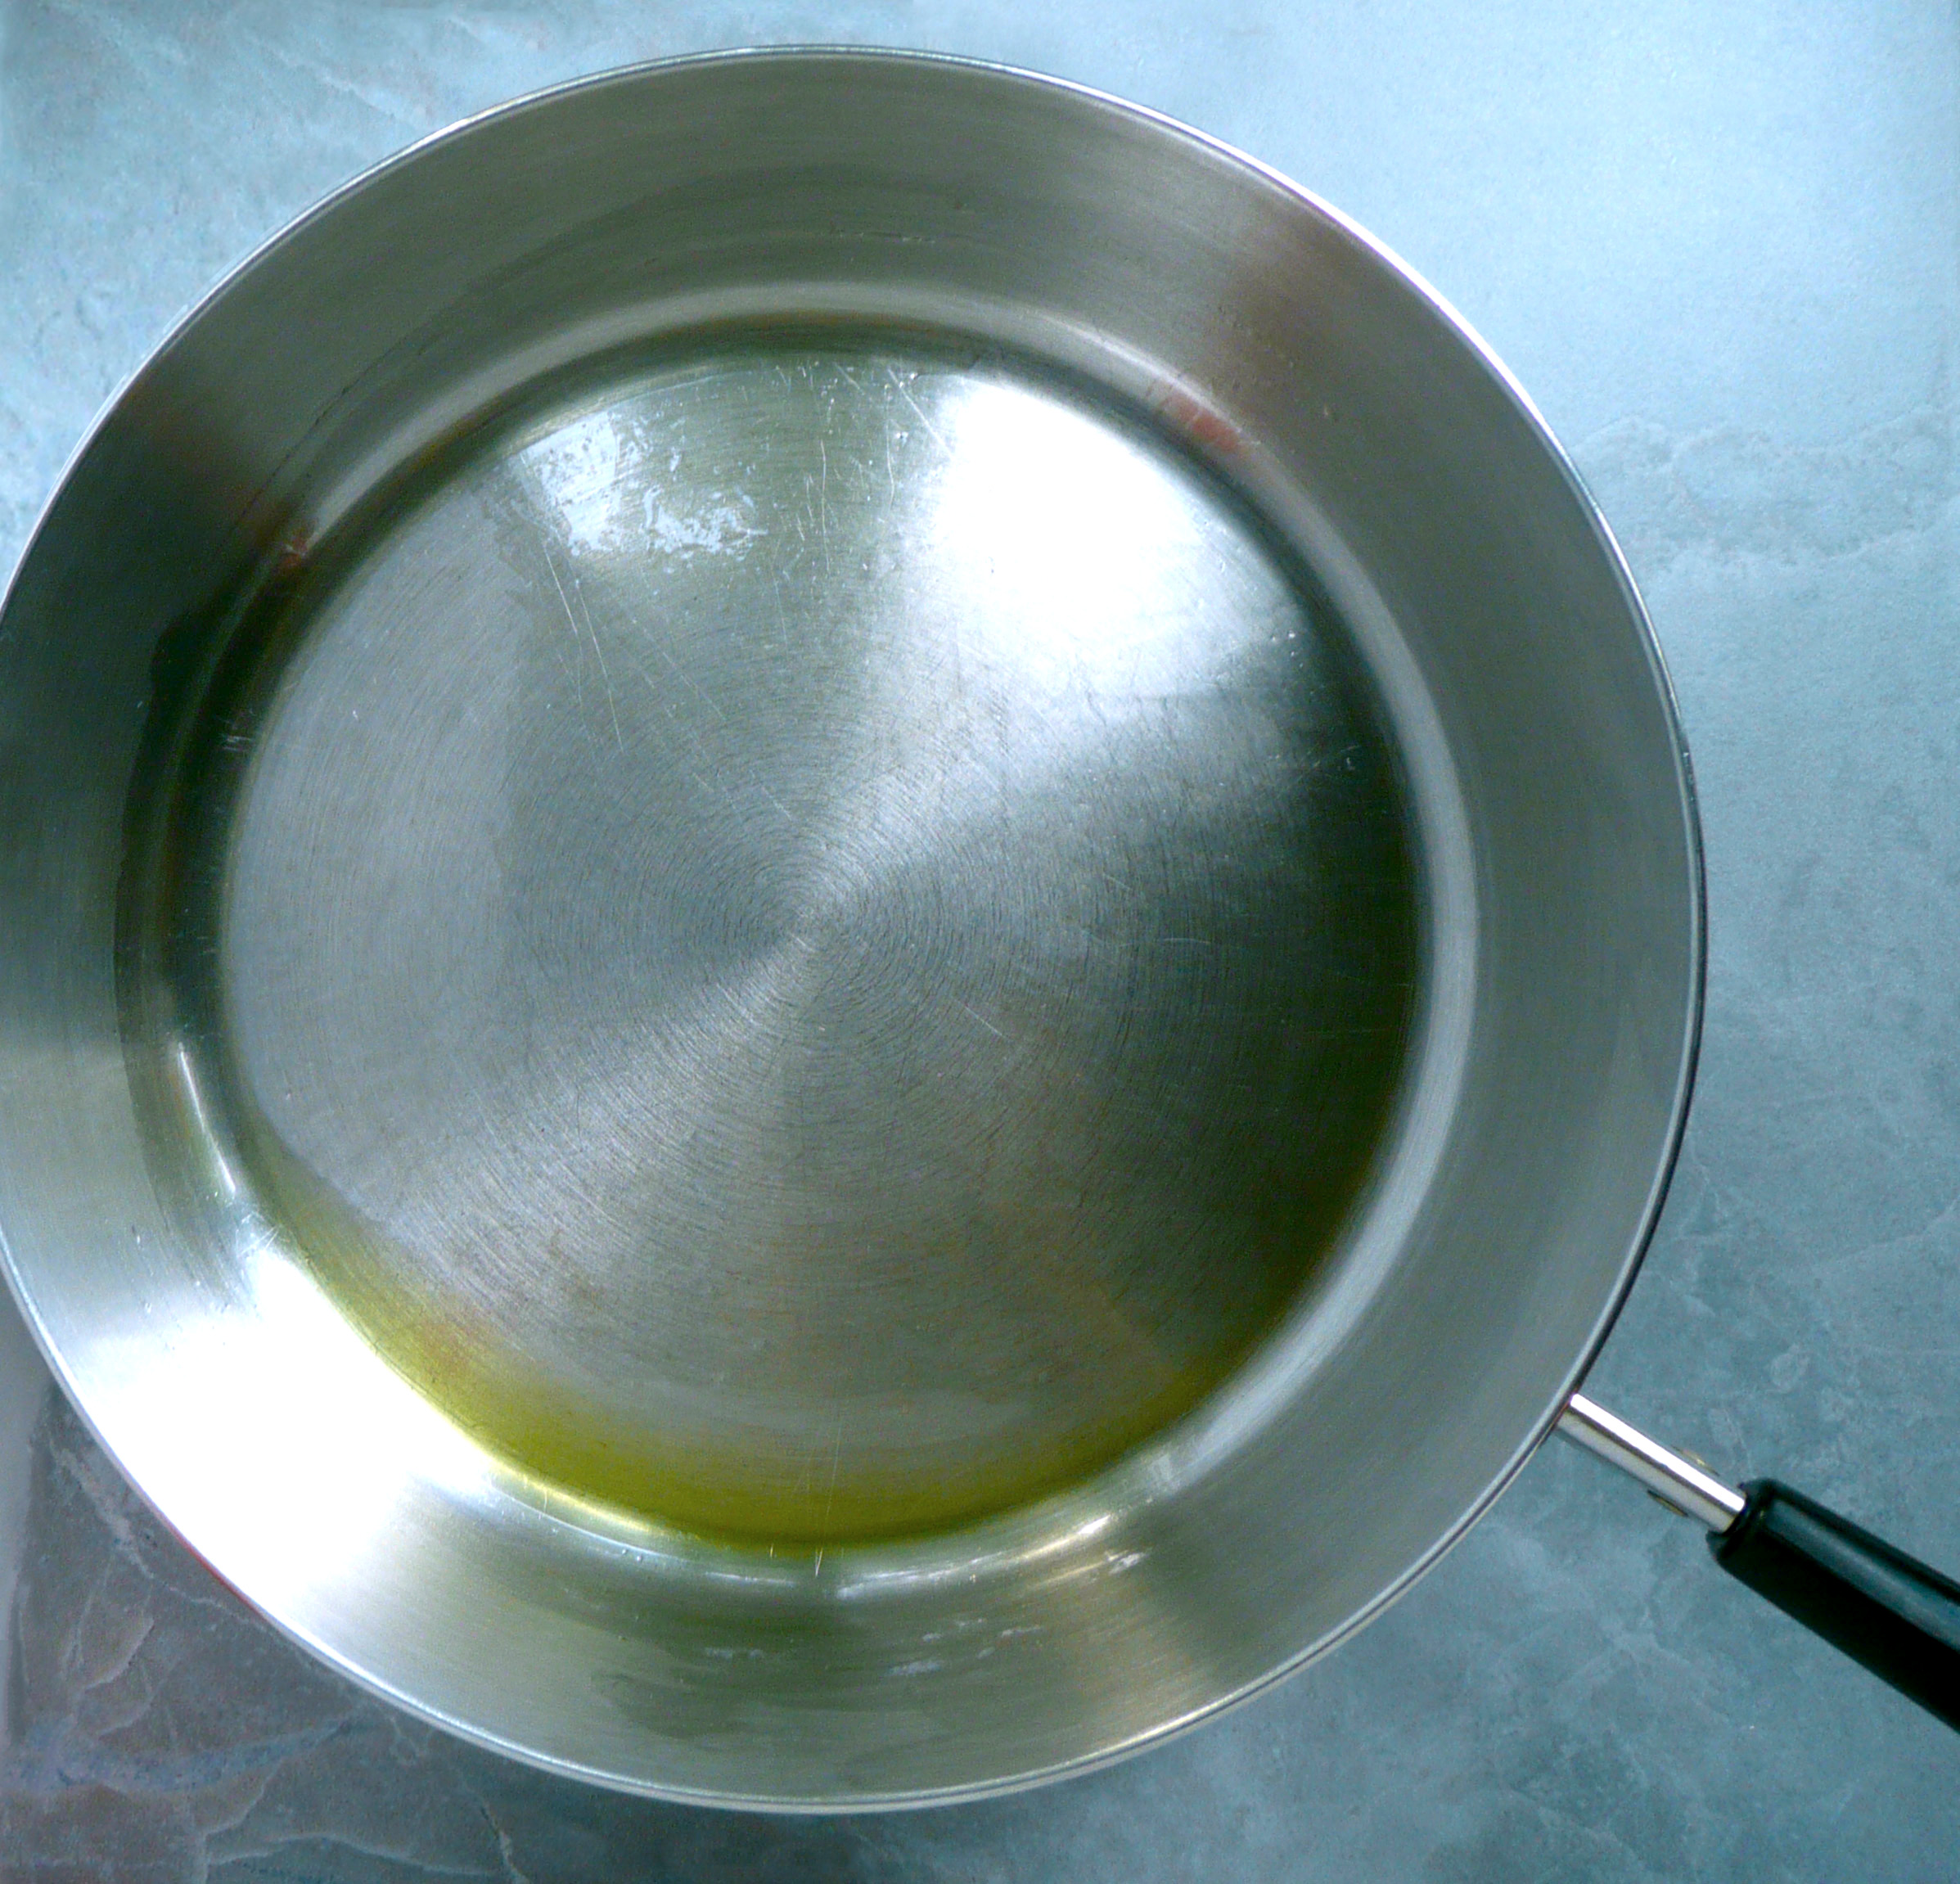
(This is what the pan looks like after it’s been heated with the oil).

For me, I cook on an electric stove, and I’ve done this enough times now that I know that if I start with a cold pan, it takes 5 minutes to heat to the baby bath level of warmth. Now I can just rub the pan’s surface in oil, put it onto the burner, turn on the stove, turn on the fan, and set a timer for 5 minutes.

You may have to adjust the timer for your stove, as you may find that your stove heats up more quickly or more slowly than mine does.

I always stay in the kitchen as I do this, just in case the pan starts to smoke.

If you see the pan start to smoke, pull the pan off the hot burner right away (also turn off the burner) and put the pan on one of the cold burners to cool. Once cool, it should still have created a non-stick surface and you can just cook on this pan as usual.

If you fry an egg sunny side upon this surface, I’d cover the pan with a plate or a lid while the egg is cooking. The egg white cooks through more evenly with a lid on the pan.

What would you cook using this trick? Let me know in the comments below.

Happy Cooking!


baby spinach

How to Keep Baby Spinach Fresh for Longer

baby spinach

These days, most baby greens come prepackaged and washed in those plastic clam shells at the supermarket. They are super convenient, but the greens seem to always spoil quickly. As it turns out there is a very easy fix for this.

When you open the package, take 2-3 paper towels, fold them in half, and lay them on top of your greens before you close the lid and put them into the fridge. The paper towels absorb the excess moisture that can cause your greens to wilt more quickly. Every few days, check to see of the paper towels are damp. If they are, just replace them with new paper towels, and compost the used ones.

These baby spinach leaves really have been in my fridge for 2 weeks (that’s why the box is so empty, I’ve eaten most of it). This trick works great!

Different greens will have different shelf lives, even if you use this trick. Spring mix doesn’t last as long as the baby spinach does, but this will still work for that as well. This works very well for romaine lettuce, as it’s a sturdier lettuce.

I think that I’m going to post a new recipe every Saturday from now on. Occasionally I may write additional posts other days of the week. I have a number of tips for how to keep food fresh, and how to freeze foods that can spoil quickly, and I’m really excited to share those with you as well.

Please feel free to comment below, and let me know if this trick works for your lettuce too! I think that this must have saved me a small fortune (in baby greens) by now, and it feels great when you can make the most of the ingredients that you have.


Frozen Celery

What To Do With Leftover Celery

P1060566

I don’t often cook with a lot of celery, and I always seem to have some leftover this time of year after making stuffing and gravy.

Instead of letting it languish in the back of your fridge (until you have to throw it away) you can freeze it and use it in future dishes. There are just two things you need to remember with frozen celery.

1. Don’t let it defrost before cooking with it or it will brown. Add it straight from the freezer to the pan. It’s still edible when it turns brown, just not so pretty. If you need to dice the frozen celery further before cooking, try and do it quickly so that the celery doesn’t have time to defrost before it hits the pan.

2. You can use frozen celery in any recipe that calls for cooking celery, it’s not so great in recipes that call for raw celery (like potato salad) because frozen celery will lacks the color and crunch of fresh celery.
I’ve even used frozen celery to make dairy and gluten free clam chowder and it came out great.

You can also add some frozen celery to a pot with some diced onion, sliced carrot, leftover chicken, broth and cooked brown rice or gluten free noodles for a quick and tasty chicken soup. Its also great in minestrone or other vegetable soups.

Directions

1. Wash and slice the celery into ½ inch thick slices. They look like beautiful little crescent moons this way, and the size makes it easy to add to recipes. I also love when little bits of chopped celery leaves peeking out of dishes because they make any dish a little prettier and cheerier.

2. Place the celery into a Ziploc bag and freeze flat.

When you want to use the celery, just break off as much celery as you need in the recipe and put the rest back into the freezer. Ta da! No more wasted celery!