Chocolate pudding

Easy Chocolate Pudding (Sugar Free) – Made With Sweet Potatoes

Sweet Potato Chocolate Pudding

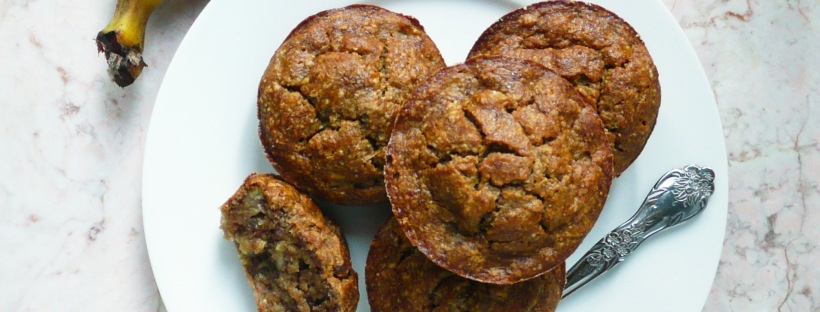
This is my super easy recipe for chocolate pudding! Eating this reminds me of eating those chocolate pudding cups when I was a kid. I like to make a big batch of this and stash it in the fridge for a quick snack and it keeps for about 5 days in fridge.

This pudding is lovely and thick, and has a rich and decadent chocolate flavor but no added sweeteners. The pudding still tastes sweet (it gets is sweetness from the milk, coconut oil and sweet potatoes) and it’s a nice treat for days when you want to eat something that tastes delicious but also helps you get in an extra serving of vegetables.

You can make it with any kind of milk that you like (the milk that I use for this recipe is the organic lactose free 2% milk from Costco which tastes very sweet without any added sugar, but you can use coconut milk for a vegan version). Feel free to play around with the flavors of this pudding. You can add a bit of peppermint extract for a mint chocolate pudding, or swap out some of the milk with a little coffee for a slightly deeper chocolate flavor.

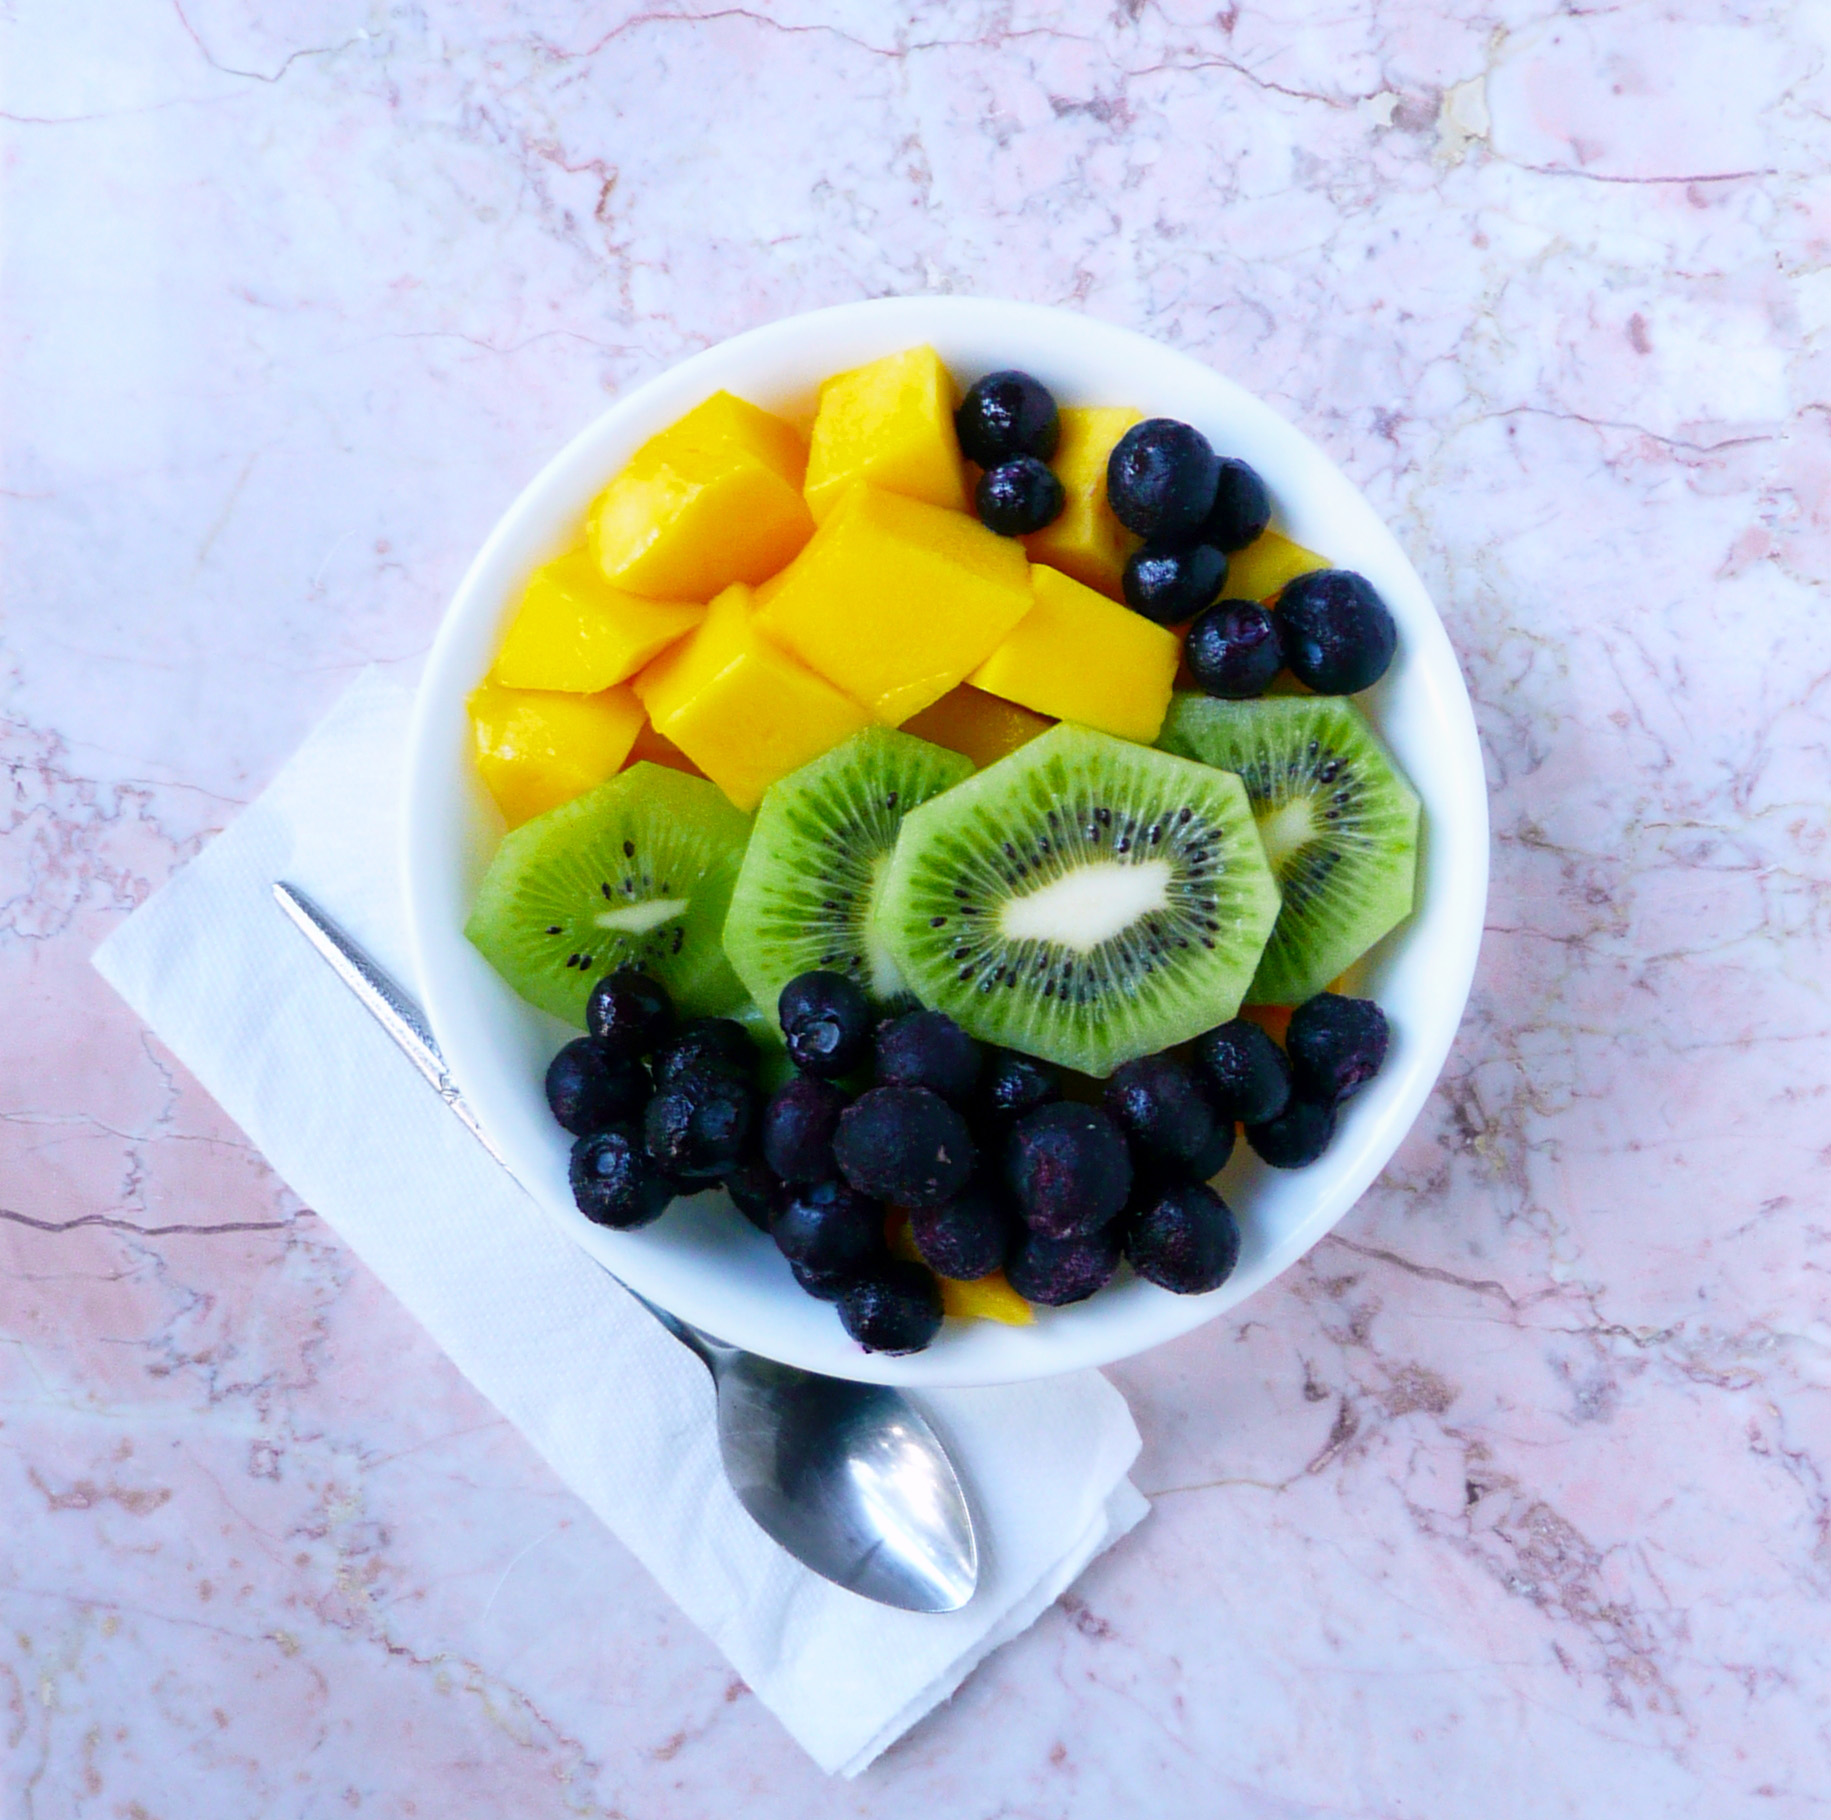
I like to freeze 1 cup portions of this and then let it thaw on the counter for about 30 minutes so the pudding sort of becomes this fudgesicle / chocolate ice cream-like frozen treat. In luscious pudding form or frozen, this treat is great when eaten with fresh strawberries.

You can also add about a 1/2 cup less milk and blend it in batches in a food processor for a more chocolate mousse-like texture.

Easy Chocolate Pudding

Makes 6-8 generous servings

Ingredients

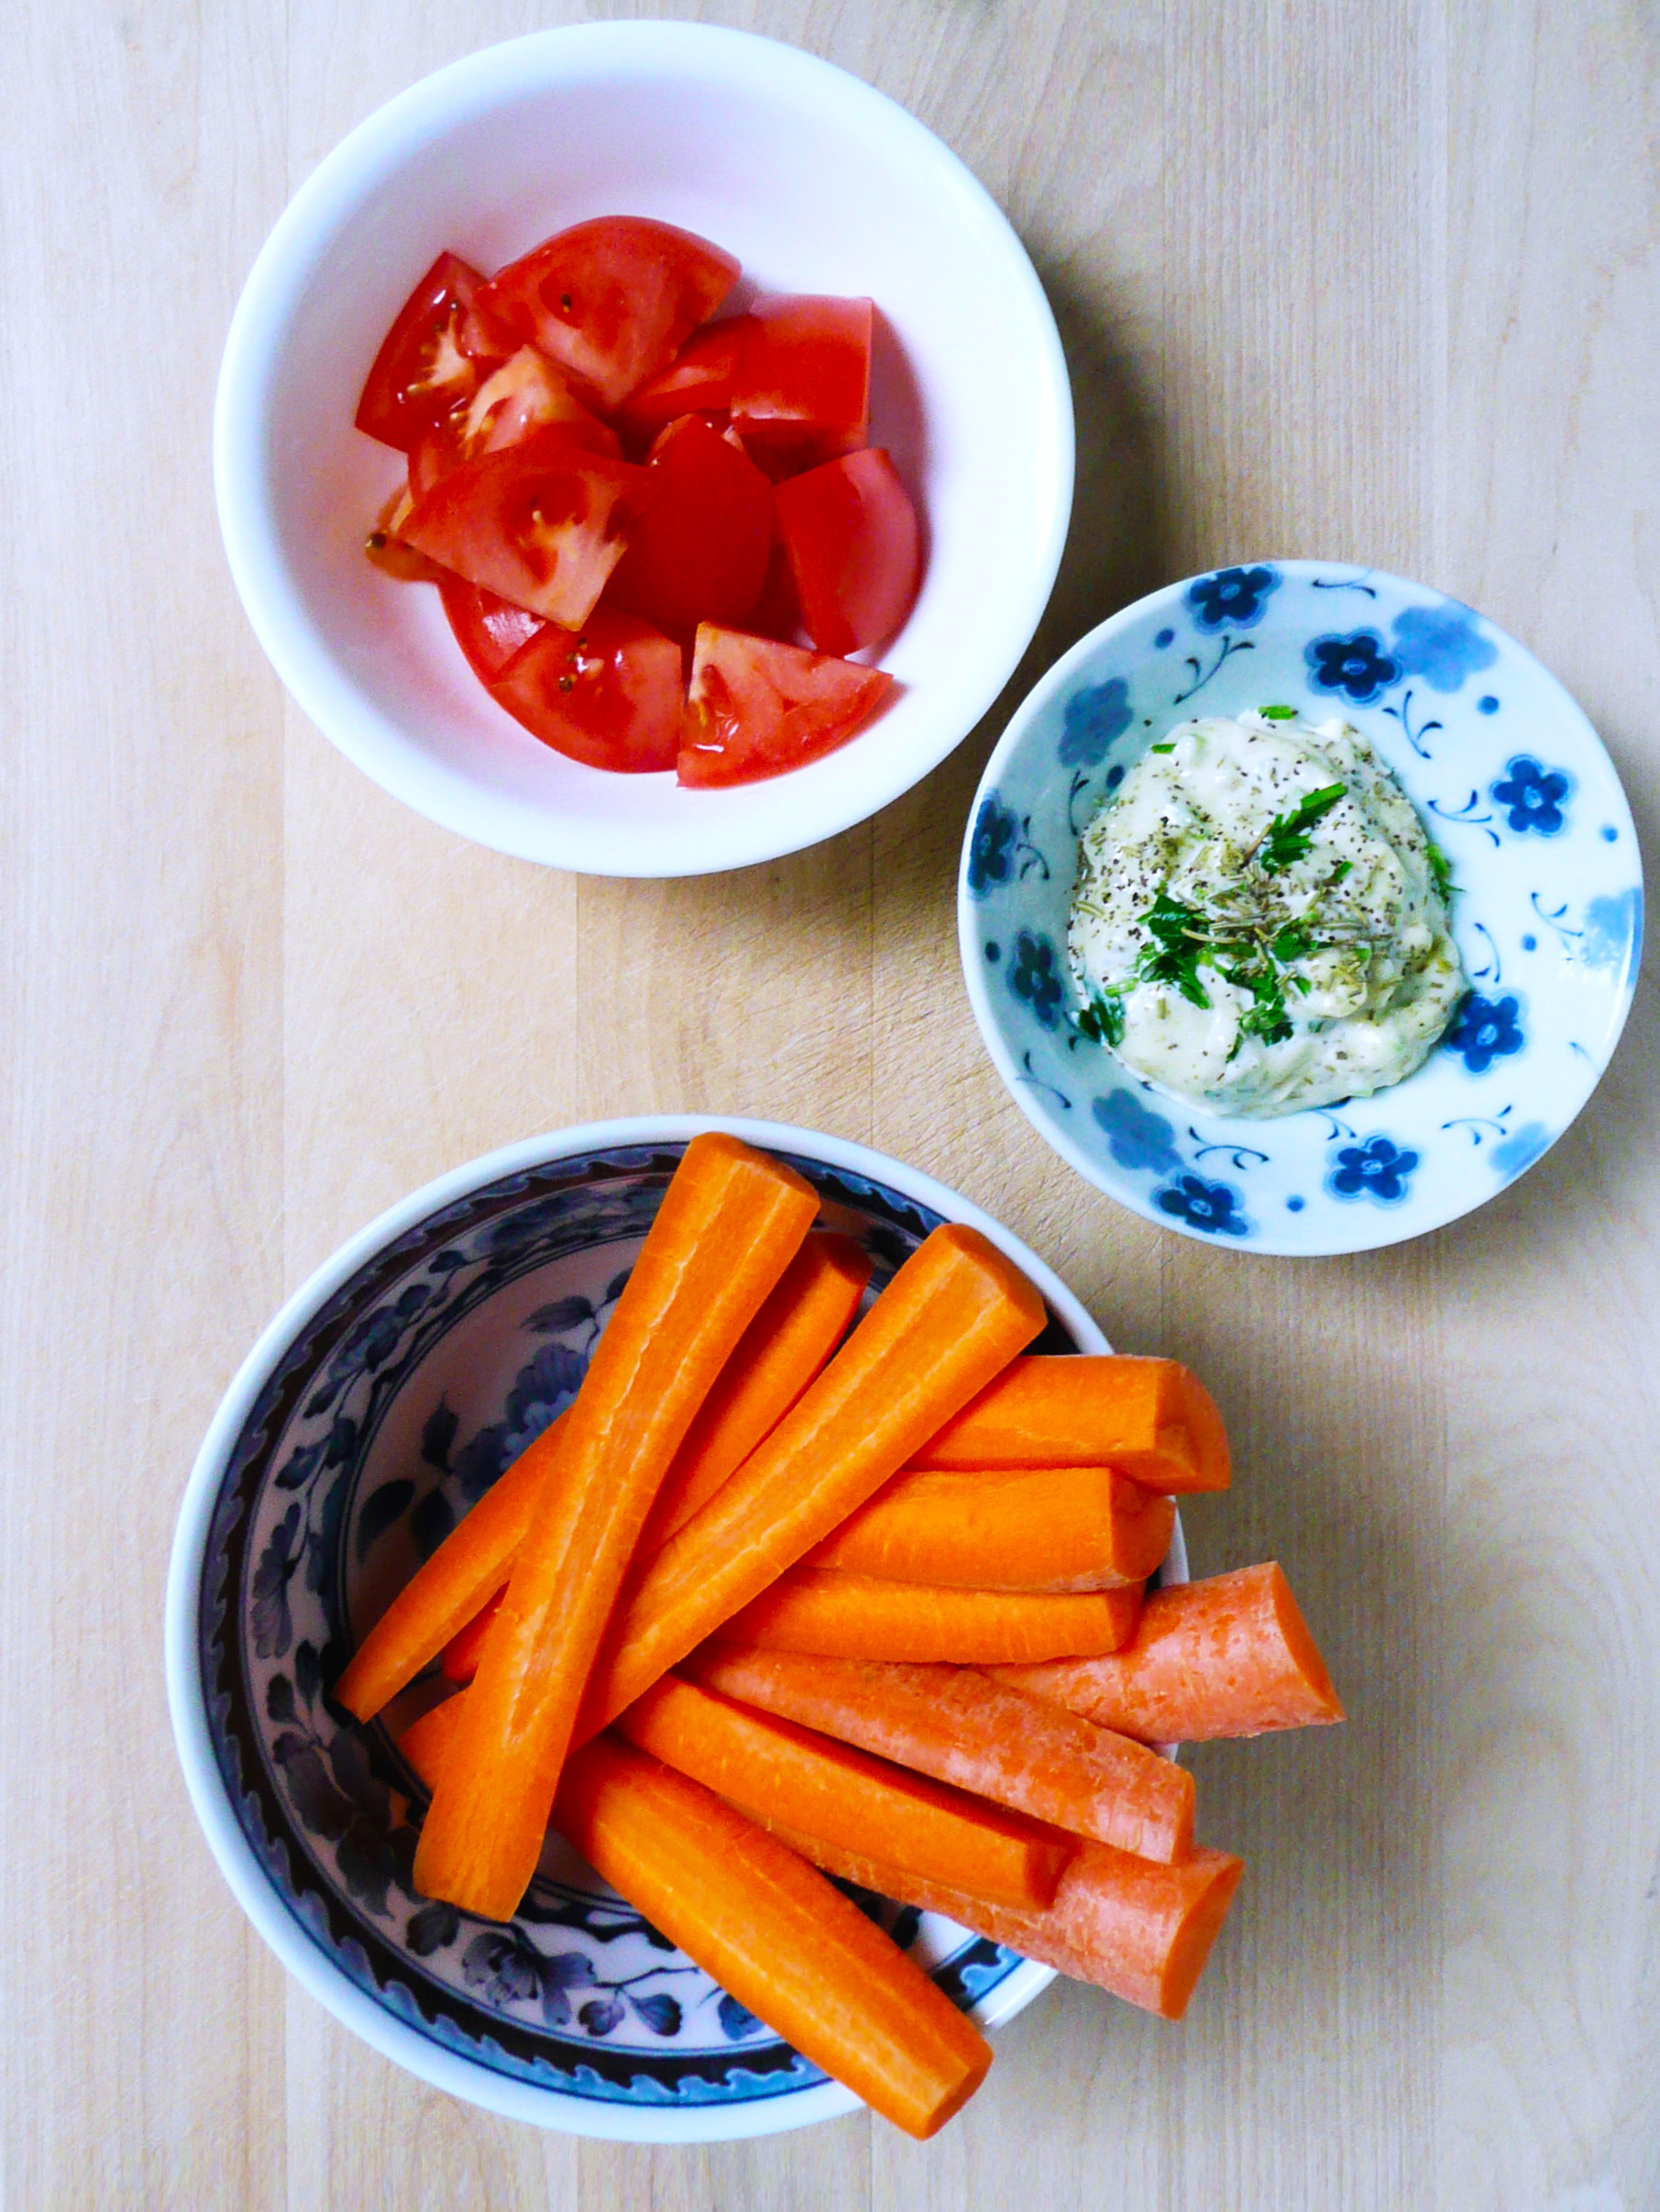
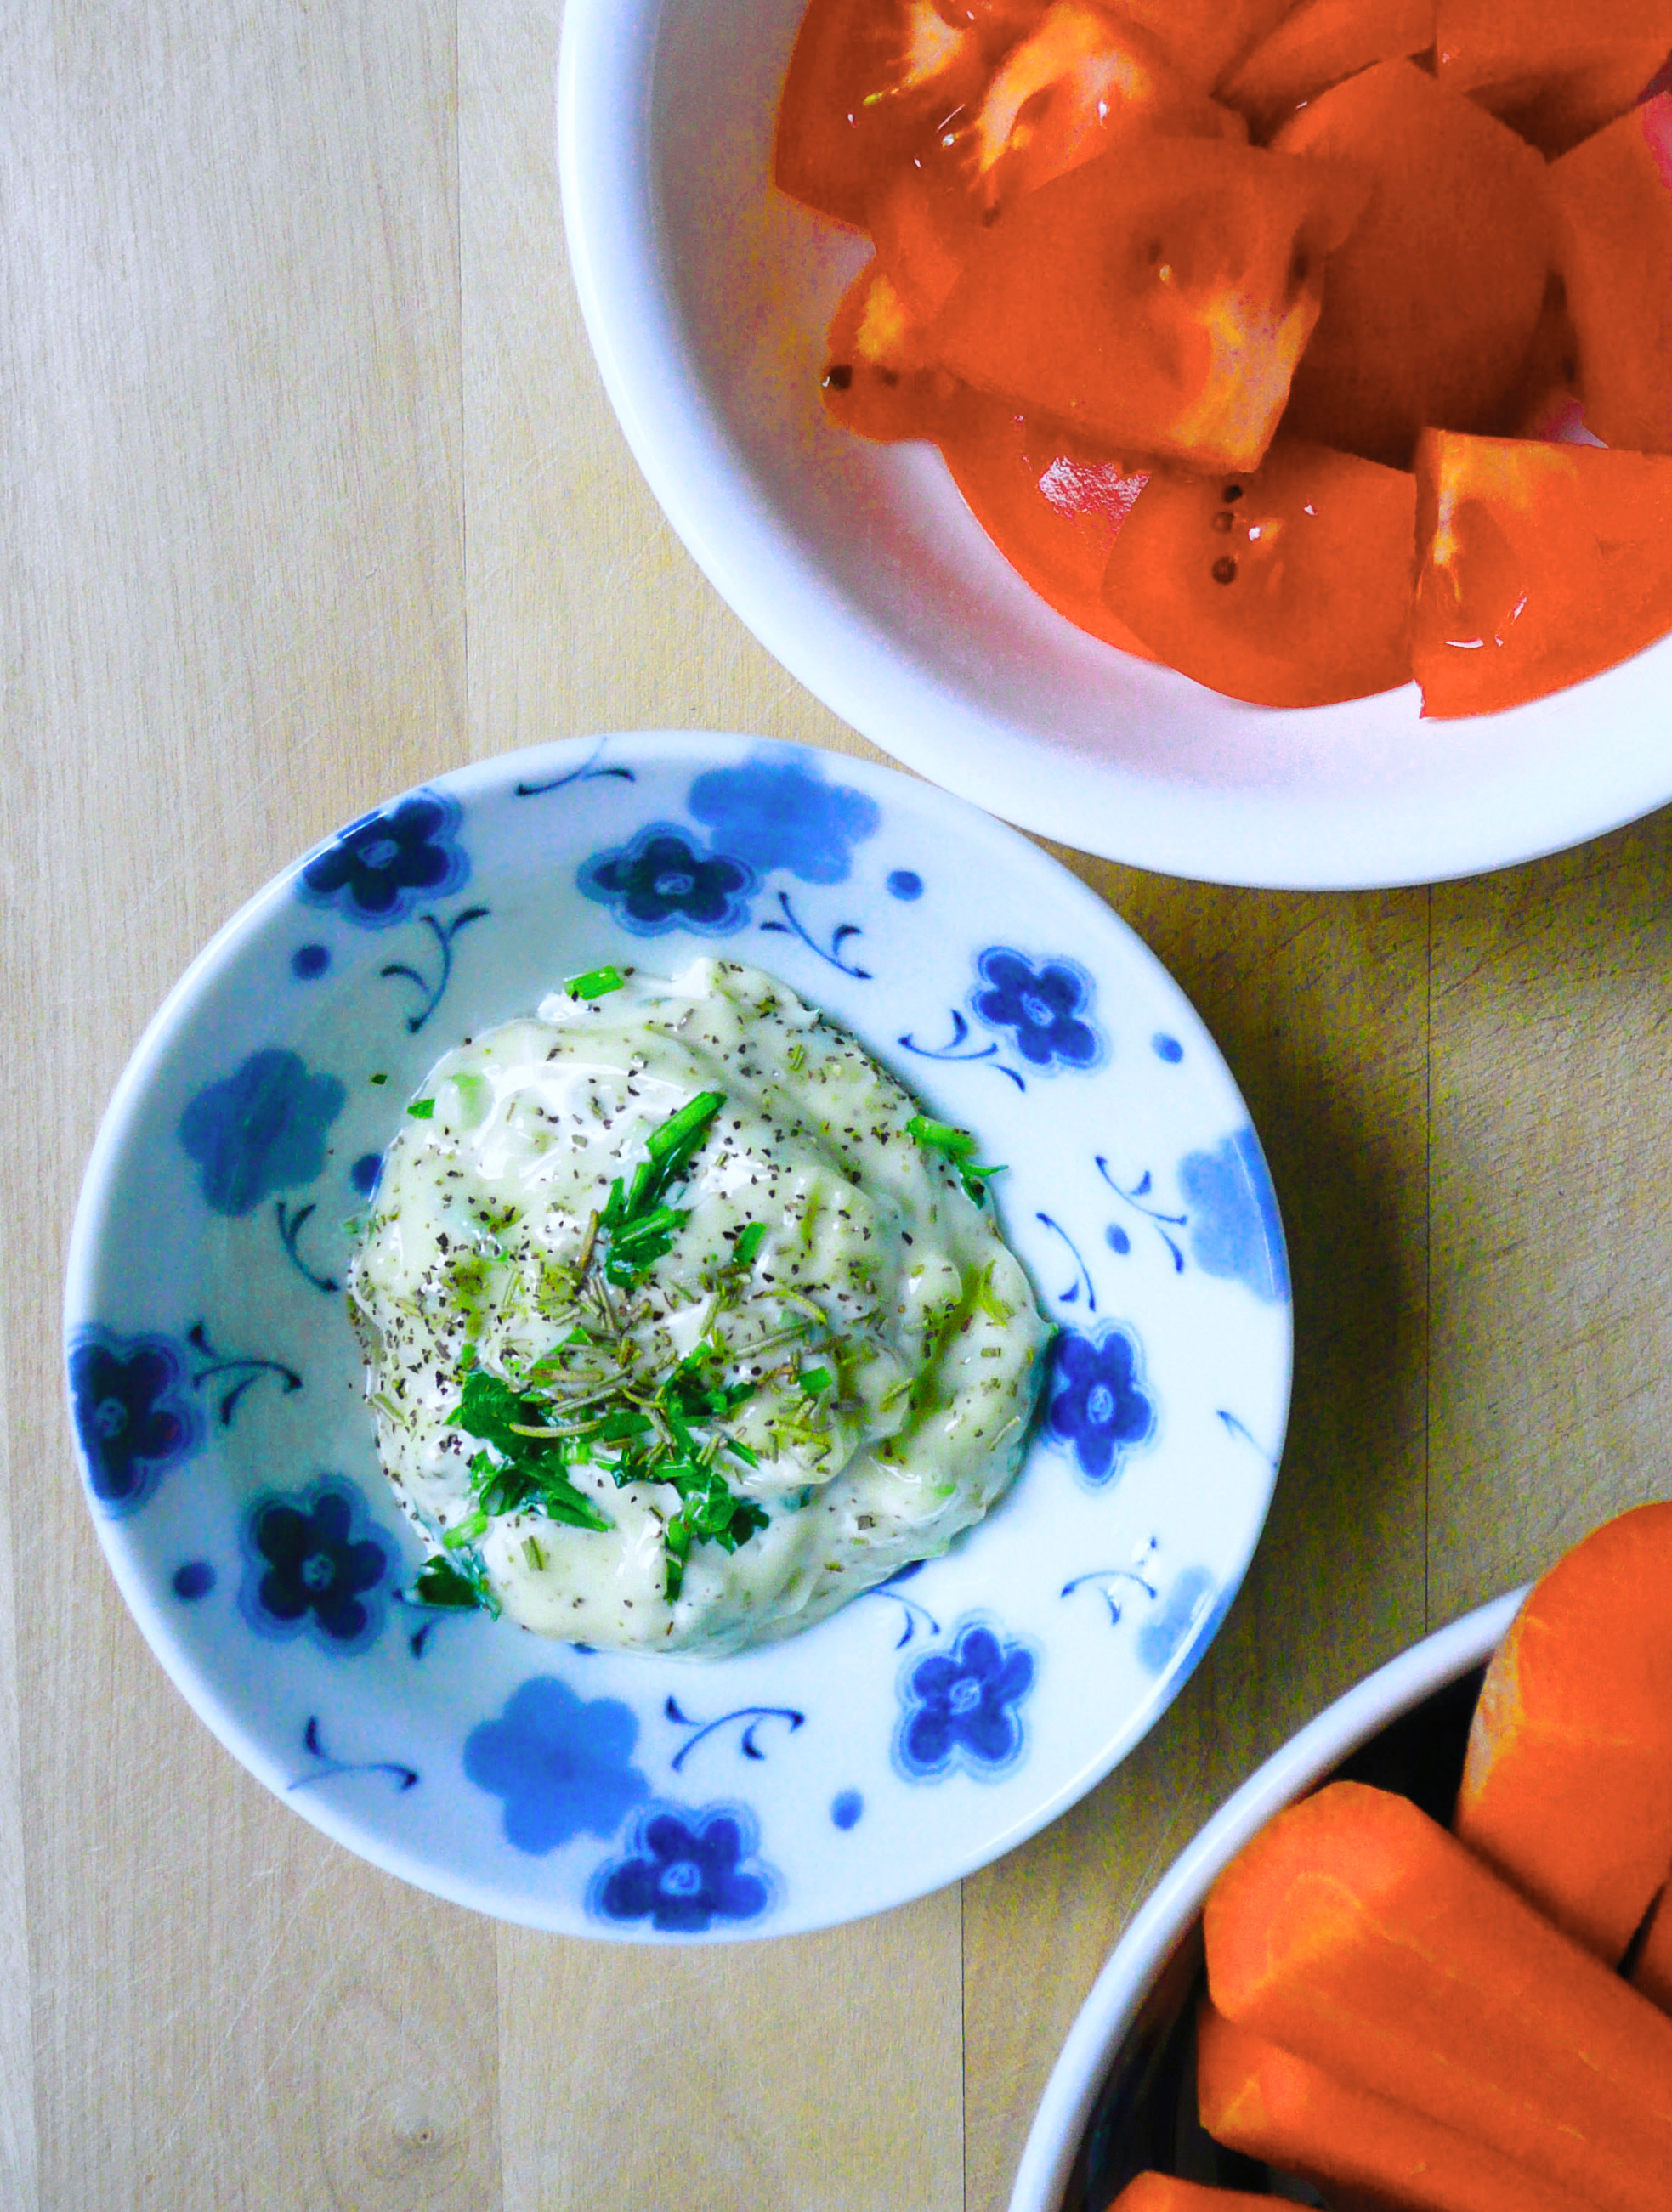
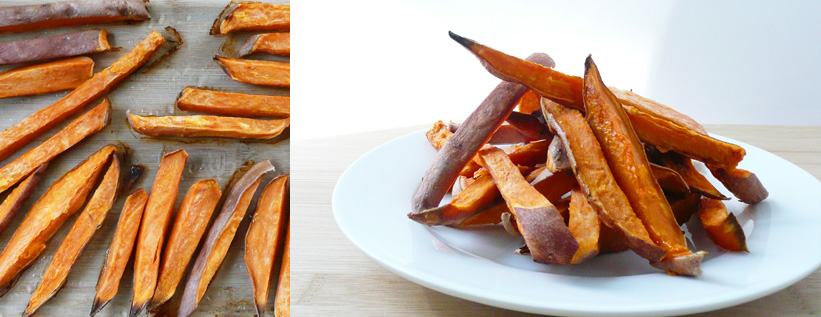
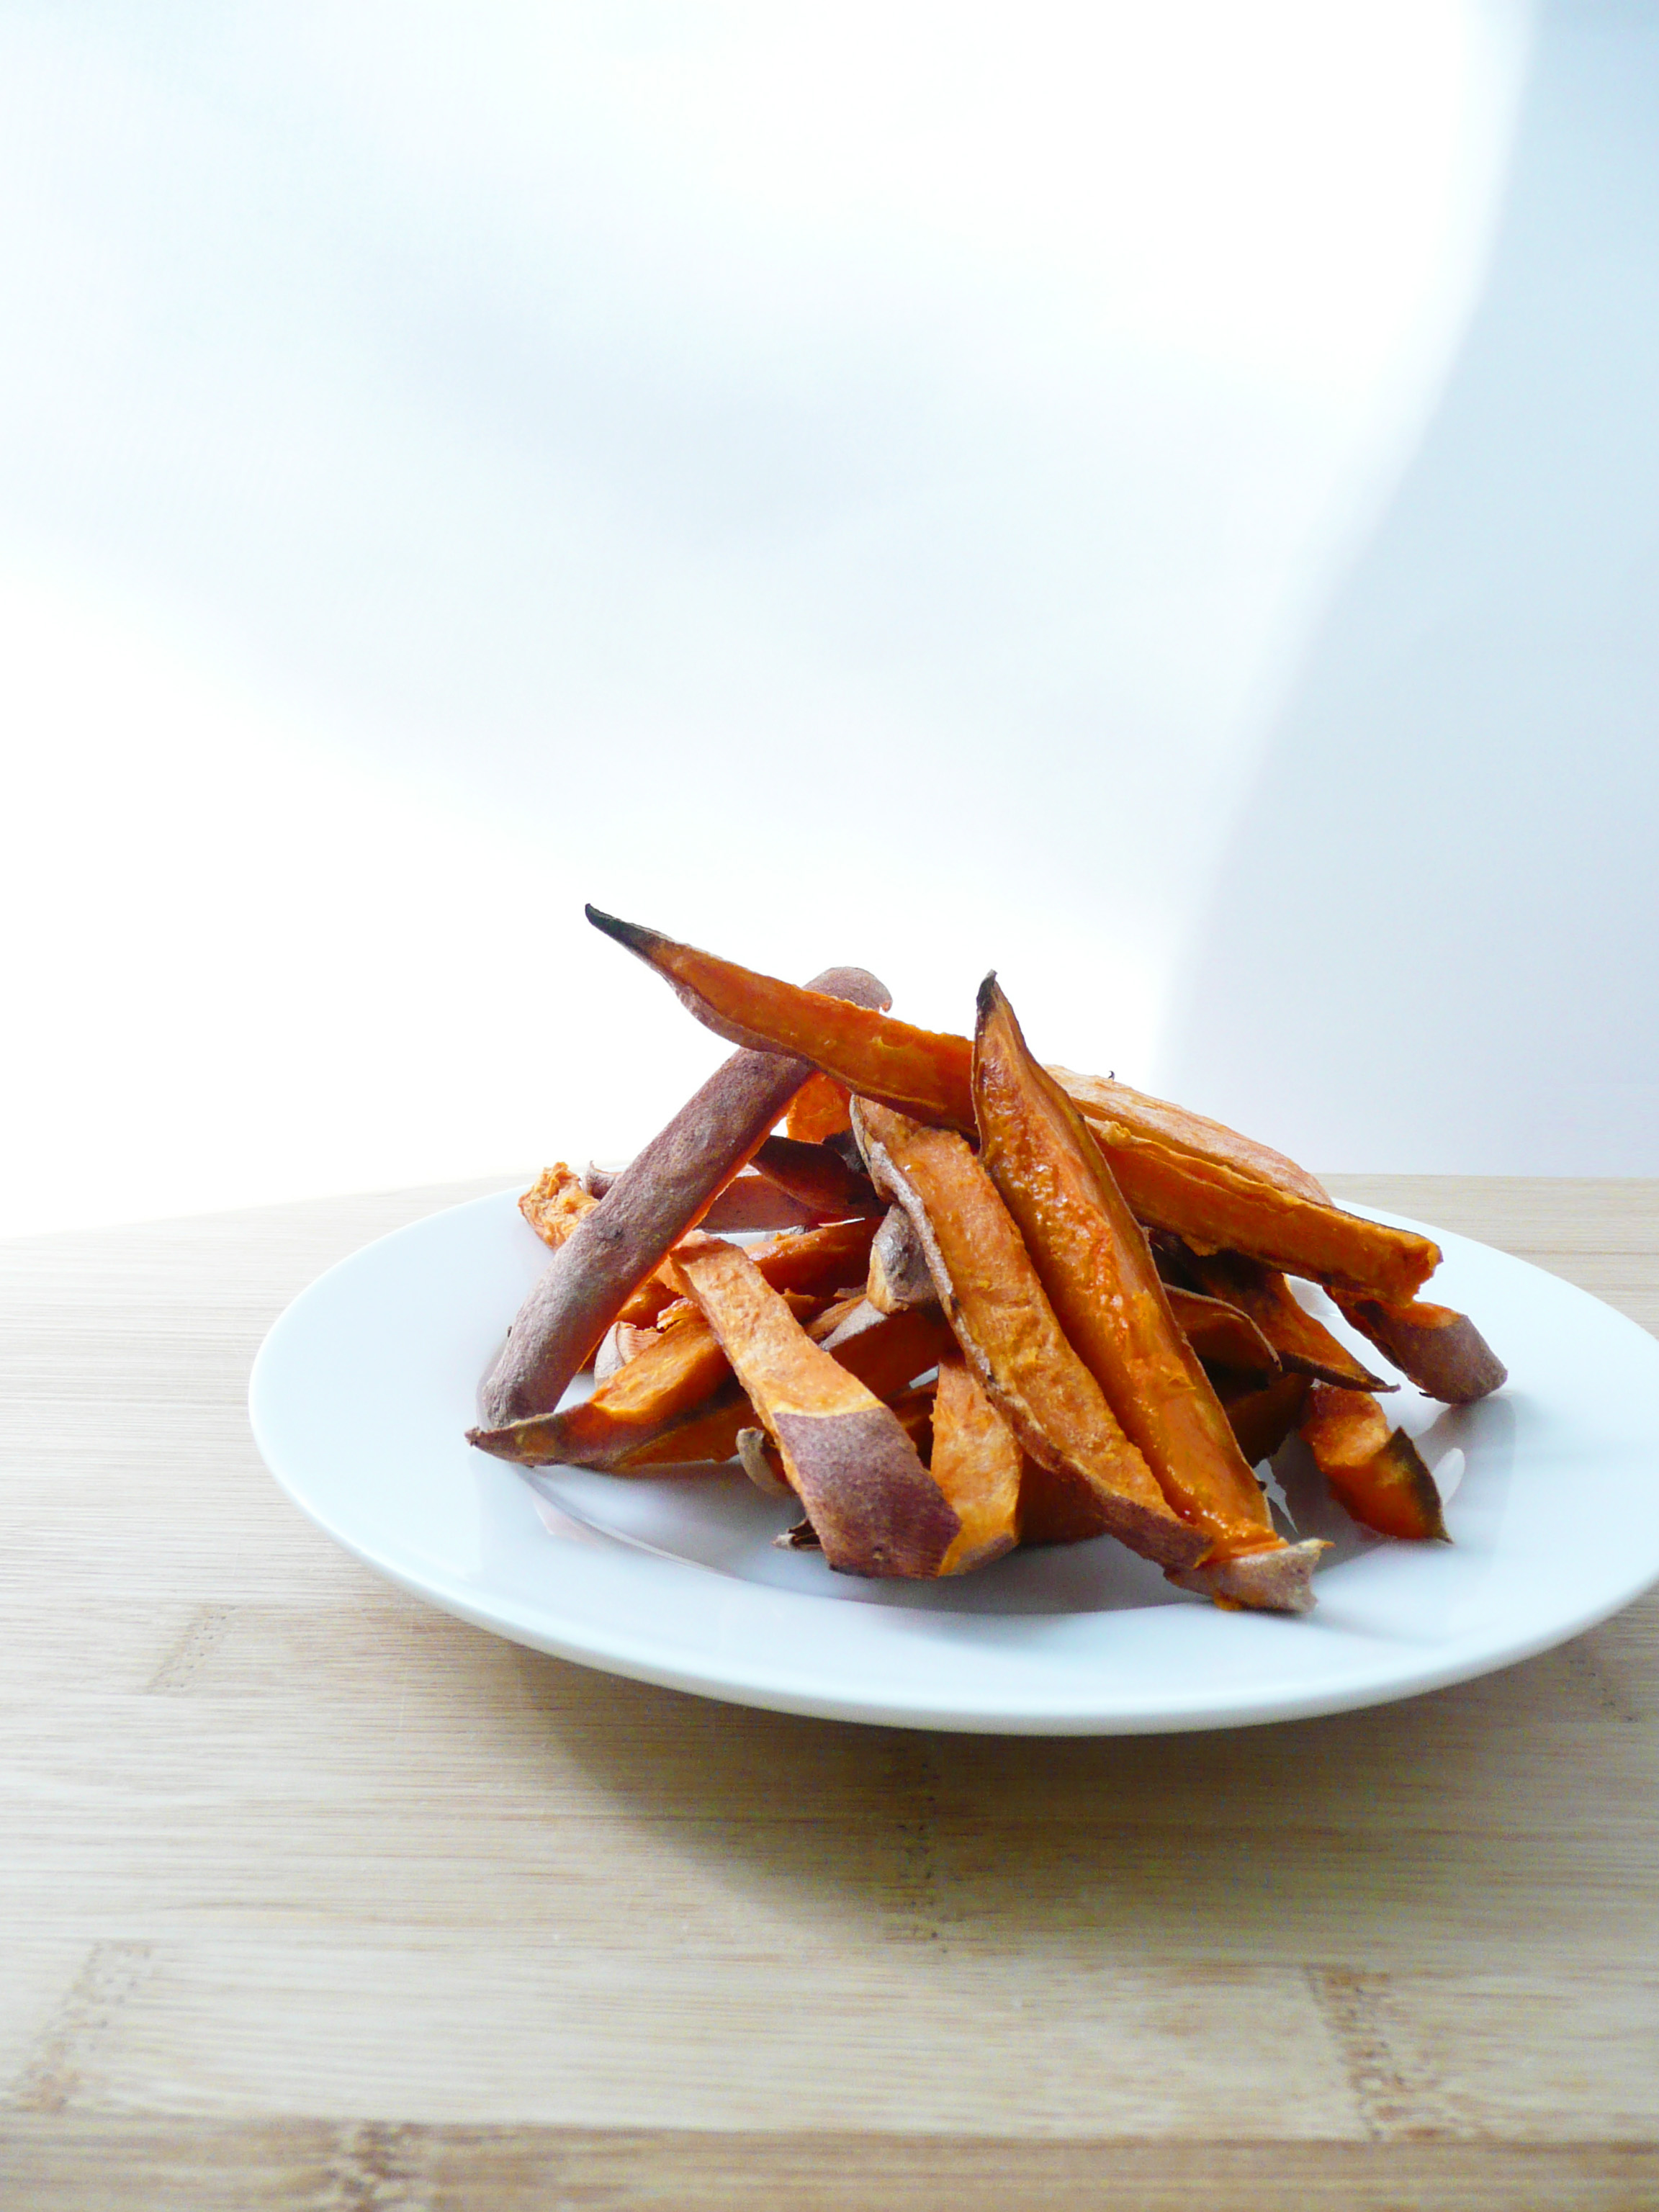
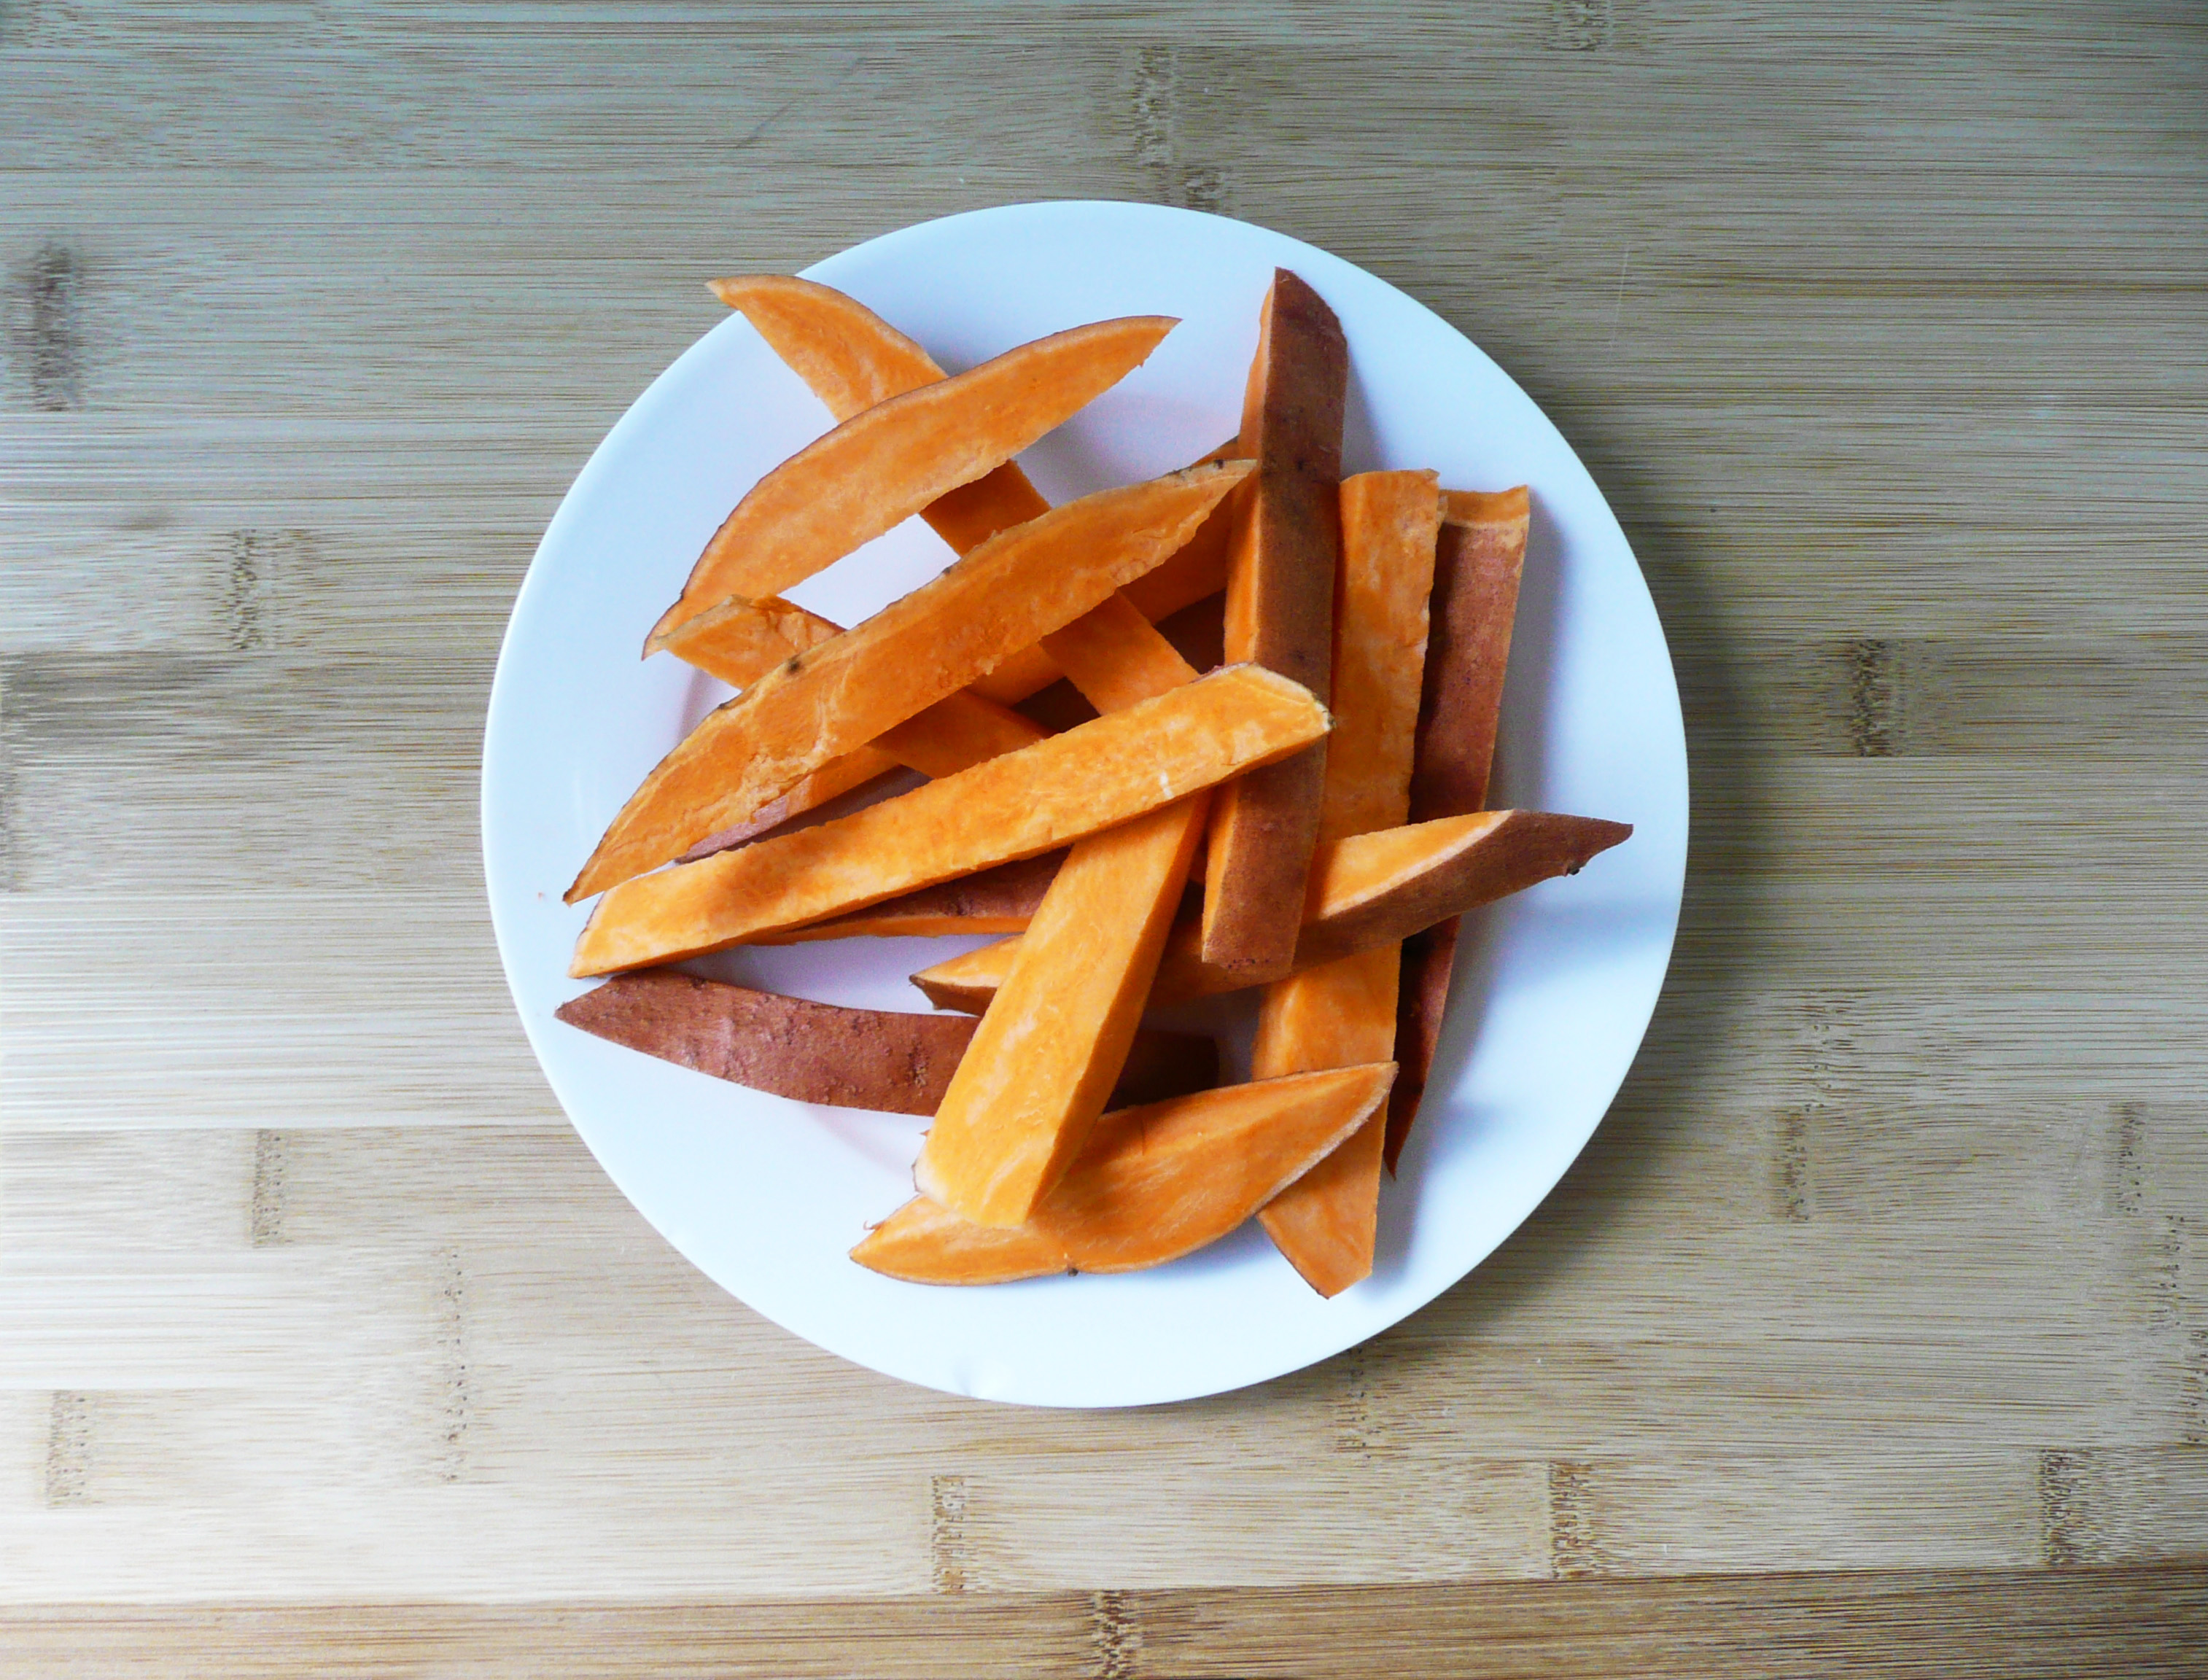
28 oz cooked sweet potato – (3 medium sweet potatoes, or about 4 cups diced)

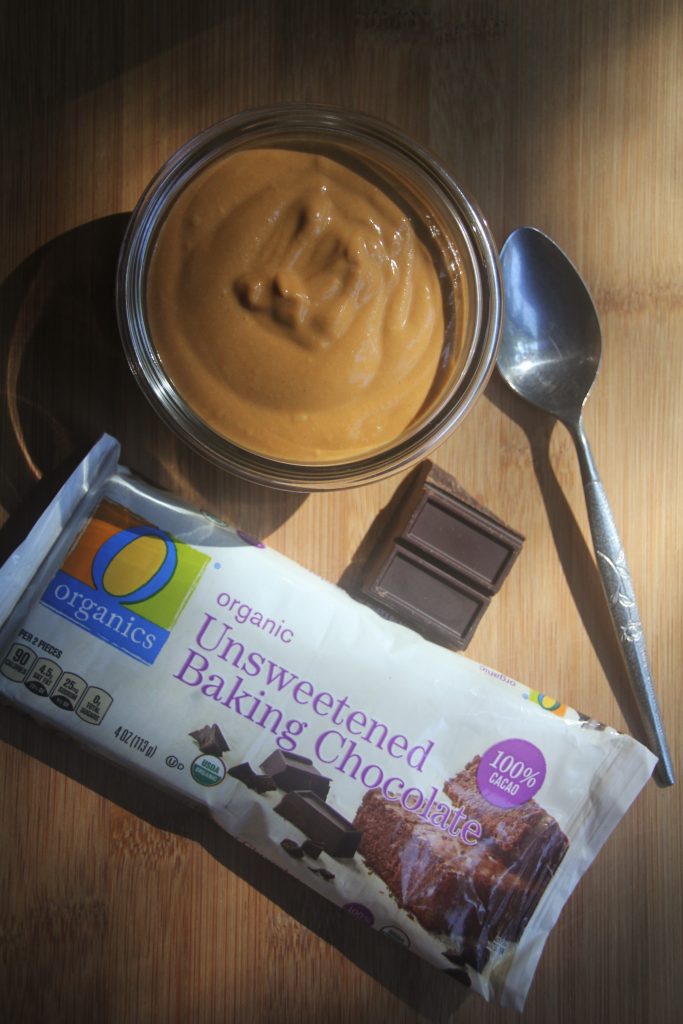
1.5 oz unsweetened baking chocolate

2/3 cup coconut oil

2 cups milk of choice

small pinch of salt


Instructions

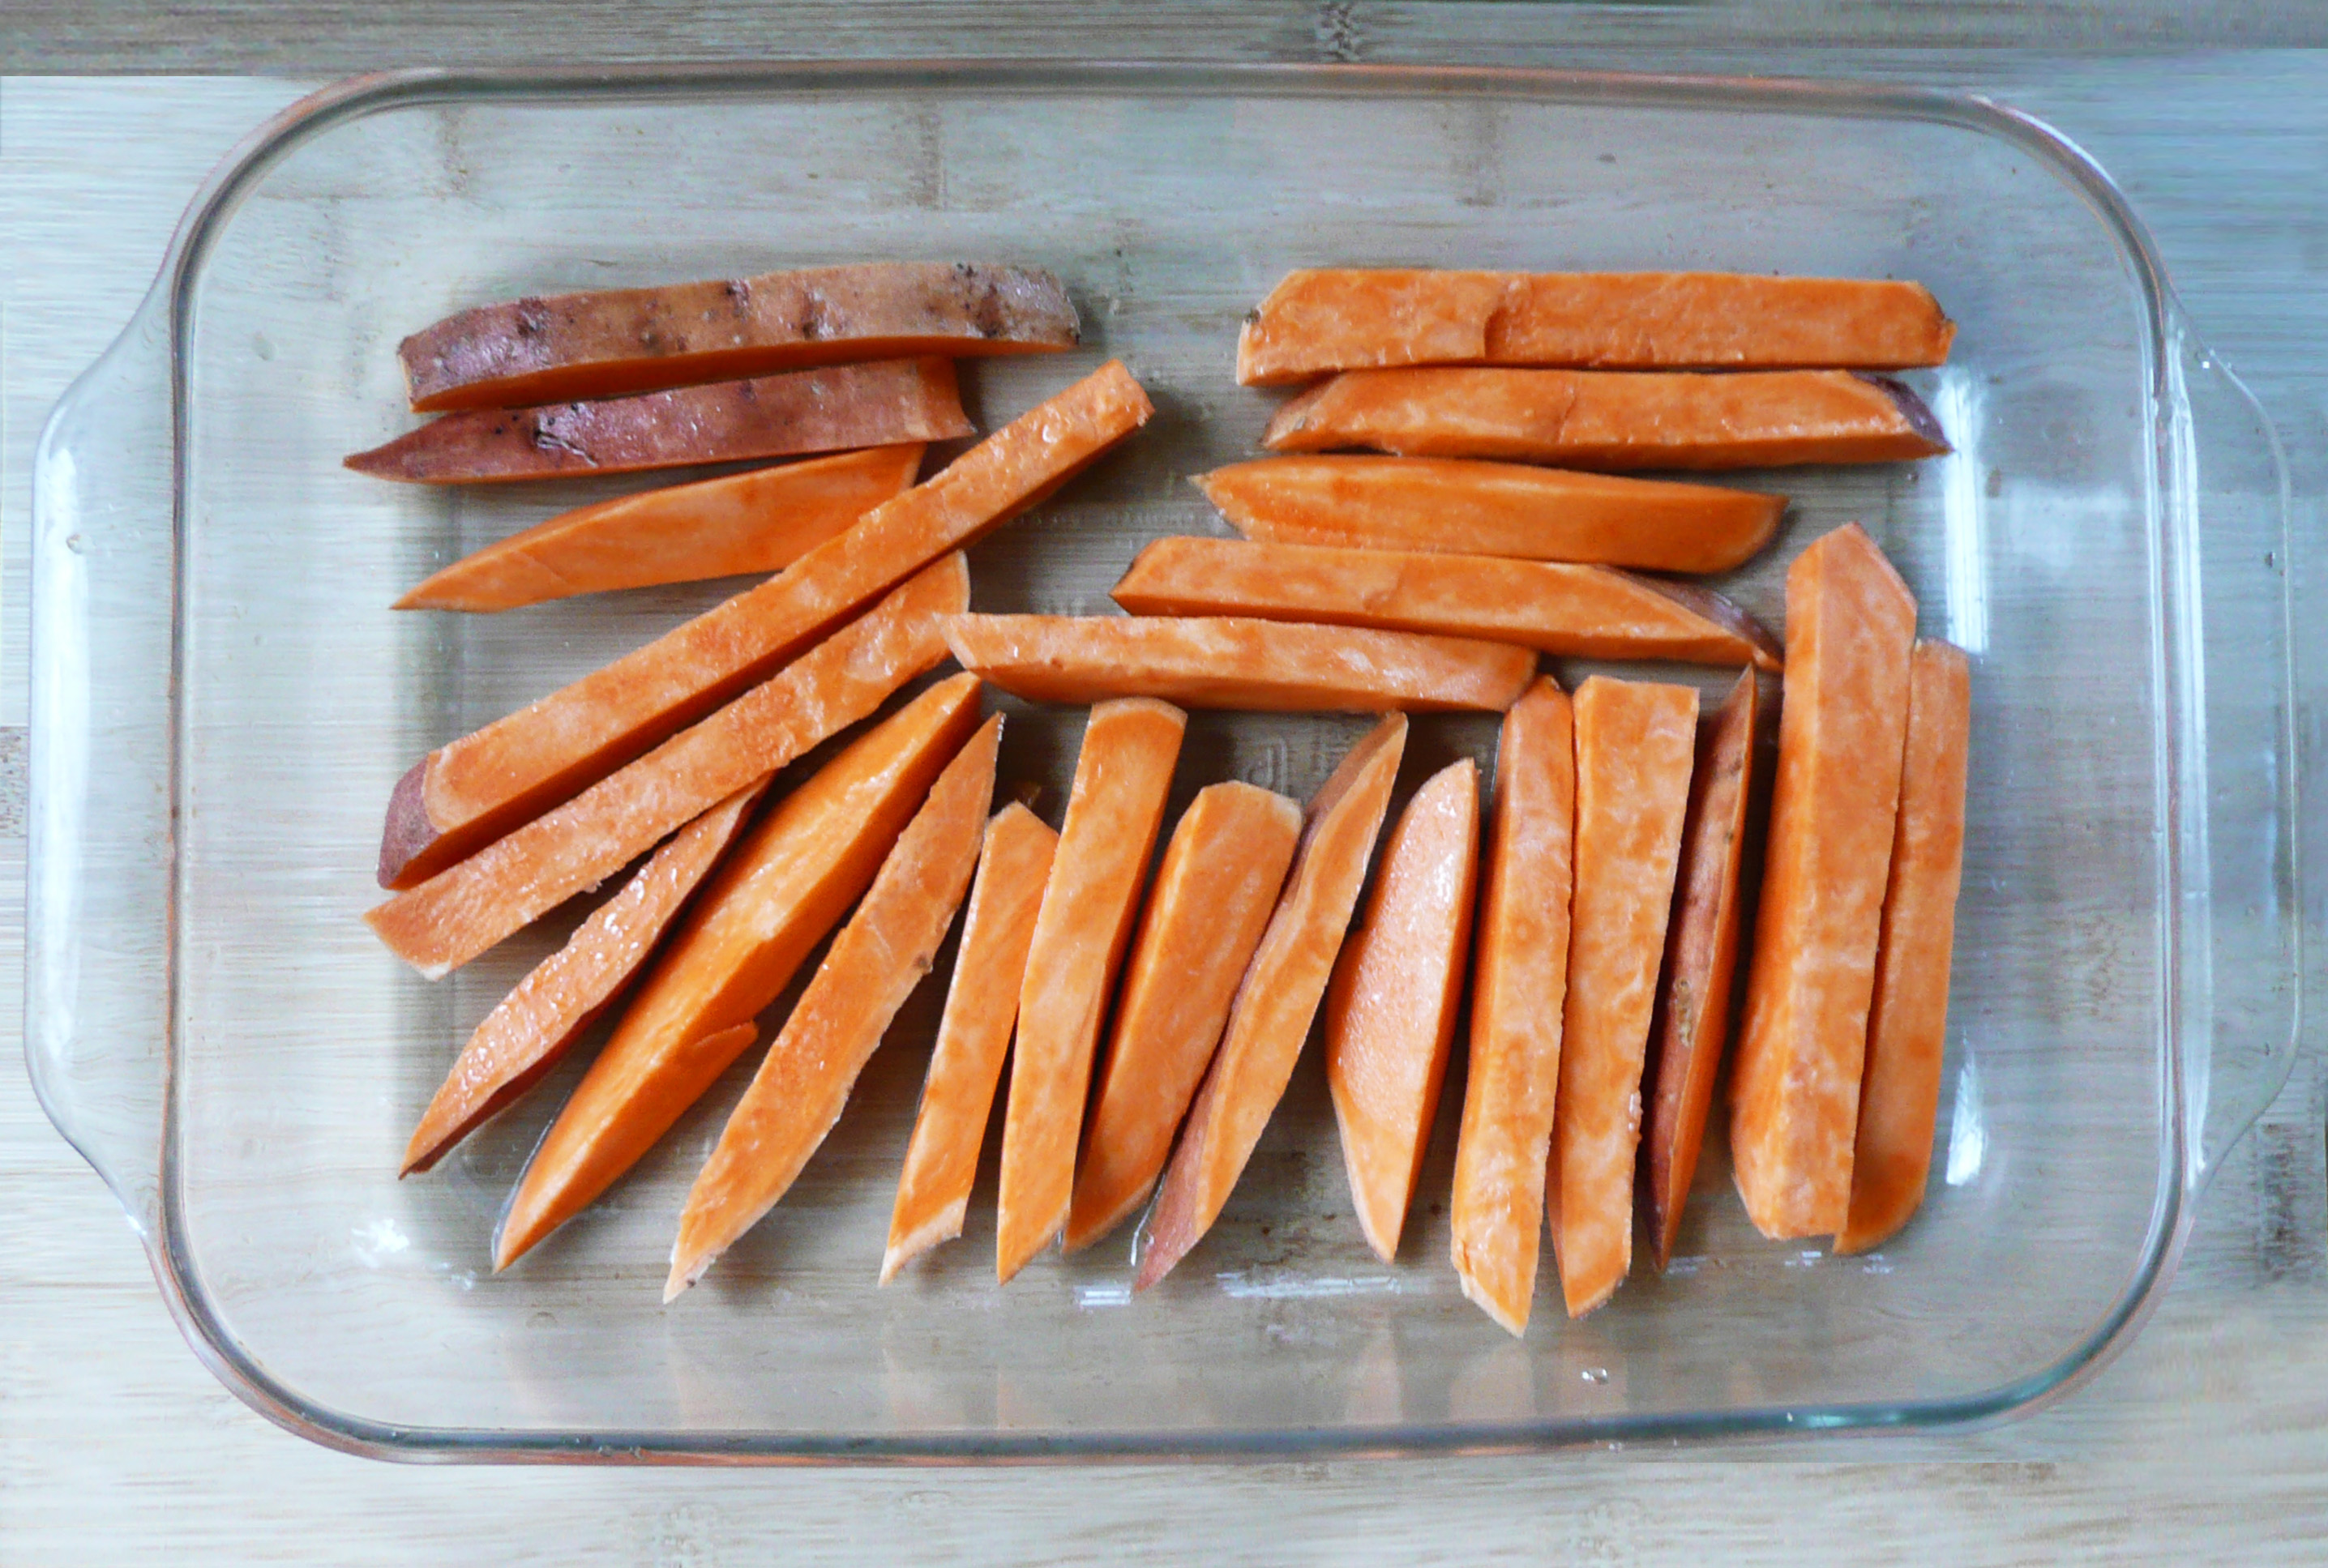
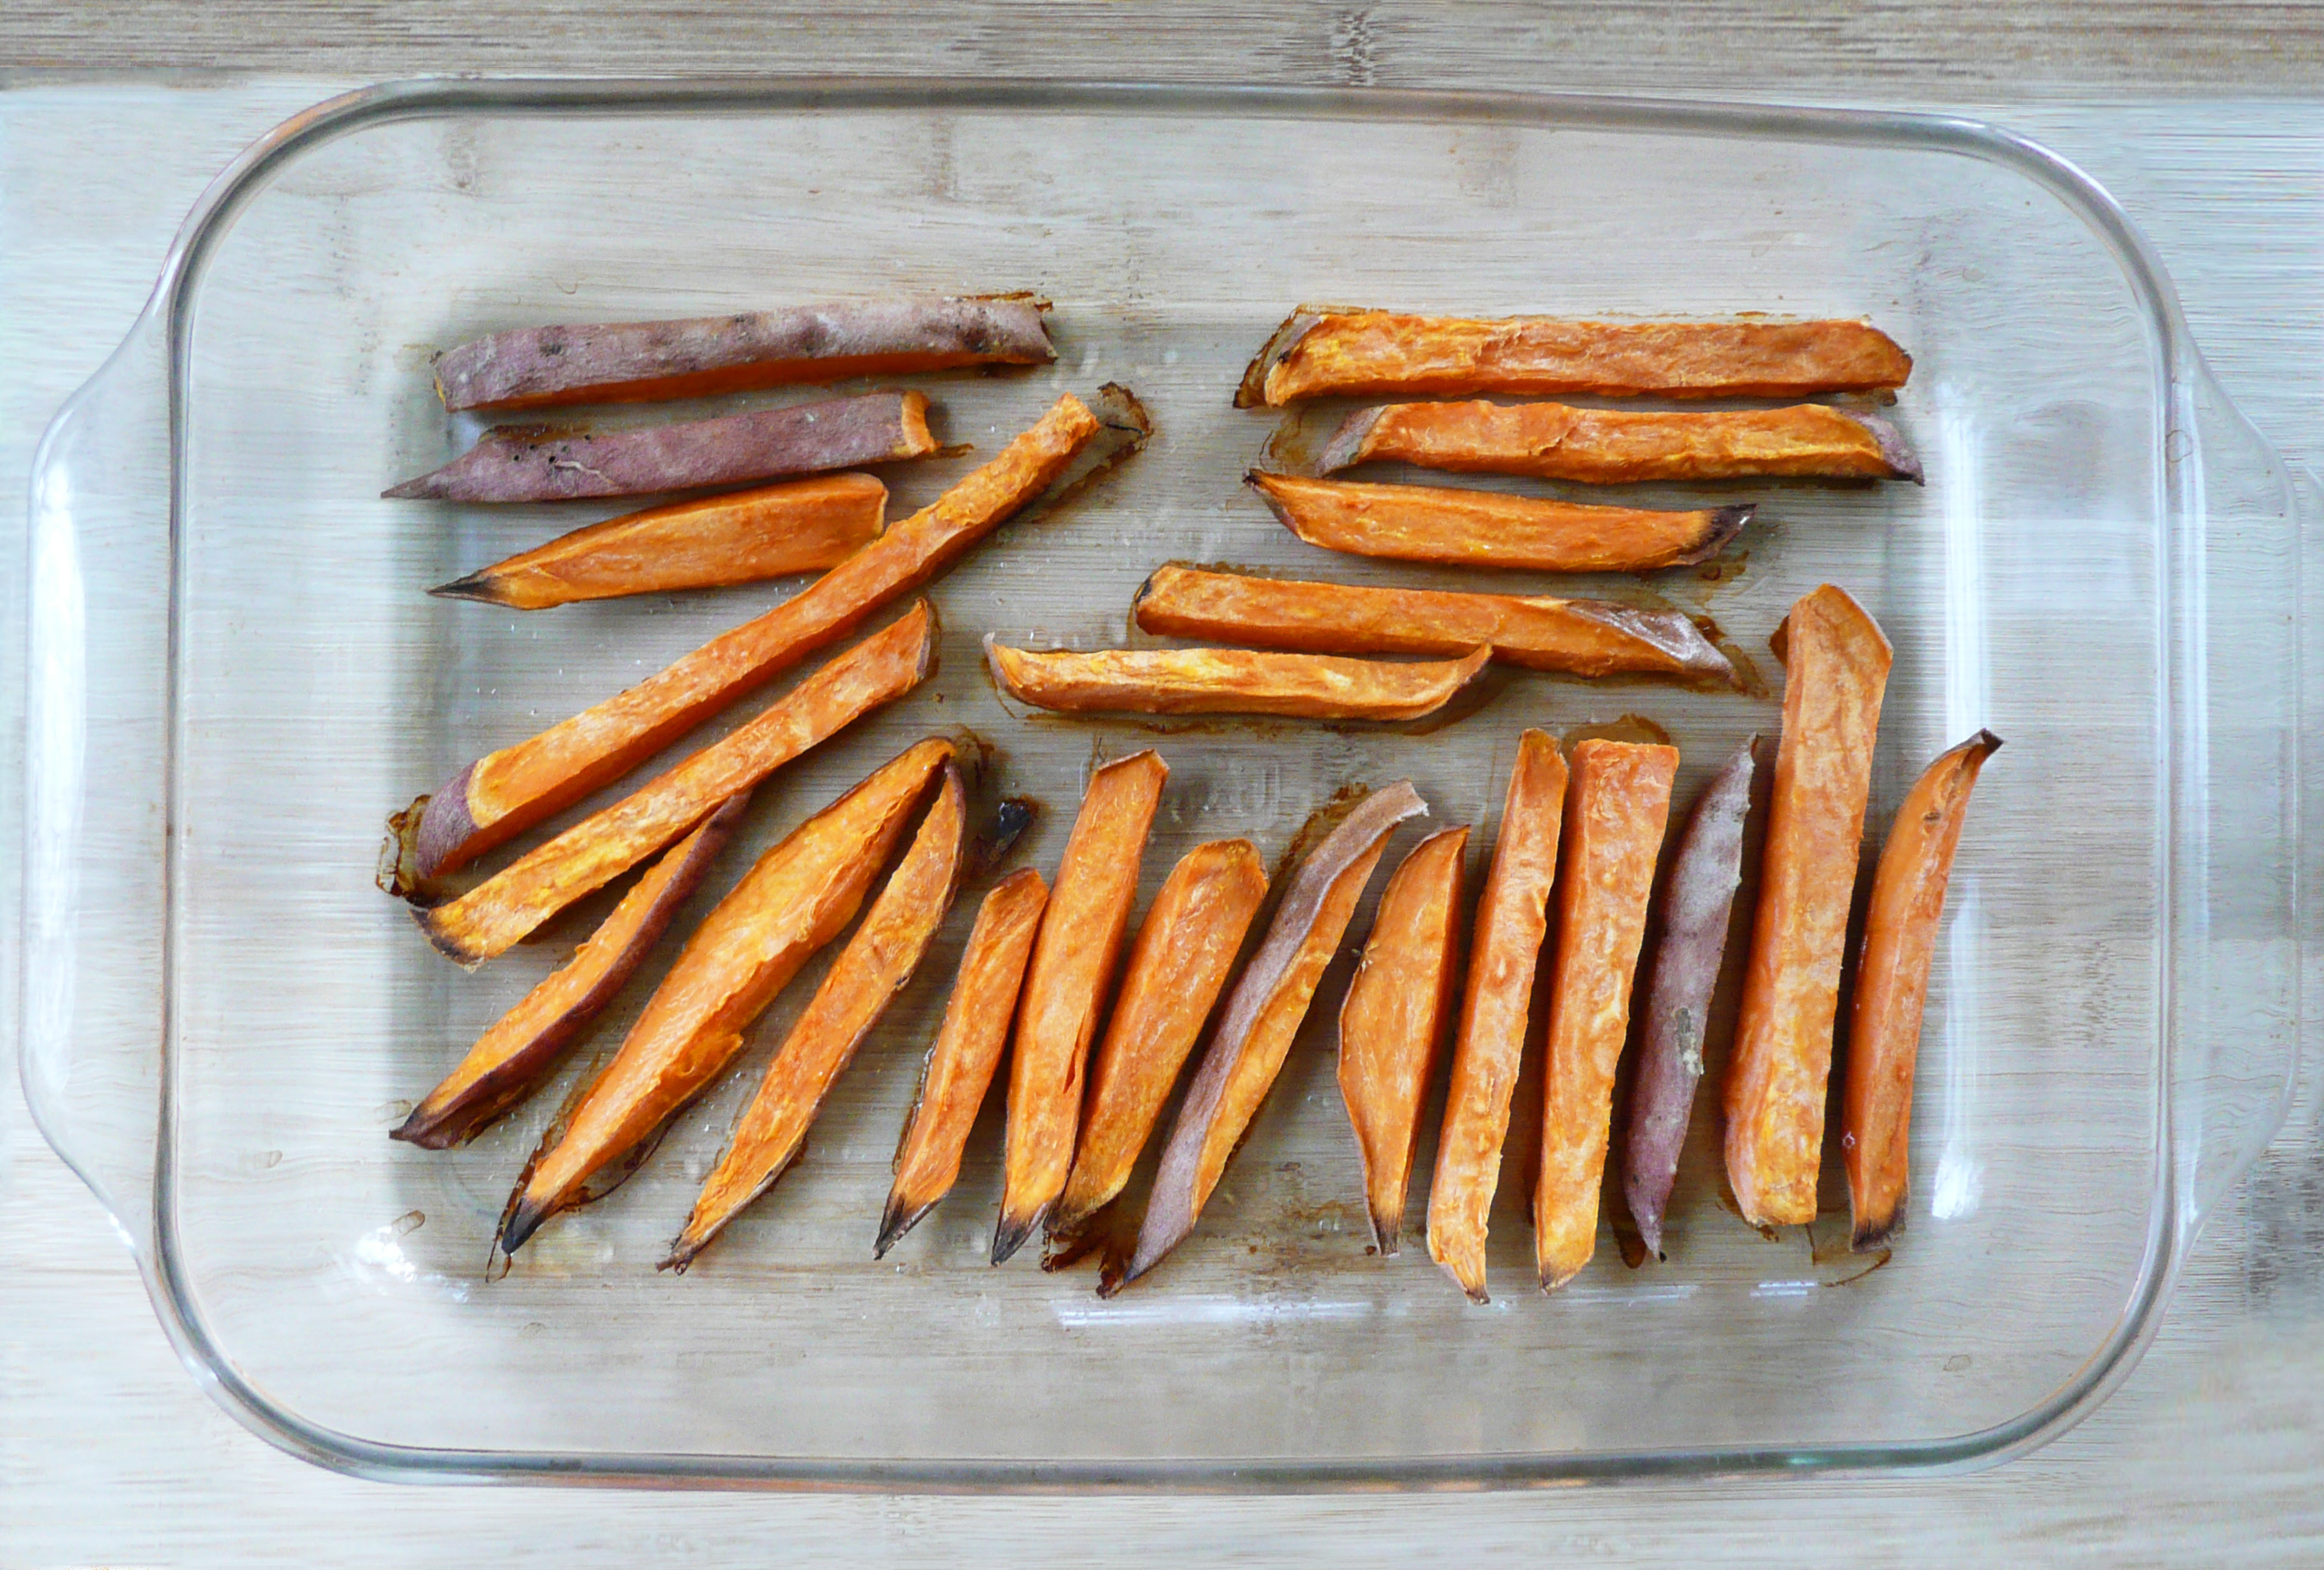
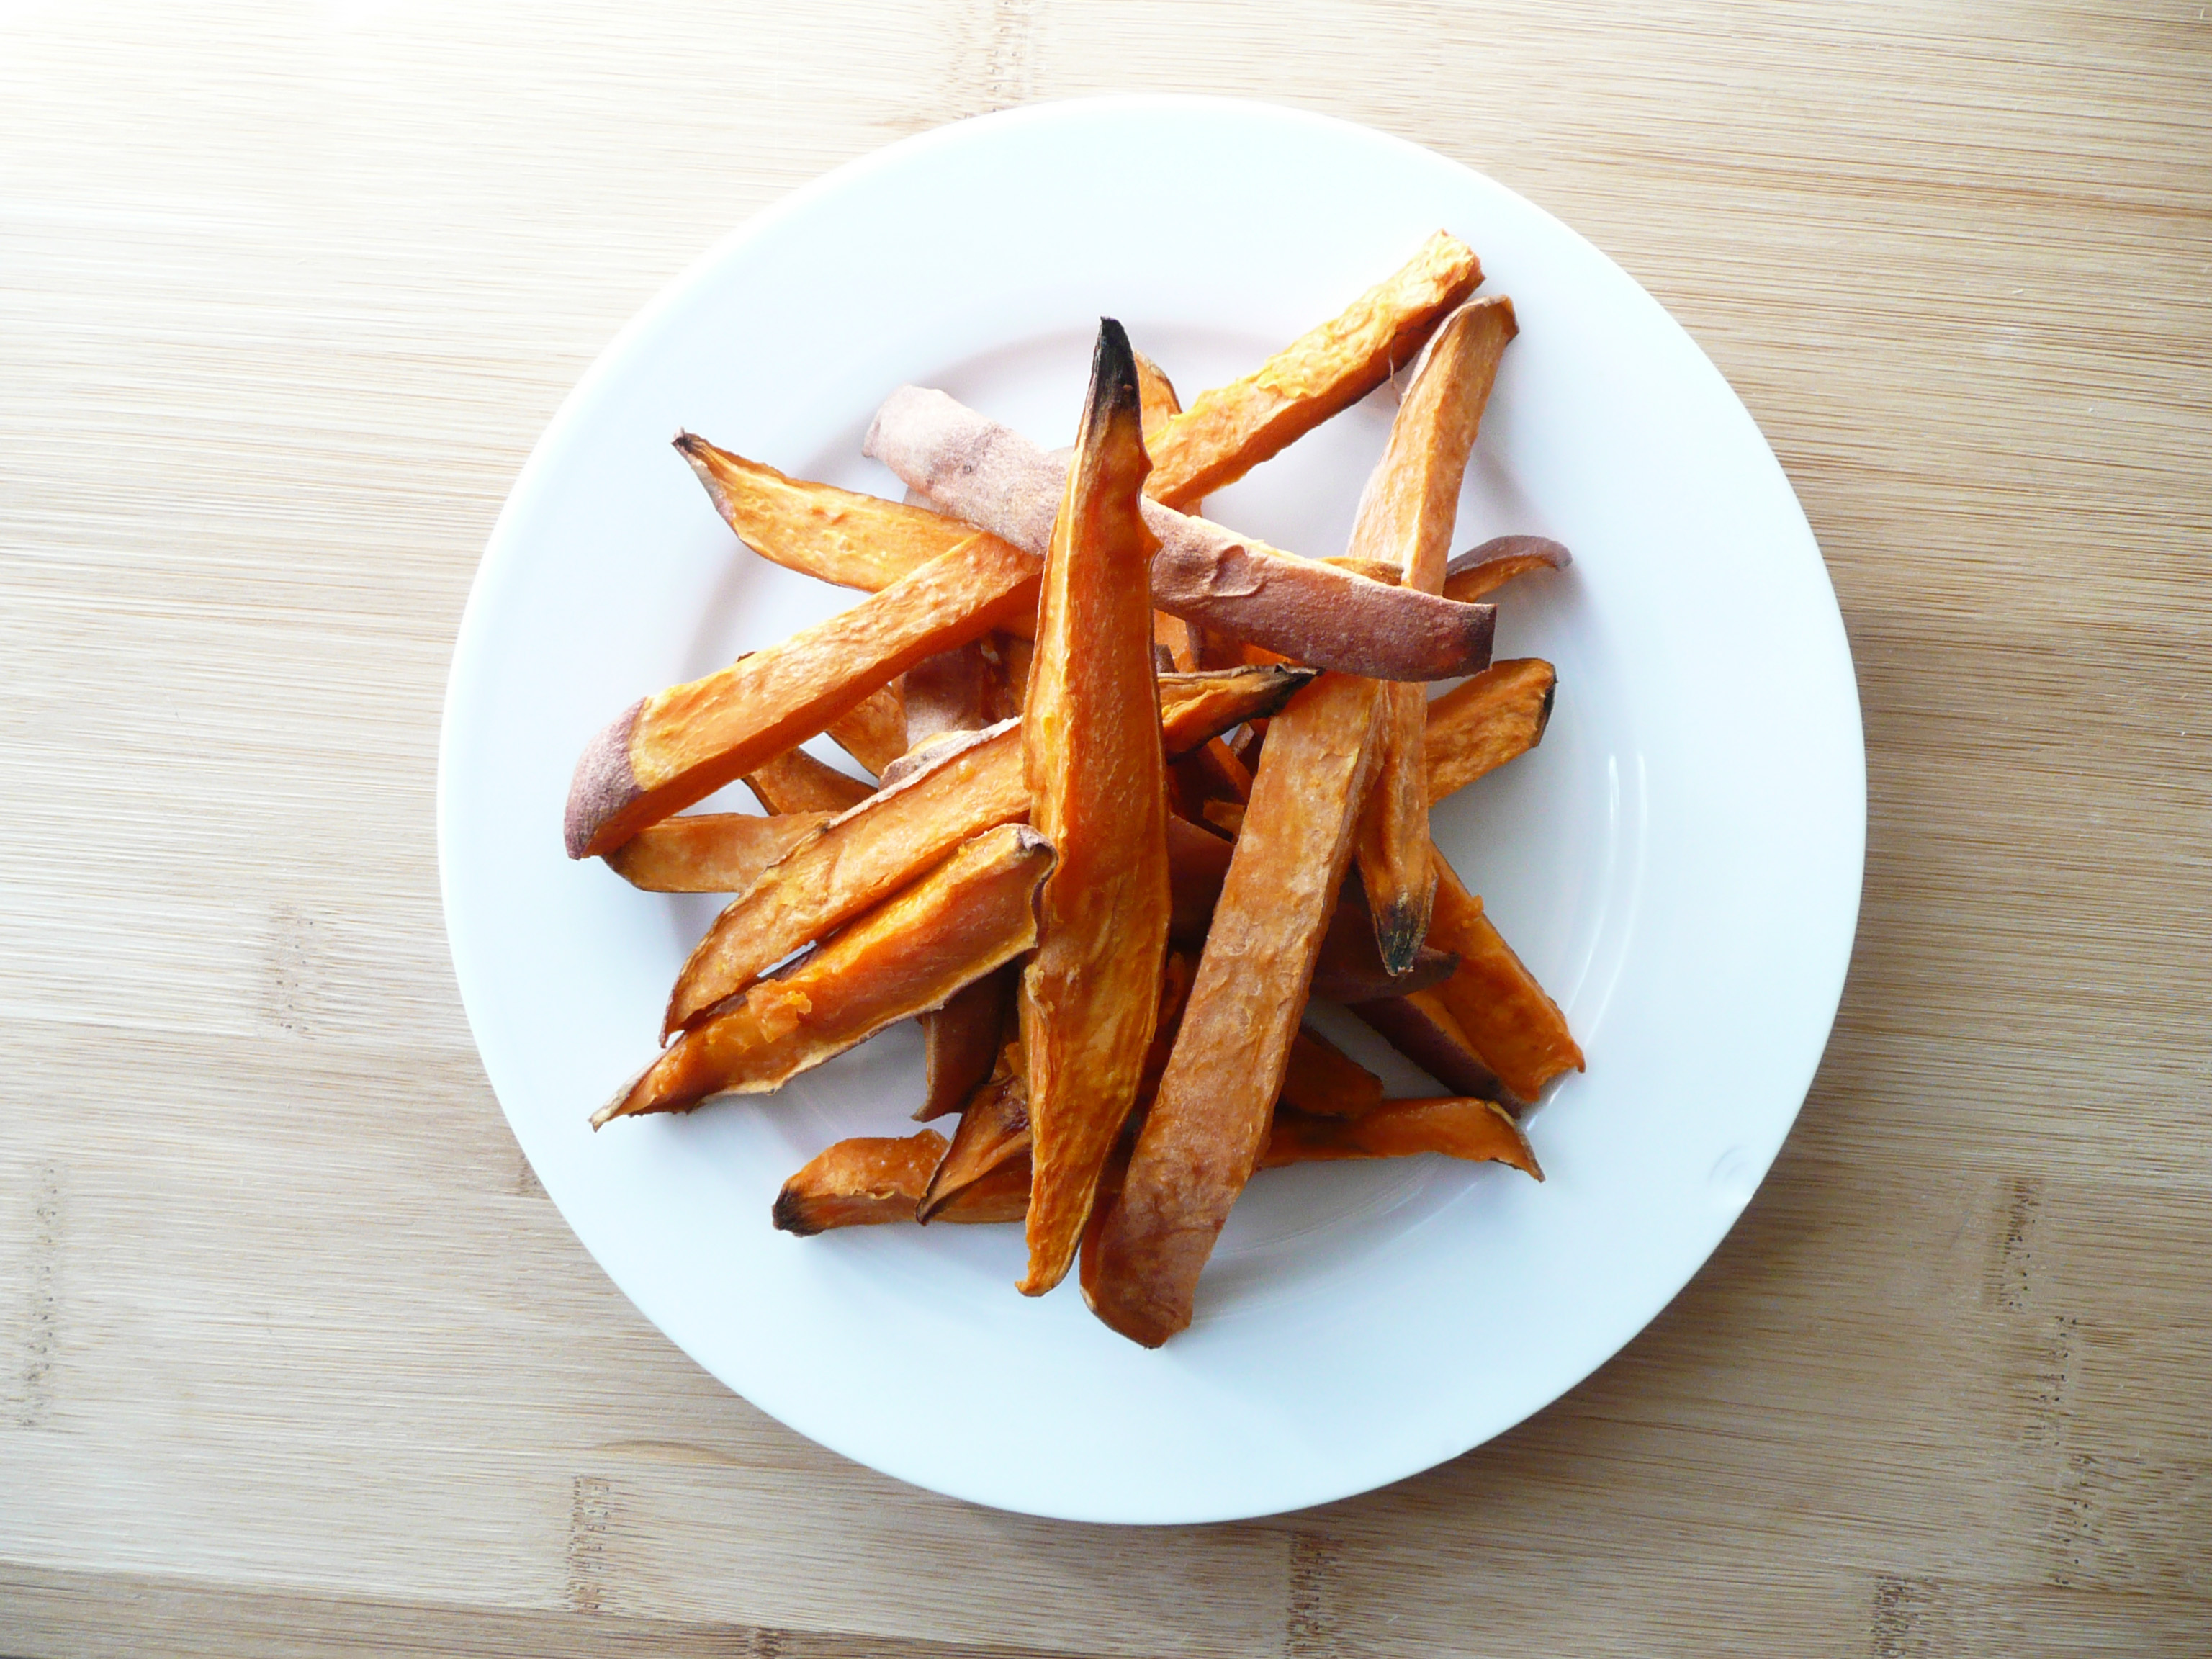
1. Peel your sweet potatoes and cut them into 3/4 inch cubes. Steam them for about 30 minutes until they are soft and easily pierced with a fork. Allow to cool to room temp, measure out 4 cups of sweet potatoes and transfer to a blender.

2. Pour the milk into the blender and add the salt. Melt the coconut oil and chocolate over medium low heat stirring frequently (this took about 5 minutes for me). Pour the chocolate and coconut oil mixture into the blender and blend until smooth, stopping the blender occasionally to scrape down the sides and give it all a good mix with a spatula.

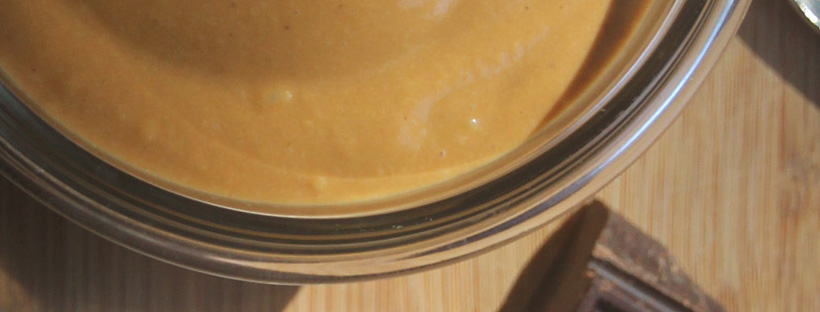
3. Pour the pudding mixture into a airtight container and refrigerate overnight until thickened.

4. Spoon into bowls and enjoy!


hardboiled eggs banner

How to “Hard boil” Eggs in a Rice Cooker (Super Easy)

egg2

Hardboiled eggs are one of those things that are great to have stashed away in the fridge. They are perfect high protein snacks (they even have a built in wrapper!) and make a great breakfast on the go as well.

The not so nice part of hard-boiled eggs? The sitting / waiting for a large pot of water to boil.

As it turns out, cooking them in a rice cooker is much easier and faster too!

I first got the idea to do this when I saw an awesome post on the Digging Food blog about how to steam fresh eggs. I had no idea that you could steam eggs before I read their post.

After a little experimentation, I figured out how to make perfect “Hard-boiled” eggs in a rice cooker.

Let me walk you through how to make them…

Step 1 –  Place your desired number of eggs in a heat safe bowl (ceramic or metal is fine).

I use a Tatung 10-Cup Multifunctional Cooker (the most useful piece of cooking equipment known to man). It’s a great rice cooker / steamer, and when I was in college (and living in small dorm room) I managed to make 60 tamales from scratch in one.

Step 2 – Add water. I pour about 1/2 cup of water in the bottom of the cooker before adding a rack that looks like this (you can buy it pretty inexpensively in a larger Asian grocery store like 99 Ranch).

wire rack.jpg

Step 3 – Put the bowl on the rack (this ensures that your food won’t scorch on the bottom of your bowl).

egg1

Step 4 – Cover the rice cooker with the lid and turn the rice cooker on, then set your timer.

My rice cooker takes about 5 minutes until I start to see steam come out the sides of the lid. Your rice cooker make take more or less time to heat up, and it may take a little trial and error before you figure out the right amount of time to cook the eggs to your liking.

For my rice cooker (from the time you turn the rice cooker on to when you turn it off):

Soft Boiled –  takes 13 minutes

“7 Minute Egg”  (Like the one pictured) – takes 14 minutes

Hard-boiled – takes 20 minutes


Step 5 – Turn the rice cooker off.

Put on an oven mitt and transfer the eggs into an ice bath using tongs.

****Please be careful not to burn yourself **** The steam is pretty hot and you can use the lid of the pot to fan the steam away from you before you take the eggs out of the rice cooker.

egg3

Step 6 – Leave the eggs to rest in the ice bath for at least 30 minutes.

egg4

After this, the eggs should be pretty easy to peel. I like the keep them in the fridge unpeeled (I just like the ritual of peeling them right before I eat them) or you can peel the eggs and keep them in an airtight container in the fridge.

The most I’ve done at once is 4 eggs in one batch, and the cooking time doesn’t change if you cook 1-2 eggs or 4 at the same time.

Update – Jan 14, 2018 – I’ve found that it does make a difference what bowl you use to cook the eggs in. You want a sort of normal serving bowl and not something that’s super deep with high sides so that the steam can surround the eggs better. My preference these days is to cook 6 eggs at a time for 18 minutes (perfectly hard boiled , dunk them into ice water and then keep them in fridge for breakfast / snacking.

I hope that this helps make your breakfast / snacking / meal prep a little easier!

How do you like your eggs for breakfast?

– Elaine

Iced Watermelon Cubes

Iced Watermelon Cubes – A Healthy Ice Cream Alternative

watermelon cubes 2

If you’re living through a heat wave at the moment what you probably want most in the world is something sweet, cold, and refreshing to eat.

Here is the simplest of desserts to keep on hand for a hot day. These little cubes of frozen watermelon are delicious and perfect for popping into your mouth (straight from the freezer) to cool you down.

Refined sugar free, dairy free, paleo, and all that jazz… but what’s really important is that they taste so good!

Iced Watermelon Cubes

Makes lots and lots of servings

Ingredients

1 sweet seedless watermelon (pick the sweetest one you can find)

That’s it! 😀


Instructions

1. Cut the watermelon into 3/4 inch cubes (this is a perfect size as they can be eaten straight from the freezer and they thaw quickly too).

2. Freeze the cubes flat in ziptop bags.

To serve, scoop about 1 – 1.5 cups (or however much you want) of the frozen watermelon cubes into a bowl and eat with a spoon.

Ta-Da! I hope that these little cubes of watermelon joy make your summer days a little more awesome. 🙂

blueberry smoothie

Glorious Orange Berry Blitz-ish Smoothie (Mango, Pineapple, Blueberry) – Vegan, Paleo

blueberry smoothie 1

When I was a youngin,’ I once went to a summer camp. The camp was located on a college campus and close by was a Jamba Juice. So most days (during the few weeks we were there), I and some of the other students would go to Jamba Juice for smoothies and a scone for breakfast.

My favorite smoothie was the (now discontinued) Orange Berry Blitz. I loved how the orange juice gave the blueberries and pineapple smoothie a wonderful brightness.

It’s funny how food and flavors can sometimes take you back, and suddenly, there you are again, cocooned in a marvelous memory.

I smile now just thinking of how happy I was that summer, and and this berry smoothie is still the perfect thing to drink on a nice summer day.

blueberry smoothie 2

This is my version of that glorious smoothie. I added mango because I think that it gives the smoothie a little more of a tropical flavor (and an extra little bit of sweetness as well).

Feel free to play around with the ingredients. Sometimes I replace the apple juice with water, or add in a few handfuls of baby spinach (if I want to get my greens in for the day without having to give it too much thought).

Make the smoothie that you want to drink (though I will say that this smoothie is pretty awesome as written) and have fun!

Glorious Orange Berry Blitz-ish Smoothie

Makes 1 generous serving

Ingredients

3/4 cup ripe mango (cut into roughly 1 inch cubes, about 1 mango)

3/4 cup fresh pineapple chunks (cut into about 1.5 inch wedges, canned pineapple works too)

1 1/4 cup frozen blueberries

1/2 cup apple juice (I used the Martinelli’s brand)

2-3 tbsp orange juice


Instructions

1. Add all ingredients into a blender and blend until smooth. Serve immediately.


Blueberry smoothie 3

This is what the plate of fruit looked like after I added the fruit into the blender. I think that it’s quite beautiful in a wabi-sabi kind of way.

I hope that you have many happy summer days drinking smoothies with your loved ones.

Enjoy!

sweet potato fries

Oven Baked Garlic Paprika Sweet Potato Fries – Paleo, Vegan

baked sp 8

These garlicky paprika sweet potato fries make a glorious side dish when you’re craving carbs, and are my go to snack when I’m craving junk food but want to eat something a little healthier.

baked sp 3

Sweet potatoes are a great source of vitamin A, magnesium, and potassium (which is great) but what really matters is that these sweet potato fries are really satisfying.

I love dipping them into creamy avocado mayo (sometimes with a bit of finely minced garlic mixed in) and they are also good with honey mustard.

baked sp4

Next time your craving junk food, give these sweet potato fries a try. If you’re anything like me, you find that you’ve eaten them all before you know it.

Oven Baked Garlic Paprika Sweet Potato Fries

Makes 2-3 servings

Ingredients

3 small sweet potatoes (the ones I used were 2 inches in diameter and 8 inches in length)

2 tbsp neutral flavored oil (I used avocado oil)

1 1/4 tsp granulated garlic

1/4 tsp + 1/8 tsp granulated onion

1/4 tsp paprika

1/4 tsp dried thyme (optional)

1/8 tsp black pepper

1/4 tsp sea salt


Instructions

1. Preheat the oven to 400 degrees F.

2. Give the sweet potatoes a good scrub and cut each sweet potato into 8 wedges.  Place the sweet potatoes into a large glass baking dish with the oil and toss gently.

2. Stir together the salt, pepper and other spices. Sprinkle the spice mixture over the sweet potatoes and give it all a good mix so that the fries are well coated.

baked sp 9

4. Arrange the sweet potatoes onto the baking dish so that they are in a single layer.

My baking dish was a little too small to fit all of the fries. So for this amount of sweet potatoes I used a 3 qt (9 in. x 13 in.) glass pyrex baking dish and a 9 in. pie plate.

5. Bake for 35 – 40 minutes until crispy and golden brown around the edges.

baked sp 5

Happy Eating!


banana bread muffins

Banana Bread Muffins – Gluten Free, Dairy Free, Refined Sugar Free, Comfort Baking

Banana Bread Muffins 1

There is something magical about making muffins. You sift together a few ingredients, stir in a few more, and a little while later 12 mini cakes emerge from the oven ready to fill your heart with joy and comfort.

If there is a practice more conducive to self care than baking, I have yet to discover it.

If I’m ever having a bad day, I bake. It takes focus and when you’re measuring and stirring everything together, the things that troubled you before seem far away.

The scent of delicious muffins wafts through the air and makes any house and home seem more warm and friendly. It’s a scent that makes the world a little softer and everything feel a little more possible.

And once you bite into a freshly baked muffin the spell is complete, and life feels ok again.

banana bread muffins 2

I love blueberry muffins, but there’s something about banana bread muffins that seem extra nourishing to your soul.

When I first cut gluten out of my diet, I really missed banana bread. I missed it’s buttery sweetness, and cozy banana richness.

It took me a couple of tries to get this recipe right, but these muffins taste just like the banana bread that I used to love eating. They also have a touch of cinnamon and vanilla to give them an extra bit of warmth to their flavor.

I like to use the ripest bananas that I can find (overripe bananas work the best as they are sweeter) and baking these muffins is a great way to cut down on food waste and have breakfast ready to go for the next few days (even if you eat 3 – 4 muffins still warm from the oven like I normally do).

I like to make these muffins a day ahead and leave them out on a plate on the counter covered by a paper towel. They dry out a little overnight, and the texture gets even better the next day.


Banana Bread Muffins

Makes 12 muffins


Ingredients

1 3/4 cups mashed ripe bananas (about 4 – 4 1/2 bananas)


2 tbsp apple cider vinegar

1/3 cup melted coconut oil

2 eggs

1/4 cup maple syrup

1 1/2 tsp vanilla extract


2 cups oat flour

level 3/4 tsp baking soda

1 tsp ground cinnamon


Notes –

* I grind oats into oat flour using a blender. Don’t grind the oats in a food processor because the flour won’t be fine enough.

Any extra oat flour I don’t use in the recipe goes into an airtight container and I use it for another recipe.

If you’re making this recipe for someone who has celiac disease, please use certified gluten free oats, as the oats from the bulk bins can sometimes be processed on the same equipment as wheat.


Instructions

1. Preheat the oven to 350F.

Grease and flour muffin pan with melted coconut oil and oat flour.

2. In a large bowl, sift together the oat flour, baking soda, and ground cinnamon and set aside.

3. In a separate bowl stir together the mashed bananas, apple cider vinegar, melted coconut oil, eggs, maple syrup, and vanilla extract until well combined.

Pour the wet mixture into the dry and stir until well combined. Divide the batter evenly between the 12 muffin cups and bake at 350 F for 33 minutes (until golden). Turn the oven down to 300 F and bake for another 10 minutes until the cake tester comes out clean.

Let the muffins cool in the pan. To pop them out of the muffin tin, run a small knife around the edge of each muffin (a small butter knife works great for this) and they should come right out.

banana bread muffins 3

I wish you many happy breakfasts (and memories) with these wonderful muffins.


Creamy Garlic + Rosemary Dip – Paleo, Vegan Friendly, Dairy Free

garlic rosemary dip 2

Sometimes eating vegetables can be a little less than exciting. Eating should be a pleasure. You want to have something that has a lot of flavor and be so delicious that you crave eating it the next day.

For me, this dip is the answer to getting myself to eat a big serving of vegetables, and to do so very happily.

This creamy garlic rosemary dip takes just minutes to put together and makes snacking on everyday vegetables feel like a fun and tasty treat.

I used avocado oil mayo (but you can also use vegan mayo) and olive oil, so this recipe is packed with heart healthy oils and anti-inflammatory ingredients like parsley, garlic and rosemary.


Creamy Garlic + Rosemary Dip

Makes 1 serving


Ingredients

3 tbsp mayo or vegan mayo (I used avocado oil mayo)

1 tbsp olive oil

3 cloves thawed frozen garlic *

1/2 tsp finely chopped fresh parsley

1/4 tsp dried rosemary

1/8 tsp black pepper

Salt to taste (if needed)
Notes – * Thawed frozen garlic has a milder taste than fresh raw garlic and less of a bite to it. If you’re making this dip with fresh garlic, start out with adding 1 clove of garlic and then adding more to taste.

Instructions

1. Add the mayo and olive oil to a small bowl. Tilt the bowl to that the olive oil pools together and slowly stir it into the mayo until well incorporated. Add the rest of the ingredients and give it all a good stir.

Serve with any vegetables that you like. This dip is great with sweet potato fries, or I like eating it with 2 carrots (cut into carrot sticks) and a diced tomato for a quick snack.


garlic rosemary dip 3

Happy Snacking!

How to Bake Sweet and Creamy Sweet Potato Fries – with No Added Sweeteners

sweet potato 2

This is one of my favorite recipes and I make it all the time. I love cooking sweet potatoes this way because they become soft and creamy in the middle and almost taste like custard, but the crispy ends taste like toasted marshmallow.

The sweet potatoes are cooked slowly so that it brings out their natural sweetness and this is a great recipe to make when you’re trying to avoid added sweeteners, but still want to have something that tastes like dessert.

Make a big batch, and keep any leftovers in the fridge. They actually get sweeter once refrigerated and are wonderful for snacking during the week. They are delicious on their own, but you can also sprinkle over some cinnamon and nutmeg right before serving and it makes this sweet potato dish even more dessert-like and wonderful.

Sweet and Creamy Sweet Potato Fries

Makes about 3 – 4 servings

Ingredients

2 – 3 sweet potatoes (cut into 1/2 inch fries)

1 tsp of avocado oil (or any neutral flavored oil)*

Notes – * I’ve used olive oil before too and that works great as well. You don’t taste the olive oil flavor very much at all when you cook the sweet potatoes this way, so really any oil that you use will be fine. Coconut oil is nice too, the sweet potatoes taste even sweeter when cooked with coconut oil.

Instructions

1. Preheat your oven to 375 F.

cut raw sweet potatoes

2. Take your sweet potatoes and place them onto a sheet pan or glass baking dish (I prefer using a glass dish for this, as the sweet potato fries do stick a little to the pan and you can use a spatula to scrape any crispy bits off of the glass without having to worry about scratching up a sheet pan).

sweet potato 6

3. Pour the tsp. of oil into a corner of the baking dish and slide each sweet potato fry into the oil and toss them with your hands until well coated.

Place the baking dish into the oven and bake for 55 – 60 minutes until the fries turn a little crispy and golden brown at the edges. In my oven this takes about 57 minutes.

sweet potatoes 5

4. Allow your fries to cool a little before serving.

sweet potato 3

I hope that you love these sweet potatoes fries as much as I do! I’m about to go make another big batch of them, and I can’t wait to eat them.


Joyful Fruit Salad – Vegan, Paleo

fruit salad

There’s a really funny writer/actor/comedienne extraordinaire named Tiffany Haddish who has a dish called “Joyful Greens.” She says that they are “Joyful Greens” because she smiles when she picks the collard greens from her garden, she smiles when she washes them, and she smiles when she cooks them. All that joy, love and care that she puts into growing and preparing the greens make them extra delicious.

Taylor Swift also loves Tiffany’s Joyful Greens. Tiffany brought them with her to one of Taylor’s dinner parties and where they also dined on homemade barbecue chicken, potato salad, and cornbread (don’t we all wish that we could have been at that dinner party? It’s sounds amazing.)

Here’s a video of Tiffany teaching Oprah and Ellen how to make them.


While I didn’t grow these fruits myself, this is my joyful fruit salad. It’s joyful because you smile while you’re picking out the fruit (you smile at how wonderful and sweet that ripe mango smells), you smile when you see how bright and happy the different colors of the fruits are together, and you smile when you eat it (because it tastes so good…)

It’s super quick to put together, and I like packing it in a lunch because the colors look so cheerful together that I always look forward to eating it. This combination of fruits taste lovely together, and eating it feels like a real treat.


Fruit Salad 3


Joyful Fruit Salad

Makes 1 generous serving

Ingredients

1 ripe mango*

1 ripe kiwi**

1/3 cup blueberries (fresh or frozen)


Notes – *Ripe mangoes smell very sweet and fragrant. Mangoes that aren’t ripe won’t smell much like anything.

** Ripe kiwis are soft, but not squishy. If you have one that’s really firm, go ahead and leave alone for a couple days and it will ripen up.


Instructions

1. Cut the mango into 3/4 inch cubes (or cut it up however you like, this is just how I do it).

There are many ways to cut up a mango. I slice the cheeks off either side of the seed, then try and carefully slice off any remaining mango flesh that I can off of the seed. Then I cut the mango cheeks into 3/4 inch strips and use a paring knife to carefully separate the peel from the mango flesh (kind of like how you would peel an apple with a paring knife). I then cut the peel away from the slices of mango that I cut away from the seed into rough chunks and add them to a bowl with the rest of the cubed mango.

I’ve also seen people use a potato peeler to peel the mango and then slice the mango cheeks off either side of the seed, but I don’t do it that way because I find that the mango gets really slippery to hold while you’re trying to make your initial cuts.

All this is to say, cut up your mango in a way that works for you. The fruit salad will still be awesome.

2. Peel your kiwi and slice it into 1/4 inch slices.

How I peel a kiwi – Cut 1/4 inch off the top and bottom of your kiwi. Sit it flat on your cutting board and make 1/2 inch slices down the sides of the kiwi, cutting as close to the peel as you can until you’ve cut off all the kiwi peel.

You can also cut 1/4 inch off the top and bottom of a kiwi and slide spoon between the kiwi peel and the green flesh. Rotate your spoon under the peel until the peel has completely separated from the fruit.

3. Add your kiwi to the bowl of cubed mango along with the blueberries.

Enjoy!


fruit salad empty

What the bowl looks like once I packed the rest of it into a mason jar for tomorrow’s lunch. This is what was leftover, which looks very pretty on it’s own.

No worries, this didn’t go to waste. I ate it right after I took the picture, and I felt very happy and grateful.

Classic Homemade Deviled Eggs – Paleo

easter egg 2

Like many people, I love a good deviled egg. There is something about these little bites of heaven that is both kind of fancy, but very comforting at the same time.

They take a little time and care, but they are everybody’s favorite thing to eat at a party.

You can top them with just about anything from chives to smoked salmon, but I like paprika on my deviled eggs because it gives a little color and flare, with just a hint of spice.

Deviled eggs are best when they are made ahead of time so that they get a chance to get nice and cold in the fridge. You can store them in an airtight container and snack them if you get hungry, or make a big batch of them and bring them to an Easter party this weekend.

easter egg 3

Classic Homemade Deviled Eggs

Makes 4 deviled eggs (but you can easily scale this recipe up)

Ingredients

2 eggs

2 tbsp of mayo (I used an avocado oil mayo, but feel free to use your favorite mayo)

1/2 tsp yellow mustard

3/4 tsp water

Sprinkle of paprika for garnish


Instructions

1. Place your eggs in a pot and cover with about 3/4 – 1 inch of room temperature water. Cover and bring the pot to a boil over medium high heat. Take the pan off the heat, and set aside (keeping the lid on the pot) and set a timer for 12 minutes.

2. After 12 minutes, take a slotted spoon and transfer the eggs to a big bowl of ice water and let them sit for 20 minutes. Peel and slice the eggs in half. If the eggs still feel warm at this point, transfer them to an airtight container and refrigerate until completely cool.

If the egg yolks are too warm when you mix them with the mayo, the filling for the deviled eggs will split, so you want the eggs to be nice and cold before you move on to the next step.

3. You can mash up the filling for the deviled eggs in a bowl with a fork, but the I find that the way to get the smoothest texture is to use a food processor. Add the cooked egg yolks, mayo, mustard and water to a food processor and blend until smooth (or mash together in a bowl with a fork, it will taste just as good).

If the food processor overmixes the filling and you see that the filling has separated, that’s ok. It’s an easy fix.

Add a few drops of water to a bowl with about about 1/4 – 1/2 tsp of the deviled egg filing. Mix together until smooth and it should become creamy and emulsified again. Keep whisking in little bit of the separated filling mixture into the emulsified filling (adding the occasional little bit of water if needed to get the mixture to become smooth again) until all the separated mixture has been whisked into the smooth mixture.

Don’t be afraid to adjust the taste of the filling to your liking. If you like a more spicy deviled egg, add a little more mustard (or use dijon mustard instead of yellow mustard if you want to live on the edge). If you like creamier and milder flavored deviled egg, add a little more mayo. It’s completely up to you, so make the deviled egg that you want to eat.

4. Spoon the filling into a ziploc bag and cut off a bit of one corner of the bag. Pipe the filling into the cooked egg whites and then sprinkle each deviled egg with a bit of paprika.

You can also skip piping the mixture and just spoon it into the cooked egg whites instead to give the deviled eggs a more friendly and comfortable kind of charm.

eggs easter

However you make them, I’m sure that they will taste AMAZING.

Happy Easter!