These brownies are the brownies of dreams. They have a rich, deep chocolate flavor, but are not too dark or too sweet, and they taste like the best brownie you have ever had. A great way to use up extra sweet potatoes or adzuki beans.
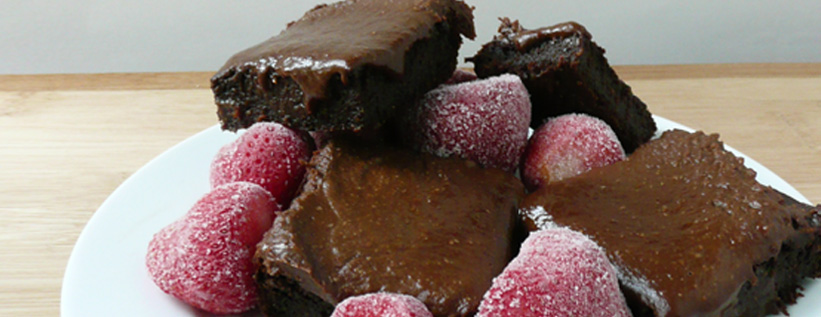
These brownies are the brownies of dreams. They have a rich, deep chocolate flavor, but are not too dark or too sweet, and they taste like the best brownie you have ever had. A great way to use up extra sweet potatoes or adzuki beans.

How to make the most of your excess lemons. Easy trick to always have lemon juice and zest on hand when you need it.
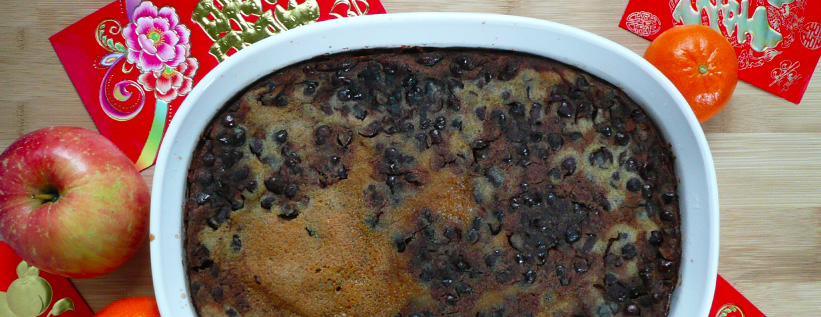
A super simple recipe for dairy free and refined sugar free nian gao (Chinese New Year Cake) with homemade red bean filling. Tastes just like the traditional version.

If you've ever known the struggle of baking cookies and not being able to get the little cap off of the vanilla extract bottle, this one's for you.
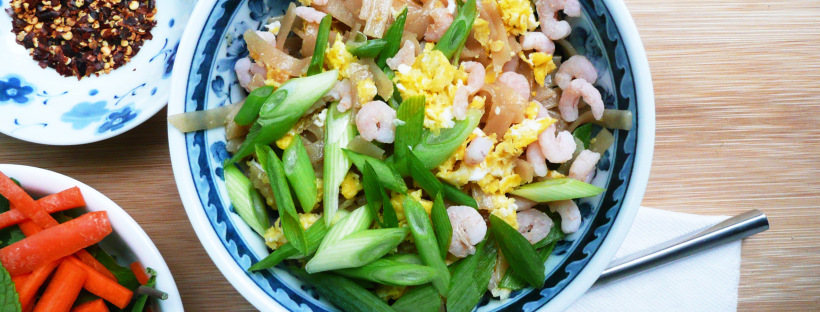
This Weeknight Shrimp Pad Thai is super quick and easy to make, and made with ingredients like apple cider vinegar, maple syrup, and brown rice noodles that you can find at any local supermarket. Perfect for a weeknight dinner when you're craving some really good Thai food.

Super easy and allergy friendly icing for gingerbread cookies, and sugar cookies. Perfect for decorating cookies around the holidays.

These are great cookies. They are sort of a cross between a traditional sugar cookie, and a fortune cookie. They have a wonderful crunchiness and the maple gives them a lovely sweetness.

It just doesn't really feel like Christmas without gingerbread cookies, and these are some of the best gingerbread cookies I've ever eaten. These cookies are free from nuts, gluten, refined sugar, dairy, egg free and completely vegan, so hopefully everyone can enjoy them around the holidays.
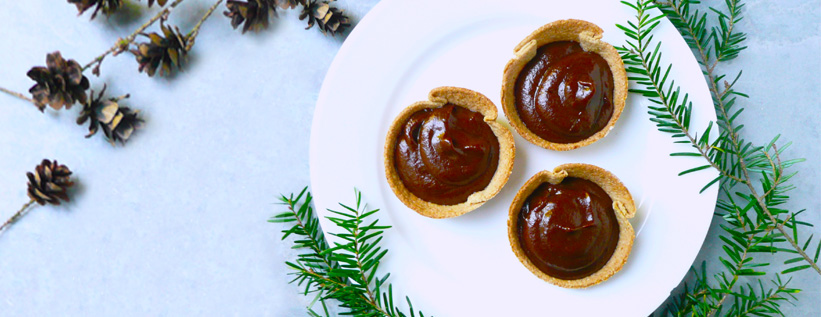
Mini Chocolate Peppermint Pies - all the taste of chocolate peppermint bark without the refined sugar or dairy. So good... and great for the Holidays!
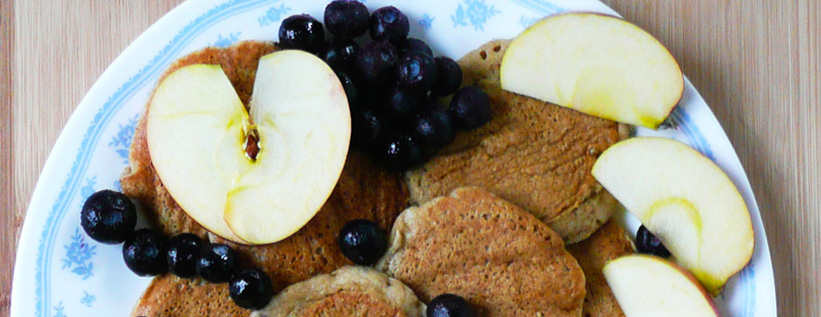
This is THE gluten-free pancake recipe that you've been searching the internet for! A delicious, simple, and thrifty recipe for gluten-free, dairy free, refined sugar free pancakes made with oat flour. Egg-free and Vegan Friendly.