The Very Best Gluten Free Pancakes – Oat Flour, Vegan and Egg Free Friendly, Dairy Free

P1090017

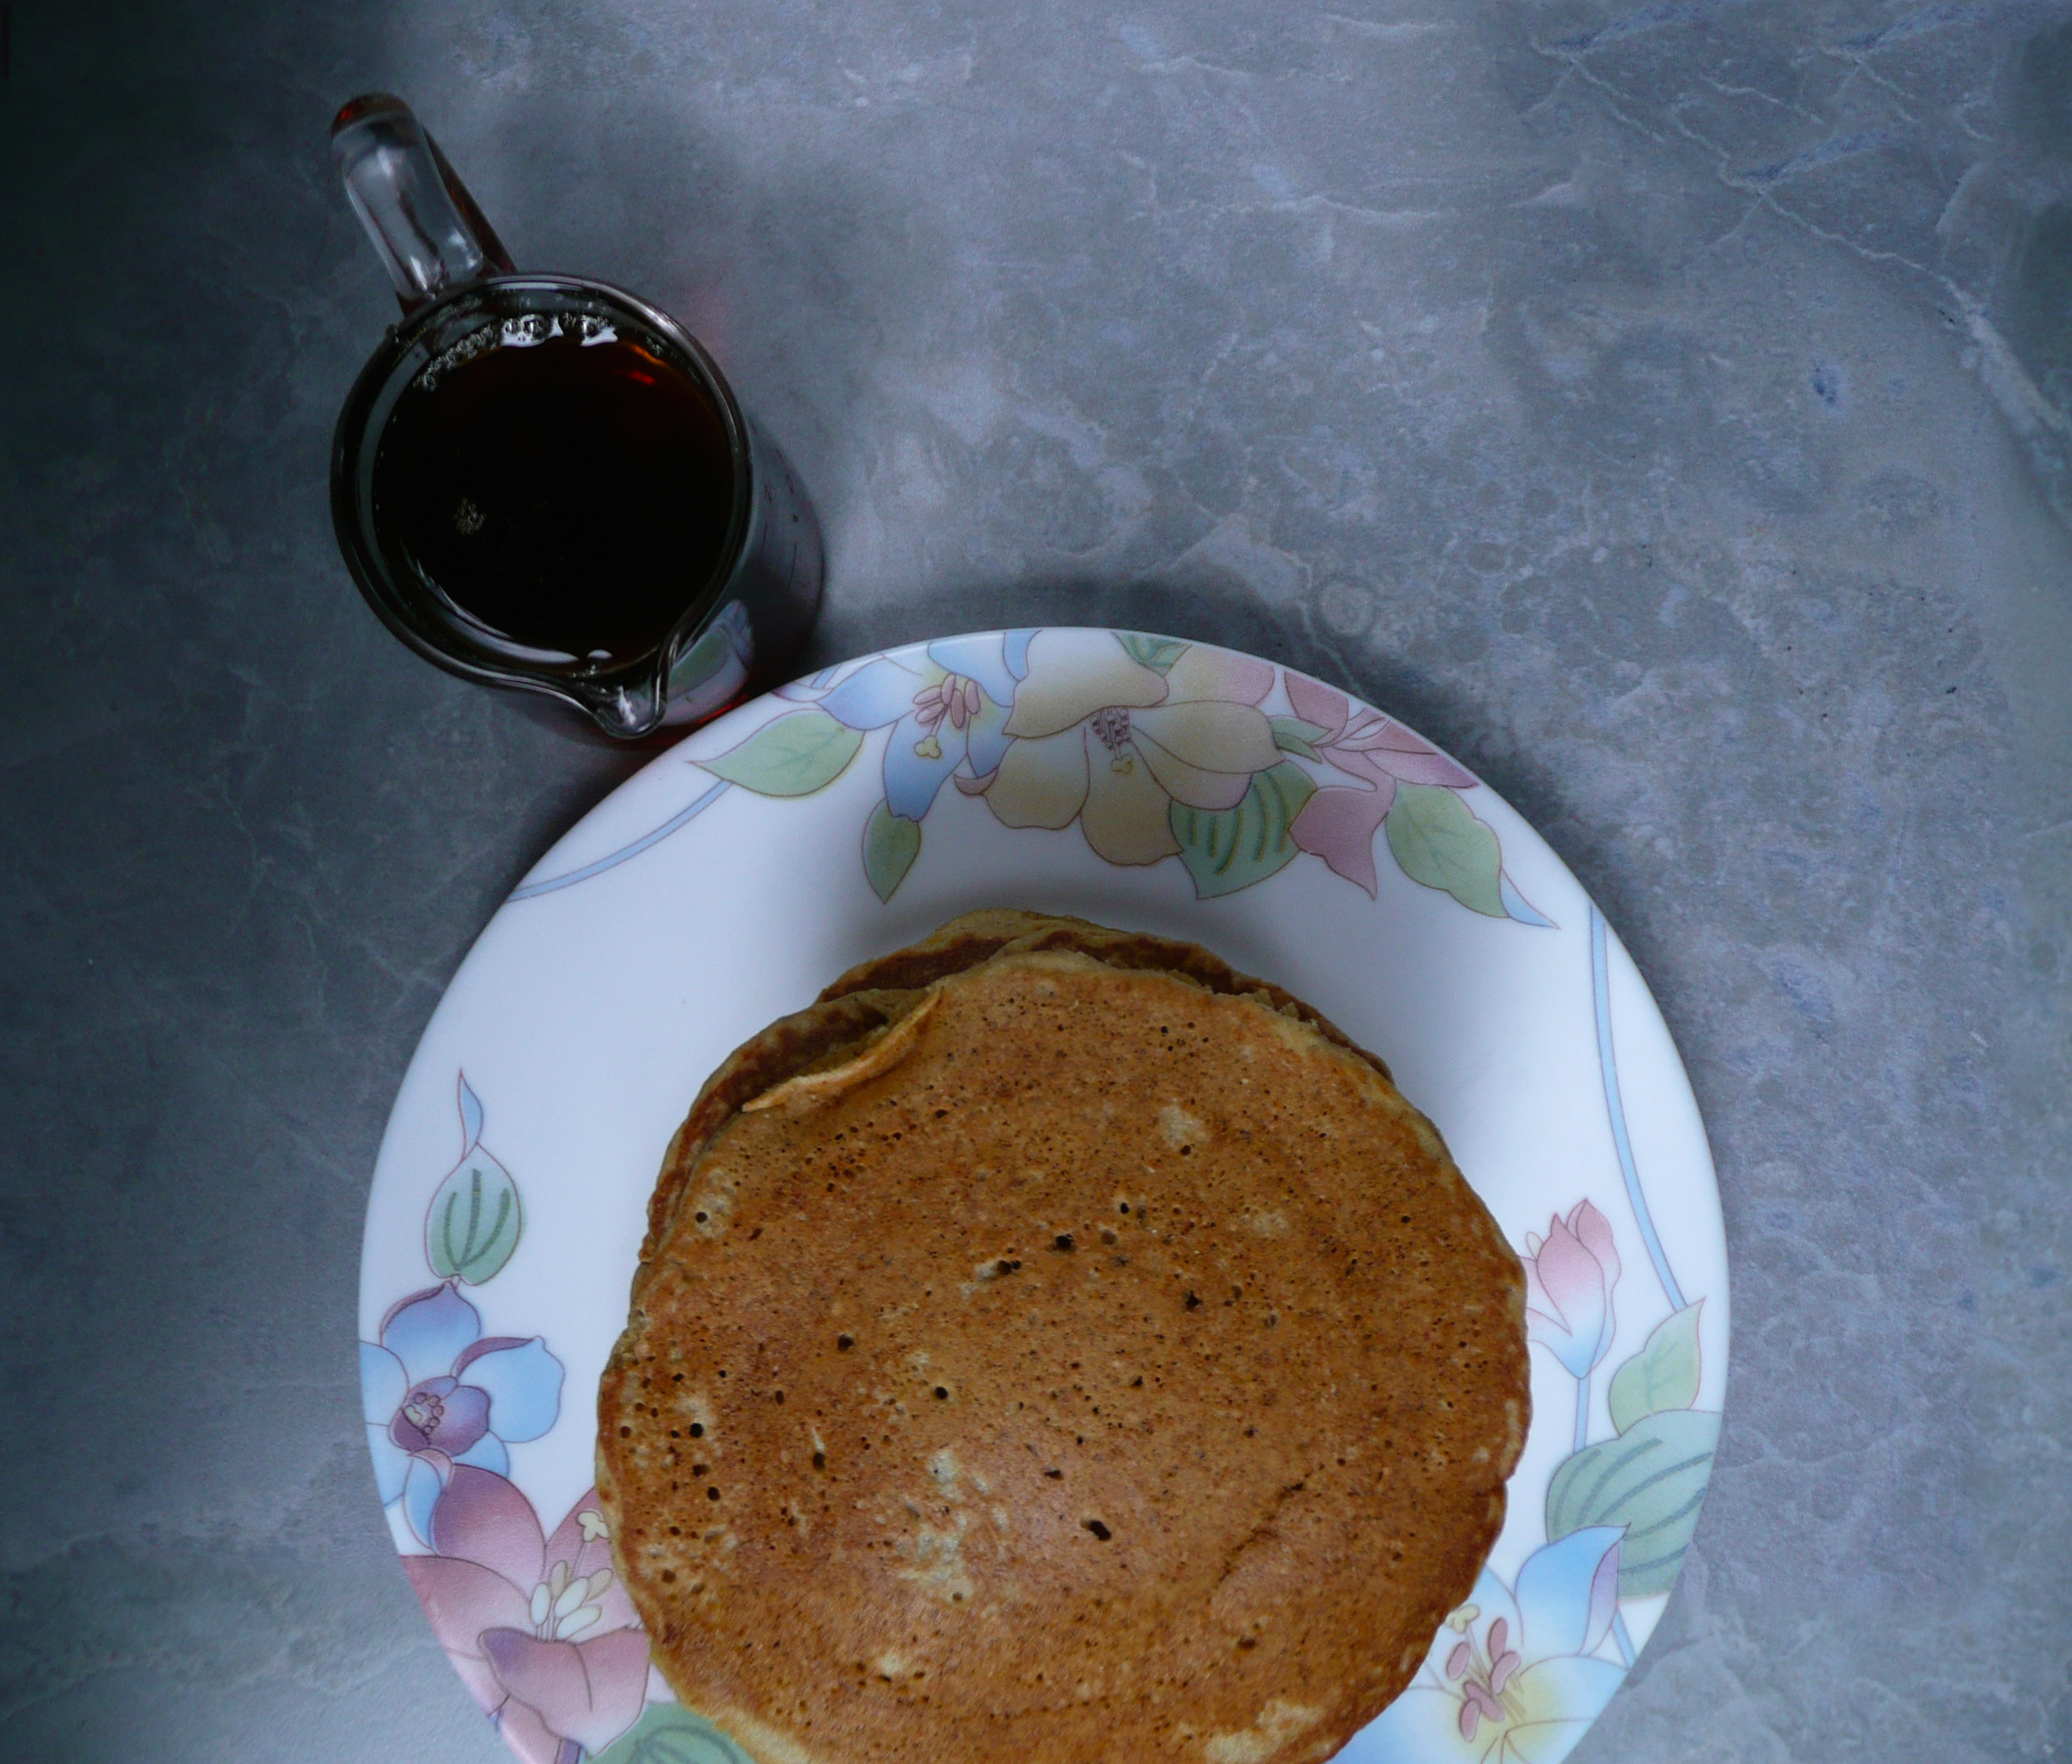
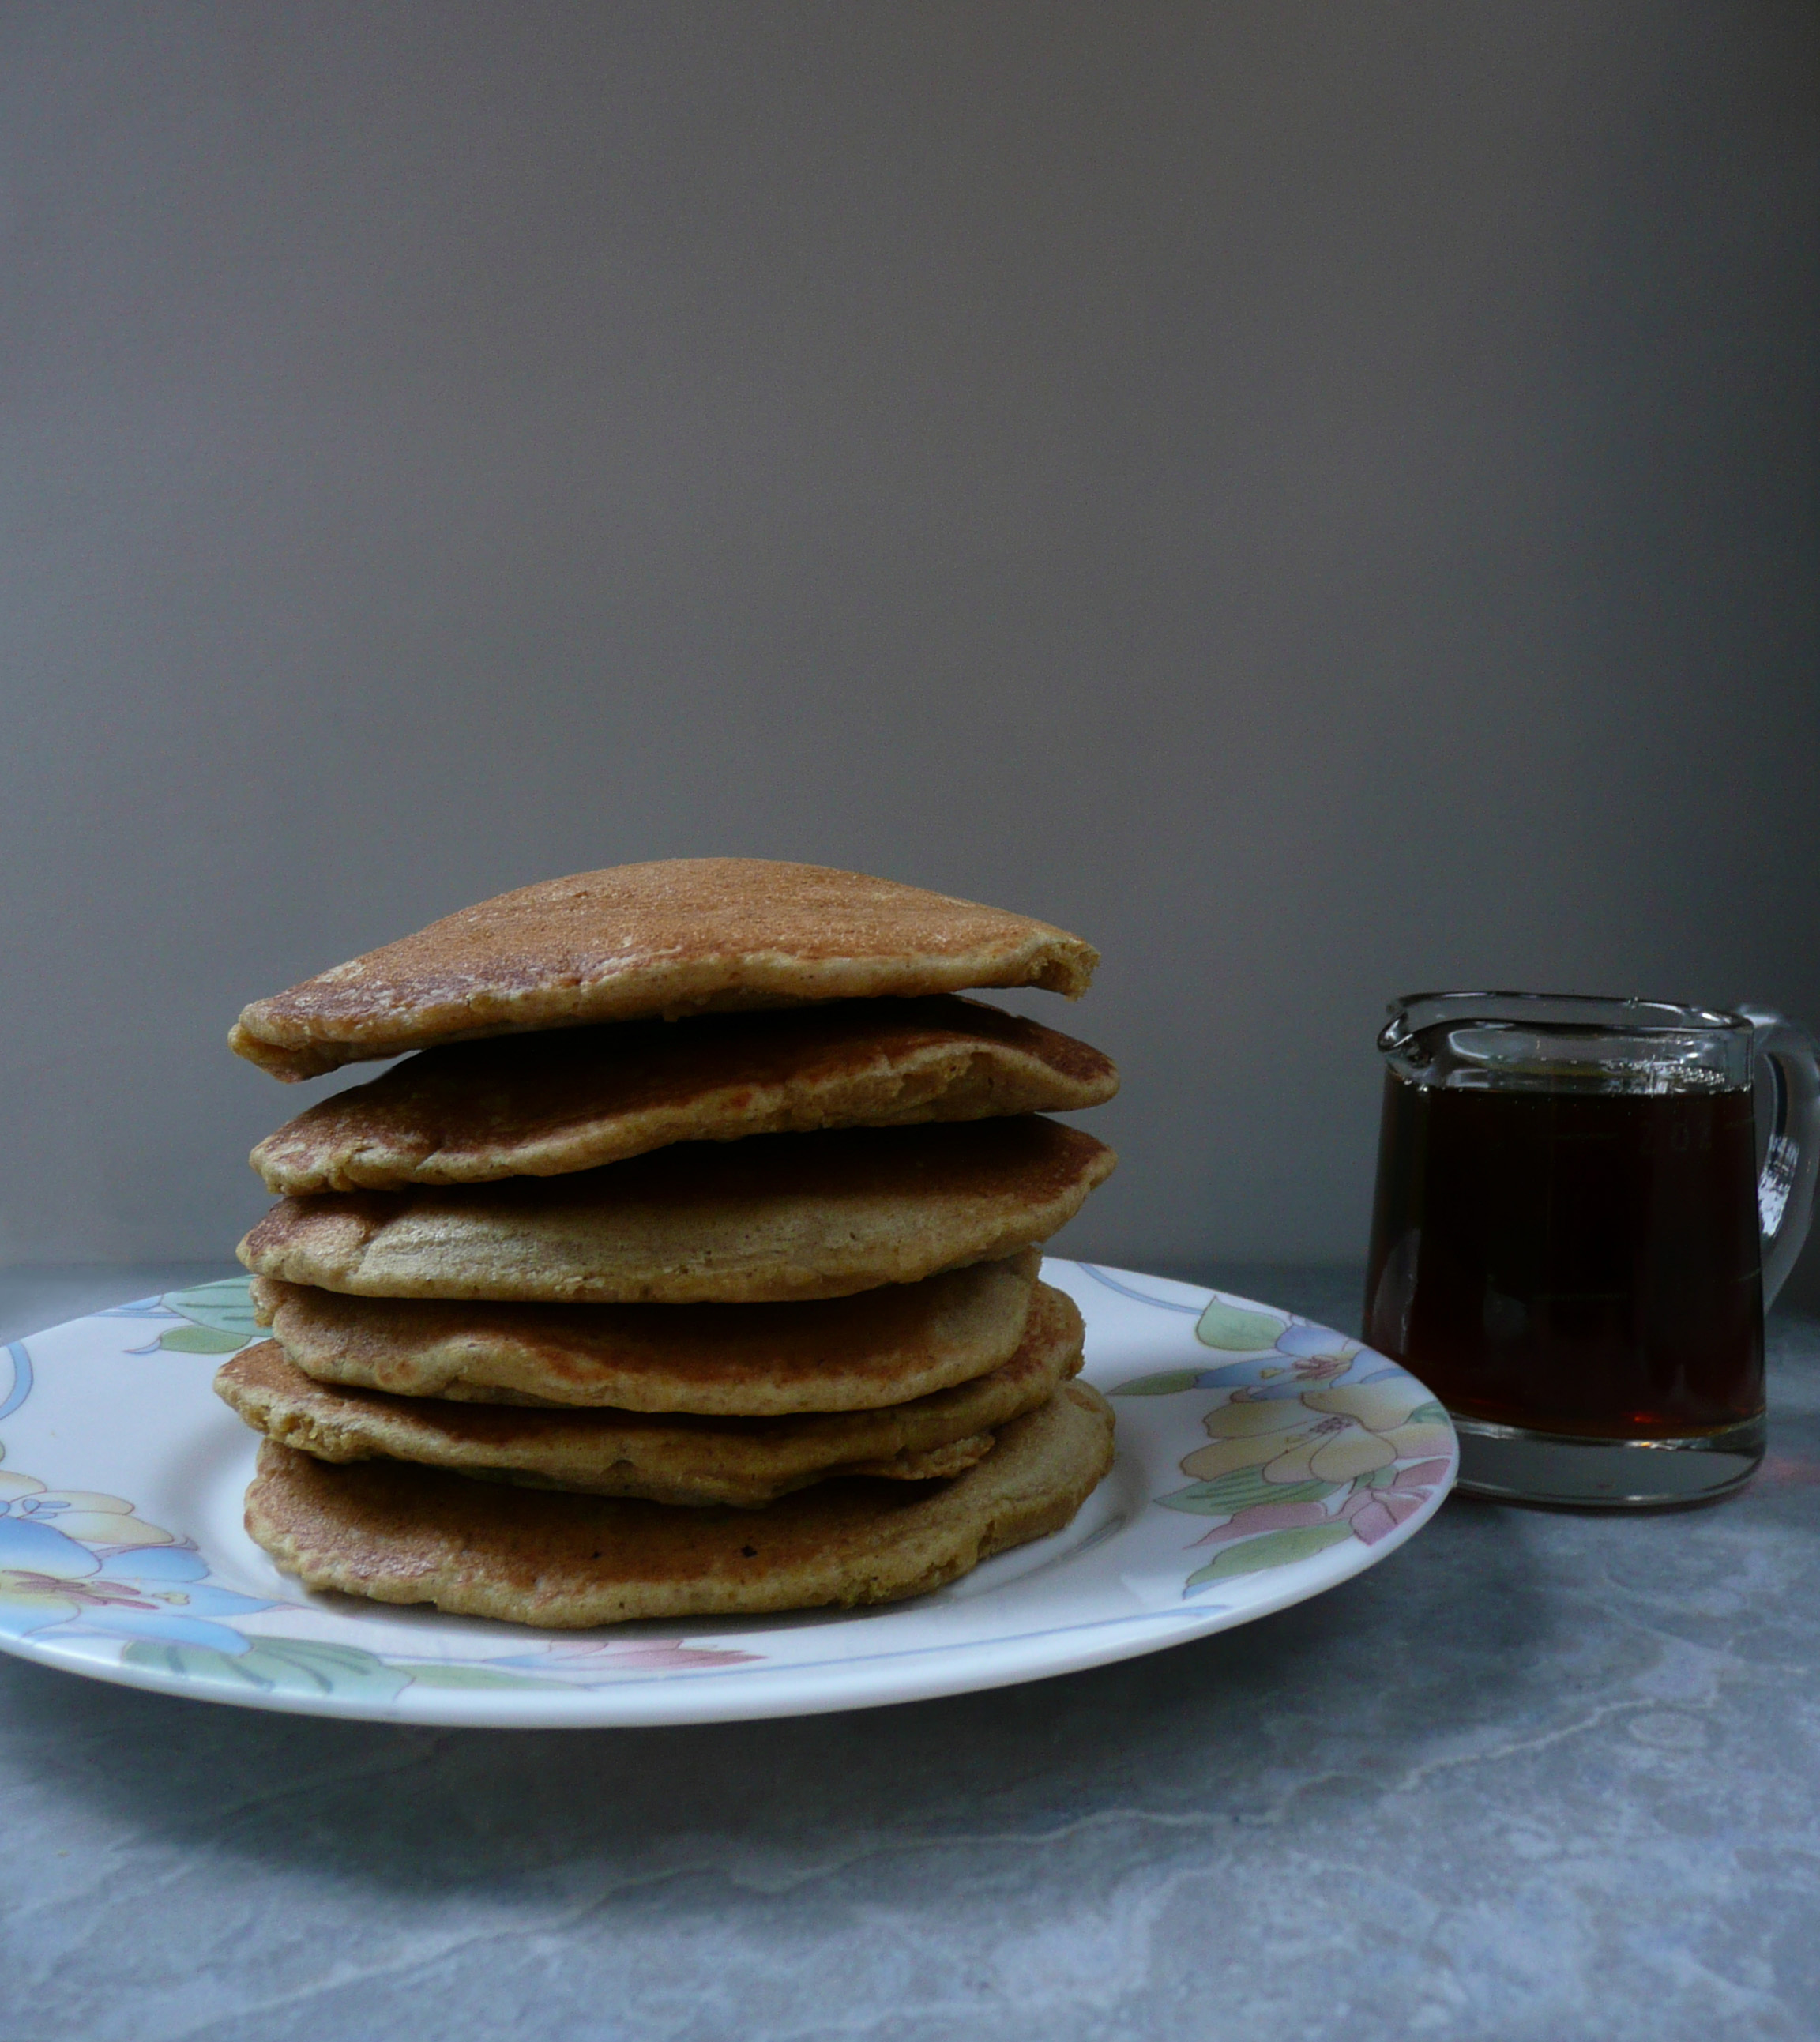
(These are the vegan pancakes, made with maple syrup)

When I first started on this gluten-free, food sensitivity journey, I found out that I couldn’t tolerate many of the ingredients in store bought gluten-free flour mixes.

And I missed pancakes.

pancake perfected
I missed eating them with maple syrup, and fresh peaches in the summer time. I missed eating them them with strawberries and blueberries. Pancakes are a very nostalgic and American food, and it really felt like I was missing out by not being able to eat them.

It took me a year and a half to get this pancake recipe perfect, but I’m honestly so glad that I kept at it until I figured it out. These pancakes are wonderful! They are slightly crispy on the outside, and pillowy soft on the inside. They are not gummy at all.

pancake stack cropped- corner fixed

They are made from simple ingredients, and cost very little to make.

The first time I finally figured out this recipe, I flipped over the first pancake and my heart skipped a beat when I saw how beautiful and golden that little pancake was. I had finally gotten it right, and it was so exciting!

P1070032 corner fixed

(The non-gummy cross section of the pancakes).

They are perfectly sweet, so you don’t absolutely need to drizzle over more maple syrup when you serve them, but you can of course! Especially if you like your pancakes extra sweet.

They are pretty hearty little pancakes and very filling. Each batch serves about 2 people. I have been known to make extras, and then eat them out of the fridge cold when I was too tired to think of something else to eat.

They work great for this! Especially after a long day if you’re being tempted by the siren call of those cookies you stashed away in the cupboard from your pre-gluten free days. You can eat these instead, and not feel ill afterwards.

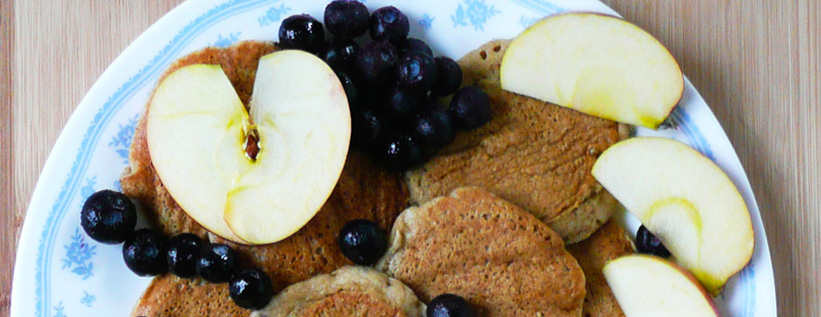
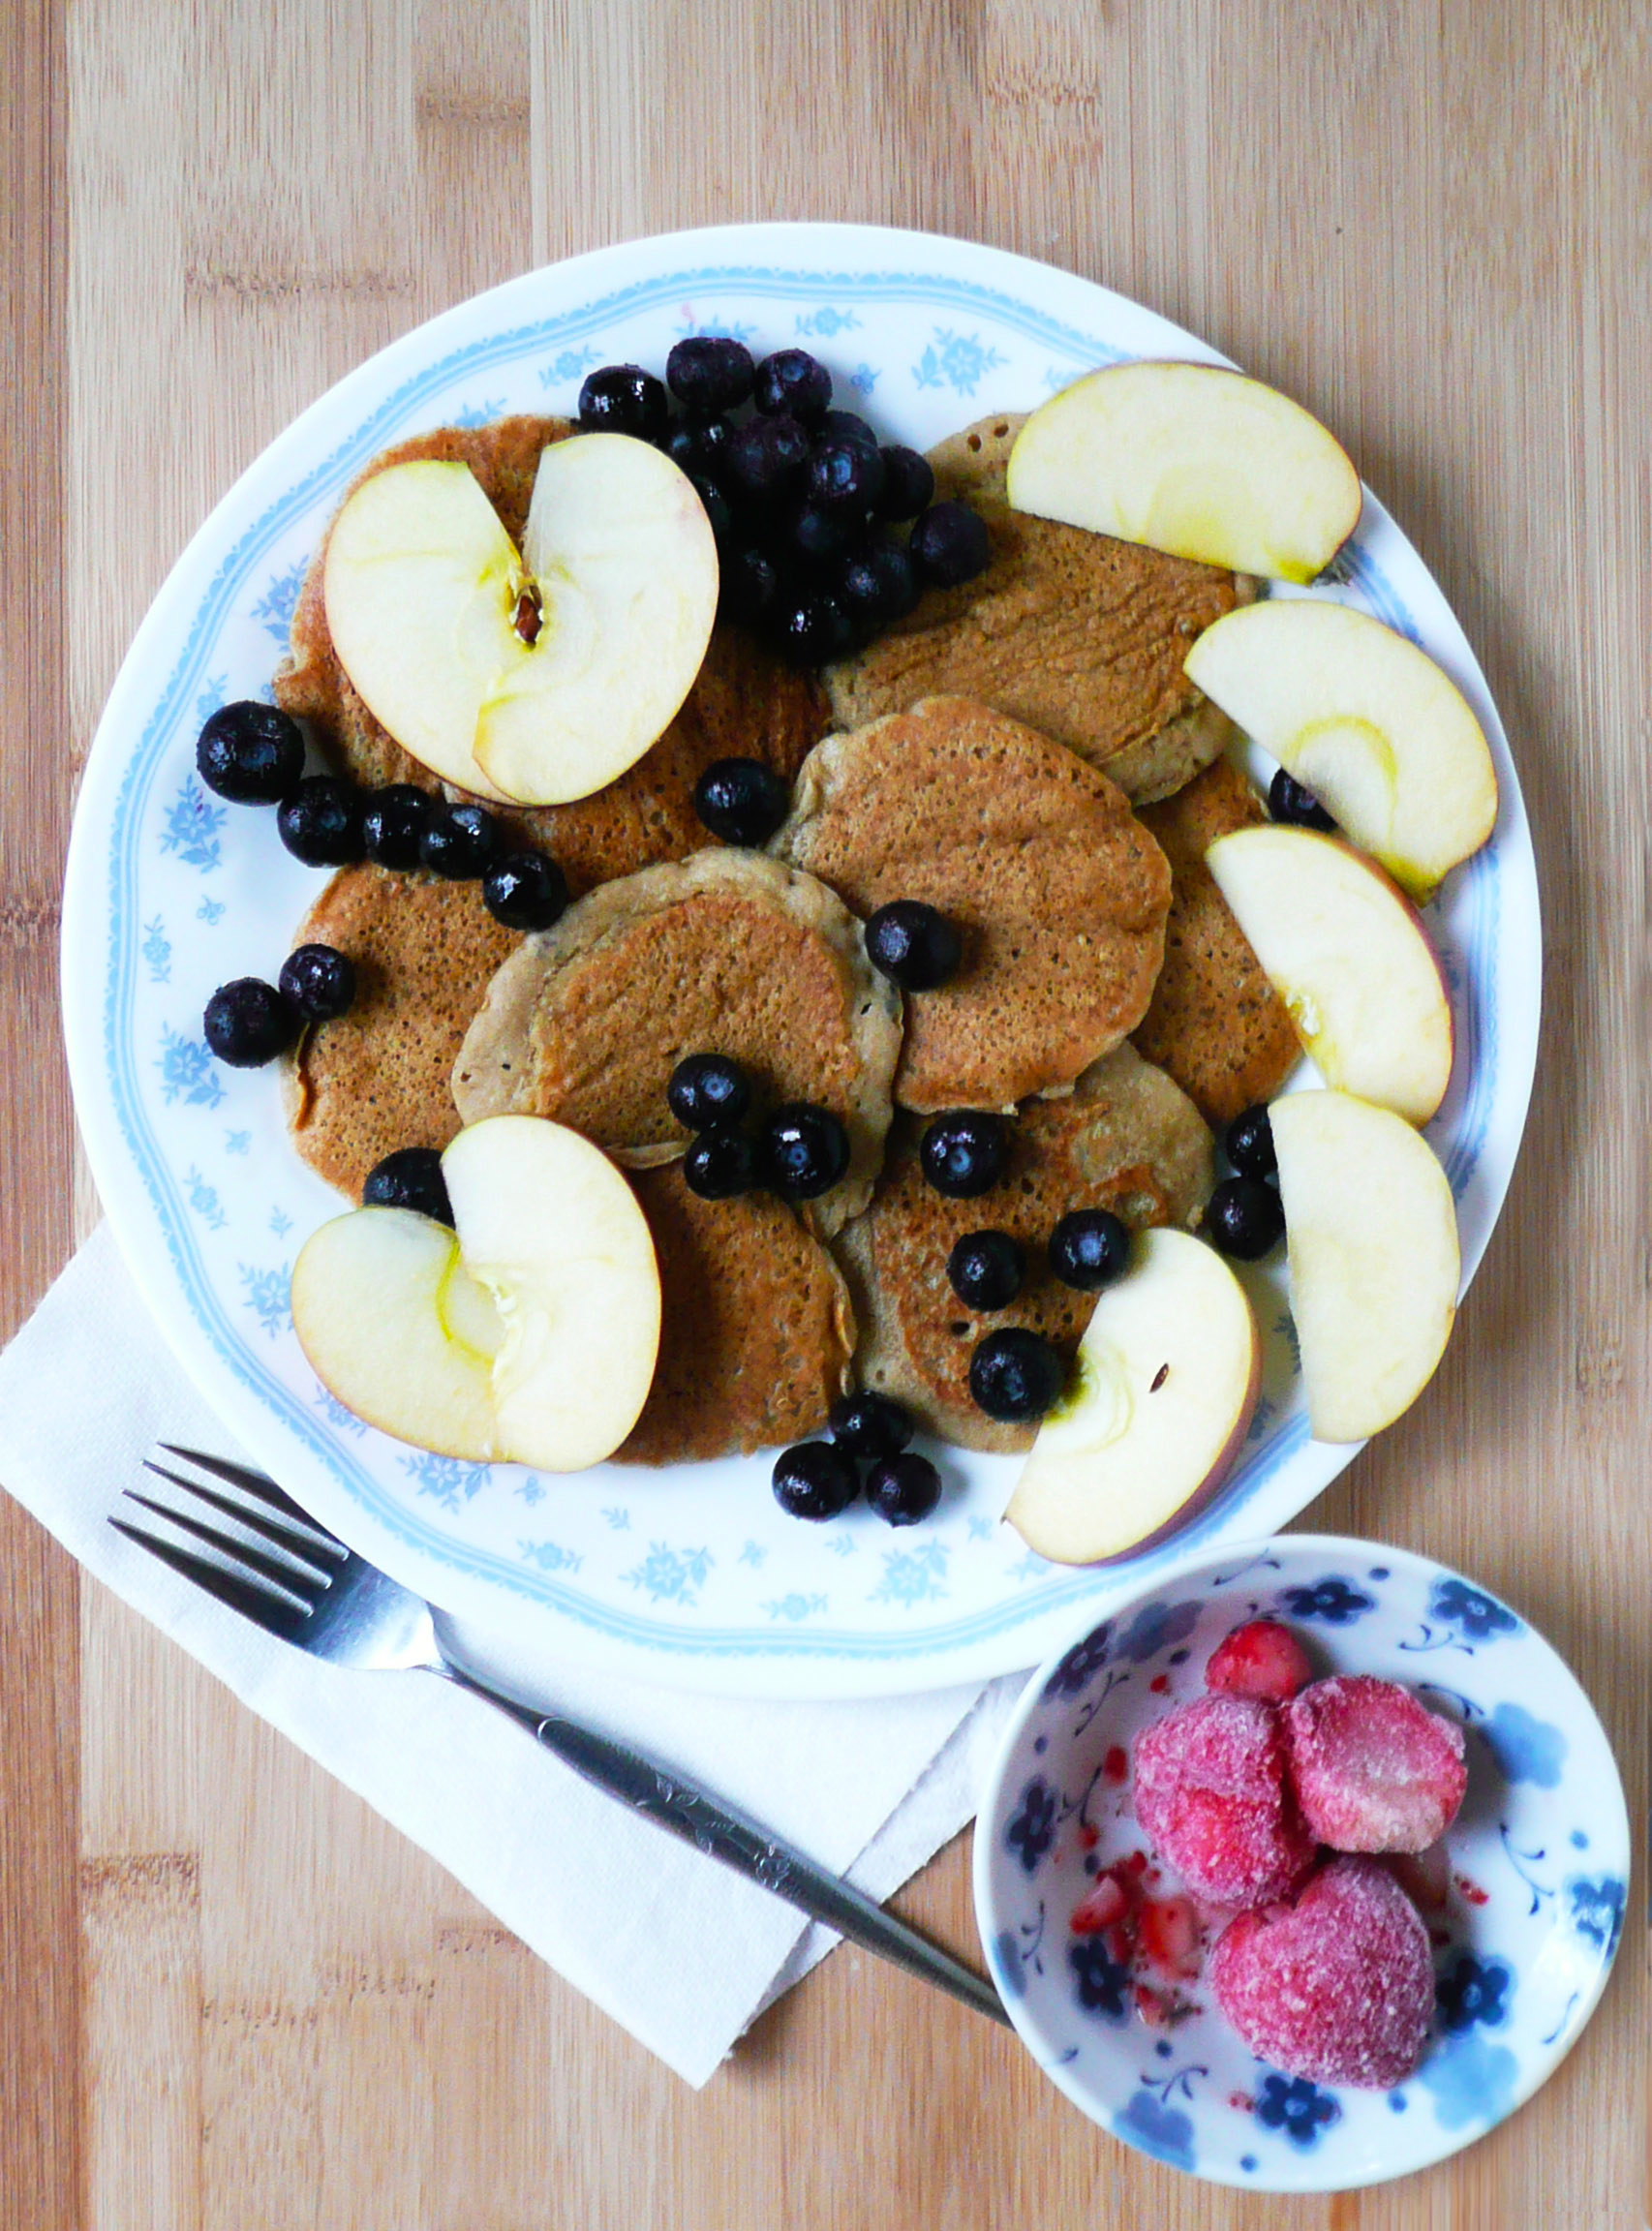
You can pack a few of them in a little Tupperware container with some berries (fresh or frozen is fine) for breakfast. They heat up well in a toaster oven as well.


The Very Best Gluten-Free Oat flour Pancakes

Makes 10 pancakes (about 2 servings)

Ingredients

200 gm oat flour – or about 2 1/4 cup + 3.5 tbsp by volume *

scant ½ tsp of baking soda

tiny pinch of salt


1/4 cup of maple syrup

1/4 cup tbsp of melted coconut oil

2 eggs **

½ cup of water

1.5 tbsp of apple cider vinegar


Instructions

1. Sift together the oat flour, baking soda and salt.

2. In a separate bowl stir together the water, maple syrup, vinegar, eggs and the melted coconut oil.

3. Pour the wet mix into the dry, and stir this altogether until pretty smooth. Set this mixture to the side, and set a timer for 15 minutes.

During this time, make your stainless steel pan non-stick.

4. When there’s about 3 minutes left on the timer, start to heat up your pan.

If medium heat on your burner is a 5, set the heat to 4. You want to be just a little lower than medium heat.

5. When the timer goes off, give your batter a good stir (no gluten means not having to worry about over-mixing this batter).

Spoon 2 tbsp of pancake batter onto your pan for each pancake, and use the back of your spoon to gently spread the batter into a little circle, just to smooth out the shape of your pancake.

Cook the pancakes 1 min to 1.5 minutes on the first side until you see small bubbles forming on the surface of the pancake, and the sides have firmed up.

Flip the pancakes over and cook another 20-30 seconds until they are a pale golden brown, then stack the pancakes on a plate to the side. I usually cook 2 pancakes at a time so that I have room to flip them (I cook them in a 10 inch skillet). If the pancakes start to brown too fast, turn your heat down a little and cook them for a shorter amount of time on the first side.

The batter should be a little on the thick side so that the pancakes cook up nice and fluffy.

If you like thinner pancakes, you can add about 1-2 tbsp of water to the mix to thin it out. If the batter is too thin, stir in a little oat flour to thicken the batter up again.

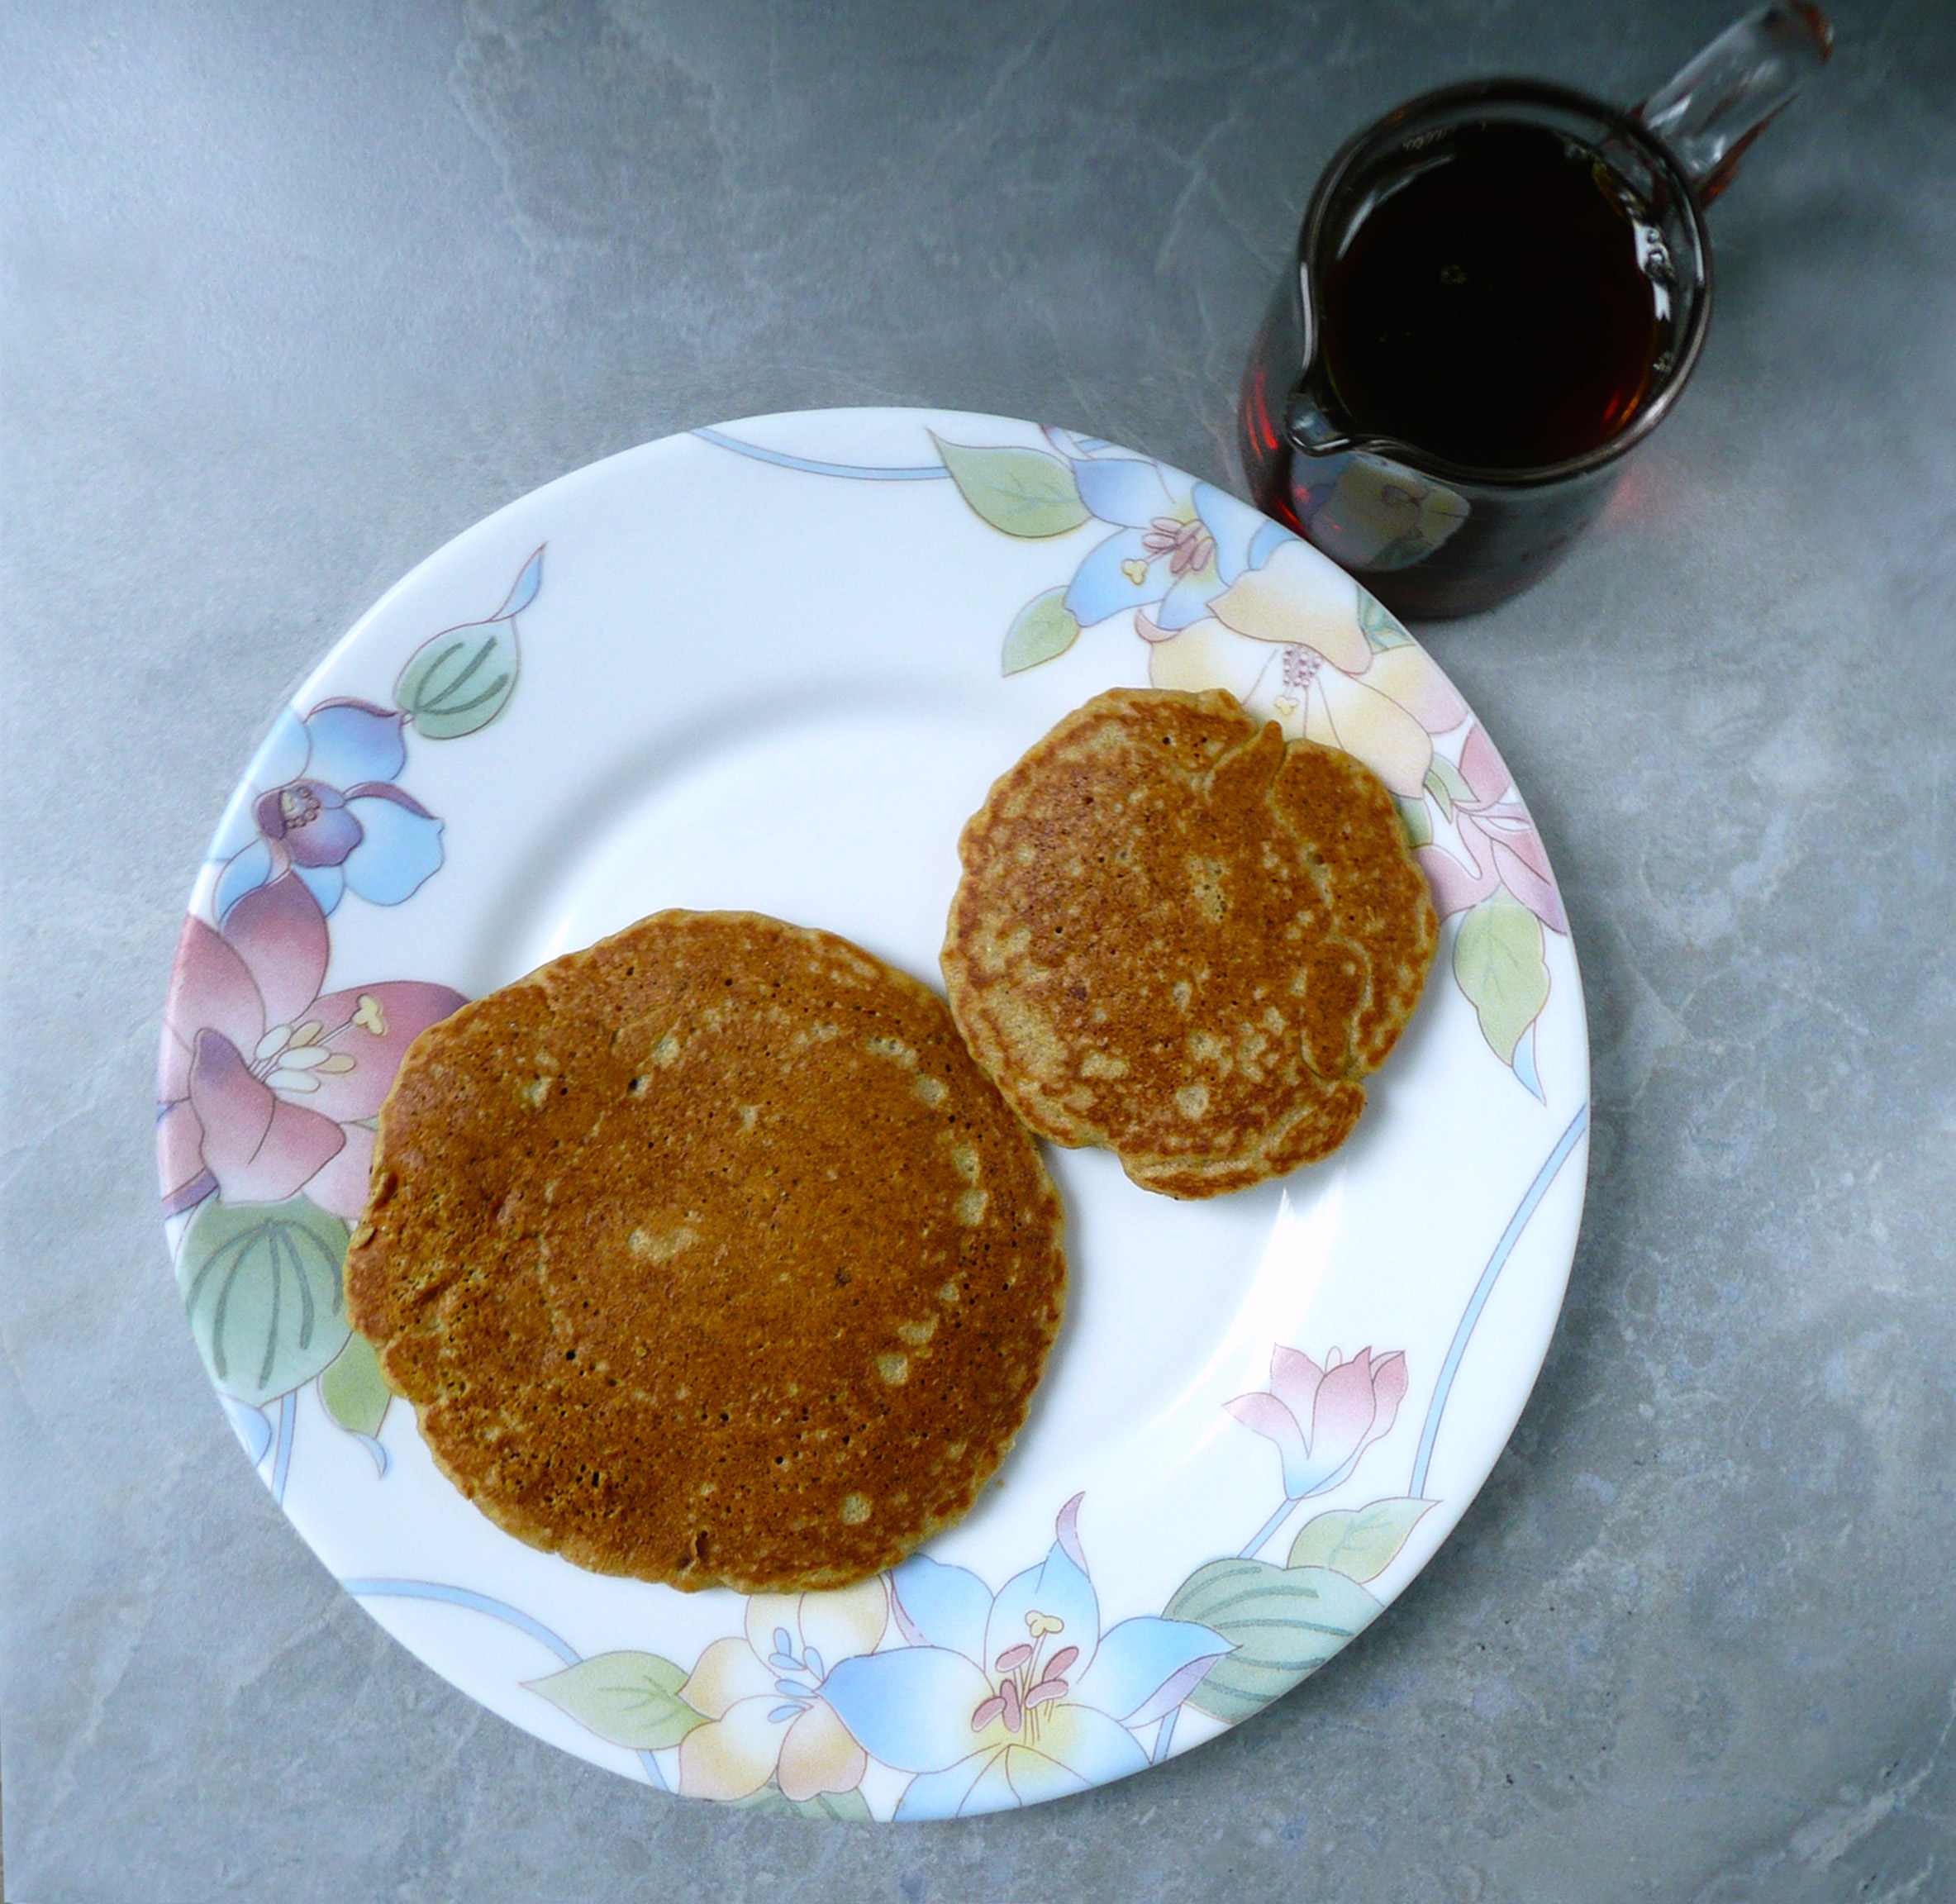
If you use 2 tbsp of batter per pancake, then they end up about 4 inches in diameter. You can make the pancakes larger by using more batter, and adjusting the cooking time.


pancake duo closeup

(Adult Pancake – 2 tbsp batter, and Baby Pancake – 1 tbsp batter).

* Notes – Ideally you would weigh out the oat flour, but measuring it by cups and tablespoons will work in a pinch.

Costco sells organic maple syrup for $12 – $13 / liter. The oats I grind myself in a blender (wearing earplugs, because it can be noisy). Don’t use a food processor to grind the oats, because it won’t be able to grind the flour fine enough. I put any extra oat flour into an airtight container and use it for other recipes.

** Substitutions – you can sub white vinegar for apple cider vinegar, and any neutral flavored oil for the coconut oil. You can also swap out a few tablespoons of maple syrup for water if you want them less sweet. The maple syrup just gives the pancakes a mild sweetness and a nice brown pancake color.

***Egg-free and Vegan versions – This pancake recipe is the gift that keeps on giving. It continues to amaze me every time I eat them, and make them with or without eggs.

To make them egg-free, just swap out the eggs for an extra 1/4 cup of water per egg. The texture isn’t quite as fluffy as when you use the egg, but definitely still respectable, and much better than when I tried to use a banana to bind the pancakes instead.

I’ve also made a version where I swapped out the maple syrup for 4 tbsp of honey, and used an extra 1/2 cup of water instead of the 2 eggs. They were very good as well, and the honey also acts a little as a binder.

If you make the pancakes egg free, use 1 tbsp of batter for each pancake instead. Making the pancakes smaller makes it easier for them to cook through, and you’ll get a better texture than if you made them larger. I was very surprised at how beautiful the honey egg free pancakes were that I made today. They were a beautiful light golden brown when I flipped them over, and I was happily shocked that it worked as well as it did.


I served the honey ones today with a little jam that I made from just cooking down some frozen peaches, blackberries, blueberries and a dash of maple syrup over medium heat until thickened. It was so good!


two pancakes perfected

It’s amazing how much joy a pancake recipe can bring. However you make these pancakes, I hope that you enjoy them and get to share them with someone that you love.

Let me know how the recipe works out for you.

Happy Eating!

apple tarts

Apple Tarts – Dairy Free, Gluten Free, Vegan

P1060750-2

Happy Thanksgiving!

This is a bonus recipe, my gift to you for Thanksgiving! I hope that your family will enjoy them as much as my family does.

Apple tarts are full of fall flavors, and conjure up happy memories (or simply lovely daydreams) of wearing plaid (lots of plaid), and being bundled up in warm hats, scarves and mittens, and going to the local orchard for a fun day of apple pickin’ with friends and family.

These tarts are simple to make, they just require about 35 minutes of your time, and a bit of stirring. I made up a batch of apple filling last night, and it’s just sitting in the fridge as we speak. I’ll spoon it into the tart crusts and top them with some cashew whipped cream right before serving.

You can easily double the batch to make the filling for 12 tarts, and I’ll leave the measurements for 12 tarts at the bottom of post, just in case you need them. You may have to slightly adjust the cooking times for the bigger batch.

Apple Tarts

Makes 6

Ingredients

2 Fuji Apples – cut into 1/4 inch dice (about 2 1/2 cups)

1/2 cup maple syrup

1 1/2 cups water


1/4 level tsp ground cinnamon

3/4 tsp vanilla extract

2 tsp avocado oil (or any neutral flavored oil)


Instructions

1. In a medium saucepan (if doubling the recipe, us a large pot instead) cook the apples, water and maple syrup over medium high heat for 20 minutes, stirring frequently.

Wear an oven mitt and a shirt with long sleeves to stir the mixture, as the steam from the cooking apples can be hot.

2. Turn the heat to medium, and cook for another 10 minutes stirring constantly.

Don’t touch the mixture with your hands during the final 10 minutes, or until it cools, as we’re basically making a caramel with apples in it. You don’t want to burn yourself from the hot sugar mixture.

The pieces of diced apple will become golden brown, and there shouldn’t be any more pools of liquid in the pan. The mixture will become more difficult to stir, and lots of tiny tiny bubbles will form on the bottom of the pan while you stir.

The mixture is done cooking when you can turn your spoon to the side and most of the apple mixture on the spoon will stick to the spoon instead of falling back into the pot.

3. Take the pan off the heat, and carefully scrape the mixture into a bowl and allow to cool.


P1060779

I kinda love how the middle tart almost looks like an apple pie version of a golden snitch. An apple tart with the wings of golden (gluten free) pie crust!

4. Add the cinnamon, vanilla extract, and oil to the cooled apple mixture and stir to combine. Spoon about 2 tbsp of the apple mixture onto each tart shell, and top with a dollop of cashew whipped cream. Serve immediately.


For 12 tarts

4 Fuji Apples – cut into 1/4 inch dice (about 5 cups)

1 cup maple syrup

3 cups water

1/2 level tsp ground cinnamon

1 1/2 tsp vanilla extract

4 tsp avocado oil (or any neutral flavored oil)


cornbread dressing - stuffing

Southern Style Cornbread Dressing – Gluten and Dairy Free Stuffing Recipe

P1060540- 2

There are many types of incredible stuffing, but Southern Style Cornbread Dressing is my absolute favorite. The taste of this brings back so many happy memories of friends and family over the years, and always brings a smile to my face. It’s slightly crispy on the top and moist and creamy in the middle, and it’s definitely a crowd-pleaser.

P1060543-2

You can either bake this in a muffin tin (will make 12 muffin size portions of stuffing) or bake it in a 13 x 9 casserole dish. The baking time will be the same either way. I would use the muffin pan if you’re planning on making the stuffing ahead or want to freeze individual portions to enjoy later.

Southern Style Cornbread Dressing – Gluten Free
Makes 4-6 servings

Adapted from this recipe.

For the Cornbread

Ingredients

¼ level cup + 1/3 level cup of oat flour*

1 level cup + 3 tbsp. of cornmeal **

¾ level tsp. baking soda

1 tbsp. ground flax seed (or add another ½ a beaten egg to the wet ingredients)

4.5 tbsp. avocado oil – or any neutral flavored oil

2 tbsp. apple cider vinegar (or white vinegar)

1 ½ tsp. maple syrup

1 cup of water

1 egg


Instructions

1. Preheat the oven to 425. Grease and flour a 8 x 8 baking dish with oat flour and any neutral flavored oil.

2. Sift the cornmeal, oat flour, baking soda, and ground flax seed in a large mixing bowl.

3. Stir together the wet ingredients until well combined. Add the wet into the dry and stir to combine. Pour into the 8×8 baking dish.

4. Bake at 425 for 30 minutes until golden brown. Set the cornbread aside to cool.

Notes – * I grind oats into oat flour using a blender. Don’t grind the oats in a food processor because the flour won’t be fine enough.

Any extra oat flour (or ground flax seed) I don’t use in the recipe goes into an airtight container and I use it for another recipe.

**If you’re allergic to corn, you could try substituting brown rice flour for the cornmeal at a 1:1 ratio. I didn’t test this recipe specifically with this substitution, so I’m not 100% sure this will work, but last year I made a cornbread dressing with brown rice flour instead of cornmeal and it came out great. You couldn’t tell the difference at all.


For the Cornbread Dressing

3 tbsp. olive oil

½ cup diced onion

¾ cup diced celery

1 egg

2 cups of chicken broth (homemade or store bought)

¾ tsp. pepper

¾ tsp. dried rubbed sage

¼ + 1/8 tsp. sea salt

Instructions

1. Sauté the diced onion and celery in the olive oil over medium heat until tender, about 12 minutes.

2. Add the sage and sauté 1 minute longer.

3. Crumble the cornbread into a large mixing bowl. Add the cooked vegetables, salt, pepper, sage and chicken broth to the mixture. Taste for seasoning, and add more salt and pepper if needed.

4. Stir in the beaten egg, then cover and chill the mixture overnight (at least 8 hours).

5. Preheat the oven to 375. Grease and flour your muffin tin or 13 x 9 baking dish with oil and oat flour. Pour the mixture into the pan and bake uncovered for 30-40 minutes until golden brown on top.

If your making this in a muffin pan, let the stuffing cool in the muffin pan for 30 -45 minutes so that the stuffing has some time to firm up and hold it’s shape. Run a butter knife around the edges to loosen them, pop the stuffing muffins out and refrigerate. Reheat them to serve.

If you’re putting a dish straight from the fridge into the oven, put the fridge-cold dish into the cold oven (so that the ceramic dish does shatter from the temperature change between the cold fridge and the hot oven). Then preheat your oven with the dish inside so that it warms up with the oven and bake as usual.

You can reheat any leftover stuffing by covering the dish tightly with foil, and baking at 300 degrees for 45 minutes until warmed through.

pumpkin tarts

Pumpkin Tarts – Gluten Free, Dairy Free, Vegan

P1060726
No Thanksgiving would complete without pumpkin pie!

When I was a kid, it was my job every year to make the classic pumpkin pie recipe from our well-loved Betty Crocker Cookbook. I made that same recipe all the way through high school and college, and missed it terribly when I found out that I couldn’t eat it anymore.

This is a quicker version, and is gluten, dairy and egg free. It’s rich, and perfectly spiced. You can top it with some cashew whipped cream for that classic pumpkin pie look and taste.

Also, another plus to this recipe is that you can secretly pretend that you’re at Hogwarts when you eat them.

You can make the filling ahead of time, and keep it in the fridge until you want to serve it.

The only to keep in mind is that you have to make the cashew whipped cream before you make this recipe because the few tablespoons of cashew cream give the pumpkin filling a lot of richness.

I’ll put the measurements for 12 tarts in case you’d like to double the recipe.


P1060805-2

Pumpkin Tarts
Makes 6 tarts

Ingredients

½ cup + 1 tbsp. + 1 tsp. pumpkin puree, or roasted sweet potato puree

3 tbsp. + 1 ½ tsp. maple syrup

2 tbsp. avocado oil or any neutral flavored oil


¾ level tsp cinnamon

¼ + 1/8 level tsp ground ginger

tiny pinch of cloves

pinch of salt

¼ tsp vanilla extract

1 tbsp. water

3 tbsp. cashew whipped cream


Instructions

1. Stir all the ingredients together. Top each tart shell with 2 tbsp. of the pumpkin pie filling, and a dollop of the cashew whipped cream. Serve.

For 12 tarts

Ingredients

1 cup + 2 tbsp. + 2 tsp. pumpkin puree, or roasted sweet potato puree

7 maple syrup

4 tbsp. avocado oil or any neutral flavored oil


1 ½ level tsp cinnamon

¾ level tsp ground ginger

pinch of cloves

2 pinches of salt


½ tsp vanilla extract

2 tbsp. water

6 tbsp. cashew whipped cream

mini pie crusts

Mini Pie Crusts – Dairy Free, Gluten Free, Vegan

P1060642

These tart shells are so cute and so full of possibilities! They can be filled with just about anything, and on their own they sort of taste like fortune cookies or waffle cones, but not quite as sweet. I snacked on a bunch of them while I was testing this recipe.

If you’re making mini-tarts for a party or celebration, I would the make a couple different pie fillings ahead of time, and then bake up a bunch of these tart shells the day I want to serve them. They have a crisper texture than normal pie shells, and I would fill them right before serving, as if the wet filling is in them too long then the bottoms of the tart shells can soften a bit and lose their crunch.

You can also set out bowls with a few different pie filling options like apple, pumpkin, pecan, or even a chocolate peppermint filling and people can top the tart shells with their filling of choice.

P1060723-2

I used a normal sized muffin tin (not a mini muffin tin). If you have to make them ahead of time, store them in an airtight container so that they retain most of their crunchiness.

Mini Pie Crusts

Makes 12 Tart shells.

Ingredients

6-8 tbsp. water

1 level tsp. psyllium husk powder*

1 tsp. vanilla extract

1 tbsp. + 1 tsp. olive oil

3 tbsp. maple syrup

1 cup of oat flour + 2 tbsp.**

Instructions

1. Preheat the oven to 375.

2. Grease and flour the muffin tin with olive oil and oat flour.

3. Stir together 6 tbsp of water with the psyllium husk powder. It will gel up quickly, and try to smush out as many lumps as you can. Let it sit for 5 minutes, and then stir in the vanilla, olive oil and maple syrup until well combined. Add in the oat flour and knead until a smooth dough forms.

If the dough is too sticky, let it sit for a minute. If the dough is still sticky, add a little oat flour and knead it through.

If the dough is too dry, add 1 tbsp. or water and knead it through. The dough should have the consistency of a soft sugar cookie dough and shouldn’t crack or break apart at all when you press on it.

4. Cut the top and sides off of a gallon size Ziploc back so that you have a large rectangle of plastic when you unfold it. Dip a paper towel in a little bit of olive oil and oil the inside of the plastic.

5. Divide the dough into 4 equal portions. Take one portion of the dough and roll it out between the two layers or oiled plastic until it’s just slightly thinner than 1/8 of an inch thick. Use a 3.5 inch wide round cookie cutter (I used the band off the top of wide mouth mason jar for this), to cut rounds out of the dough.

Peel the scrap dough away from the rounds. Peel the rounds away from the plastic and press them gently into the muffin pan. Repeat until you have 12 little tart shells ready to bake.

6. Prick the bottom of each tart shell with a fork 2-3 times, and bake the tart shells for 20-25 minutes until golden brown around the edges. Let them cool in the pan, then use a butter knife to pop them out of the muffin tin.

Fill with your favorite pie filling, add a dollop of cashew whipped cream if desired, and serve immediately.

Notes – *Psyllium husk powder gels like nothing else, and there’s no great substitute for it. I found mine in the bulk spice section of the local Fred Meyer, but Whole Foods, Trader Joes have been known to carry it as well. If it’s not in the natural foods, or bulk spice section, check the dietary supplement/ digestive health (where the Metamucil is) section of the store or pharmacy as it’s sometimes sold there as well.

** I grind oats into oat flour using a blender. Don’t grind the oats in a food processor because the flour won’t be fine enough.

Any extra oat flour I don’t use in the recipe goes into an airtight container and I use it for another recipe.