Sweet potatoes are one of my favorite vegetables, and they are super versatile. You can use them to make mini sweet potato pies, or sweet potato muffins (they taste like pumpkin bread), and they also taste great when sautéed with some onions, garlic and a drizzle of olive oil.
The one down side about sweet potatoes is that they can be very difficult to cut. They tend to roll around on the cutting board, and trying to cut them with a chef’s knife (even a very sharp one) can become a pretty risky situation fairly quickly.
Here’s the technique that I use to make cutting sweet potatoes a little easier.
You will need:
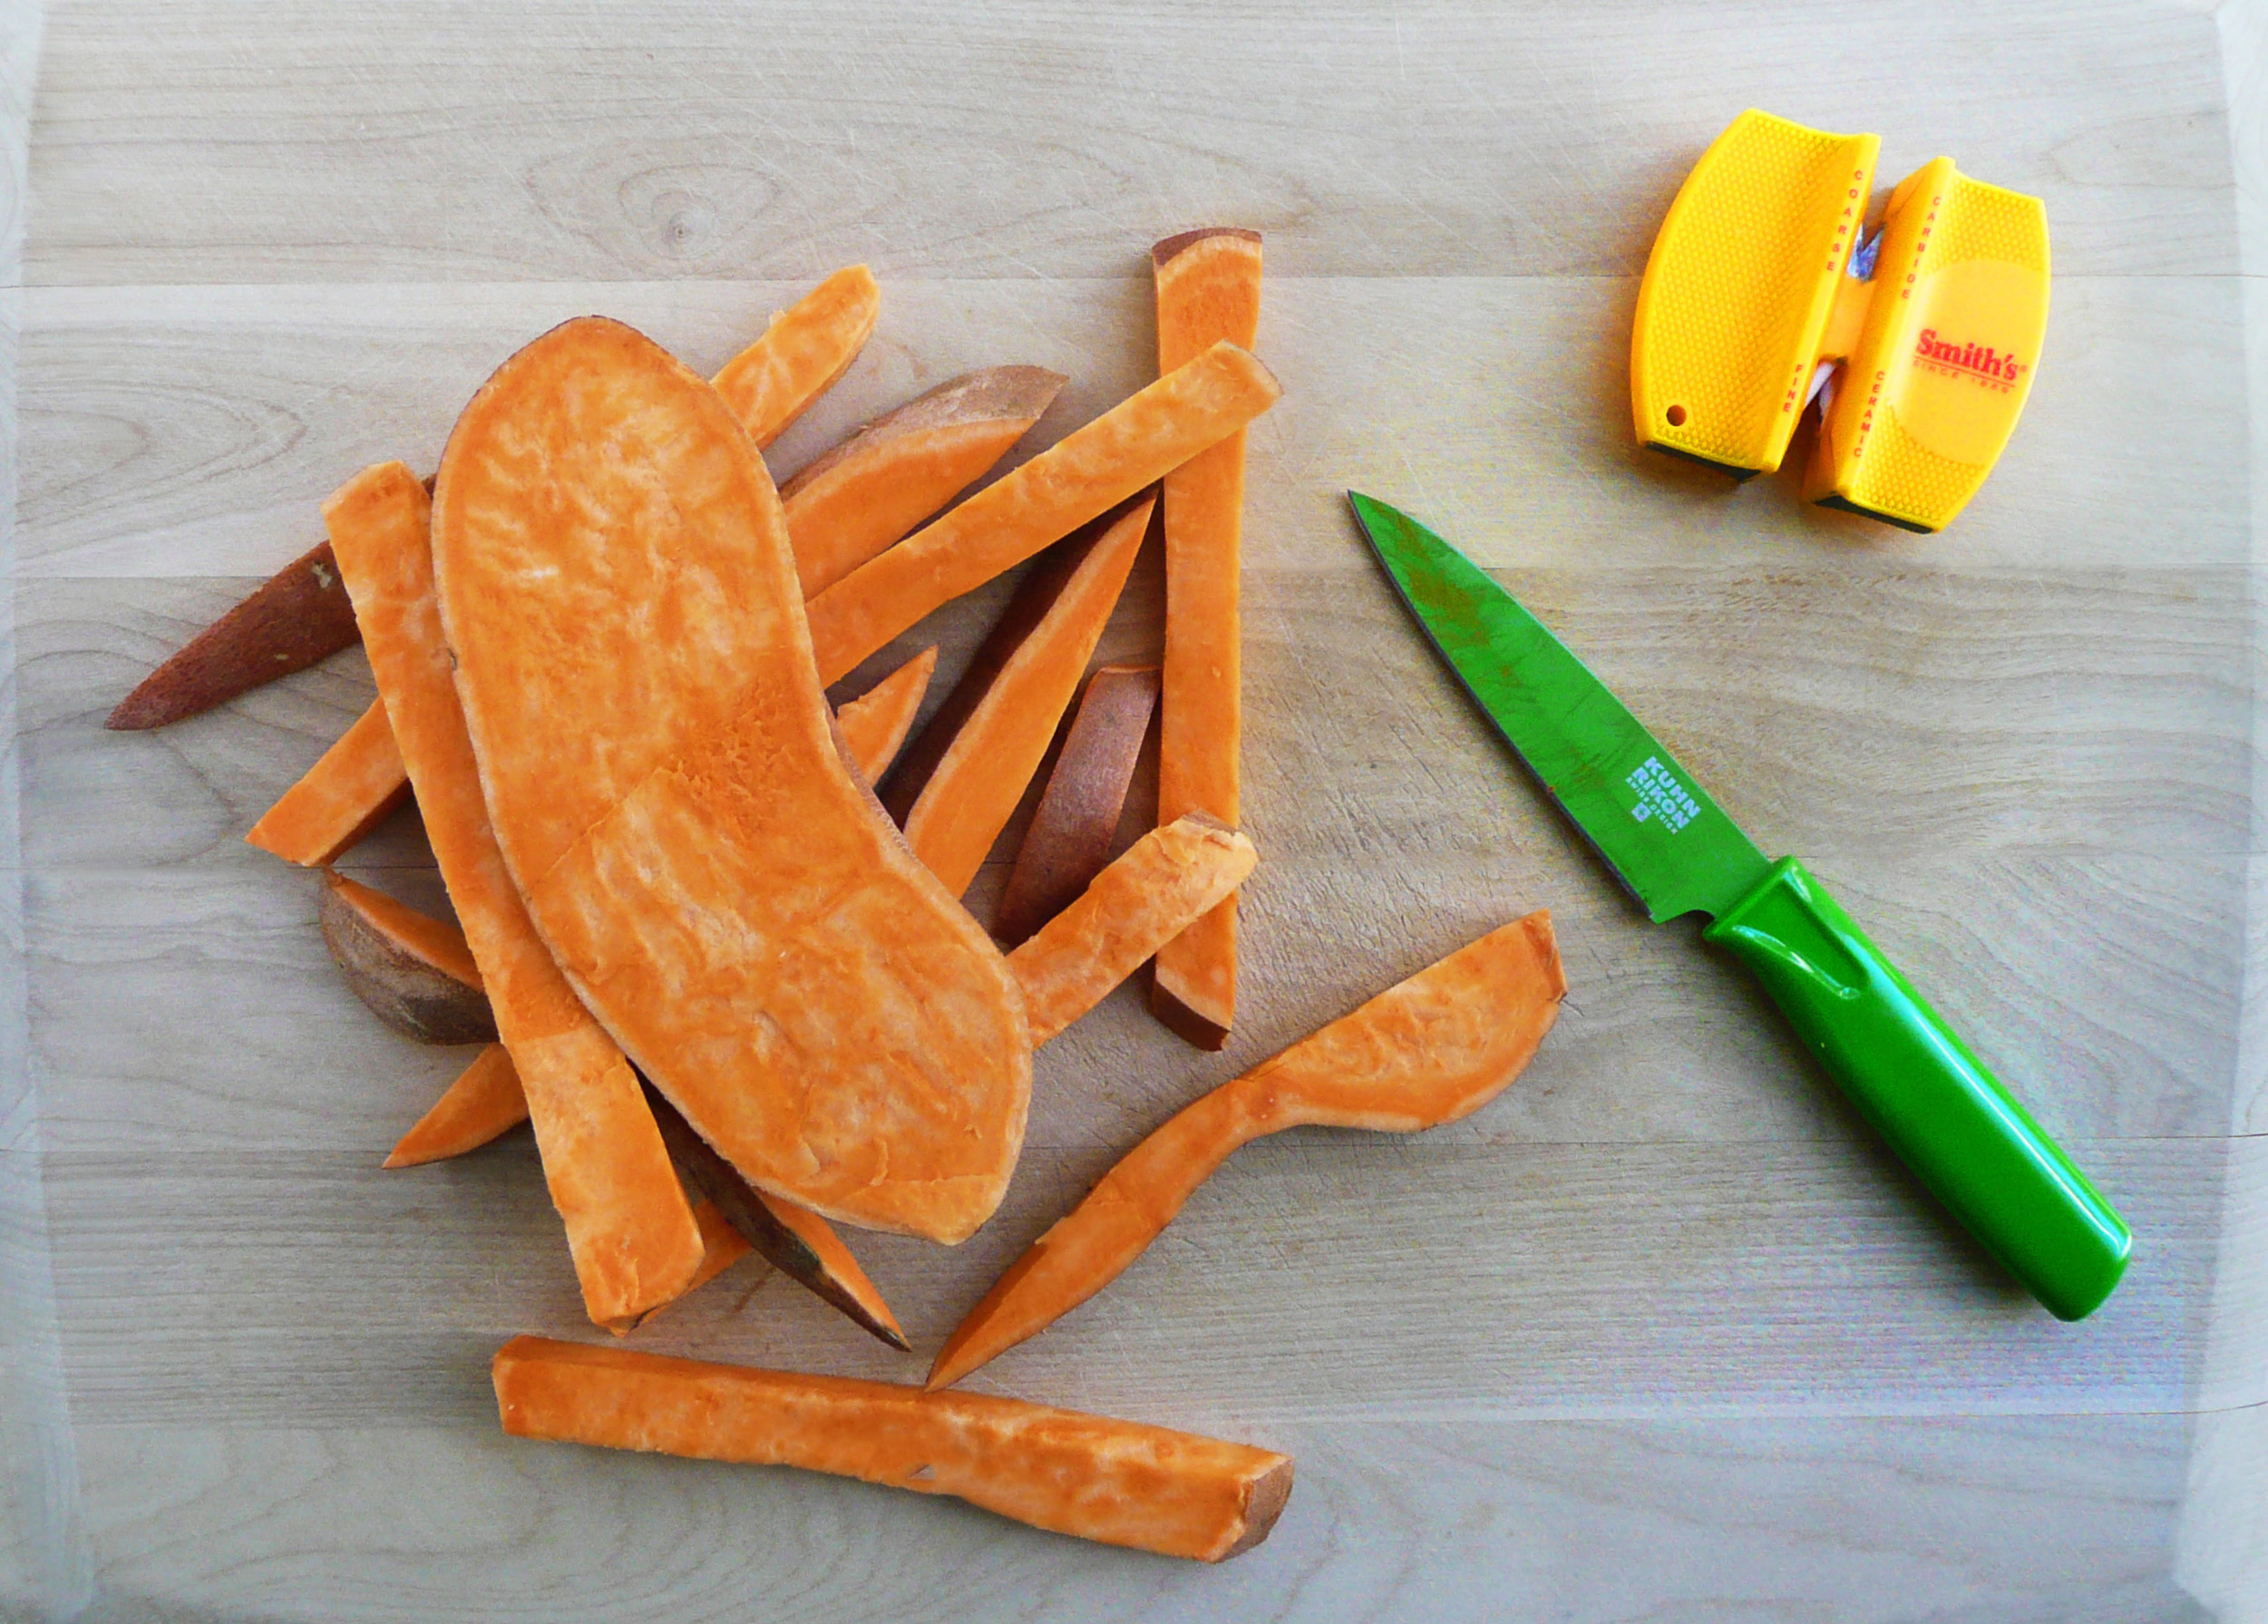
– a paring knife
– vegetable brush
– knife sharpener
– cutting board
– clean dish cloth or paper towel
Instructions
1. Give your sweet potatoes a good scrub with the vegetable brush and dry them off thoroughly with the dish cloth or paper towel. You want your sweet potatoes to be as dry as possible so that they don’t slip around on the cutting board. Set the sweet potatoes aside.
2. Sharpen your paring knife.
I have a little handheld knife sharpener (which isn’t the best, but gets the job done) and I run the paring knife through the carbide blades about 50 times and the ceramic rods about 30 times (if you have a better knife sharpener you probably won’t have to spend as much time sharpening your knife). Wash your knife with a little dish soap and carefully dry off the blade and the handle of the knife. You’ll also want to dry off your hands at this point so that you can get a good grip on the sweet potato while you’re cutting it.
You probably don’t need to sharpen your knife every time you cut a sweet potato, but it is a good idea too if you can. A sharp knife makes everything a little safer.
I also like using a paring knife over a chef’s knife for cutting sweet potatoes because it has a smaller blade, which means that there’s less force acting against your knife when you’re making your cuts.
3. If you want to peel your sweet potatoes, go ahead and do that now, but I usually keep the skin on the sweet potato just as a preference because it makes the sweet potatoes easier to grip when cutting.
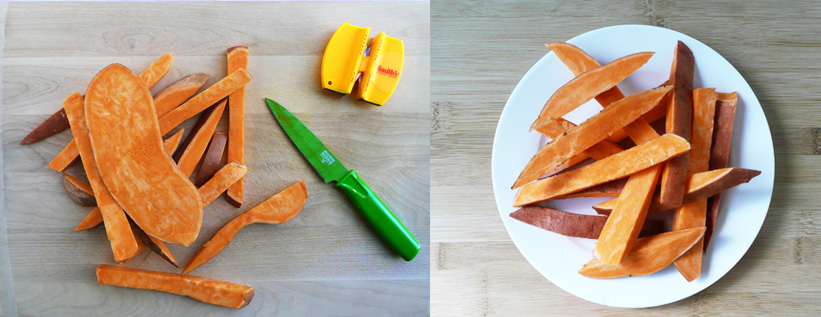
Hold the left side of the sweet potato firmly with your left hand and then slice about 1/2 inch off from one end of the sweet potato, turn it 180 degrees, and then slice 1/2 inch off the other end.
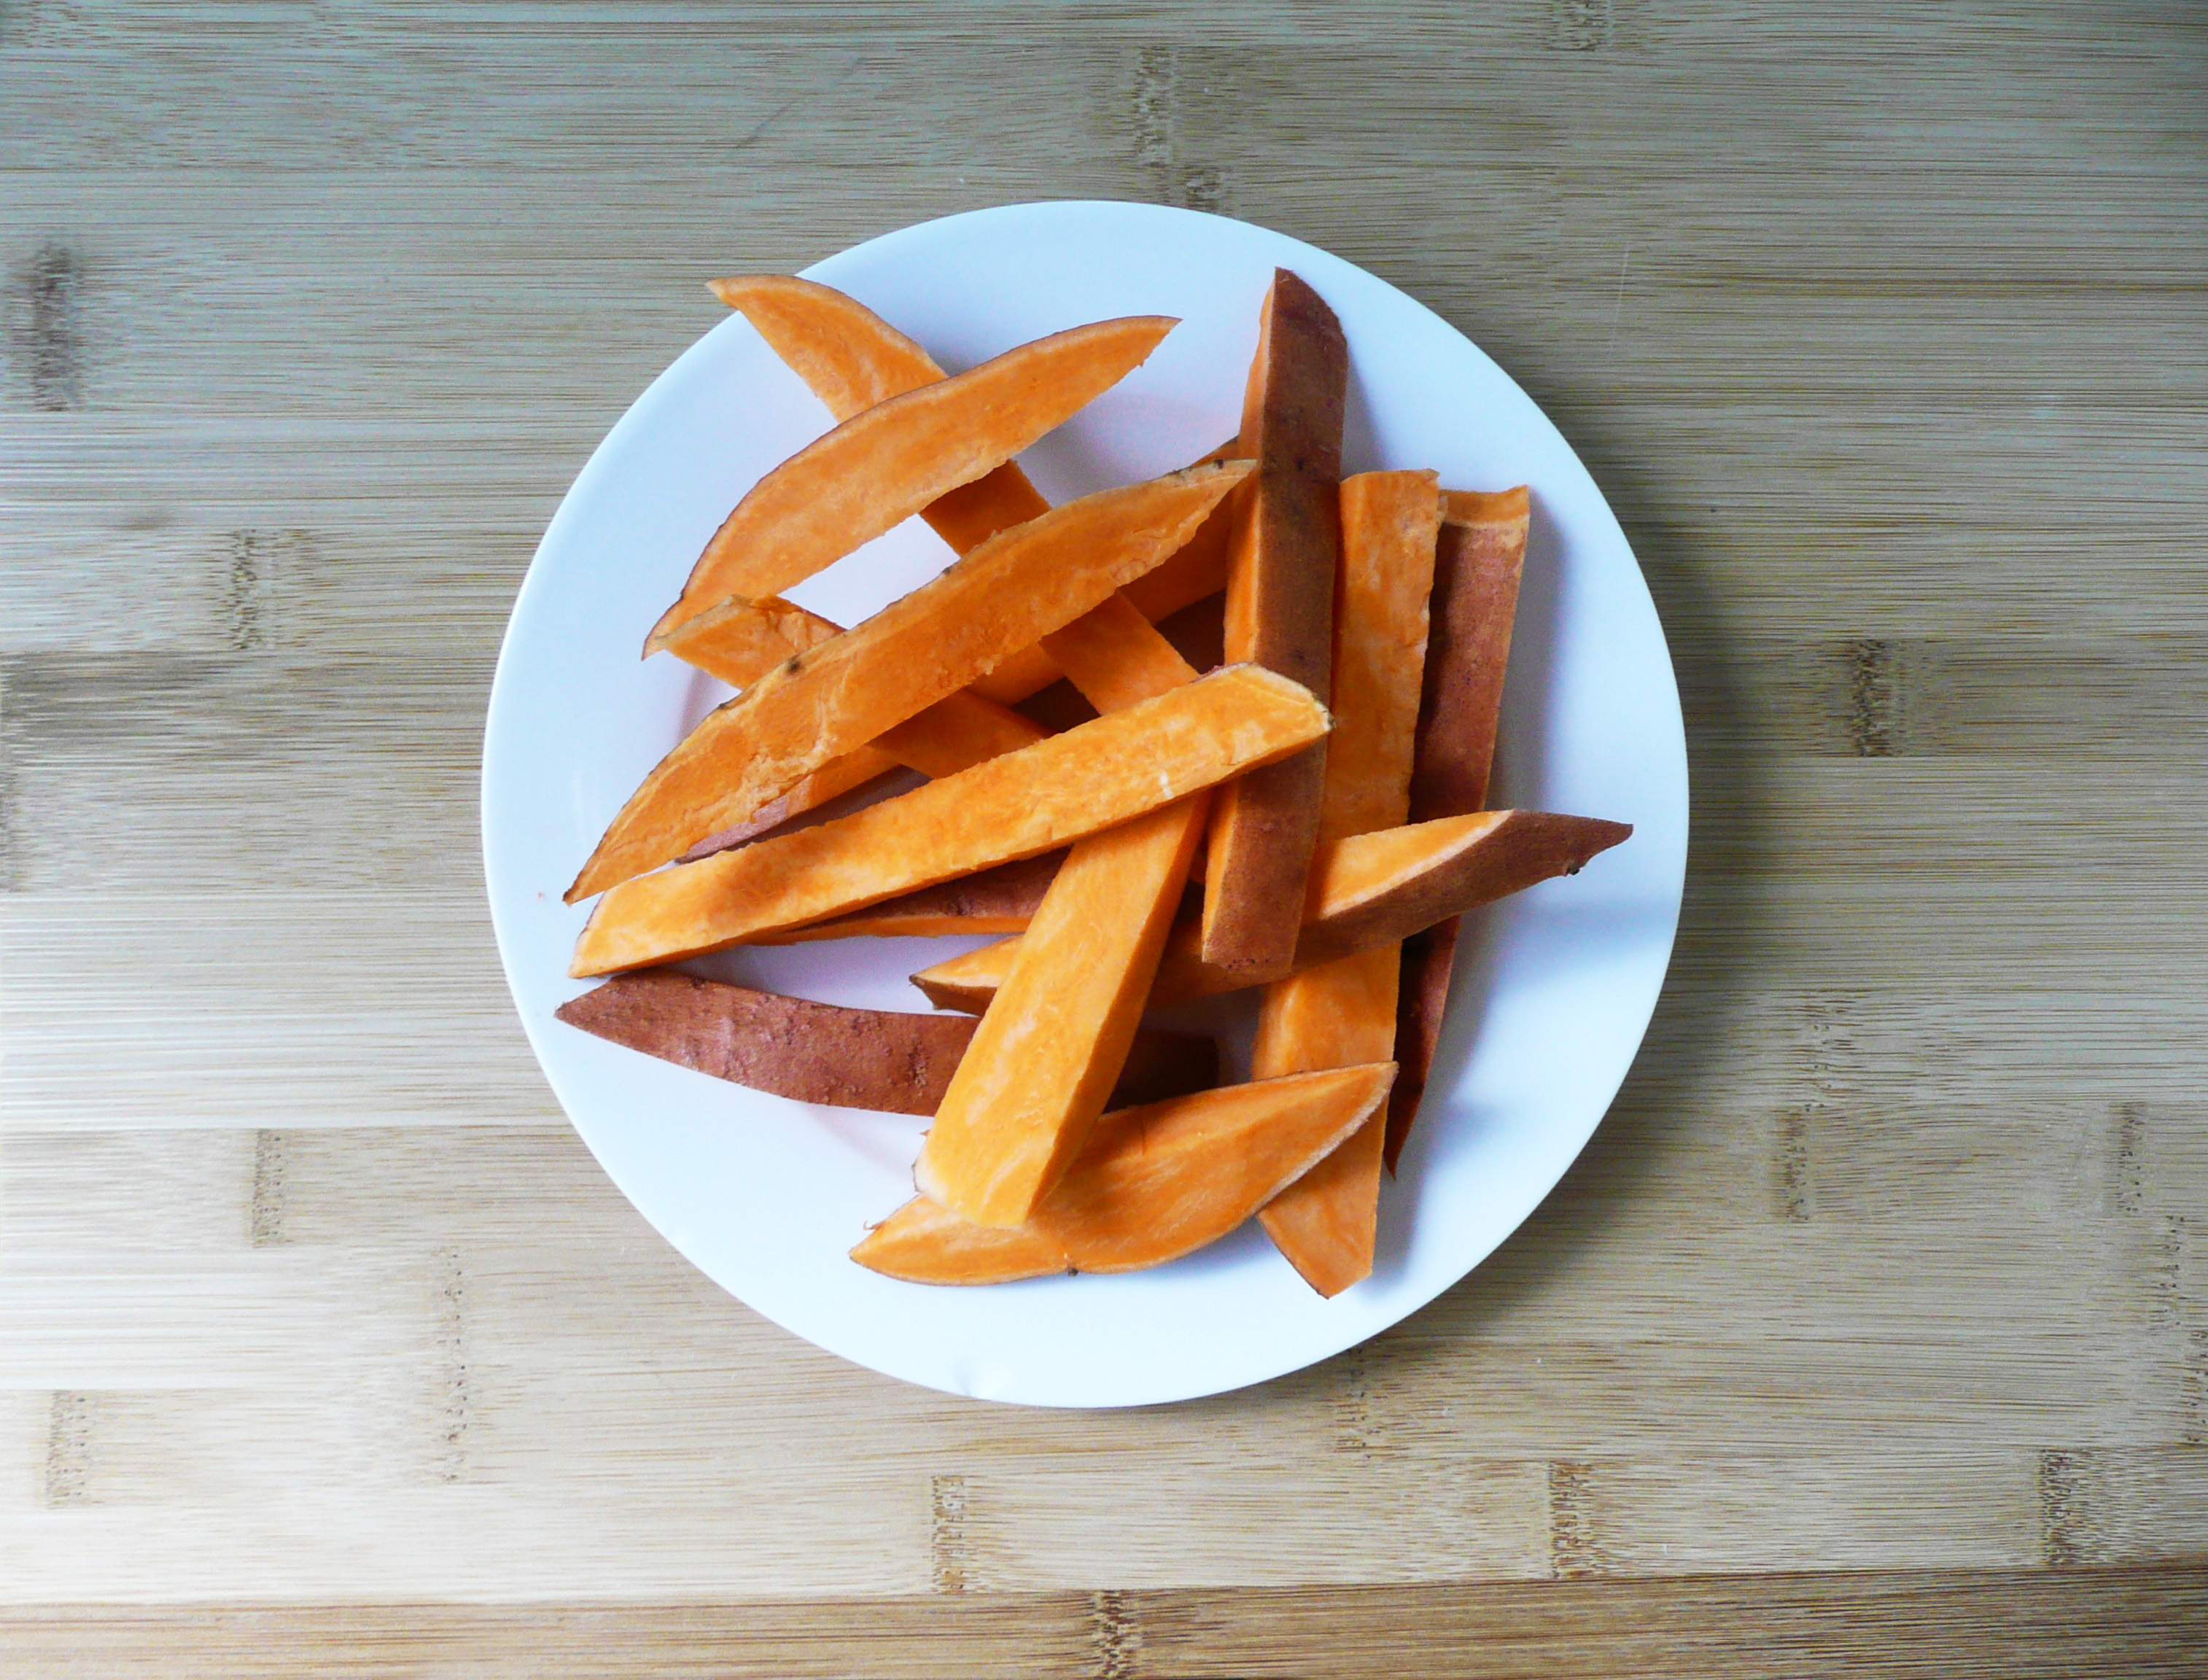
From there you can cut up your sweet potato any way you like. I normally make sweet potato fries because they are easy to make, and make a great side for lunch or dinner.
To cut fries – hold the sweet potato firmly on the cutting board with your left hand, then place the blade of the paring knife perpendicular to the sweet potato so that the point of the blade goes straight into the middle of the sweet potato.
Once the blade is about an inch to an inch and a half into the sweet potato, (while still holding the sweet potato firmly against the cutting board with your left hand) with your right hand begin to push on the handle of the paring knife so that while you’re pushing the blade into the sweet potato, the blade also rotates all the way down and eventually becomes parallel to the cutting board, slicing through one half of the sweet potato.
Pull the knife out of the sweet potato and turn the sweet potato 180 degrees, and repeat so that the sweet potato is sliced in half and you have 2 halves of a sweet potato that you can lay flat on the cutting board.
4. Repeat this same motion (press the blade perpendicular into the sweet potato, rotate blade down and slice through), when making the rest of your cuts.
I like to cut my sweet potato fries 1/2 inch thick, and here’s how I cook them so that they get extra sweet without any added sweeteners.
To cut rounds – for if you want to use the sweet potato rounds as bases for veggie pizzas, press the blade about 1 inch into the sweet potato and press down while you rotate the sweet potato with your left hand until you end up with a little round of sweet potato.
I hope that these tips help make cutting sweet potatoes a little easier for you. If you also love eating sweet potatoes, let me know in the comments below how you like to cook them. It would be cool to see how other people like to cook them as well.