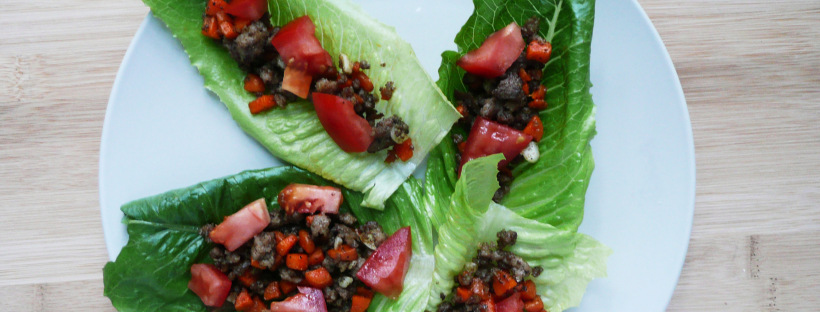
These easy cumin lettuce cups are super delicious and budget friendly.
I used lamb and garlic that I had frozen previously. Adding those ingredients to a few spices, a carrot, along with some diced tomato and romaine leaves makes for a quick and healthy meal, perfect for a busy weeknight dinner.
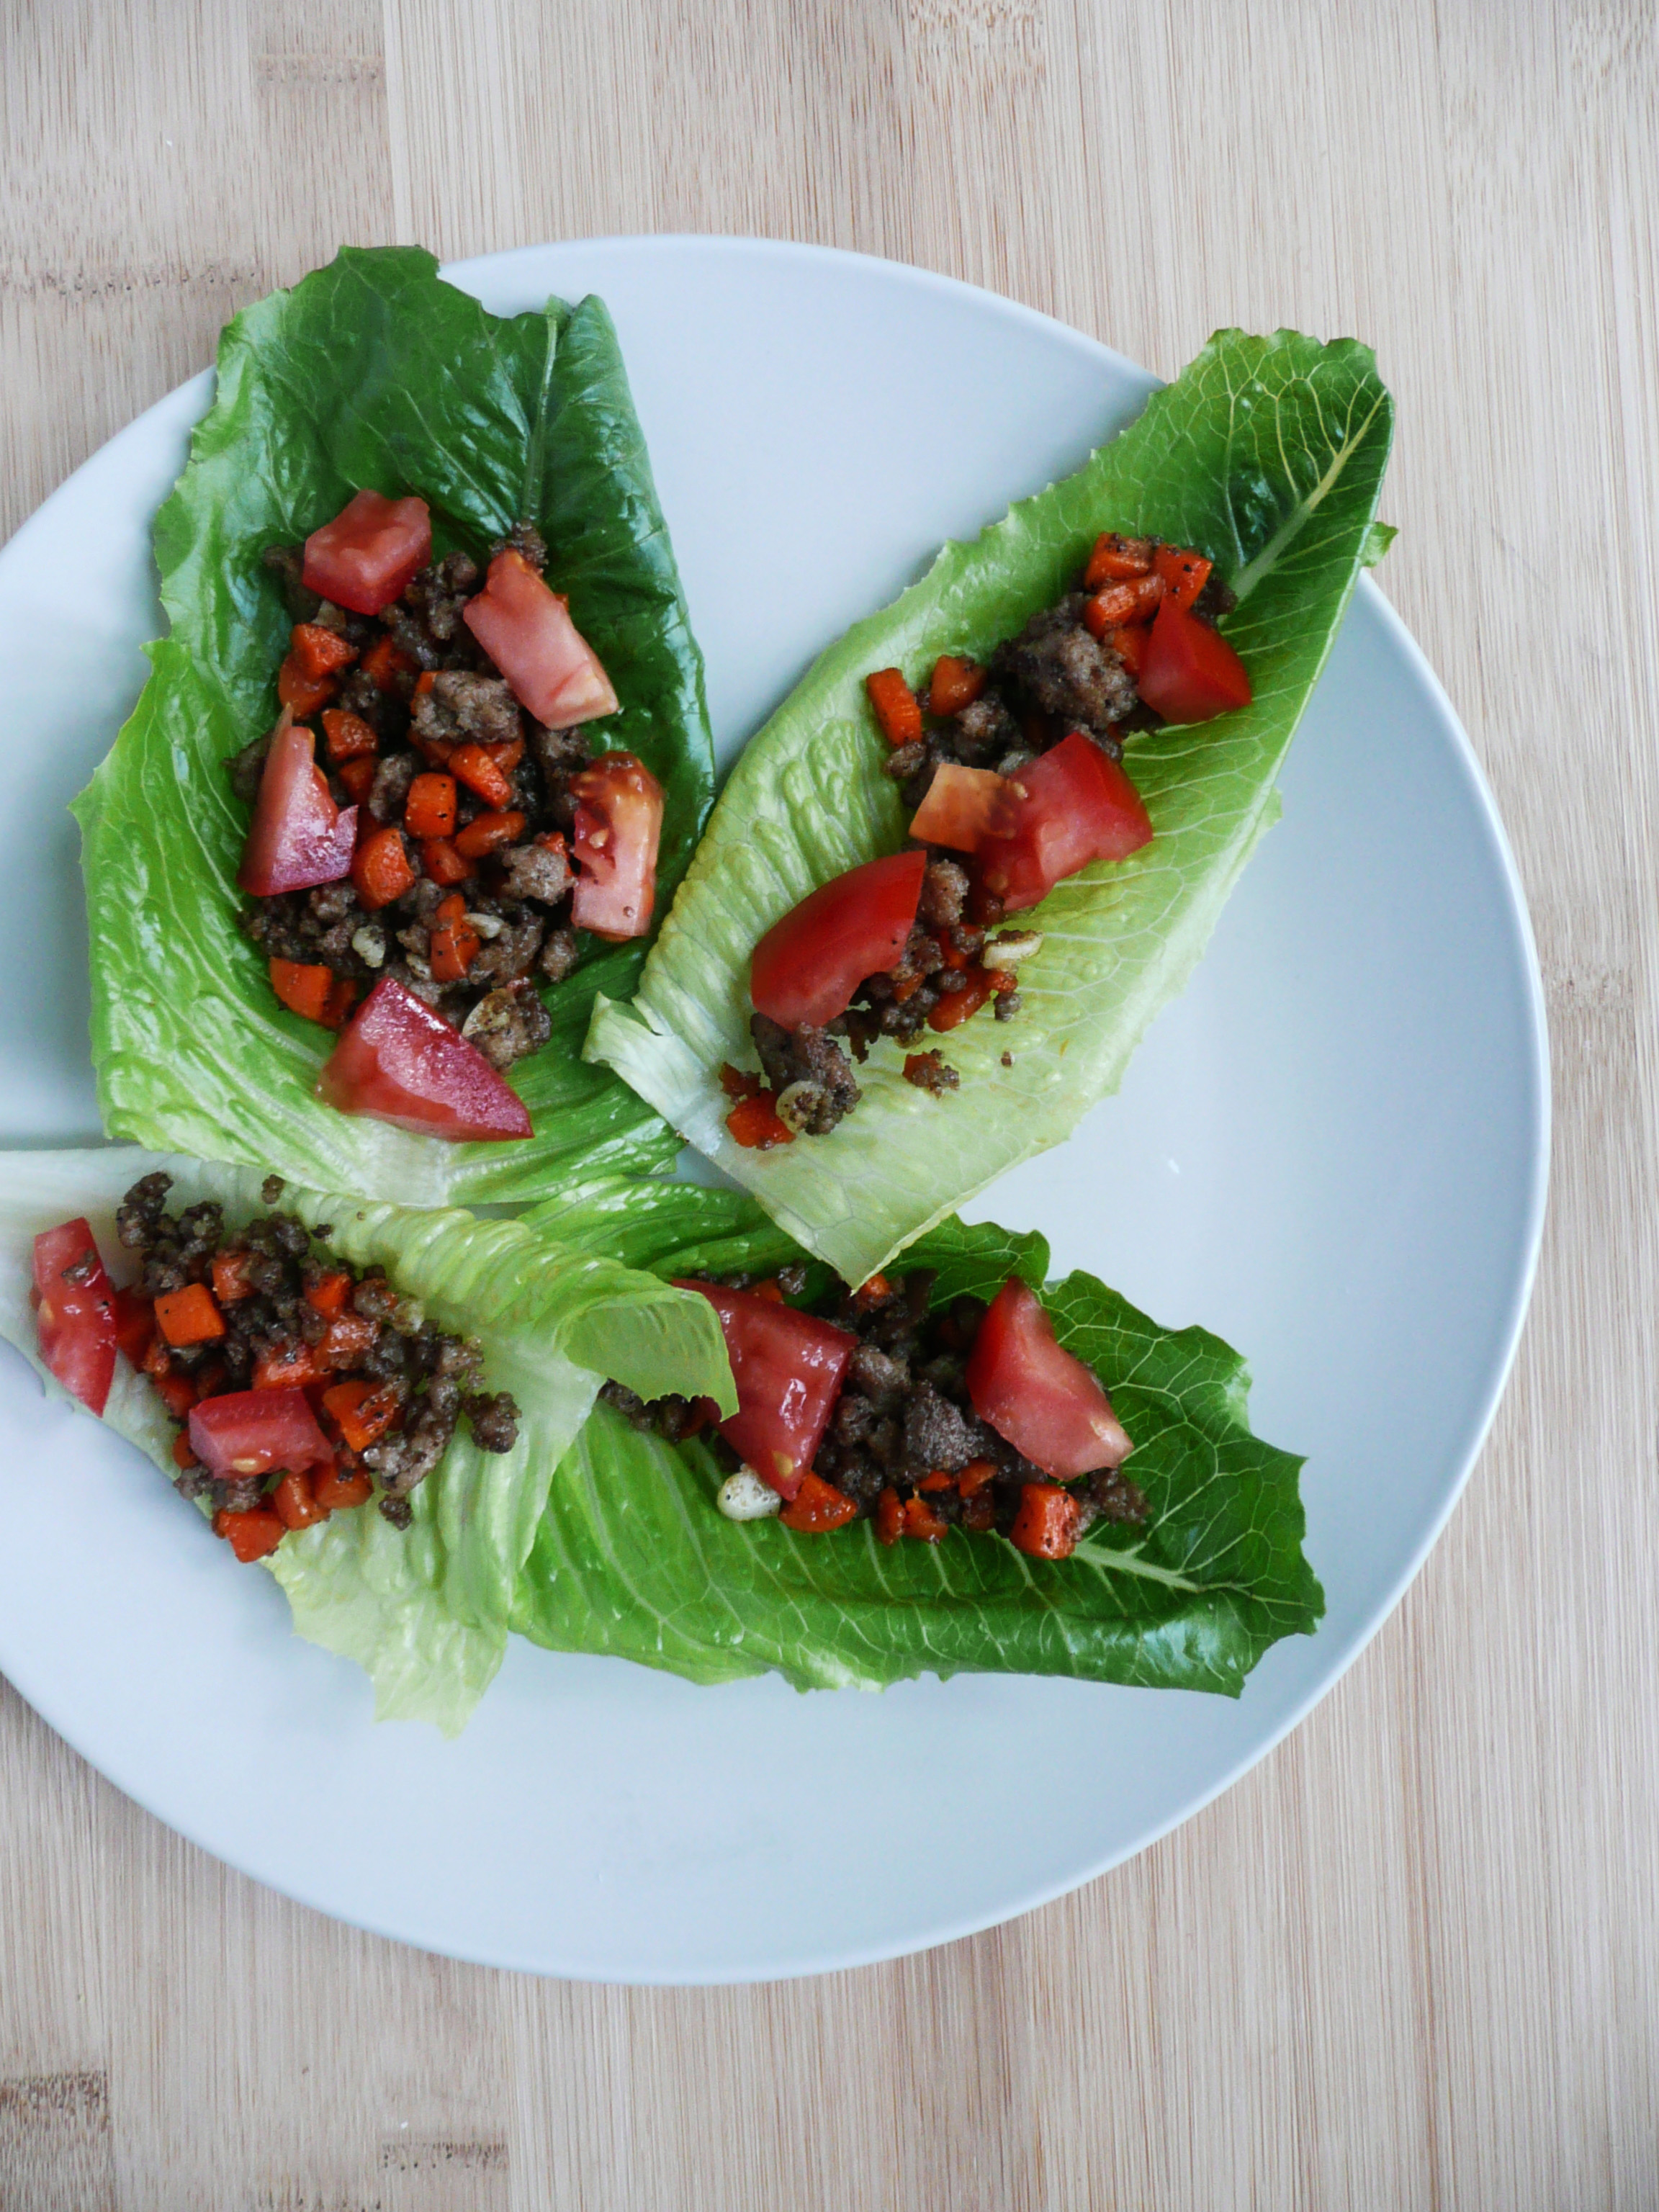
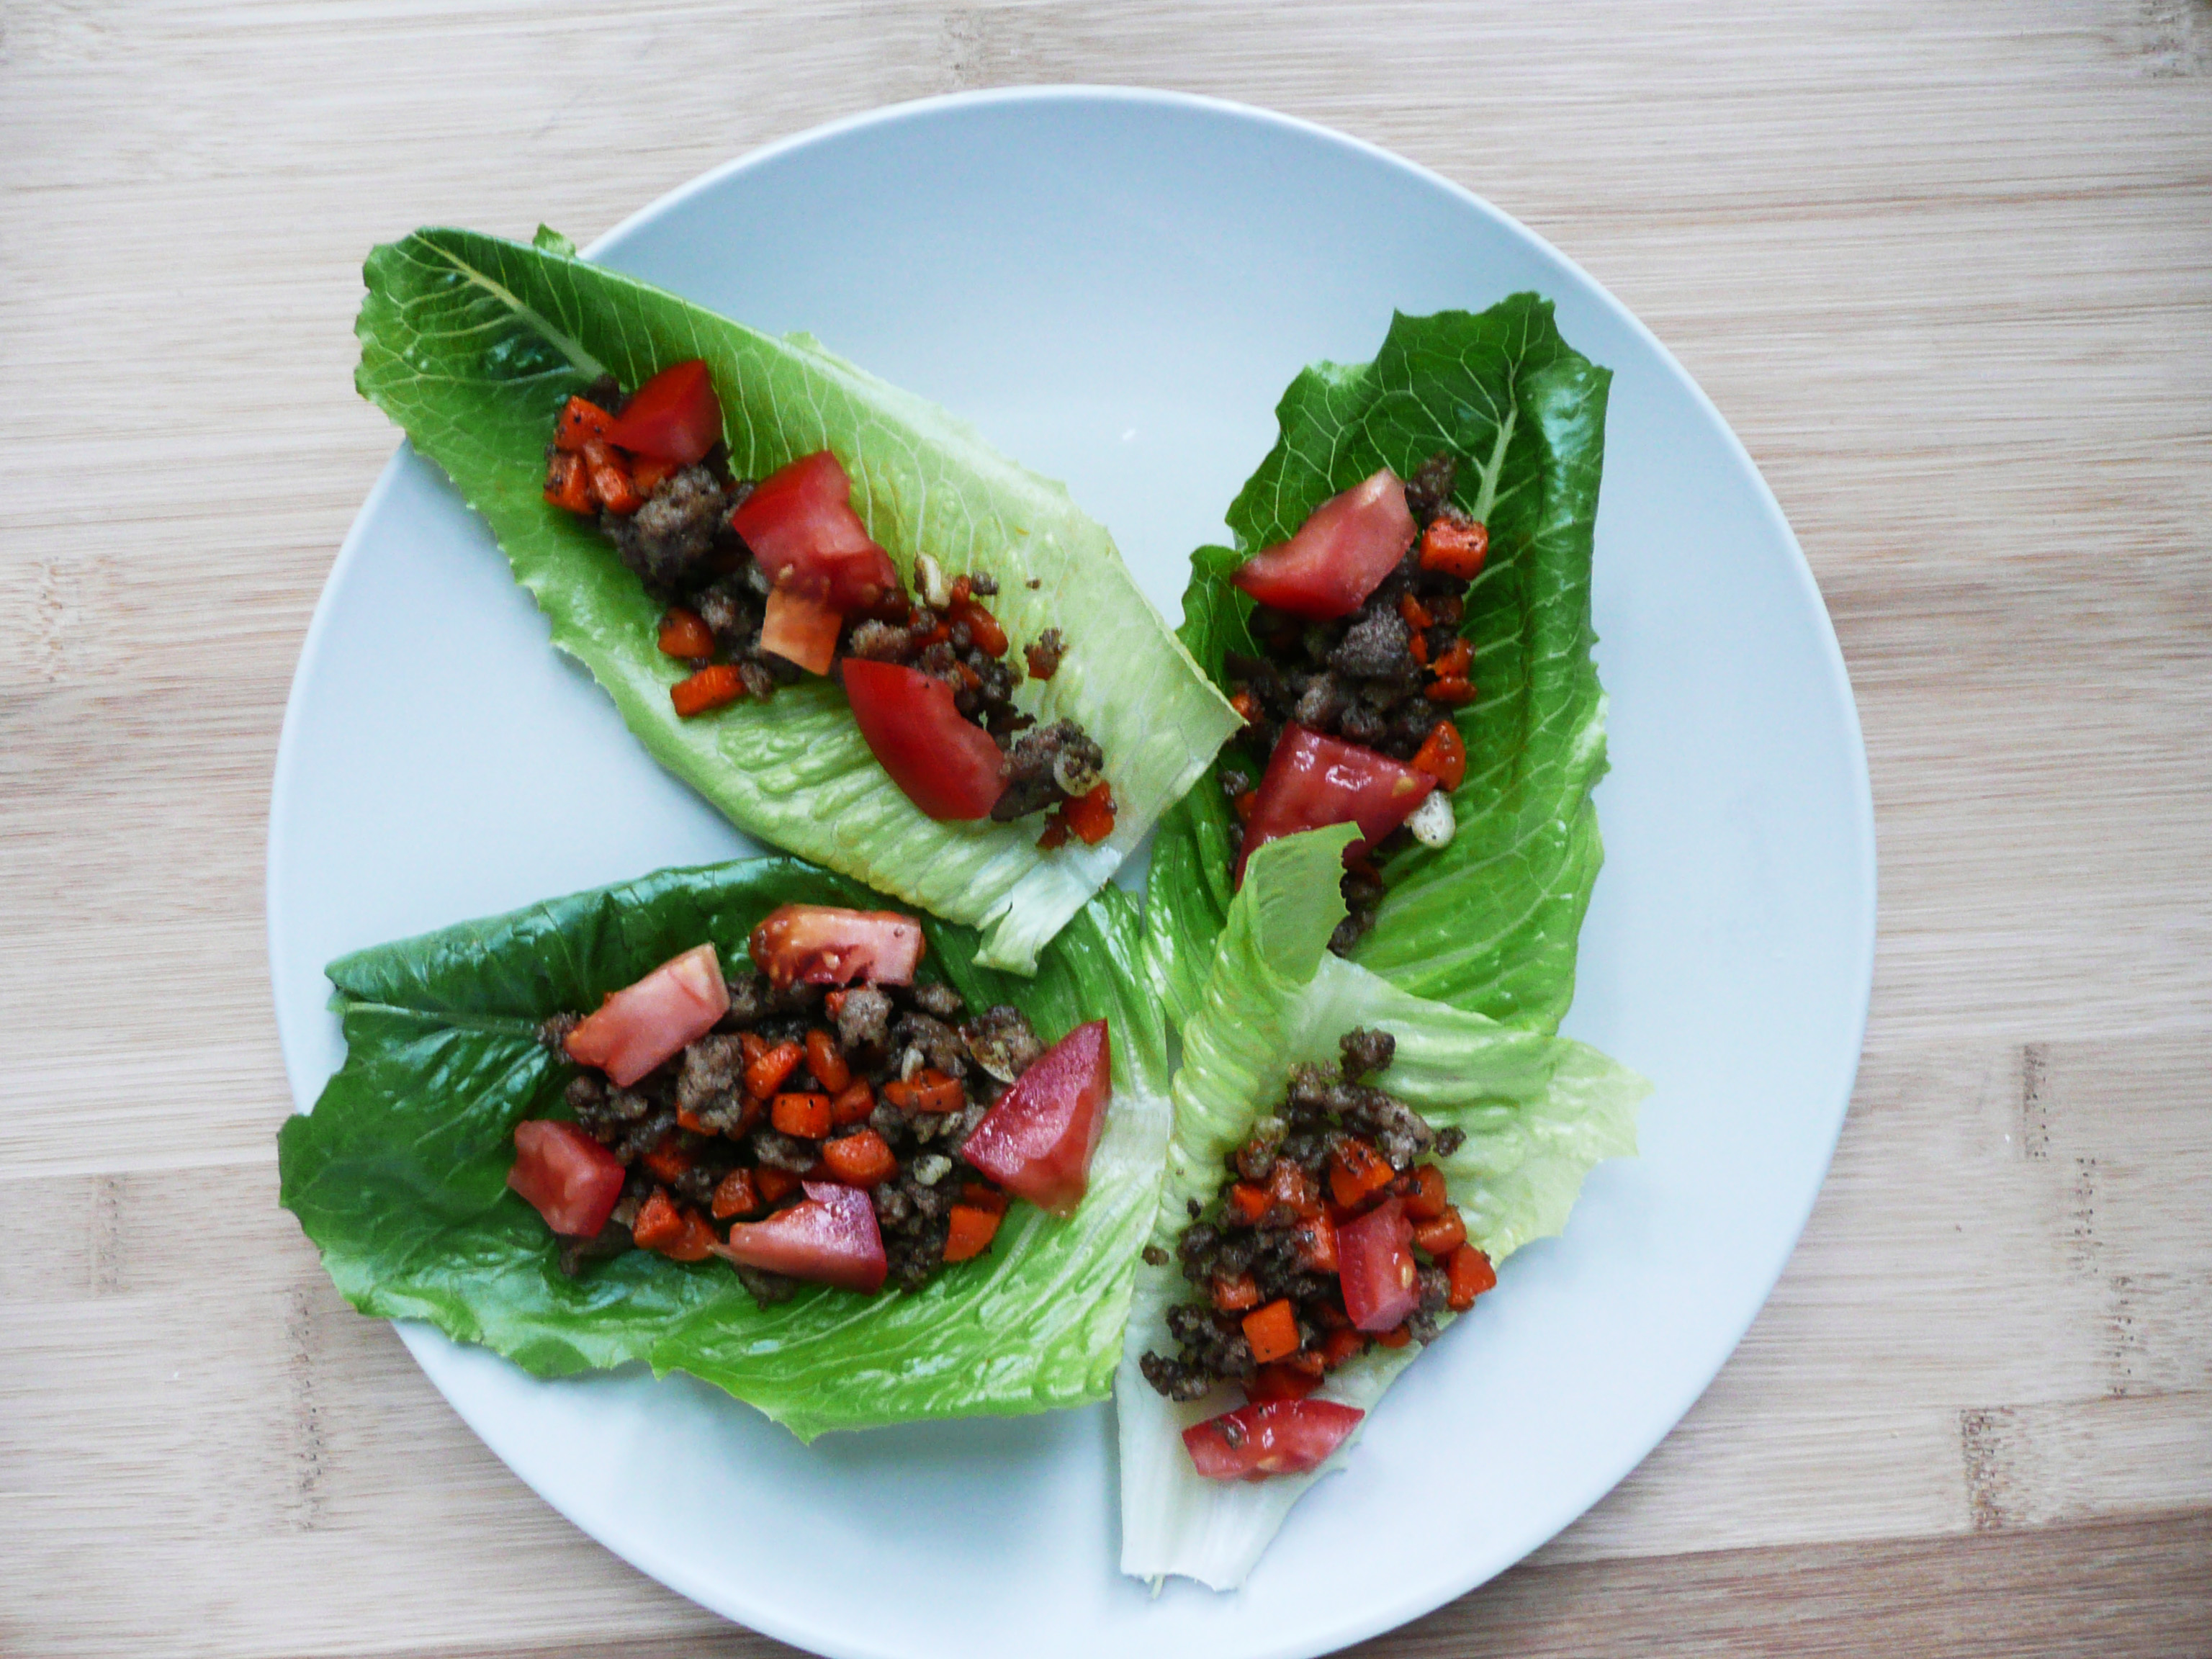
Easy Weeknight Cumin Lettuce Cups
Makes 1 serving
Ingredients
1 tbsp olive oil
3-4 cloves of garlic, finely chopped (I used frozen garlic that I had, but fresh works great too)
1/3 cup finely diced carrot (about 1 small carrot)
4 tbsp water
1/2 tsp granulated onion
1/4 tsp ground cumin
pinch of salt and pepper (add more to taste)
romaine lettuce leaves and diced tomato (for serving)
Notes – * The lamb that I used was frozen solid in a 1/2 cup portion. I added that to the pan without defrosting it (it defrosted in the pan while the other ingredients were cooking).
If you use cooked lamb that is defrosted, you may have to adjust your cooking time slightly (and probably add a little more water so that the carrots have a little more time to cook through).
Instructions
1. Add the lamb, spices, olive oil, garlic, carrots and water to a medium sauce pan and cook the mixture over medium heat for about 7 minutes until the water has cooked off.
2. Turn the heat to medium high and sauté the mixture for another 3 minutes or so until the meat has browned and the carrots can be pierced with a fork without resistance.
3. Allow the mixture to cool for a few minutes, add more salt and pepper to taste and serve on romaine lettuce leaves and top with diced tomato.
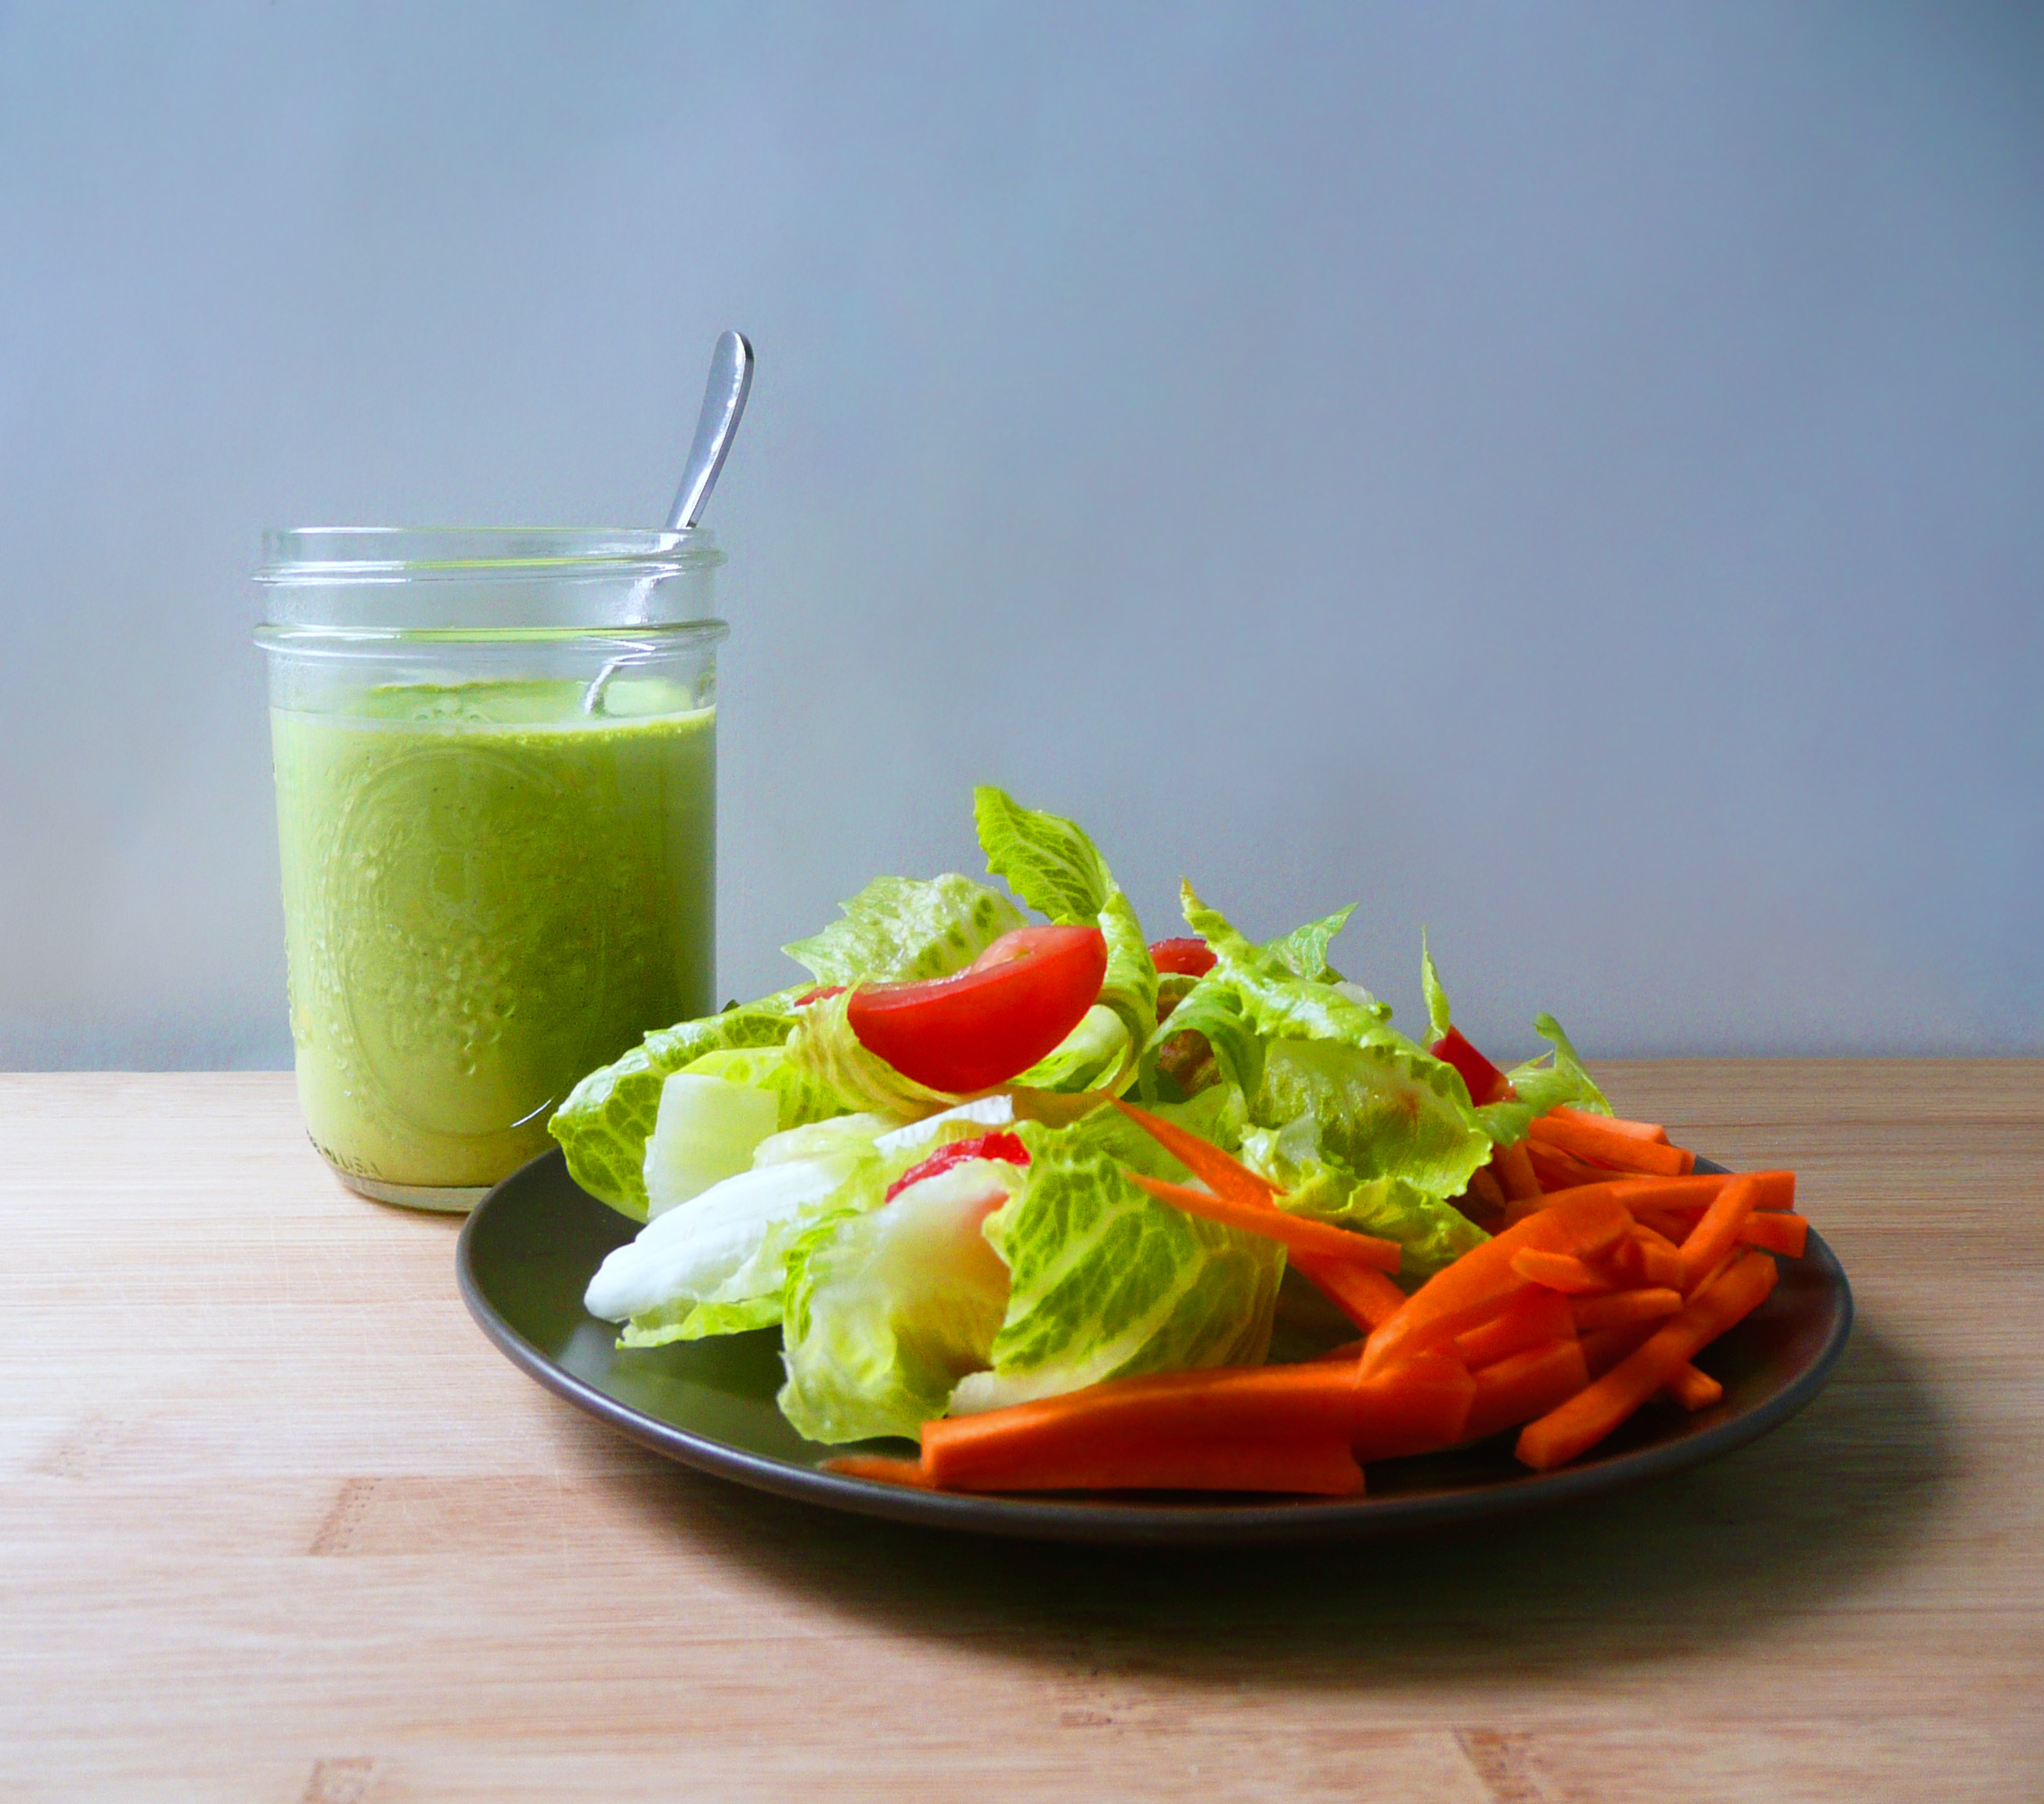
I like to think of Green Goddess dressing as Caesar dressing’s sort of hippier, more free spirited cousin.
Caesar is the dressing that you want for a beautiful dinner party, while Green Goddess is for summer picnics and dancing through a garden in a sundress while wearing a daisy crown.
My Parsley Green Goddess dressing has all the things that you love about Caesar dressing (the rich savoriness and creaminess, with a bit a bit of garlic thrown it to punch up the flavor) and is full of anti-inflammatory herbs like parsley, rosemary, and basil.
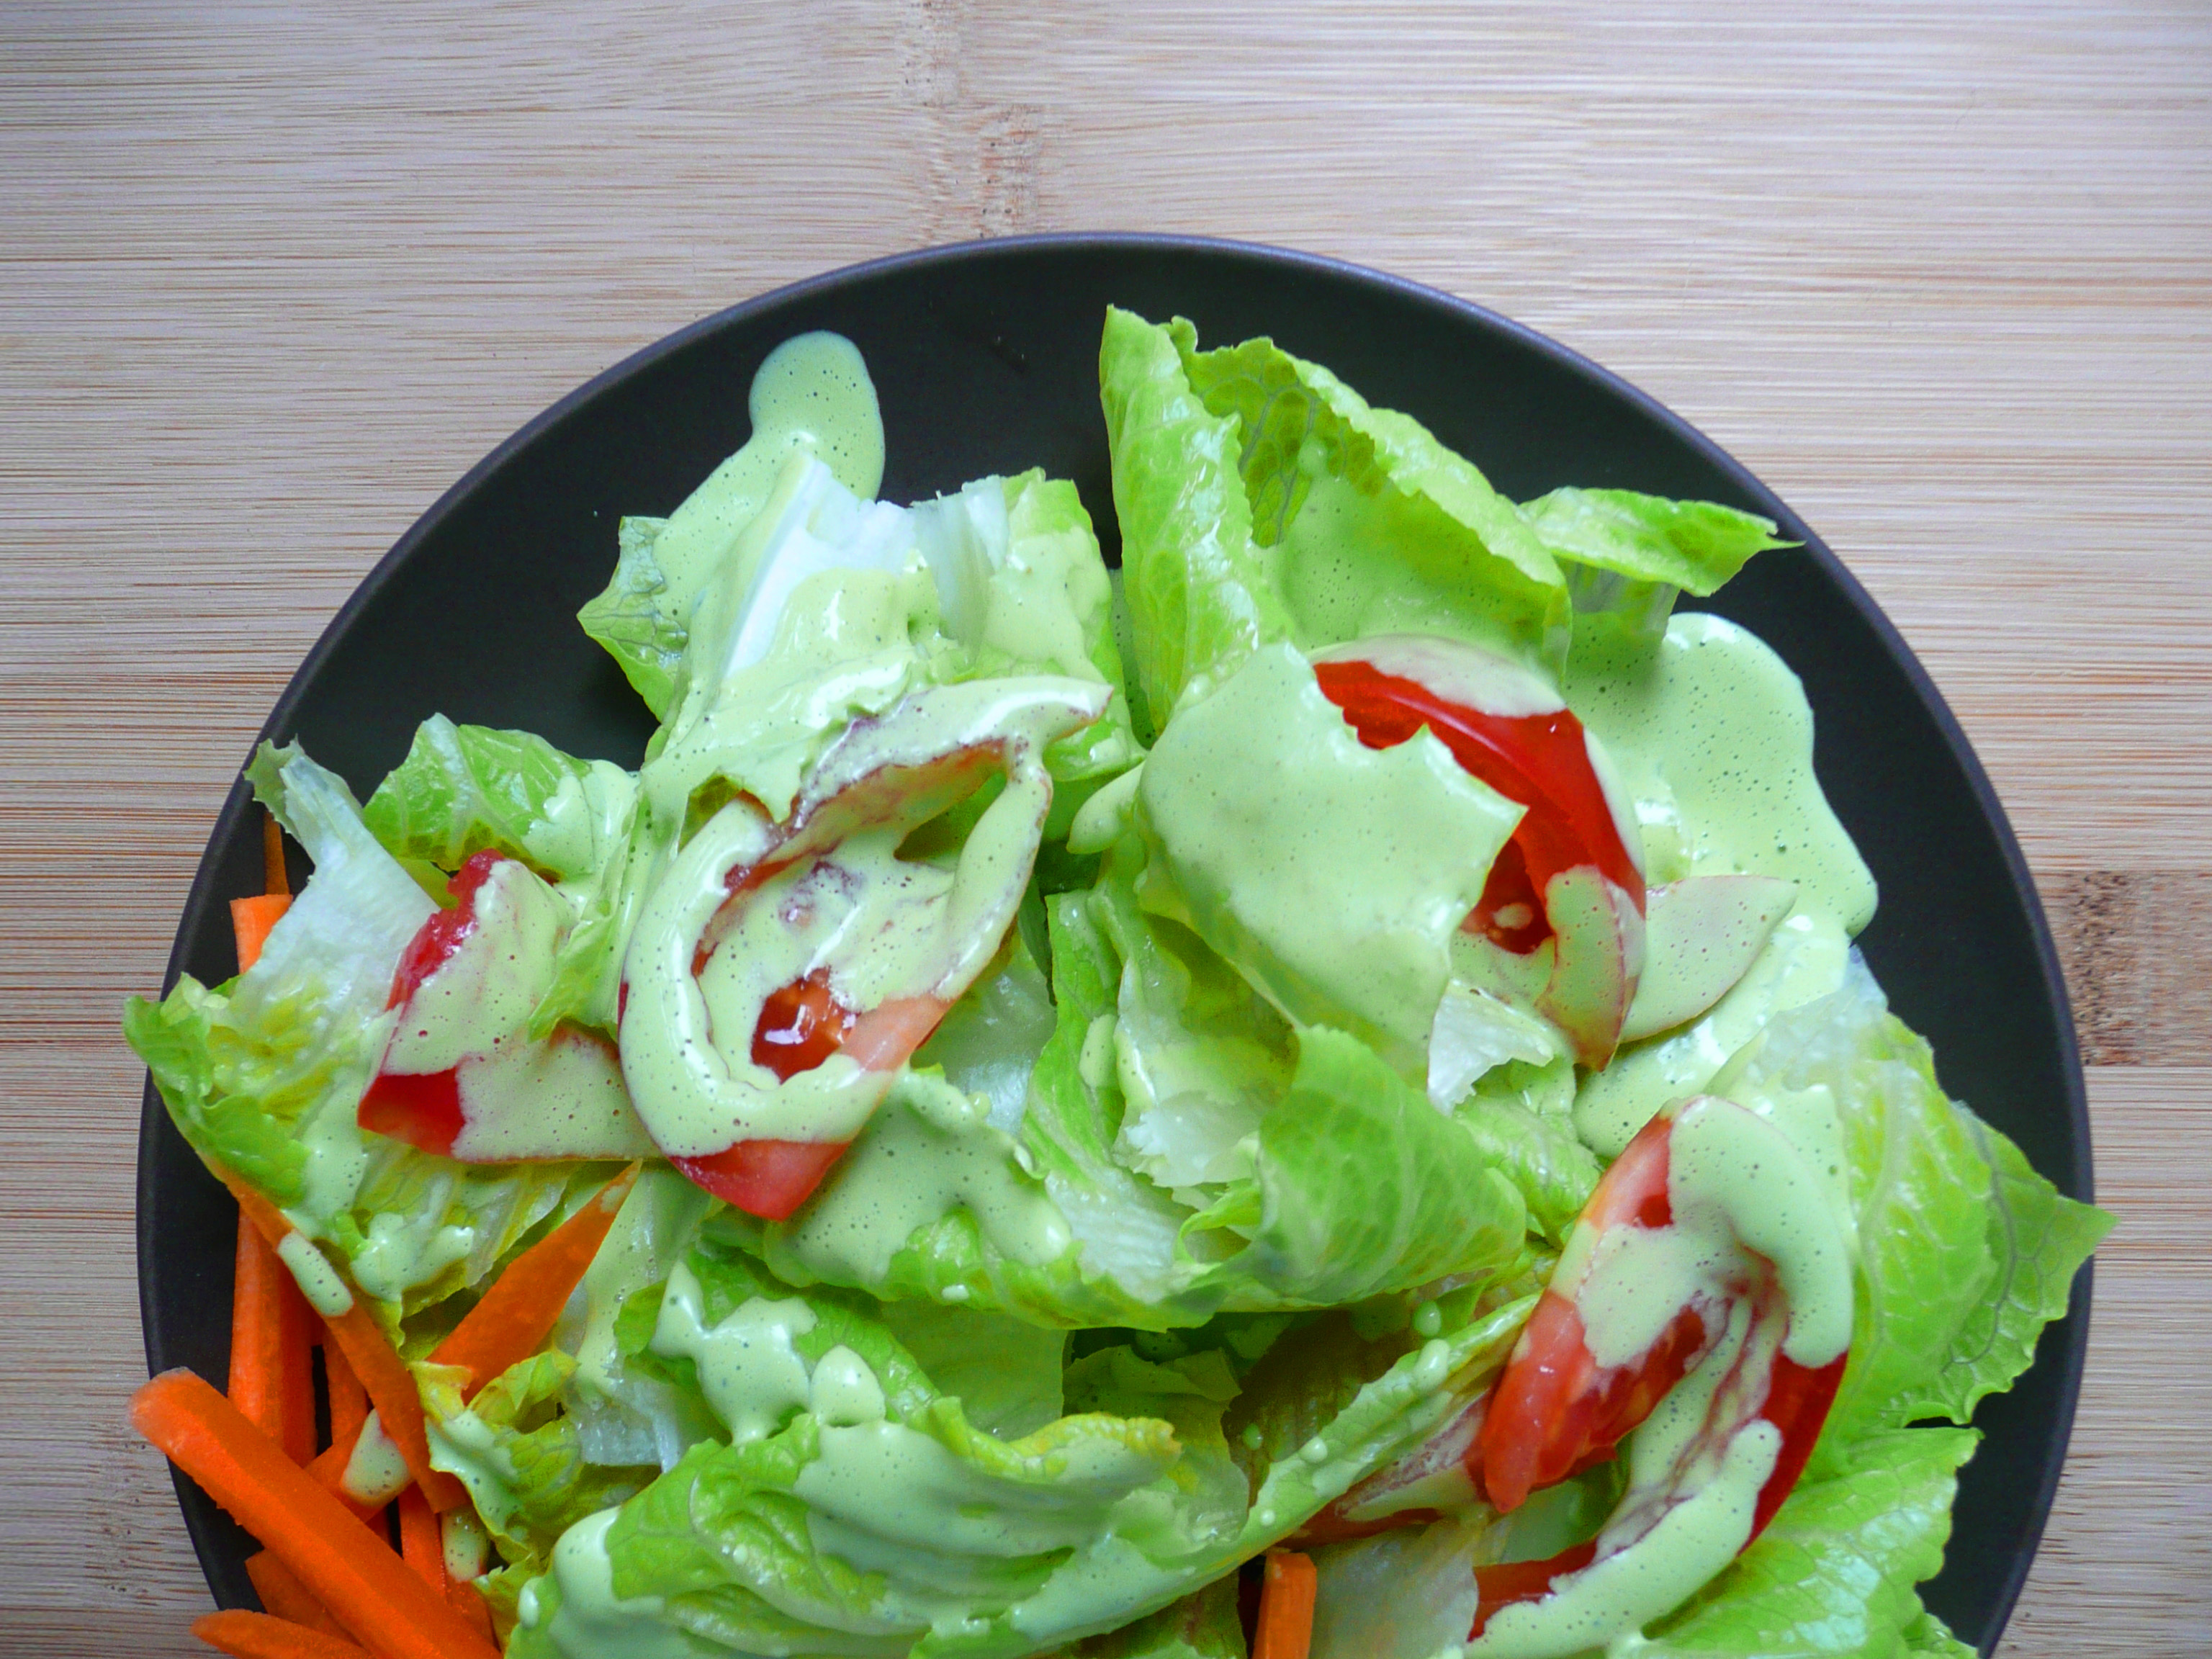
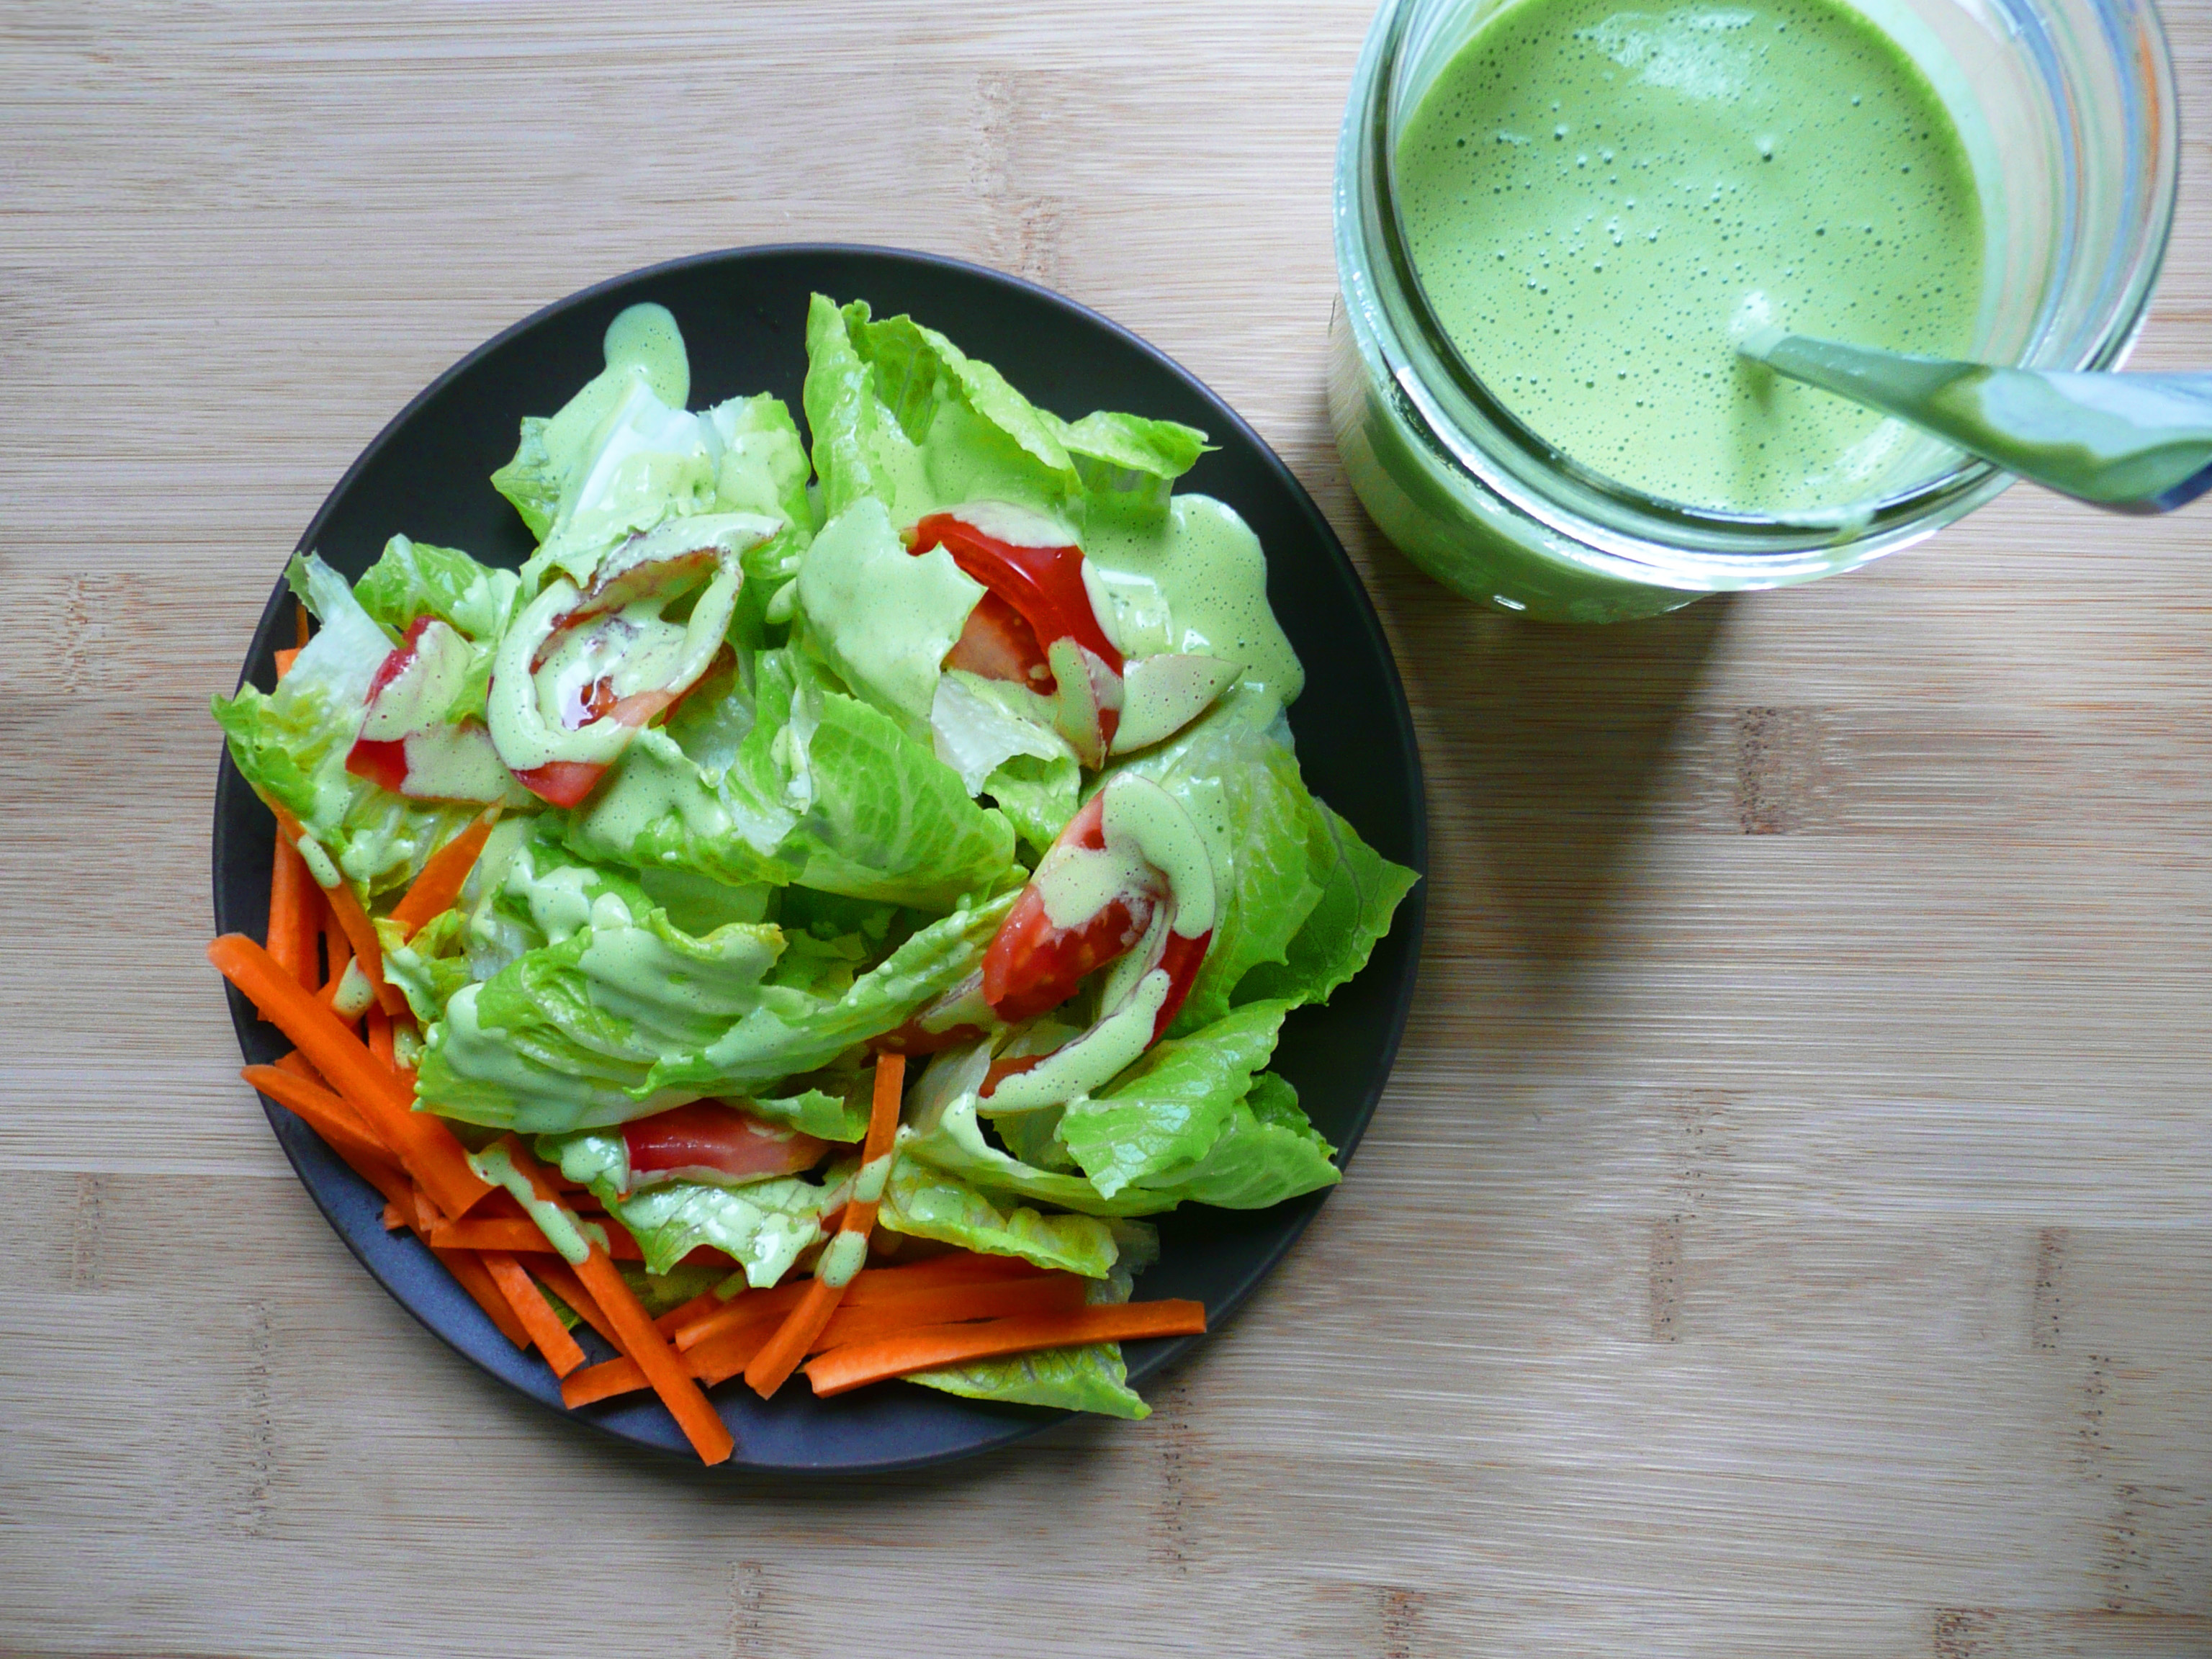
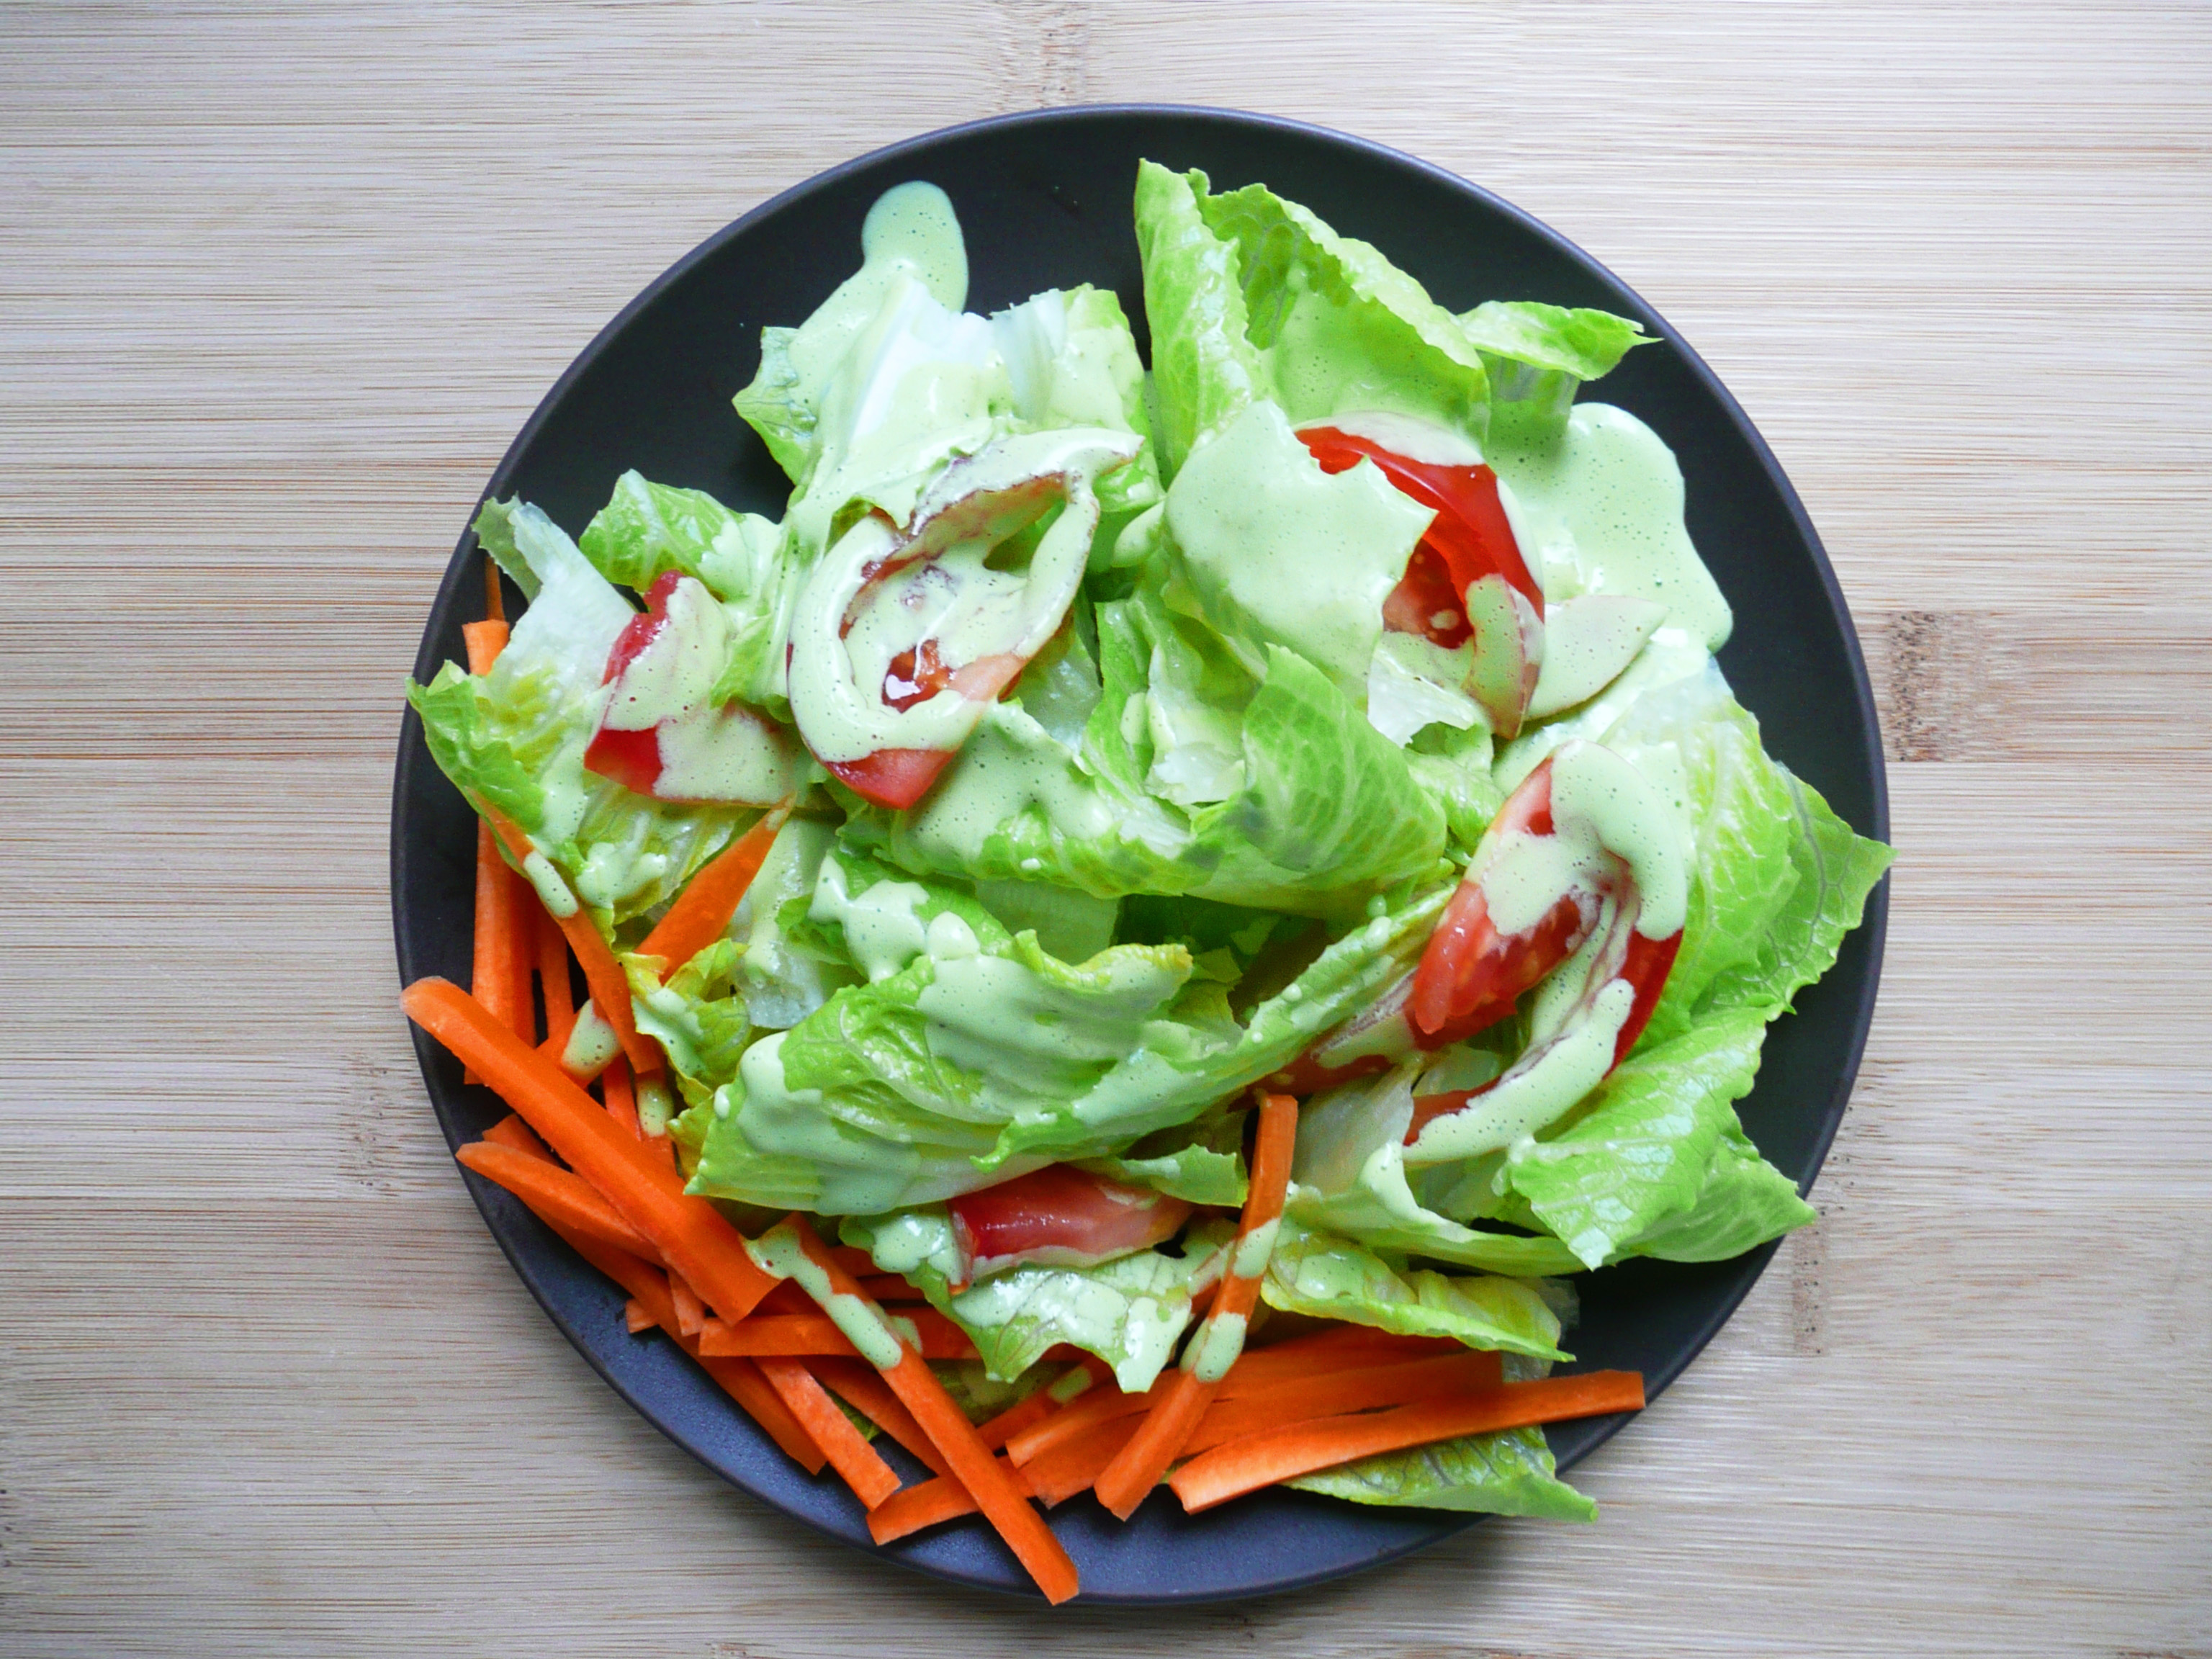
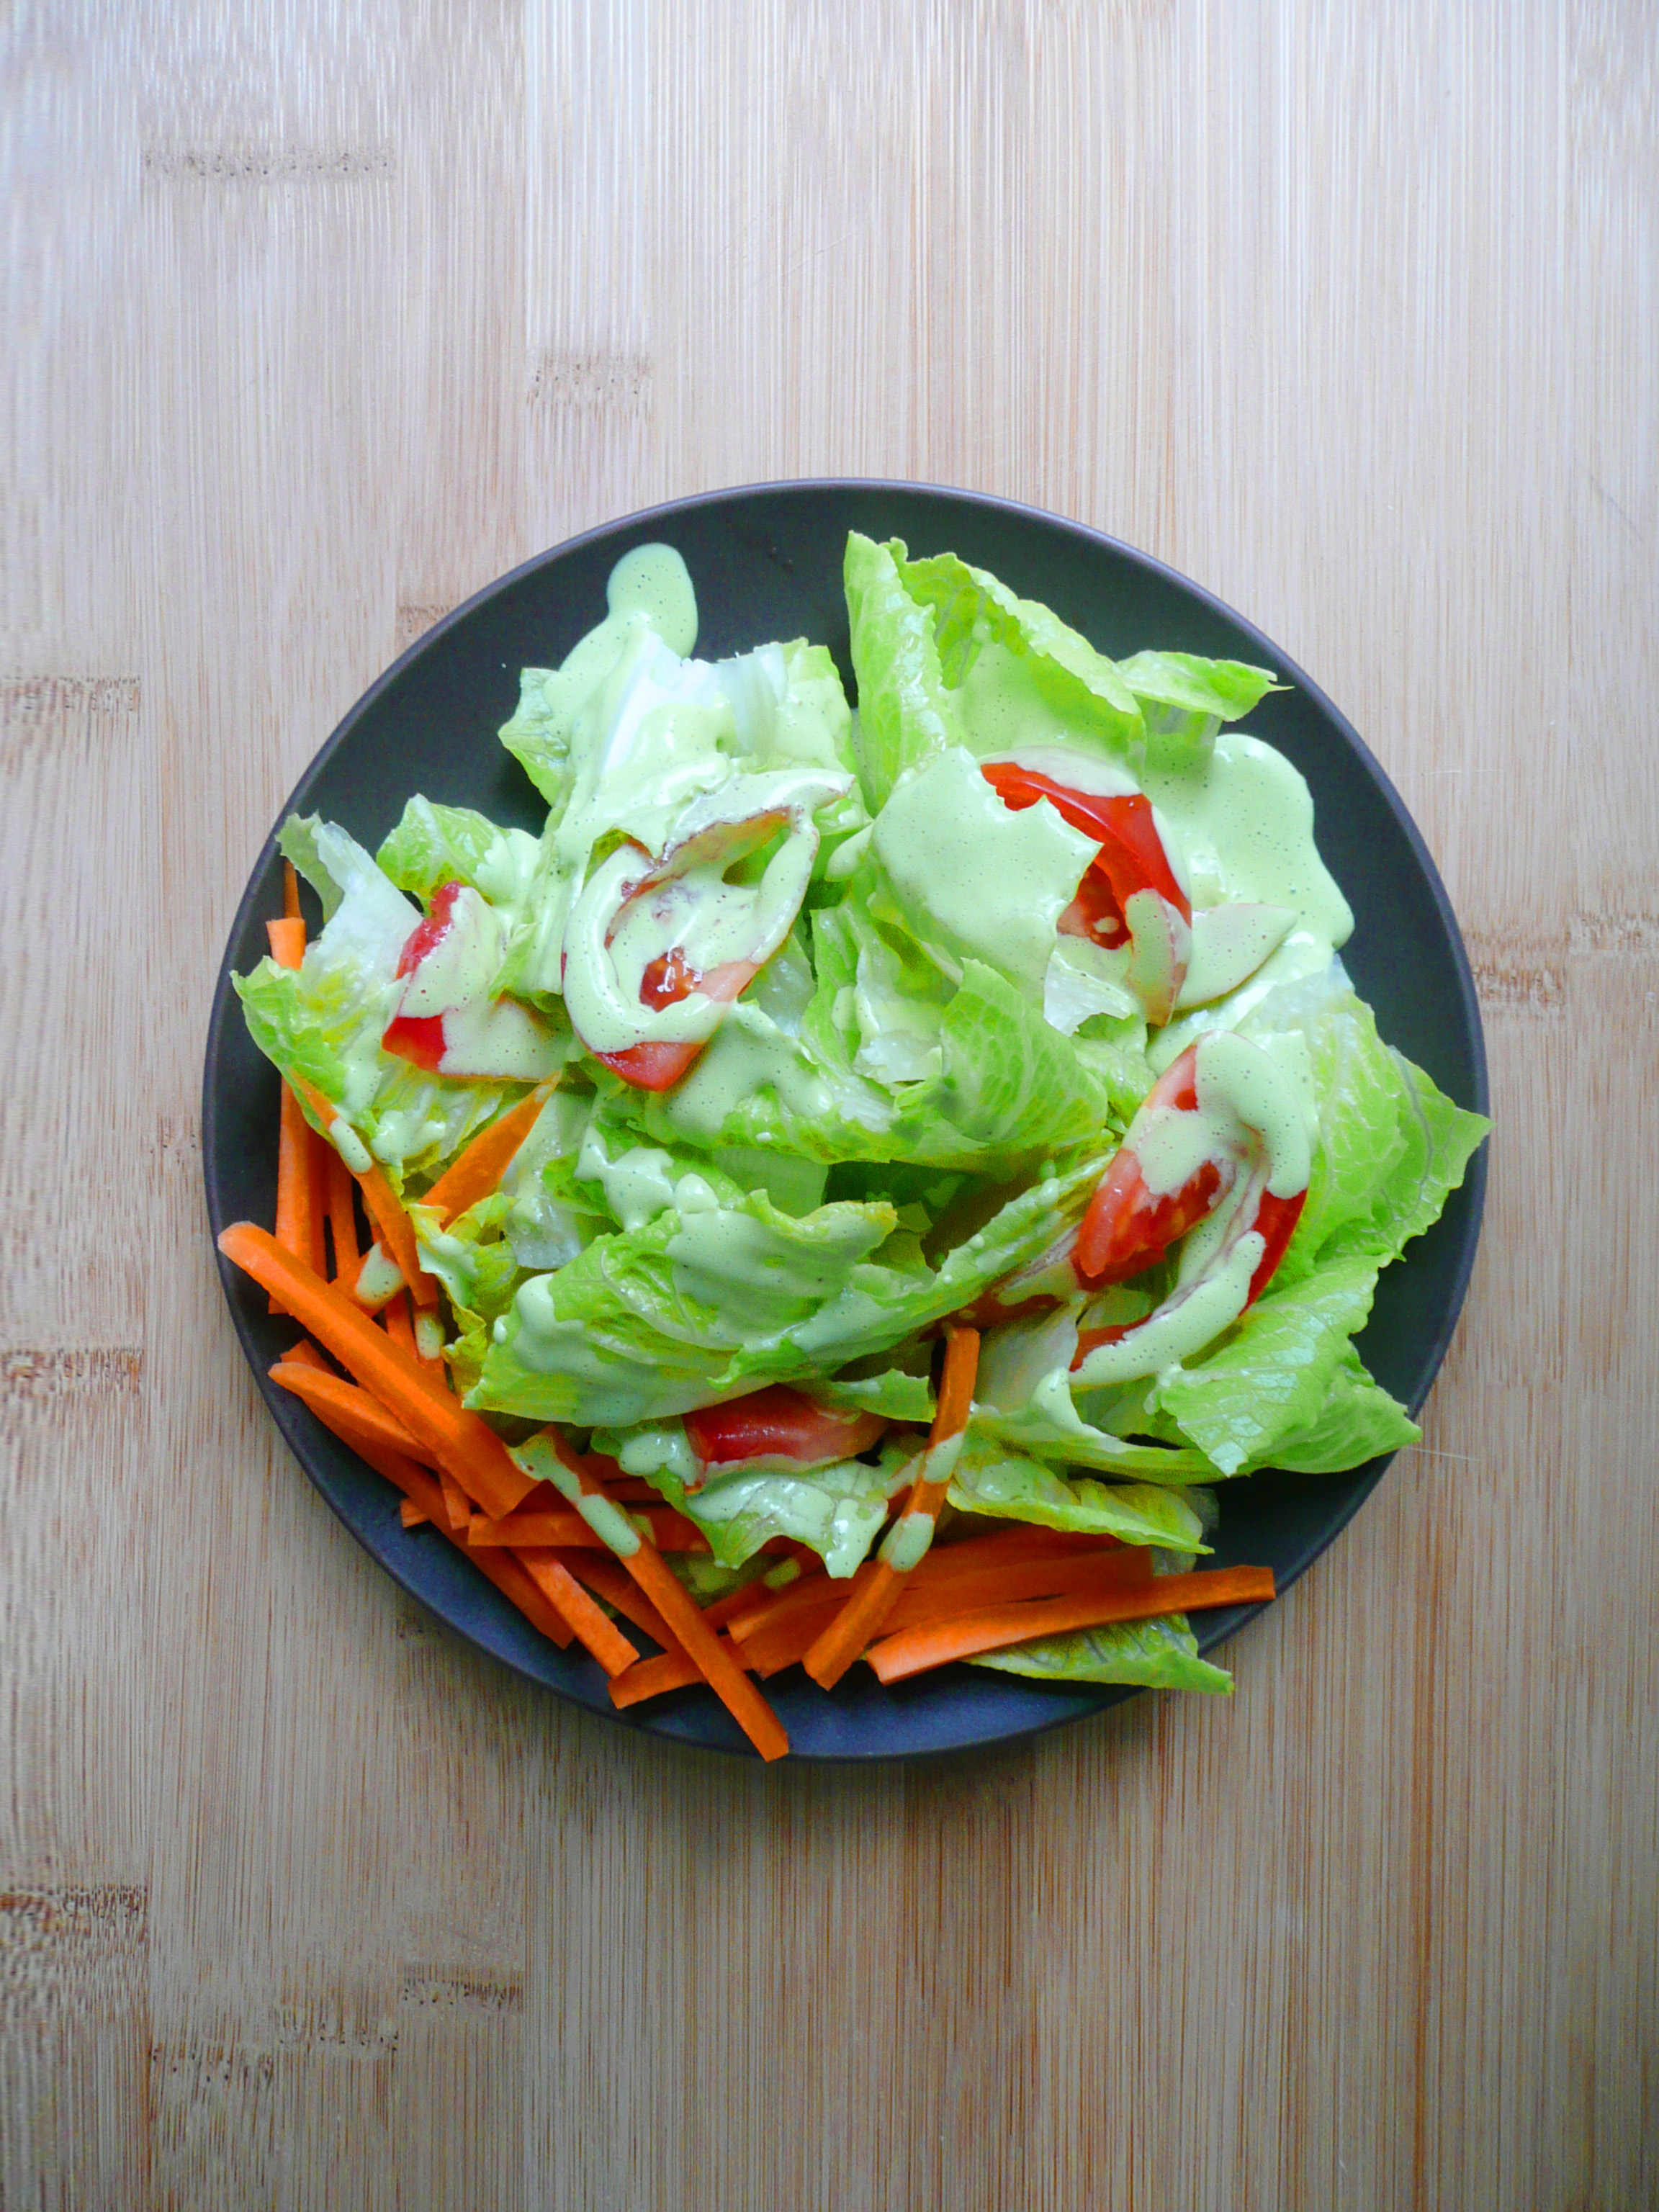
It’s light and creamy, a little thinner than most green goddess dressings (which makes it better for drizzling over a salad), and is packed with heart healthy olive and avocado oils.
This is also the perfect recipe for when you’re looking to use up a bunch of fresh parsley in a hurry. You can blend it all into this beautiful dressing.
Parsley Green Goddess Dressing
Makes 1 1/4 cups
Ingredients
3/4 cup packed parsley (stems and leaves)
1/2 cup water
2 cloves garlic
1 egg (lightly scrambled over a double boiler, and cooled to room temp)
2 tbsp + 2 tsp apple cider vinegar
3/4 tsp fish sauce (I used the Red Boat brand)
1/8 level tsp dried rosemary
1/4 level tsp dried basil
1/8 level tsp granulated onion
1/4 level tsp granulated garlic
1/4 level tsp black pepper
1/2 level tsp sea salt
1/4 cup avocado oil + 1 tbsp (or any neutral oil)
1/4 cup olive oil
Instructions
1. Add all the ingredients except the oils to the blender and blend until smooth, stopping to scrape down the sides of the blender occasionally.
2. Take the top cap off of the blender, and with the motor running, slowly drizzle in the olive and avocado oil into the dressing (you’re basically making a cooked mayonnaise).
If there is some separation in the dressing at this point, that’s ok. Put the top cap back onto the blender and blend on high until well combined.
3. Pour the dressing into a jar and keep in the fridge until ready to use. The dressing should keep at least 3-4 days.
This dressing would also be delicious over chopped roasted potatoes for a quick potato salad, but honestly it’s good on just about anything.
Sometimes eating vegetables can be a little less than exciting. Eating should be a pleasure. You want to have something that has a lot of flavor and be so delicious that you crave eating it the next day.
For me, this dip is the answer to getting myself to eat a big serving of vegetables, and to do so very happily.
This creamy garlic rosemary dip takes just minutes to put together and makes snacking on everyday vegetables feel like a fun and tasty treat.
I used avocado oil mayo (but you can also use vegan mayo) and olive oil, so this recipe is packed with heart healthy oils and anti-inflammatory ingredients like parsley, garlic and rosemary.
Creamy Garlic + Rosemary Dip
Makes 1 serving
Ingredients
3 tbsp mayo or vegan mayo (I used avocado oil mayo)
Salt to taste (if needed)
Notes – * Thawed frozen garlic has a milder taste than fresh raw garlic and less of a bite to it. If you’re making this dip with fresh garlic, start out with adding 1 clove of garlic and then adding more to taste.
Instructions
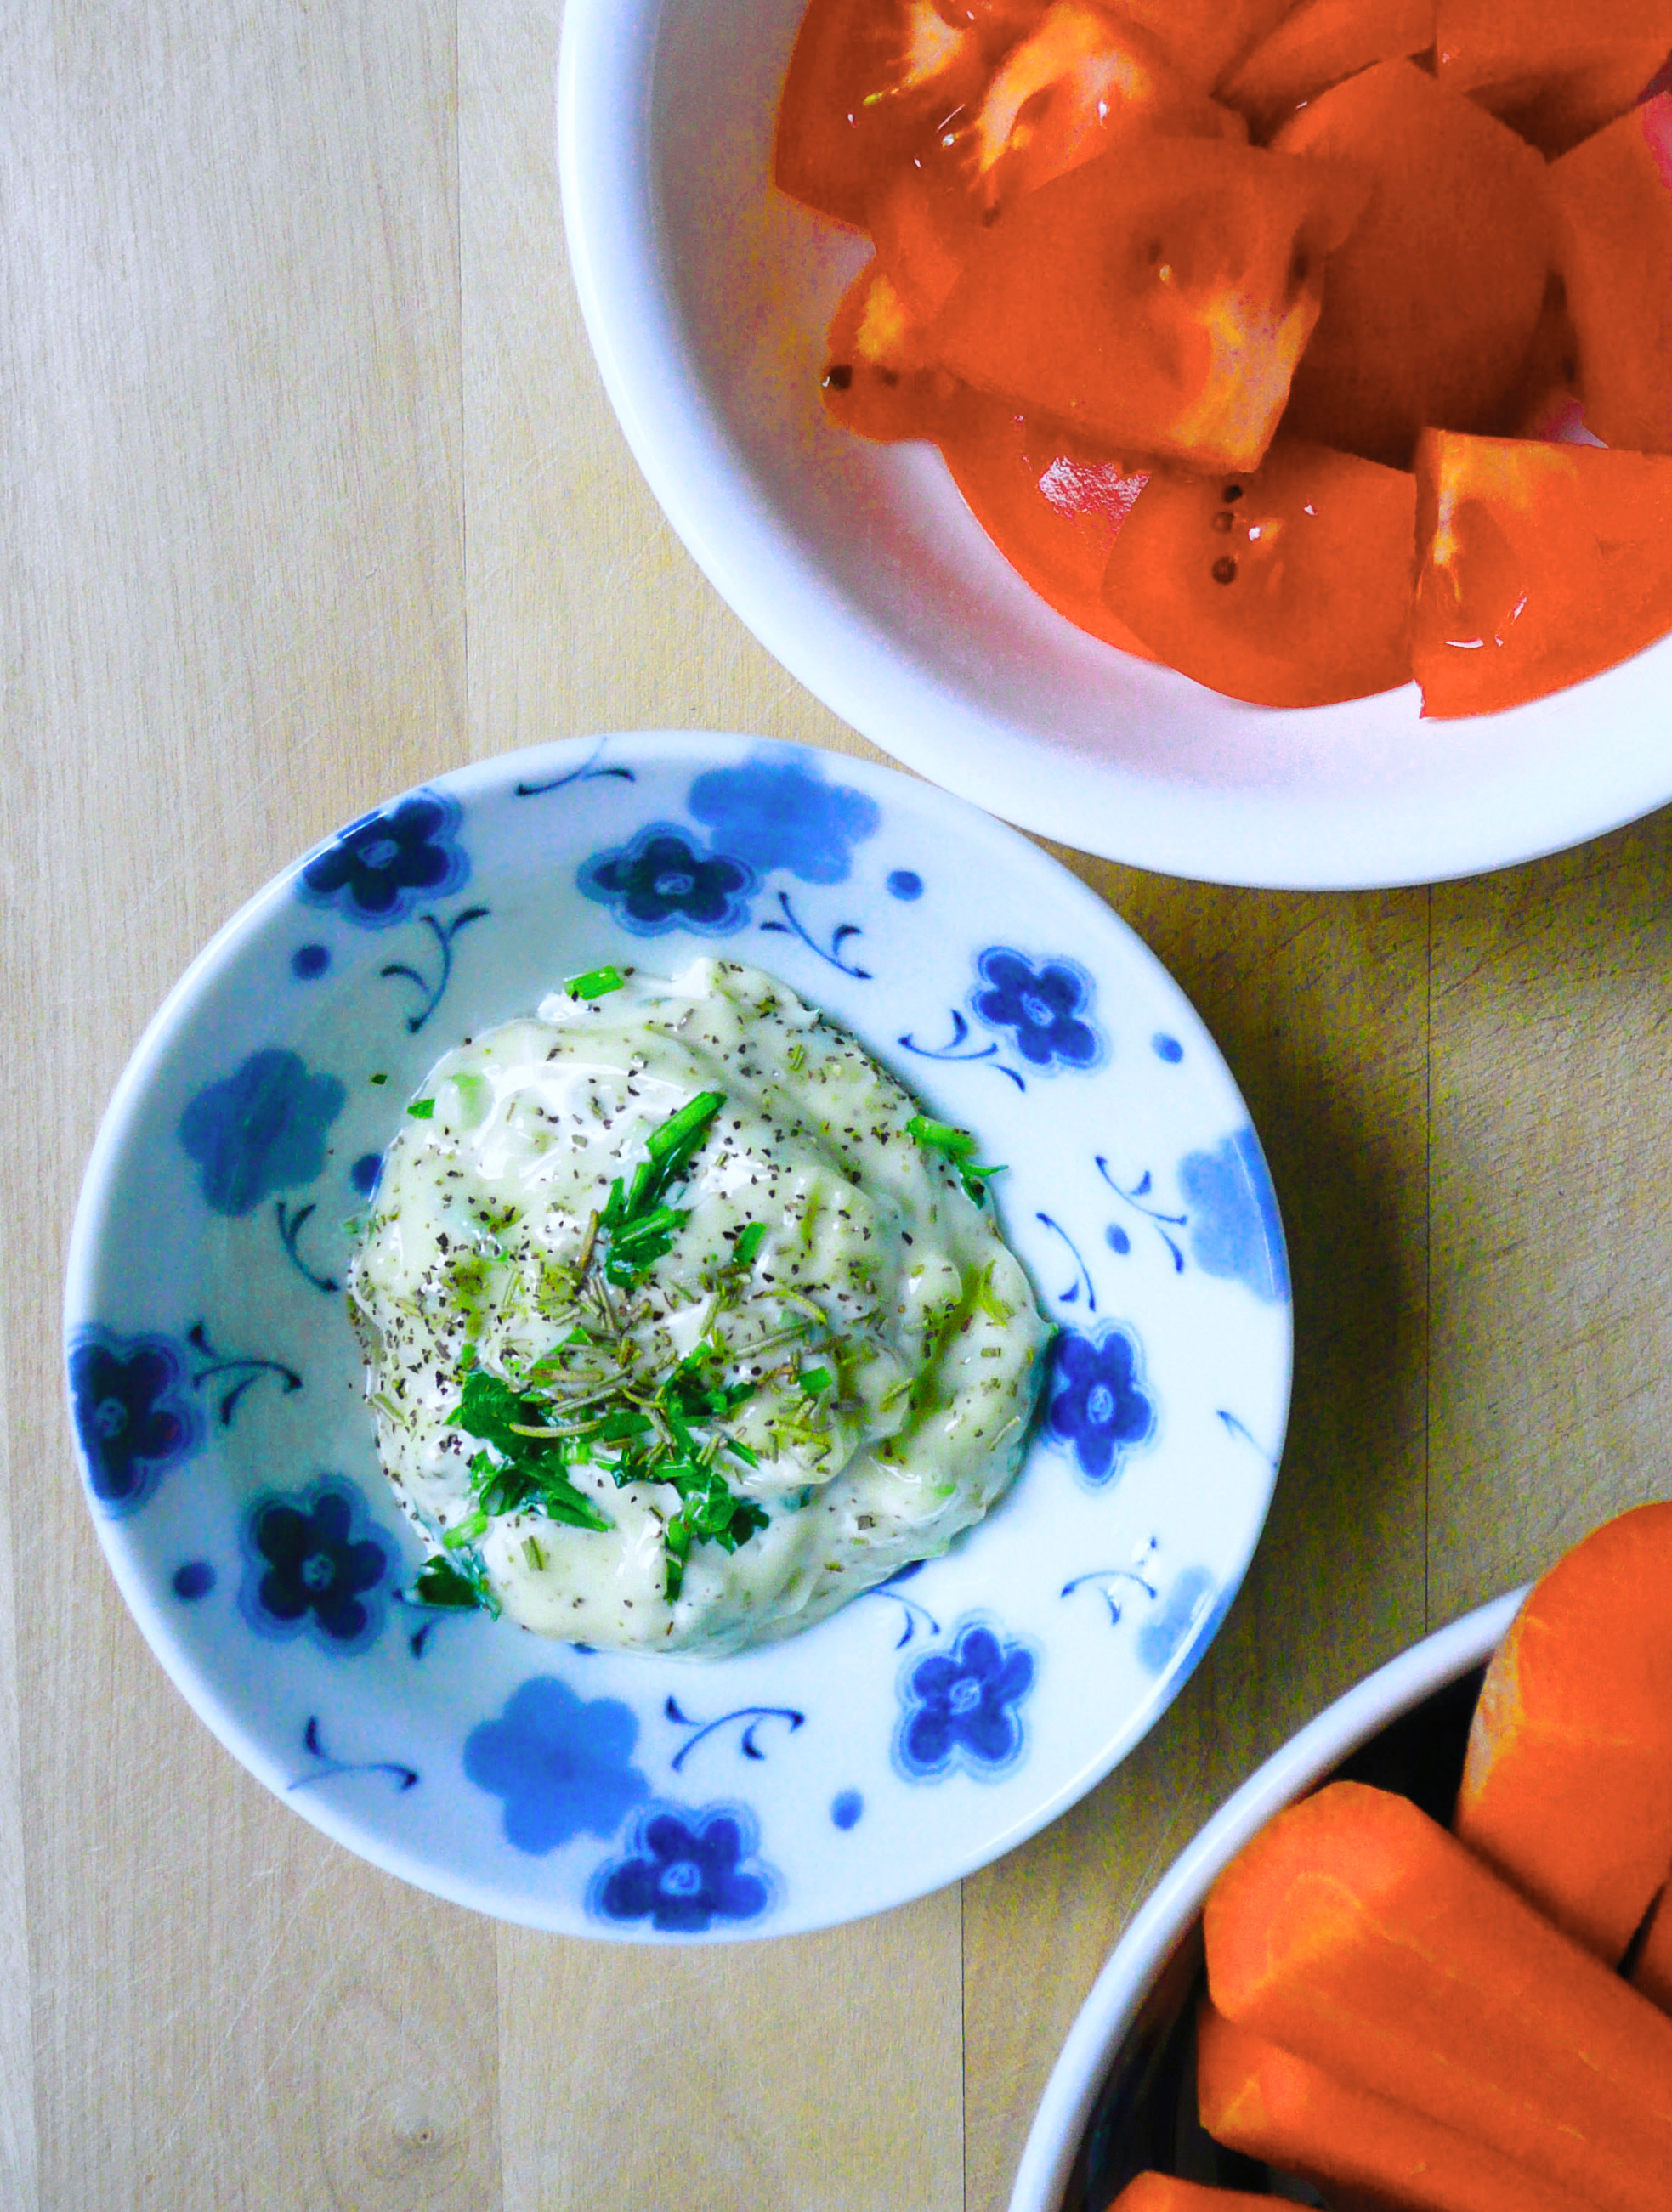
1. Add the mayo and olive oil to a small bowl. Tilt the bowl to that the olive oil pools together and slowly stir it into the mayo until well incorporated. Add the rest of the ingredients and give it all a good stir.
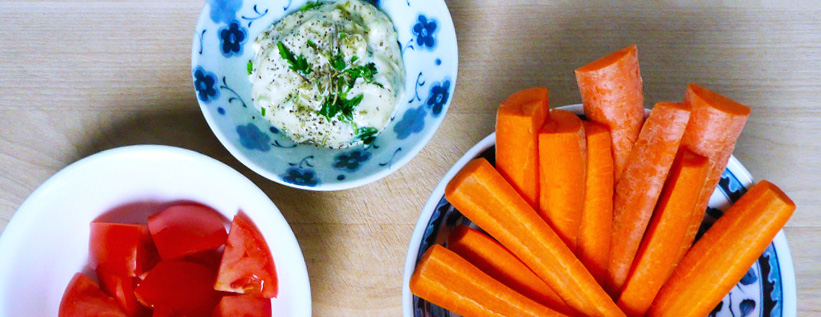
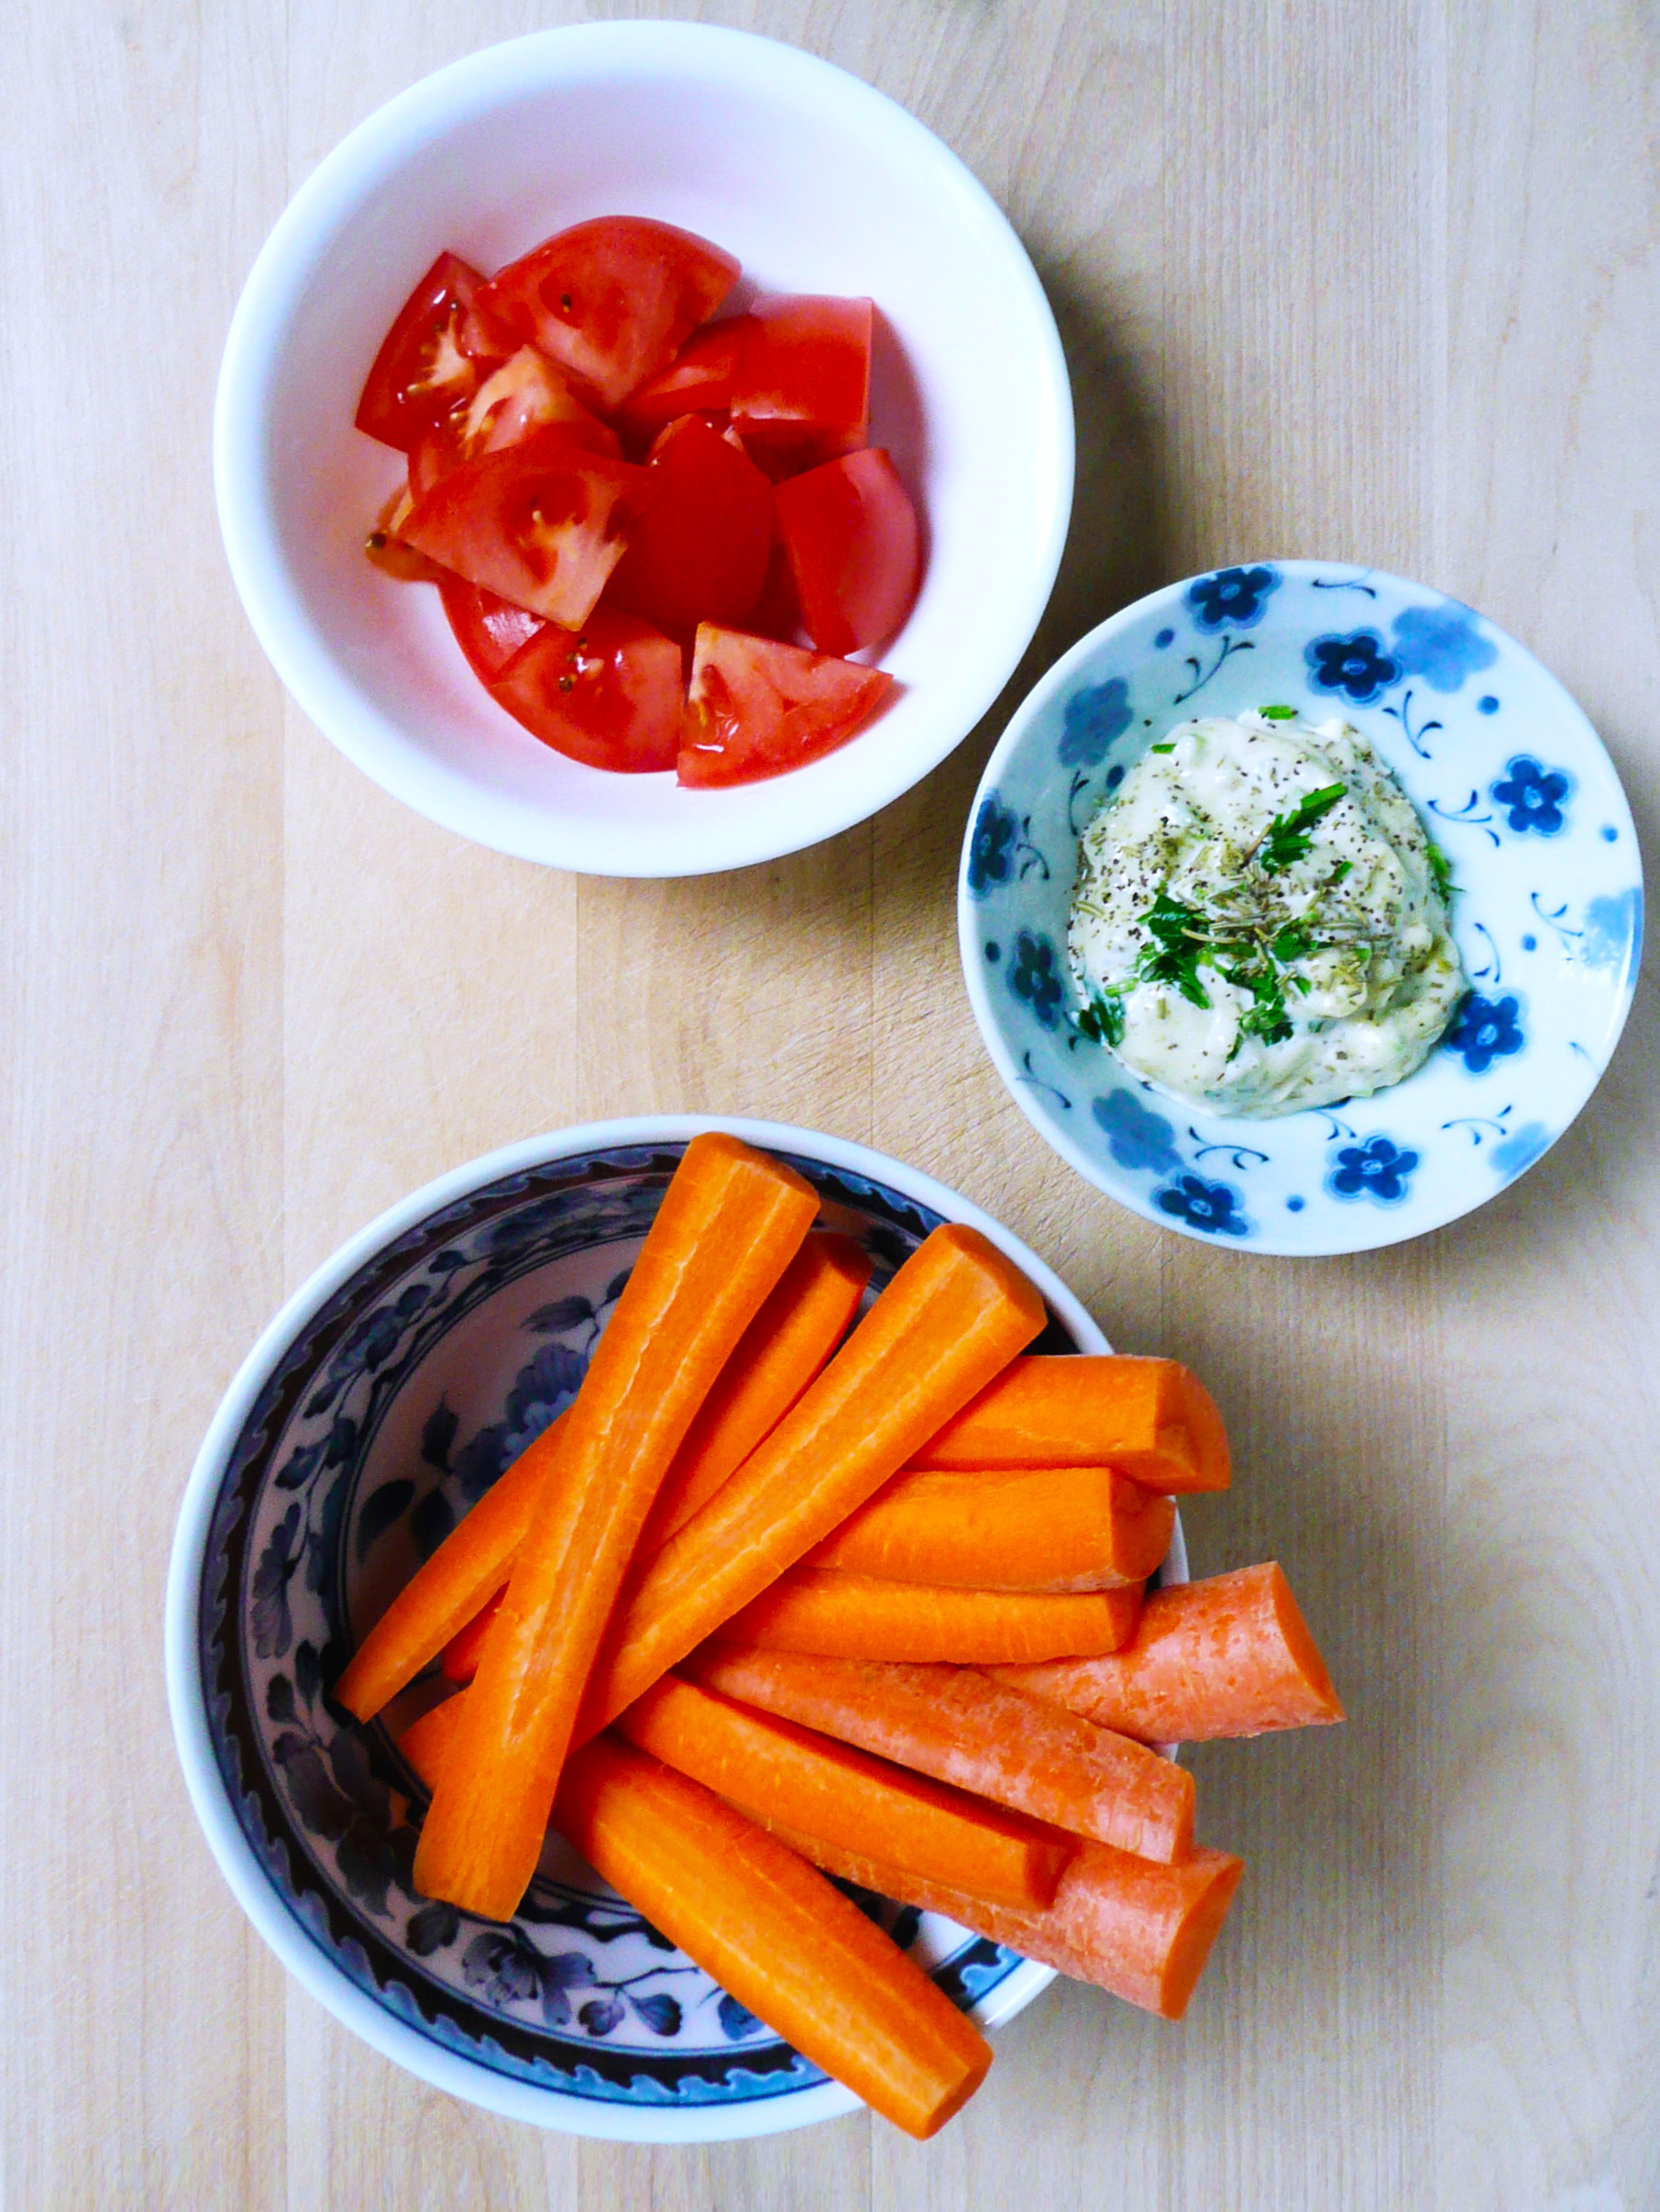
Serve with any vegetables that you like. This dip is great with sweet potato fries, or I like eating it with 2 carrots (cut into carrot sticks) and a diced tomato for a quick snack.
There’s a really funny writer/actor/comedienne extraordinaire named Tiffany Haddish who has a dish called “Joyful Greens.” She says that they are “Joyful Greens” because she smiles when she picks the collard greens from her garden, she smiles when she washes them, and she smiles when she cooks them. All that joy, love and care that she puts into growing and preparing the greens make them extra delicious.
Taylor Swift also loves Tiffany’s Joyful Greens. Tiffany brought them with her to one of Taylor’s dinner parties and where they also dined on homemade barbecue chicken, potato salad, and cornbread (don’t we all wish that we could have been at that dinner party? It’s sounds amazing.)
Here’s a video of Tiffany teaching Oprah and Ellen how to make them.
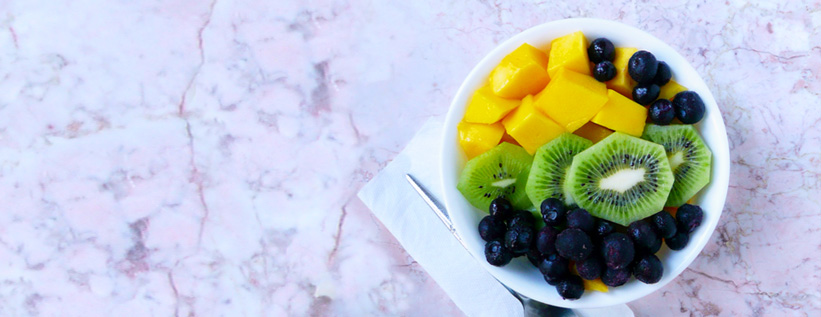
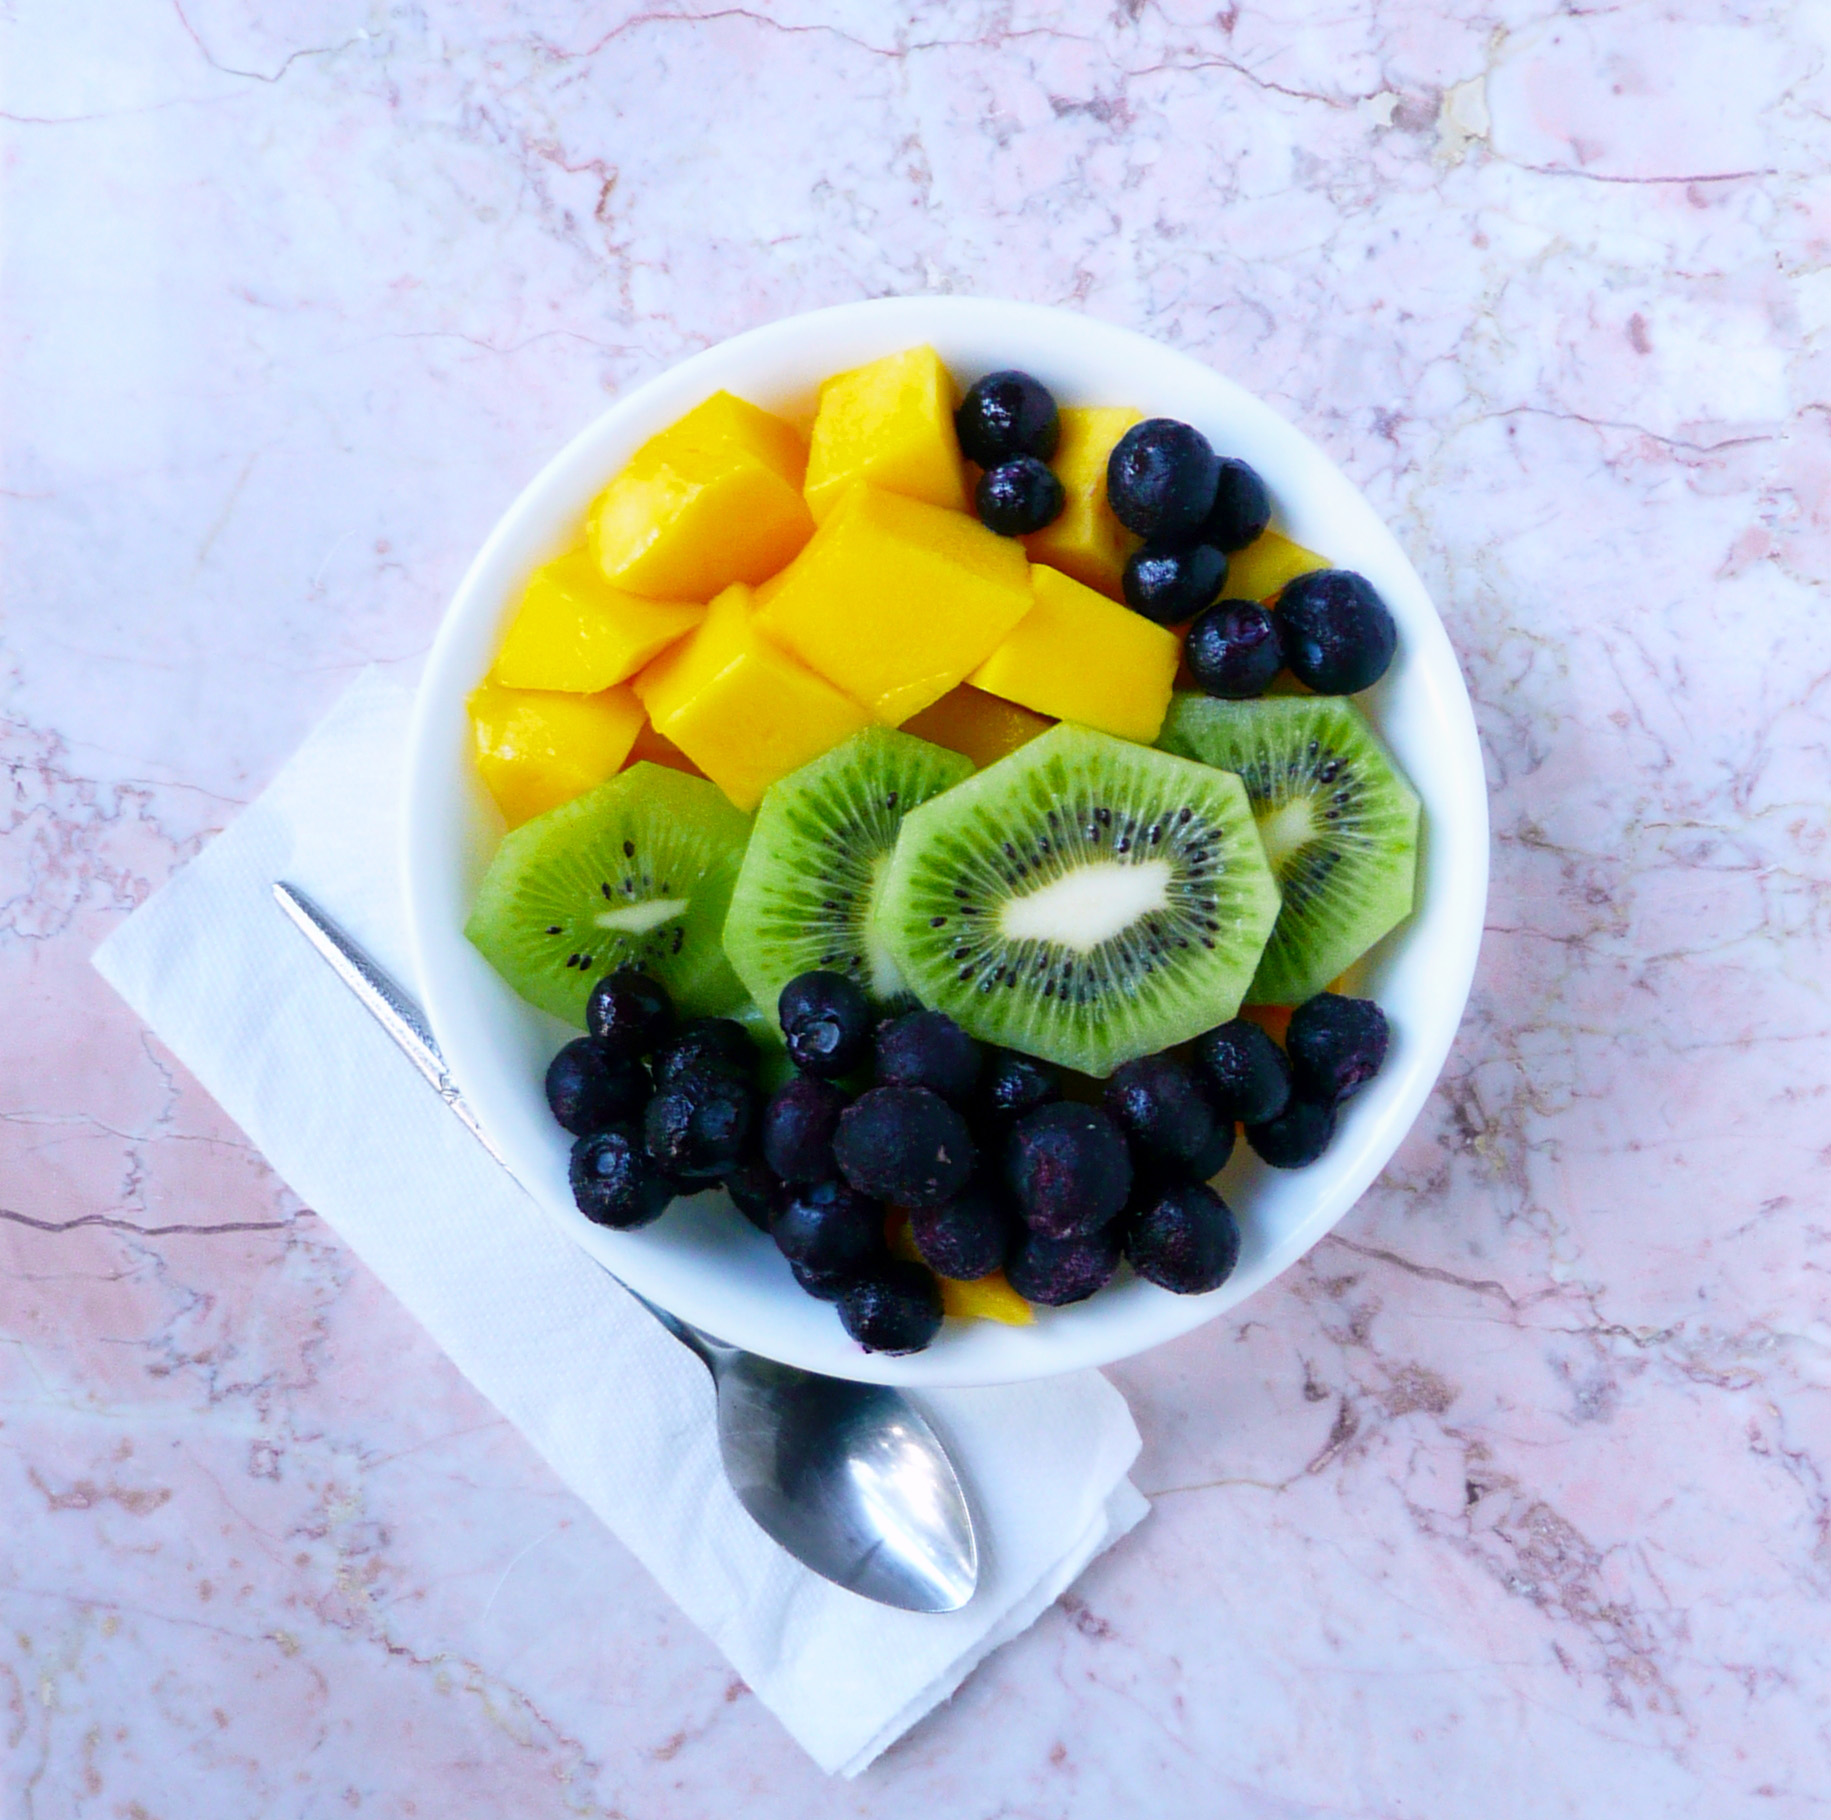
While I didn’t grow these fruits myself, this is my joyful fruit salad. It’s joyful because you smile while you’re picking out the fruit (you smile at how wonderful and sweet that ripe mango smells), you smile when you see how bright and happy the different colors of the fruits are together, and you smile when you eat it (because it tastes so good…)
It’s super quick to put together, and I like packing it in a lunch because the colors look so cheerful together that I always look forward to eating it. This combination of fruits taste lovely together, and eating it feels like a real treat.
Joyful Fruit Salad
Makes 1 generous serving
Ingredients
1 ripe mango*
1 ripe kiwi**
1/3 cup blueberries (fresh or frozen)
Notes – *Ripe mangoes smell very sweet and fragrant. Mangoes that aren’t ripe won’t smell much like anything.
** Ripe kiwis are soft, but not squishy. If you have one that’s really firm, go ahead and leave alone for a couple days and it will ripen up.
Instructions
1. Cut the mango into 3/4 inch cubes (or cut it up however you like, this is just how I do it).
There are many ways to cut up a mango. I slice the cheeks off either side of the seed, then try and carefully slice off any remaining mango flesh that I can off of the seed. Then I cut the mango cheeks into 3/4 inch strips and use a paring knife to carefully separate the peel from the mango flesh (kind of like how you would peel an apple with a paring knife). I then cut the peel away from the slices of mango that I cut away from the seed into rough chunks and add them to a bowl with the rest of the cubed mango.
I’ve also seen people use a potato peeler to peel the mango and then slice the mango cheeks off either side of the seed, but I don’t do it that way because I find that the mango gets really slippery to hold while you’re trying to make your initial cuts.
All this is to say, cut up your mango in a way that works for you. The fruit salad will still be awesome.
2. Peel your kiwi and slice it into 1/4 inch slices.
How I peel a kiwi – Cut 1/4 inch off the top and bottom of your kiwi. Sit it flat on your cutting board and make 1/2 inch slices down the sides of the kiwi, cutting as close to the peel as you can until you’ve cut off all the kiwi peel.
You can also cut 1/4 inch off the top and bottom of a kiwi and slide spoon between the kiwi peel and the green flesh. Rotate your spoon under the peel until the peel has completely separated from the fruit.
3. Add your kiwi to the bowl of cubed mango along with the blueberries.
Enjoy!
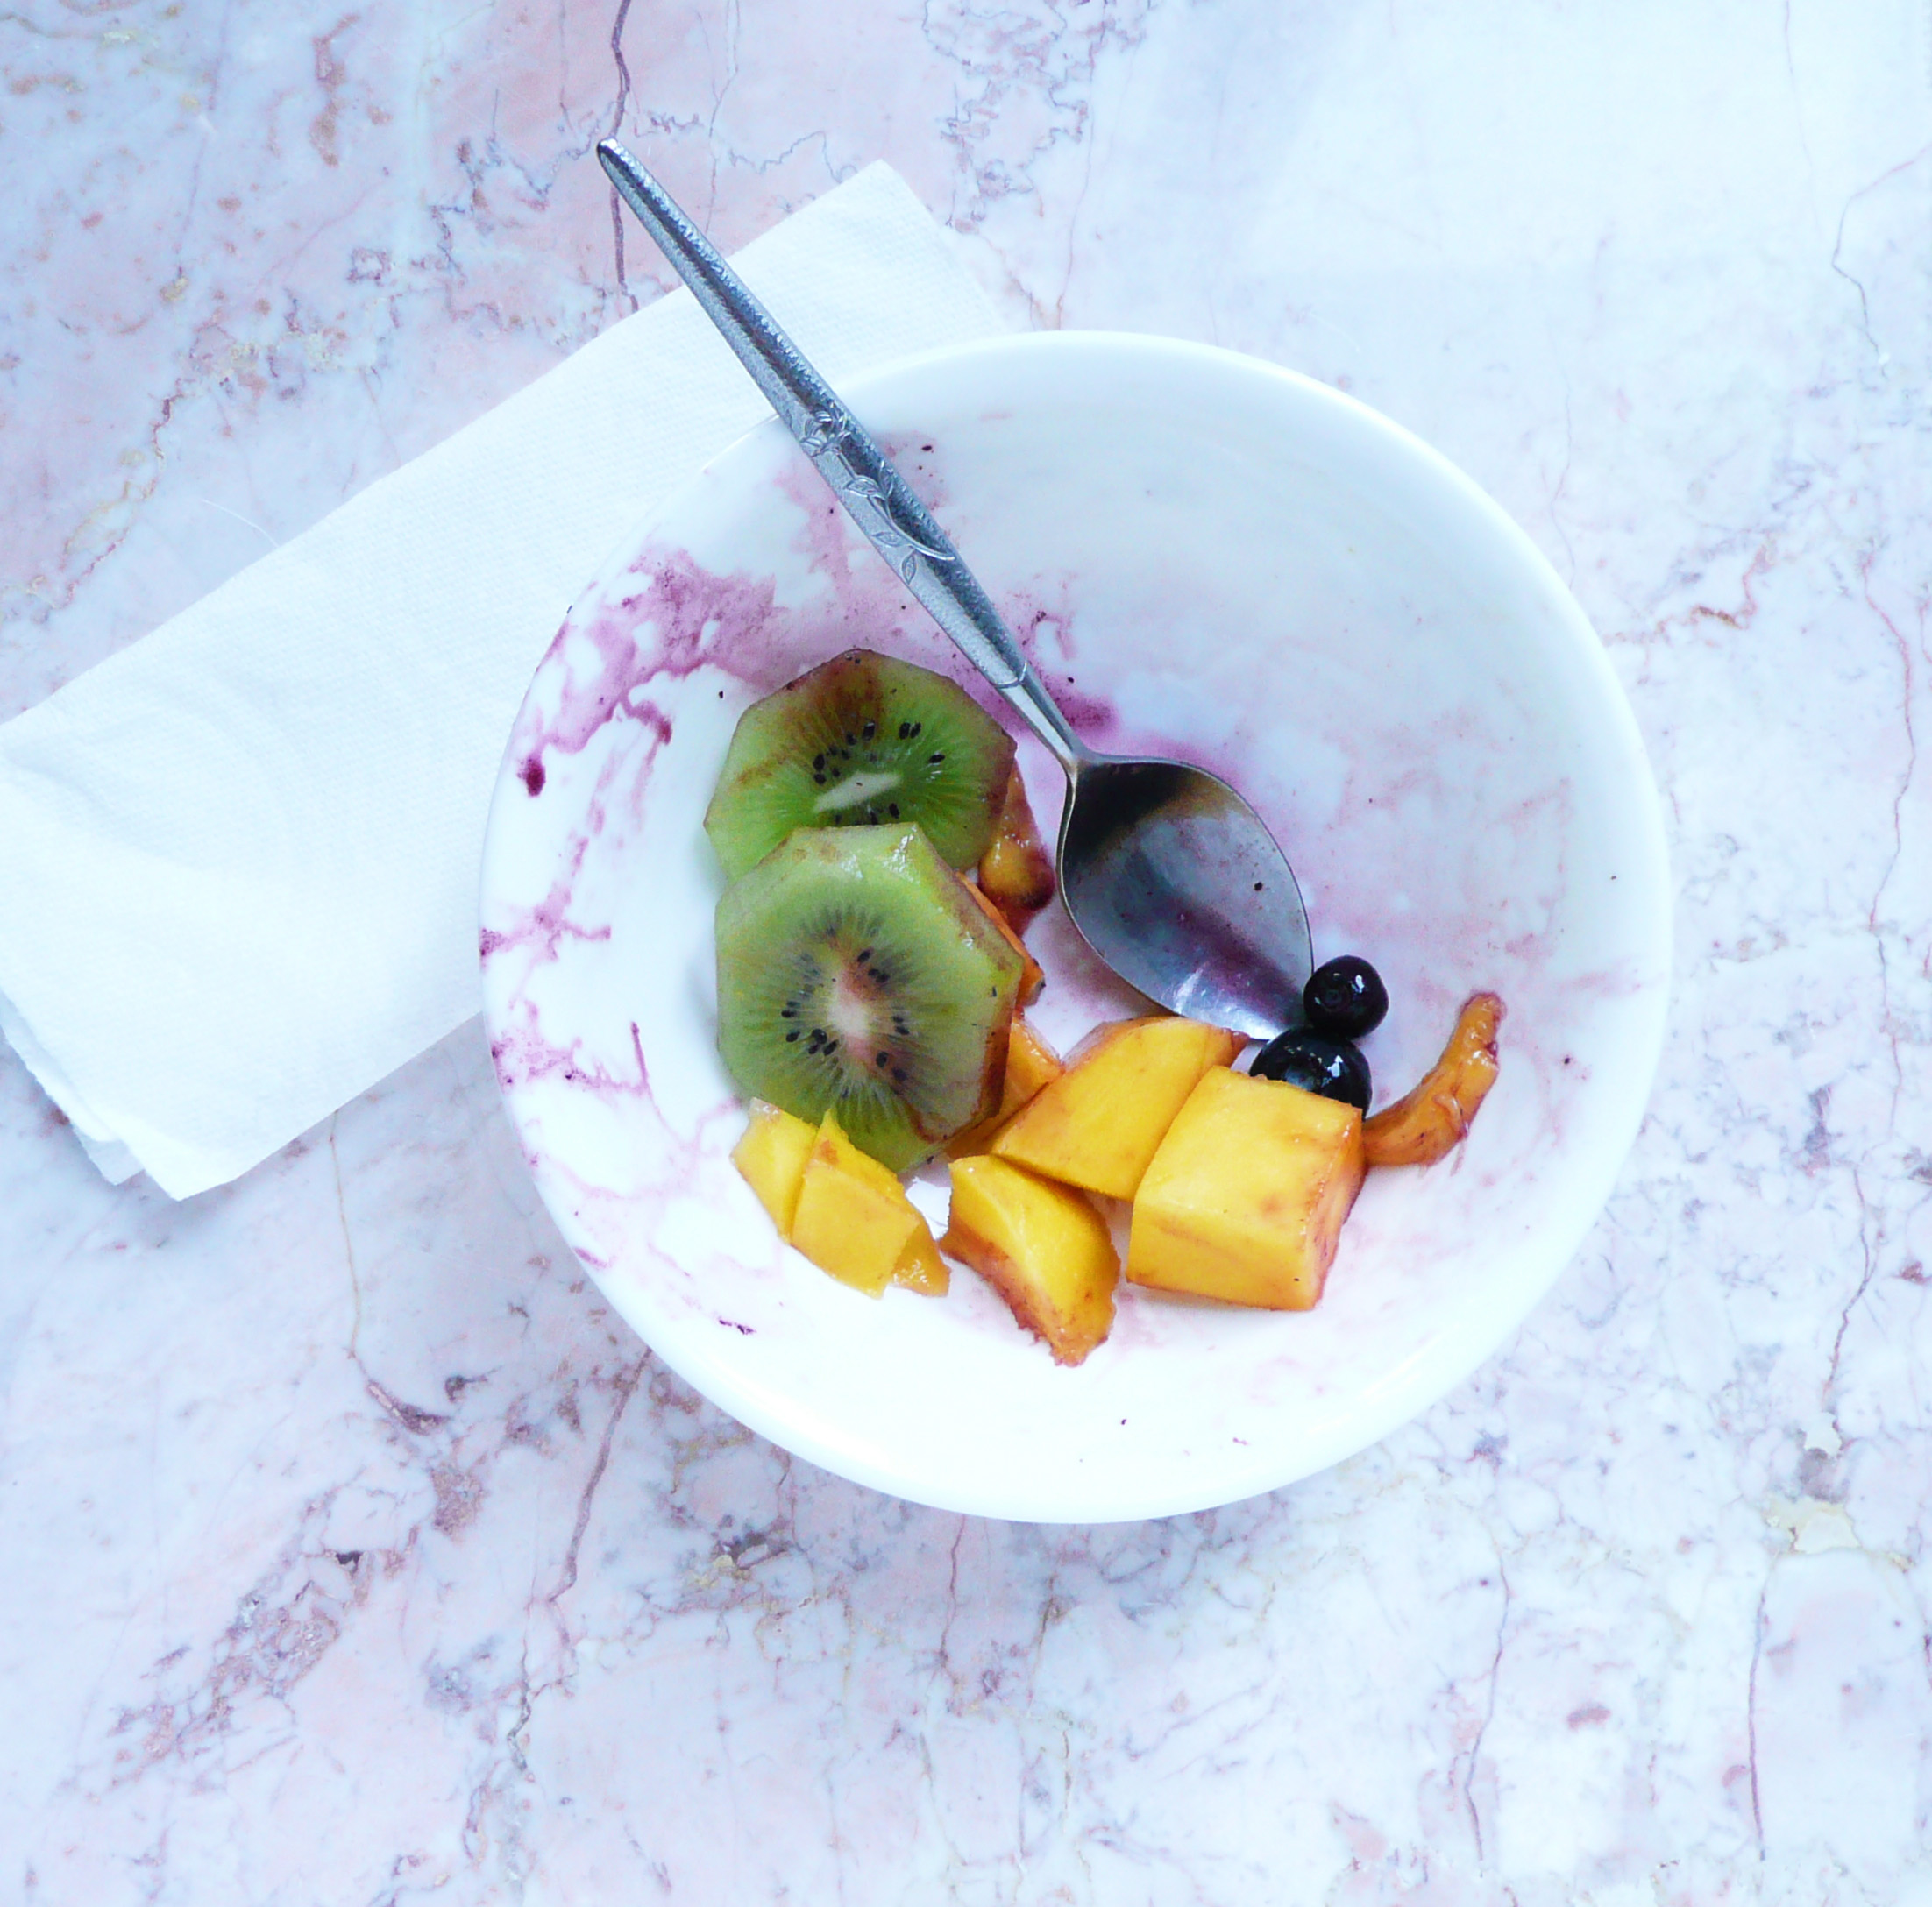
What the bowl looks like once I packed the rest of it into a mason jar for tomorrow’s lunch. This is what was leftover, which looks very pretty on it’s own.
No worries, this didn’t go to waste. I ate it right after I took the picture, and I felt very happy and grateful.
I love this creamy dressing. The dressing takes just minutes to put together and you can make it ahead of time as well and dress the cabbage and carrots when you’re ready to eat.
It’s slightly sweet from the maple syrup, and has a little bit of a bite from the apple cider vinegar and finely grated onion. And the dressing makes eating a good size serving of a cabbage (which is really good for you as it’s a cruciferous vegetable) a delicious experience.
When I first went gluten free, I experimented with a lot with different food combinations to try and come up with more exciting dishes to eat.
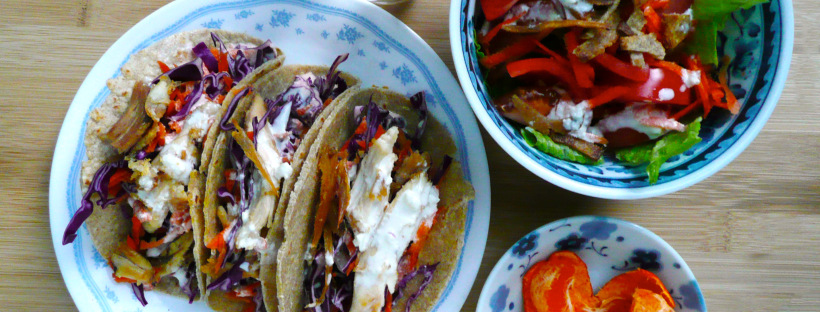
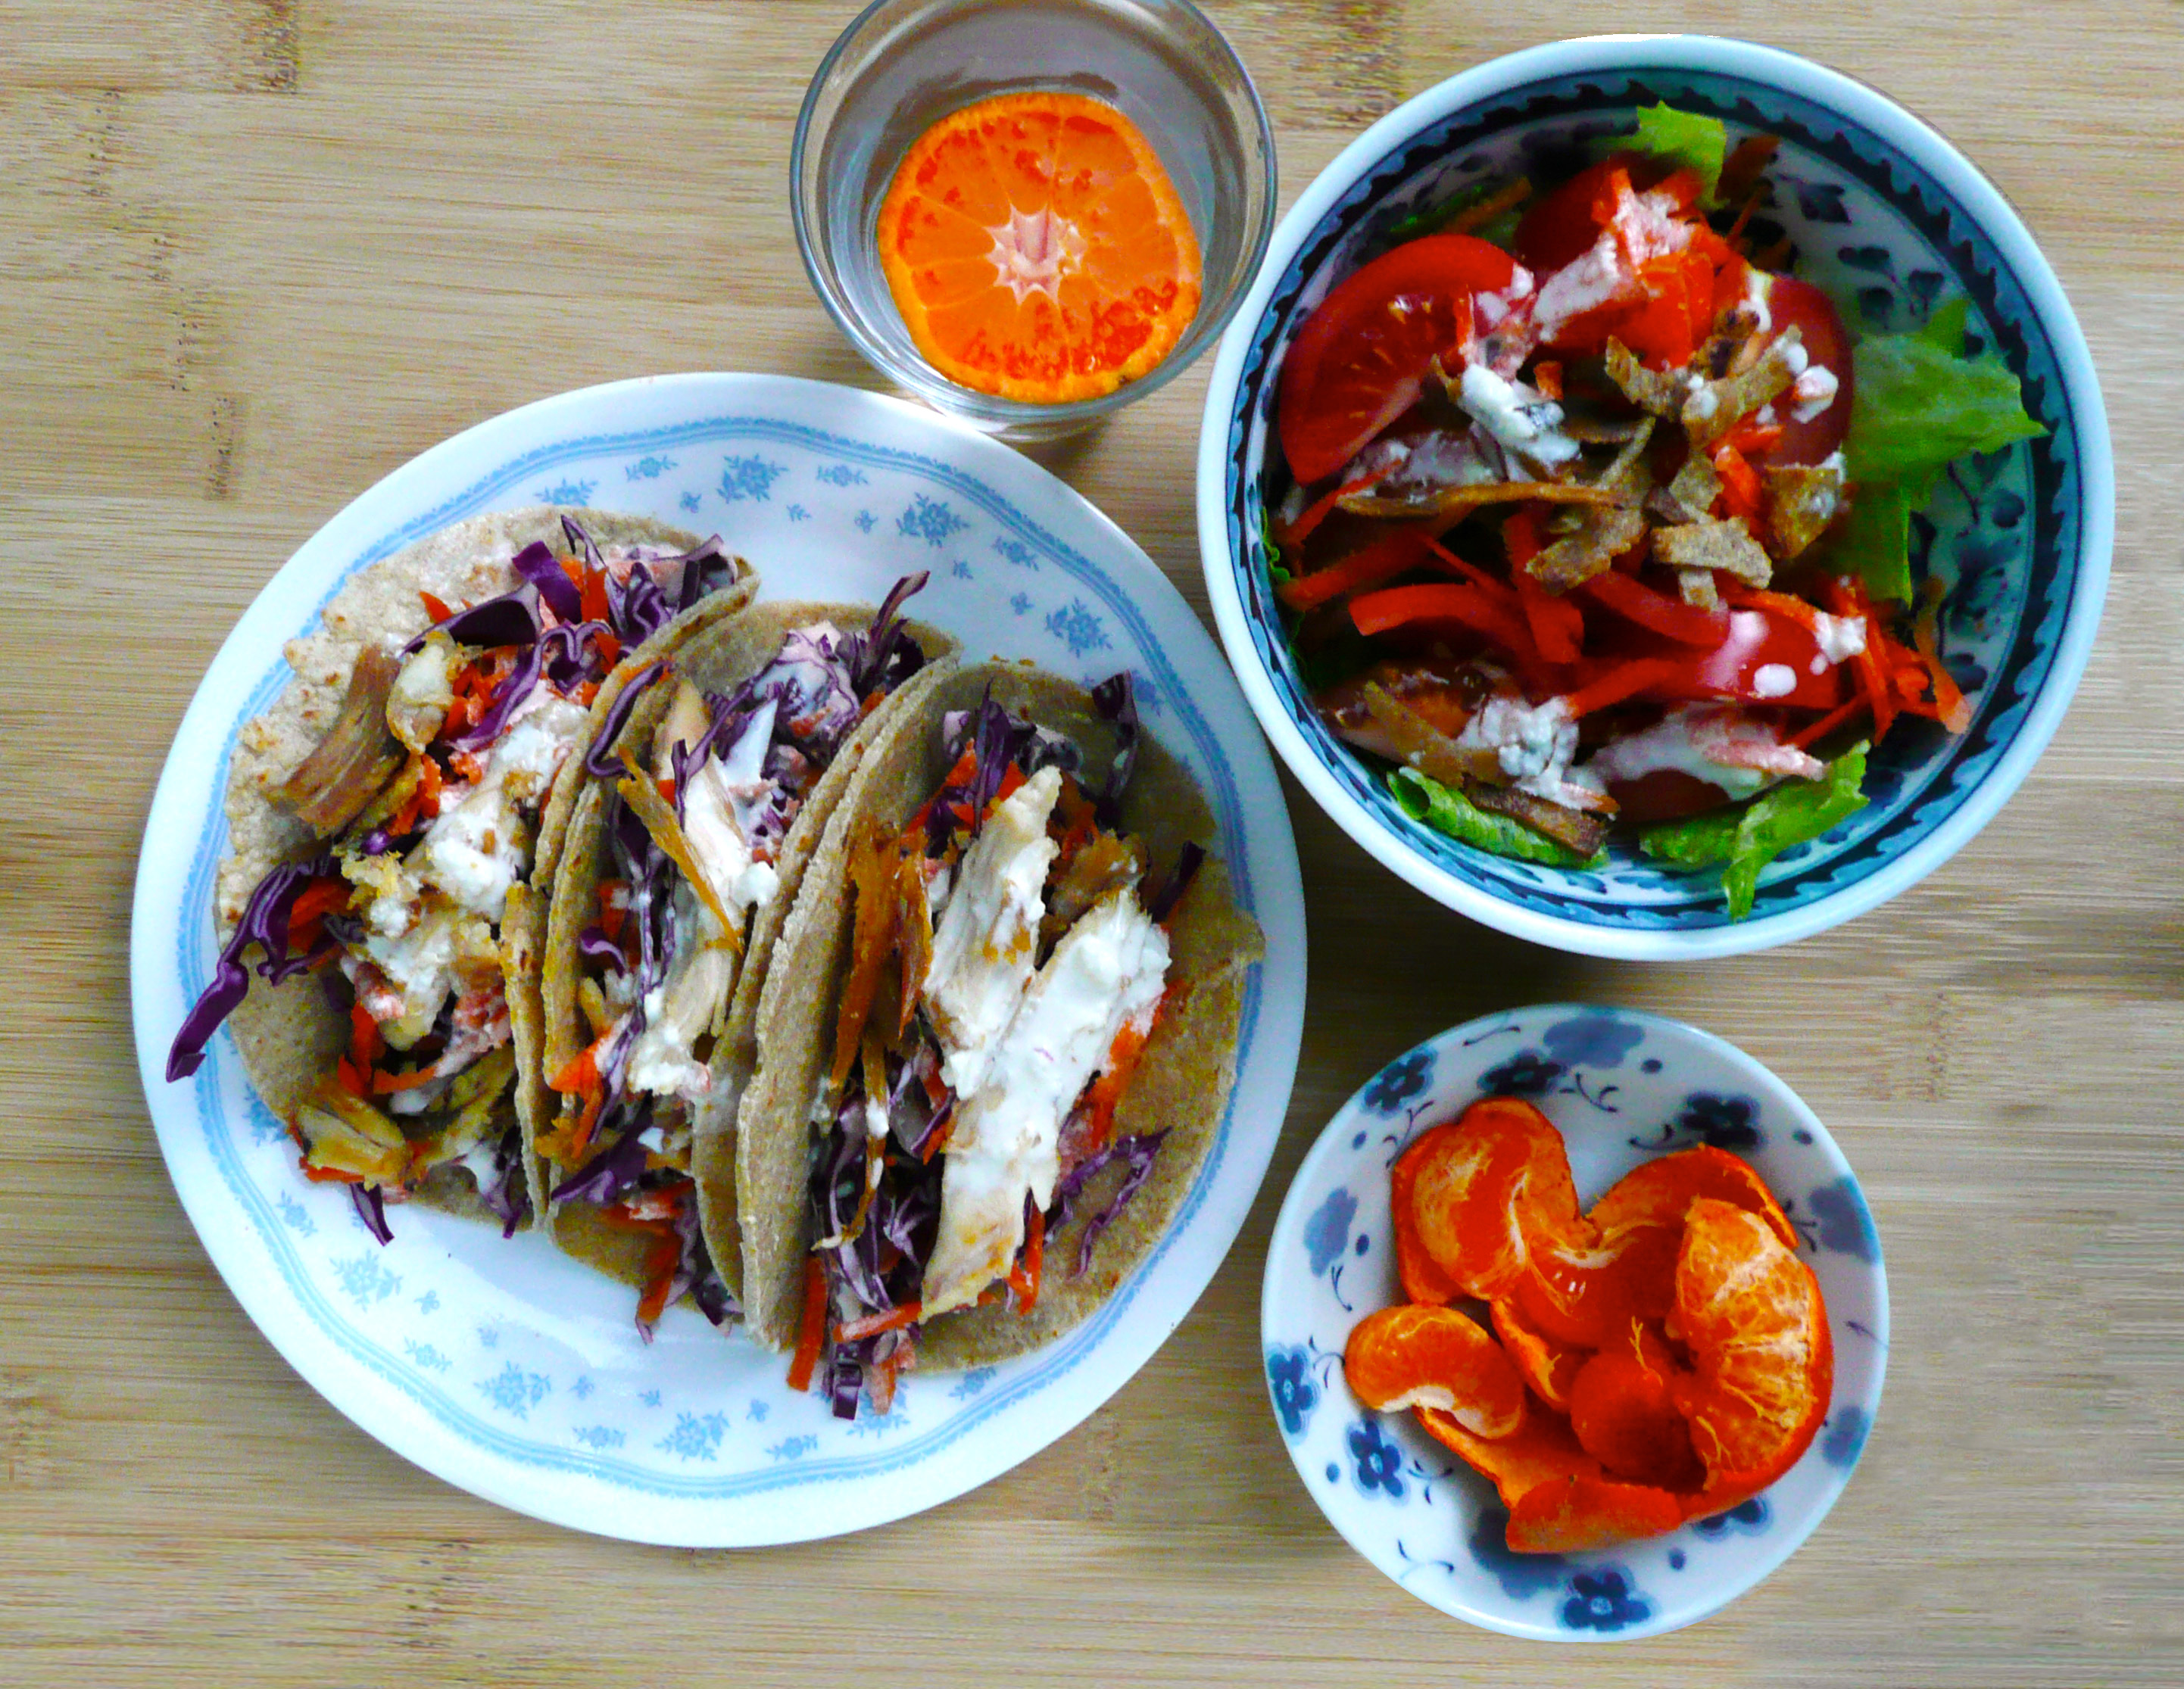
One of my first and favorite food combinations ones turned out to be chicken and cole slaw tacos.
I use homemade gluten free tortillas, top them with cole slaw and some leftover roasted chicken. If you’re vegan, you can use a vegan mayo and a meatless chicken subsitute (or crispy tofu would be good too).
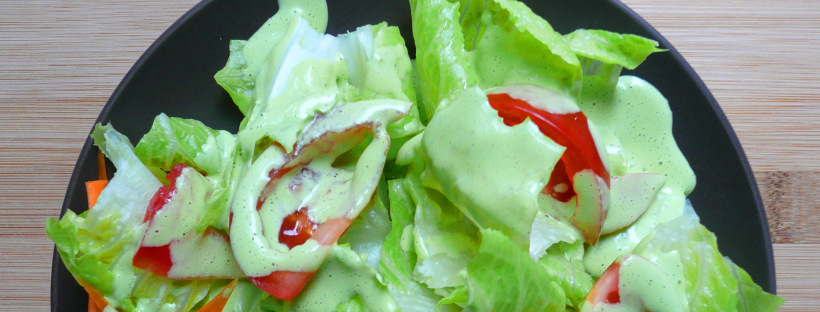
You can also serve the dressing over a normal salad (like I did in the picture). I trimmed off the edges of the tortillas and pan fried them with a little oil until they were crispy and added them to salad as a crouton substitute.
I hope that you enjoy the dressing (and that it makes eating lots of vegetables more exciting!).
Happy Eating!
Cole Slaw Dressing
Makes 1 serving
Ingredients
1/2 tbsp finely grated white onion (I use the really small holes on my box grater for this)
3 tbsp mayo (I used an avocado oil mayo)
3/4 tsp apple cider vinegar
1- 1 1/4 tsp maple syrup
pinch of salt (to taste)
1 cup finely shredded cabbage and grated carrot mix
Instructions
Stir together the onion, mayo, vinegar, and maple syrup. Add salt to taste.
Pour over the cabbage and carrots and stir until well mixed. Serve.