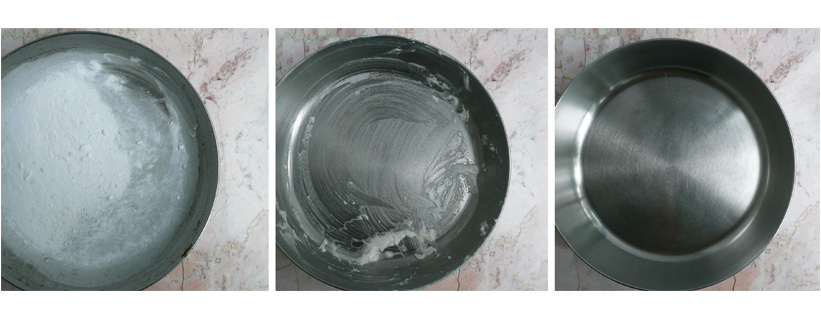
How To Get A Pan Super Clean

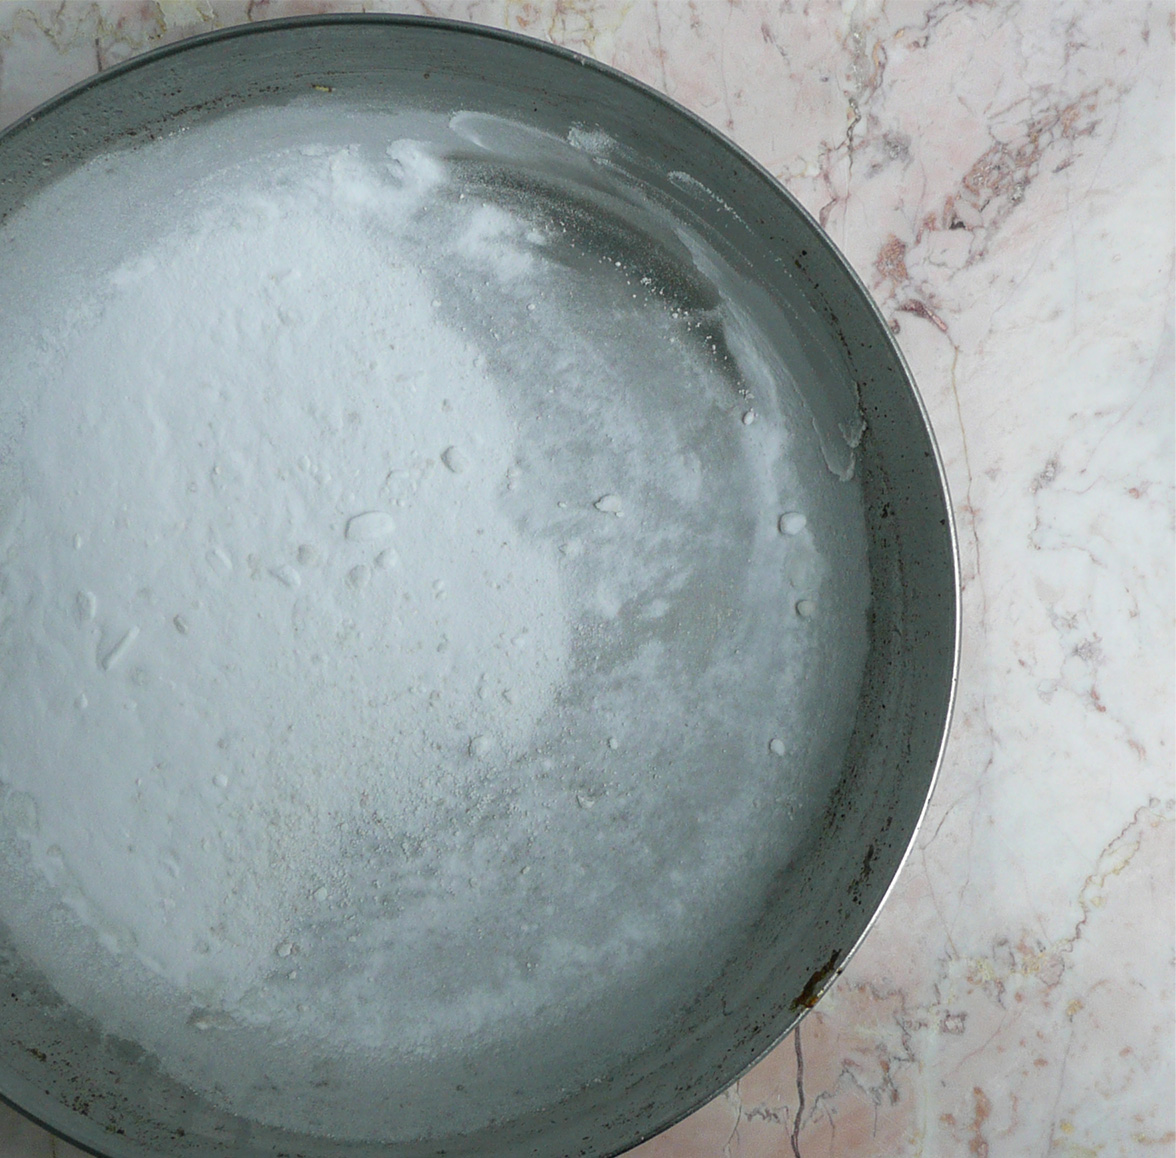
Baking soda pan 1

Baking soda and vinegar can be your best friends in the kitchen. They help muffins to rise, can make a sink squeaky clean, or help you scrub out a pan without damaging the finish.

Here’s how I like to clean my pots and pans (if they need a little more help to get clean than the dishwasher can handle by itself).

(This is a pan that I used to sauté some baby spinach with garlic and olive oil.)

Start by sprinkling a generous amount of baking soda into your pan to absorb any leftover oil.

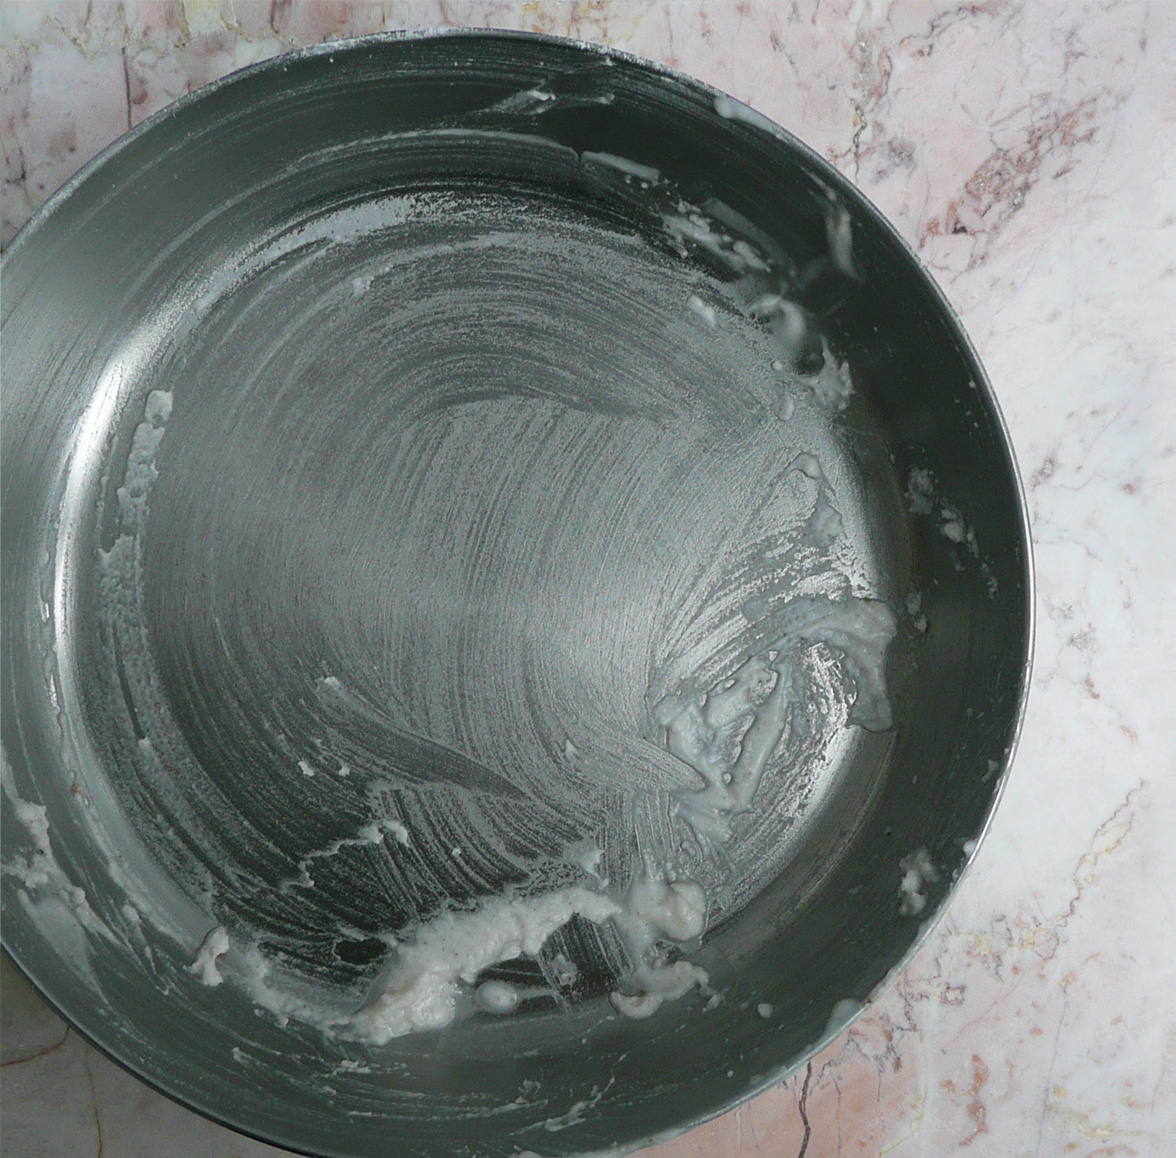
baking soda pan 2

Add a splash of plain white vinegar, and use a sponge to give the pan a good scrub.

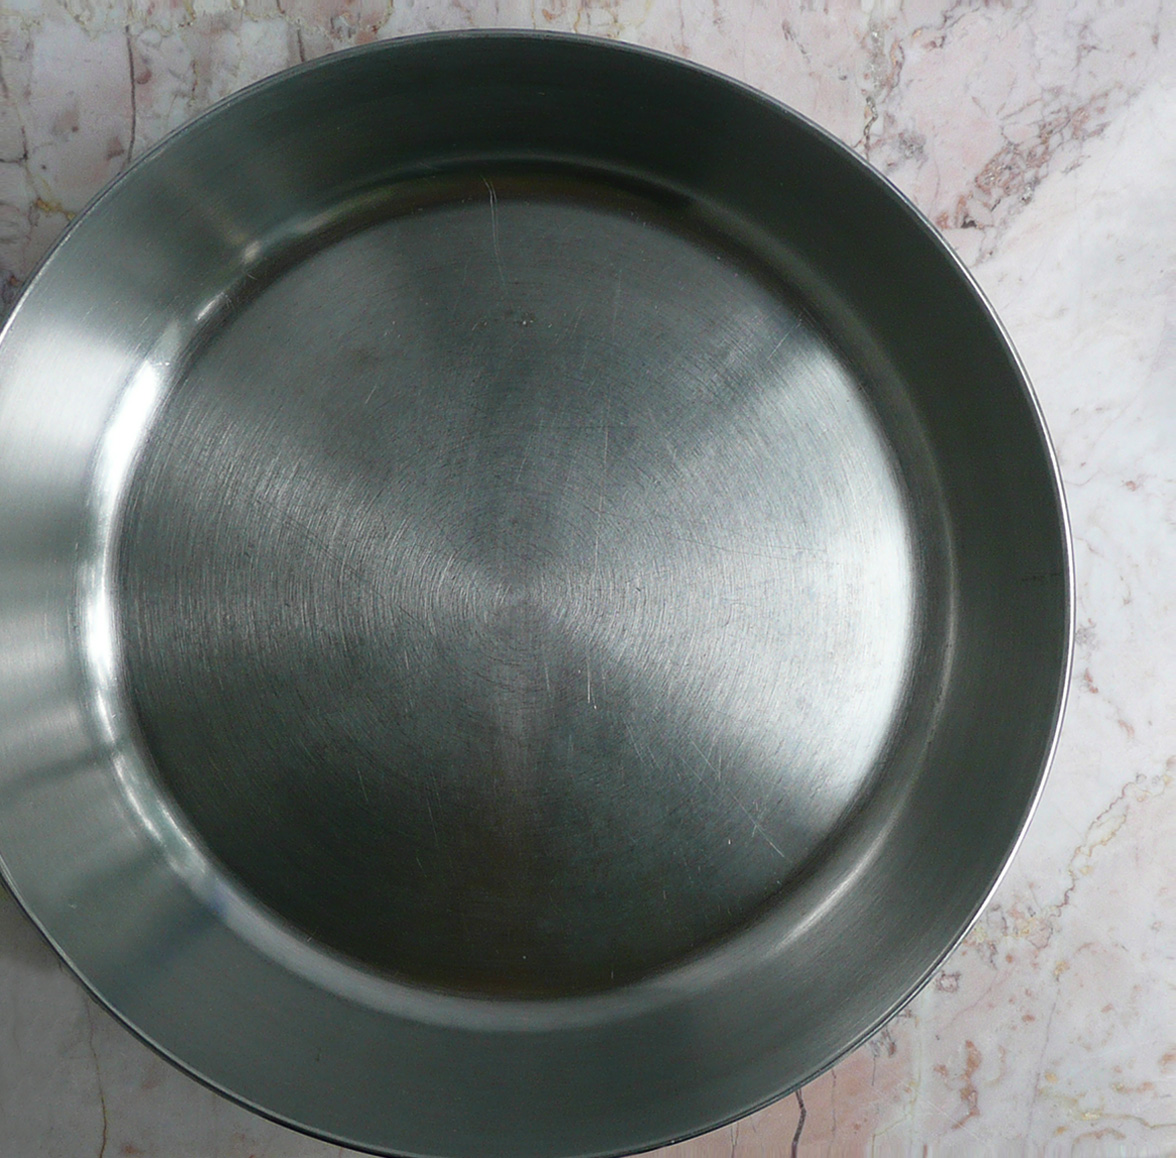
baking soda pan 3

Rinse the pan out, then wash with soap and water as usual.

Ta da! A super clean pan, ready to make your next delicious dish.

Vegan Taiwanese or Chinese Sausage – “Xiang Chang”(香腸) / “Lap Chong” (臘腸)

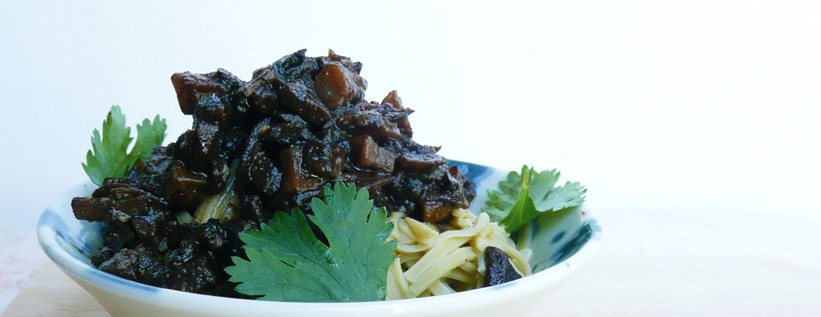
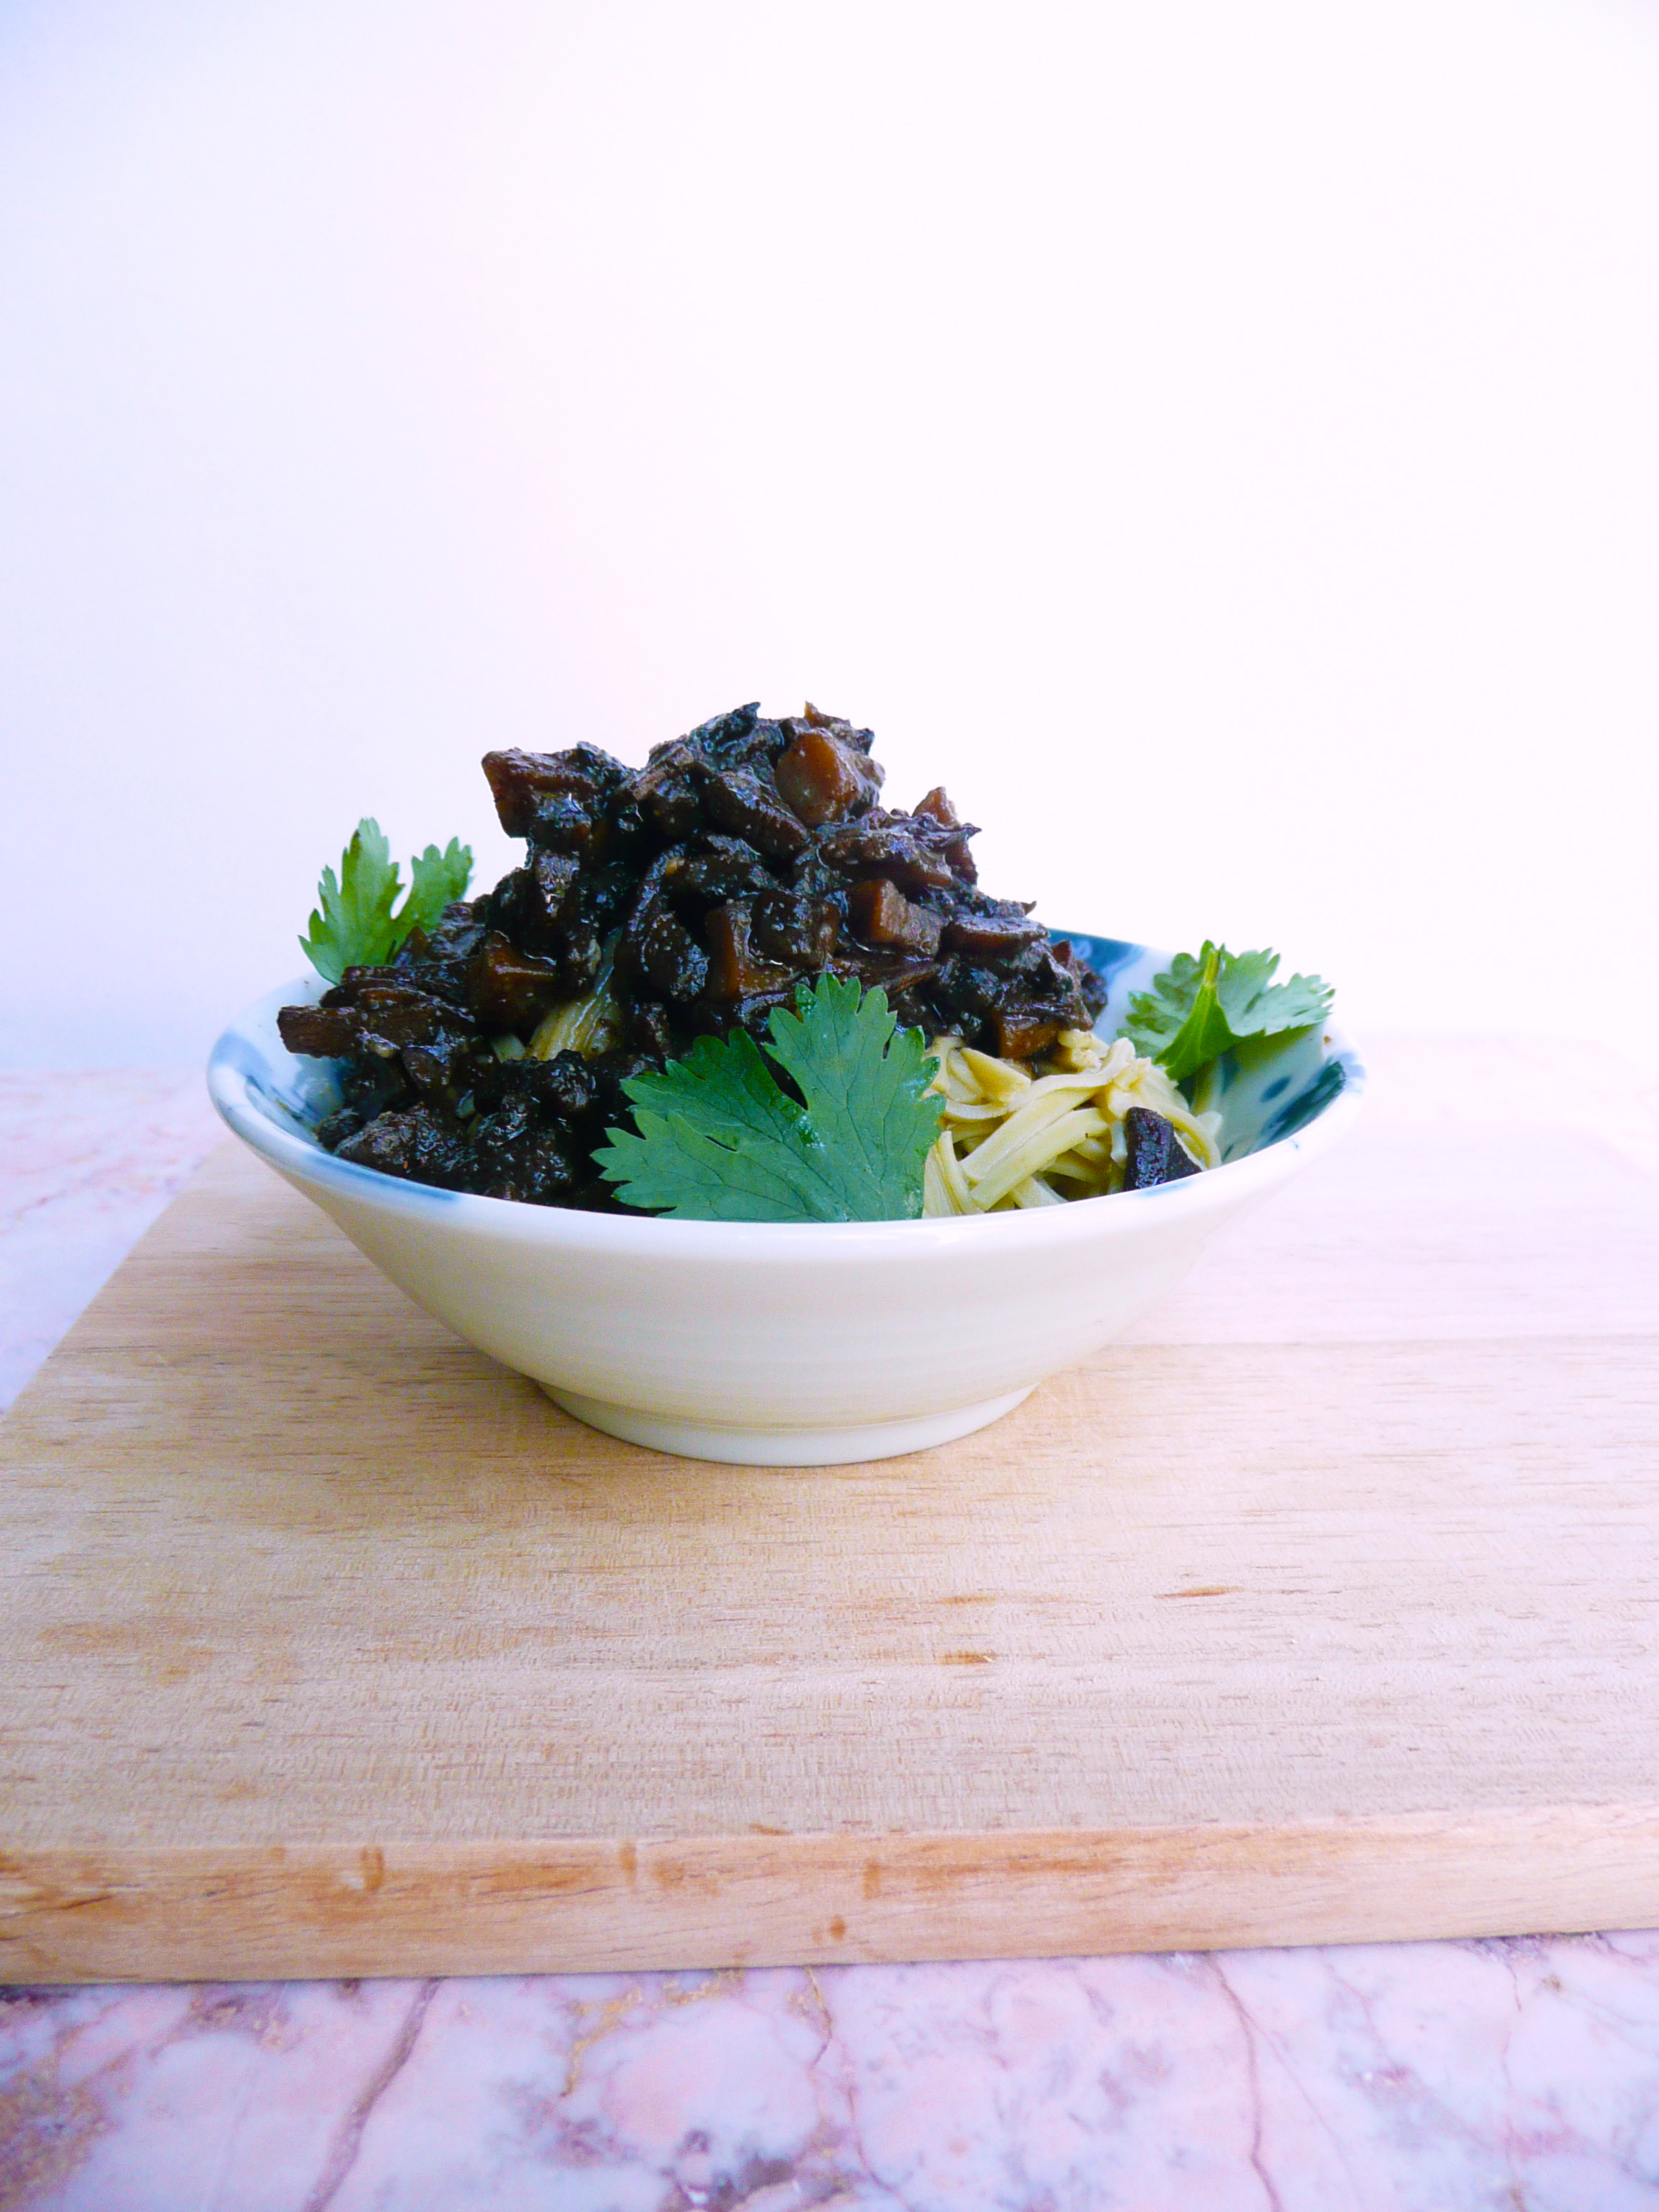
vegan taiwanese-chinese sausage

This vegan Taiwanese / Chinese sausage is easy to make and tastes very similar to the real thing.

Spooned over noodles or a steaming bowl of rice, it’s happiness in a bowl.

Taiwanese and Chinese sausages can be found at Asian supermarkets, but I’ve never seen an organic one that’s free of added nitrates yet (here’s to hoping!). They taste amazing, and even though I’ve watched a YouTube video on how to make the sausages the traditional way, I haven’t actually made them myself yet.

This recipe is an easy way to get a similar flavor and texture without the hassle of making the sausage, or the nitrates from the store bought versions.

I used this recipe instead of real Chinese sausage when I made Turnip Cake for Lunar New Year and it worked great, so you can potentially swap this in for recipes that call for diced Taiwanese of Chinese sausage.


Vegan Taiwanese Sausage (香腸) or Chinese Sausage (臘腸)

Makes 1 serving

Ingredients

6 white or crimini mushrooms – cut into ¼ inch dice (about 1 ½ cups)

2 ½ tbsp. avocado oil (or any neutral flavored high heat oil)

¼ tsp + 1/8 tsp granulated garlic

¼ tsp + 1/8 tsp 5 spice powder

½ tsp organic red miso paste

2 – 2 ½ tsp maple syrup*

maybe a pinch of salt to taste (depending on how salty your miso is)


*Taiwanese sausage or “Xiang Chang”(香腸) is usually a little sweeter than the Chinese sausages or “Lap Chong” (臘腸), so if you’re looking for more of a Taiwanese sausage flavor, use the 2 1/2 tsp of maple, and 2 tsp of maple if your looking for more of a Chinese sausage flavor.

Instructions

1. Stir together the granulated garlic, 5 spice, miso, and maple syrup until smooth.

2. Make your pan non-stick. Add the oil and diced mushrooms to the pan and cook on medium high heat, stirring frequently, for 8-9 minutes until the mushrooms are golden brown around the edges.

3. Add the cooked mushrooms to the spice mix and stir until well combined. Give it a taste, adjust the seasoning to your liking.

You can also spoon this into romaine lettuce leaves (like vegan chicken lettuce wraps), or serve it over steamed rice or noodles.

However you eat it, I hope that you enjoy the recipe!


Note – This isn’t sponsored, but I just wanted to mention that the noodles that I used in the picture were Organic Edamame Spaghetti Noodles made by Explore Asian Authentic Cuisine (it looks like they may have changed the company’s name to “Explore Cuisine” now).

The only ingredients are water and soybeans and the noodles have a lovely flavor and texture and cook up in about 5 minutes are a good non-grain pasta alternative (if that’s something that you’re looking for). I used up the last of the box I had for this recipe (the box I had was from Costco, and they don’t carry the noodles anymore) but you can find the noodles online.

Oat Flour Tortillas

Gluten Free Oat Flour Tortilla Recipe – Super Easy, Cheap and Cheerful, Vegan Friendly

P1080427

Some people say “I love you” with diamonds, but personally, I’d rather have tacos for Valentine’s Day.

Nothing says “I love you” quite like a taco (and everyone loves tacos). So this Valentine’s Day, make your loved one some amazing tacos with these gluten free oat flour tortillas.

Store bought tortillas can have all kinds of fillers, and the gluten free ones can be particularly expensive. These tortillas are incredibly cheap and easy to make, and taste amazing too. Perfect for anyone who wants to eat well on a budget.

These tortillas are super flexible. Unlike normal wheat tortillas, these tortillas are actually more flexible when they aren’t piping hot, so it’s a good idea to give them a minute or two to cool once you take them out of the pan before you fill them with anything. They are also still very flexible when cold, which makes them great for packed lunches.

The dough is sturdy enough that you can make the tortillas as large as you want, and as long as you have a griddle big enough, you can make a burrito sized tortilla if you like (but you may have to adjust the cooking time).


Gluten Free Oat Flour Tortillas

Makes six 6 inch tortillas (about 2 servings)

Ingredients

1 1/4 level tsp psyllium husk powder*

1/3 cup water

1/2 tsp honey**

1 tbsp olive oil

1 cup oat flour***

1/8 tsp sea salt


Notes – *Psyllium husk powder gels like nothing else, and there’s no great substitute for it. I found mine in the bulk spice section of the local Fred Meyer, but Whole Foods, Trader Joes have been known to carry it as well. If it’s not in the natural foods, or bulk spice section, check the dietary supplement/ digestive health (where the Metamucil is) section of the store or pharmacy as it’s sometimes sold there as well.

** You can leave out the honey if you’re vegan. The tortillas will still be good, they just wont have the little brown spots when you cook them.

*** I grind oats into oat flour using a blender. Don’t grind the oats in a food processor because the flour won’t be fine enough.

Any extra oat flour I don’t use in the recipe goes into an airtight container and I use it for another recipe.

If you’re making the tortillas for someone who has celiac disease, use certified gluten free oats, as the oats from the bulk bins can sometimes be processed on the same equipment as wheat.


Instructions

1. Slowly add the water to the psyllium husk powder. Stir to combine, and don’t worry to much if it’s super clumpy. Let sit for 5 minutes

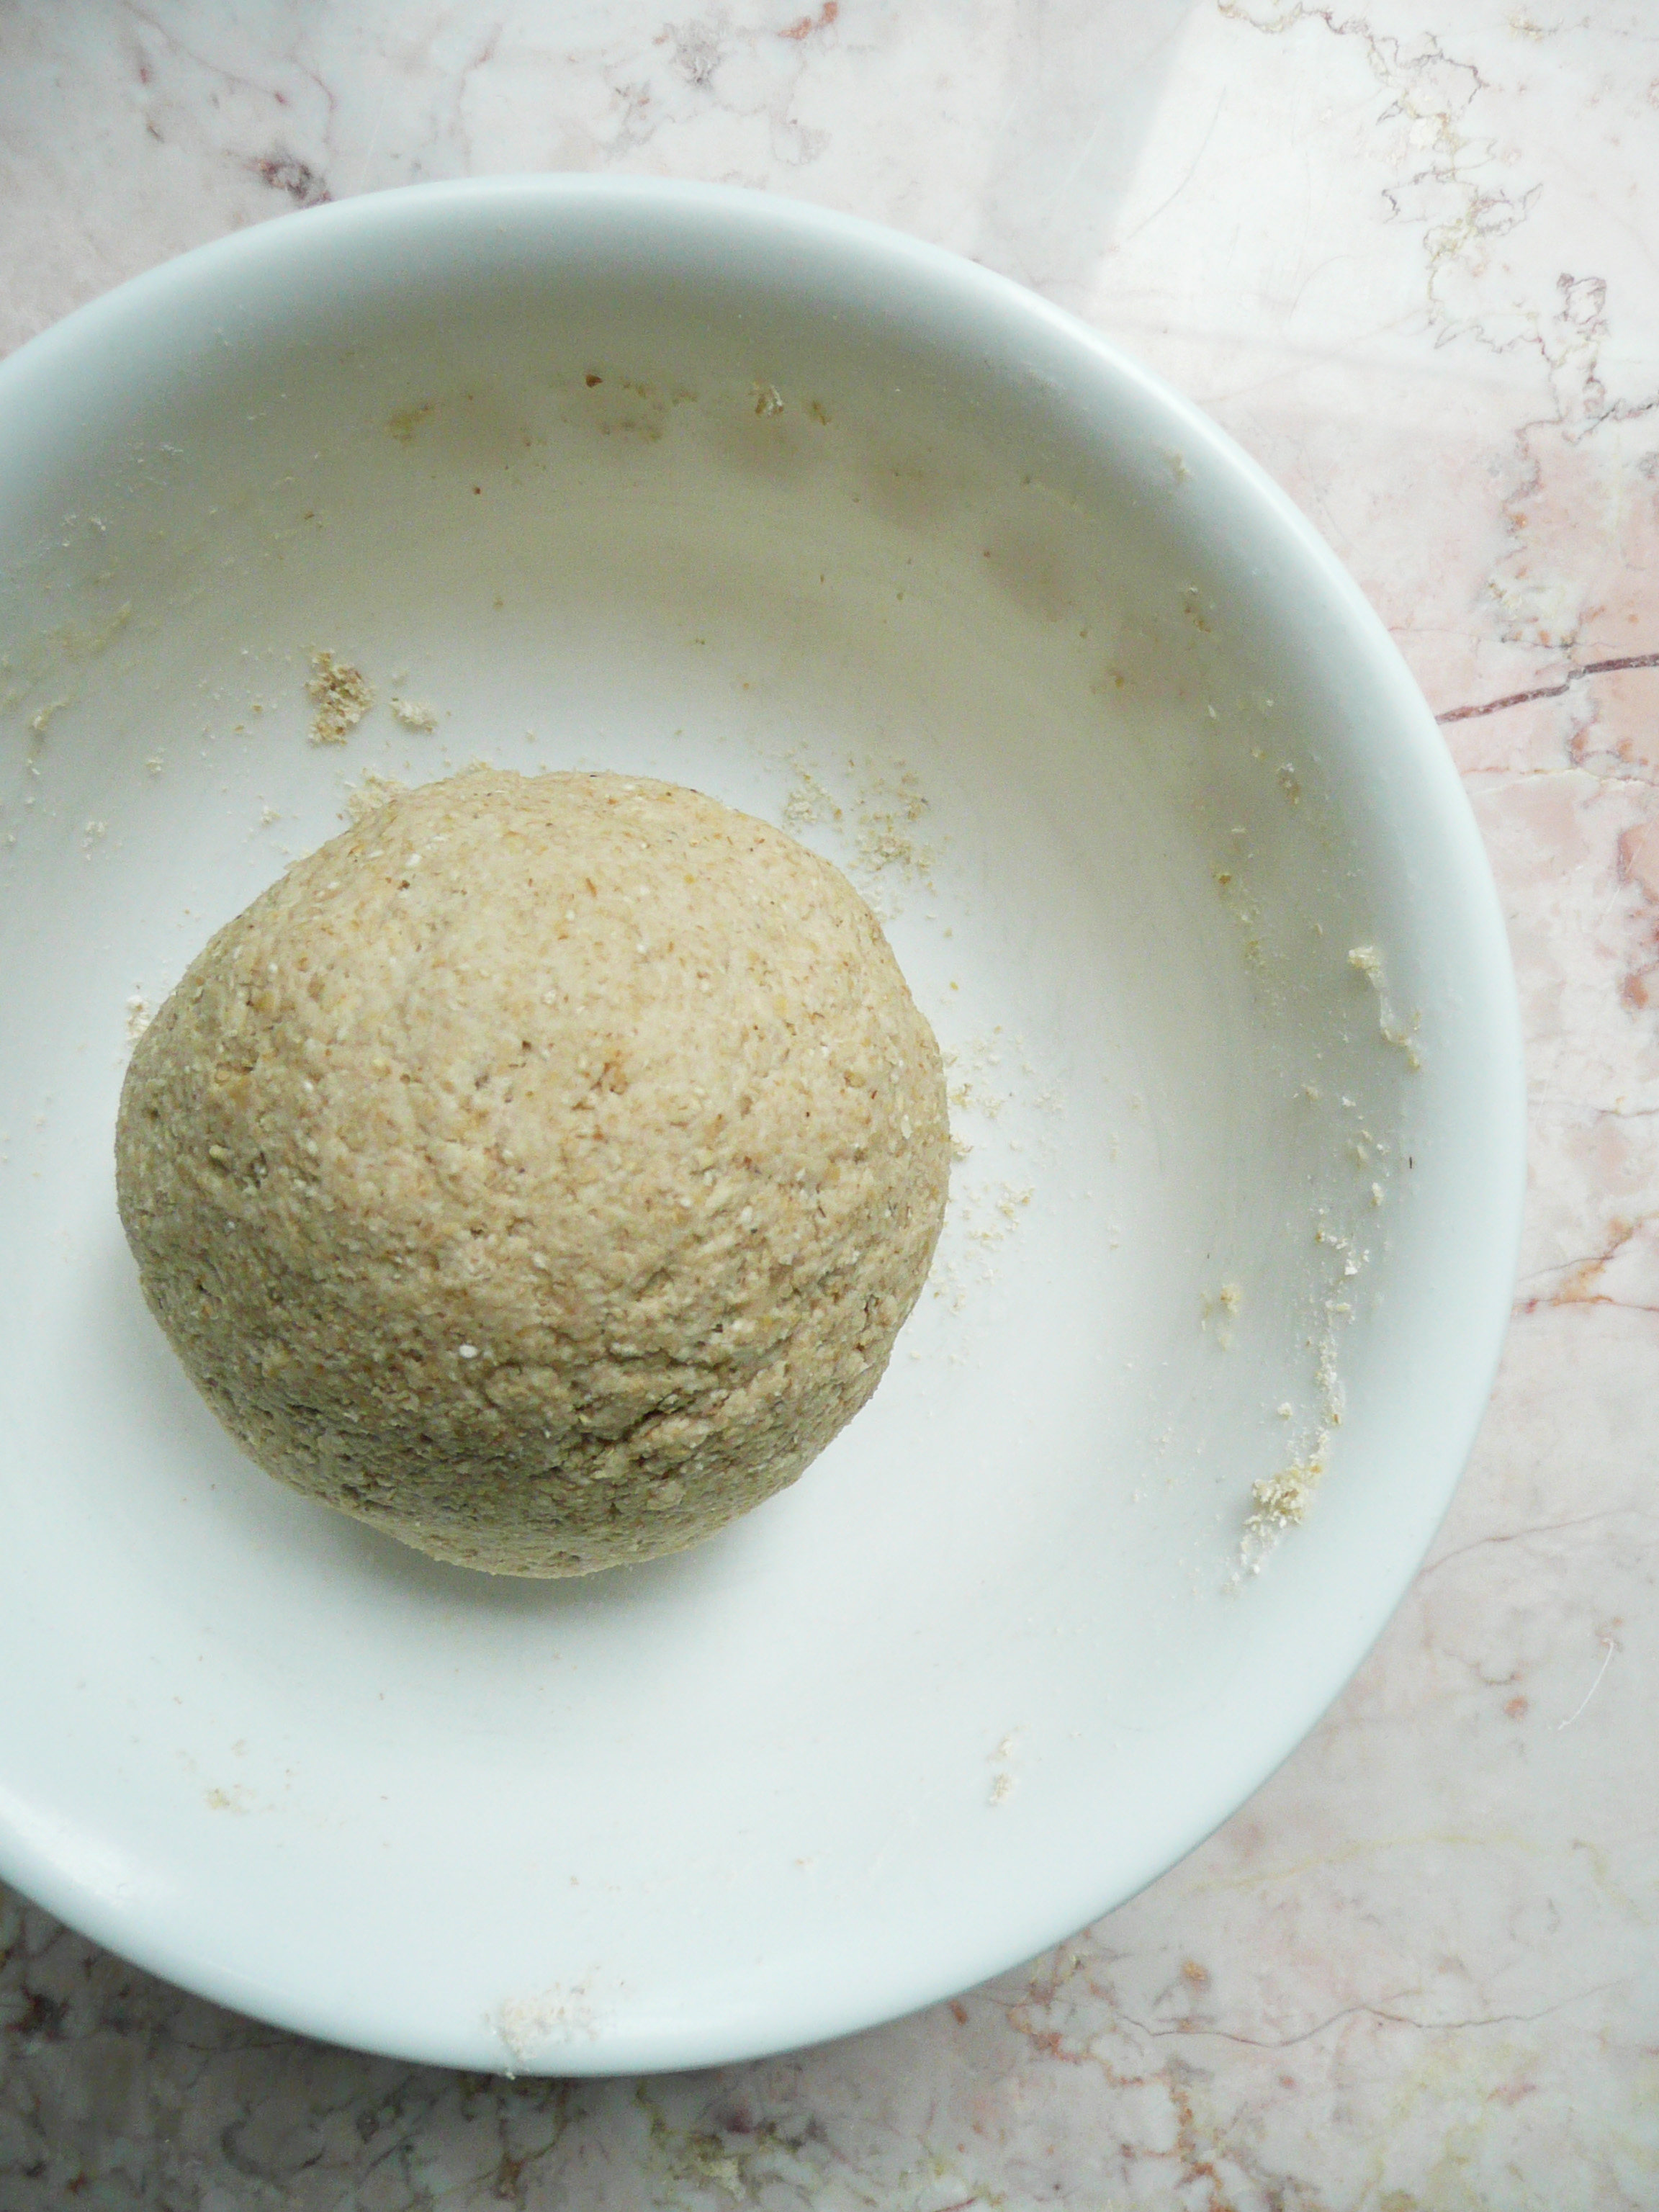
2. Add in the rest of the ingredients and stir together until a shaggy dough is formed. Knead the dough for about 1–2 minutes until the dough is fairly smooth, making sure to smush in all the little bits of psyllium husk into the dough until well combined.

The dough should look like this when you’re done kneading –
P1080403

Cover the dough with plastic wrap (or cover the bowl with a small plate) and allow the dough to sit at room temperature for 1 hour.

You can also make this dough ahead of time and keep it in the fridge for 1-2 days until you’re ready to cook the tortillas.

3. Cut the top and sides off of a gallon size Ziploc bag and open it and lay it flat to form a long rectangle.

Dip a paper towel in a little bit of oil (avocado oil, vegetable oil, or olive oil will work for this) and oil the inside of the plastic. Don’t use the coconut oil for this, it solidifies too quickly and the dough ends up sticking to it.

Cut the tortilla dough into 6 equal pieces, and keep the pieces of dough that you’re not working with covered so that they don’t dry out. If the dough is too sticky, add a little oat flour, if the dough is too dry then knead in a few drops of water into the dough. The dough should be elastic, on the firmer side, and smooth. Roll the dough into a 6 inch circle between the pieces of oiled plastic.

Peel the tortillas off the plastic and lay them on a plate. You can roll the tortillas out and overlap them on a plate as they won’t stick together, but kind of shingle them so that there are bits of each tortilla sticking out from the pile so that each tortilla will be easier to pick up when you cook them.

4. Make your pan non-stick. Cook your tortillas over medium heat. I let them cook for 1 min and 15 seconds on the first side, then flip them over and let them cook 30 seconds on the other side. They get the little brown spots this way, and are slightly crispy around the edges. If you don’t want them crispy around the edges, you can cook them for a shorter amount of time and they will still be good.

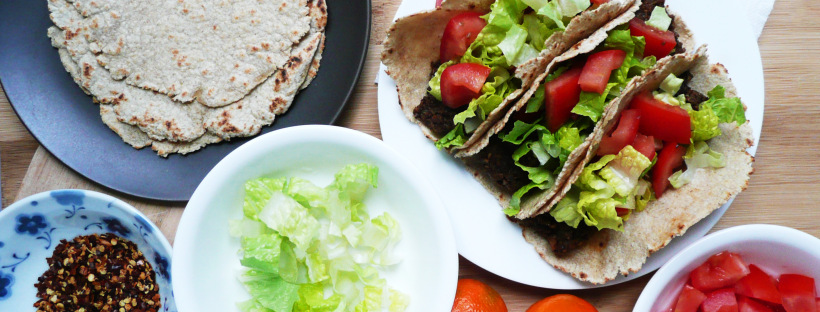
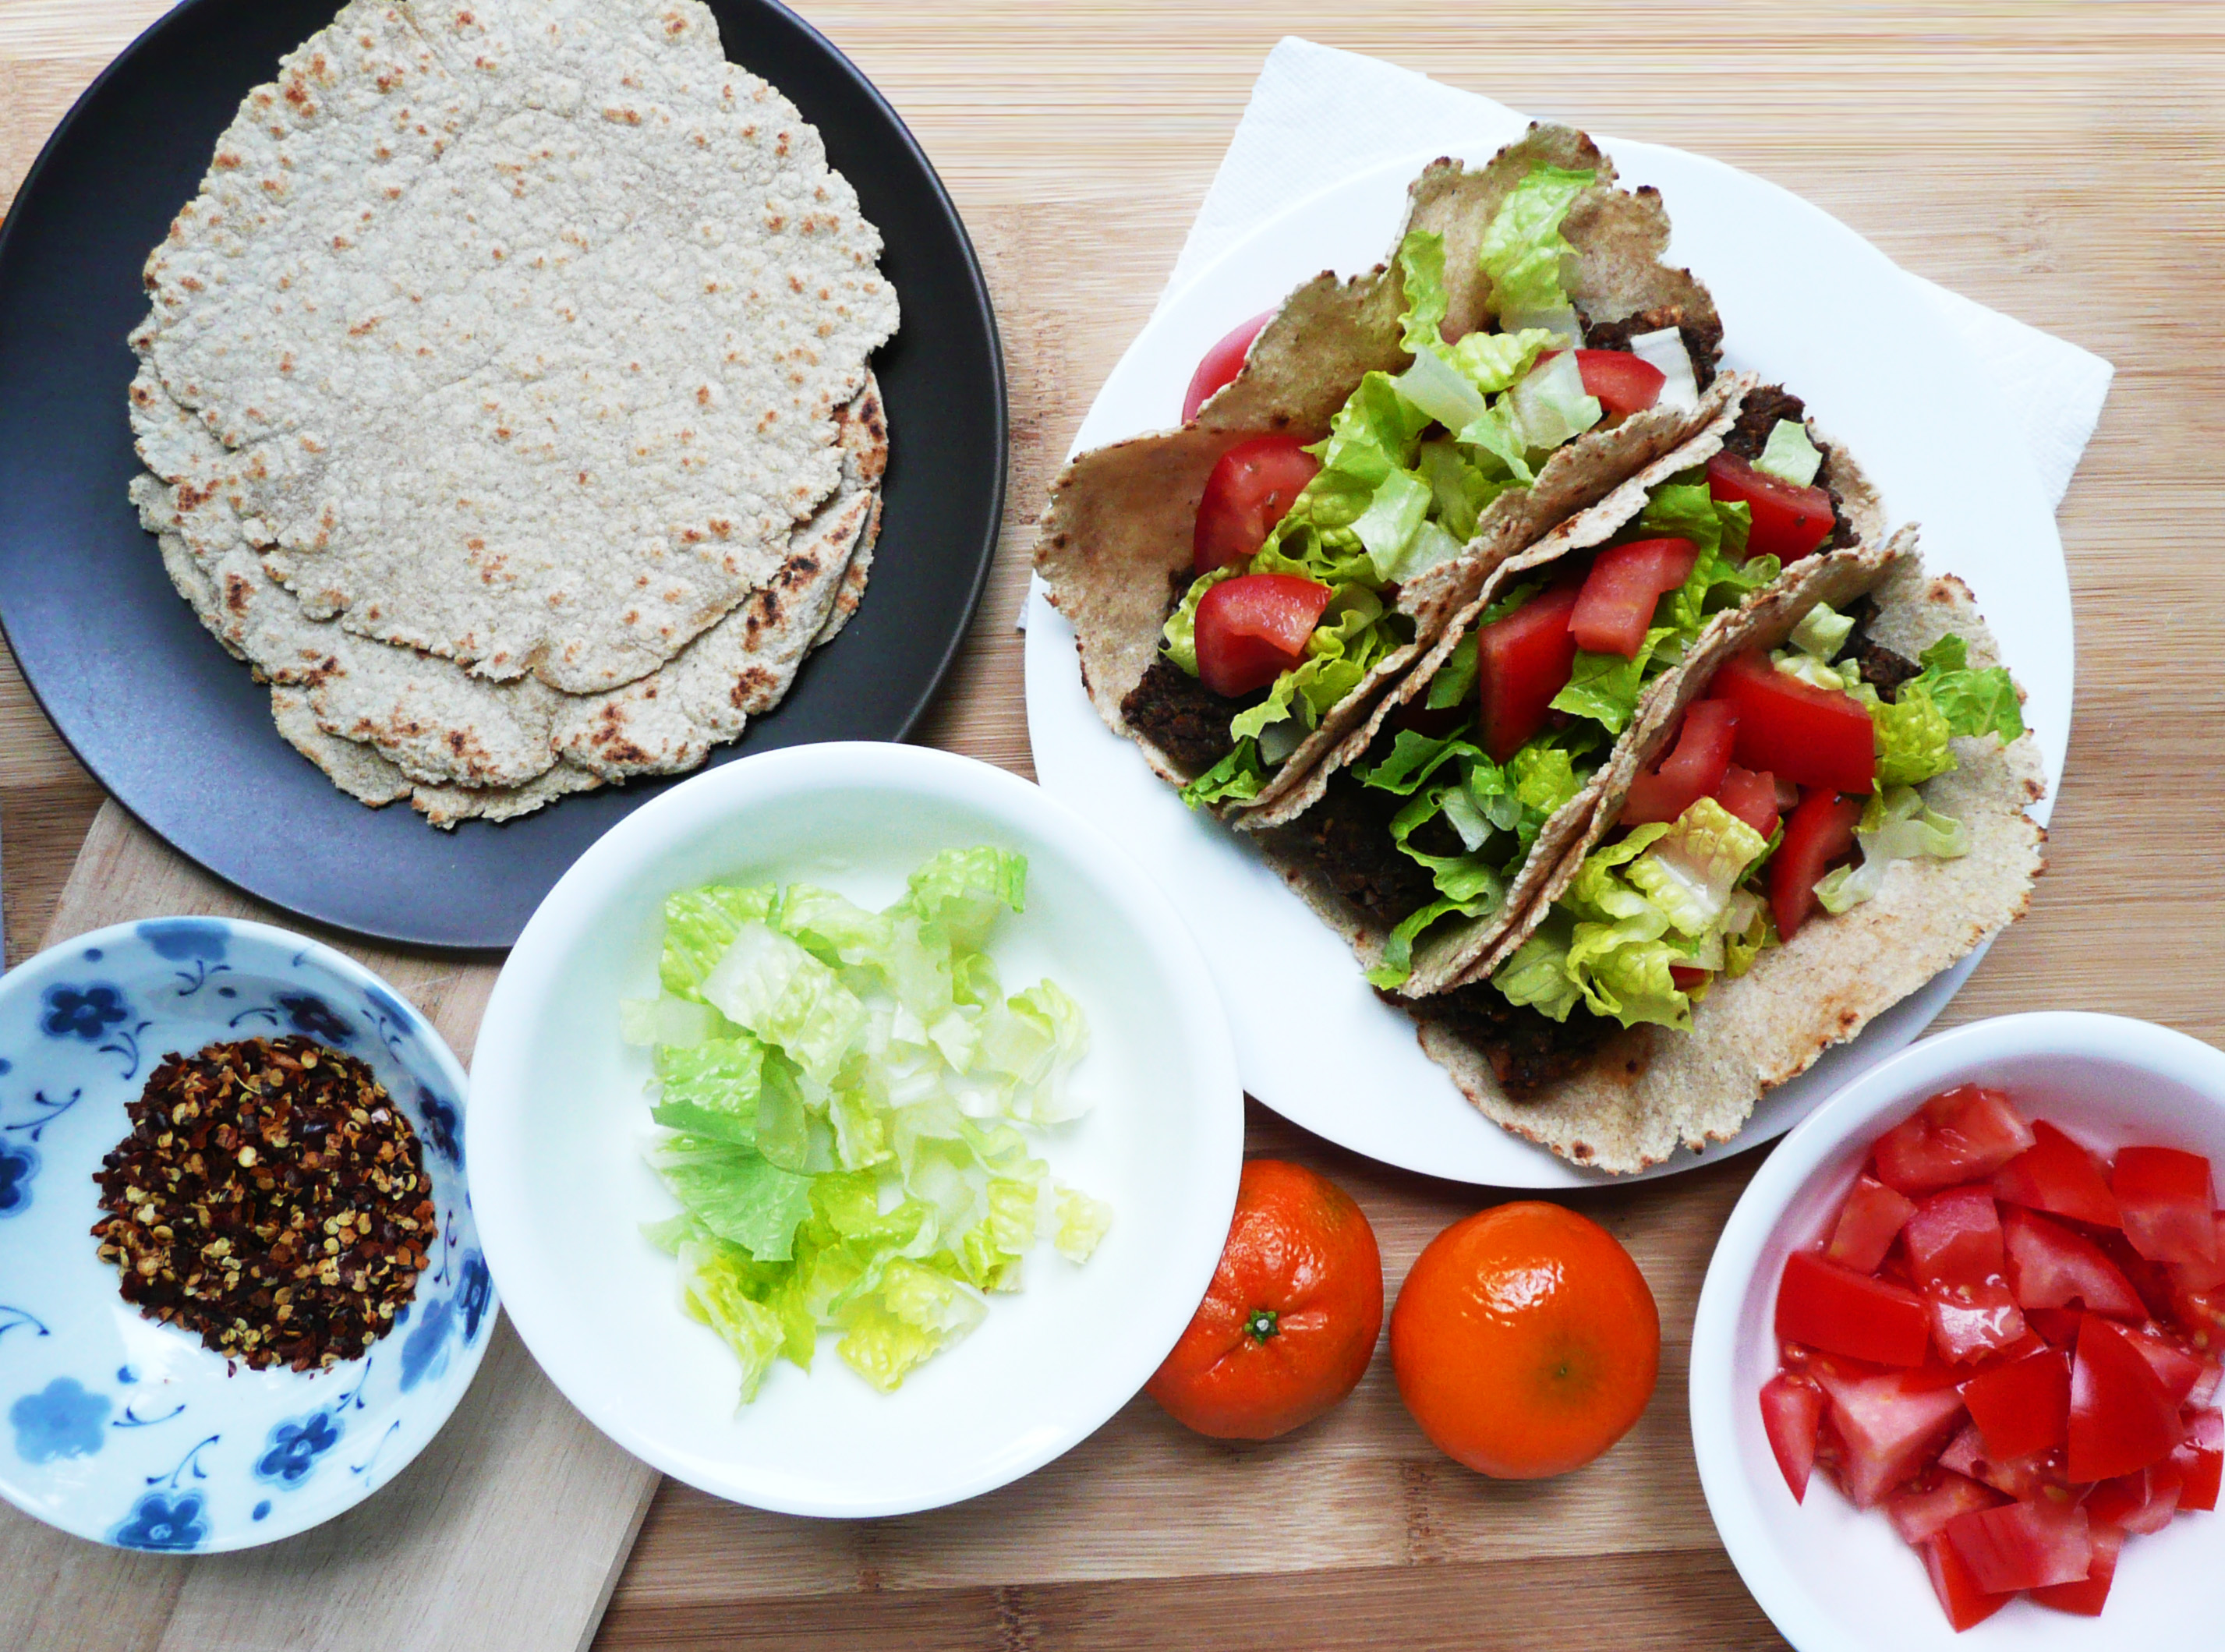
5. Stack the tortillas on a plate and fill them with whatever your heart desires. I topped mine with tomatoes, lettuce, and minced mushrooms that I’d cooked down with taco seasoning to make a vegan taco filling.

They keep great in the fridge, so you can make them ahead of time and keep them on hand for all your taco cravings.
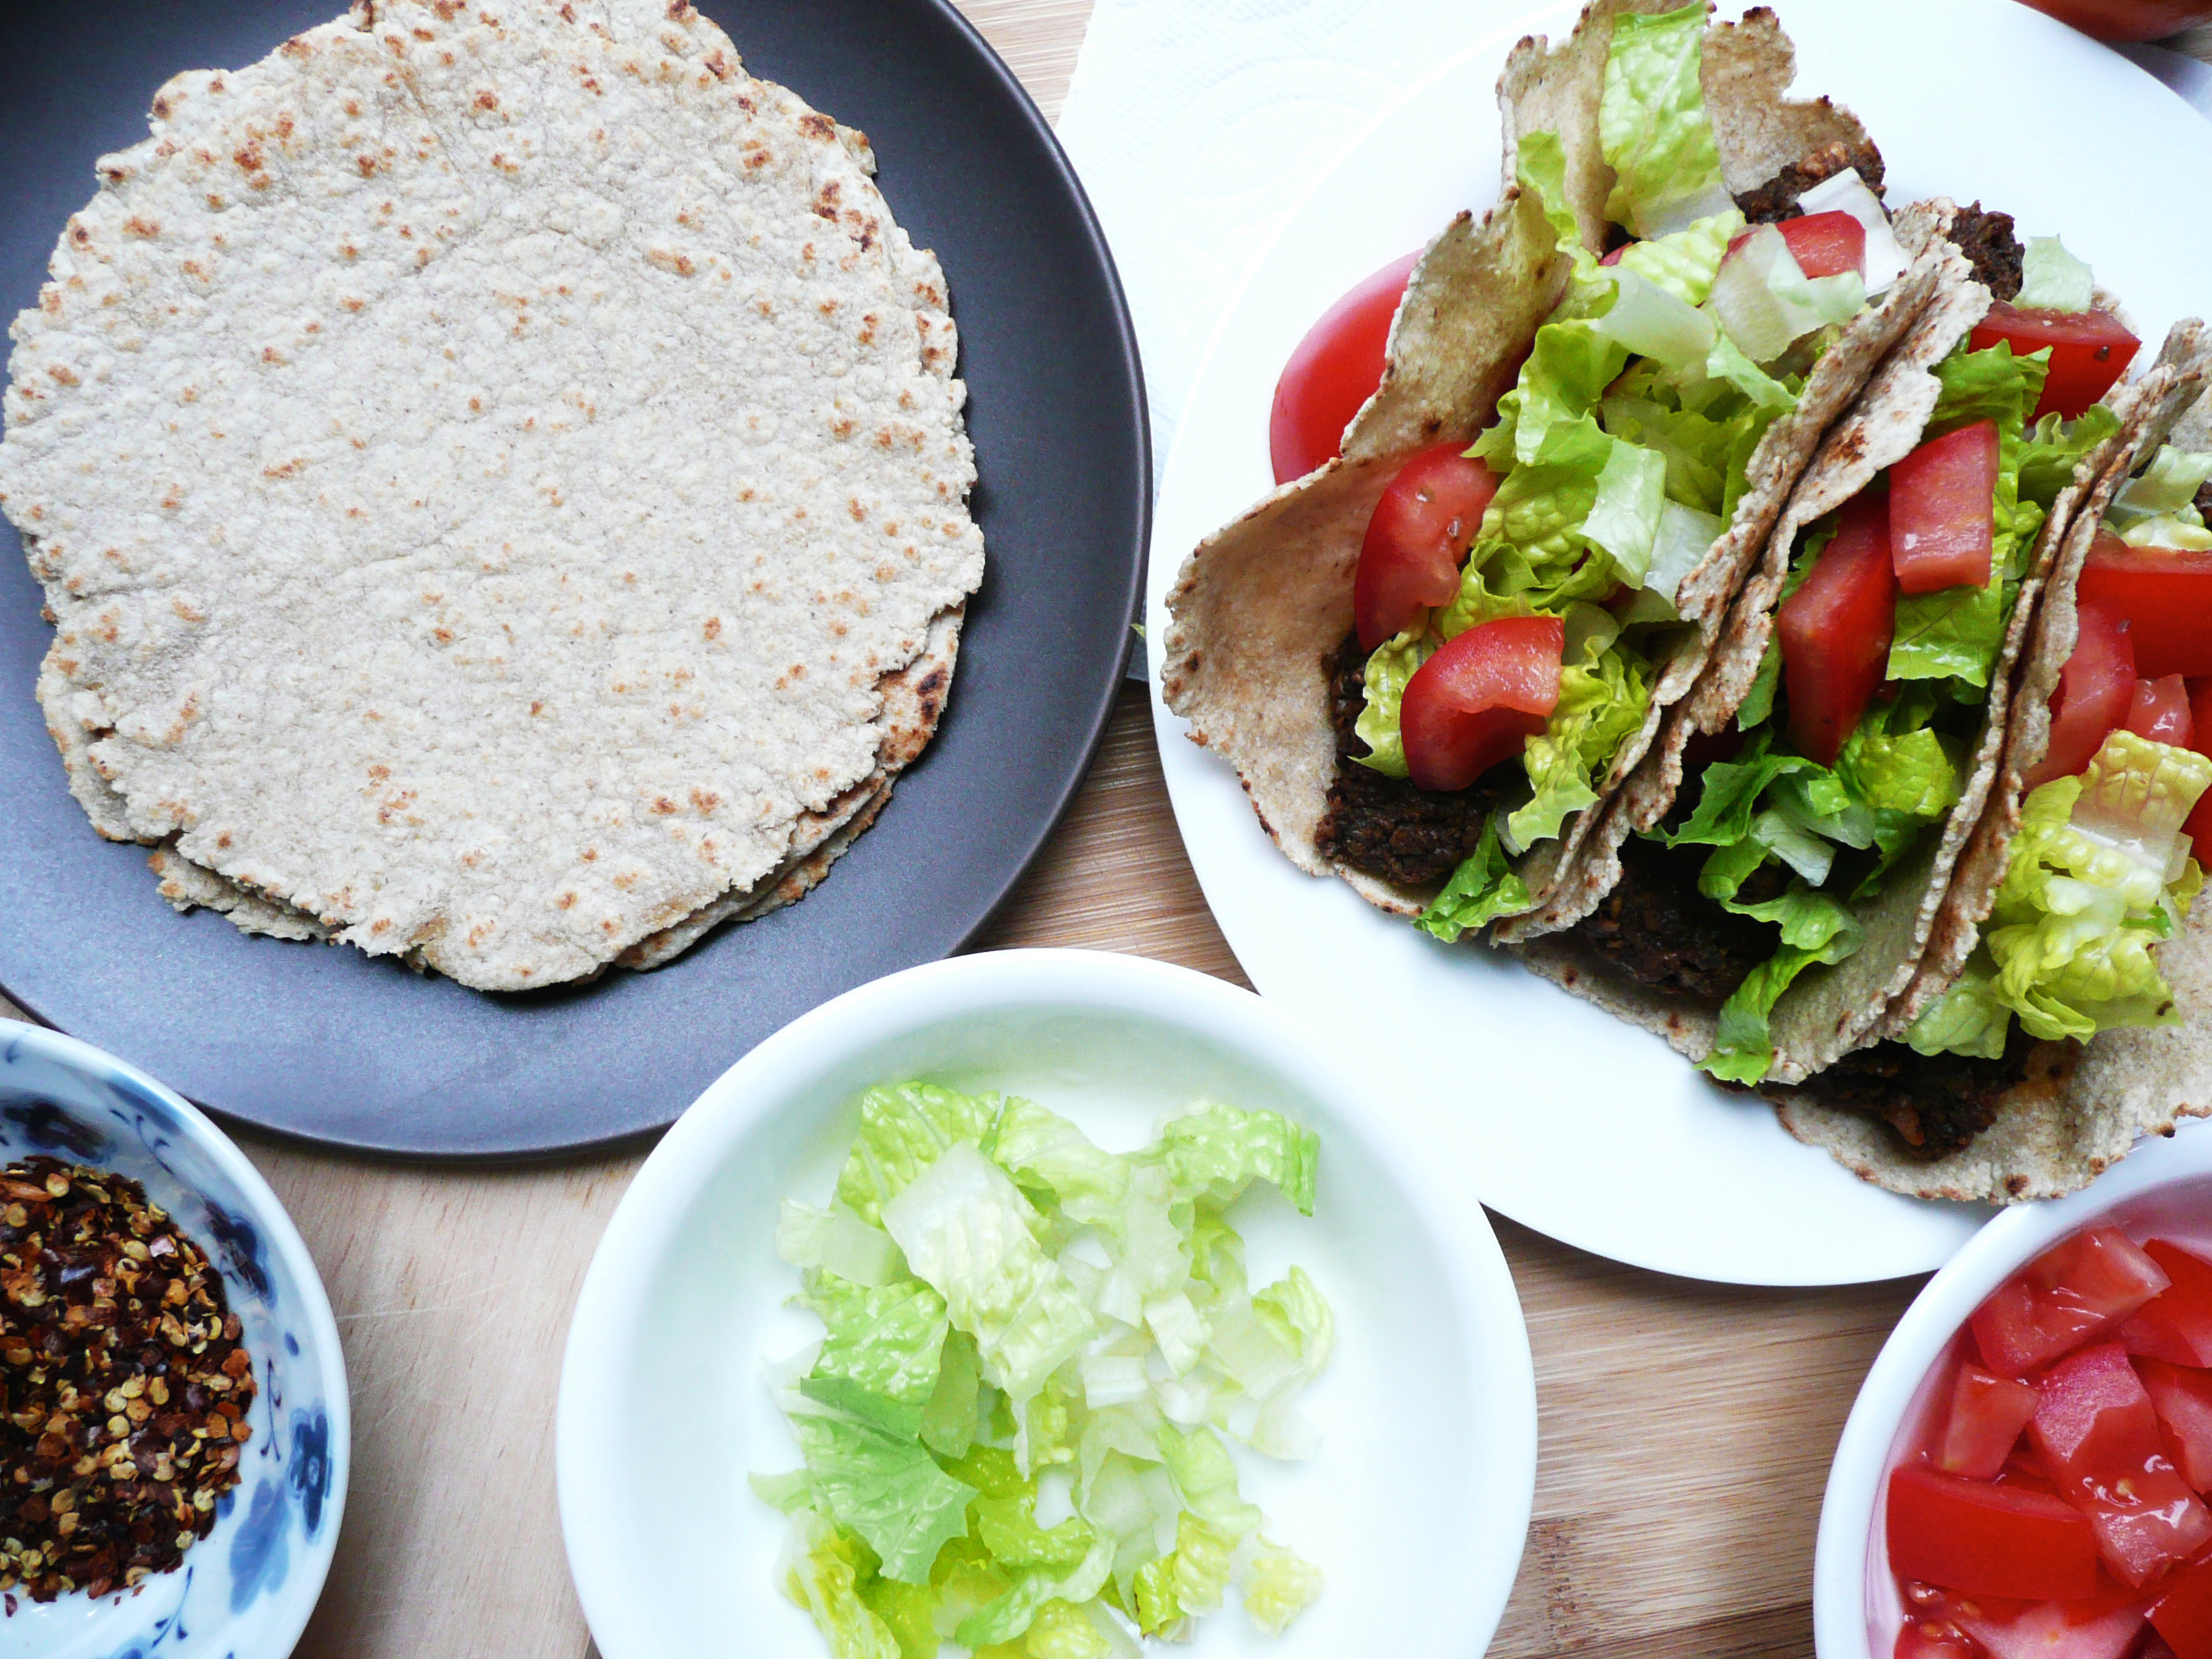
P1080439

Enjoy!

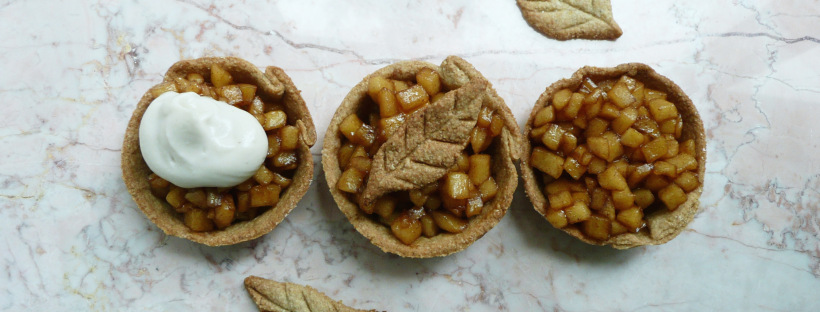
apple tarts

Apple Tarts – Dairy Free, Gluten Free, Vegan

P1060750-2

Happy Thanksgiving!

This is a bonus recipe, my gift to you for Thanksgiving! I hope that your family will enjoy them as much as my family does.

Apple tarts are full of fall flavors, and conjure up happy memories (or simply lovely daydreams) of wearing plaid (lots of plaid), and being bundled up in warm hats, scarves and mittens, and going to the local orchard for a fun day of apple pickin’ with friends and family.

These tarts are simple to make, they just require about 35 minutes of your time, and a bit of stirring. I made up a batch of apple filling last night, and it’s just sitting in the fridge as we speak. I’ll spoon it into the tart crusts and top them with some cashew whipped cream right before serving.

You can easily double the batch to make the filling for 12 tarts, and I’ll leave the measurements for 12 tarts at the bottom of post, just in case you need them. You may have to slightly adjust the cooking times for the bigger batch.

Apple Tarts

Makes 6

Ingredients

2 Fuji Apples – cut into 1/4 inch dice (about 2 1/2 cups)

1/2 cup maple syrup

1 1/2 cups water


1/4 level tsp ground cinnamon

3/4 tsp vanilla extract

2 tsp avocado oil (or any neutral flavored oil)


Instructions

1. In a medium saucepan (if doubling the recipe, us a large pot instead) cook the apples, water and maple syrup over medium high heat for 20 minutes, stirring frequently.

Wear an oven mitt and a shirt with long sleeves to stir the mixture, as the steam from the cooking apples can be hot.

2. Turn the heat to medium, and cook for another 10 minutes stirring constantly.

Don’t touch the mixture with your hands during the final 10 minutes, or until it cools, as we’re basically making a caramel with apples in it. You don’t want to burn yourself from the hot sugar mixture.

The pieces of diced apple will become golden brown, and there shouldn’t be any more pools of liquid in the pan. The mixture will become more difficult to stir, and lots of tiny tiny bubbles will form on the bottom of the pan while you stir.

The mixture is done cooking when you can turn your spoon to the side and most of the apple mixture on the spoon will stick to the spoon instead of falling back into the pot.

3. Take the pan off the heat, and carefully scrape the mixture into a bowl and allow to cool.


P1060779

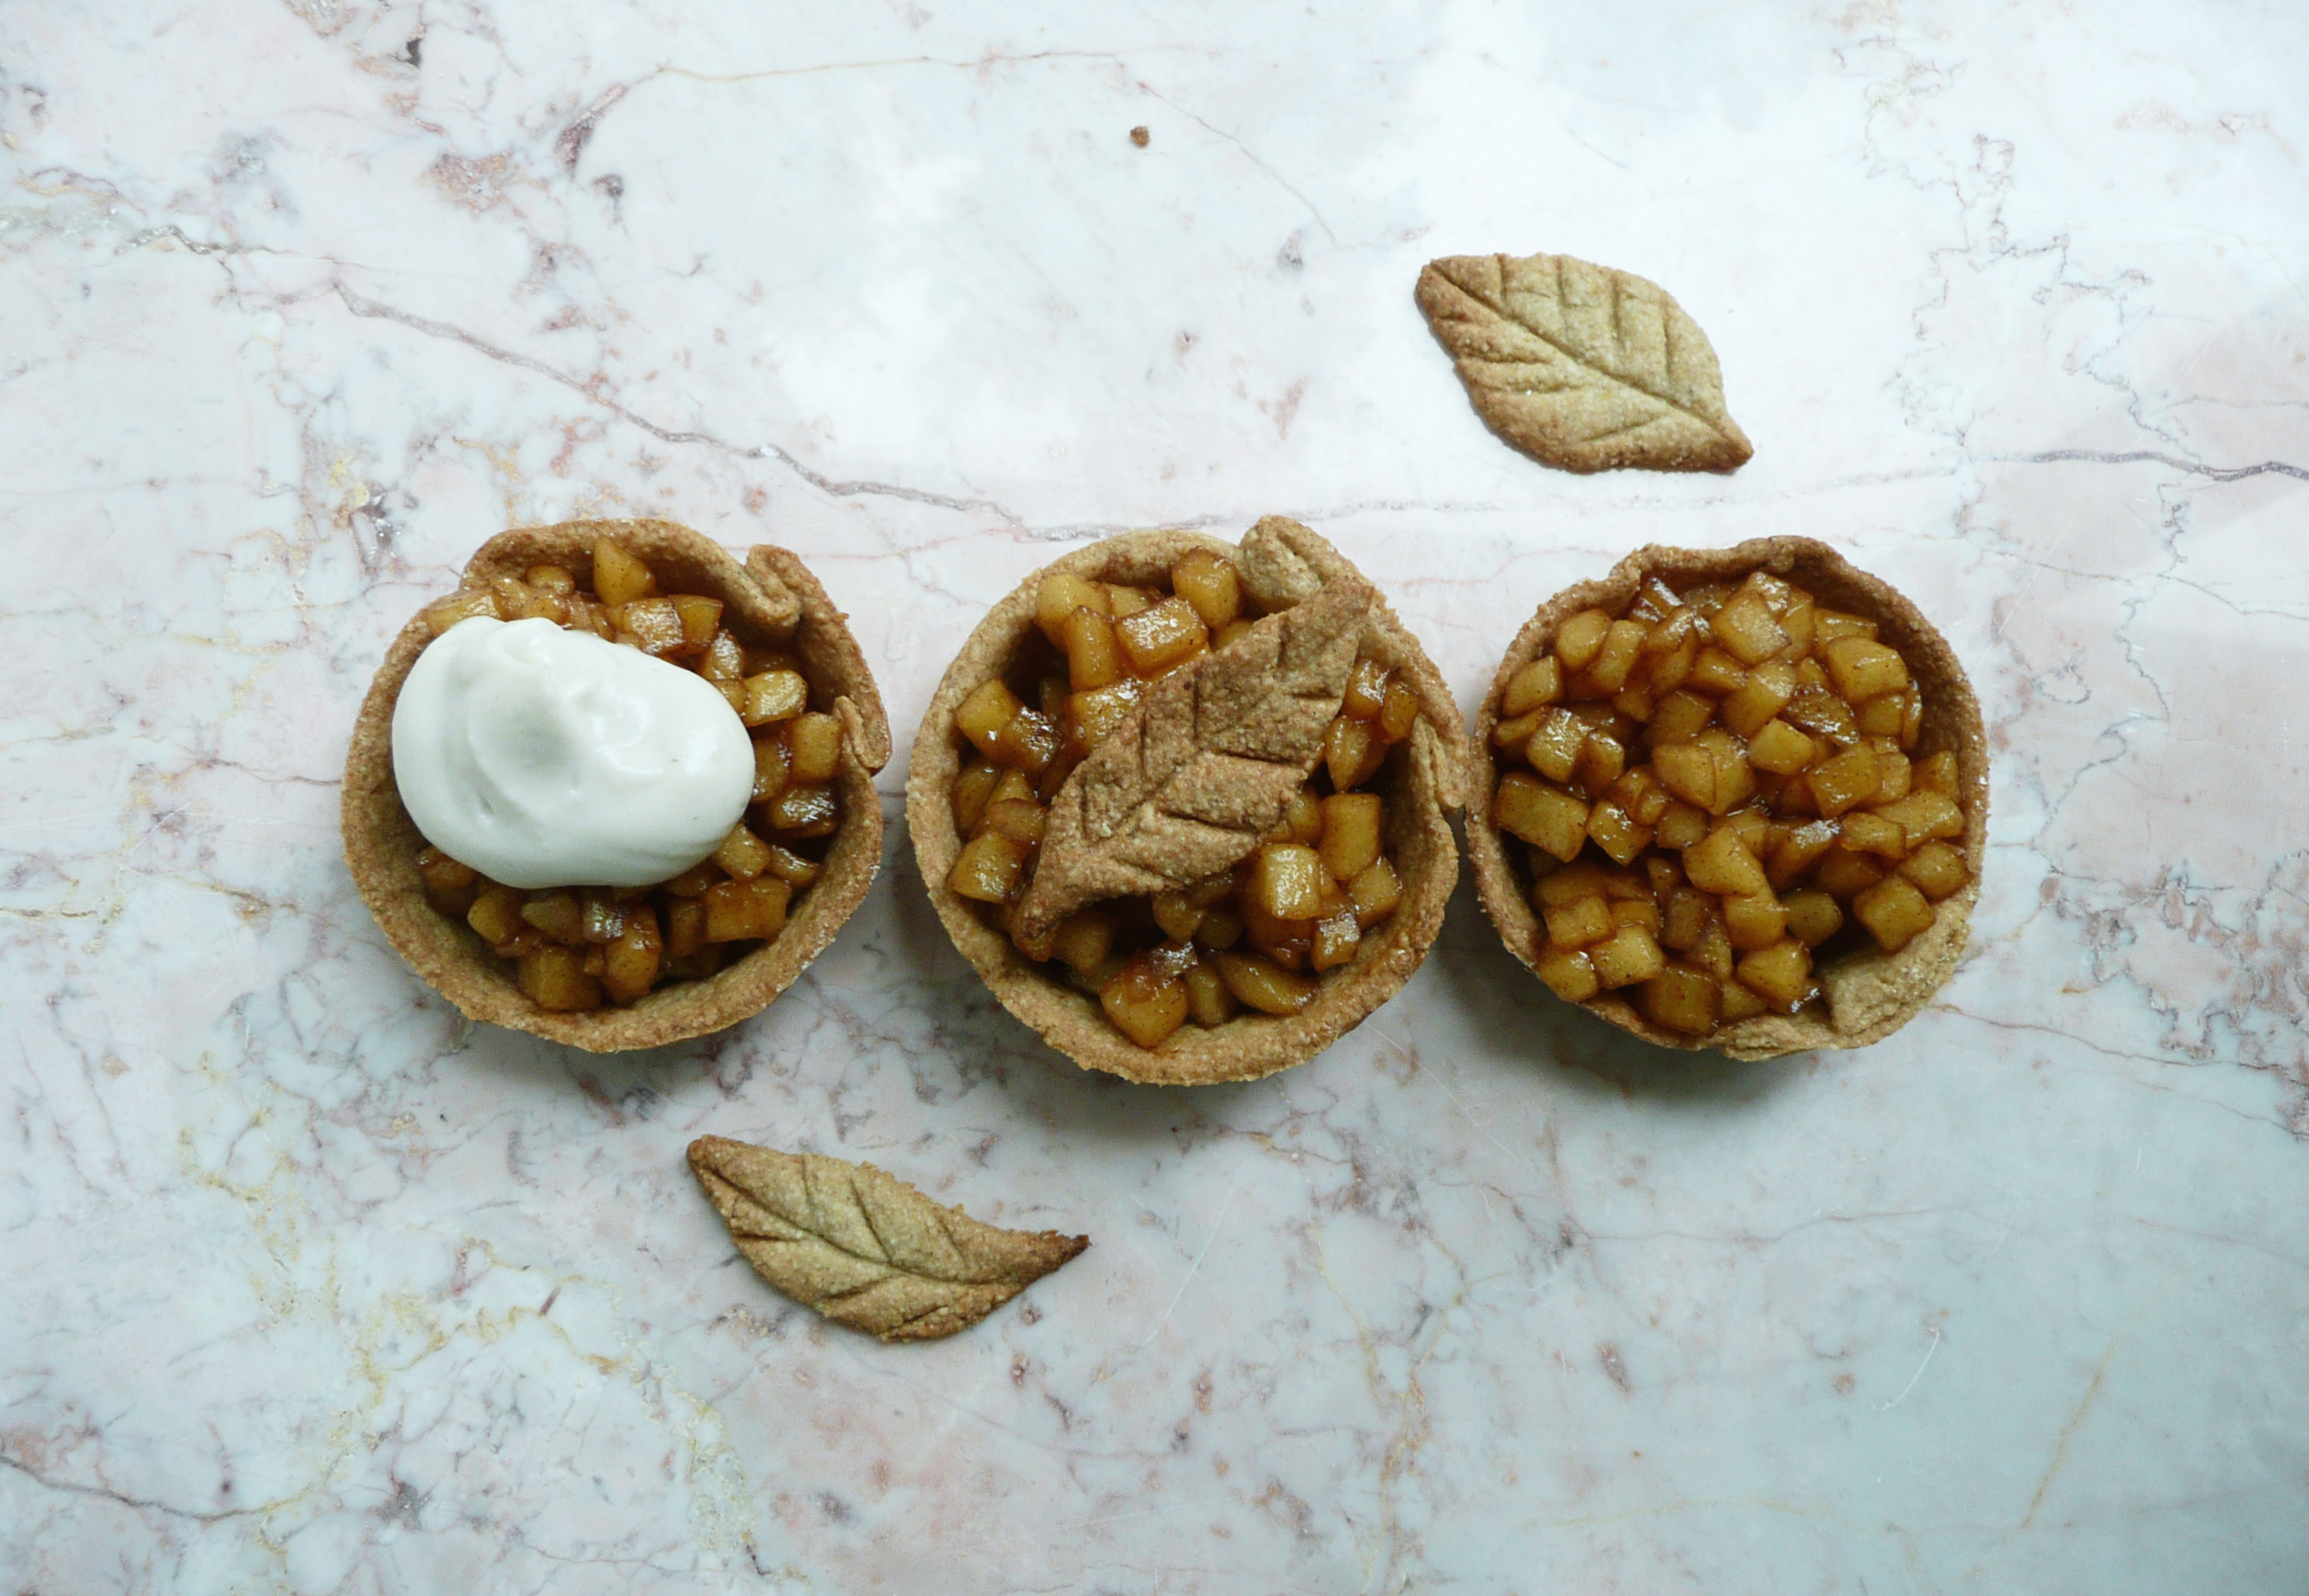
I kinda love how the middle tart almost looks like an apple pie version of a golden snitch. An apple tart with the wings of golden (gluten free) pie crust!

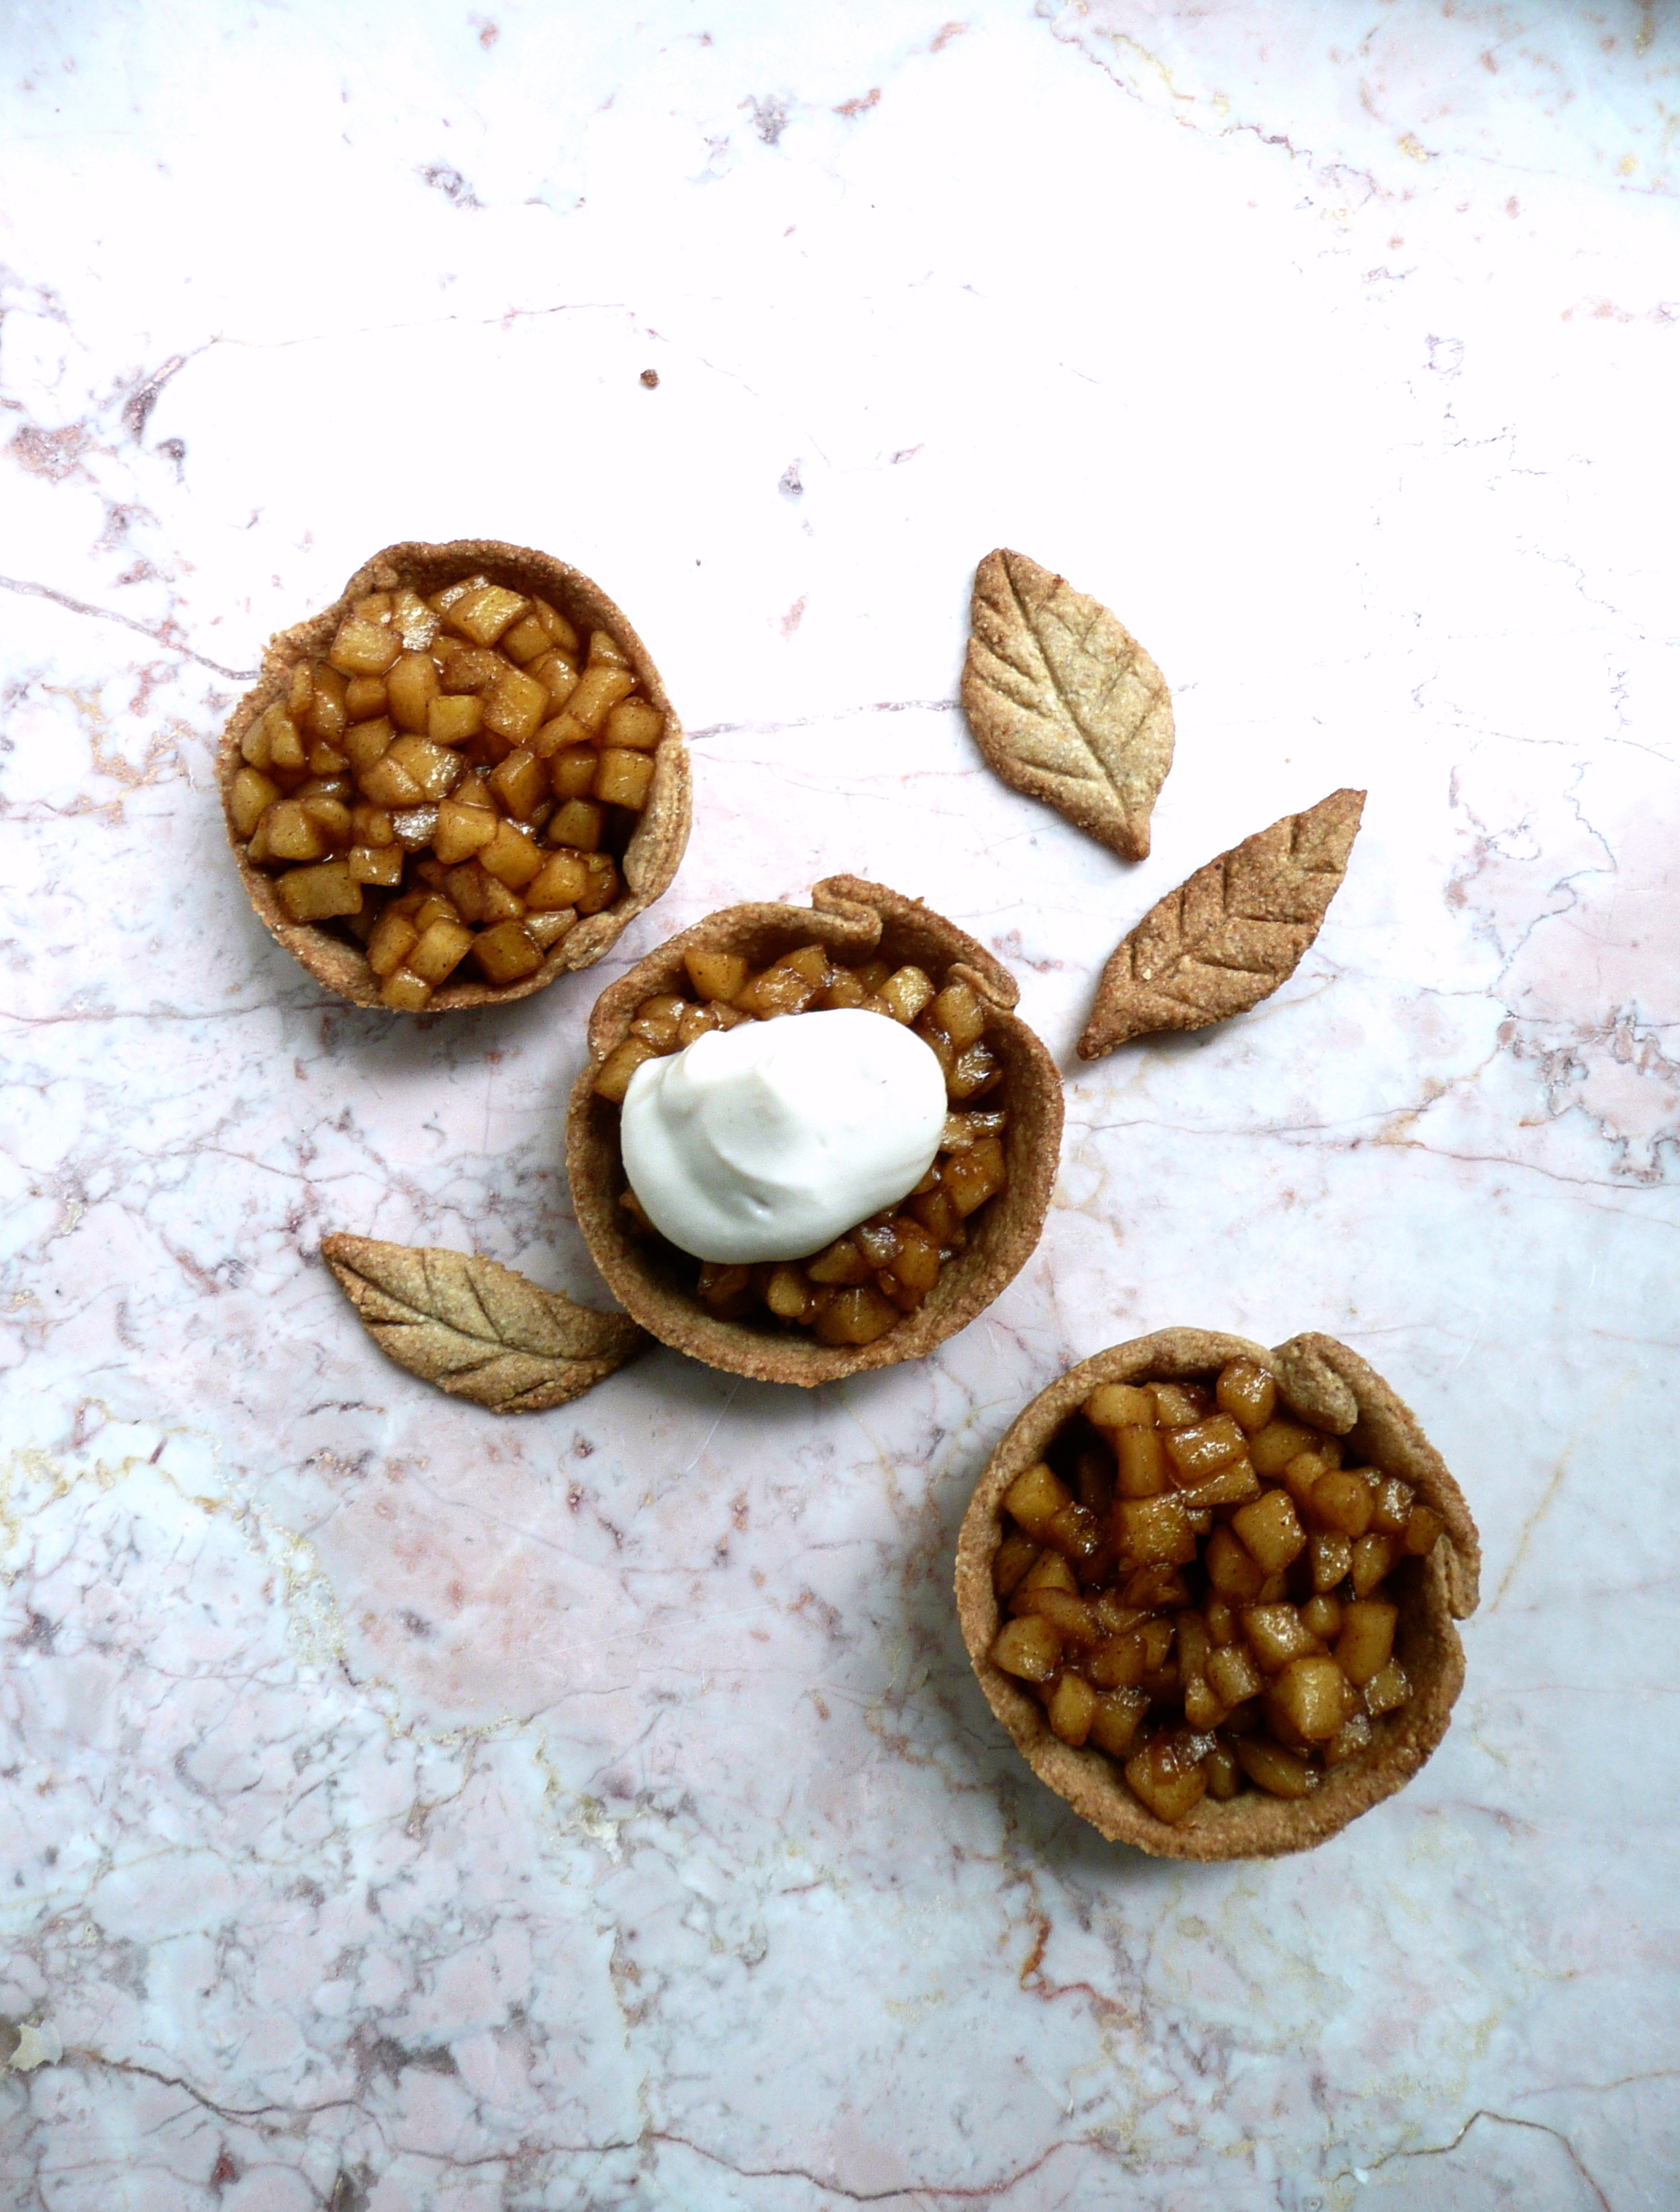
4. Add the cinnamon, vanilla extract, and oil to the cooled apple mixture and stir to combine. Spoon about 2 tbsp of the apple mixture onto each tart shell, and top with a dollop of cashew whipped cream. Serve immediately.


For 12 tarts

4 Fuji Apples – cut into 1/4 inch dice (about 5 cups)

1 cup maple syrup

3 cups water

1/2 level tsp ground cinnamon

1 1/2 tsp vanilla extract

4 tsp avocado oil (or any neutral flavored oil)