Chocolate pudding

Easy Chocolate Pudding (Sugar Free) – Made With Sweet Potatoes

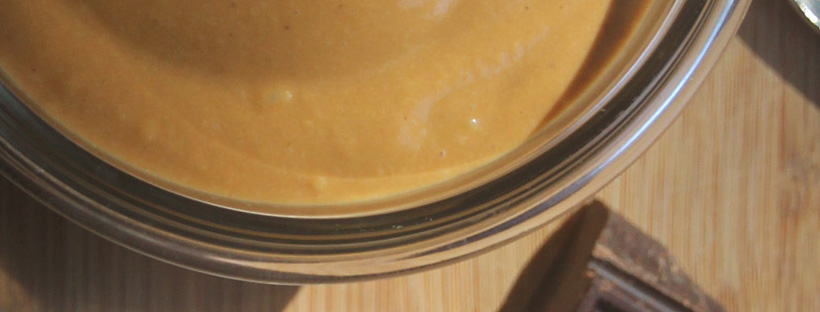
Sweet Potato Chocolate Pudding

This is my super easy recipe for chocolate pudding! Eating this reminds me of eating those chocolate pudding cups when I was a kid. I like to make a big batch of this and stash it in the fridge for a quick snack and it keeps for about 5 days in fridge.

This pudding is lovely and thick, and has a rich and decadent chocolate flavor but no added sweeteners. The pudding still tastes sweet (it gets is sweetness from the milk, coconut oil and sweet potatoes) and it’s a nice treat for days when you want to eat something that tastes delicious but also helps you get in an extra serving of vegetables.

You can make it with any kind of milk that you like (the milk that I use for this recipe is the organic lactose free 2% milk from Costco which tastes very sweet without any added sugar, but you can use coconut milk for a vegan version). Feel free to play around with the flavors of this pudding. You can add a bit of peppermint extract for a mint chocolate pudding, or swap out some of the milk with a little coffee for a slightly deeper chocolate flavor.

I like to freeze 1 cup portions of this and then let it thaw on the counter for about 30 minutes so the pudding sort of becomes this fudgesicle / chocolate ice cream-like frozen treat. In luscious pudding form or frozen, this treat is great when eaten with fresh strawberries.

You can also add about a 1/2 cup less milk and blend it in batches in a food processor for a more chocolate mousse-like texture.

Easy Chocolate Pudding

Makes 6-8 generous servings

Ingredients

28 oz cooked sweet potato – (3 medium sweet potatoes, or about 4 cups diced)

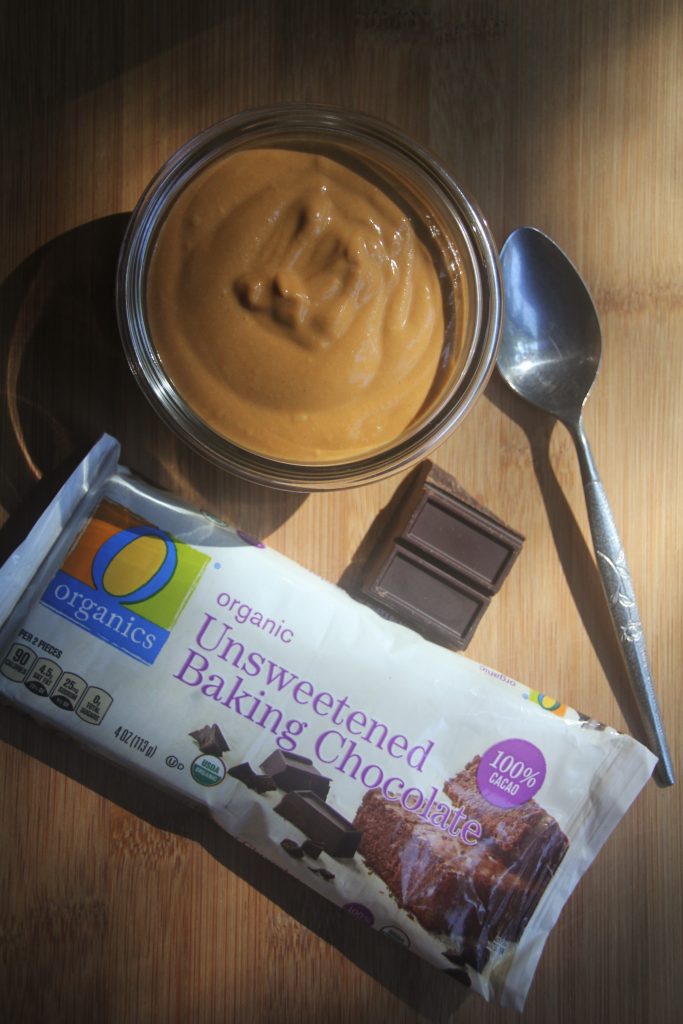
1.5 oz unsweetened baking chocolate

2/3 cup coconut oil

2 cups milk of choice

small pinch of salt


Instructions

1. Peel your sweet potatoes and cut them into 3/4 inch cubes. Steam them for about 30 minutes until they are soft and easily pierced with a fork. Allow to cool to room temp, measure out 4 cups of sweet potatoes and transfer to a blender.

2. Pour the milk into the blender and add the salt. Melt the coconut oil and chocolate over medium low heat stirring frequently (this took about 5 minutes for me). Pour the chocolate and coconut oil mixture into the blender and blend until smooth, stopping the blender occasionally to scrape down the sides and give it all a good mix with a spatula.

3. Pour the pudding mixture into a airtight container and refrigerate overnight until thickened.

4. Spoon into bowls and enjoy!


One Year Later…And Christmas!

20181123_135914

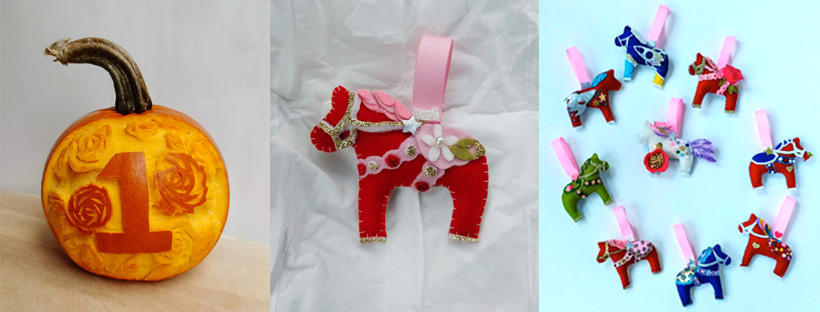
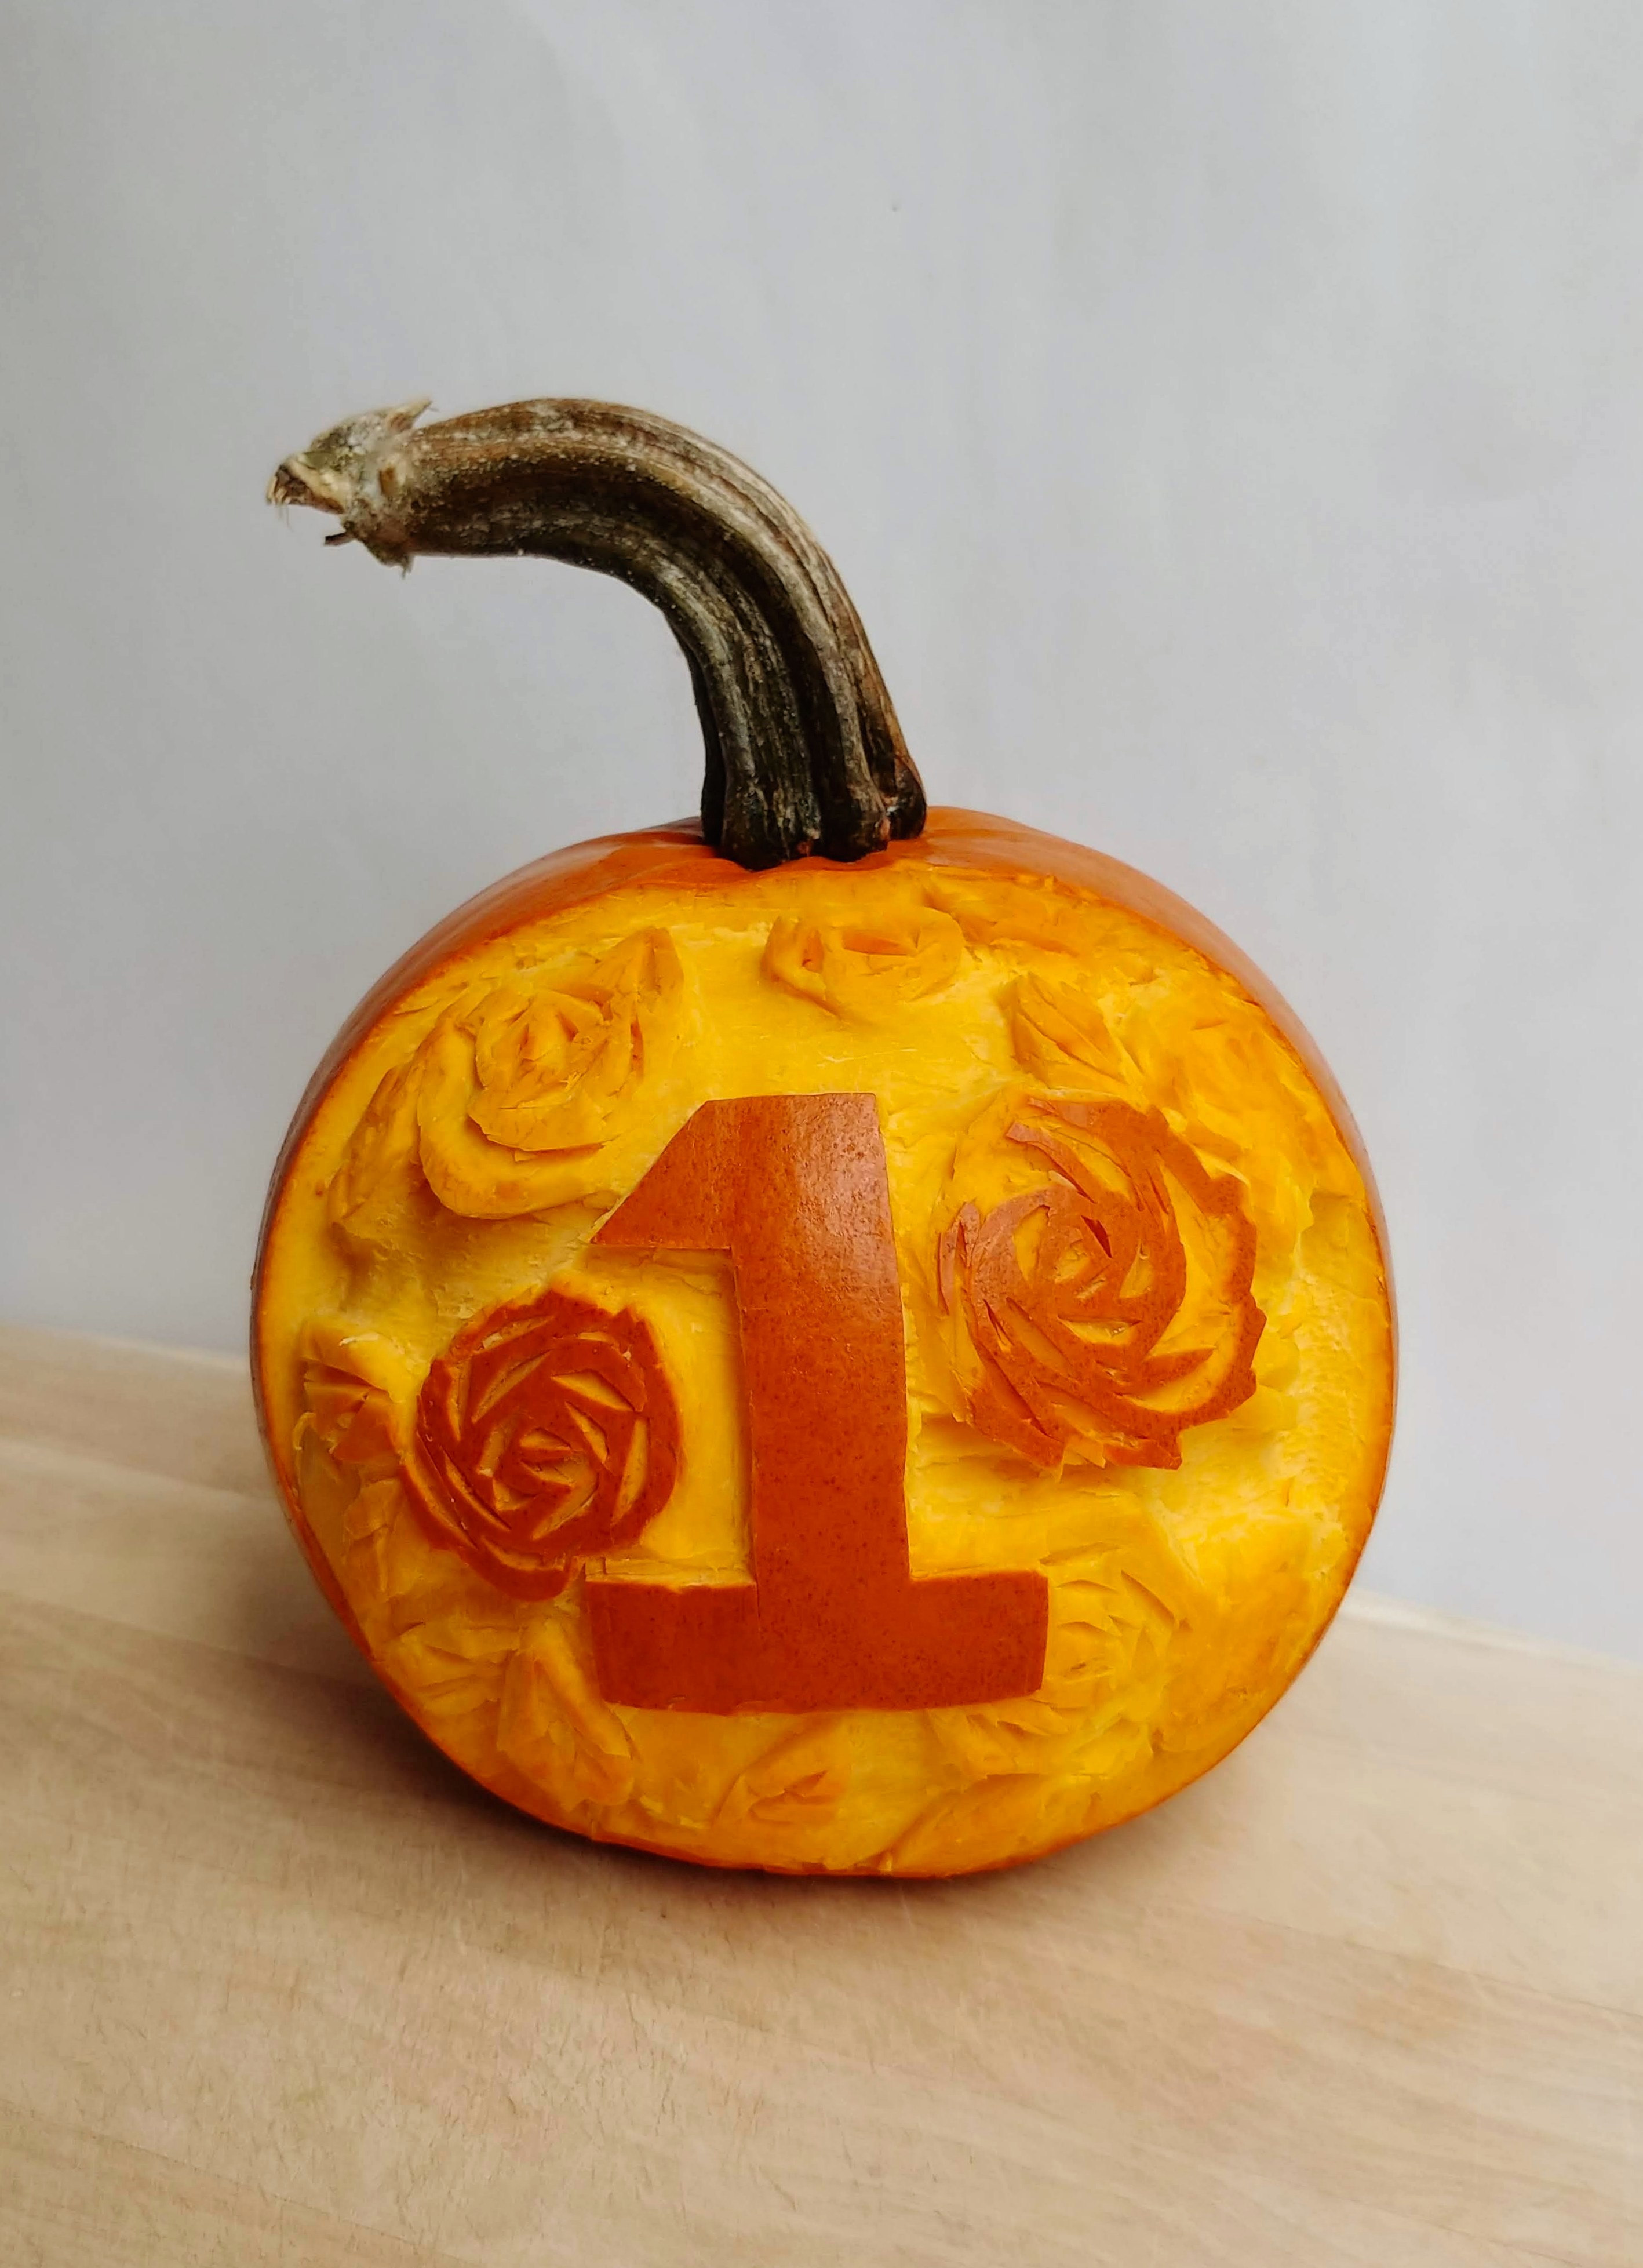
(The pumpkin that I carved to celebrate the blog’s 1st birthday!)

My first post on this blog was November 19, 2017. I’ve officially been blogging for over a year now!

It’s been a really fun year, but not the most comfortable one. I purposely pushed myself to try things that I was afraid to do this year, and writing this blog had a lot to do with that.

Before starting the blog, I had been writing recipes down for a year and a half, but I was afraid to share them. What if nobody read them? What if there were better recipes out there? What if I was terrible at food photography? What if the recipes weren’t as good as I thought they were?

Eventually I worked up the courage to just try anyways. Just try and do the things that I very much wanted to do (but was afraid to). So I posted the Thanksgiving recipes that I would have wanted when I first figured out that I had food sensitivities.

And you know what? Nothing terrible happened.

Then I took another leap of faith and wrote another recipe, and another after that. A year later I’ve written 50+ recipes! And I’m proud of every single one of them.

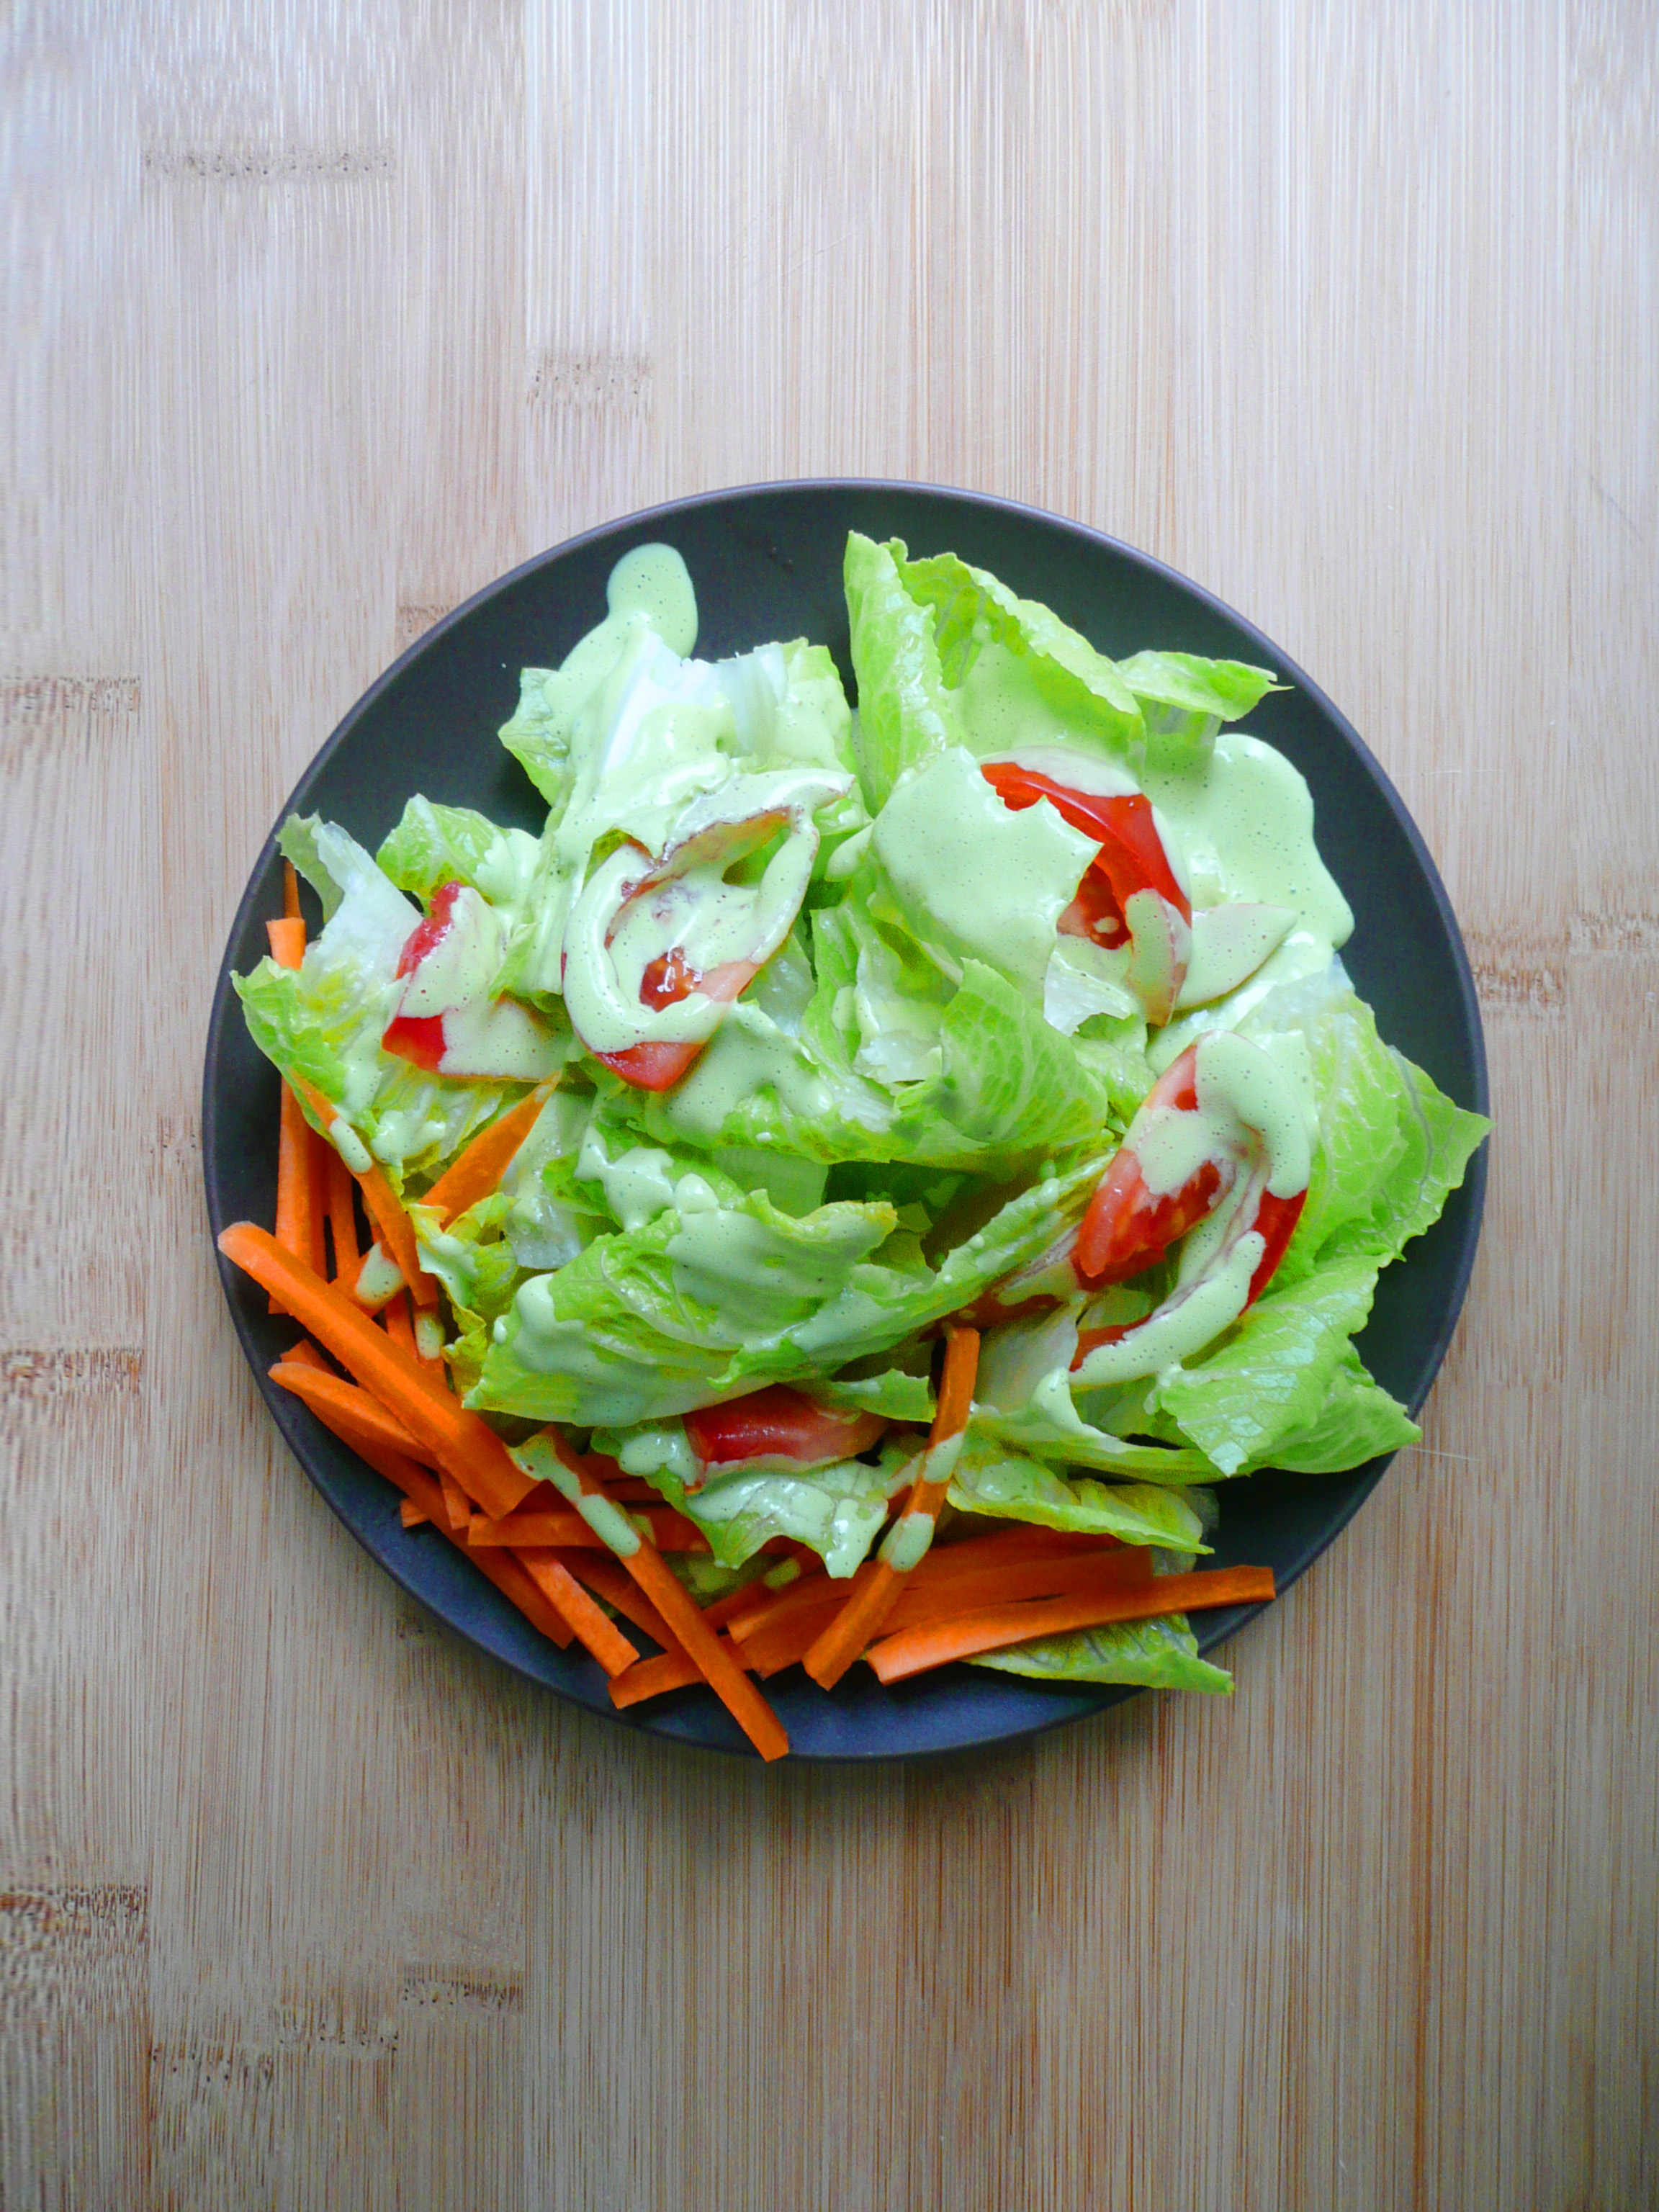
Green Goddess 3

(Parsley Green Goddess Dressing)

But I’ll let you in on a secret – halfway through every post I would think What’s the point?

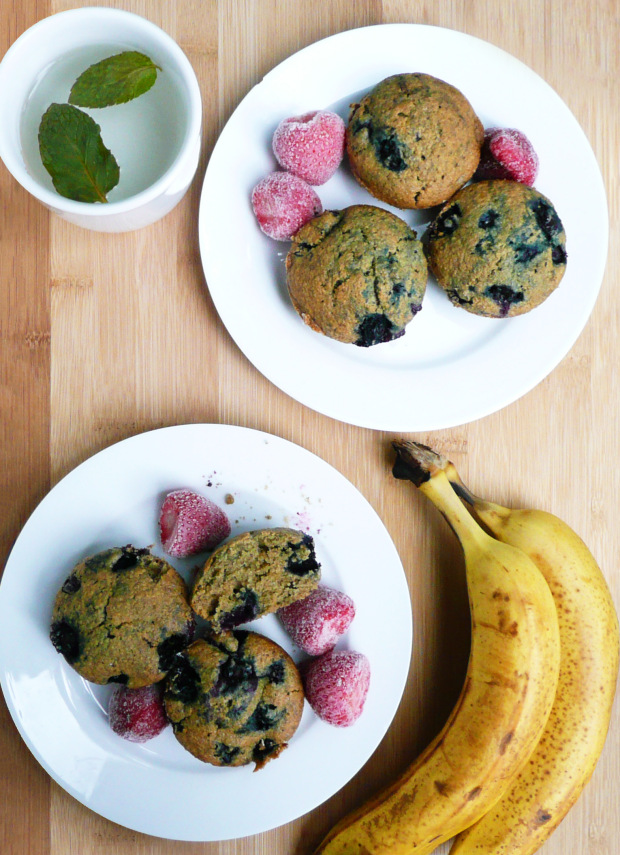
During every single one of those posts I worried that my photography wasn’t good enough, and that my writing wasn’t good enough. I worried that the blueberry muffin recipe that I had tested 7+ times was never going to come out right (turns out the 10th try they came out perfect!)

p1080289-1

(Muffin Success! Finally…)

A year after starting this blog I’ve learned that the point is still that you try anyways. You do your best, and it’s probably going to work out ok.

Not everything is a smashing success, I only post the recipes that I’m proud of on the blog. The recipes that didn’t turn out so great I just worked on and polished until I knew that they were the very best that I could make them.

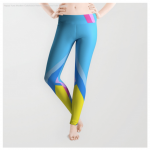
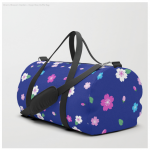
This year I designed leggings, backpacks, duffel bags, t-shirts, art prints, and even furniture for my society6 shop! I had no idea that was possible a year ago!

It’s so exciting when someone buys something that you made because they think that it’s cool, and the fact that I’ve been able to donate part of my earnings to a girls education charity (a cause that I really believe in) makes having my society6 shop as a creative outlet even more rewarding.

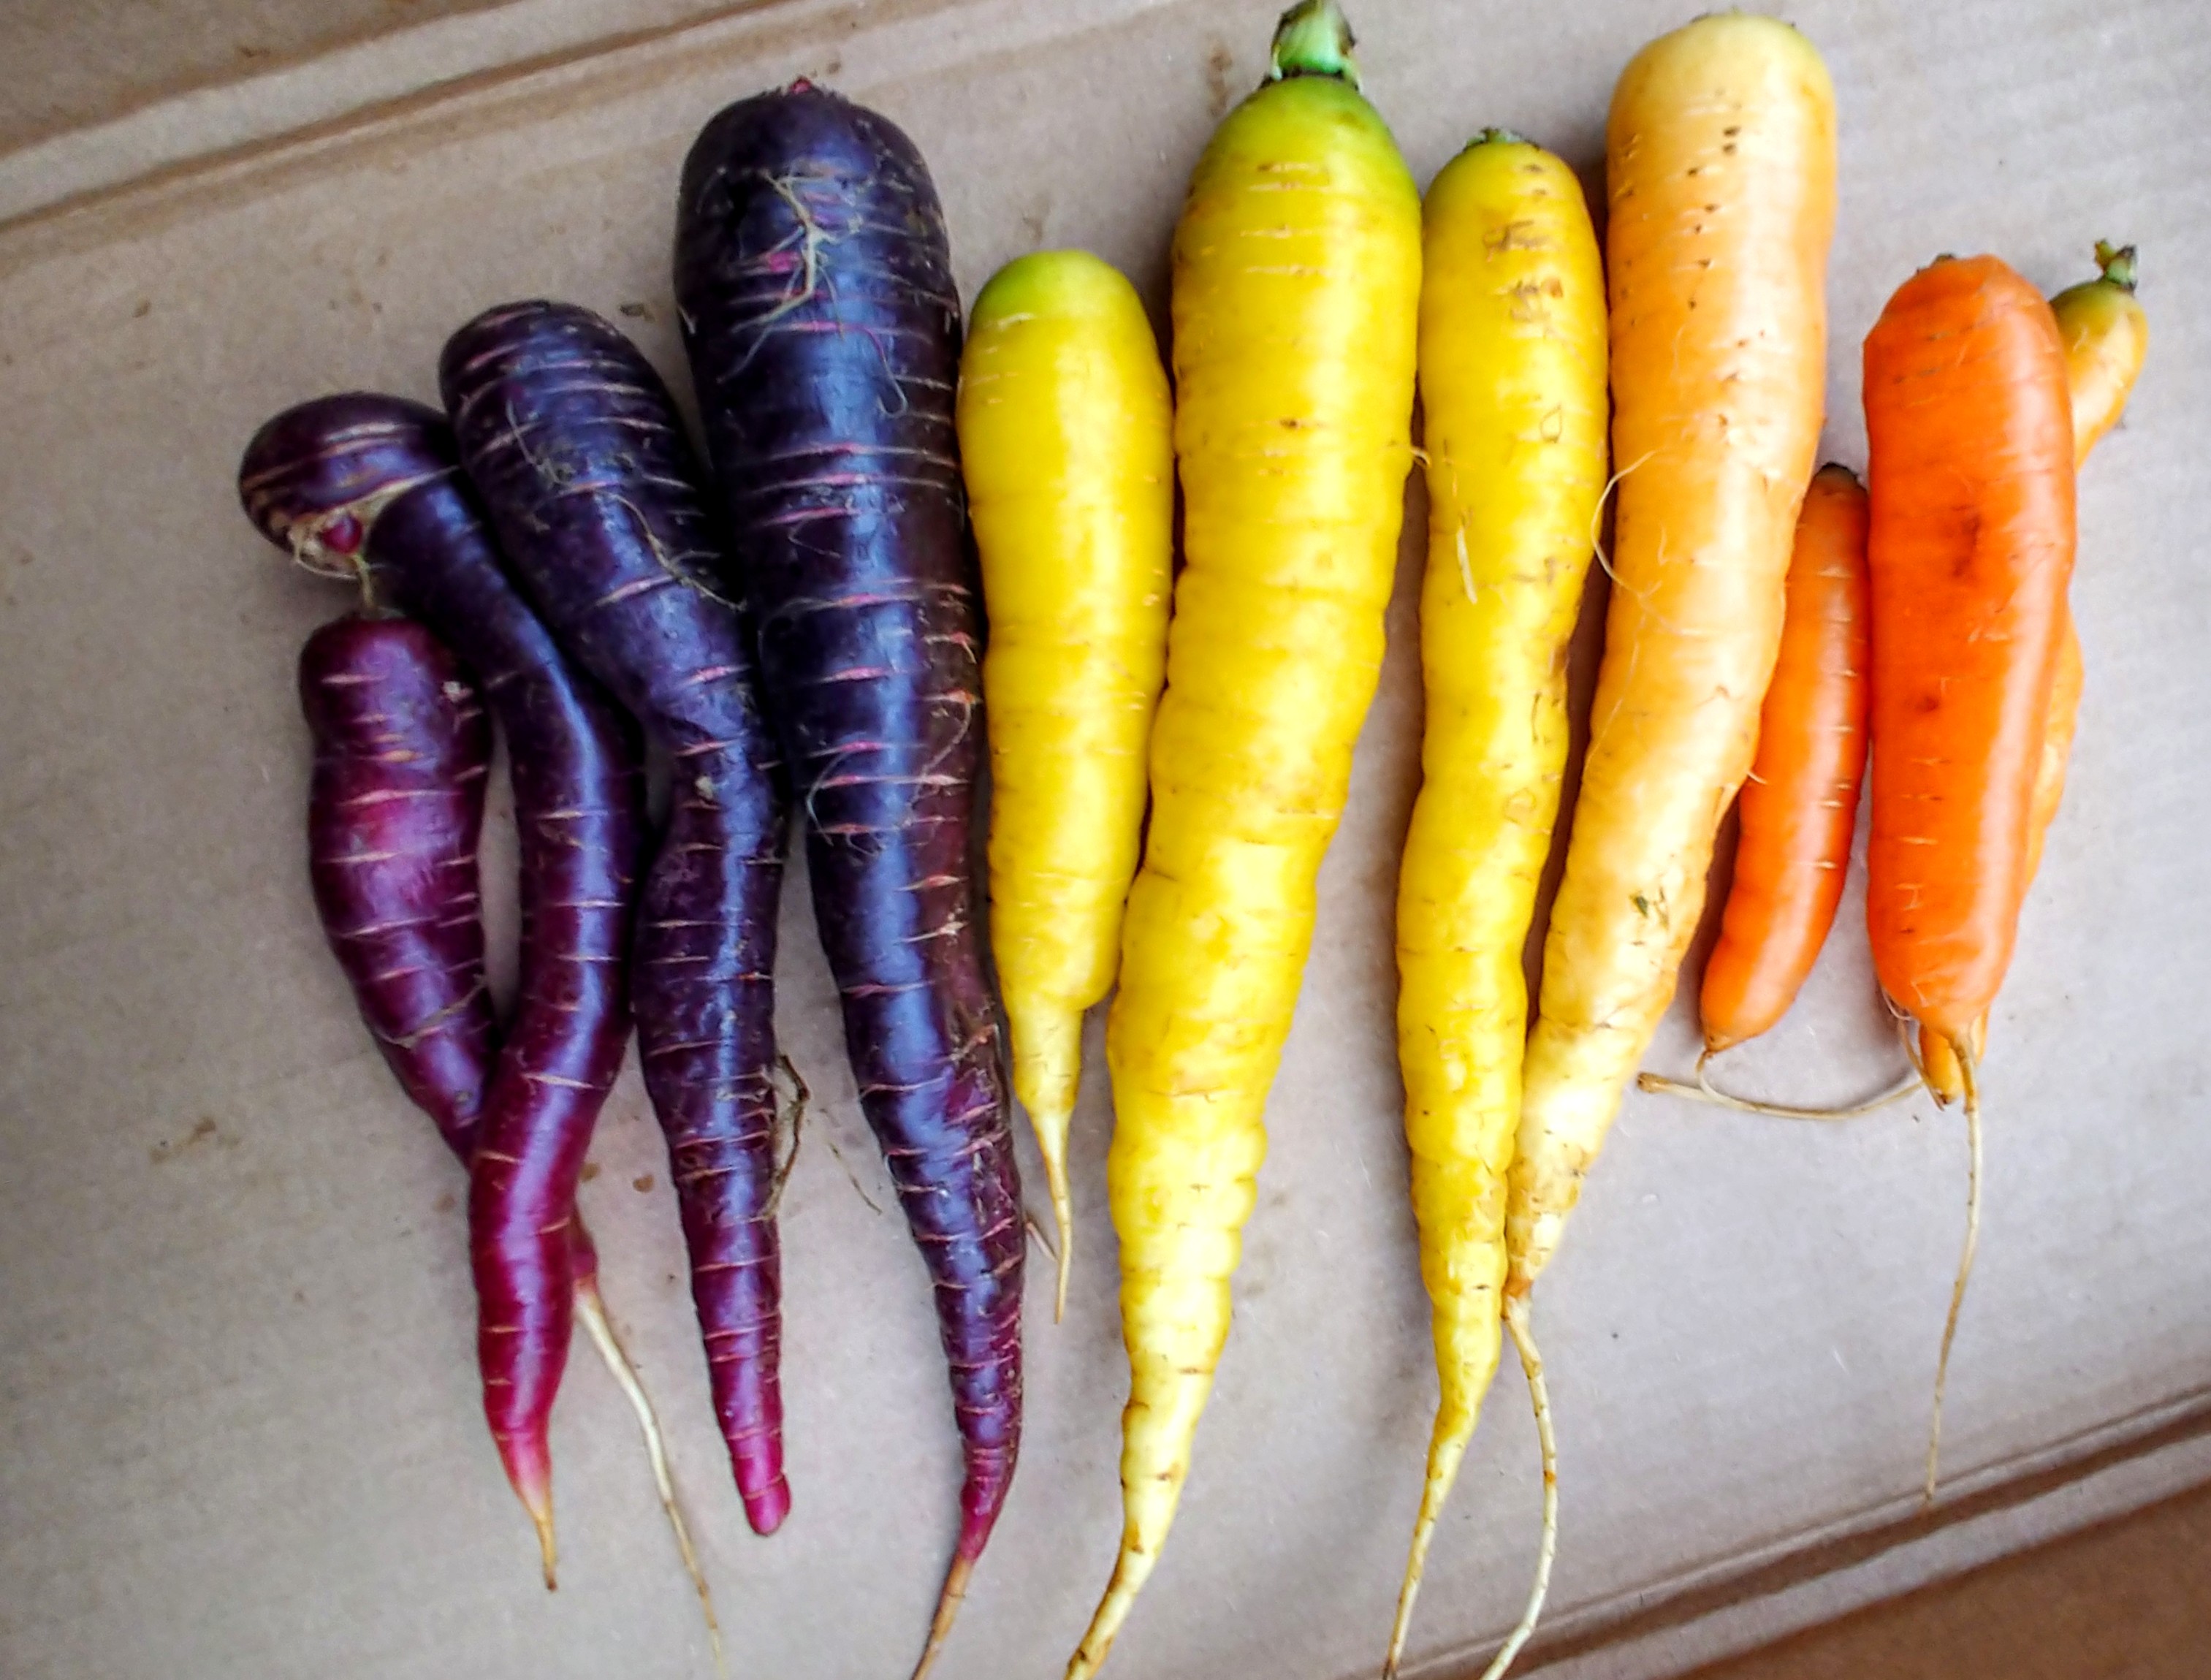
I also discovered the joys of shopping at the local farmers market! It’s so much fun to see all the amazing food that is produced locally and it just makes your heart happy to see all the colorful different kinds of vegetables, squash, and living herbs that you can’t find in a supermarket.

20180930_160635~2

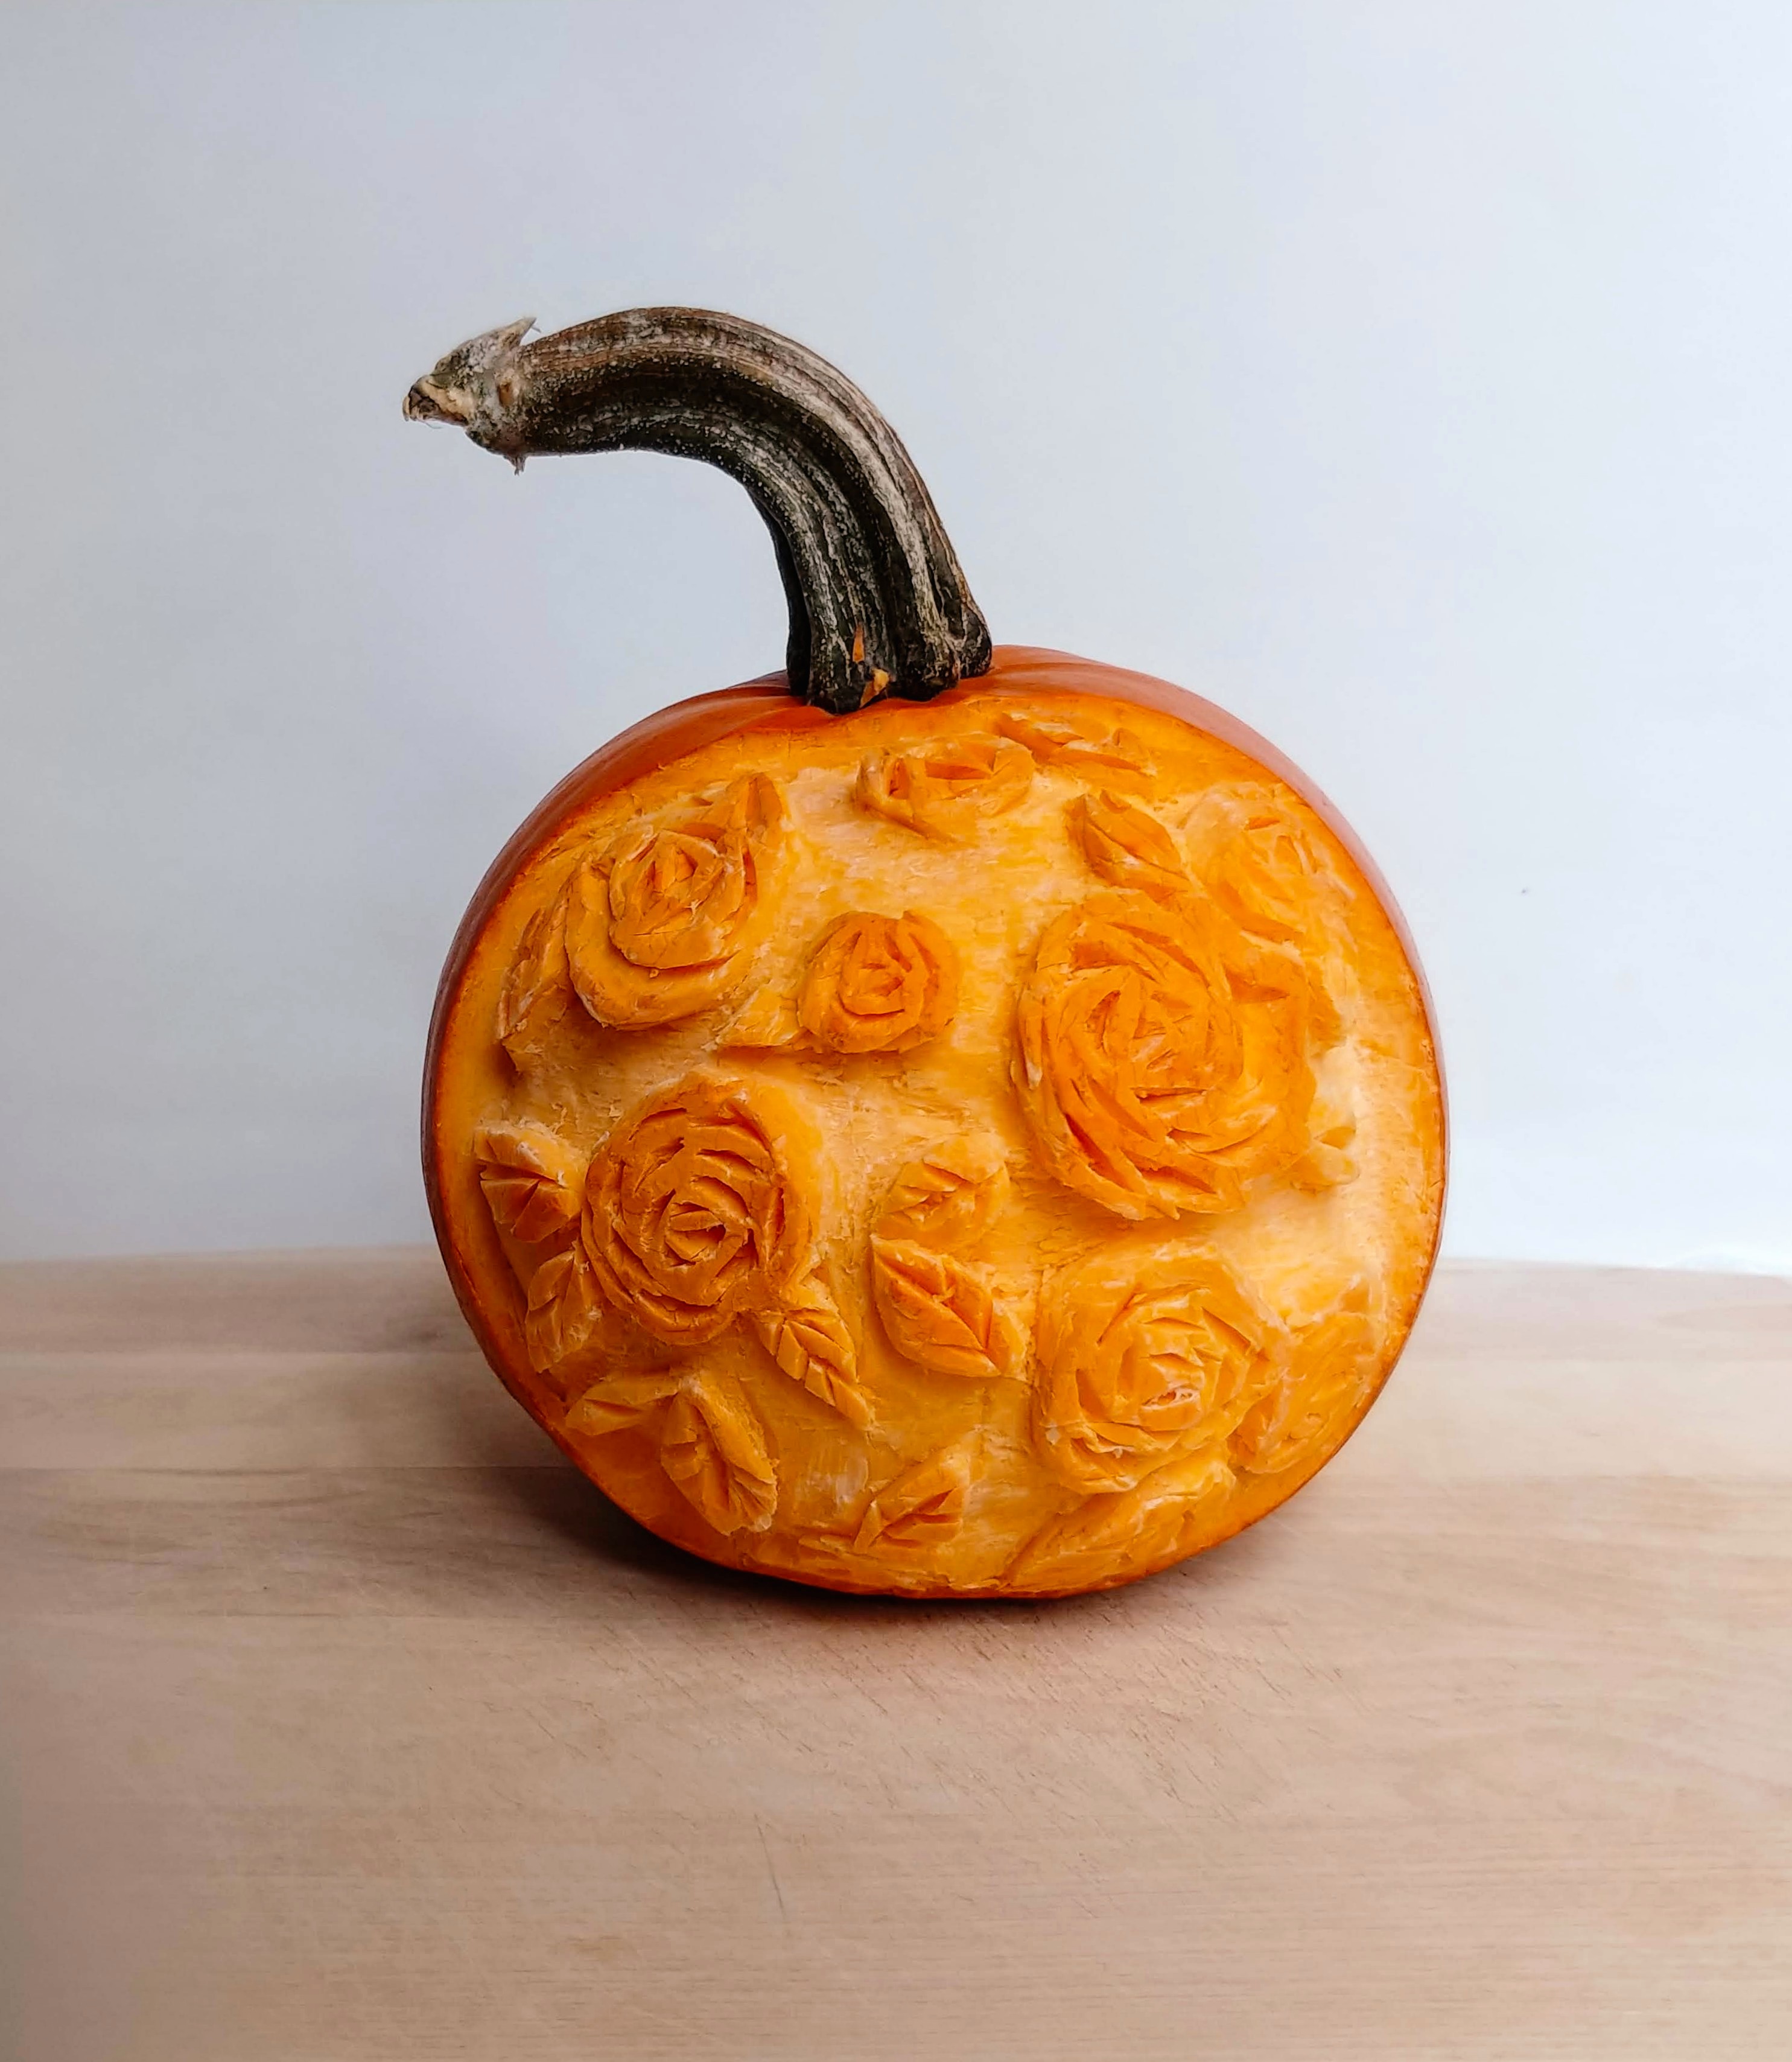
I also tried intricately carving pumpkins this year!

If you want to do this I would highly recommending wearing a stainless steel mesh glove on your non-dominant while you’re carving. 

I carved the pumpkin on the left first, then after a few days I carved it a little more until it turned into the pumpkin on the right.

20181201_144824

Here’s a closer look at the final result. I’m pretty proud of it I have to say. I watched a few YouTube videos on Thai melon carving and that’s how I figured out how to carve the roses. Maybe I’ll try carving melons next year…

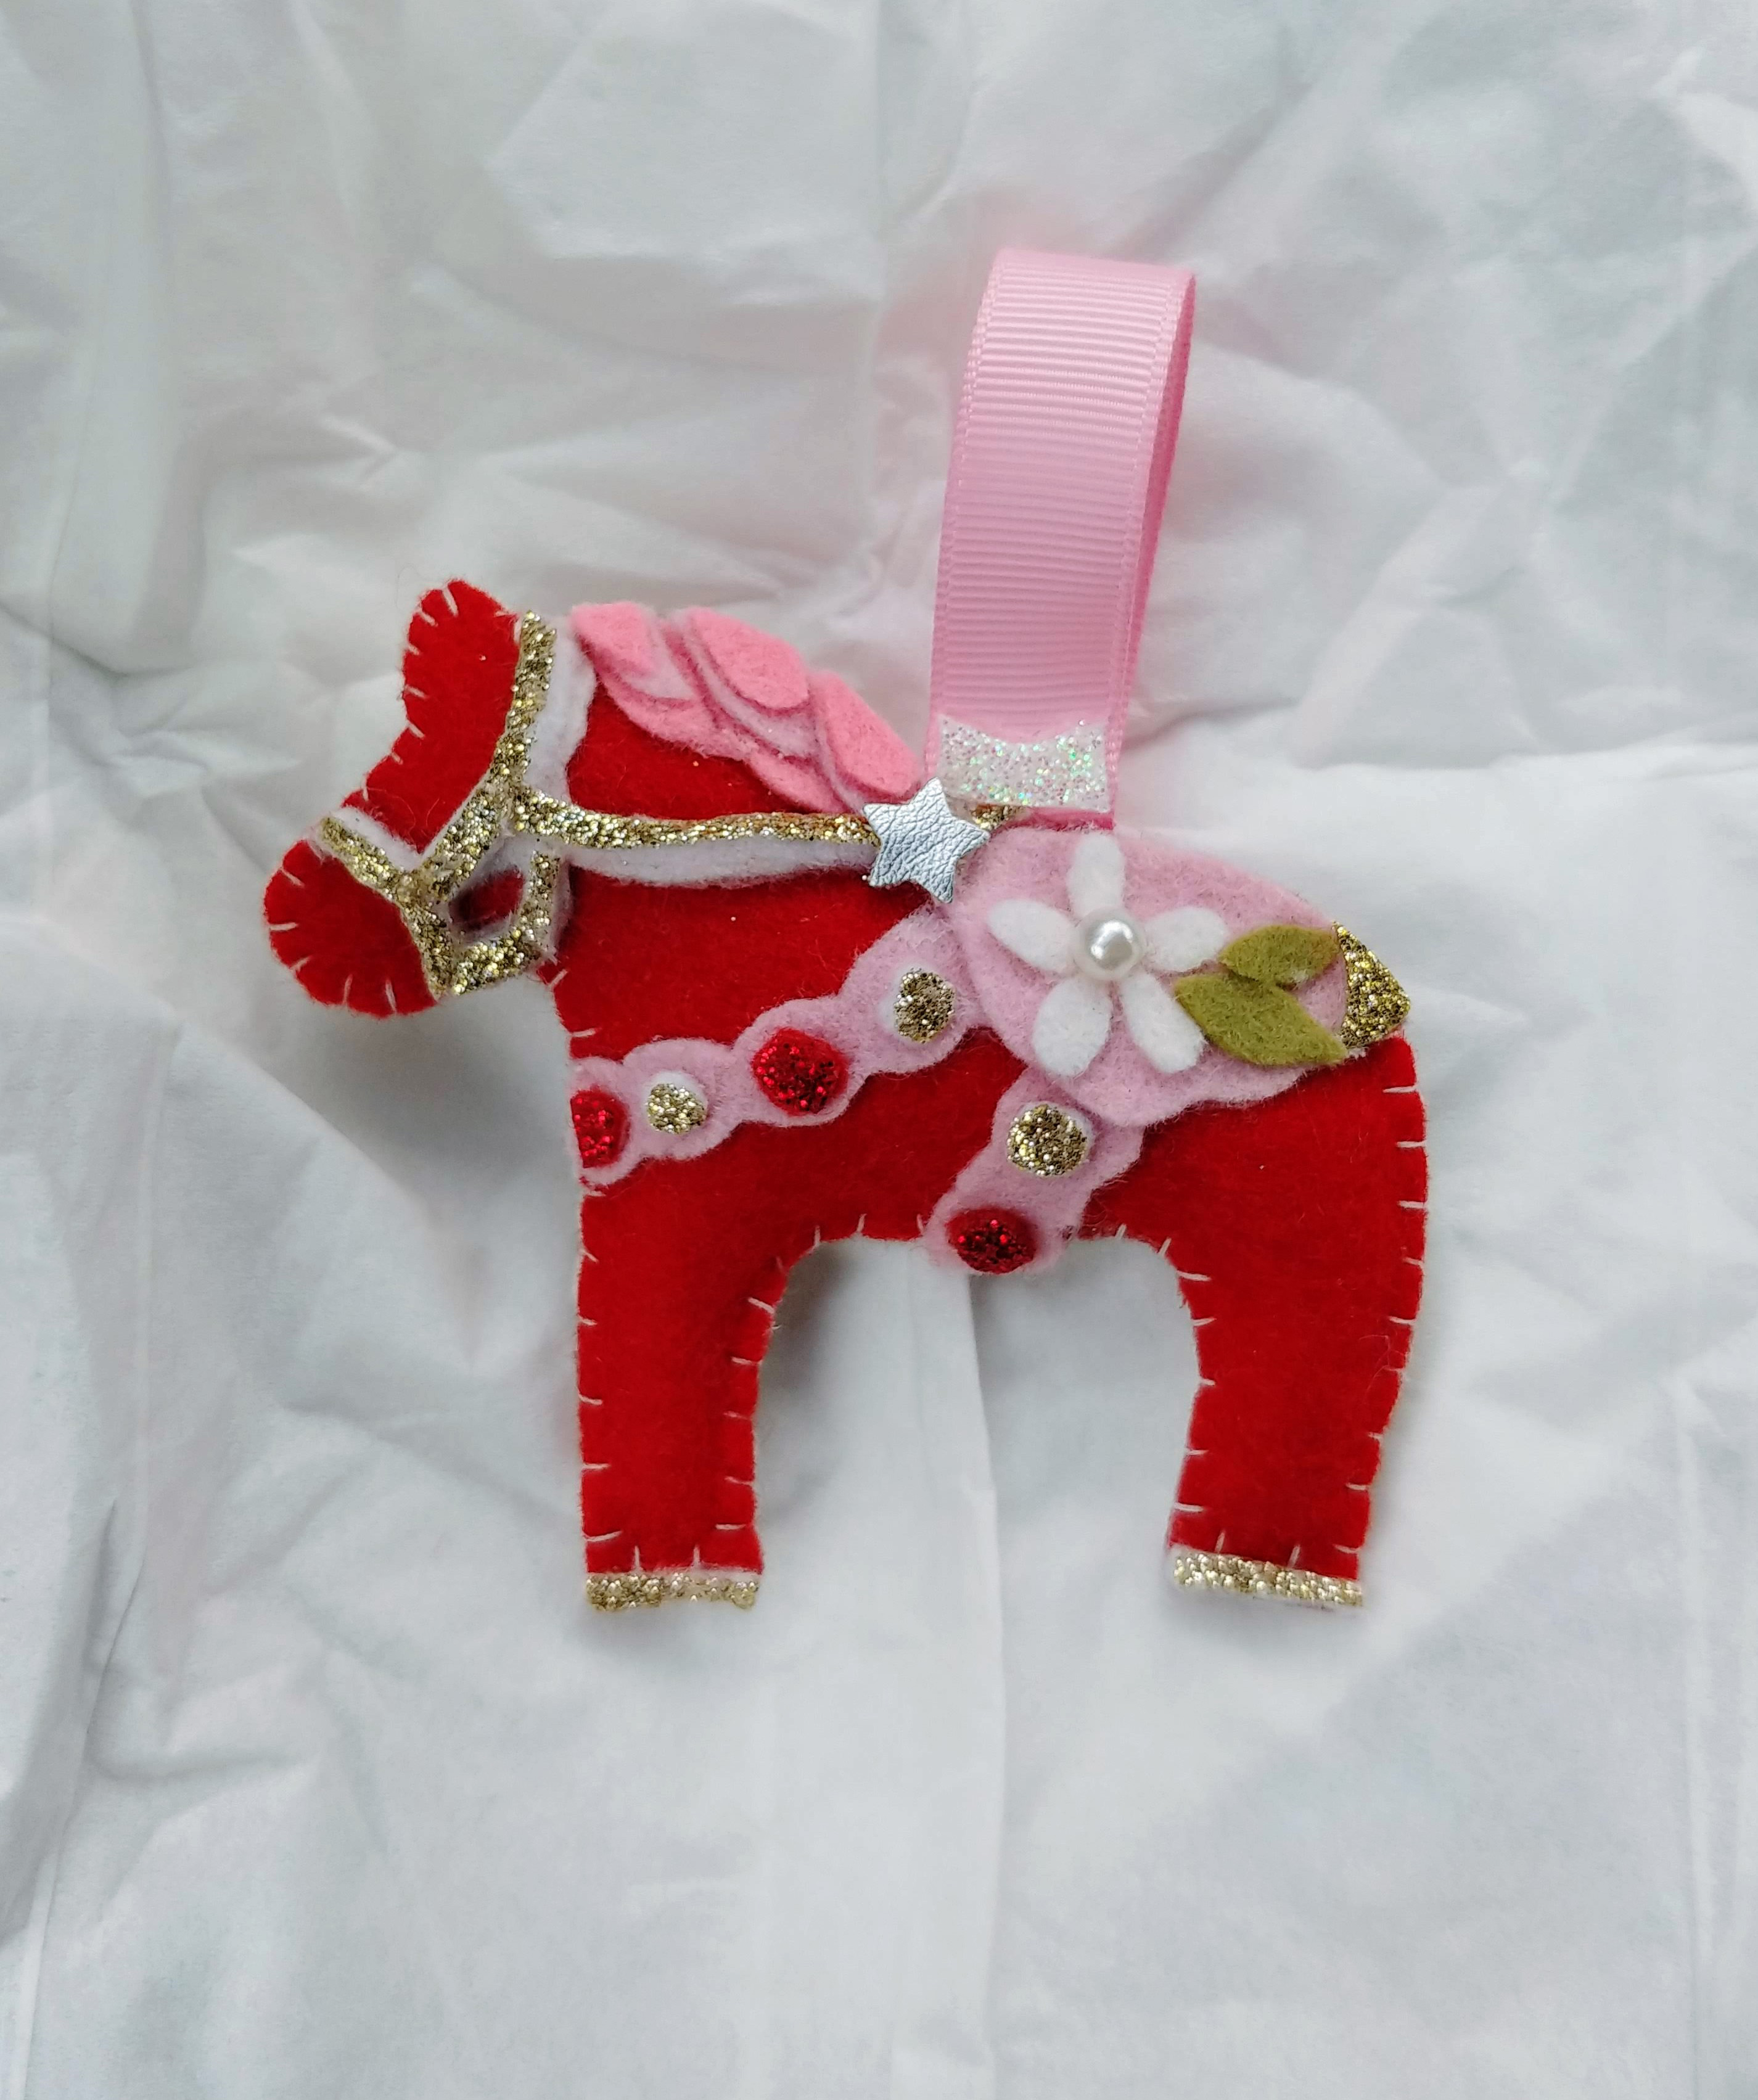
For Christmas I made this Dala Horse for my friend Katie. She’s part Swedish, and I wanted to make her something to say “Thank you for being an awesome friend this year!” This is the first Dala Horse that I’d ever made and loved the process of making it.

20181220_130112-2

I made it from some red merino wool craft felt that I had been unsure about what to do with. This one turned out so well that I was excited to make more of them.

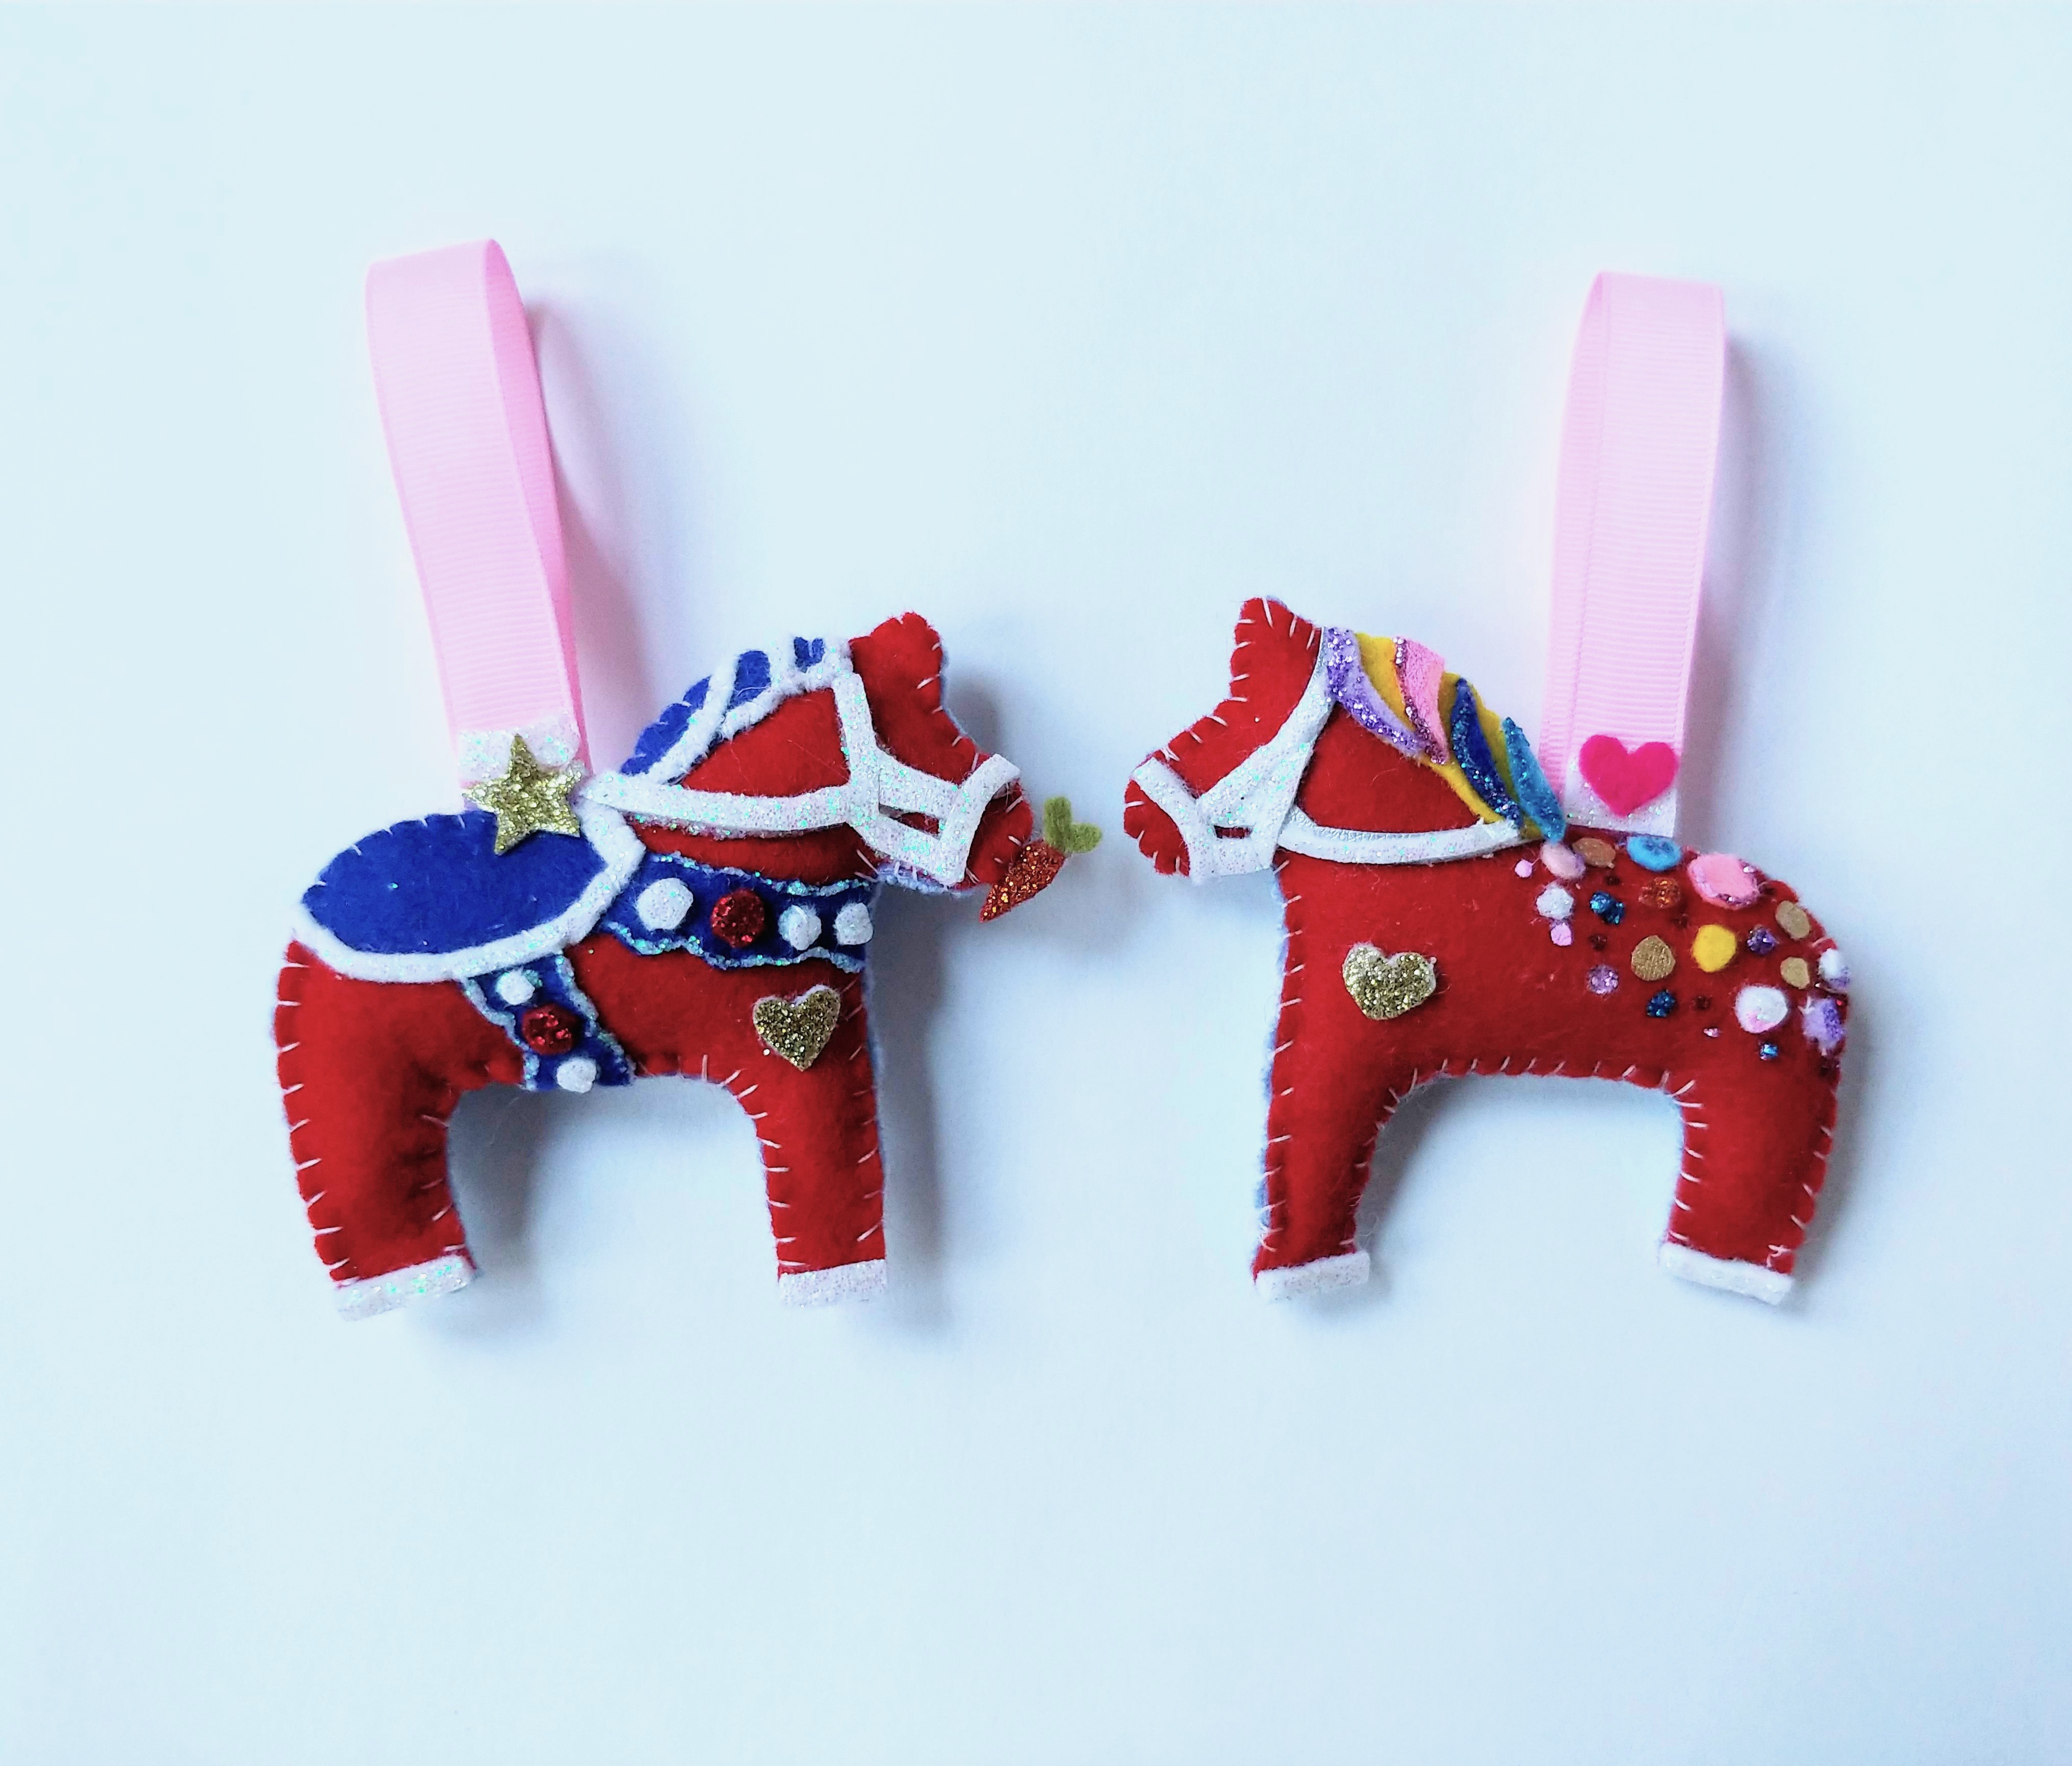
So I made these two horses sharing a carrot…

clone tag: -4019565997308188355

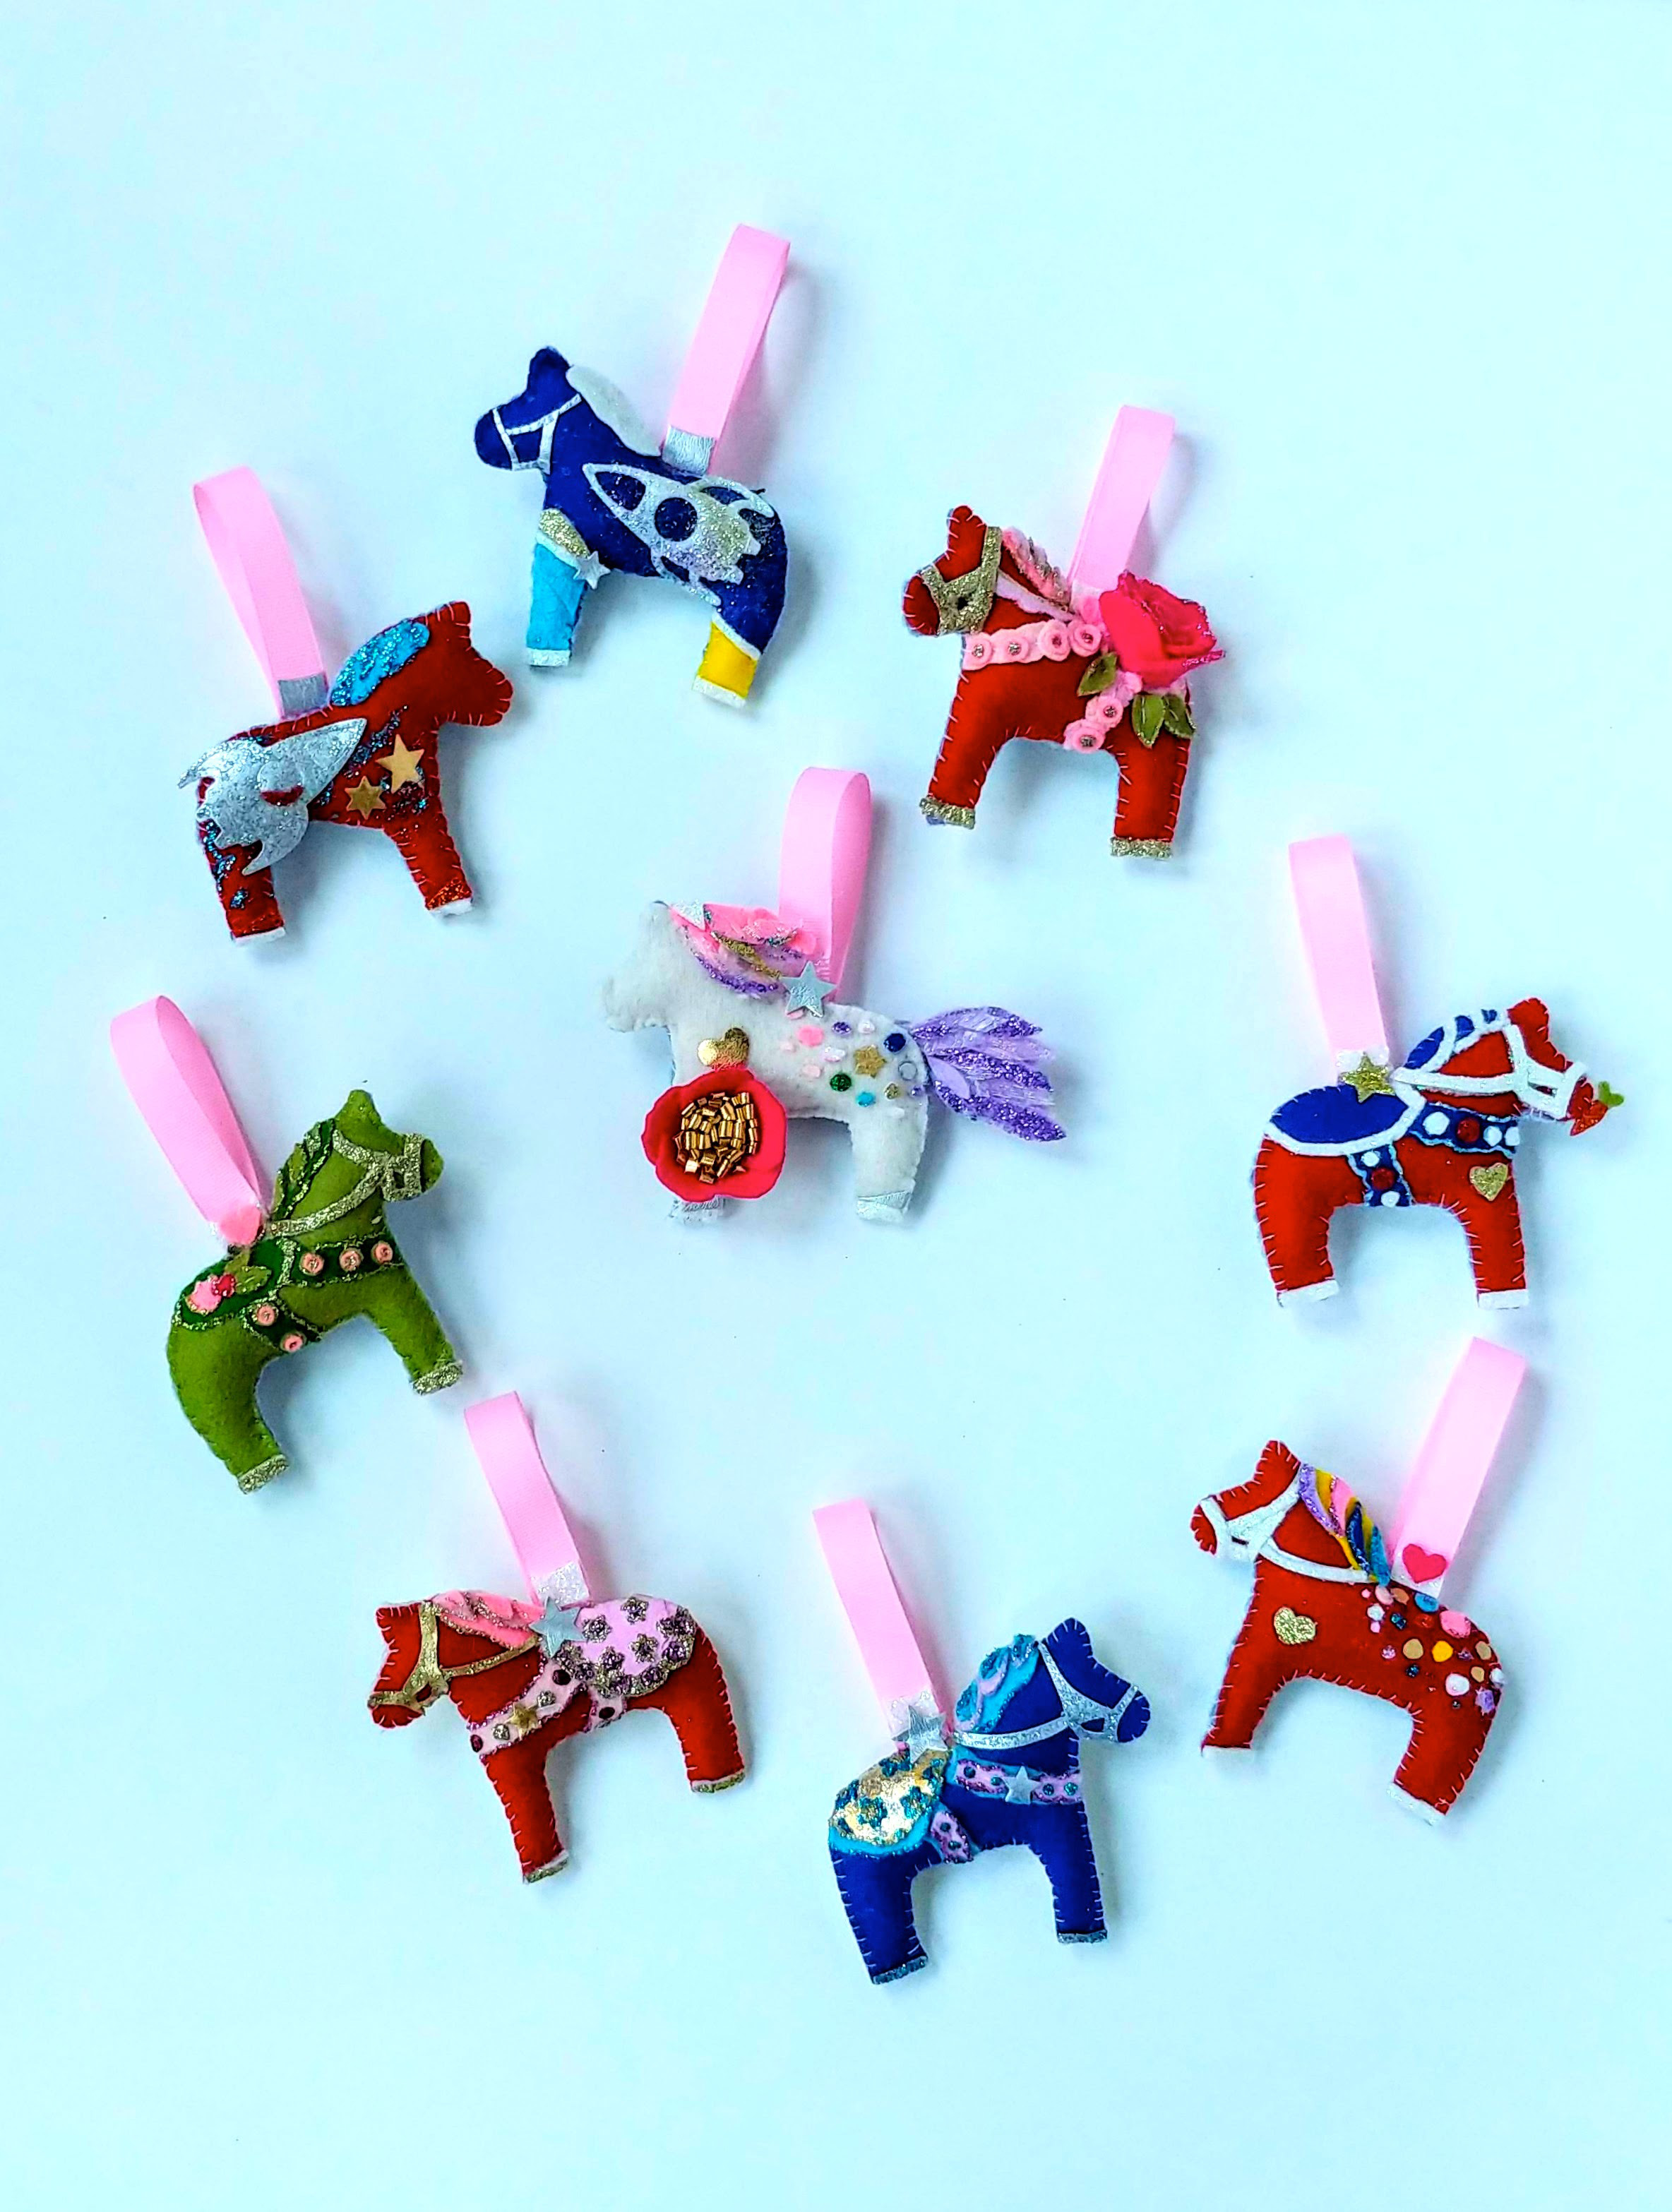
Then I made a few more Dala Horses…

clone tag: 7517880155277458167
clone tag: 5206238601296770273

All in all I made 10 Dala Horses this year (personalized for various friends and family members). They took a lot of work (and were made from scraps of things that I had from other projects), but they came out so well!

I hope that 2018 treated you well, and that you are having a great holiday season!


The Etsy Shop is here!

one small blog

I’m so excited to share that the Hope and Butterflies Etsy Shop is now open!

Starting new adventures and not knowing where they will take you

When I started this blog, I had no idea where it was going to go. I knew that I loved to cook, and that I wanted to share my recipes because they were the kind of recipes that I wanted to have when I first went on a dairy / gluten / refined sugar free diet.

I had so many food sensitivities, and I missed eating the things that I loved.  It was really hard to be in more pain, or just feel ill because I ate something as normal as a blueberry muffin. My list of food sensitivities was so extensive that I couldn’t even eat most of the recipes on other gluten free websites.

So I started writing recipes, and eating gluten free versions of the foods that I loved again.

What I didn’t expect when I began this journey was that as my list of recipes grew, and as I cooked and ate my way through this rough patch, I felt more and more like myself again.

Not having recipes that worked for me meant that (for a while) the foods that I ate were boring and bland, and eating those foods brought me no joy.

I hadn’t realized how much brightness food had brought to my life before, and learning to eat the new versions of my favorite foods gave me that brightness back, and nourished not only my body, but also my spirit.

Baking and cooking have always felt very meditative to me. When I’m in the kitchen I can get lost in a recipe, and no matter what I’m going through, I always feel better (and like I’ve accomplished something) when I’ve created and eaten something delicious (especially if it’s a muffin or a brownie).

That’s what I wanted to share when I started this blog, to help other people with food sensitivities find a way to nourish their souls with the joy of creating something that they really enjoy eating.

What has also been exciting is to see how many people have visited the blog. Hope and Butterflies has had visitors from places like the UK, Australia, India, France, Ireland, Kenya, The Netherlands, Germany, and even our friendly neighbor to the north, Canada.

It feels amazing to think that this little cooking blog that I started 6 months ago would reach (and hopefully help) so many people in so many places all around our big world.

I’m also incredibly lucky to have so many good friends and family who have cheered me on during this time. So many people in my life have reached out to tell me that they enjoy reading the blog, or think it’s cool that I’m writing it, which has been amazing.

There have been many times when I think I’m out of ideas and am in doubt if I should keep trying to write recipes, and their encouragement has really cheered me on. I’m so glad that I kept writing, and I’m excited to see how the blog grows and evolves in the future.

The Prints
wonder wander comes + goes

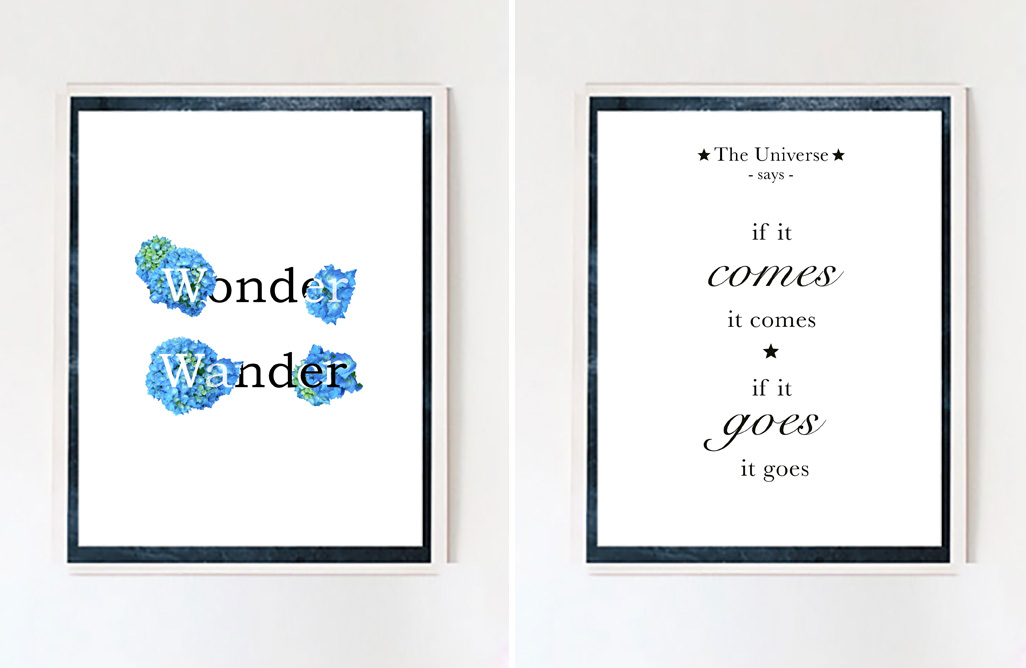
The Hope and Butterflies Etsy Shop sells posters / prints that you can download and print at home.

Each shop listing includes 7 high resolution JPG files (300 dpi, RBG Color Format)

– 4″ x 6″
– 5″ x 7″
– 8″ x 10″
– 11″ x 14″
– 18″ x 24″
– 24″ x 36″
– Wallet Size (the size of a credit card)

Most importantly though, $1 from each sale will be donated to support girls education.

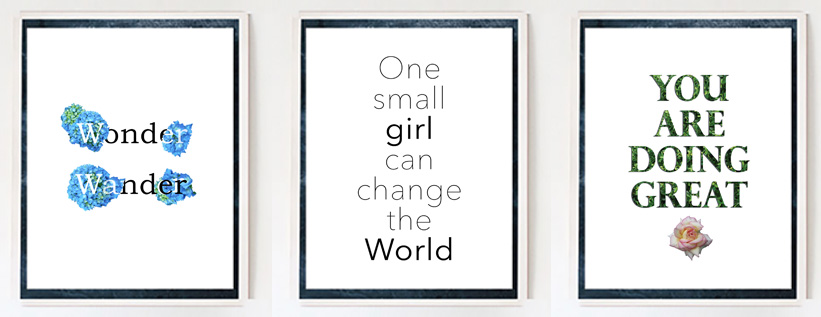
When I was designing, I wanted to create prints that would be encouraging, and most of all, kind. Many of the designs encourage self care, self acceptance, and cheer you on in difficult moments.

Life can be really hard sometimes, and you’re always doing the best that you can.

Sometimes it’s nice to have a reminder of that, which is why the prints all include a wallet size printing option as well.

Because sometimes you do need a pocket sized reminder that “You are AMAZING” when things aren’t quite going the way that you want them to. Take it from someone who knows, storms pass, you will grow from them, and things will get better.

And whoever you are, you matter too. Your dreams matter too.

I hope that in some small way, these prints will cheer you on when you start down the path towards your own dreams (even if you have no idea where it will take you).

Starting the blog was scary, but also exciting and so so rewarding. I wish you that same scary excitement (and fun surprises, and joy!) along your journey.

Girls Education

Right now, this little Etsy Shop and the Hope and Butterflies Blog are my dream.

I decided to donate part of the proceeds from each sale to support girls education, because not only is it simply the right thing to do, but also because I want to do what I can to help other young women and girls accomplish their own dreams.

I was lucky enough to be able to go to school and learn about the world around me.

Every young woman should have the right to do the same. This shop is my own little way of trying to help make that happen.

Thanks for reading. I’ll be posting more recipes soon.

And remember :
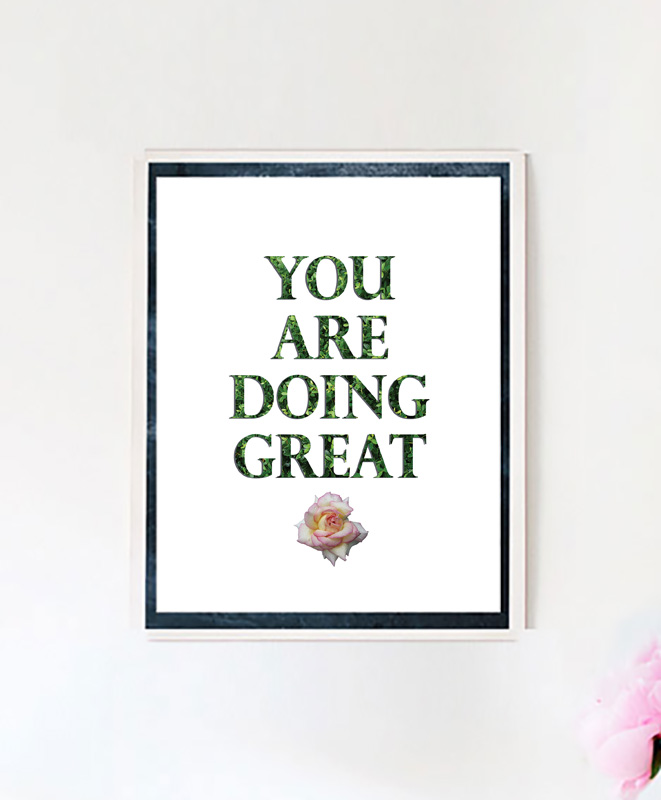
 

you are doing great blog

And you are wonderful, just as you are.

And Happy Mother’s Day to all the amazing moms out there!
Vegan Taiwanese or Chinese Sausage – “Xiang Chang”(香腸) / “Lap Chong” (臘腸)

vegan taiwanese-chinese sausage

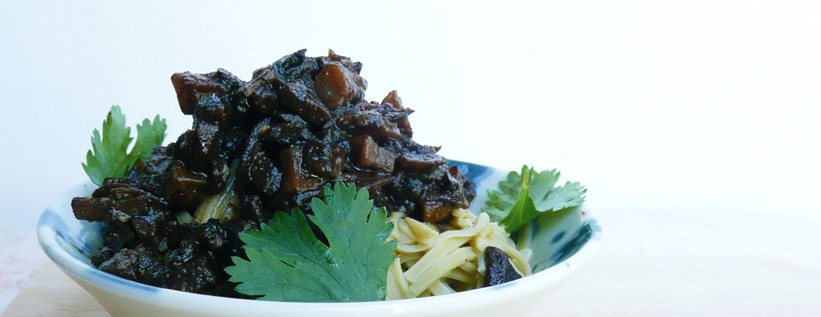
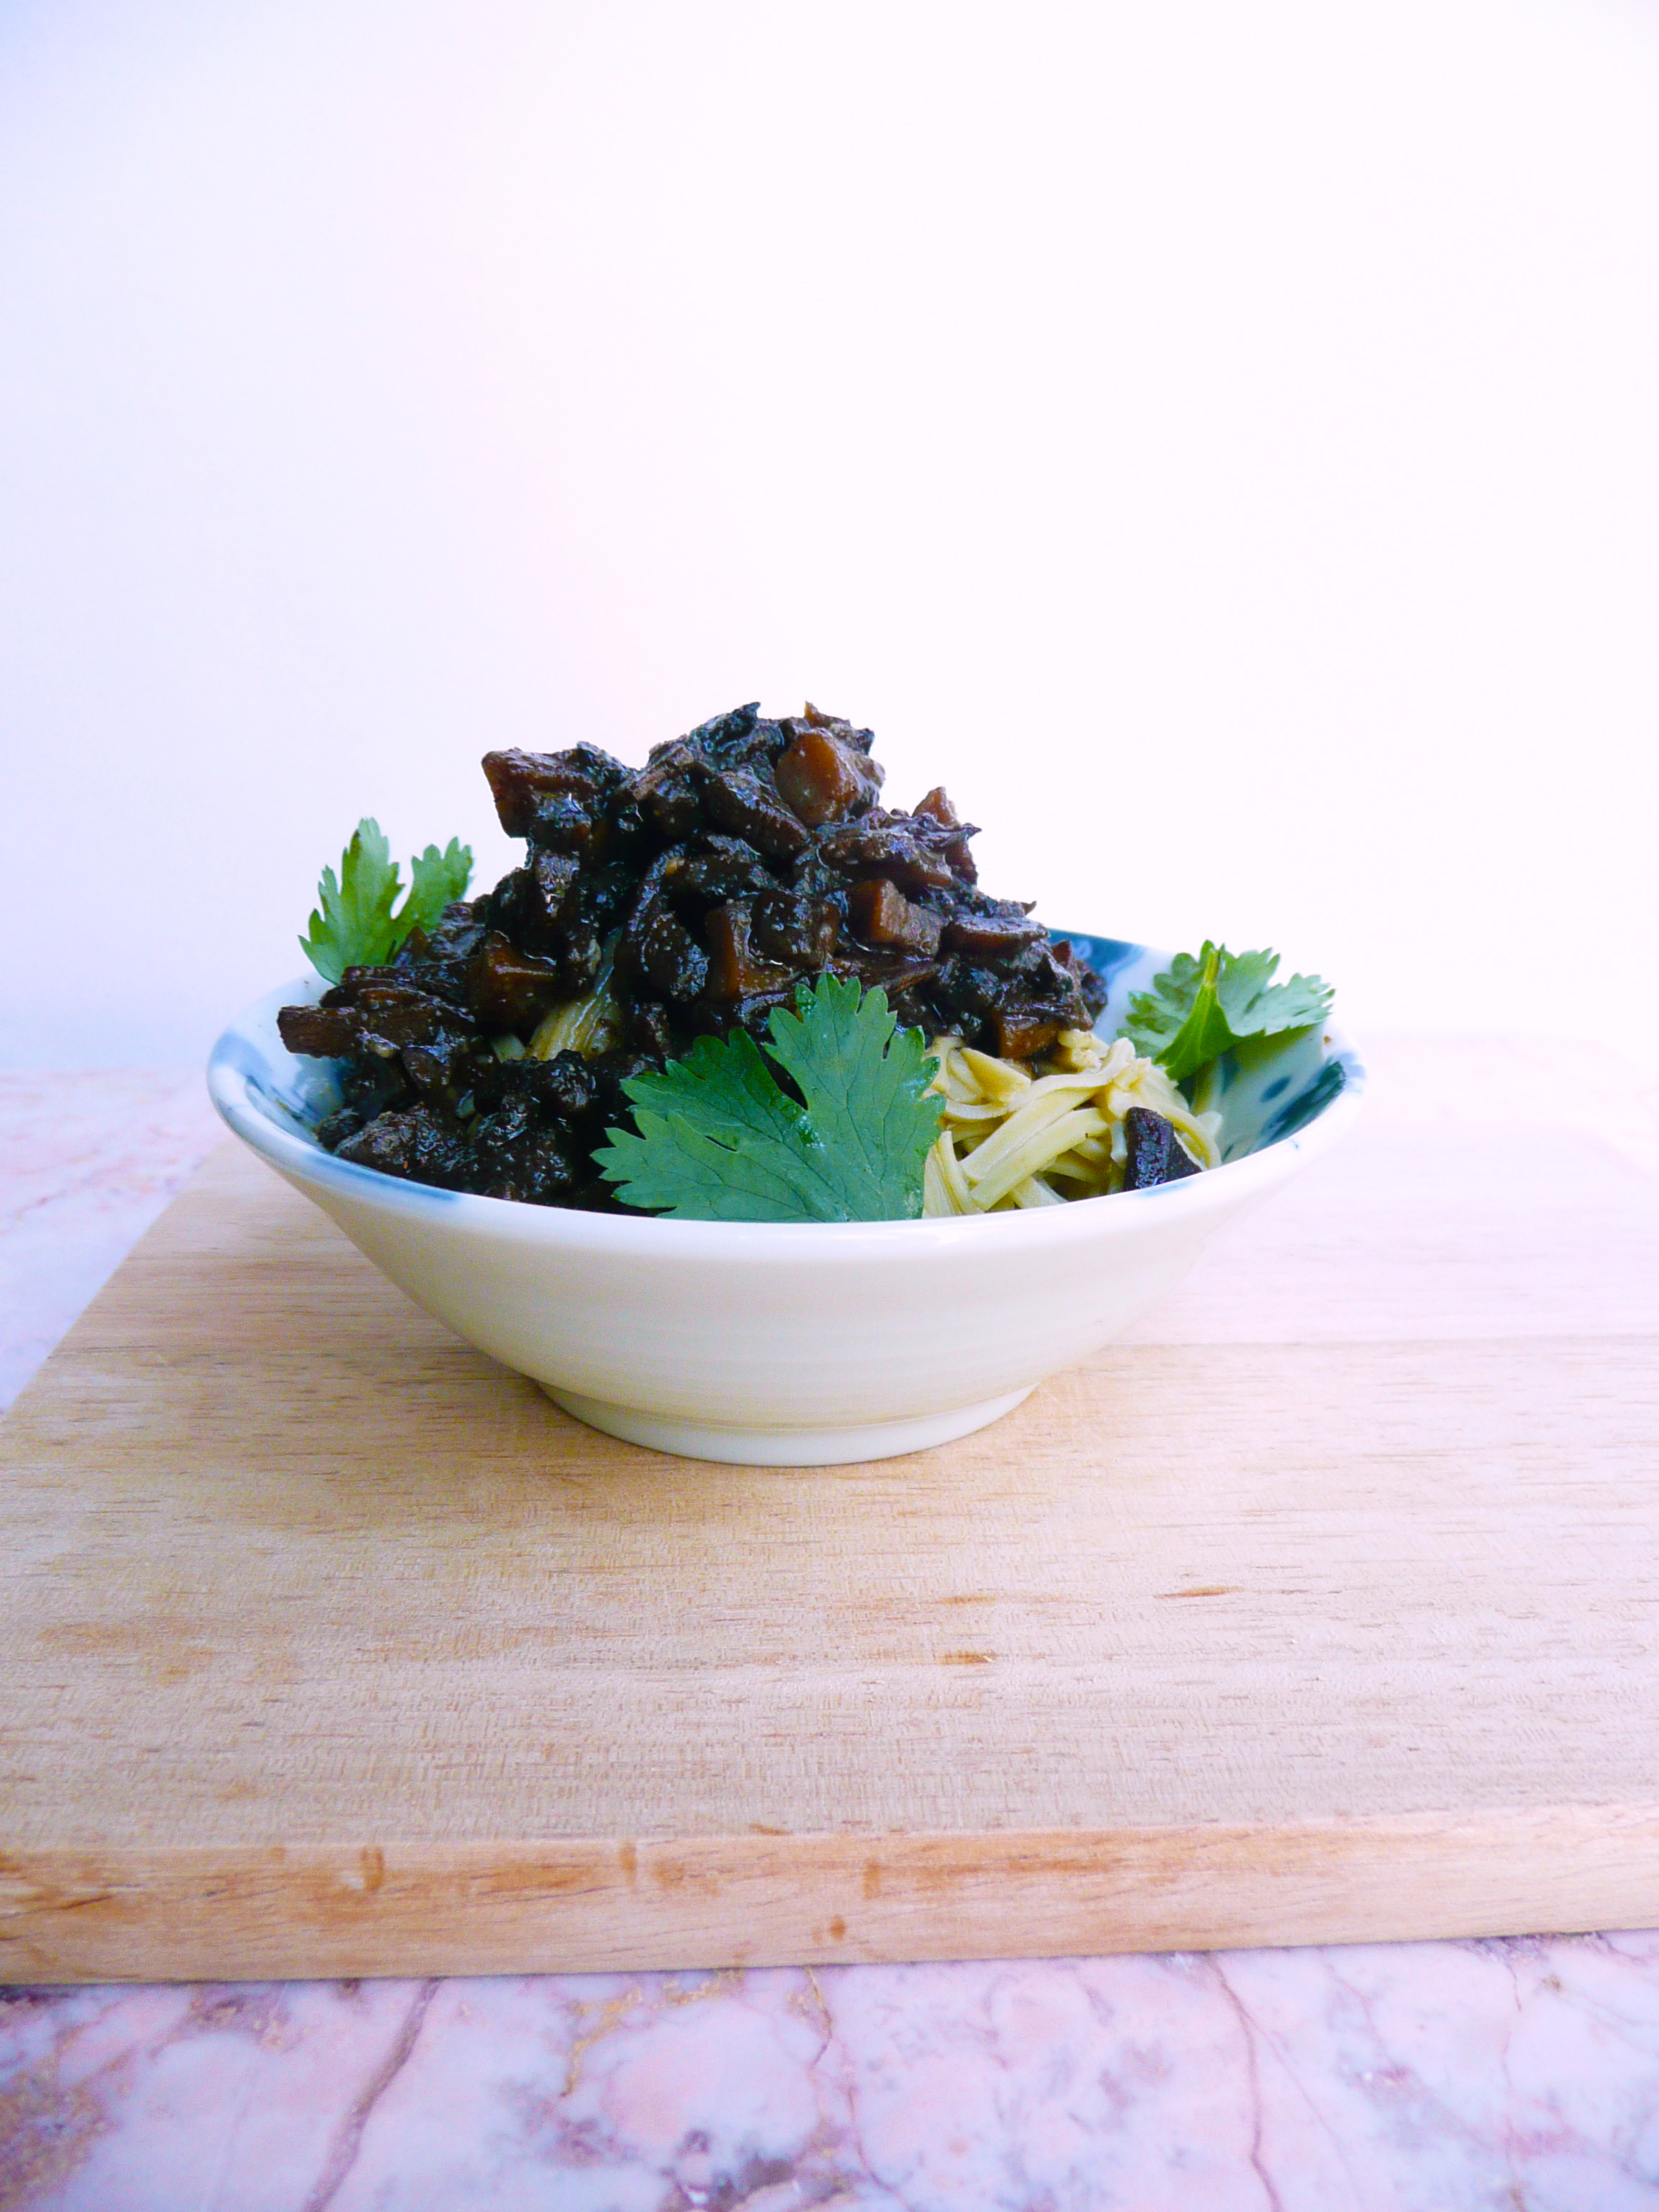
This vegan Taiwanese / Chinese sausage is easy to make and tastes very similar to the real thing.

Spooned over noodles or a steaming bowl of rice, it’s happiness in a bowl.

Taiwanese and Chinese sausages can be found at Asian supermarkets, but I’ve never seen an organic one that’s free of added nitrates yet (here’s to hoping!). They taste amazing, and even though I’ve watched a YouTube video on how to make the sausages the traditional way, I haven’t actually made them myself yet.

This recipe is an easy way to get a similar flavor and texture without the hassle of making the sausage, or the nitrates from the store bought versions.

I used this recipe instead of real Chinese sausage when I made Turnip Cake for Lunar New Year and it worked great, so you can potentially swap this in for recipes that call for diced Taiwanese of Chinese sausage.


Vegan Taiwanese Sausage (香腸) or Chinese Sausage (臘腸)

Makes 1 serving

Ingredients

6 white or crimini mushrooms – cut into ¼ inch dice (about 1 ½ cups)

2 ½ tbsp. avocado oil (or any neutral flavored high heat oil)

¼ tsp + 1/8 tsp granulated garlic

¼ tsp + 1/8 tsp 5 spice powder

½ tsp organic red miso paste

2 – 2 ½ tsp maple syrup*

maybe a pinch of salt to taste (depending on how salty your miso is)


*Taiwanese sausage or “Xiang Chang”(香腸) is usually a little sweeter than the Chinese sausages or “Lap Chong” (臘腸), so if you’re looking for more of a Taiwanese sausage flavor, use the 2 1/2 tsp of maple, and 2 tsp of maple if your looking for more of a Chinese sausage flavor.

Instructions

1. Stir together the granulated garlic, 5 spice, miso, and maple syrup until smooth.

2. Make your pan non-stick. Add the oil and diced mushrooms to the pan and cook on medium high heat, stirring frequently, for 8-9 minutes until the mushrooms are golden brown around the edges.

3. Add the cooked mushrooms to the spice mix and stir until well combined. Give it a taste, adjust the seasoning to your liking.

You can also spoon this into romaine lettuce leaves (like vegan chicken lettuce wraps), or serve it over steamed rice or noodles.

However you eat it, I hope that you enjoy the recipe!


Note – This isn’t sponsored, but I just wanted to mention that the noodles that I used in the picture were Organic Edamame Spaghetti Noodles made by Explore Asian Authentic Cuisine (it looks like they may have changed the company’s name to “Explore Cuisine” now).

The only ingredients are water and soybeans and the noodles have a lovely flavor and texture and cook up in about 5 minutes are a good non-grain pasta alternative (if that’s something that you’re looking for). I used up the last of the box I had for this recipe (the box I had was from Costco, and they don’t carry the noodles anymore) but you can find the noodles online.