green goddess dressing

Parsley Green Goddess Dressing Recipe – Paleo, Dairy Free

Green Goddess Dressing 1

I like to think of Green Goddess dressing as Caesar dressing’s sort of hippier, more free spirited cousin.

Caesar is the dressing that you want for a beautiful dinner party, while Green Goddess is for summer picnics and dancing through a garden in a sundress while wearing a daisy crown.

Green Goddess 5

My Parsley Green Goddess dressing has all the things that you love about Caesar dressing (the rich savoriness and creaminess, with a bit a bit of garlic thrown it to punch up the flavor) and is full of anti-inflammatory herbs like parsley, rosemary, and basil.

It’s light and creamy, a little thinner than most green goddess dressings (which makes it better for drizzling over a salad), and is packed with heart healthy olive and avocado oils.

This is also the perfect recipe for when you’re looking to use up a bunch of fresh parsley in a hurry. You can blend it all into this beautiful dressing.

Green Goddess 6

Parsley Green Goddess Dressing

Makes 1 1/4 cups

Ingredients

3/4 cup packed parsley (stems and leaves)

1/2 cup water

2 cloves garlic

1 egg (lightly scrambled over a double boiler, and cooled to room temp)


2 tbsp + 2 tsp apple cider vinegar

3/4 tsp fish sauce (I used the Red Boat brand)


1/8 level tsp dried rosemary

1/4 level tsp dried basil

1/8 level tsp granulated onion

1/4 level tsp granulated garlic

1/4 level tsp black pepper

1/2 level tsp sea salt


1/4 cup avocado oil + 1 tbsp (or any neutral oil)

1/4 cup olive oil


Instructions

1. Add all the ingredients except the oils to the blender and blend until smooth, stopping to scrape down the sides of the blender occasionally.

2. Take the top cap off of the blender, and with the motor running, slowly drizzle in the olive and avocado oil into the dressing (you’re basically making a cooked mayonnaise).

If there is some separation in the dressing at this point, that’s ok. Put the top cap back onto the blender and blend on high until well combined.

3. Pour the dressing into a jar and keep in the fridge until ready to use. The dressing should keep at least 3-4 days.

Green Goddess 2

This dressing would also be delicious over chopped roasted potatoes for a quick potato salad, but honestly it’s good on just about anything.

Green Goddess 3

I hope that you enjoy this recipe!

Happy Eating 💚


Mashed Potatoes

Amazing Mashed Potatoes – The Best Vegan Mashed Potatoes Recipe – Dairy Free, Vegan

P1060620

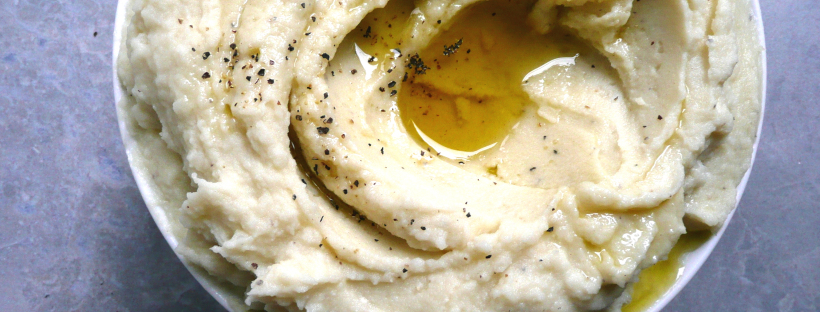
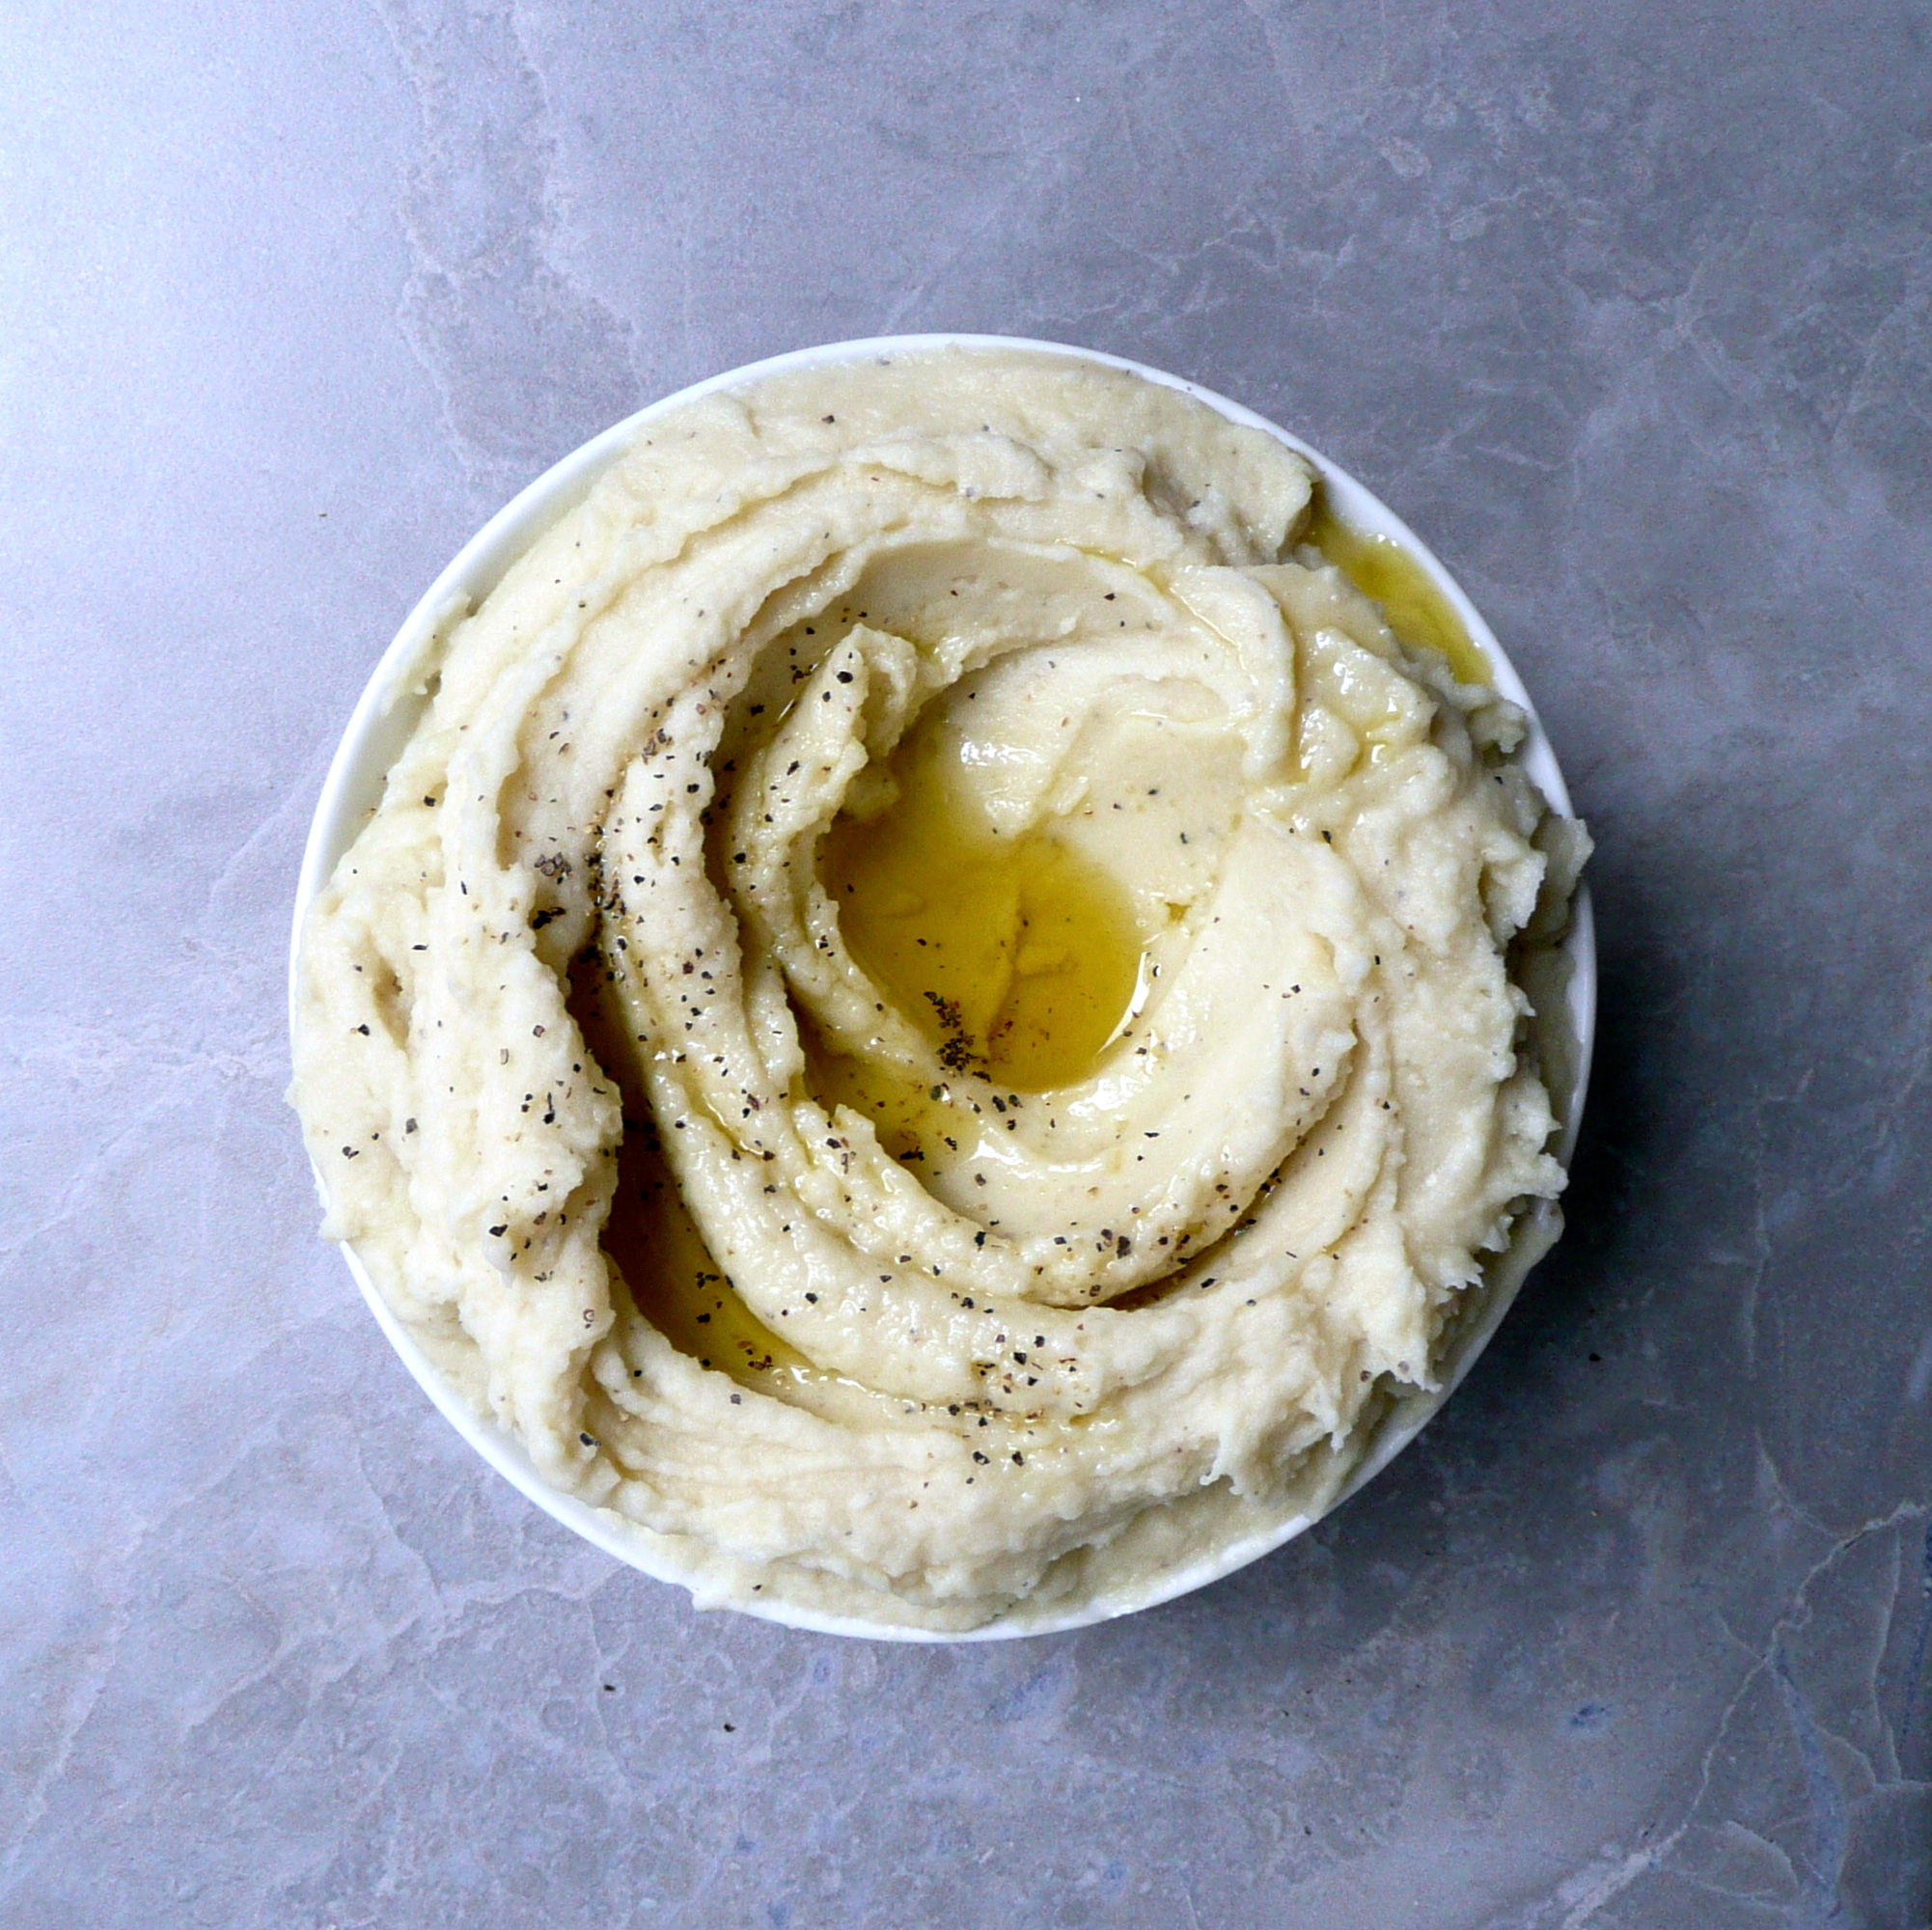
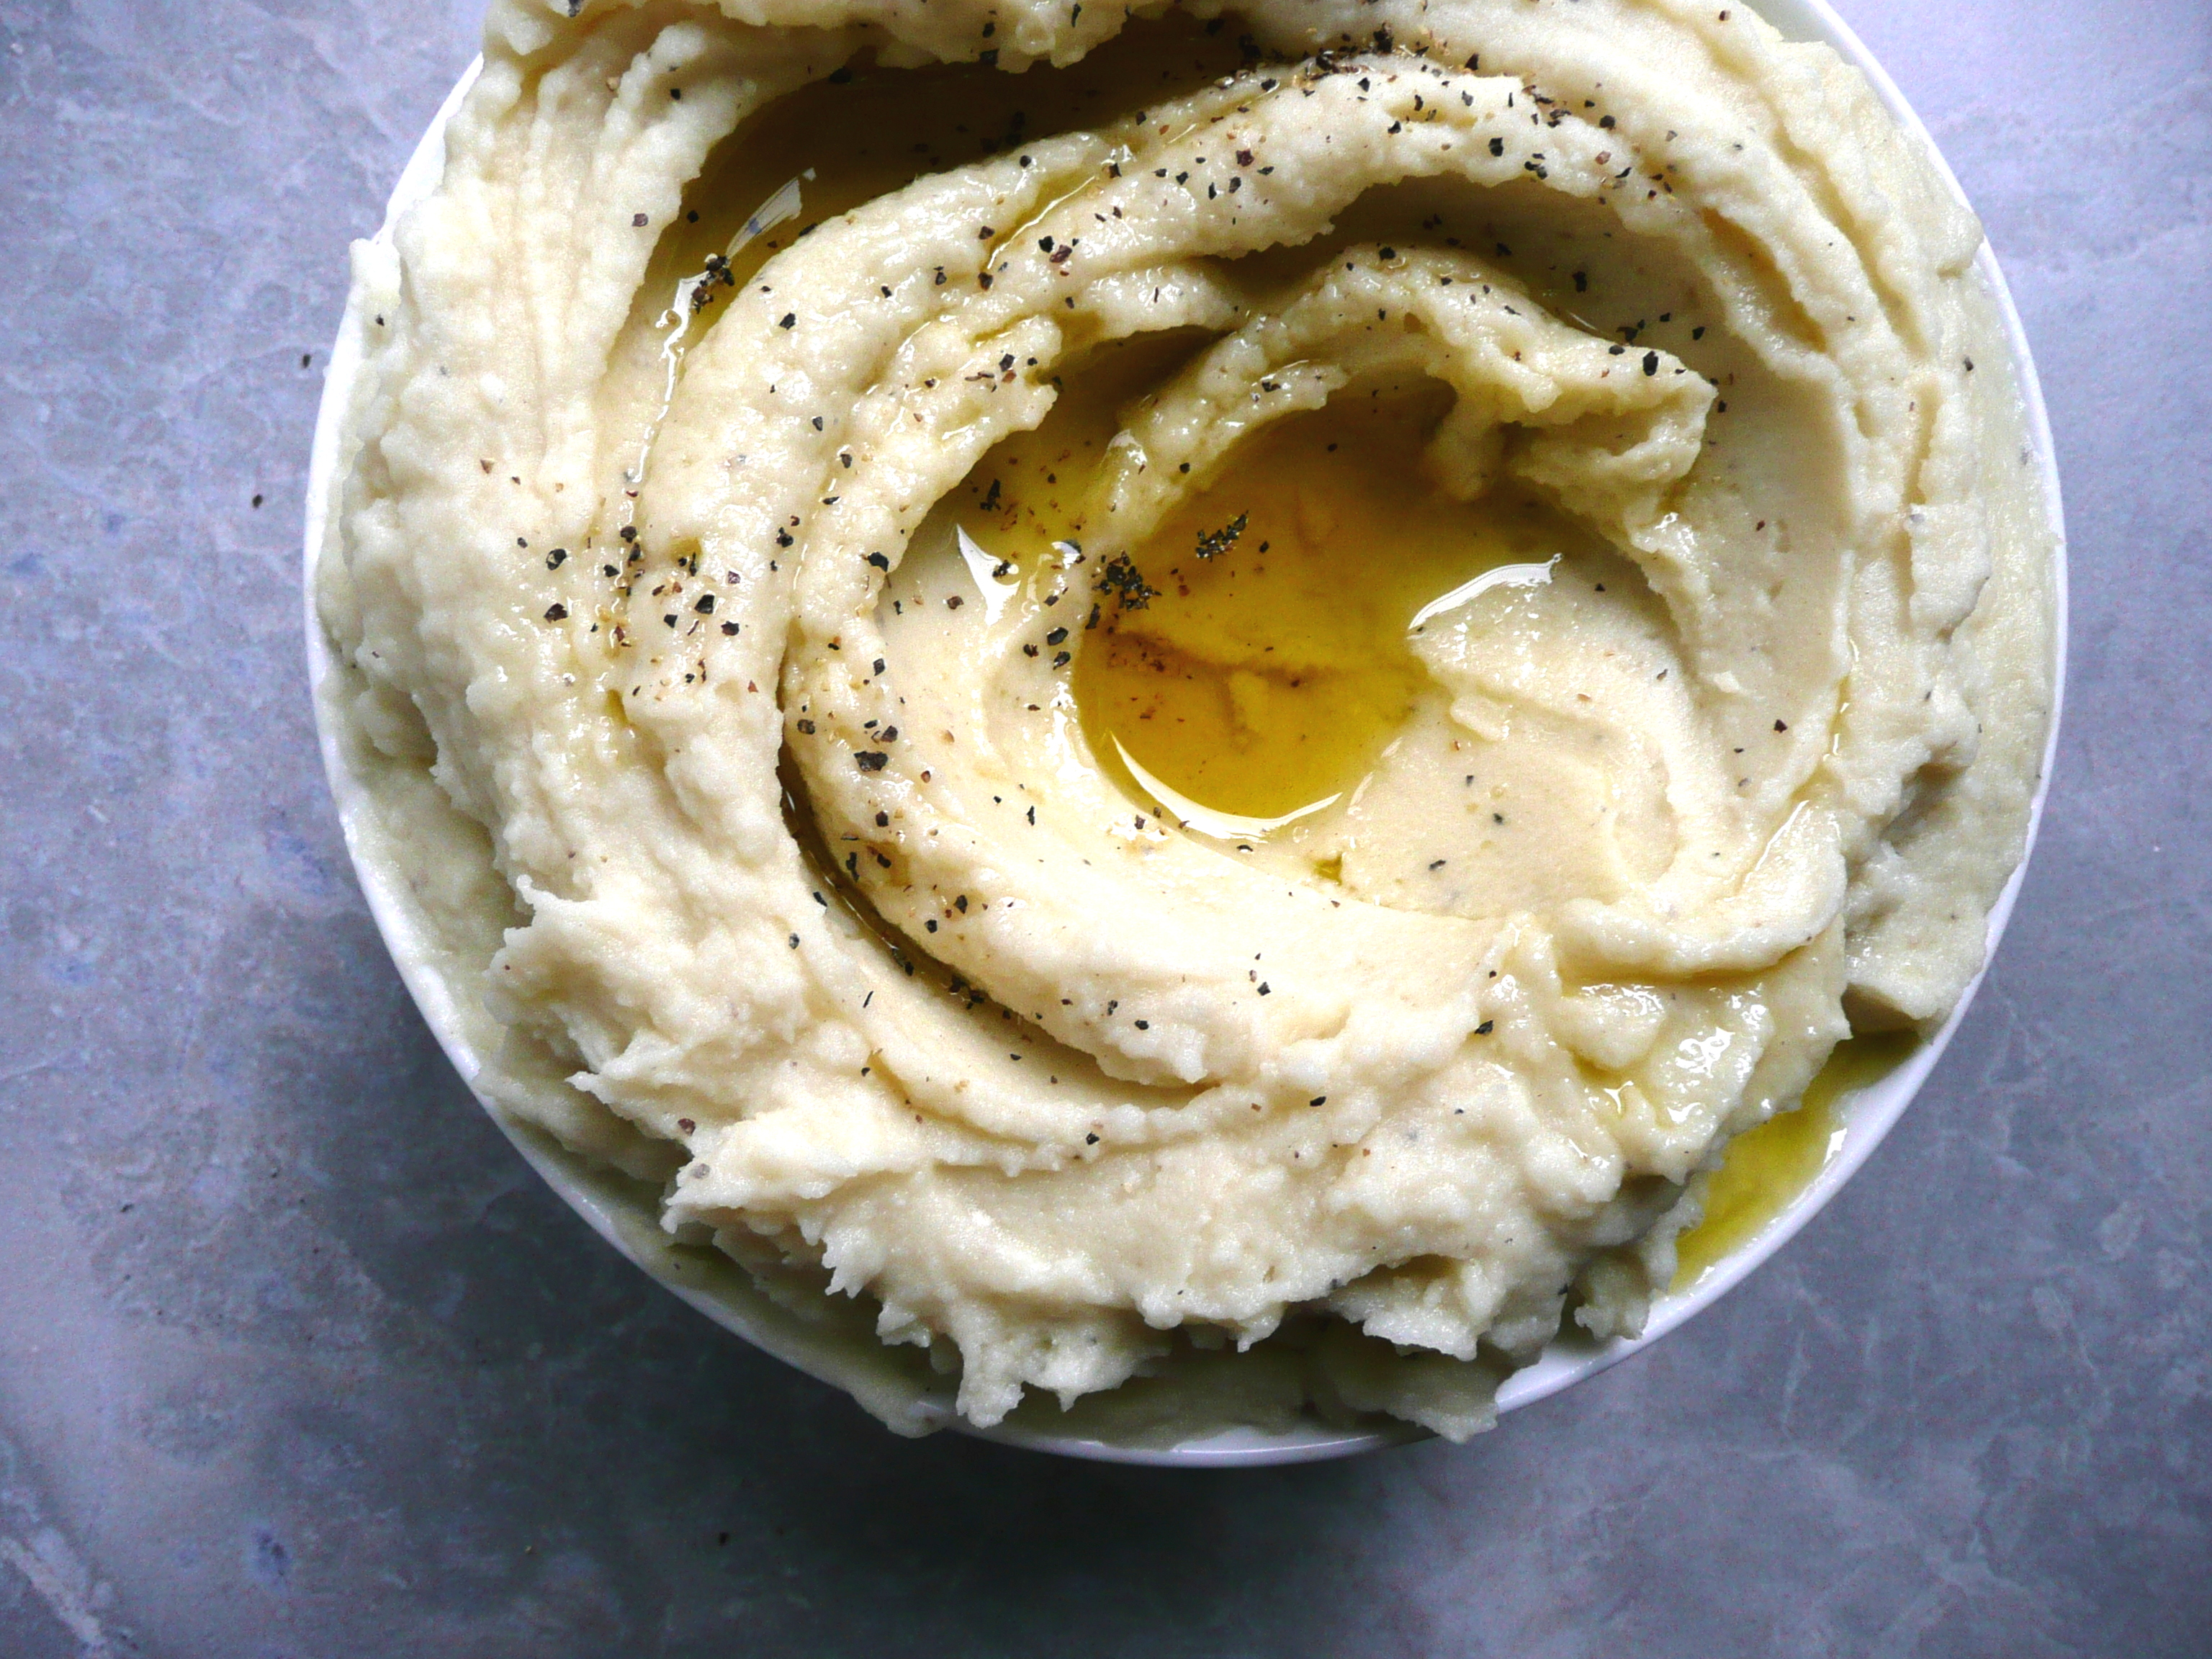
I first made these last year. I wanted super creamy, buttery rich mashed potatoes without any of the dairy. These definitely fit the bill. They were unbelievably good, and I hope that you love them as much as I do.

These mashed potatoes reheat better than normal mashed potatoes (hooray!) and can be made ahead of time and reheated just before serving.

Do be sure to let your guests know that the mashed potatoes have cashews in them though, just in case anyone has any nut allergies.

P1060626

By gently heating the olive oil it removes the pepperiness of the olive oil, and gives it a much more neutral flavor. This also removes some of the nutrients of cold pressed olive oil. To me, that’s ok for the holidays, but you could use any neutral oil in place of the olive oil and they mashed potatoes would probably still turn out well. If you do use a neutral flavored oil, then you can skip the step of heating the oil and add the oil directly to the cooked potatoes along with the cashew cream.

Amazing Mashed Potatoes
Serves 4-6

Ingredients

1/3 cup raw cashews, soaked overnight

½ cup + 3 tbsp. water

3 lb russet potatoes (I used 2.8 lb for reference)

2/3 cup + 1 tbsp. olive oil (or neutral flavored oil)

1 ¼ tsp. – 1 ¾ tsp. sea salt

¾ tsp. black pepper

Instructions

1. To make the cashew cream soak the cashews overnight, then drain them.  Blend the cashews and 1/2 cup + 3 tbsp of water until smooth. Set aside.

If you forget to soak the cashews, you can boil them for 50 minutes (it’s a long time I know, but they plump right up), adding water the pot occasionally if the water runs low. Drain them and allow them to cool to room temp before using.

2. I would heat the oil on the back burner of the stove, just so it’s less likely to be accidentally knocked over by a pet or a small child. Gently heat the olive oil in a dry medium saucepan (if there is any water in the pan, then the oil might splatter) over medium heat for 5-7 minutes, until it loses it’s peppery aroma and smells slightly fruity. Don’t touch the oil but waft it so that you can smell if the oil has lost its pepperiness.

Olive oil naturally smells peppery, but when it loses that smell, it loses that peppery bite in its flavor as well, which is what we’re looking for here. Once it smells fruity, take the pan off the heat and set it aside to cool to room temp.

3. Peel and cut the potatoes into 1 inch cubes. Add the potatoes to a large pot of cool water along with a drop of oil to prevent the pot from boiling over. Bring the potatoes to a boil over medium high heat and then turn the heat to medium and cook the potatoes for about 10-15 minutes until you get no resistance at all when you pierce the potatoes with a fork.

4. Drain the potatoes and put them into a large mixing bowl. The potatoes should take about 50 minutes to cook, and at this point, the olive oil should be cool.

If the pan of oil is still warm, spoon about 1 tsp of oil onto a plate and let it cool for a few minutes. Taste the cooled olive oil and see if it’s still peppery.

If it still has a peppery flavor, heat it for a few minutes longer over medium heat until it smells fruity. Drop a teaspoon of the oil onto a plate, allow it to cool and taste it again.

If the olive oil has lost it’s peppery flavor, allow the olive oil to cool to room temp before adding it to the potatoes. Don’t stir the hot oil into the potatoes, because you’ll be using a hand mixer to whip the mashed potatoes and you don’t want hot oil to splatter over anything or anyone while the potatoes are being whipped.

5. Roughly mash the potatoes with a fork, and stir the oil into the potatoes by hand until you no longer see any pools of olive oil. Stir in the cashew cream, 1 tsp of salt, and pepper. Then using a hand mixer, whip the potatoes until creamy and fluffy.

6. Taste the potatoes, and add salt ¼ tsp. at a time until you’re happy with the seasoning. I ended up adding 1 ¾ tsp. salt to my batch, but you may have to adjust your seasoning depending on if you have a slightly different weight of potatoes.

7. Serve warm, or stash in the fridge to reheat right before serving.

If you’re putting a dish straight from the fridge into the oven, put the fridge-cold dish into the cold oven (so that the ceramic dish does shatter from the temperature change between the cold fridge and the hot oven). Then preheat your oven with the dish inside so that it warms up with the oven and bake as usual.

You can reheat any mashed potatoes by covering the dish tightly with foil, and baking at 300 degrees for 45 minutes until warmed through.


Note- You can also add in some granulated garlic, and some nutritional yeast for “cheesy” mashed potatoes that are just delicious, or just have some extra nutritional yeast and granulated garlic on the table in case someone would like to add them to their own serving.

cornbread dressing - stuffing

Southern Style Cornbread Dressing – Gluten and Dairy Free Stuffing Recipe

P1060540- 2

There are many types of incredible stuffing, but Southern Style Cornbread Dressing is my absolute favorite. The taste of this brings back so many happy memories of friends and family over the years, and always brings a smile to my face. It’s slightly crispy on the top and moist and creamy in the middle, and it’s definitely a crowd-pleaser.

P1060543-2

You can either bake this in a muffin tin (will make 12 muffin size portions of stuffing) or bake it in a 13 x 9 casserole dish. The baking time will be the same either way. I would use the muffin pan if you’re planning on making the stuffing ahead or want to freeze individual portions to enjoy later.

Southern Style Cornbread Dressing – Gluten Free
Makes 4-6 servings

Adapted from this recipe.

For the Cornbread

Ingredients

¼ level cup + 1/3 level cup of oat flour*

1 level cup + 3 tbsp. of cornmeal **

¾ level tsp. baking soda

1 tbsp. ground flax seed (or add another ½ a beaten egg to the wet ingredients)

4.5 tbsp. avocado oil – or any neutral flavored oil

2 tbsp. apple cider vinegar (or white vinegar)

1 ½ tsp. maple syrup

1 cup of water

1 egg


Instructions

1. Preheat the oven to 425. Grease and flour a 8 x 8 baking dish with oat flour and any neutral flavored oil.

2. Sift the cornmeal, oat flour, baking soda, and ground flax seed in a large mixing bowl.

3. Stir together the wet ingredients until well combined. Add the wet into the dry and stir to combine. Pour into the 8×8 baking dish.

4. Bake at 425 for 30 minutes until golden brown. Set the cornbread aside to cool.

Notes – * I grind oats into oat flour using a blender. Don’t grind the oats in a food processor because the flour won’t be fine enough.

Any extra oat flour (or ground flax seed) I don’t use in the recipe goes into an airtight container and I use it for another recipe.

**If you’re allergic to corn, you could try substituting brown rice flour for the cornmeal at a 1:1 ratio. I didn’t test this recipe specifically with this substitution, so I’m not 100% sure this will work, but last year I made a cornbread dressing with brown rice flour instead of cornmeal and it came out great. You couldn’t tell the difference at all.


For the Cornbread Dressing

3 tbsp. olive oil

½ cup diced onion

¾ cup diced celery

1 egg

2 cups of chicken broth (homemade or store bought)

¾ tsp. pepper

¾ tsp. dried rubbed sage

¼ + 1/8 tsp. sea salt

Instructions

1. Sauté the diced onion and celery in the olive oil over medium heat until tender, about 12 minutes.

2. Add the sage and sauté 1 minute longer.

3. Crumble the cornbread into a large mixing bowl. Add the cooked vegetables, salt, pepper, sage and chicken broth to the mixture. Taste for seasoning, and add more salt and pepper if needed.

4. Stir in the beaten egg, then cover and chill the mixture overnight (at least 8 hours).

5. Preheat the oven to 375. Grease and flour your muffin tin or 13 x 9 baking dish with oil and oat flour. Pour the mixture into the pan and bake uncovered for 30-40 minutes until golden brown on top.

If your making this in a muffin pan, let the stuffing cool in the muffin pan for 30 -45 minutes so that the stuffing has some time to firm up and hold it’s shape. Run a butter knife around the edges to loosen them, pop the stuffing muffins out and refrigerate. Reheat them to serve.

If you’re putting a dish straight from the fridge into the oven, put the fridge-cold dish into the cold oven (so that the ceramic dish does shatter from the temperature change between the cold fridge and the hot oven). Then preheat your oven with the dish inside so that it warms up with the oven and bake as usual.

You can reheat any leftover stuffing by covering the dish tightly with foil, and baking at 300 degrees for 45 minutes until warmed through.