My Technique / Tips for Cutting Sweet Potatoes

cutting sweet potatoes

Sweet potatoes are one of my favorite vegetables, and they are super versatile. You can use them to make mini sweet potato pies, or sweet potato muffins (they taste like pumpkin bread), and they also taste great when sautéed with some onions, garlic and a drizzle of olive oil.

The one down side about sweet potatoes is that they can be very difficult to cut. They tend to roll around on the cutting board, and trying to cut them with a chef’s knife (even a very sharp one) can become a pretty risky situation fairly quickly.

Here’s the technique that I use to make cutting sweet potatoes a little easier.

You will need:

– a paring knife

– vegetable brush

– knife sharpener

– cutting board

– clean dish cloth or paper towel

Instructions

1. Give your sweet potatoes a good scrub with the vegetable brush and dry them off thoroughly with the dish cloth or paper towel. You want your sweet potatoes to be as dry as possible so that they don’t slip around on the cutting board. Set the sweet potatoes aside.

2. Sharpen your paring knife.

I have a little handheld knife sharpener (which isn’t the best, but gets the job done) and I run the paring knife through the carbide blades about 50 times and the ceramic rods about 30 times (if you have a better knife sharpener you probably won’t have to spend as much time sharpening your knife). Wash your knife with a little dish soap and carefully dry off the blade and the handle of the knife. You’ll also want to dry off your hands at this point so that you can get a good grip on the sweet potato while you’re cutting it.

You probably don’t need to sharpen your knife every time you cut a sweet potato, but it is a good idea too if you can. A sharp knife makes everything a little safer.

I also like using a paring knife over a chef’s knife for cutting sweet potatoes because it has a smaller blade, which means that there’s less force acting against your knife when you’re making your cuts.

3. If you want to peel your sweet potatoes, go ahead and do that now, but I usually keep the skin on the sweet potato just as a preference because it makes the sweet potatoes easier to grip when cutting.

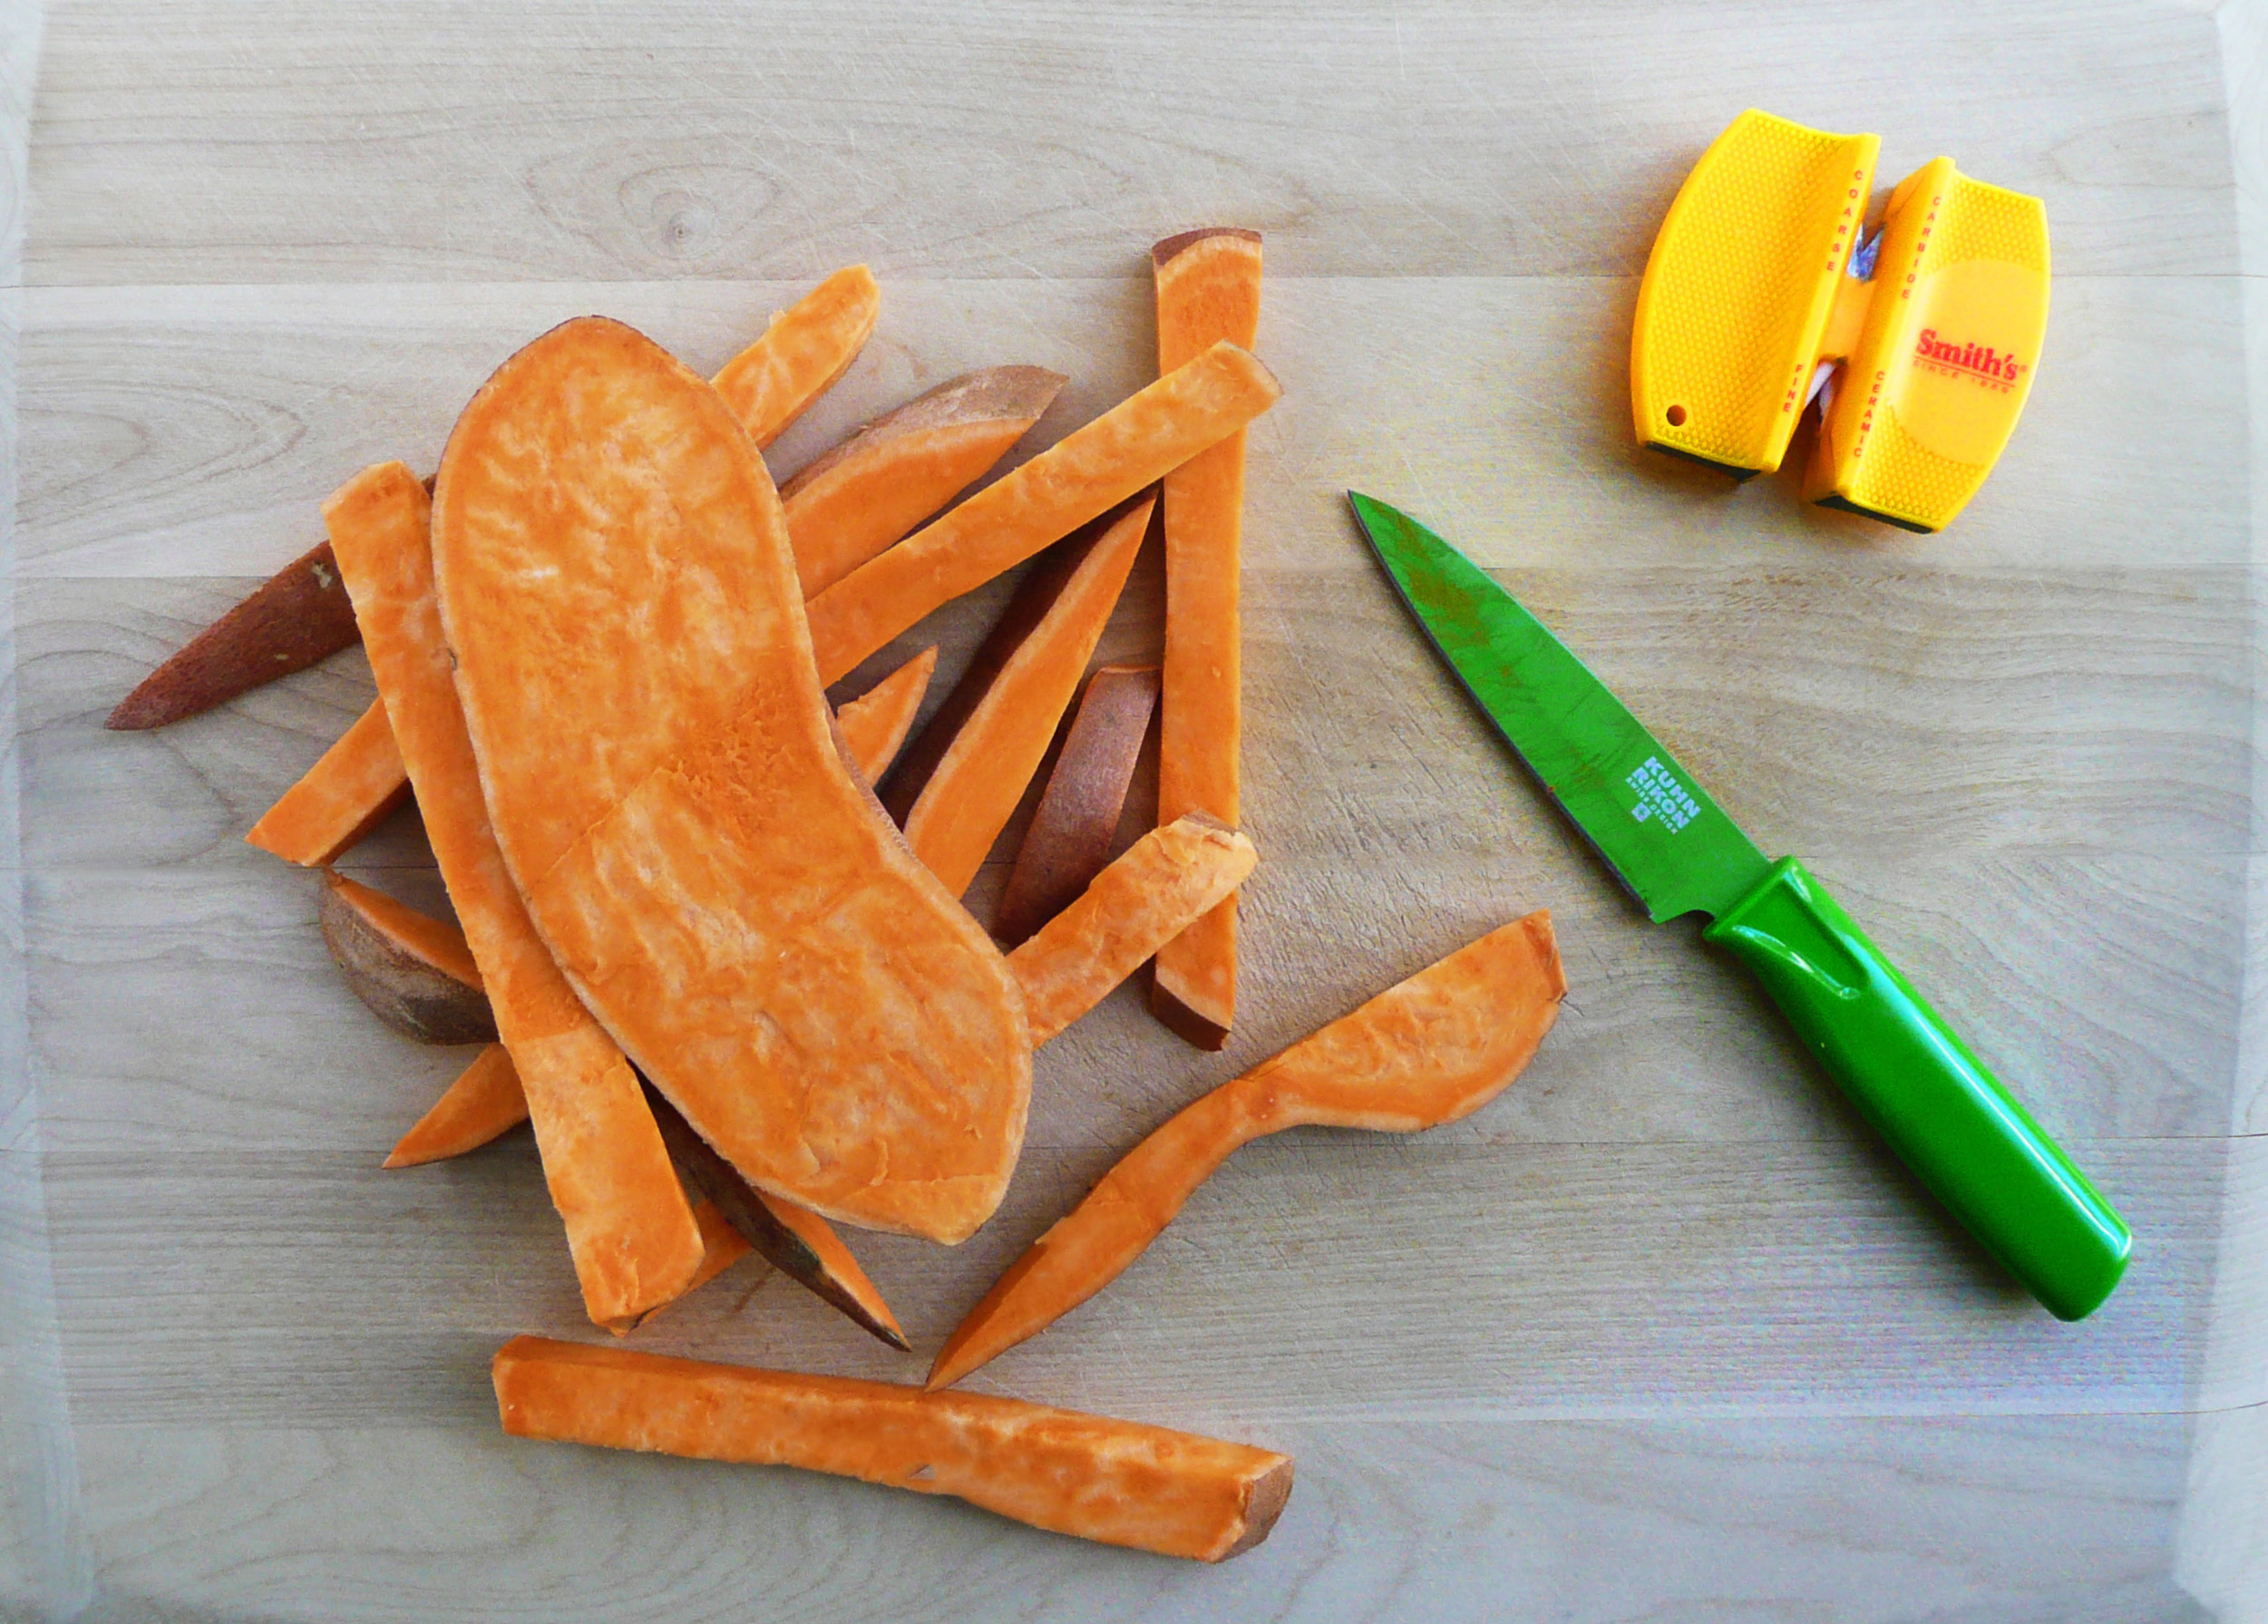
Hold the left side of the sweet potato firmly with your left hand and then slice about 1/2 inch off from one end of the sweet potato, turn it 180 degrees, and then slice 1/2 inch off the other end.

From there you can cut up your sweet potato any way you like. I normally make sweet potato fries because they are easy to make, and make a great side for lunch or dinner.

To cut fries – hold the sweet potato firmly on the cutting board with your left hand, then place the blade of the paring knife perpendicular to the sweet potato so that the point of the blade goes straight into the middle of the sweet potato.

Once the blade is about an inch to an inch and a half into the sweet potato, (while still holding the sweet potato firmly against the cutting board with your left hand) with your right hand begin to push on the handle of the paring knife so that while you’re pushing the blade into the sweet potato, the blade also rotates all the way down and eventually becomes parallel to the cutting board, slicing through one half of the sweet potato.

Pull the knife out of the sweet potato and turn the sweet potato 180 degrees, and repeat so that the sweet potato is sliced in half and you have 2 halves of a sweet potato that you can lay flat on the cutting board.

4. Repeat this same motion (press the blade perpendicular into the sweet potato, rotate blade down and slice through), when making the rest of your cuts.

I like to cut my sweet potato fries 1/2 inch thick, and here’s how I cook them so that they get extra sweet without any added sweeteners.

To cut rounds – for if you want to use the sweet potato rounds as bases for veggie pizzas, press the blade about 1 inch into the sweet potato and press down while you rotate the sweet potato with your left hand until you end up with a little round of sweet potato.
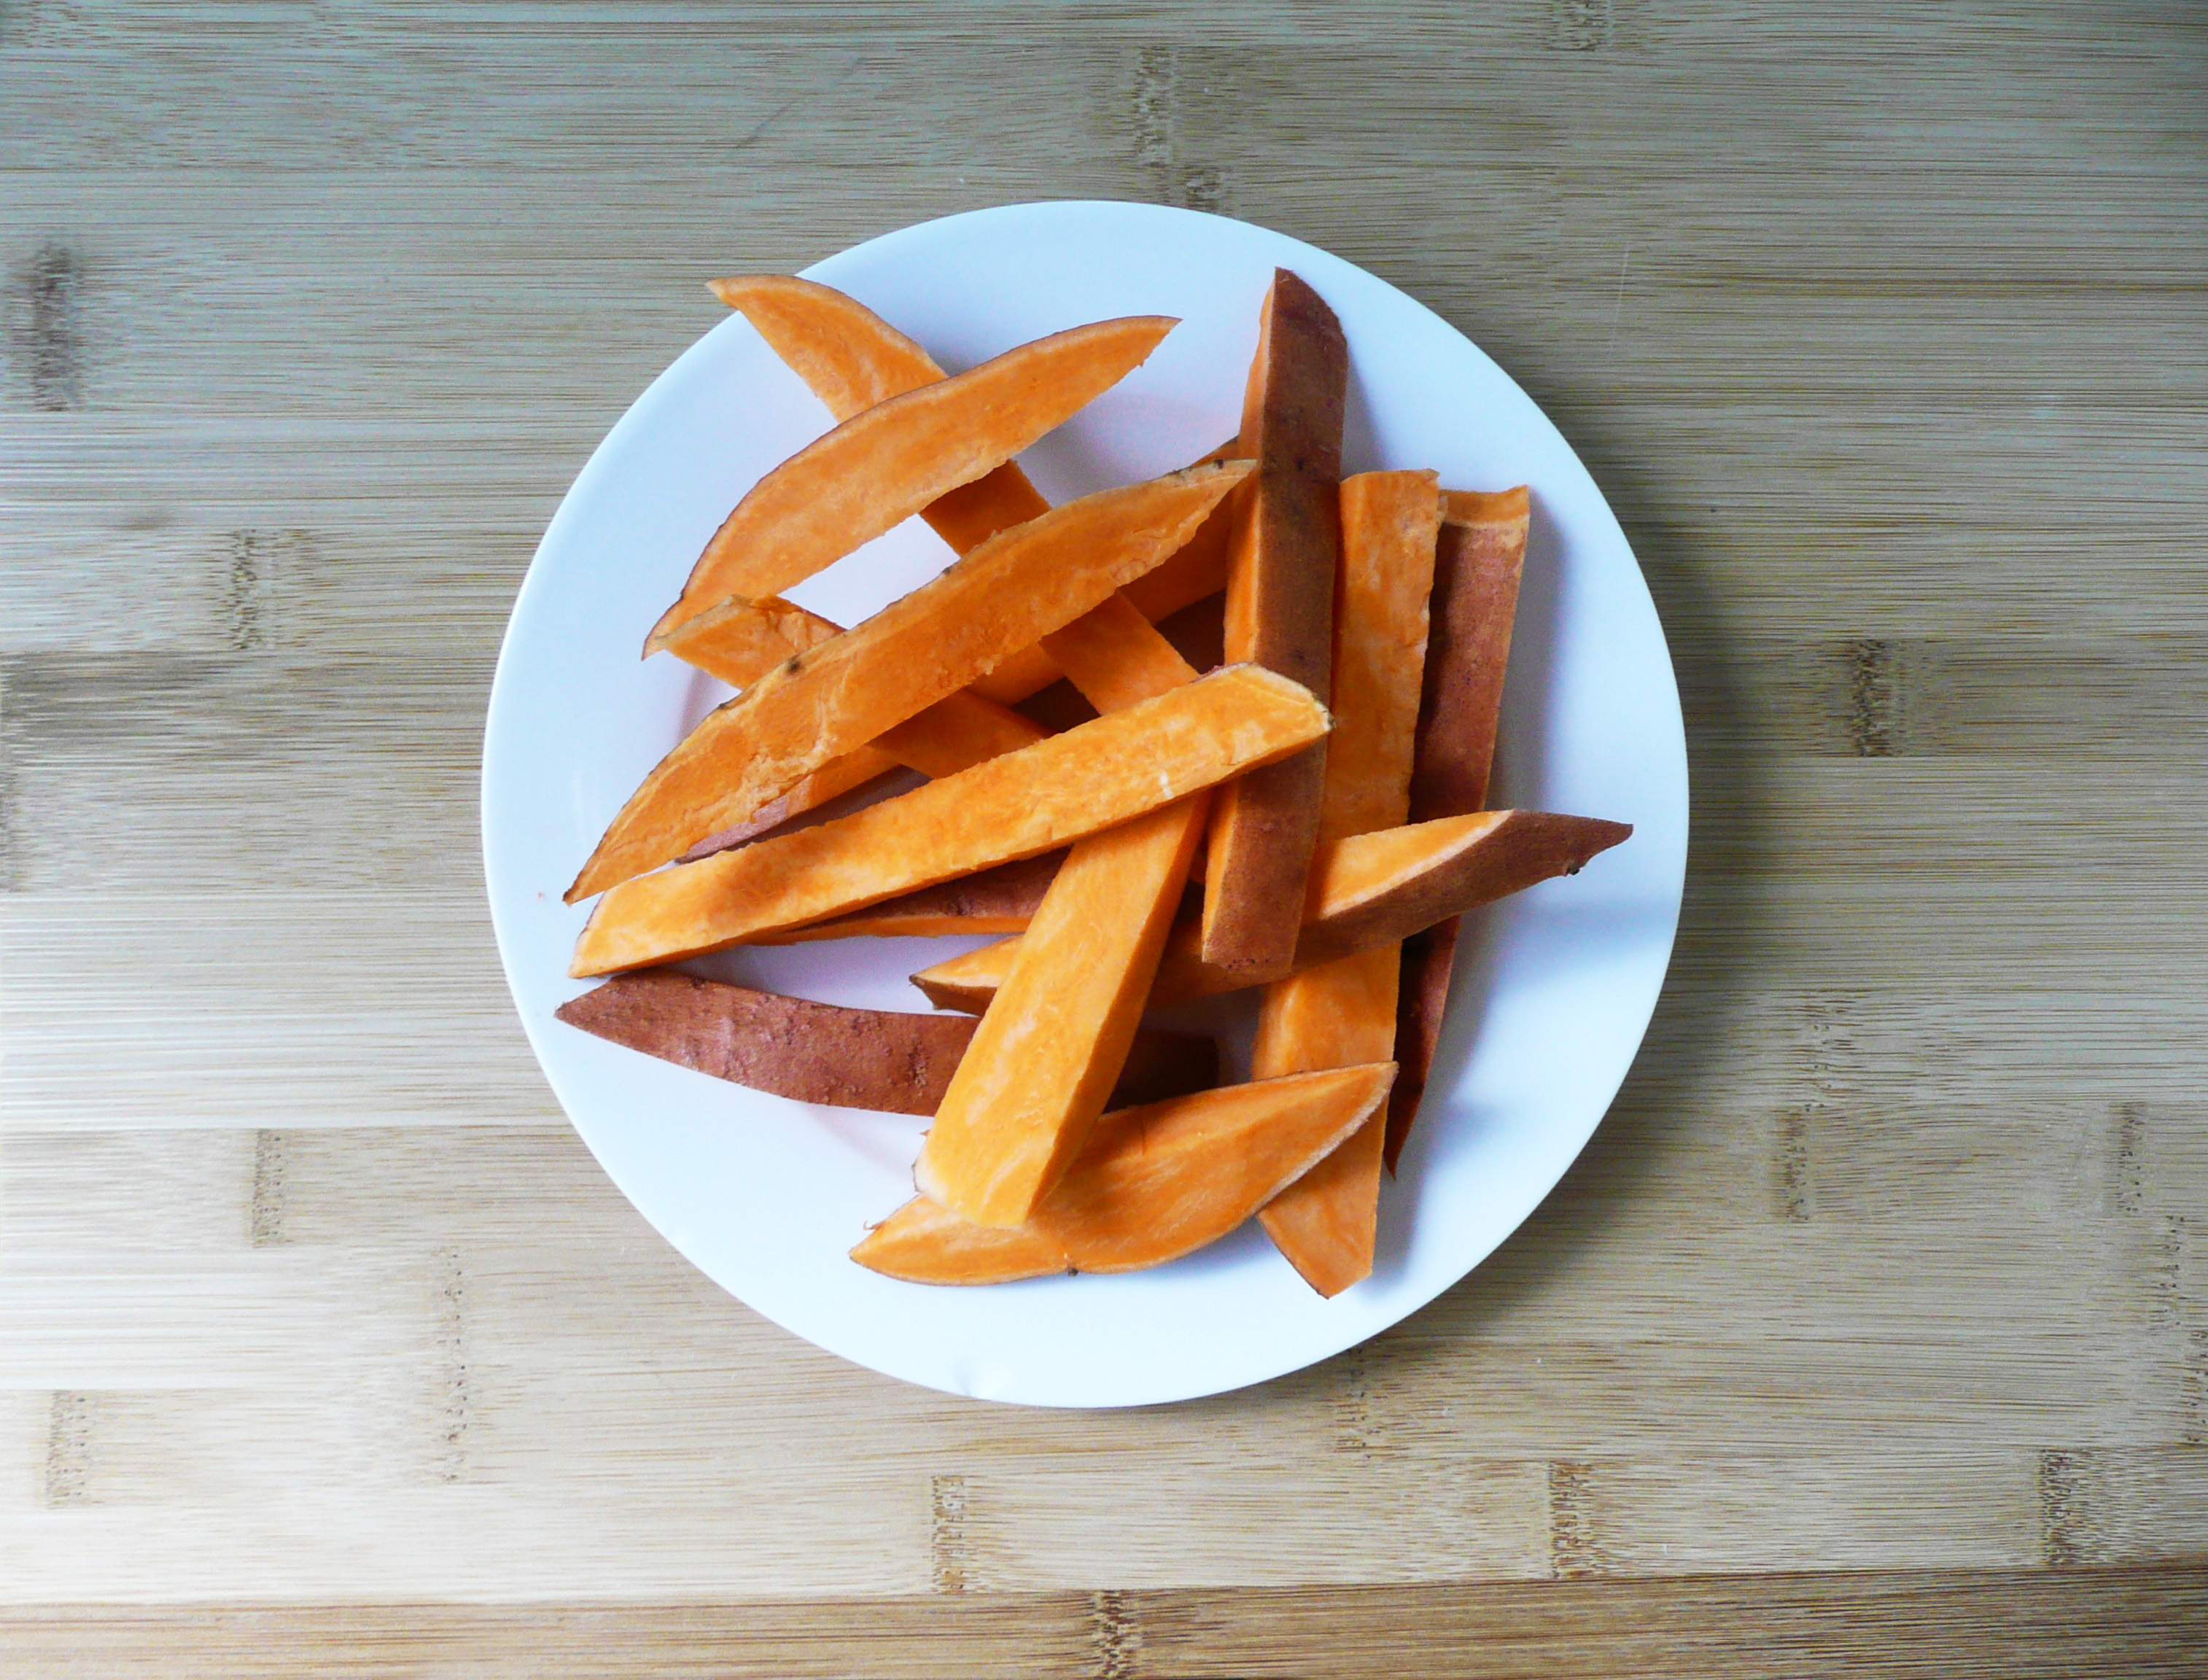
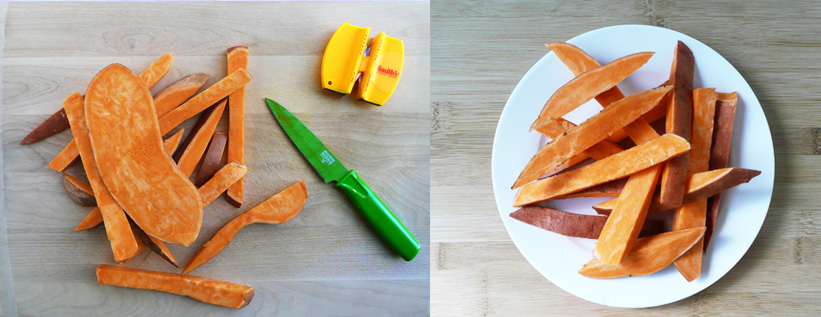
cut raw sweet potatoes

I hope that these tips help make cutting sweet potatoes a little easier for you. If you also love eating sweet potatoes, let me know in the comments below how you like to cook them. It would be cool to see how other people like to cook them as well.
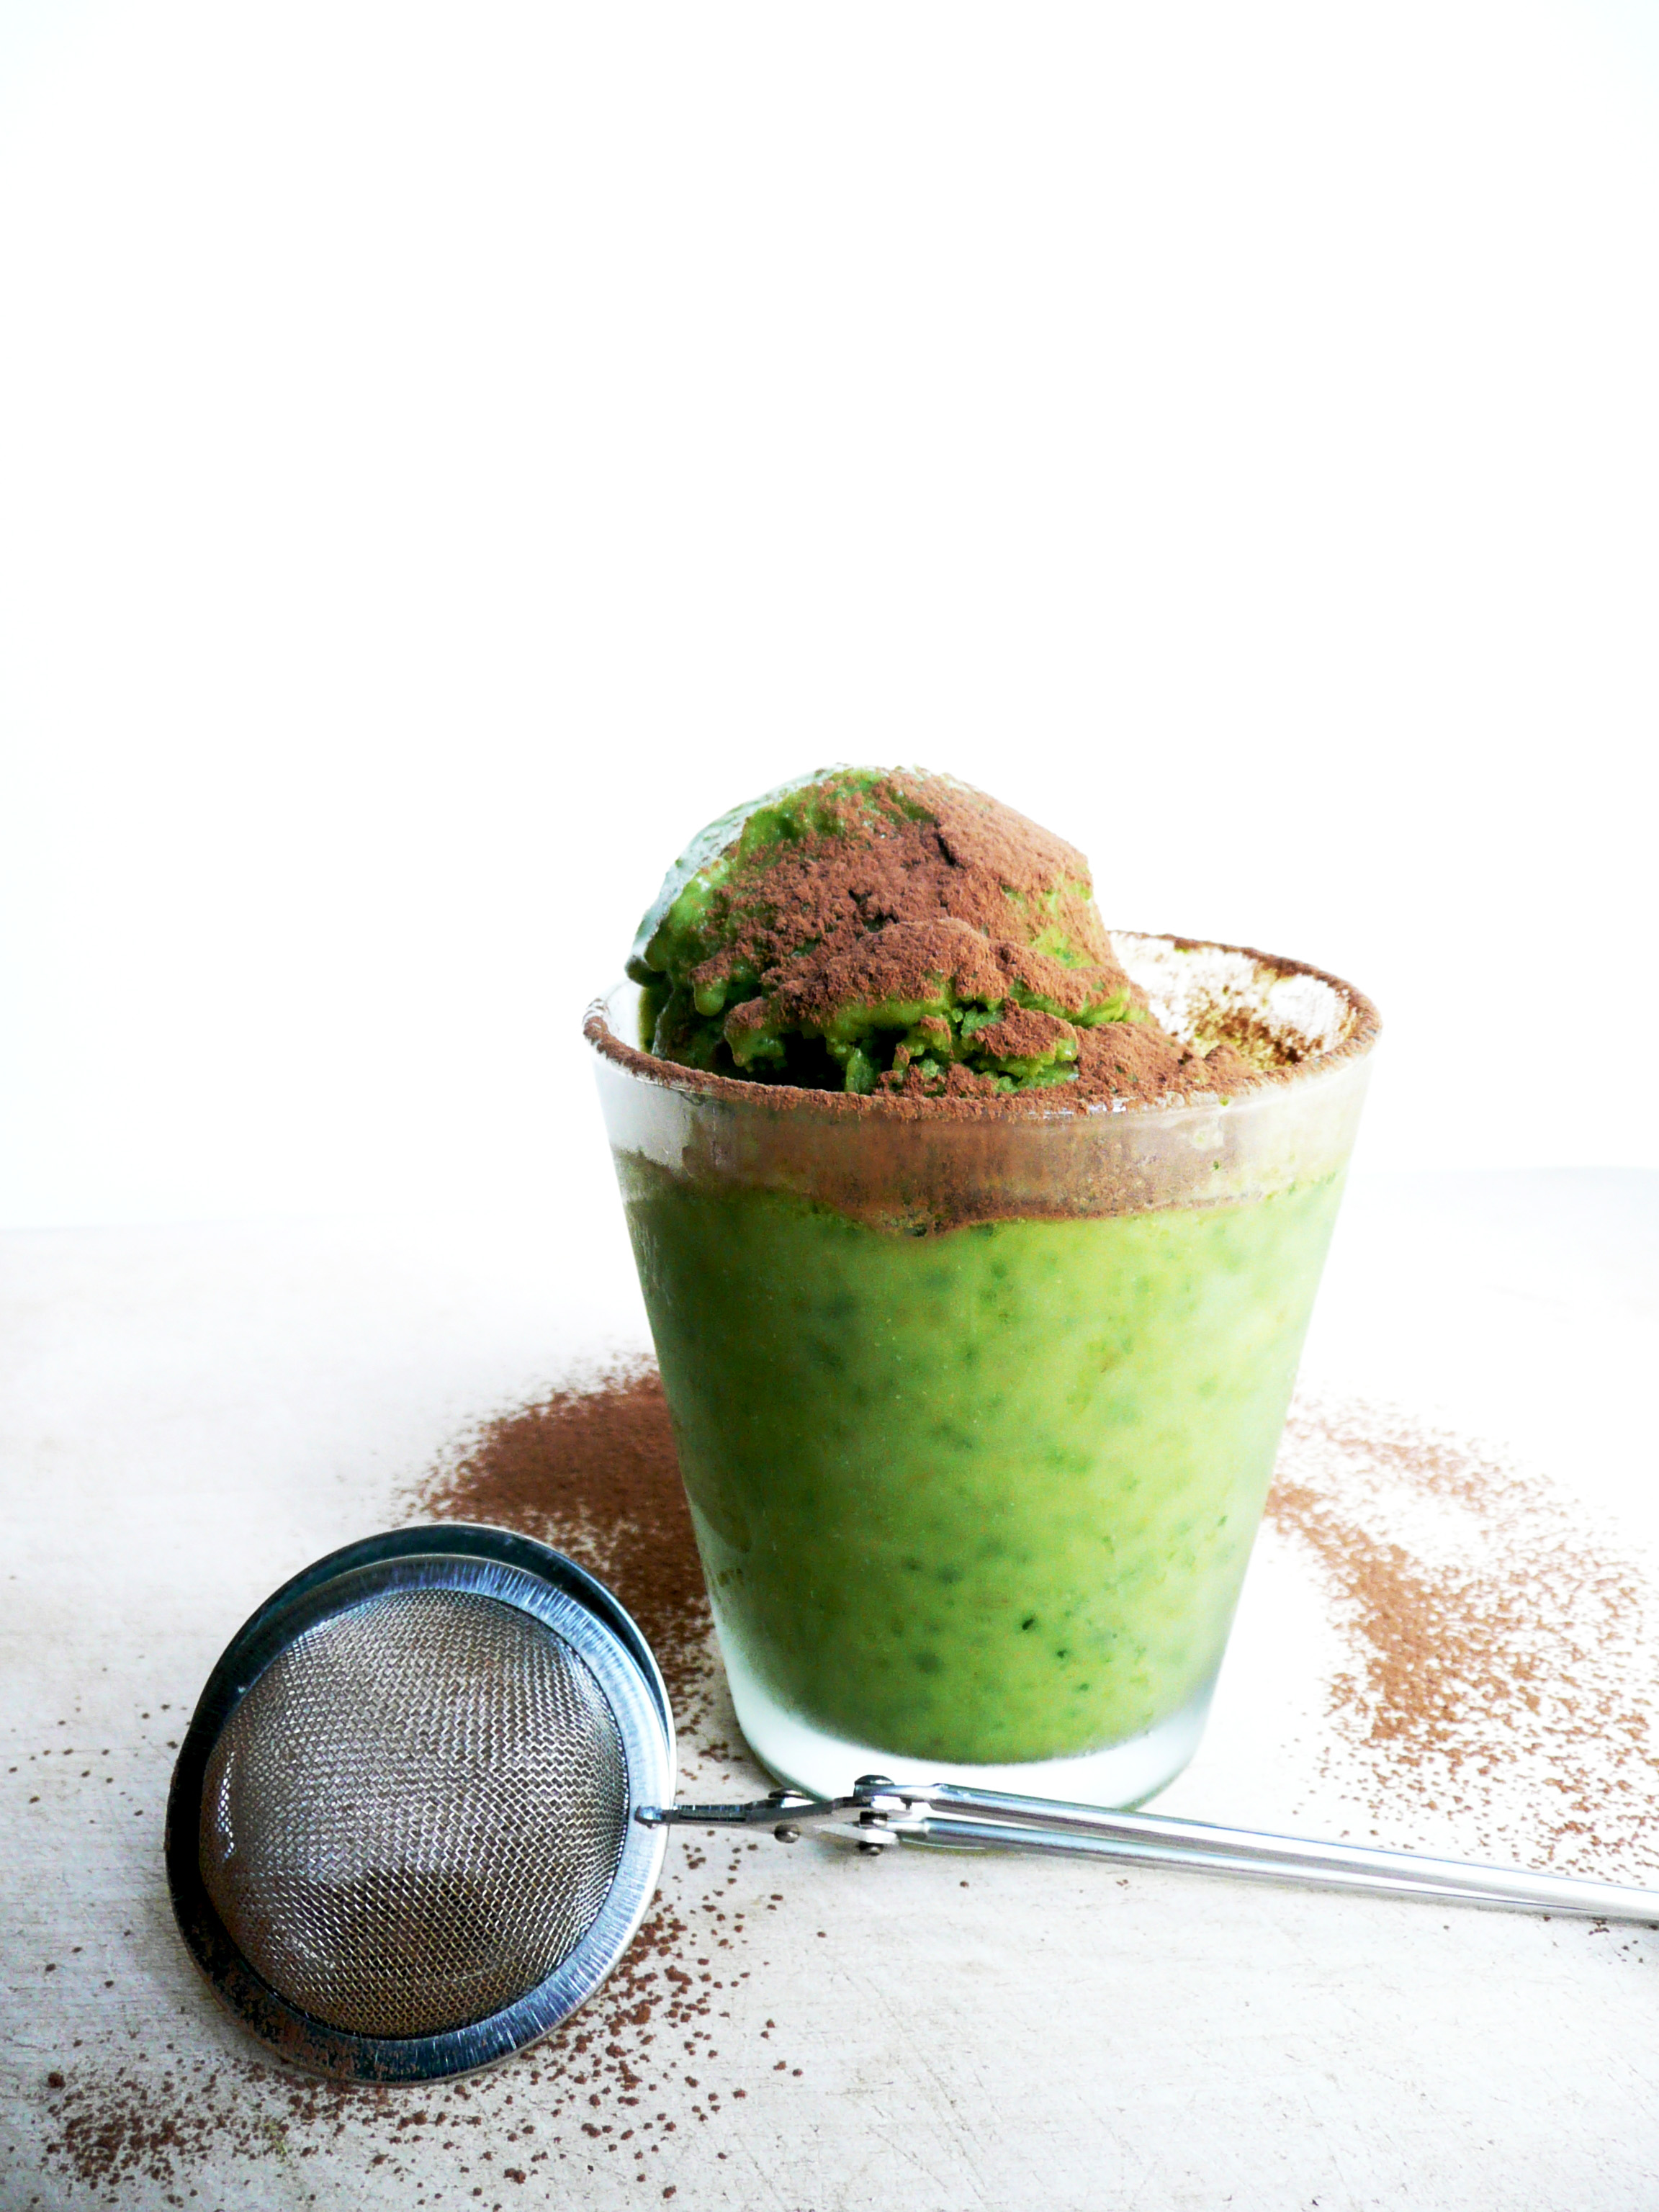
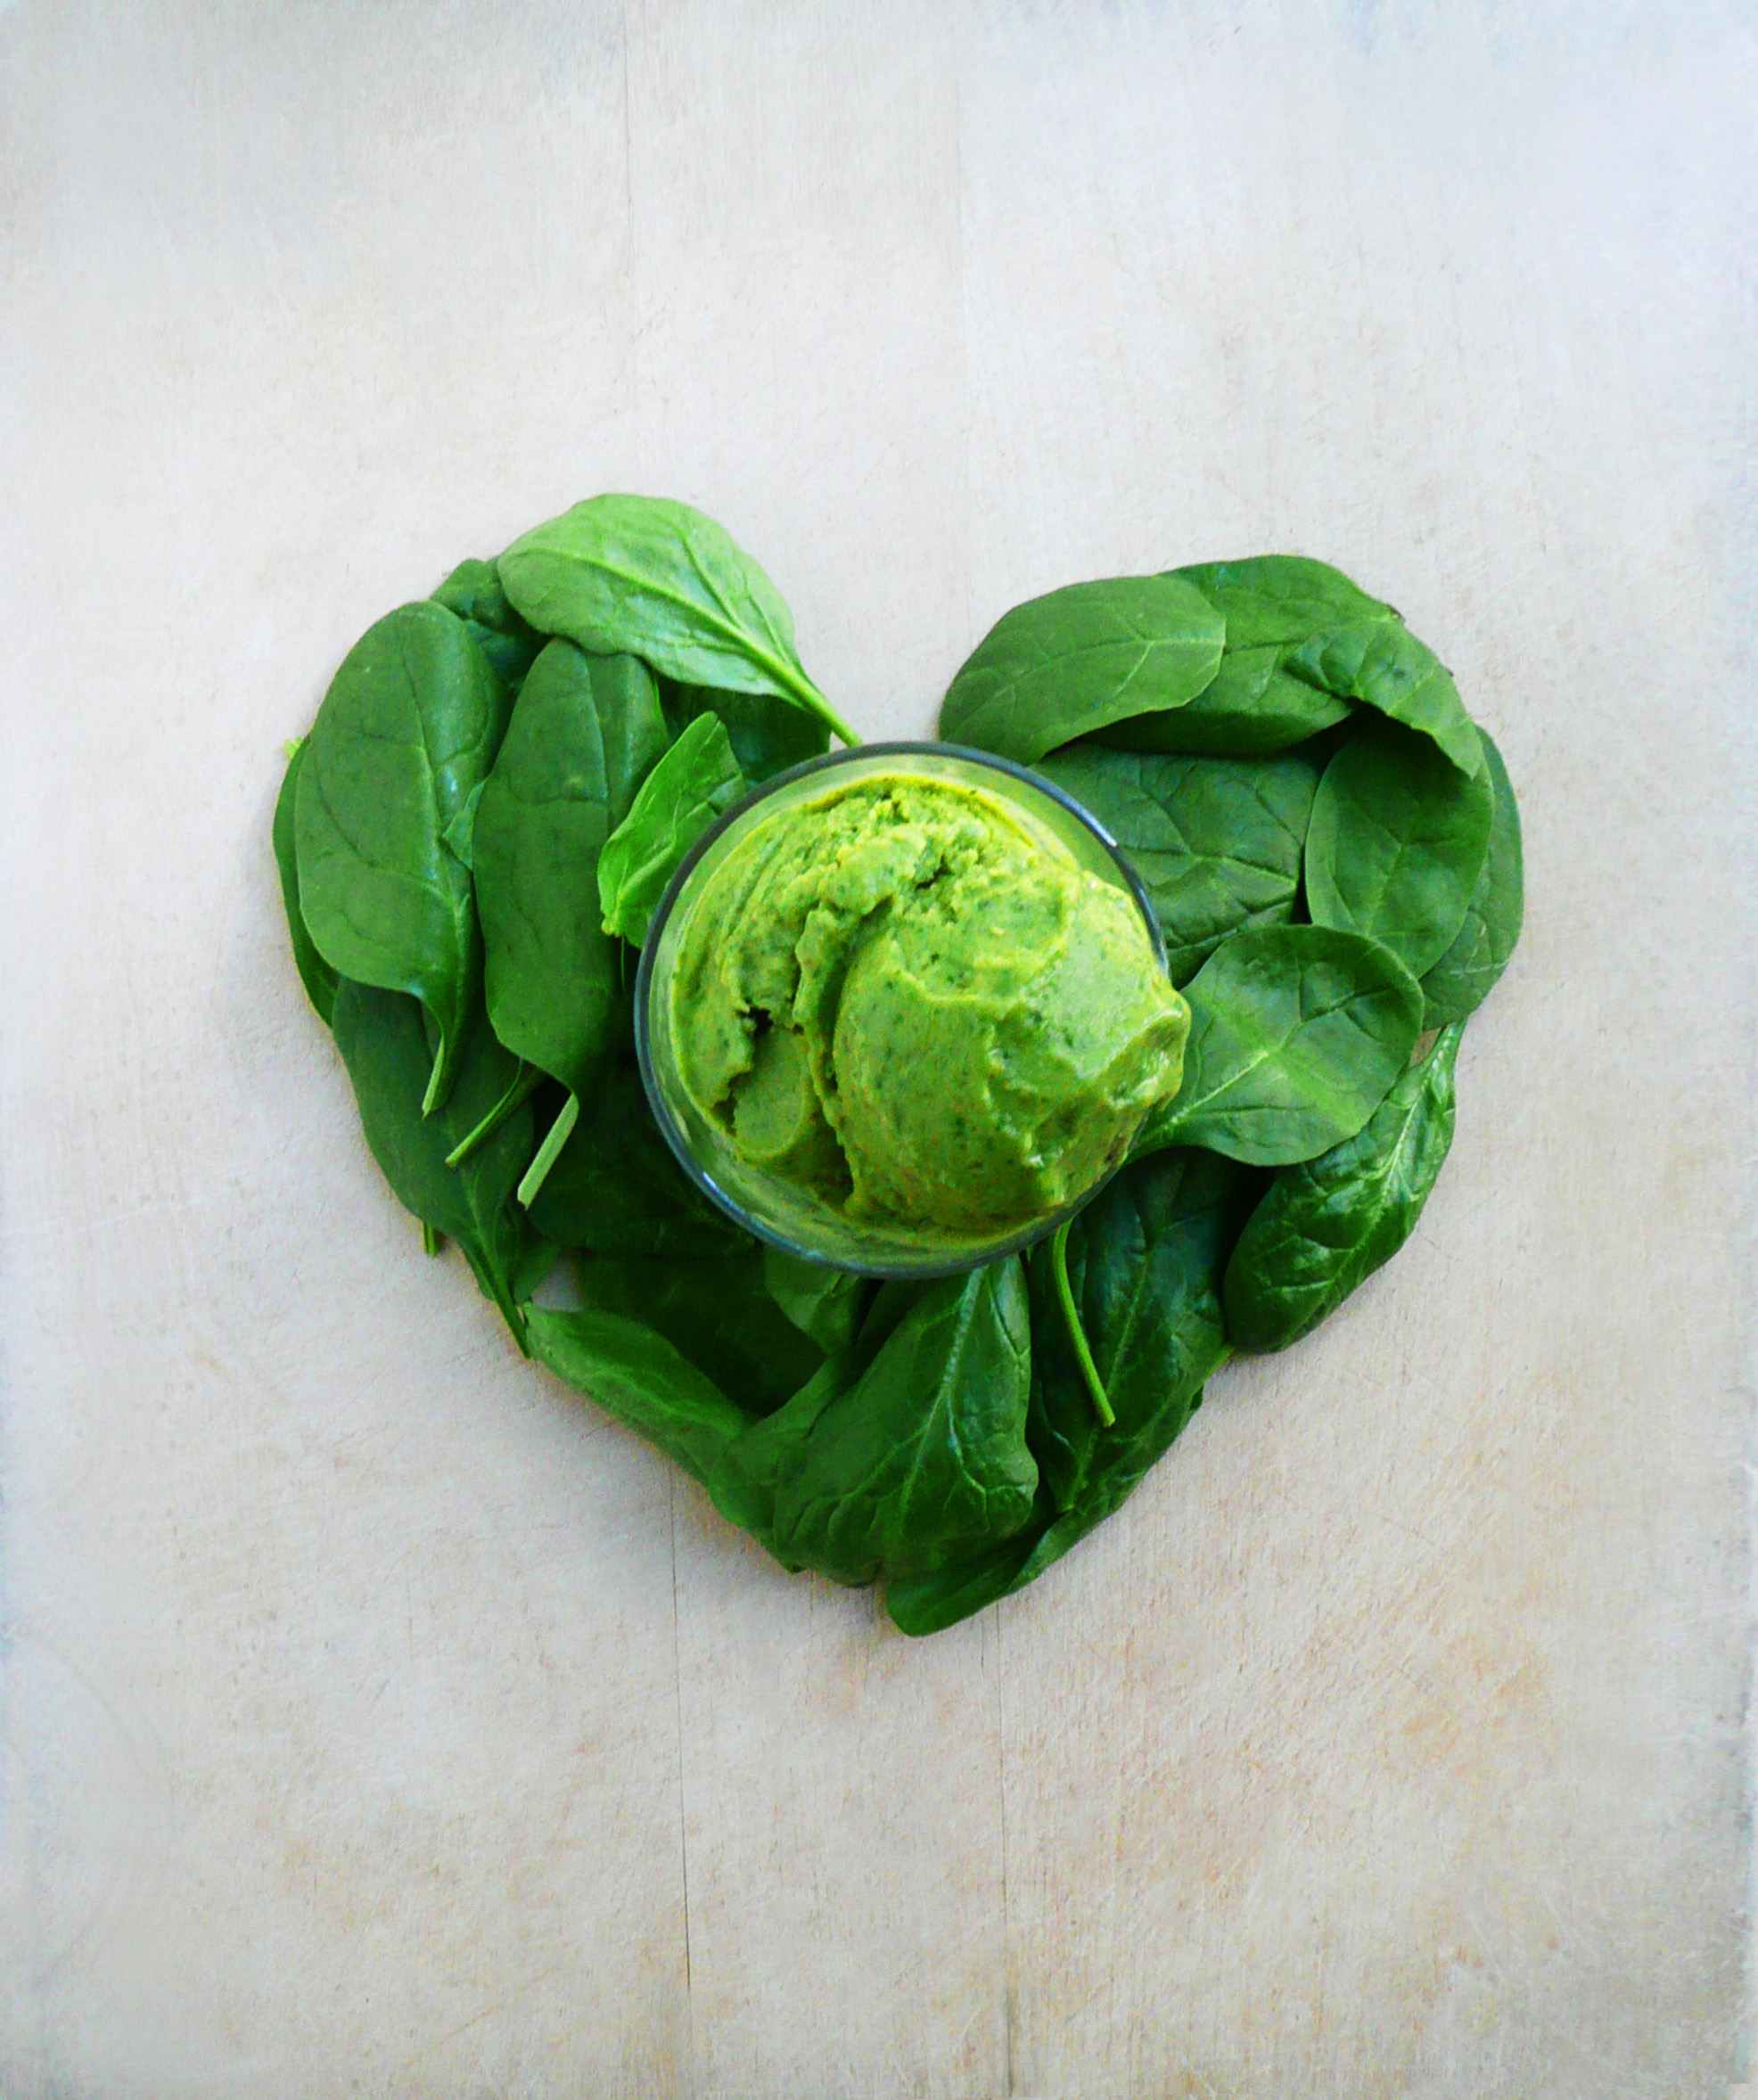
mint ice cream

Mint Chocolate Ice Cream – Dairy Free, Paleo, Vegan, Refined Sugar Free

mint ice cream

When I first realized that St. Patrick’s Day was coming up, I was at a bit of a loss as to what to make to celebrate.

So I googled “Traditional Irish Food” and pictures of things like shepherd’s pie, Irish stew, and colcannon popped up, along with literally a picture of a potato. That’s right, a plain ol’ uncooked potato.

After I finished laughing for a good solid minute (that lone potato really cracked me up), I decided to go check out what was in the fridge and see if I could come up with a recipe from the ingredients that I already had. After a quick glance at the bananas on the counter, I opened the fridge to find that I still had a big box of baby spinach. After a little tinkering, I came up with a recipe for this gorgeous ice cream.

mint ice cream 4

Ireland is the Emerald Isle after all, and this recipe borrows just a bit of that lush green color just in time for St. Patrick’s Day.

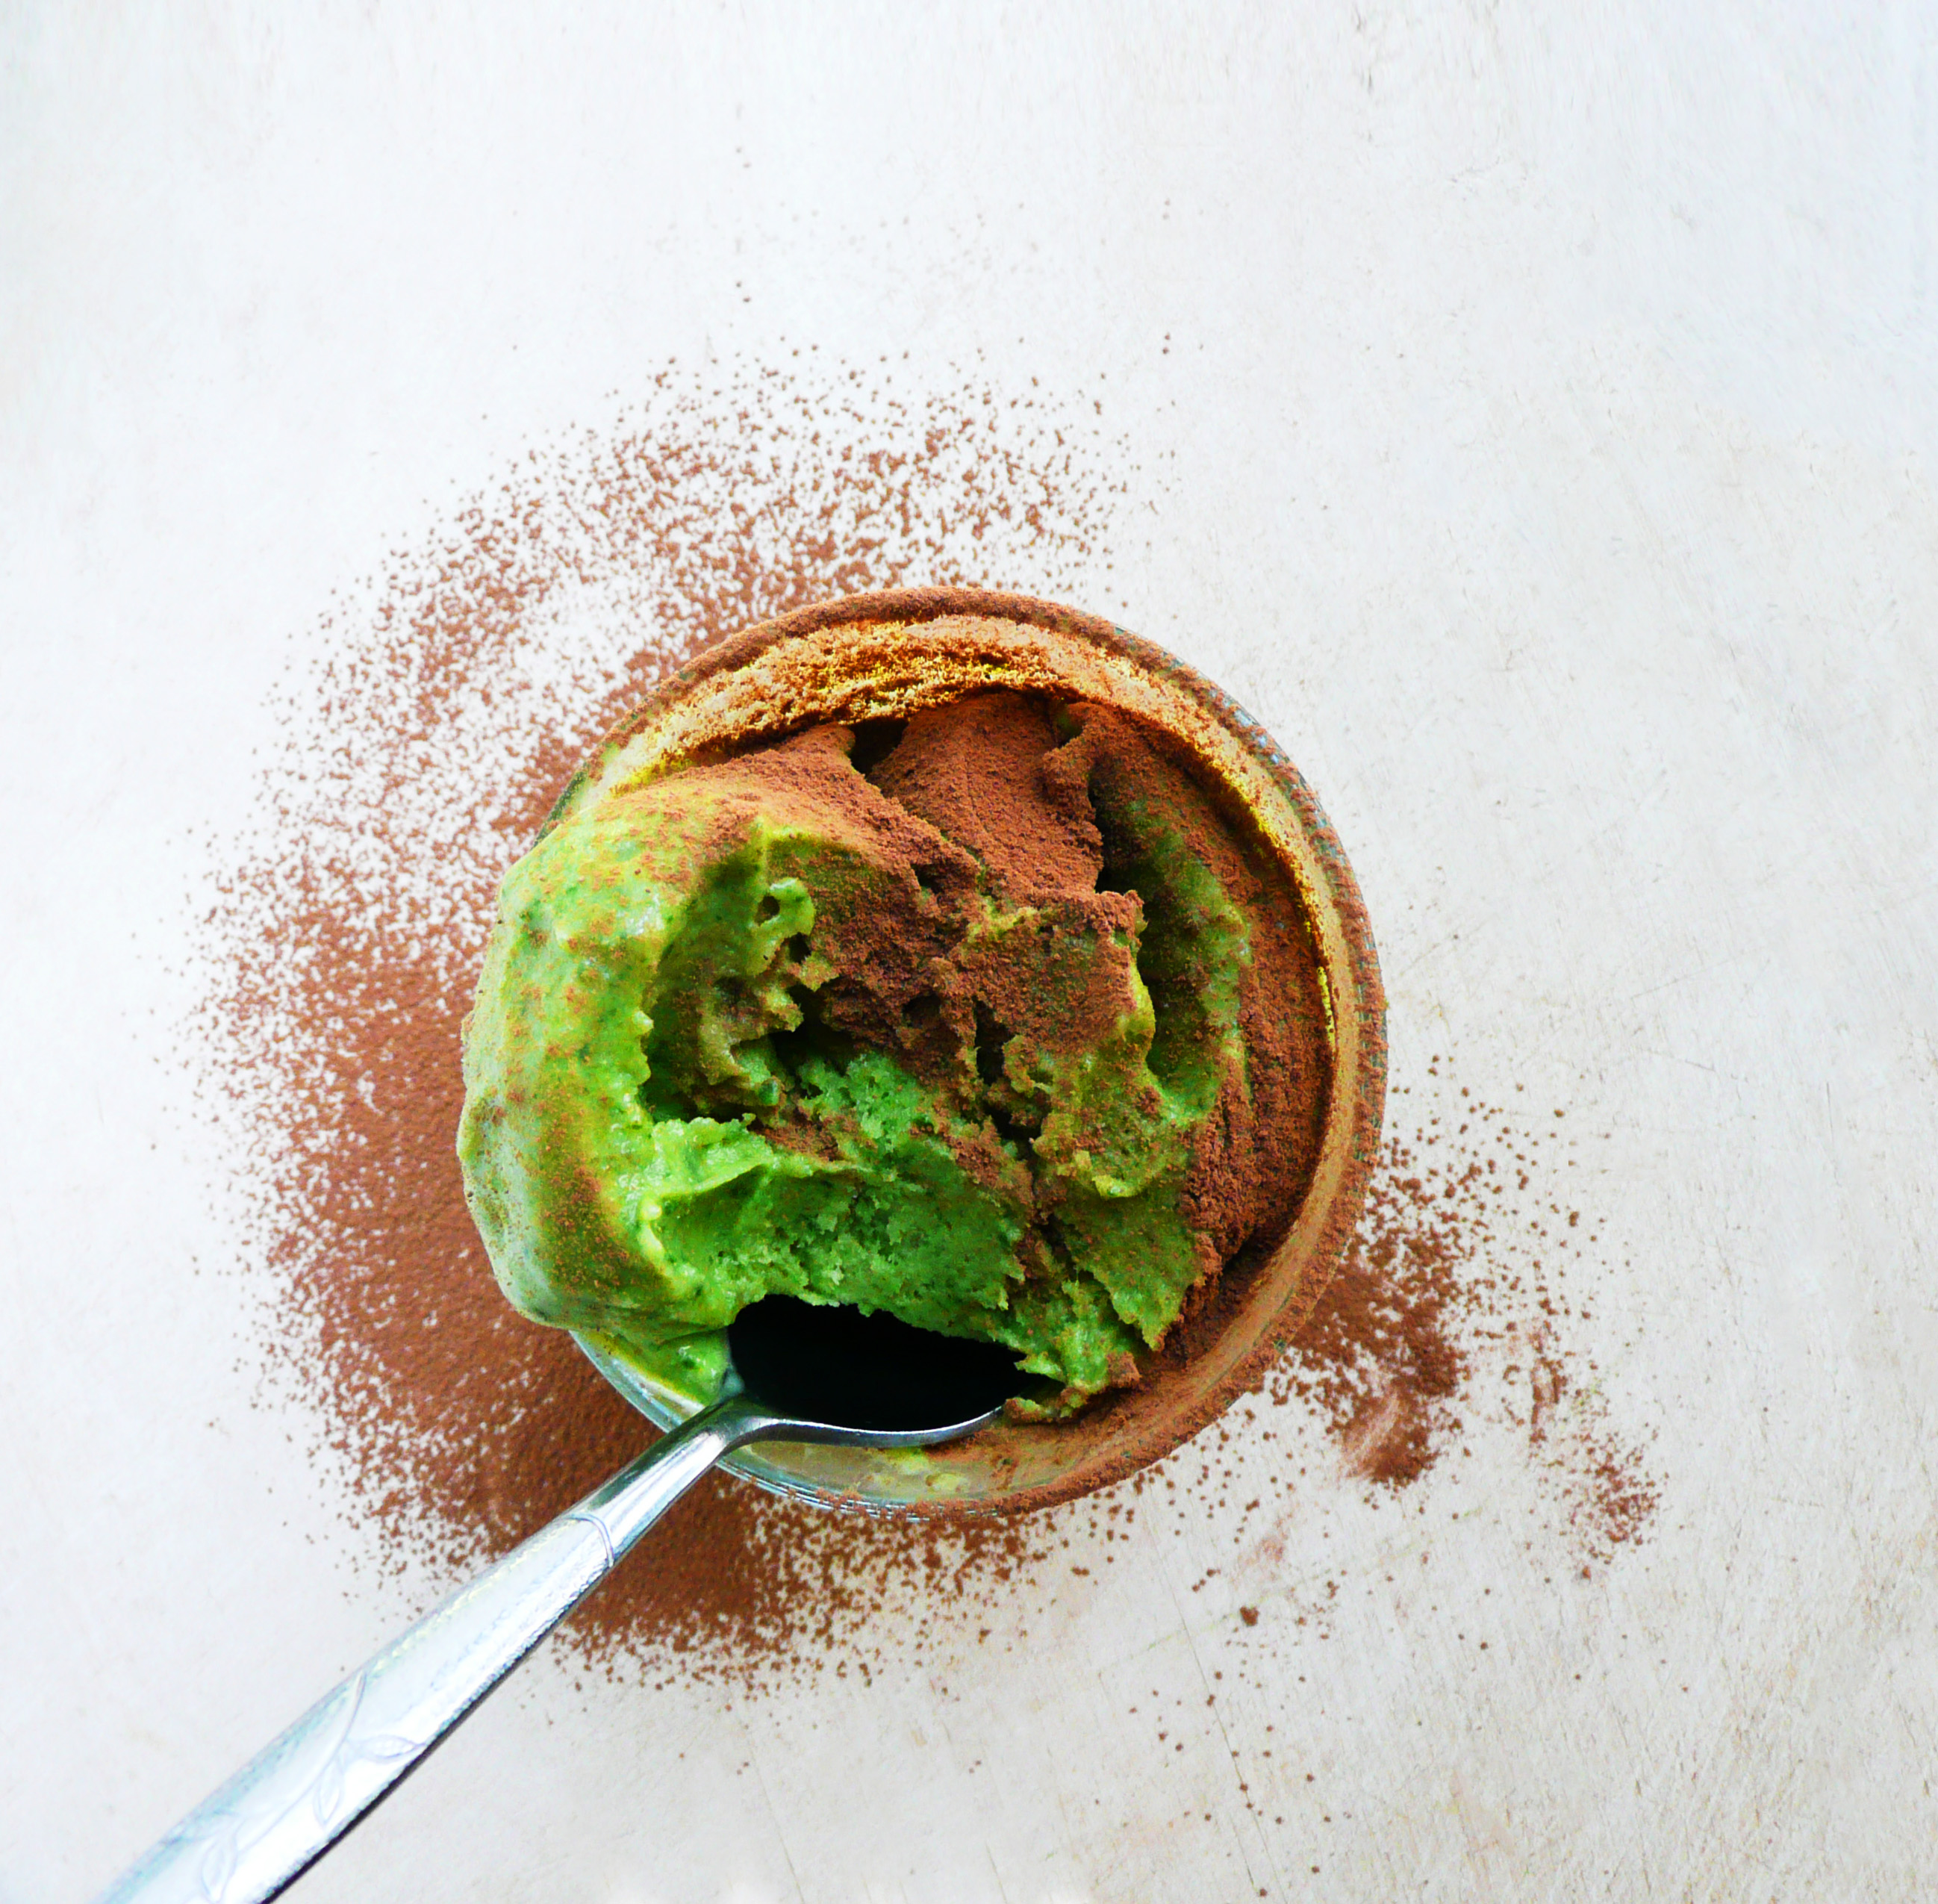
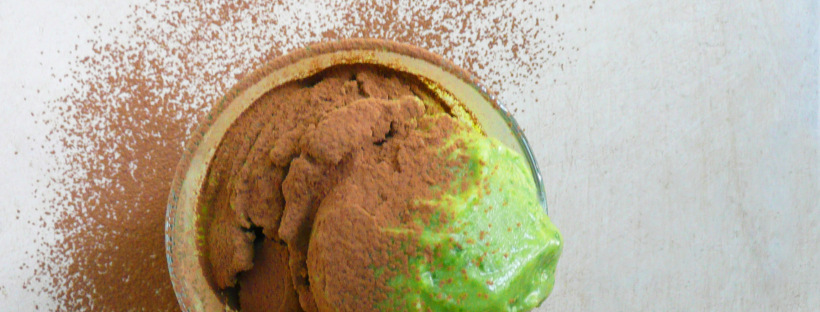
This amazing mint chocolate ice cream is rich and creamy, and you can’t taste the baby spinach at all, but it gives the ice cream it’s lovely bright green color without any food coloring. Little flecks of dark green dance across every beautiful spoonful, making every bite a little more festive, a little more special.

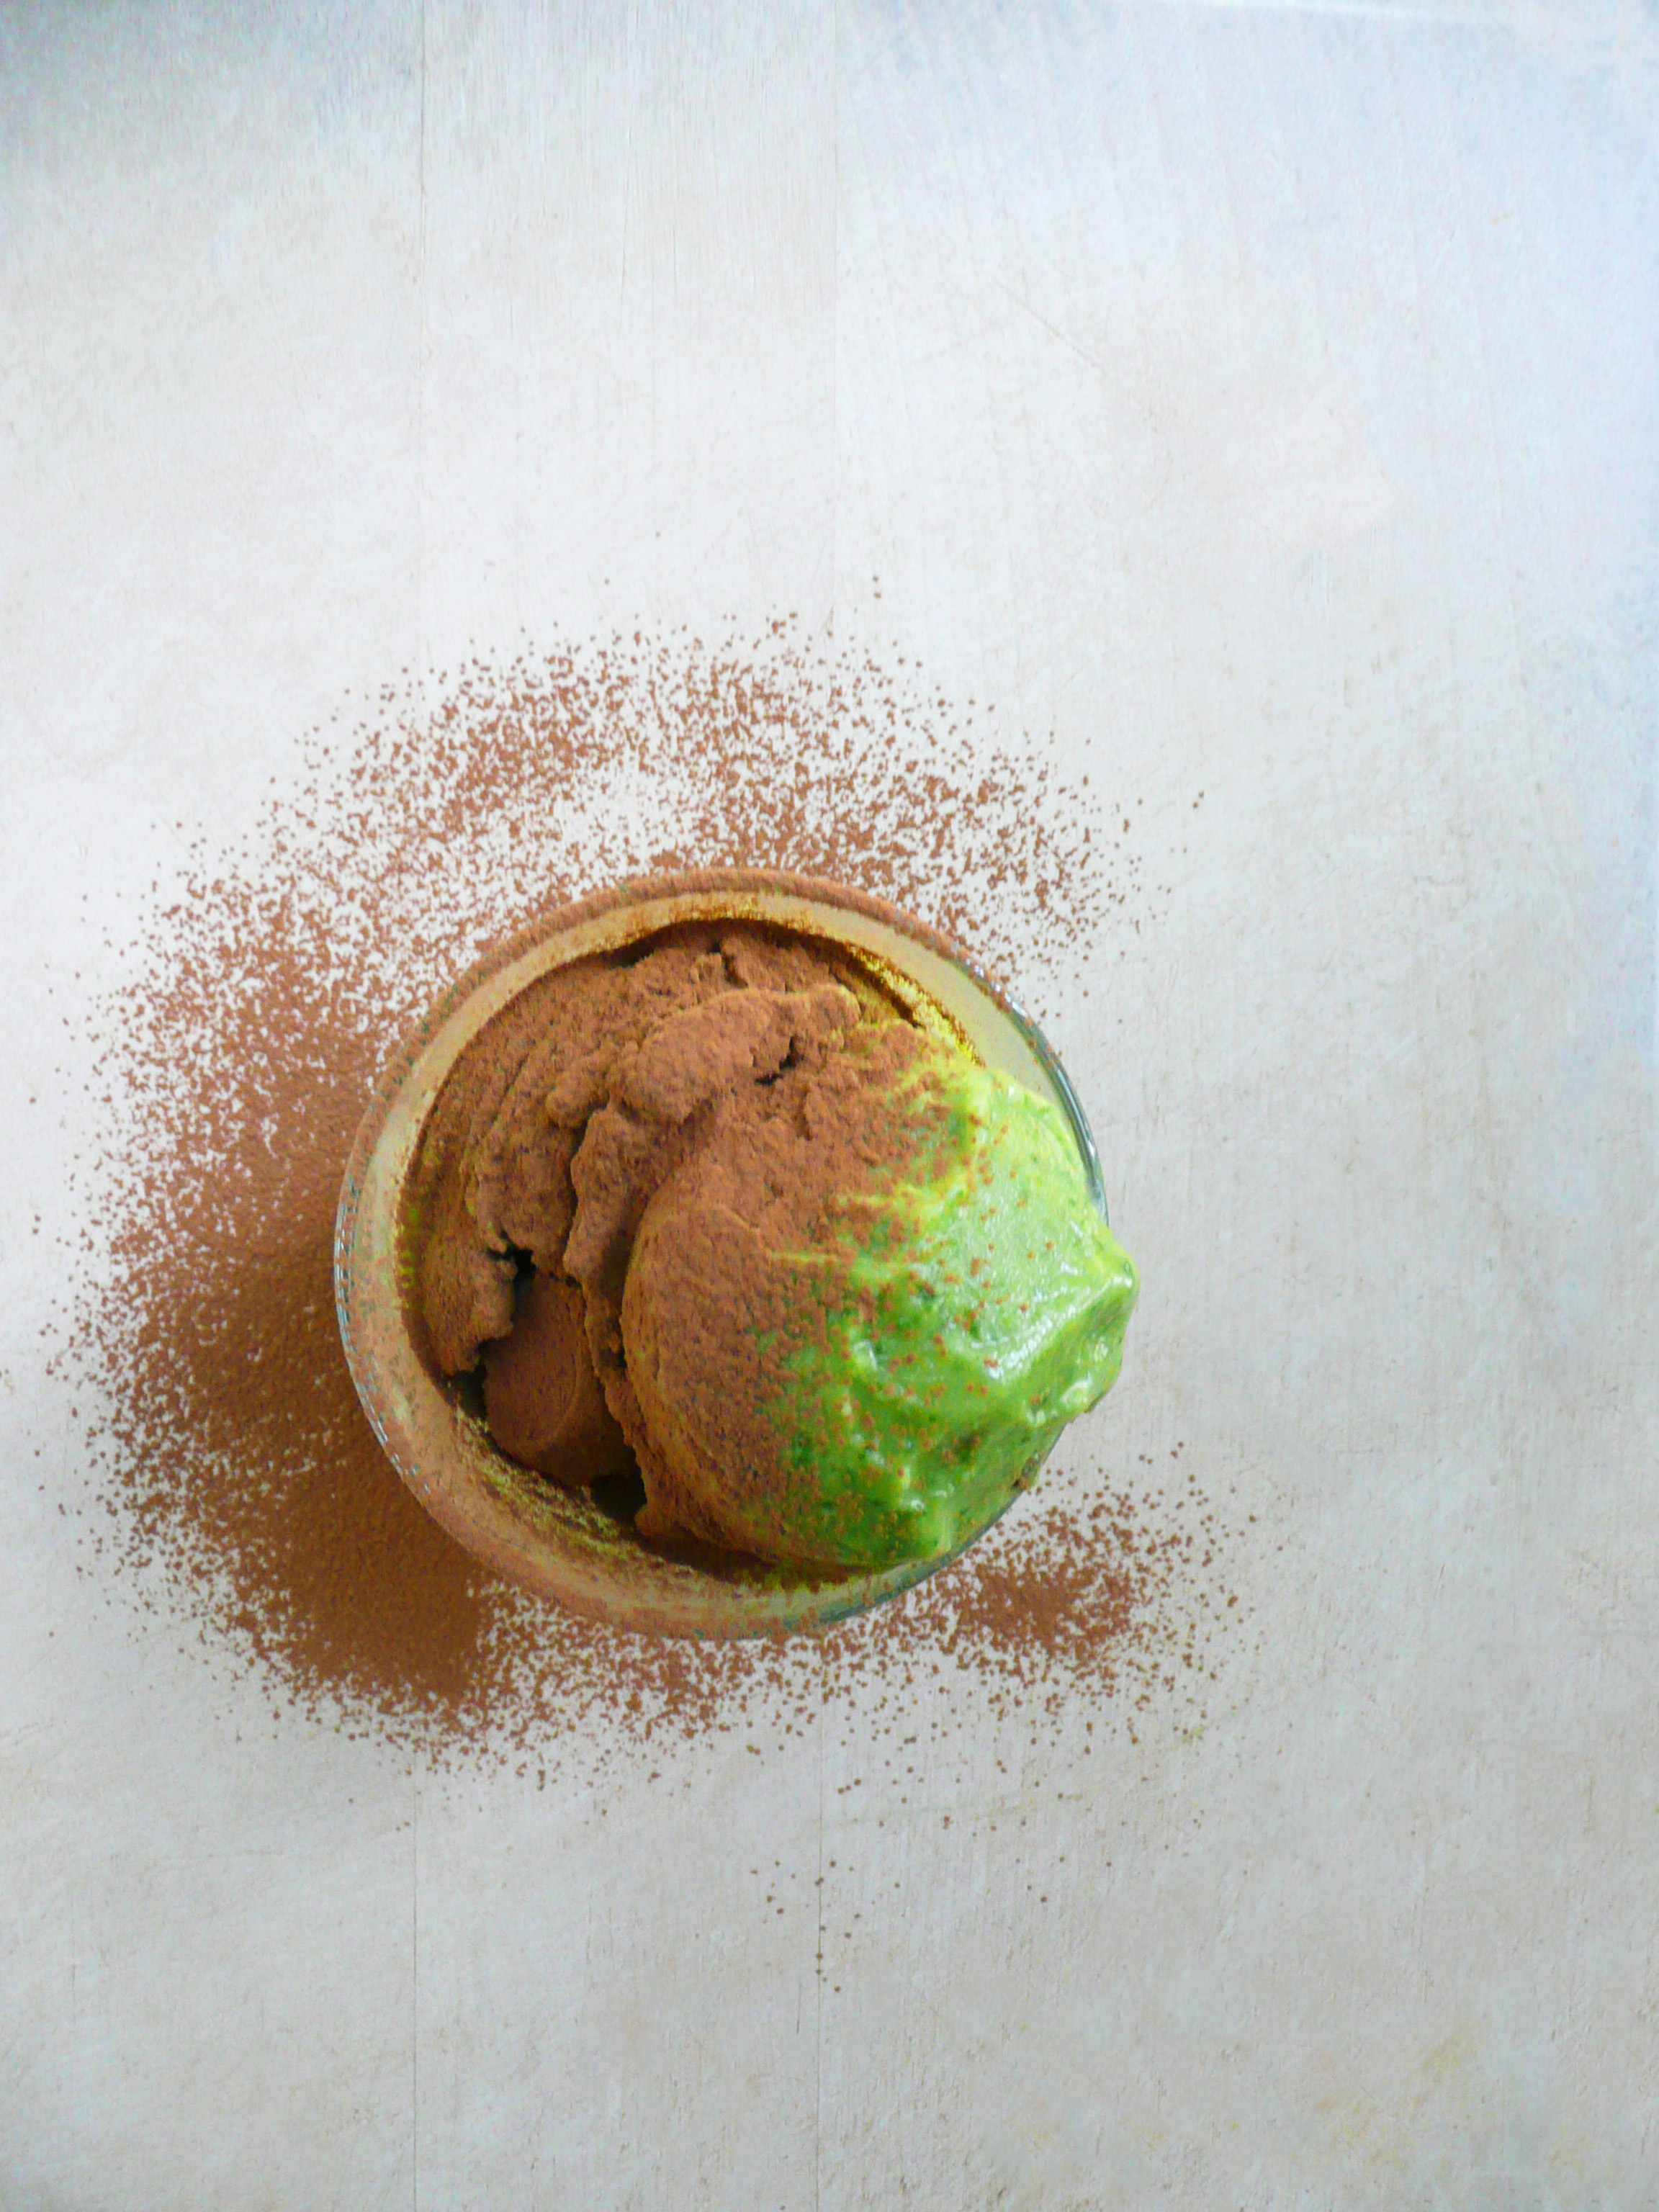
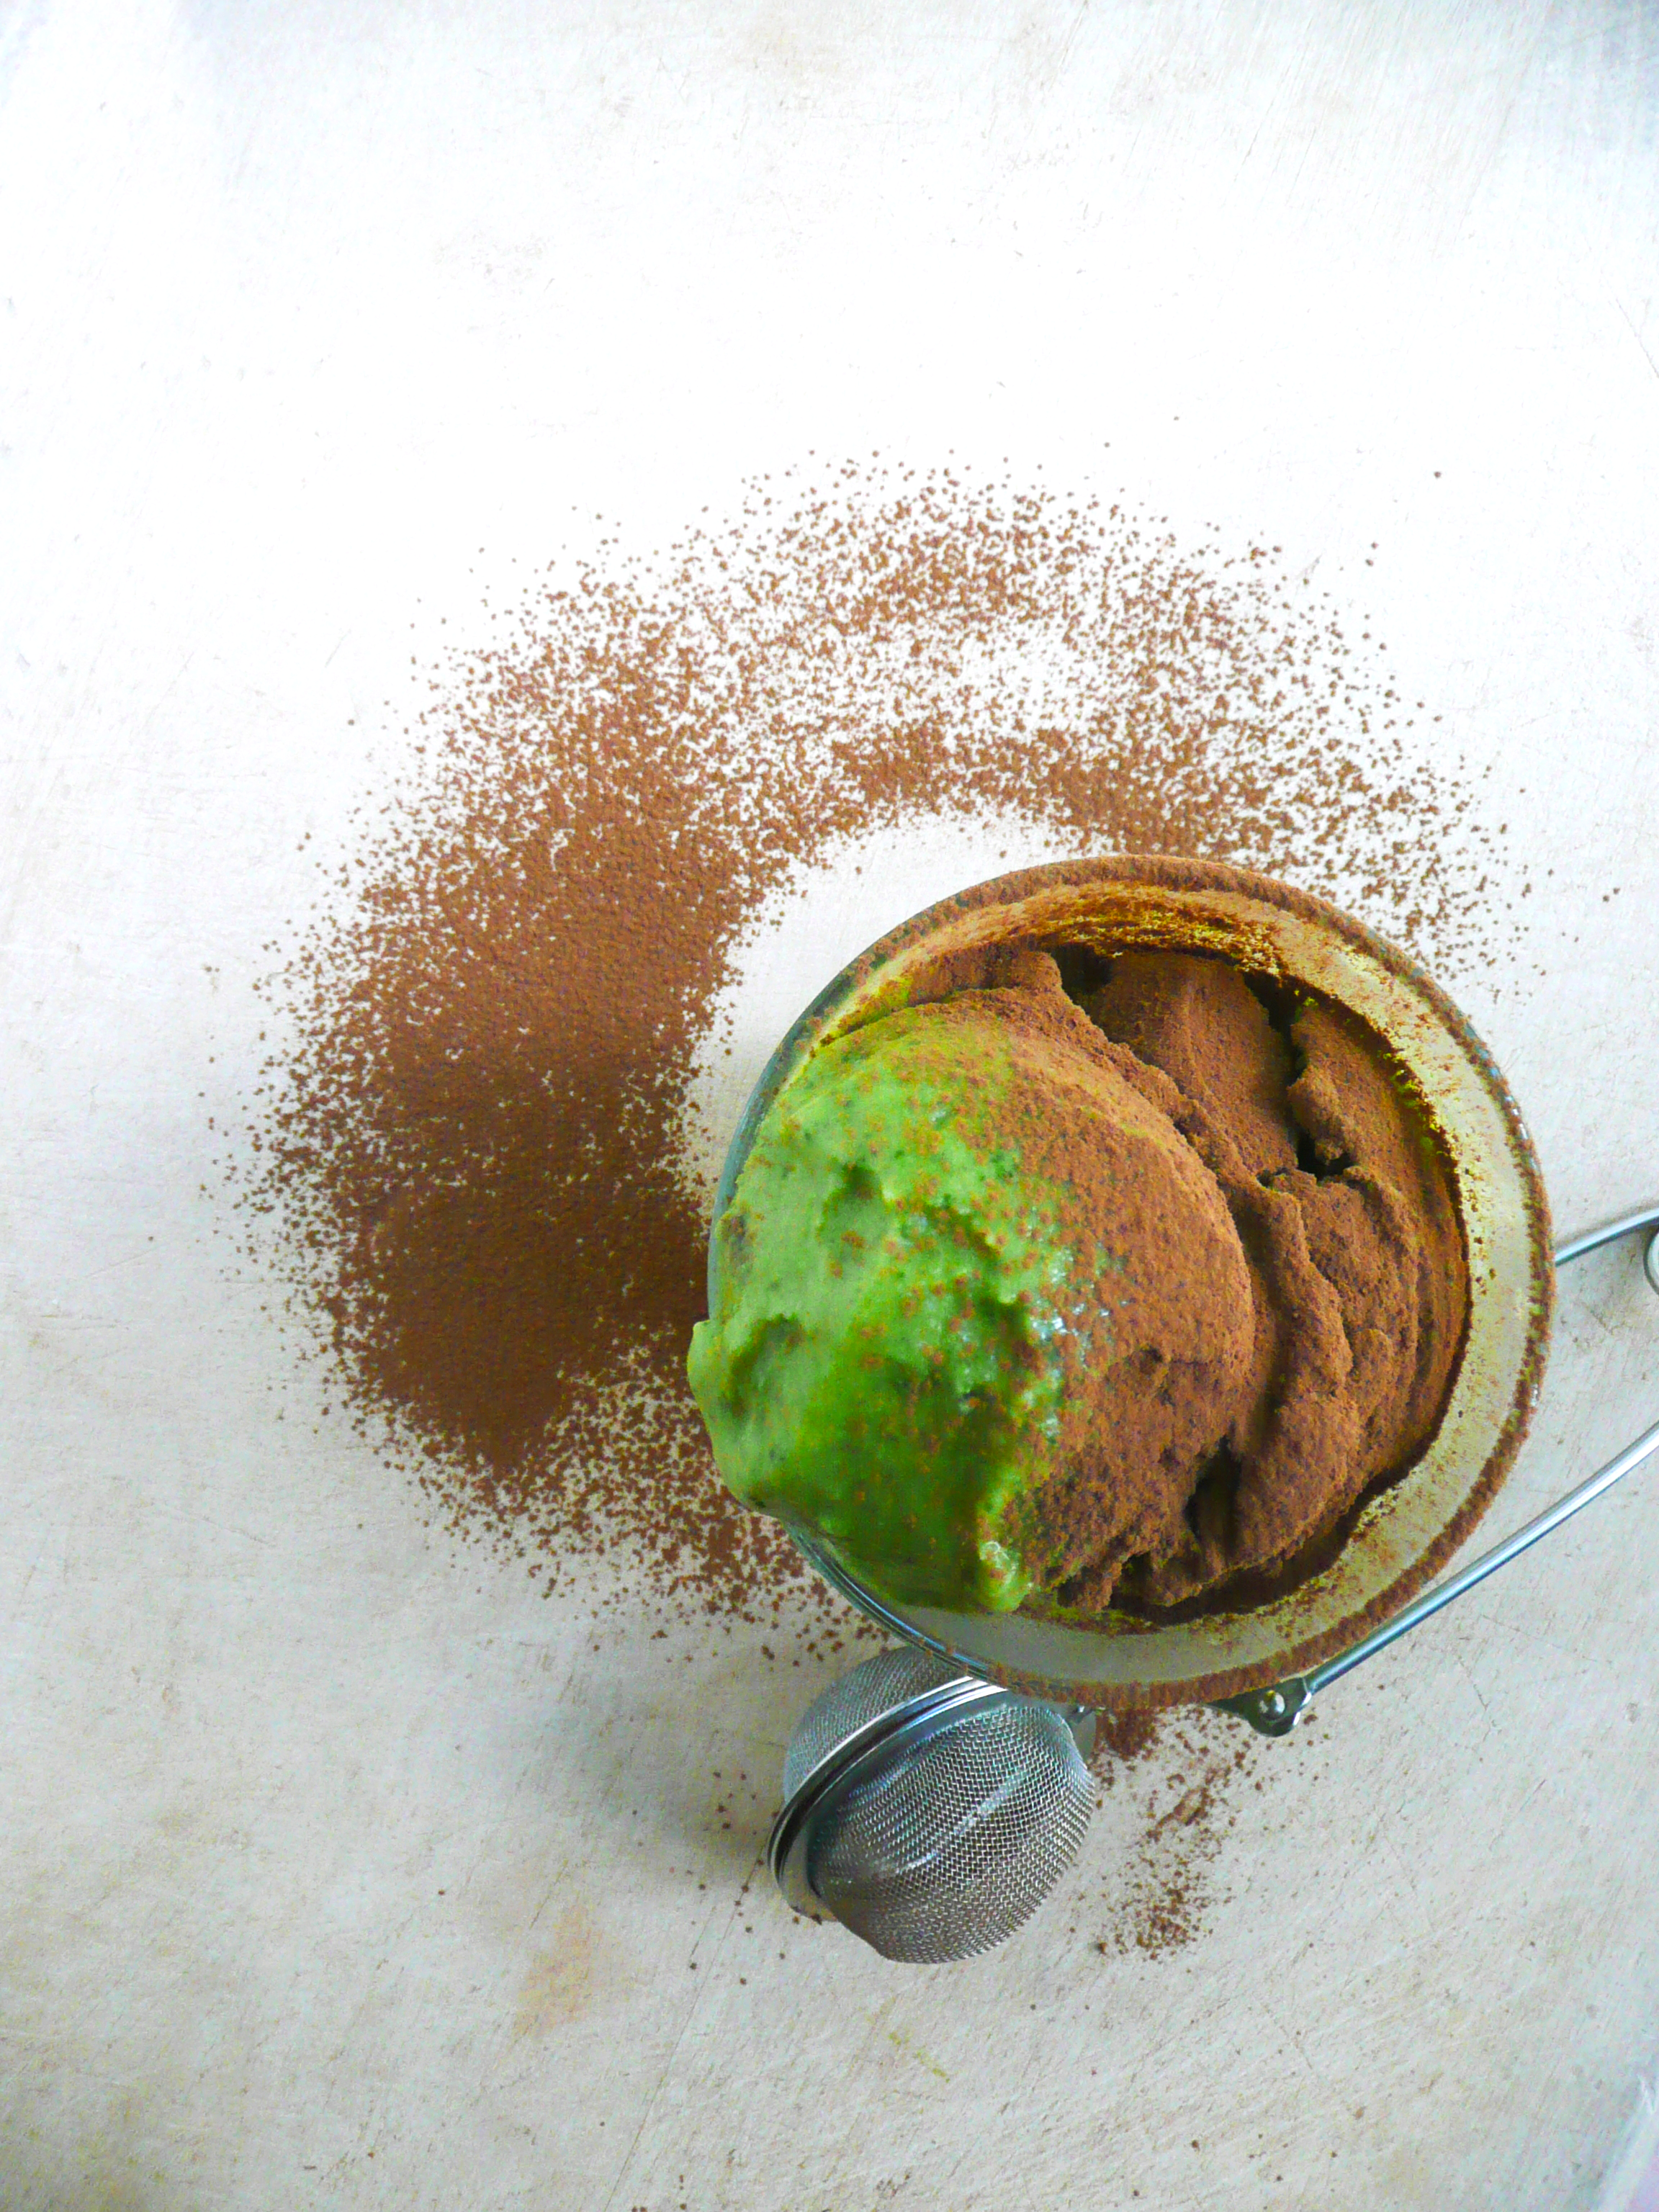
Sprinkle over a little cocoa powder before just serving and every delicious bite will taste just like a Thin Mint cookie, but in ice cream form (which is even better).

mint ice cream 2

That little bit of cocoa gives a little bit of bitterness which goes incredibly well with the brightness of the mint and allows the flavor of the ice cream to really sing.

This recipe is also a great way to use up extra baby spinach and overripe bananas. The avocado oil seems like a funny addition, but it adds a real creaminess and makes it taste more like traditional mint ice cream.

Mint Chocolate Ice Cream

Makes a generous serving for 1 (about 3 scoops)

Ingredients

2 bananas

1/2 cup packed baby spinach leaves

5 1/2 tsp – 6 1/4 tsp maple syrup

5 tsp avocado oil (or any neutral flavored oil)

1/8 cup water

1/8 tsp peppermint extract (or more to taste)

the tiniest sprinkle of sea salt imaginable (optional)

A little cocoa powder to sprinkle over the ice cream before serving

Instructions

1. Peel and slice the bananas into 1/2 inch slices. Put a piece of plastic wrap over a plate and arrange the banana slices in a single layer over the plastic wrapped plate. Cover with another layer of plastic wrap and freeze until solid.

2. Allow the bananas to defrost for 5-8 minutes until just thawed. Add the bananas, baby spinach, maple syrup, avocado oil, water, and peppermint extract to a food processor.

Blend until smooth. Taste and add in the tiniest sprinkle of sea salt if desired, and at this point you can add more mint flavoring if you like (add a drop at a time as this stuff is strong).

3. Once you’re happy with the flavor of the ice cream, scoop the ice cream into a dish and sprinkle with cocoa powder. Serve.

Notes – The bananas that I used were medium sized and they were ripe but were only lightly speckled brown, so if the bananas that you use are very brown and sweet, then you can probably decrease the amount of maple syrup.

The measurements that I ended up using in my own batch were 6 1/4 tsp maple syrup, and 1/8 tsp + 3 drops of peppermint extract (as I like a strong minty flavor in this ice cream).

You can also make the ice cream ahead of time and put it into something like a plastic snapware container and stash it in the freezer. This works especially well if you want to be able to scoop it into pretty scoops of ice cream for a nice presentation.

mint ice cream 5

So much minty chocolate goodness in one bite…

baby spinach heart copy

Happy St. Patrick’s Day!

Lunar New Year – Red Bean Soup Recipe, Refined Sugar Free, Maple Syrup

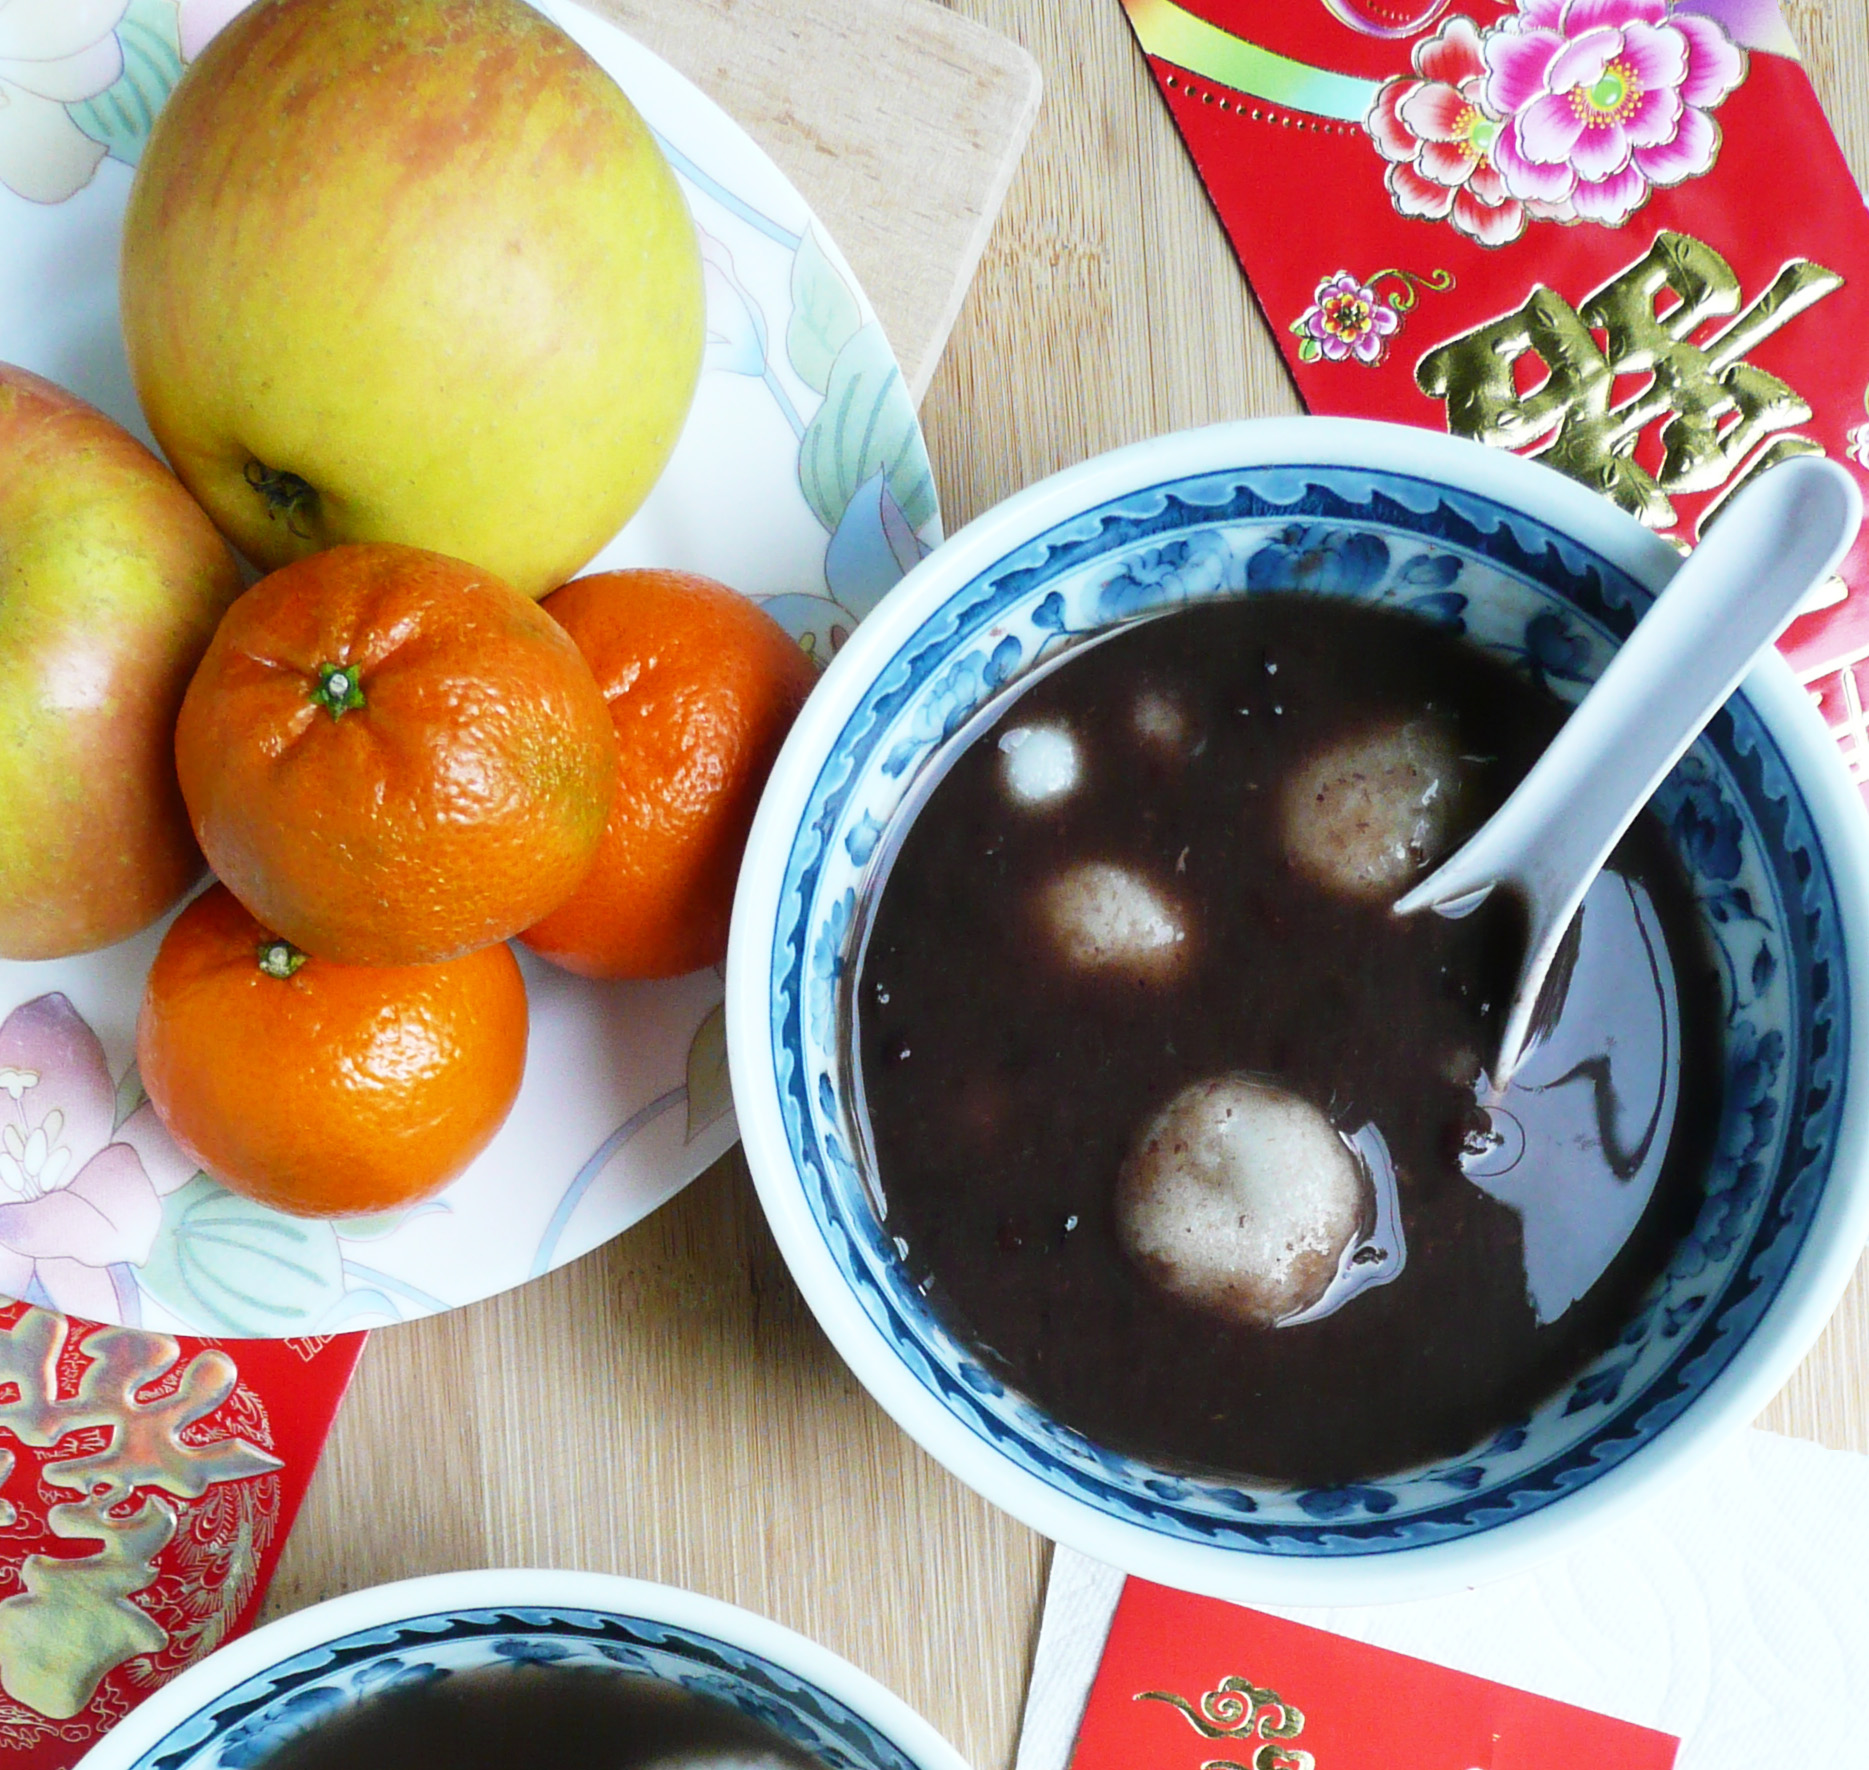
red bean soup

Red bean soup is a recipe that my family makes often. Red bean is a very popular flavor in Asian desserts (there’s red bean ice cream, red bean filling in mochi, and even red bean popsicles), and I’ve grown up eating this soup all my life.

This soup is a sweet soup that warms you up in the winter, and it goes great with tang yuan, which are a traditional chewy sweet rice balls that signify family togetherness and are eaten at celebrations like weddings, and especially at Lunar New Year.

This soup is normally made with a lot of cane sugar, but I make the soup with maple syrup instead. My trick for using less sweetener when eating this soup is to drizzle about 1 tbsp of maple syrup on top of each bowl, and to not stir it in.

That way each time you take a bite, you get that little hint of sweetness and you end up using less maple syrup overall.

Another good way to cut down the sweetener in red bean soup is to cook the soup in a slow cooker. The beans taste sweeter when cooked this way, and with a few tang yuan and a drizzle of maple syrup, I promise you that you won’t miss the cane sugar version because this one is amazing.

If you need to cook red bean soup in a hurry, you can do this on the stove top in about 1 – 1 1/2 hours. The texture of the beans won’t be quite as soft and tender as the slow cooker red bean soup, but the stove top version will still be very good.

If you’re expecting to serve this to more than 6 people for Lunar New Year, I recommend making two batches of this soup. If you have extra, you can send it home with people and everyone will be extra happy for Lunar New Year.


Sweet Red Bean Soup Recipe

Makes 4 – 6 servings (if you use some of the red beans to make tang yuan, 6-8 servings if you don’t).

Ingredients

1 lb Adzuki Beans (aka Red Beans, preferably organic)

10.5 cups of filtered water

– maple syrup for serving


Instructions

Slow Cooker Directions

1. Give the beans a good rinse. Add them to a large pot and cover them with 1.5 inches of cool filtered water. Bring the beans to a boil, then set a time for 2 minutes and let the beans boil until the timer goes off.

2. Drain the beans and add them to a slow cooker along with 10.5 cups of filtered water. Cover, and let the beans cook on high for 9-10 hours until the beans are very soft and tender.

Stove Top Directions –

1. Give the beans a good rinse. Add them to a large pot and cover them with 1.5 inches of cool filtered water. Bring the beans to a boil, then set a time for 2 minutes and let the beans boil until the timer goes off.

2. Drain the beans and add them back into the pot along with 10.5 cups of filtered water. Cover, bring the beans to a boil again, then turn the heat down to medium low and let the beans cook covered for 1 – 1 1/2 hours until the beans are soft. Give the beans a stir every now and then, and if the water looks a little low, add a little more water. The soup is done when you can easy smush a bean between your thumb and forefinger.

If after an hour and a half of cooking the beans are still firm (older beans sometimes take longer to cook) turn the heat up to medium and cook for another 30-45 minutes and the beans should be soft by then.

Serve the soup with homemade tang yuan and a drizzle of maple syrup.

Happy Lunar New Year!

Kitchen Tip – How to Regrow Green Onions

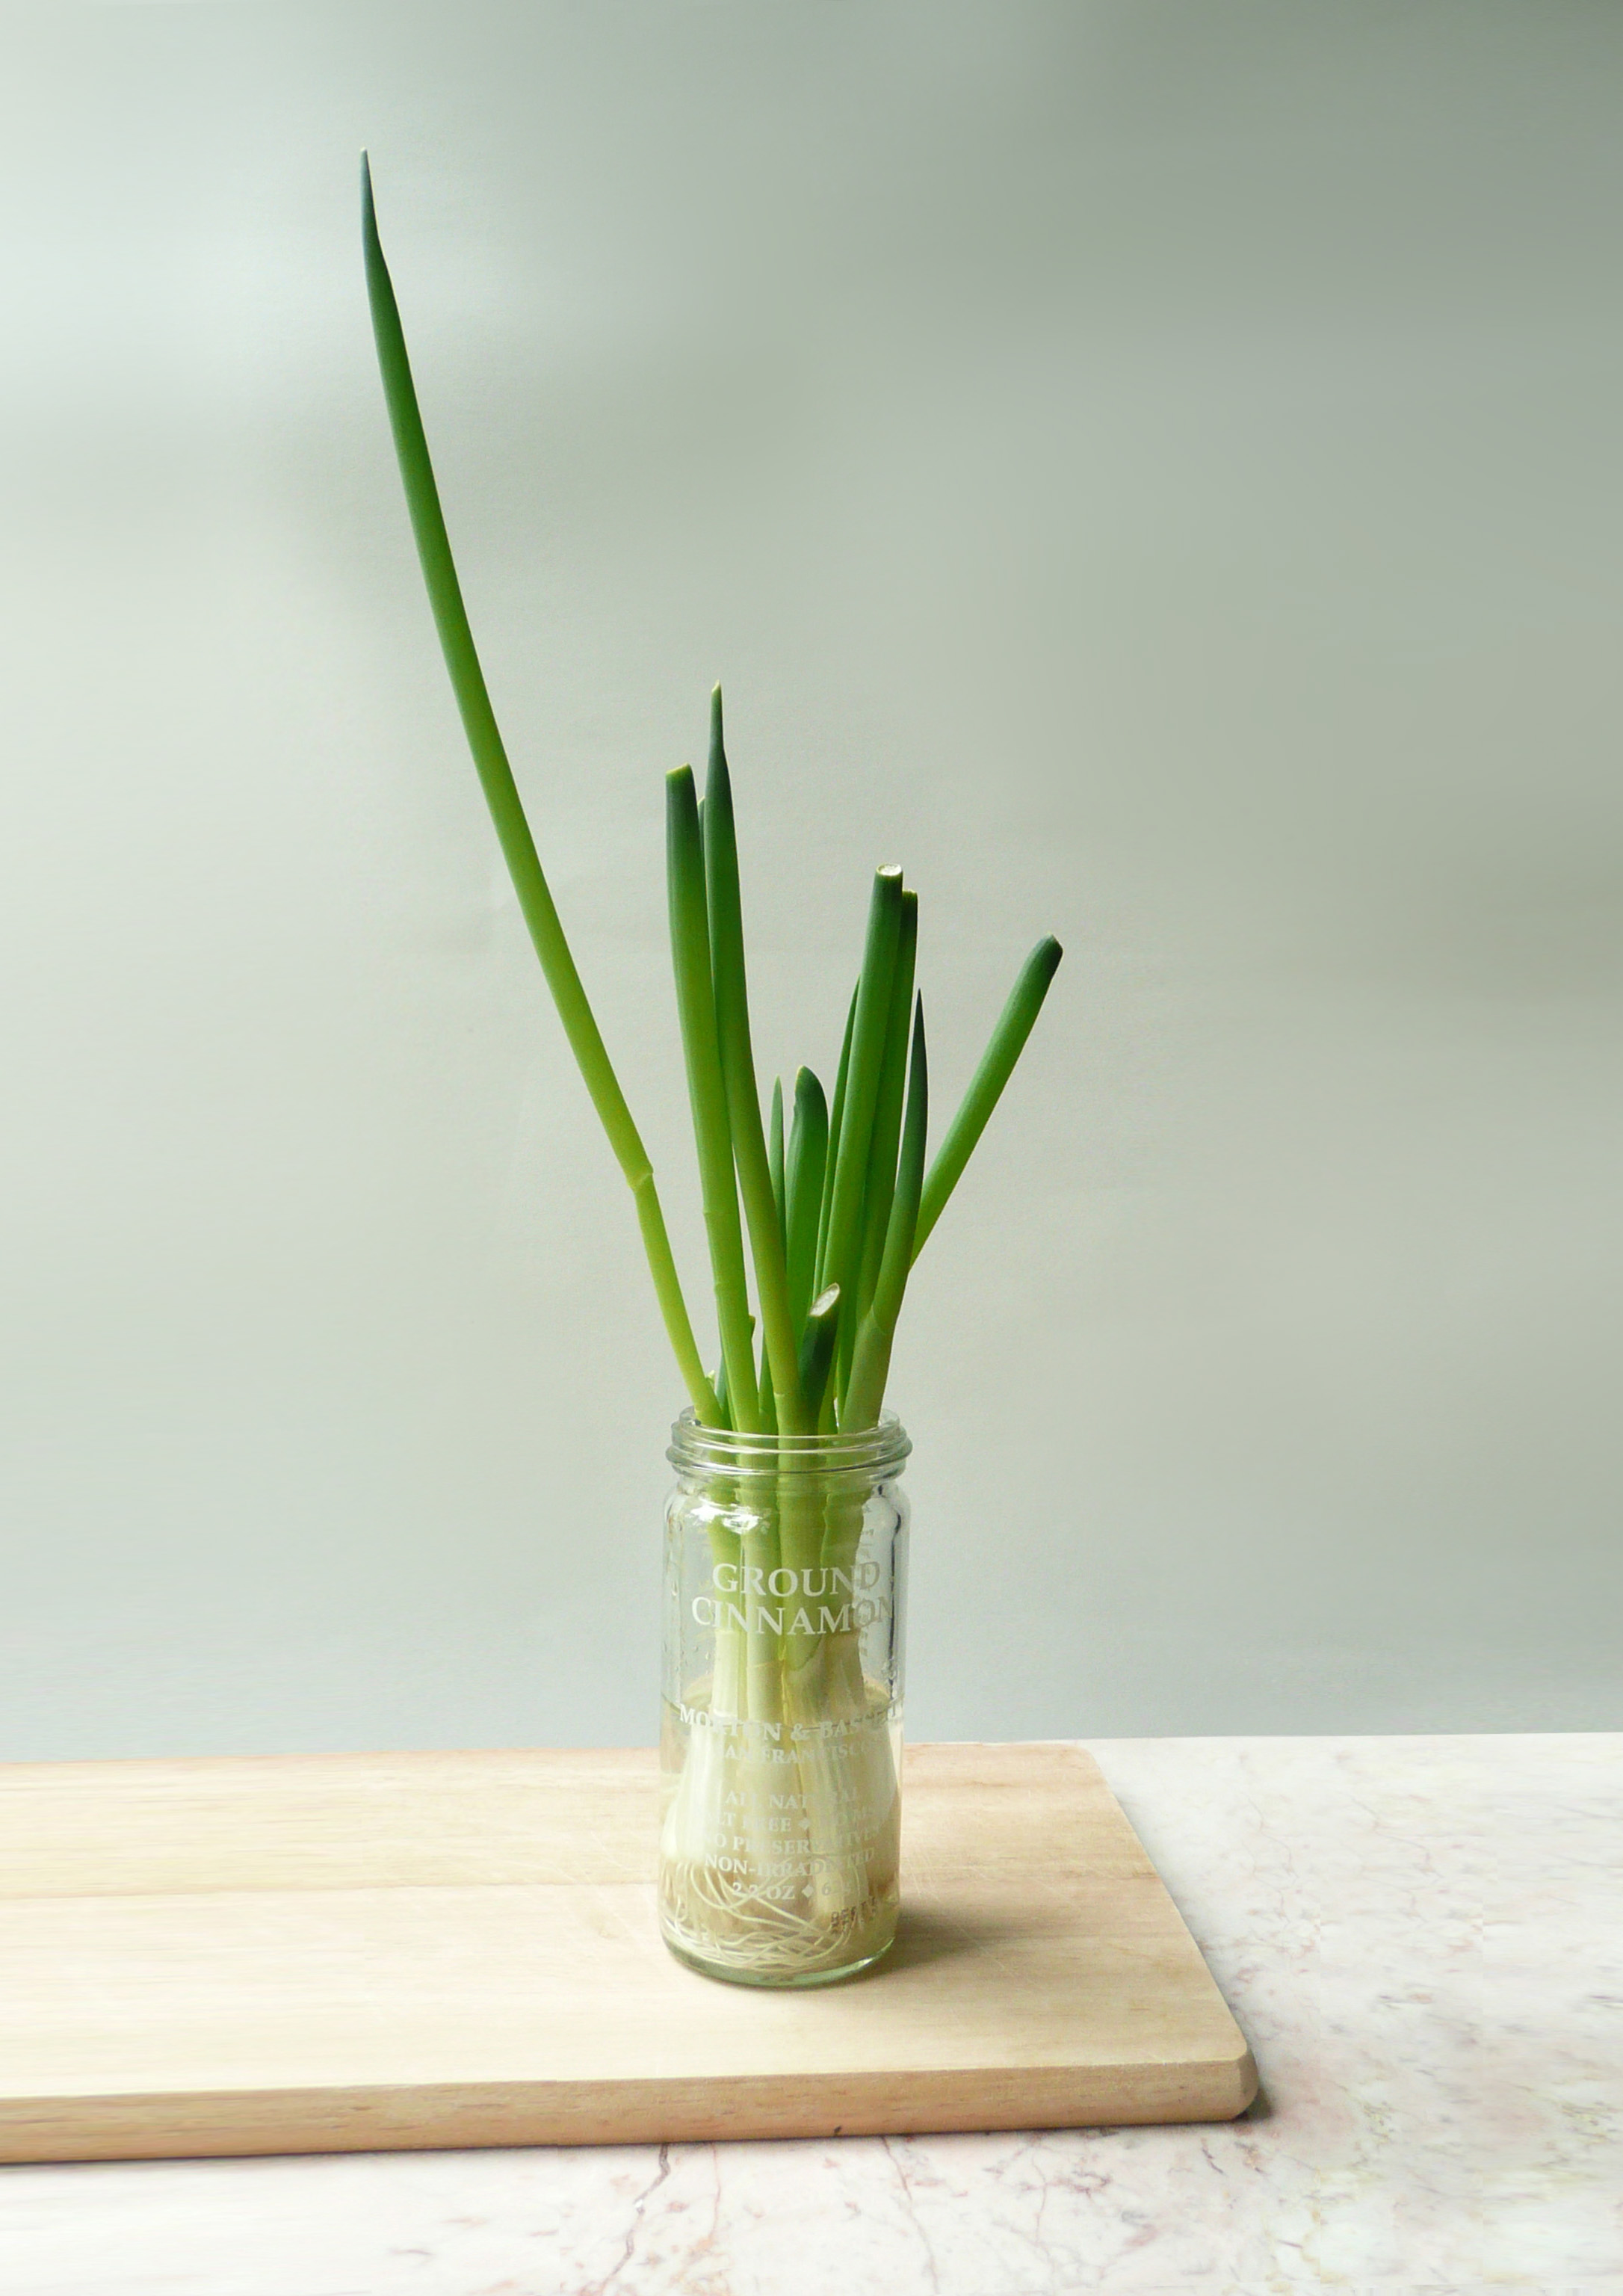
green onions

Green onions are used in lots of Asian recipes, and they are actually super simple to regrow on your windowsill from the trimmings that you would normally compost.

I cut the green part off the green onions so that there’s about  1.5 – 2 inches of the white part attached to the roots.  Then put the green onion roots in a little jar (old spice jars seem to work well for this) and add about 1.5 inches of cool water into the jar. I put a little piece of folded paper towel under the jar when I put it in the windowsill so that no watermarks stain the wood.

Replace the water everyday (that way the water doesn’t get slimy as quickly). I’ve been able to successfully regrow a trimmed green onion root about 2-3 times.  After that, they get a little too slimy around the roots and it’s time to compost them and wash out the jar.

The picture shows about a week of growth, and you can trim off what you need to add to dishes.

You can also plant the trimmed green onion roots in some soil, and they should regrow a few more times than if they were simply regrown in water.

I hope that this tip helps you save a little money! Let me know how this trick works for you. What would you make with your regrown green onions?

pumpkin muffins

Pumpkin Bread Muffins – Gluten Free, Dairy Free

pumpkin muffin final

These little muffins are wonderfully spiced and perfect for when you’re craving pumpkin bread. They have a better texture the next day, so I usually bake them the night before, set them out on a plate on the counter and cover them with a paper towel. The next morning they have dried out a little, and the texture and flavor are even better than they are fresh out of the oven.

When you take them out of the oven, they will be nice and puffy, but the will flatten as they cool. Don’t worry about this, as they will still be delicious. They are wonderfully creamy in the middle and taste just like your favorite pumpkin bread.

You can either bake them as 6 full sized muffins, or as 9 snack sized (flatter) muffins. I normally prefer to bake them as 9 instead of 6 muffins, as it’s harder to wolf down 9 muffins in one sitting than 6 muffins, (trust me on this, I know). Either way, they taste amazing! I hope that you like them.

I’ve included the measurements for 12 muffins below, just in case you need them.

Pumpkin Bread Muffins
Makes 6 full sized muffins – or 9 snack sized ones.

Ingredients

¾ level tsp ground cinnamon

¼ level tsp + 1/8 level tsp ground ginger

1/8 level tsp ground cloves

1 cup oat flour (I just grind the oats in a blender until they become a fine flour)

¼ level tsp + 1/8 level tsp baking soda

1 small pinch of salt


¾ cup + 2 tbsp pumpkin puree (or sweet potato puree)

1 tbsp water

1 tbsp apple cider vinegar

4 ½ tbsp. melted coconut oil (or a neutral flavored oil)

¼ cup + 2 tbsp maple syrup

1 egg


Instructions

1. Preheat the oven to 350 degrees

2. Grease and flour the muffin pan using coconut oil (or neutral oil) and oat flour. Here’s my trick to doing this.

3. In a large bowl, sift the cinnamon, ginger, cloves, oat flour, baking soda and salt together. In a separate bowl mix the pumpkin puree, water, apple cider vinegar, oil, eggs and maple syrup.

4. Pour the wet ingredients into the dry, and stir until well combined.

For 6 muffins – divide the batter evenly between 6 muffin cups, and use the back of a spoon to smooth down the batter in each muffin cup so that the tops of the scoops of batter are flat.

Bake for 30 min at 350, then turn the oven down to 300 for another 10 minutes.

Let them cool in the pan. To remove them, run a butter knife around the edge of each muffin and pop them out and set them onto a plate.

For 9 flatter muffins – divide the batter equally between 9 muffin cups. Use the back of a spoon to smooth down the batter in each muffin cup so that the tops of the scoops of batter are flat.

Bake for 30 min at 350. Let them cool in the pan. To remove them, run a butter knife around the edge of each muffin and pop them out and set them onto a plate.


Note
– I made the little decorative leaves from the extra scrap dough from making the tart shells. I used a small paring knife to cut the shape of the leaves and the tines of a fork to make the little indentations. Bake the leaves at 375 for 10-15 minutes until golden brown around the edges.


For 12 muffins

1 ½ level tsp ground cinnamon

¾ level tsp ground ginger

¼ level tsp ground cloves

2 cups oat flour

¾ level tsp baking soda

2 small pinches of salt

1 ¾ cup pumpkin puree (or sweet potato puree)

2 tbsp water

2 tbsp apple cider vinegar

9 tbsp melted coconut oil (or a neutral flavored oil)

¾ cup maple syrup

2 eggs


Pecan Tarts

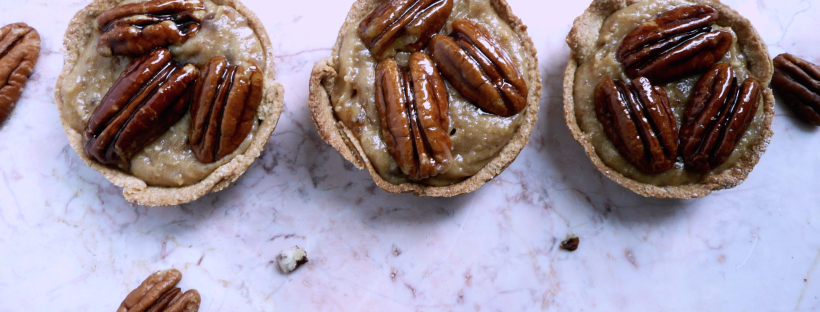
Pecan Tarts – Dairy Free, Gluten Free, Vegan

P1060884

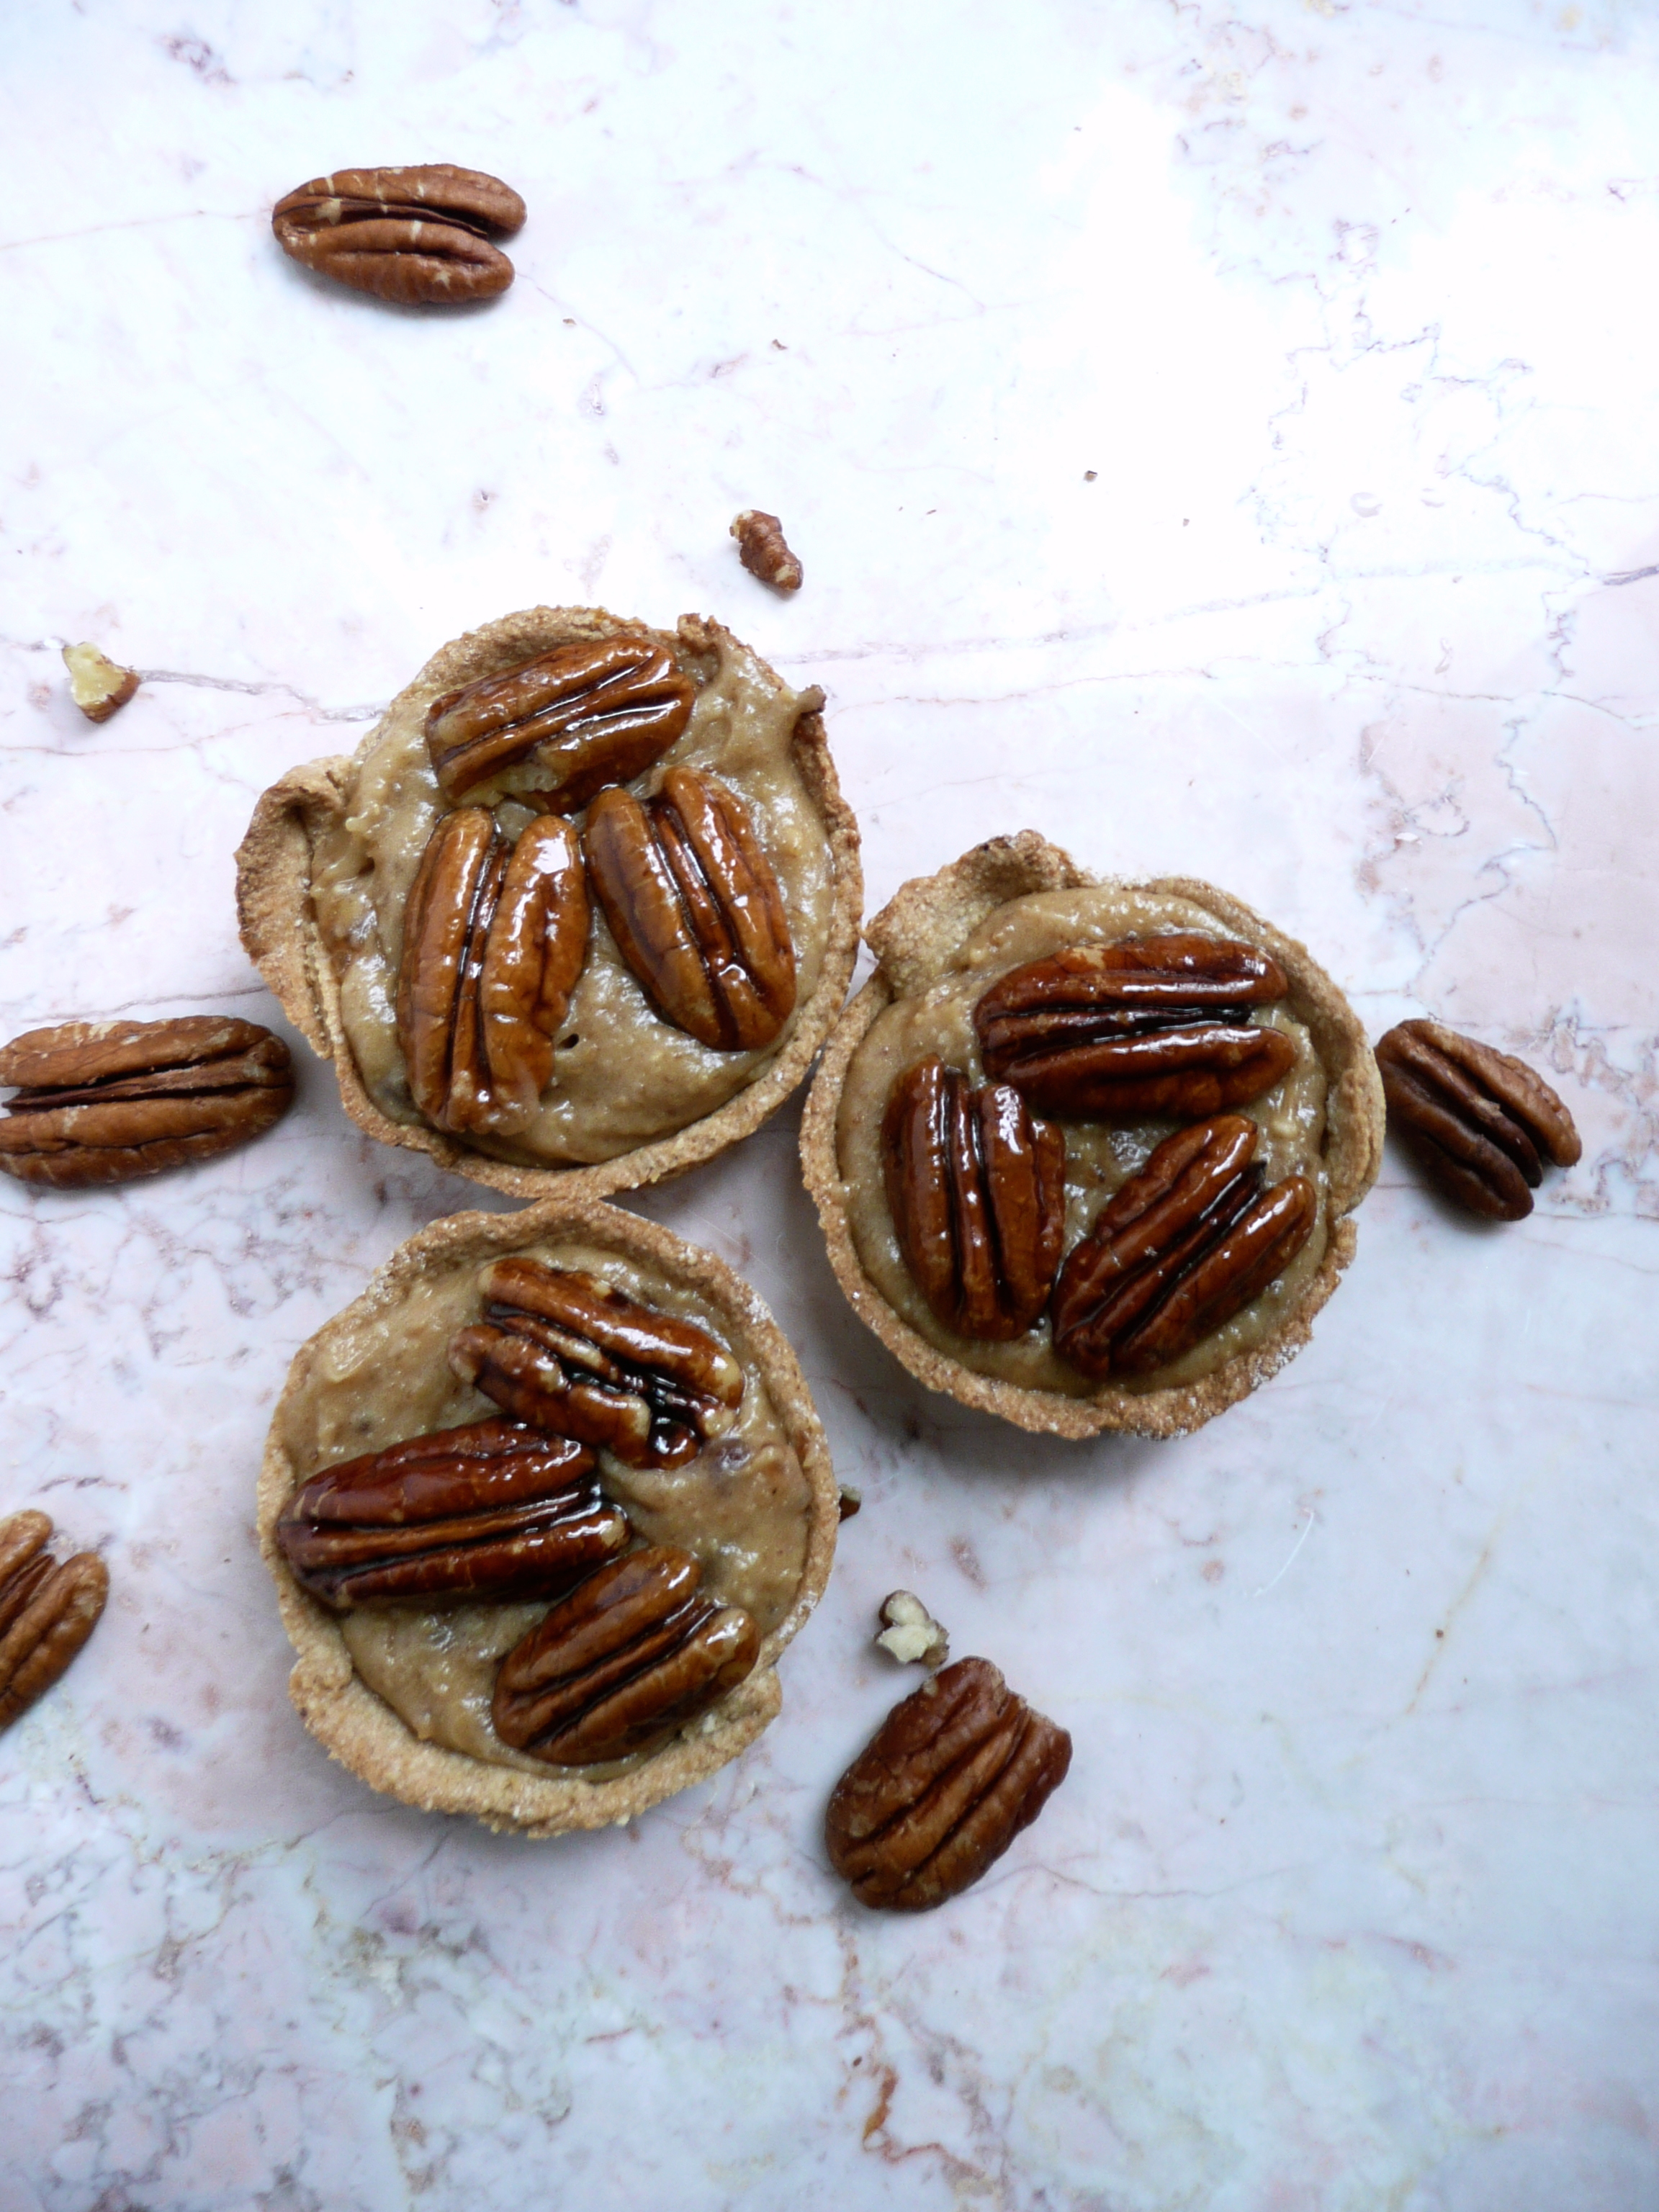
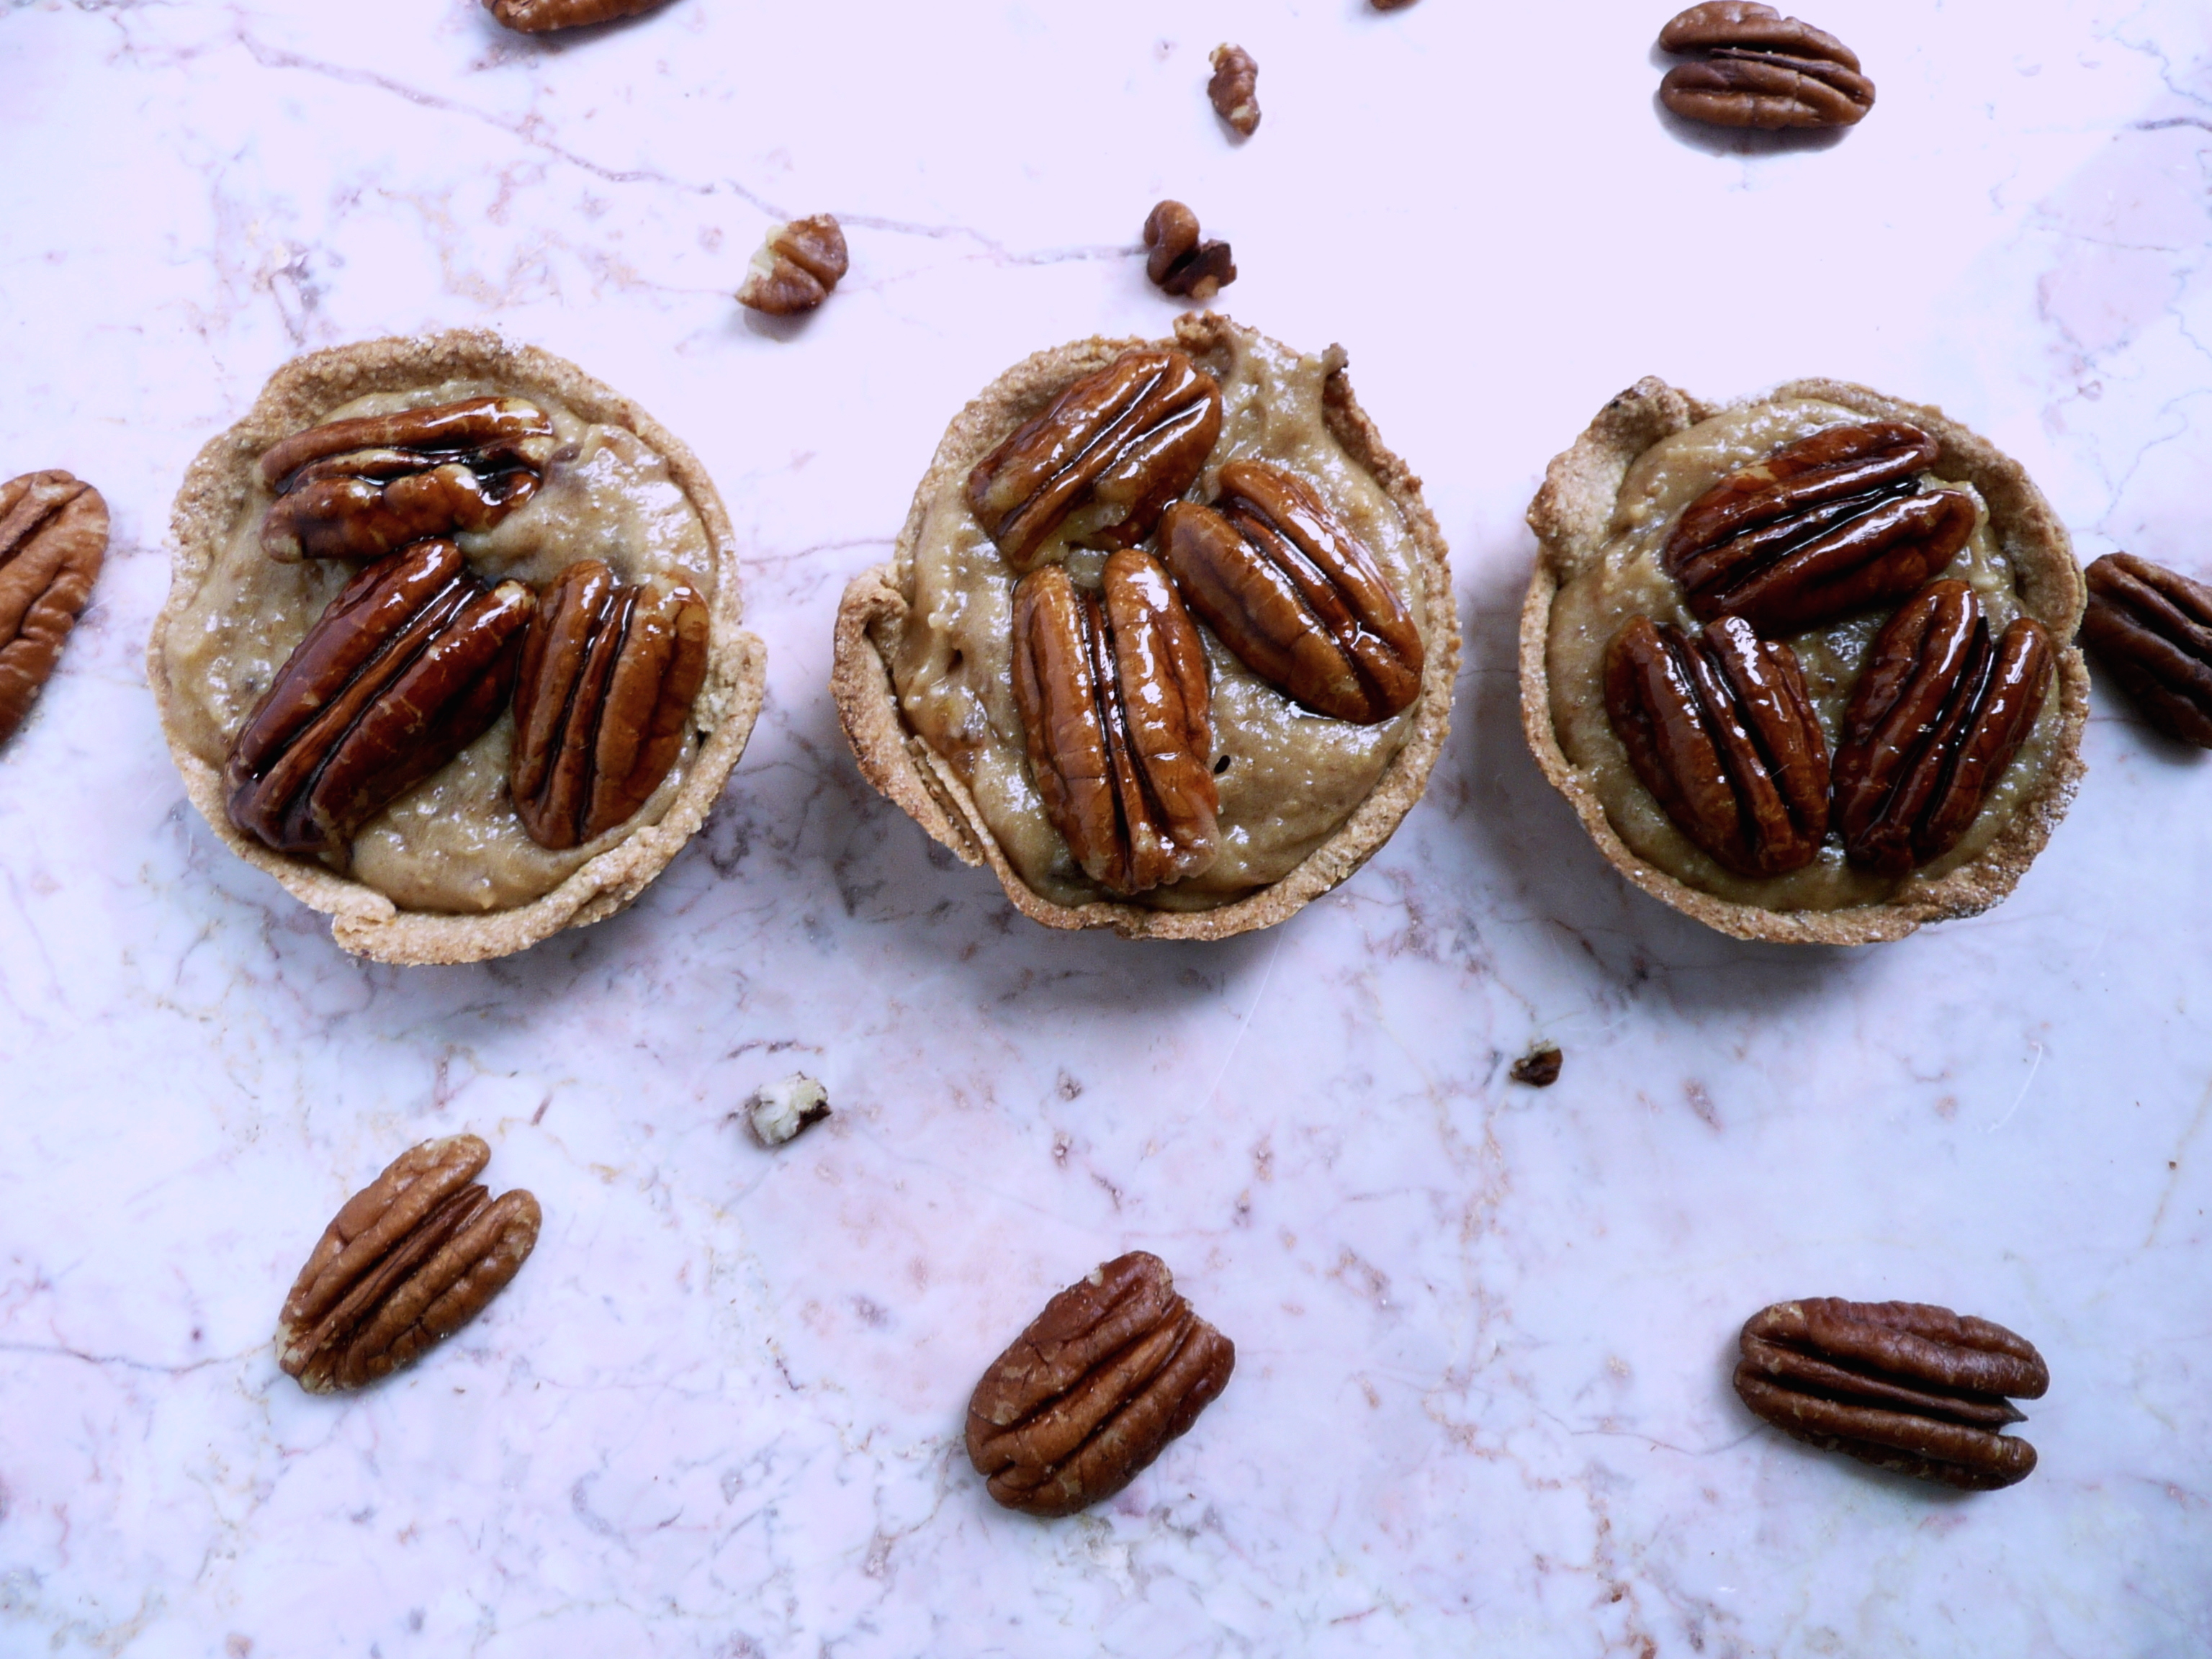
These pecan tarts are awesome! They really taste like pecan pie. The pinch of salt really makes these mini pecan pies sing. I hope that you love them as much as I do.

You can make the filling ahead of time, and just stir through the toasted pecans through right before serving. I’d make the candied pecans the day you want to serve them so that they stay crunchy.

This recipe makes 4 tarts, which is sort of a funny amount, so I’ll put the measurements for 12 tarts at the bottom of post just in case you want to make 12 instead. You may have to slightly adjust the cooking times for the bigger batch of toasted and candied pecans.

You can use this recipe to make the gluten free tart shells.

P1060874

Pecan Tarts

Makes 4 tarts

For the filling

¼ ts. vanilla extract

1/3 cup raw cashews

3 tbsp. maple syrup

6 diglet dates – about a scant 1/3 cup

1 tbsp. water

pinch salt

Instructions

1. Grind the cashews in a food processor until they look like breadcrumbs. Scrape down the sides of the processor occasionally, and add in the maple syrup and blend until the mixture looks like heavy cream, with little bits of cashews running through it.

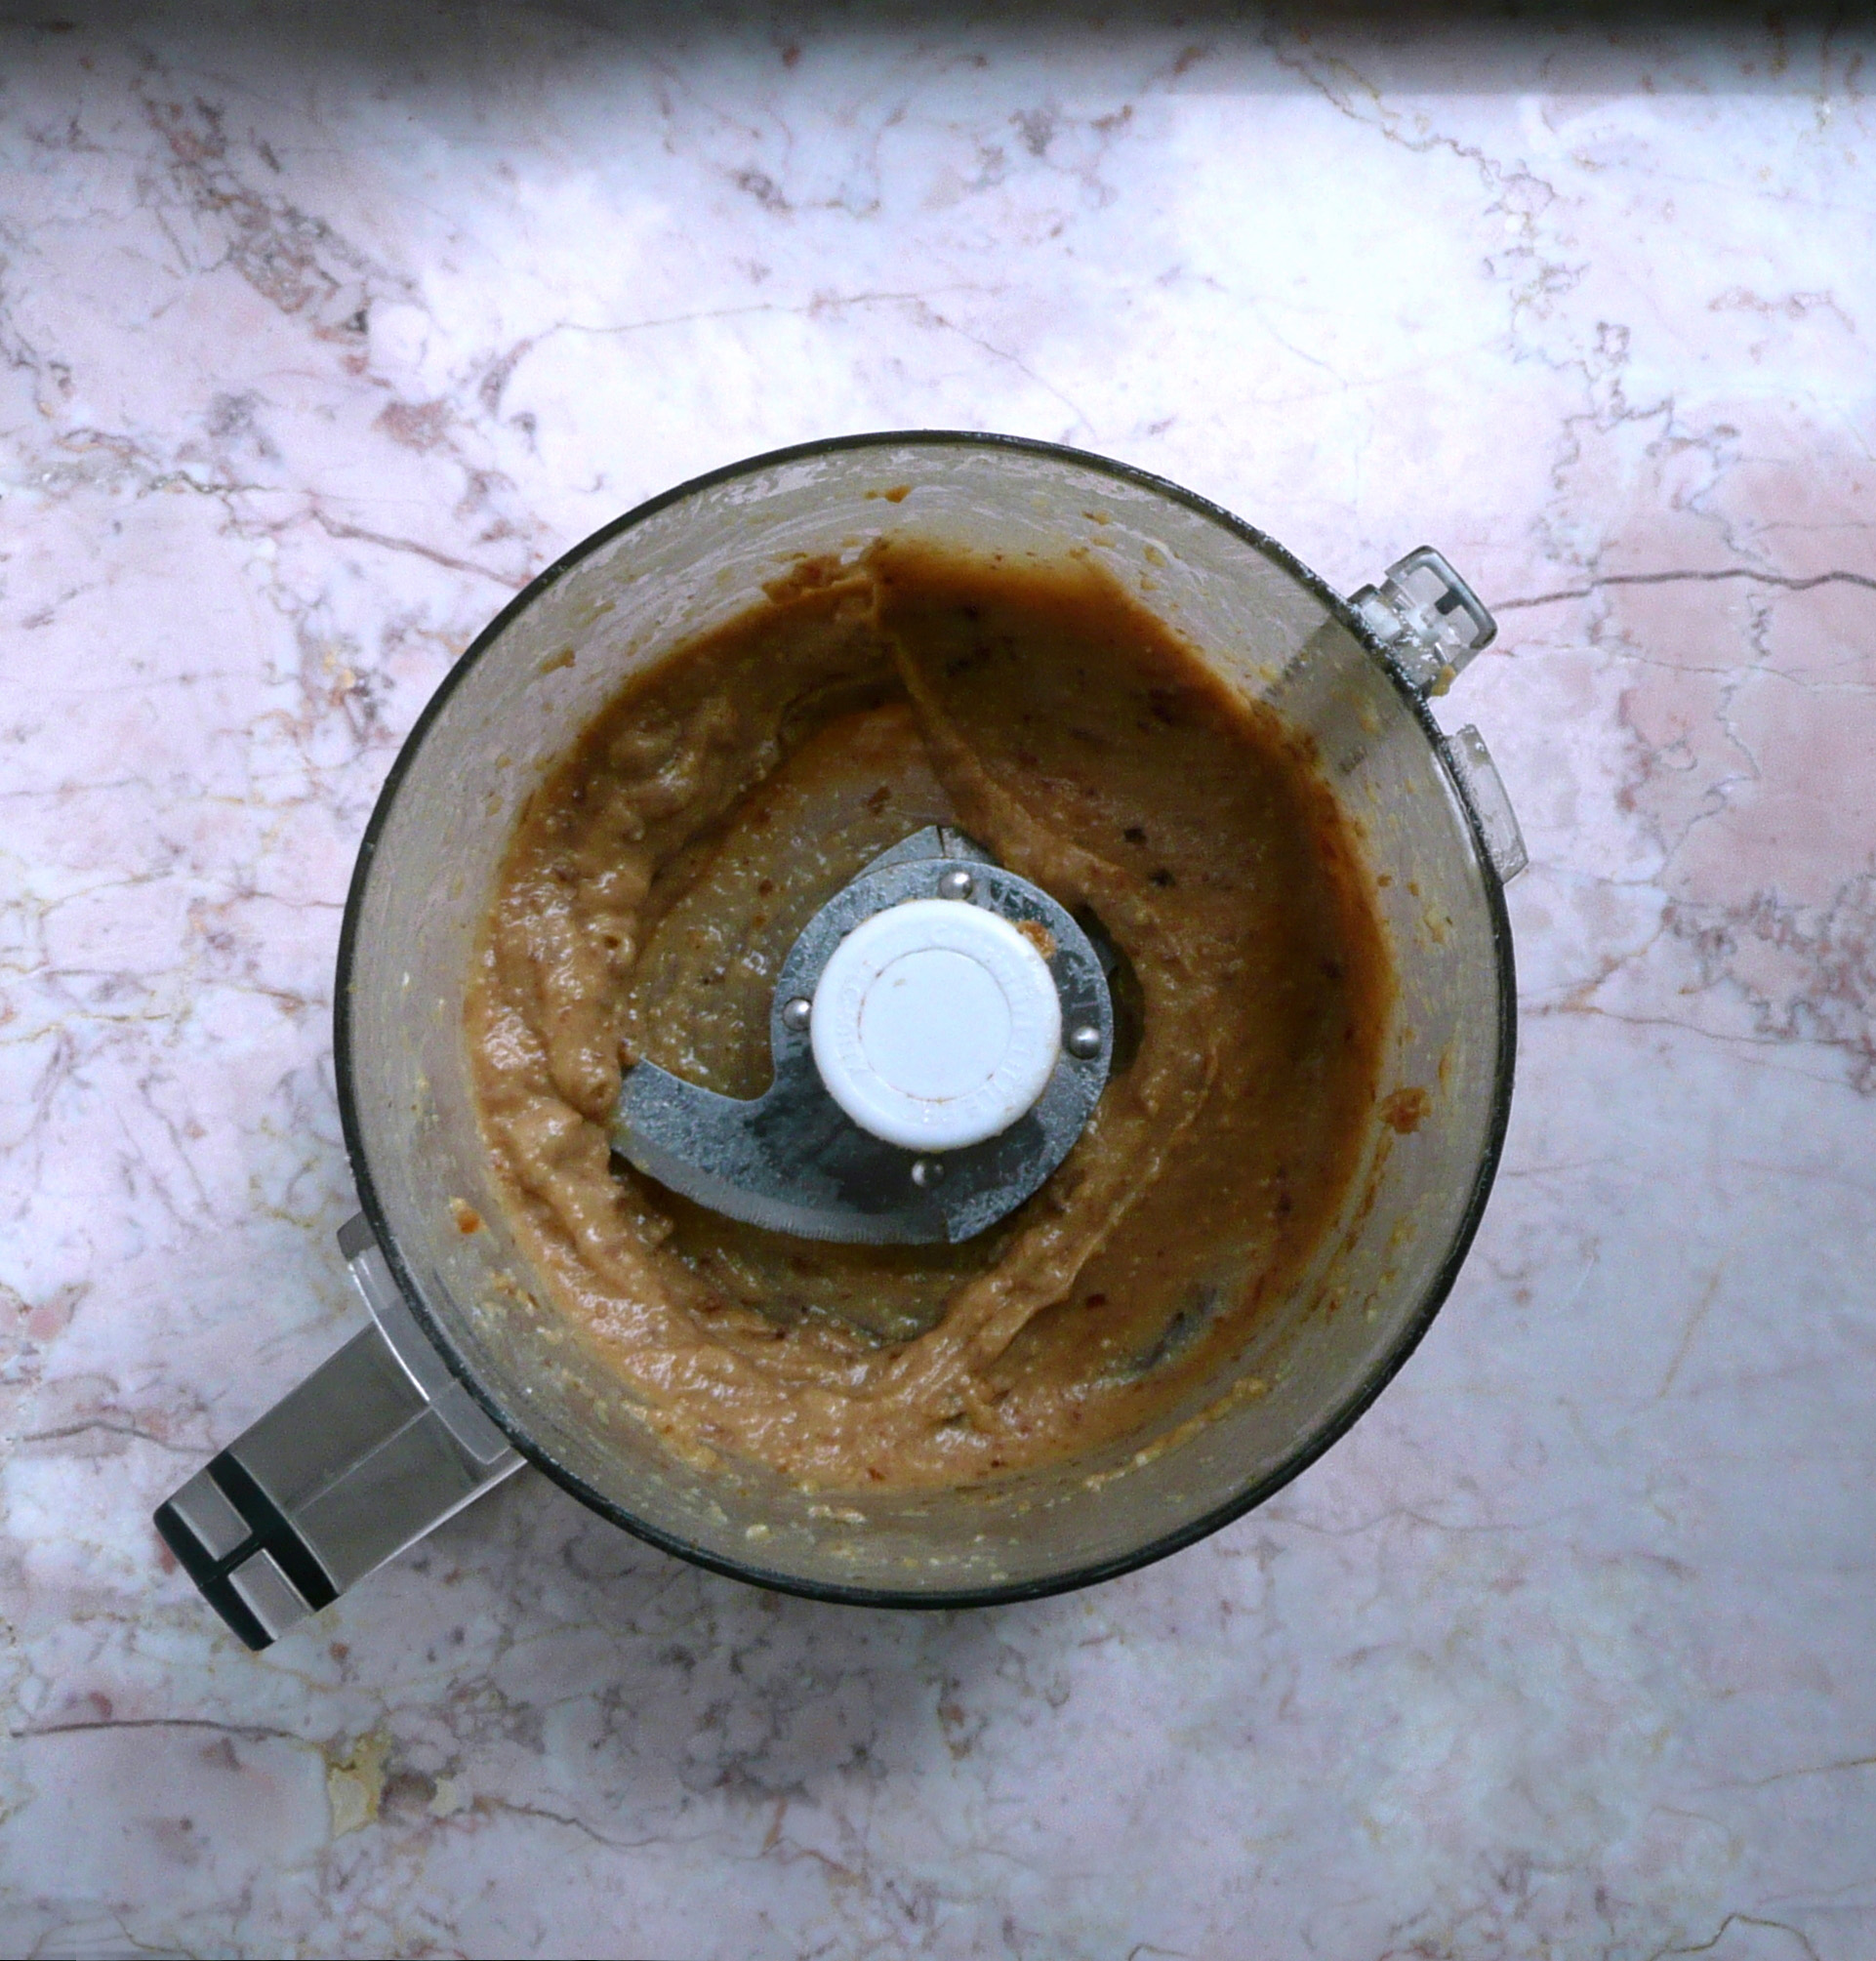
2. Chop the dates into ¼ inch dice and add them to the cashew mixture. Blend for 3-4 minutes until relatively smooth, a few lumps of cashews or date here and there are ok.

This is what the mixture should look like when it’s done.

P1060849

3. Scrape the mixture out into a bowl and set aside.

Toasted Chopped Pecans

¼ cup whole pecans

Instructions

1. Chop the pecans into ¼ inch dice. Cook them in a dry pan over medium heat for 2-3 minutes, stirring constantly until toasted and fragrant.

2. Add the toasted pecans to the cashew mixture and stir until mixed through.

3. Allow the pan to cool, then carefully wipe out any tiny bits of leftover toasted pecans with a bit of folded paper towel, as they can burn when you use the same pan to cook the candied pecans.

Candied Pecans

12 whole pecans (3 pecans per tart) about ¼ cup

2 tbsp. maple syrup

Instructions

1. Toast the whole pecans until fragrant in a dry pan over medium heat for about 2 minutes, stirring frequently so they don’t scorch.

2. Add in the maple syrup and stir the pecans constantly for another 30 seconds, then take the pan off the heat. Continue stirring the pecans off the heat until the caramel coats the nuts.

3. Pour the candied pecans onto a silpat or a piece of parchment paper (on in pinch, a lightly oiled plate) and arrange them with two forks so they aren’t touching each other, and allow to cool.

Don’t touch the hot caramel or the candied nuts until they are cool. It’s super tempting to touch hot sugar, but you don’t want to burn yourself.

If you stir the nuts too long over the heat, the syrup can crystallize, and the coating on the pecans can go cloudy and rough textured. If this happens, it’s ok! It just means that the pecans will be extra crunchy, and they will still taste great.

4. Add about 1 ¾ tbsp. of filling to each tart shell. Top each tart with 3 candied pecans (4 candied pecans is two sweet, and 2 isn’t sweet enough) and serve.

Getting the leftover caramel off of utensils and saucepans is really easy. Just put the caramel covered utensils in the pot that you candied the pecans in, pour in some warm water and let the pan sit for an hour or two. The sugar will dissolve into the water, and you can just pour it out and put everything straight into the dishwasher.

For 12 tarts

For the filling

¾ ts. vanilla extract

1 cup raw cashews

½ cup + 1 tbsp. maple syrup

18 diglet dates – about a scant 1 cup

3 tbsp. water

3 pinches of salt

Toasted Chopped Pecans

 ¾ cup pecans

Candied Pecans

36 whole pecans (3 pecans per tart) about ¾ cup

6 tbsp. maple syrup