grass fed meat banner

How I Save Money On Grass Fed Meat (Without Coupons!)

Grass Fed Meat 1

I stumbled upon this money saving tip this past Father’s Day.

I was at my local grocery store early in the morning and on a whim decided to check out the meat section. It was a nice surprise to see that they had started carrying grass fed lamb (it used to be that in my area only Whole Foods carried grass fed lamb).

The grass fed lamb ribs were pretty expensive though, about $15 / lb and I wasn’t quite in the mood to spend that much. So I kept browsing and saw that they also had grass fed ground lamb.

Then I looked at the price – $6.99 / lb. Eh, not cheap but not too terrible either.

Then I saw the 50% off stickers.

Huh?

Grass fed lamb for $3.50 / lb? That is a great deal!

As it turns out, the sell by date was June 17th (which was the same day as Father’s Day this year) and that’s why the ground lamb was 50% off. That was the last day that they could sell the lamb before they took it off the shelves.

One of my family members told me later that grocery stores also do the same thing with dairy products (they discount them on the sell by date).

The sell by date is not the same as the expiration date. There’s more info on this here.

Obviously, if you’re going to buy meat on the sell by date, you do that at your own risk (’cause no one can completely guarantee the safety of raw meat).

Personally though, I looked for packages where the plastic wrap wasn’t puffy and the meat still smelled ok.

I wouldn’t use this meat for anything like a rare burger, and I would make sure to cook it thoroughly.

I ended up buying 4 lbs of grass fed meat for about $14. The ground lamb was packaged in those vacuum packed blocks and looked just as good as the ground beef that was packaged the same way (but was a week or two away from the sell by date).

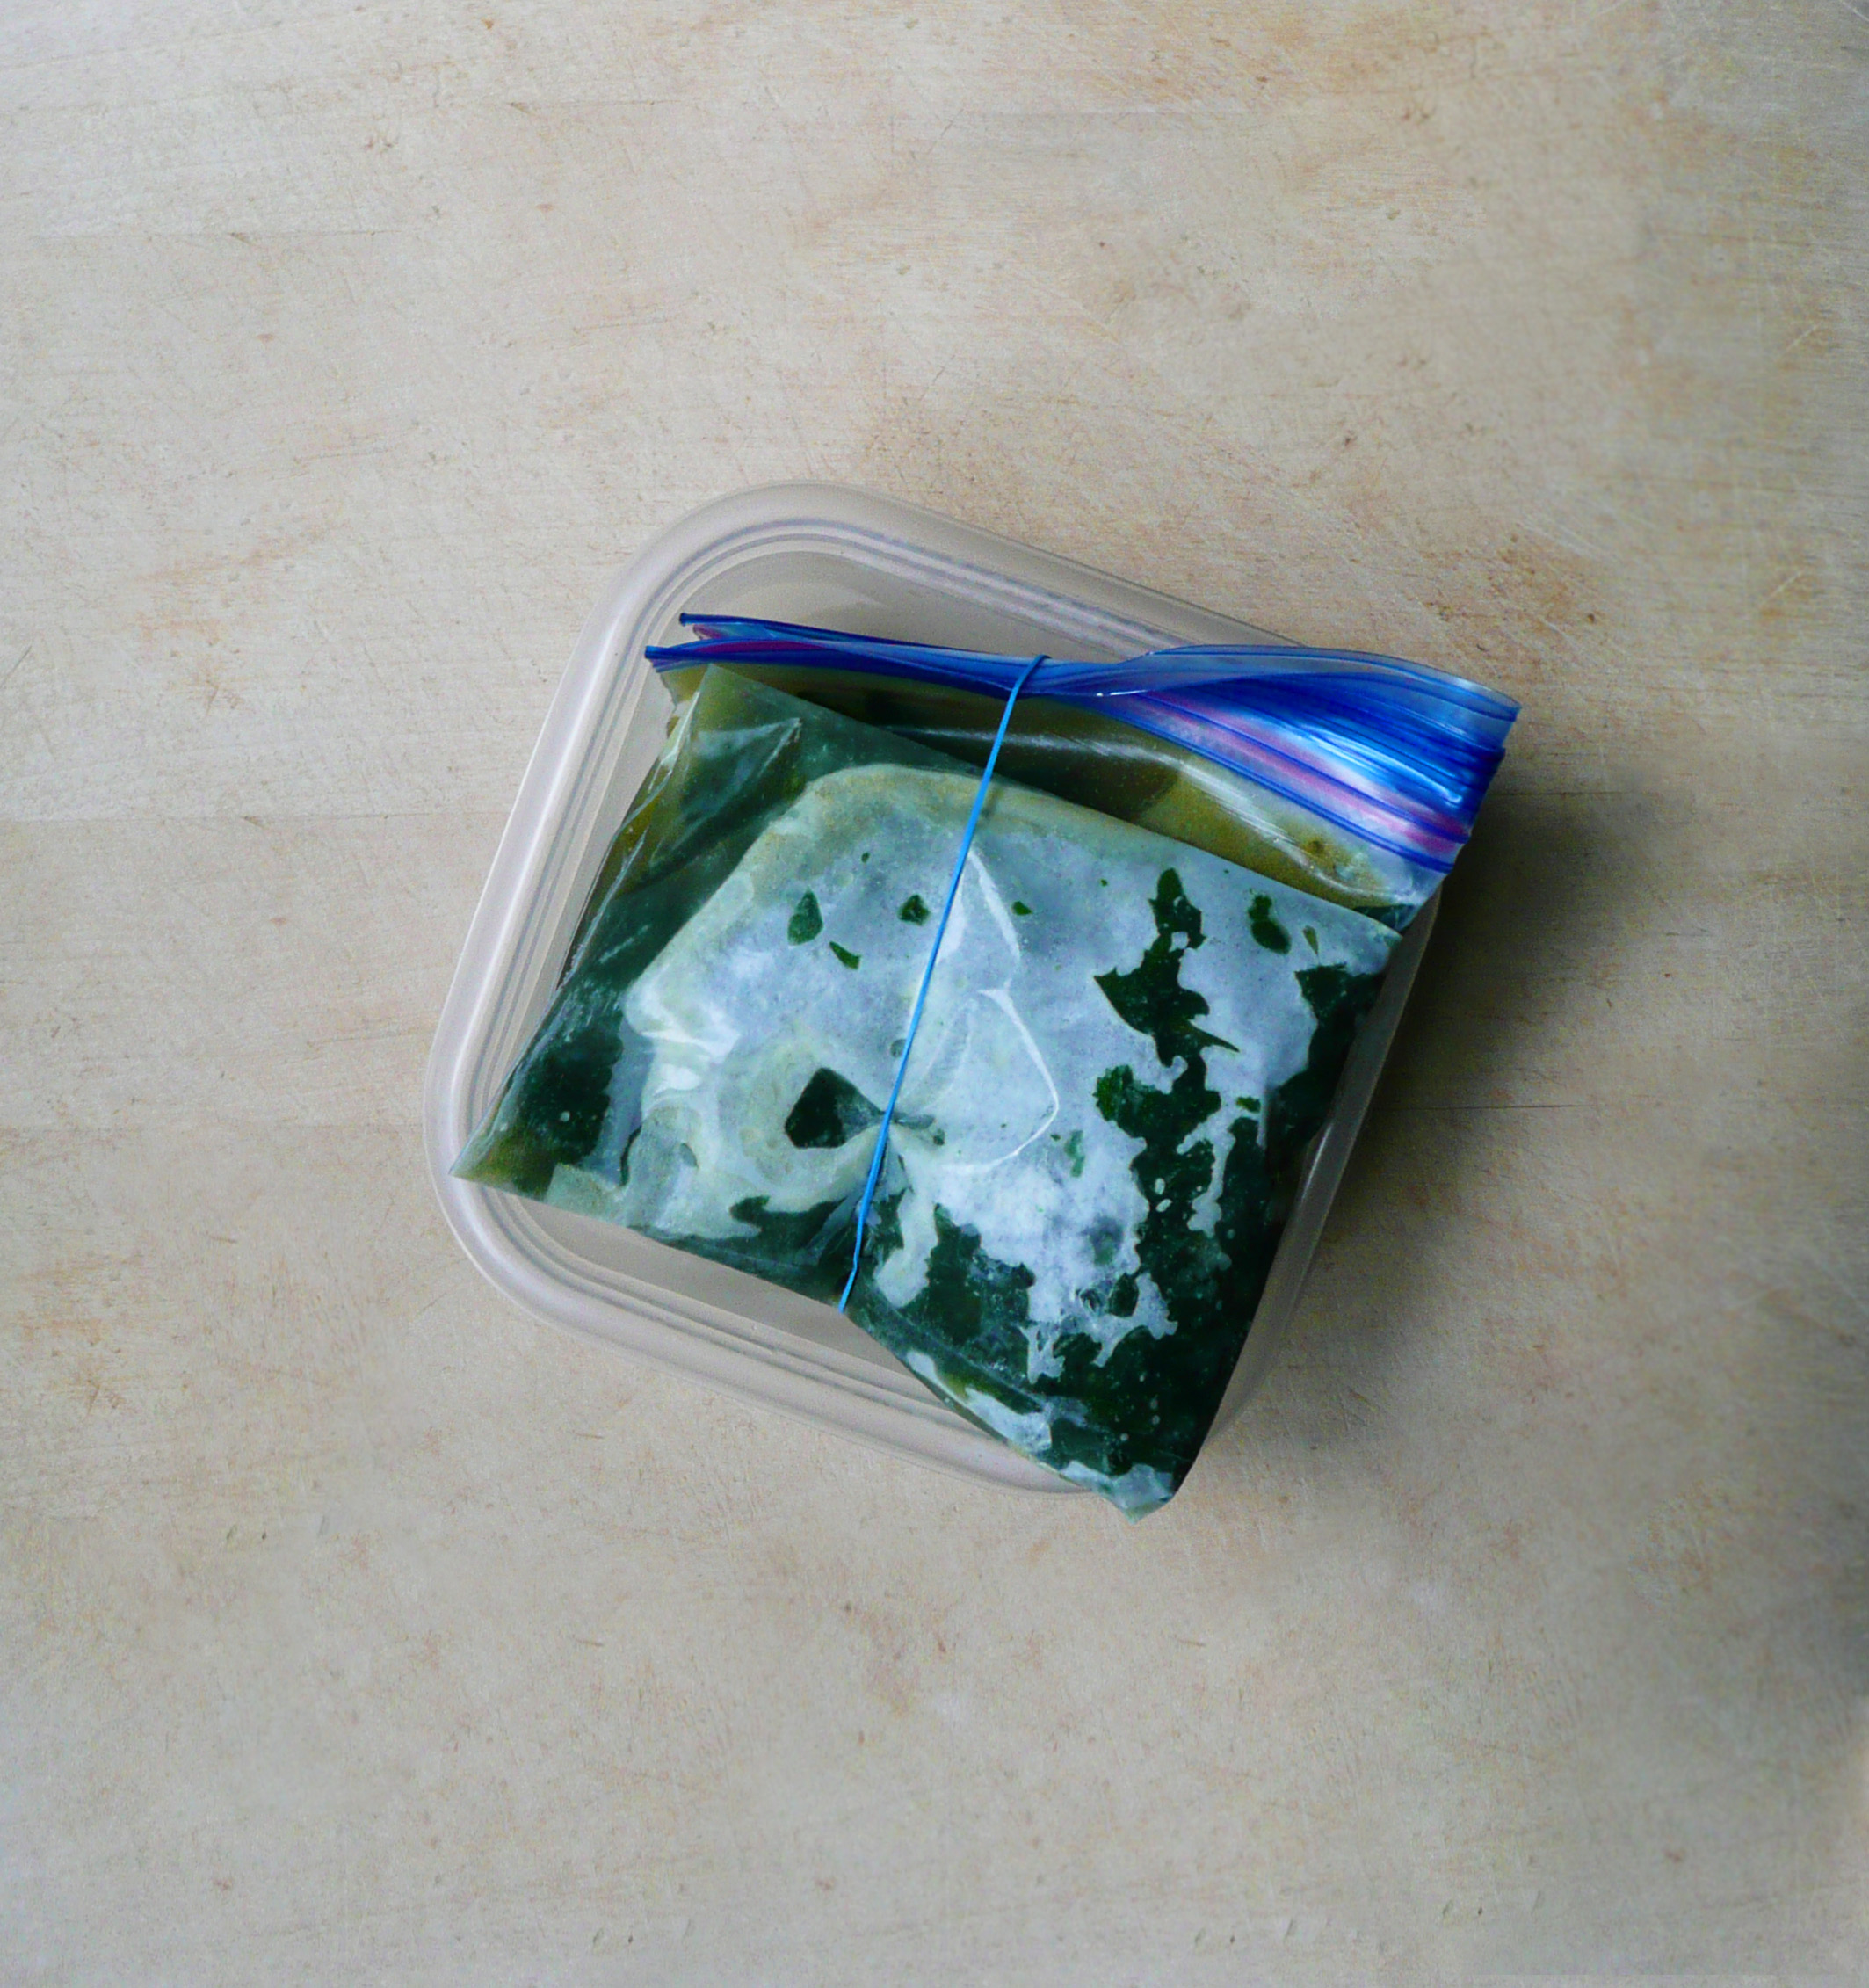
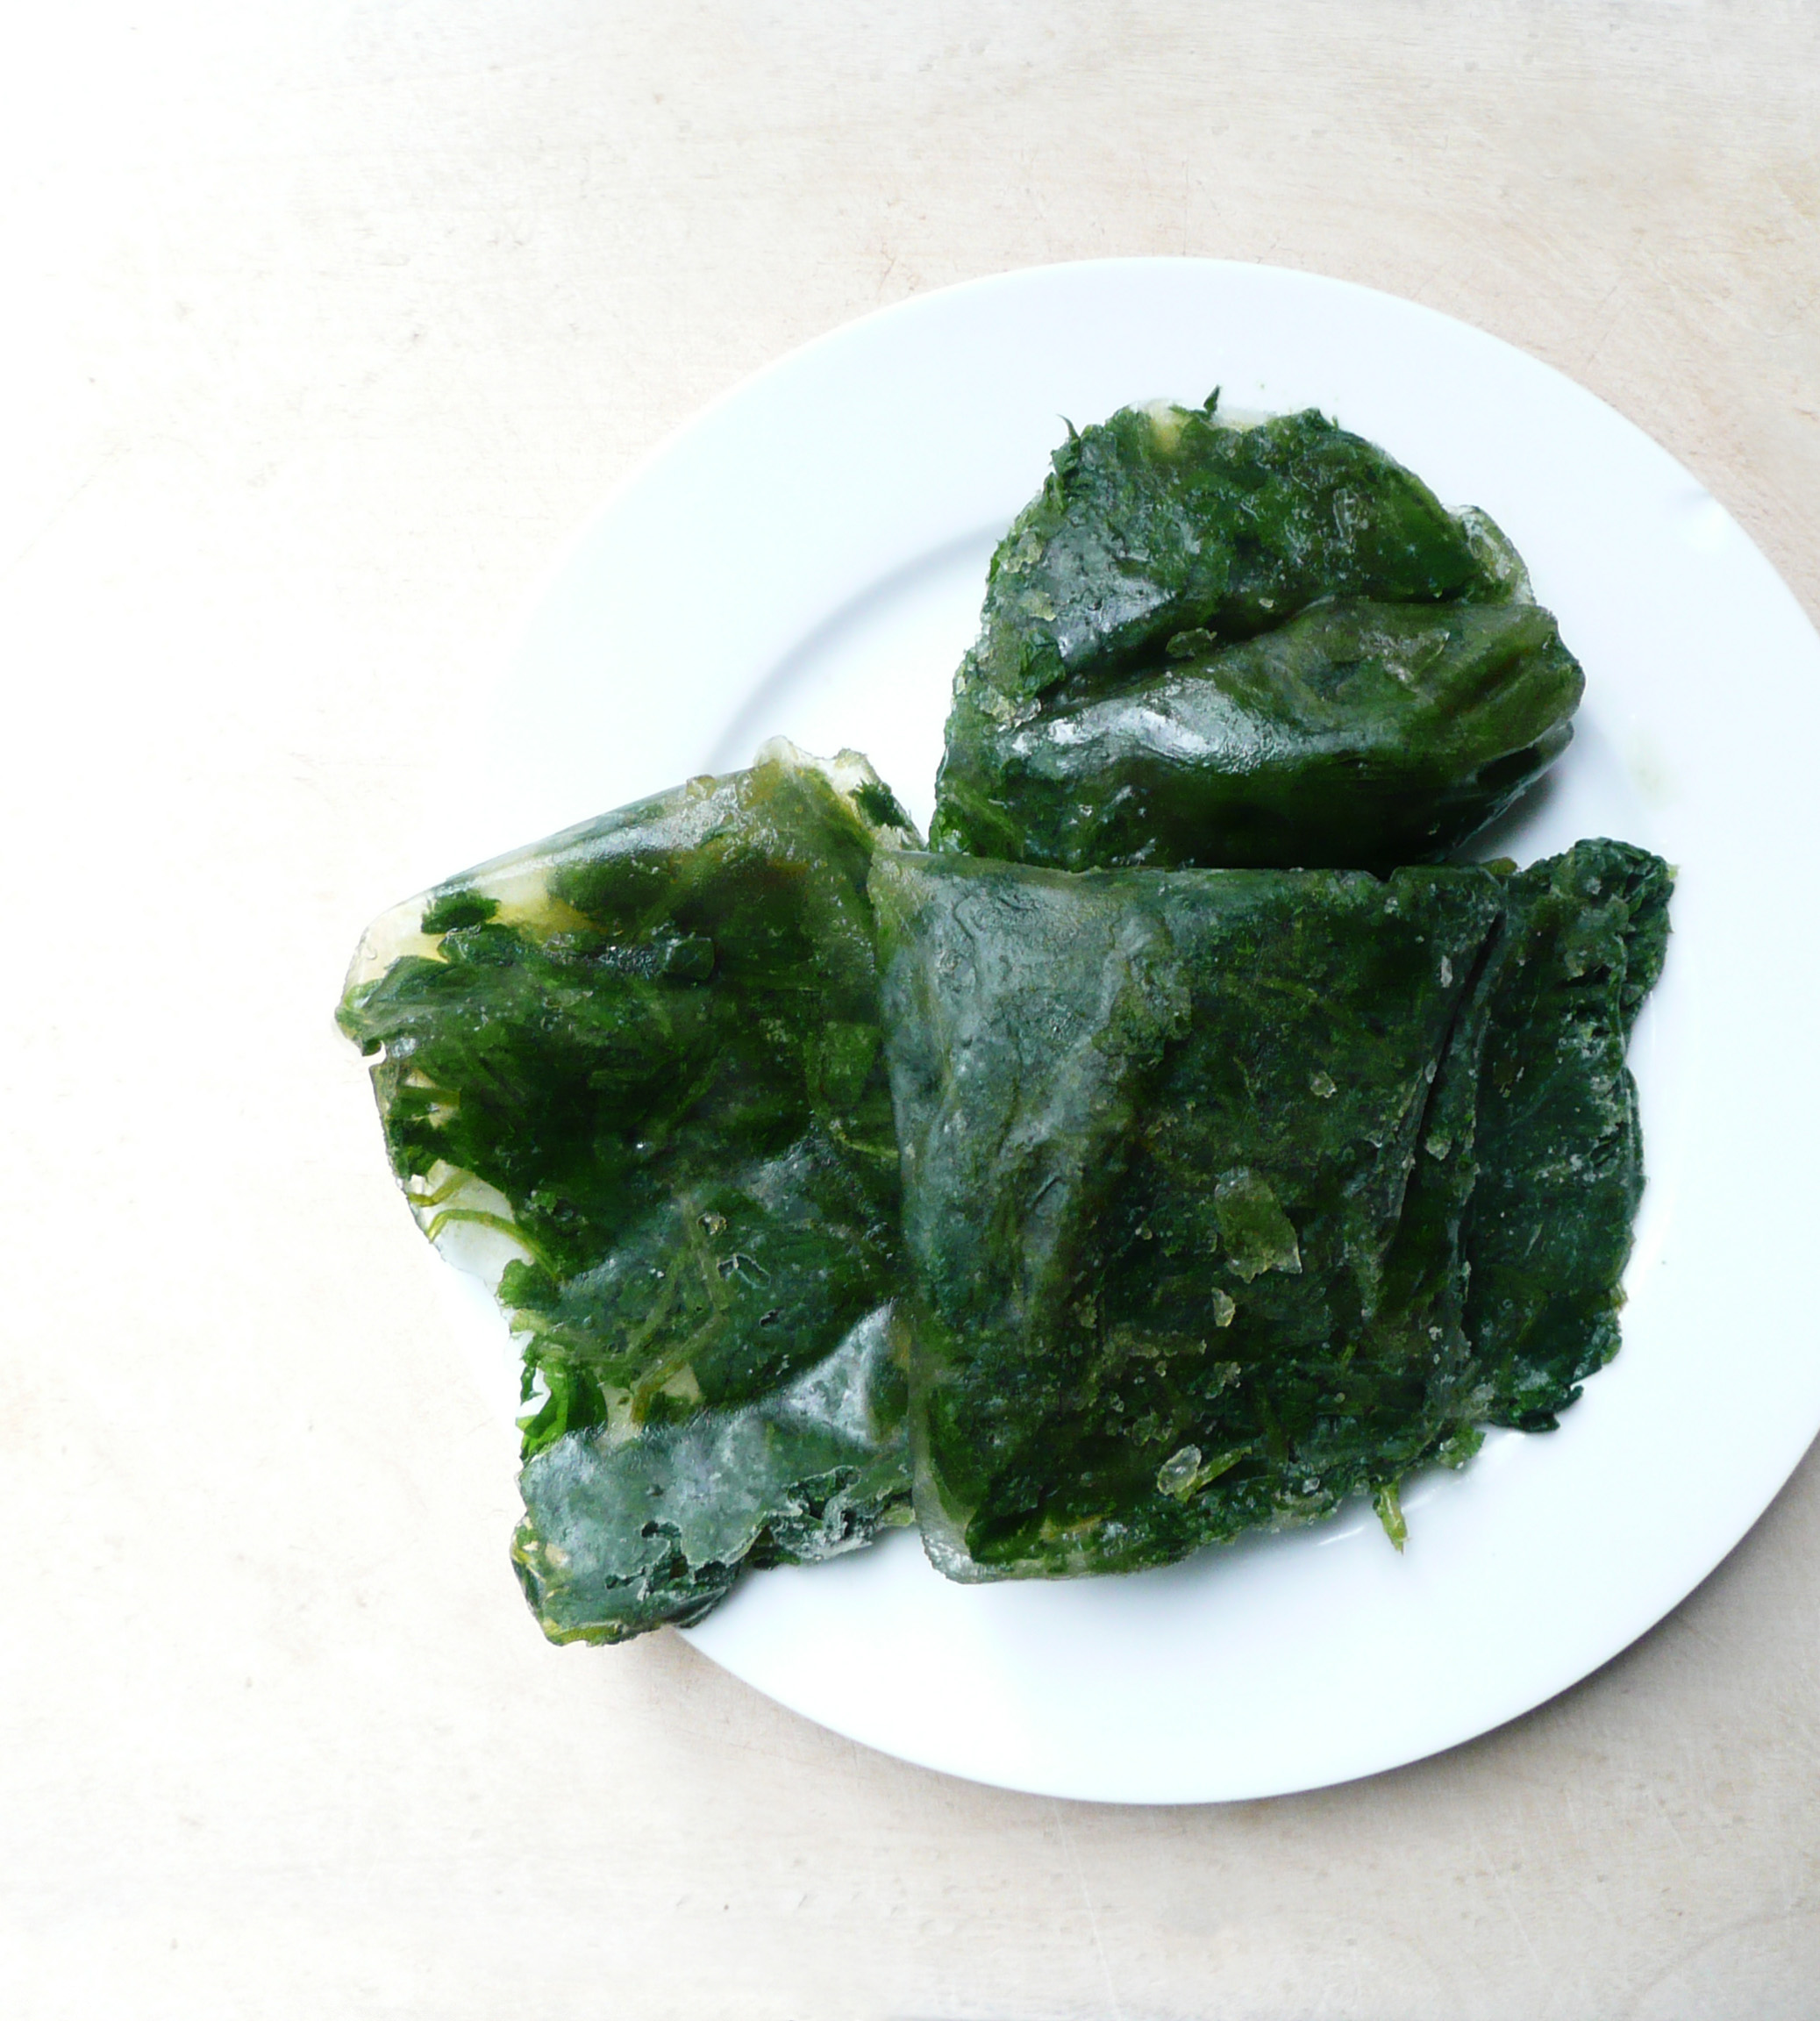
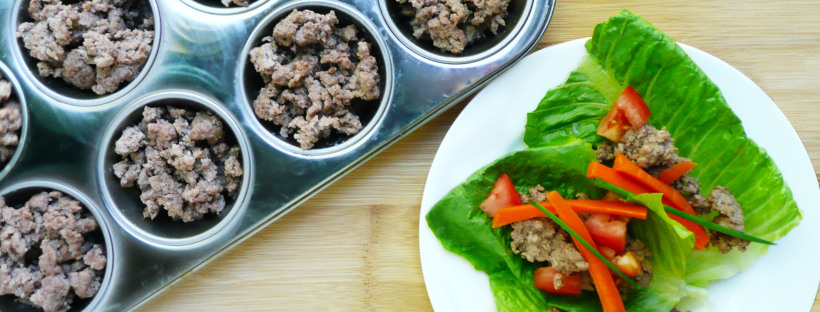
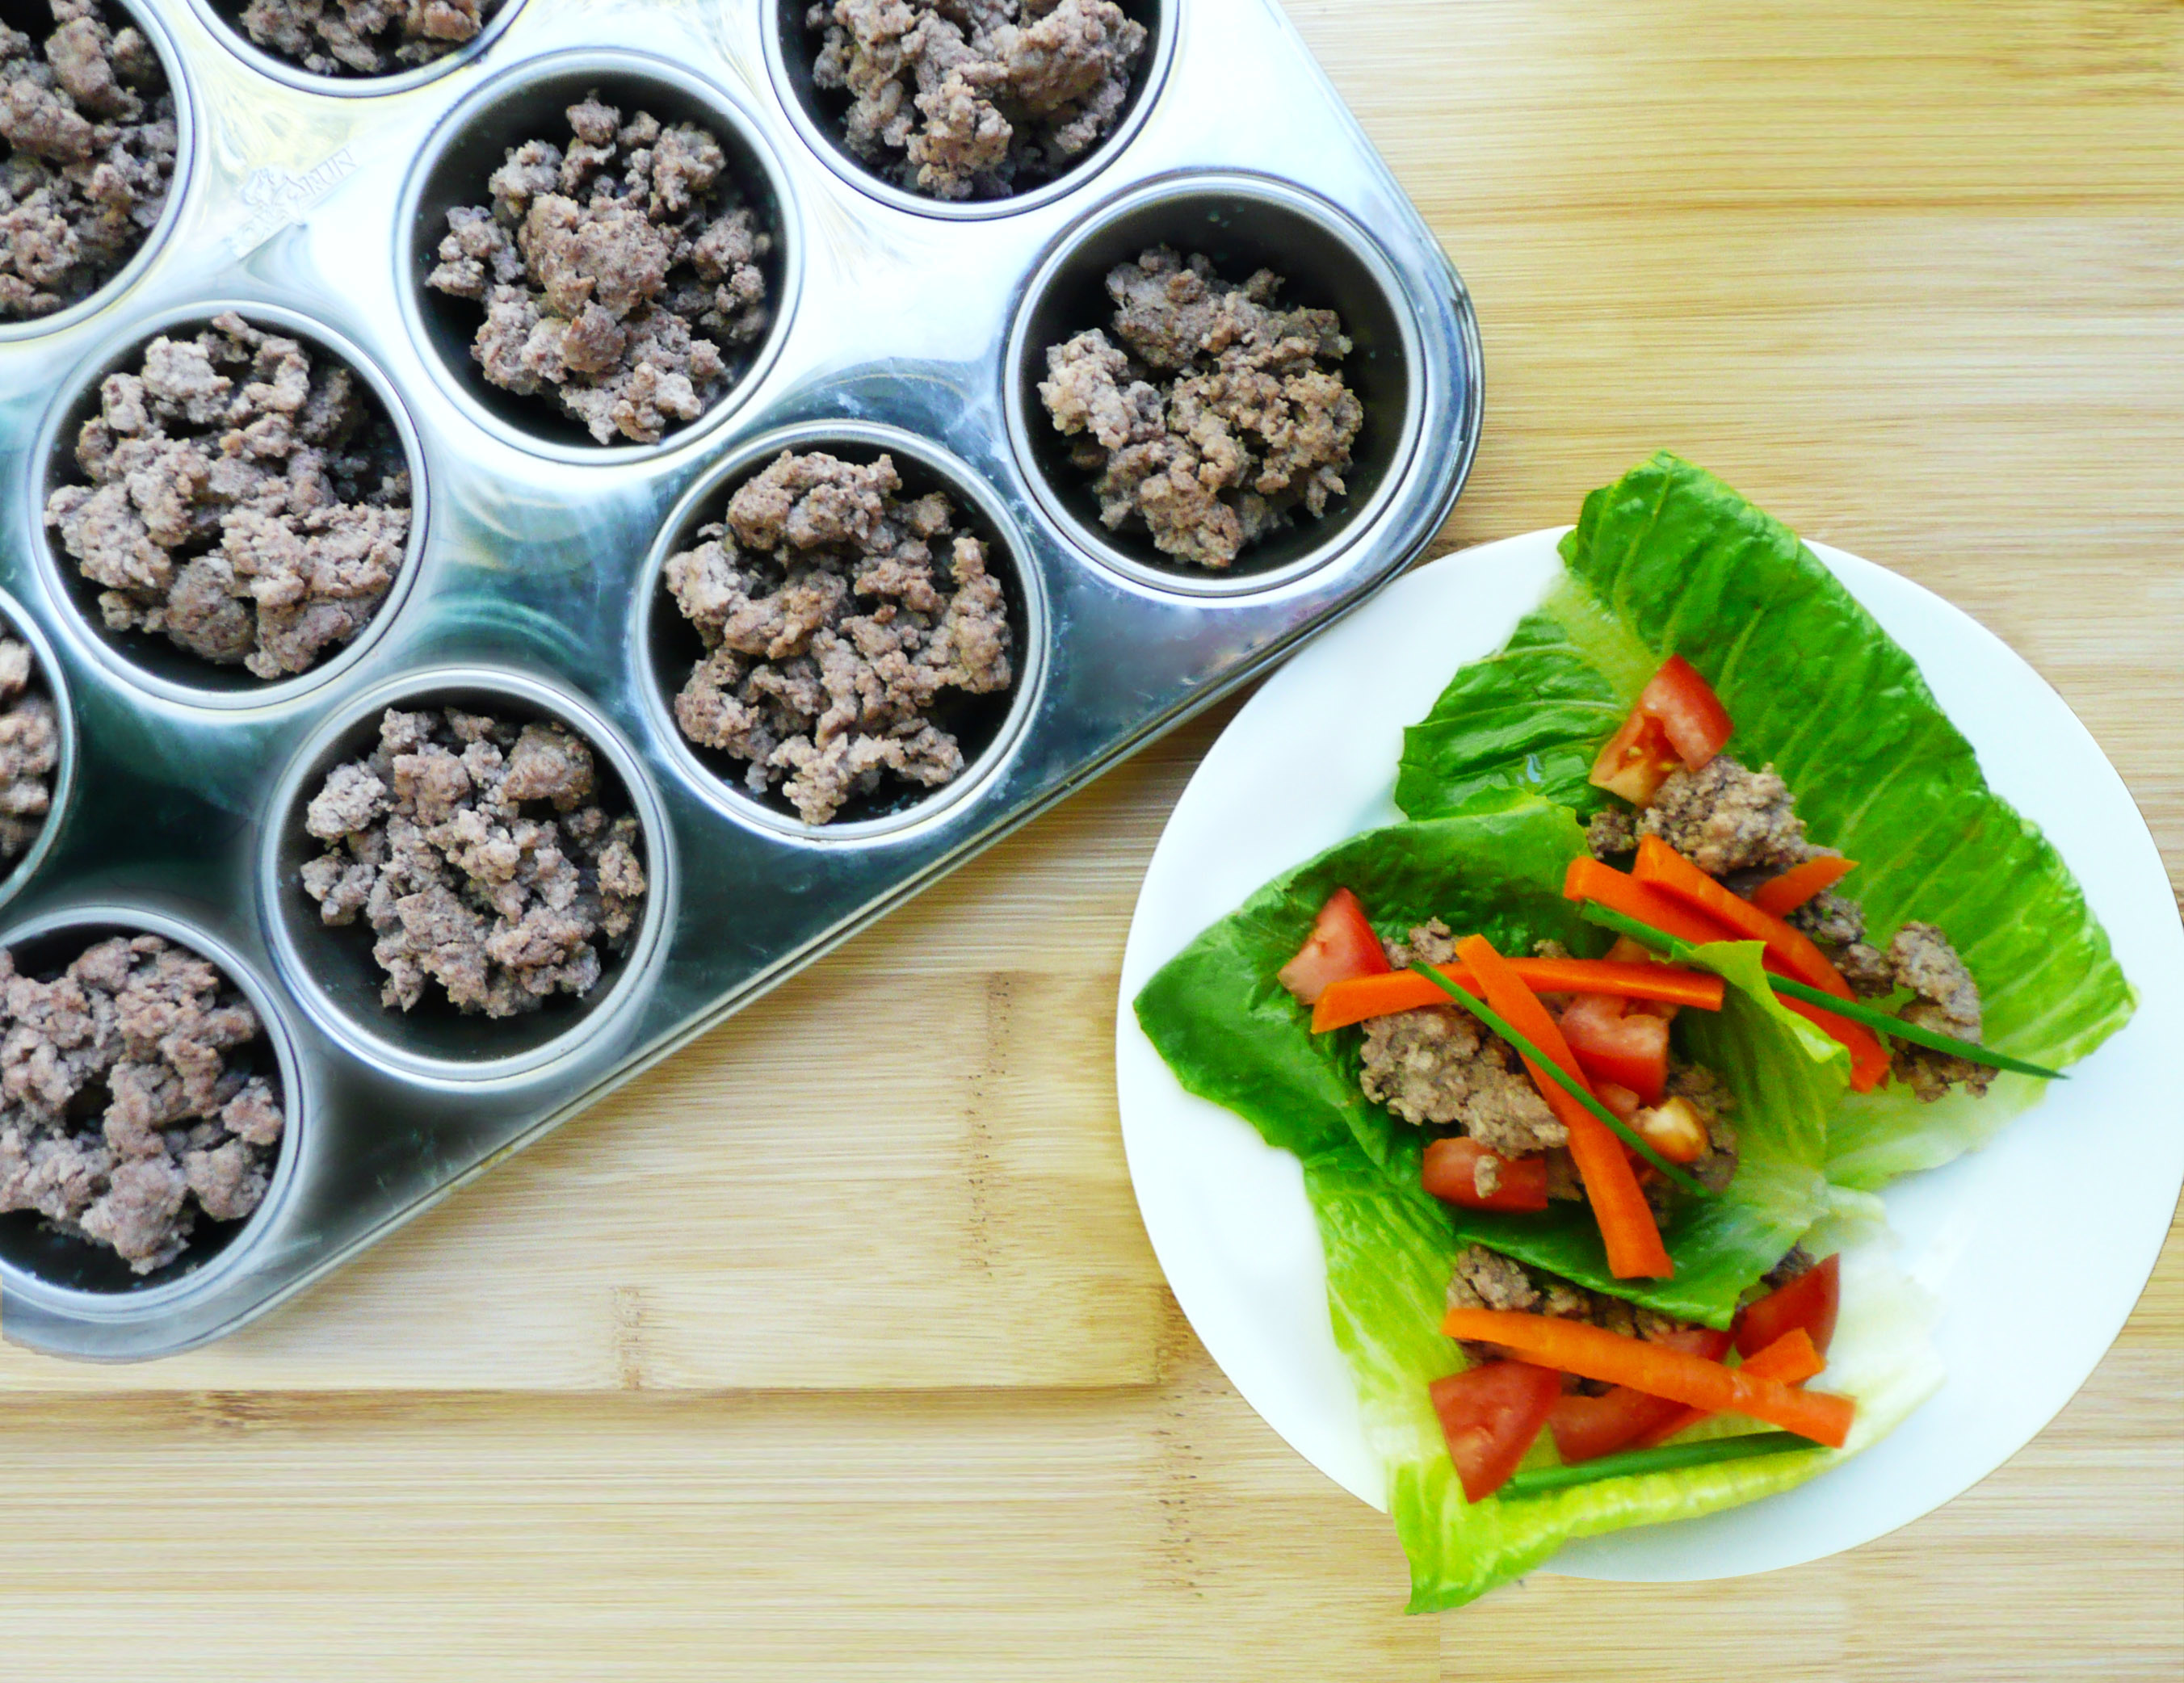
So I took it all home, cooked it off in a big pot, drained off the excess fat and spooned the cooked lamb into muffin pans and froze it. I then transferred the blocks of ground lamb into ziptop bags.

The little individual portions of frozen lamb are really convenient and make life a lot easier as they defrost quickly and you can add them to anything for a quick dinner.

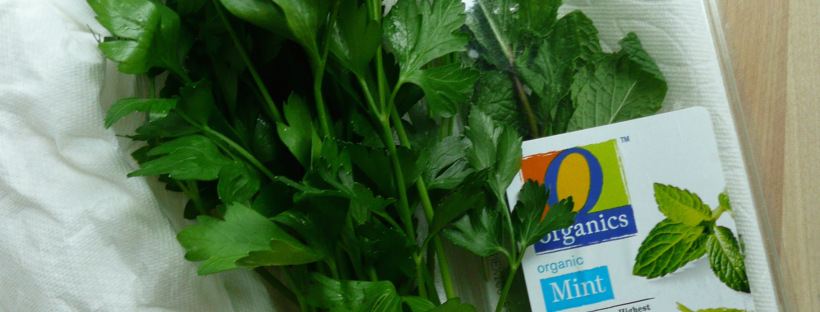
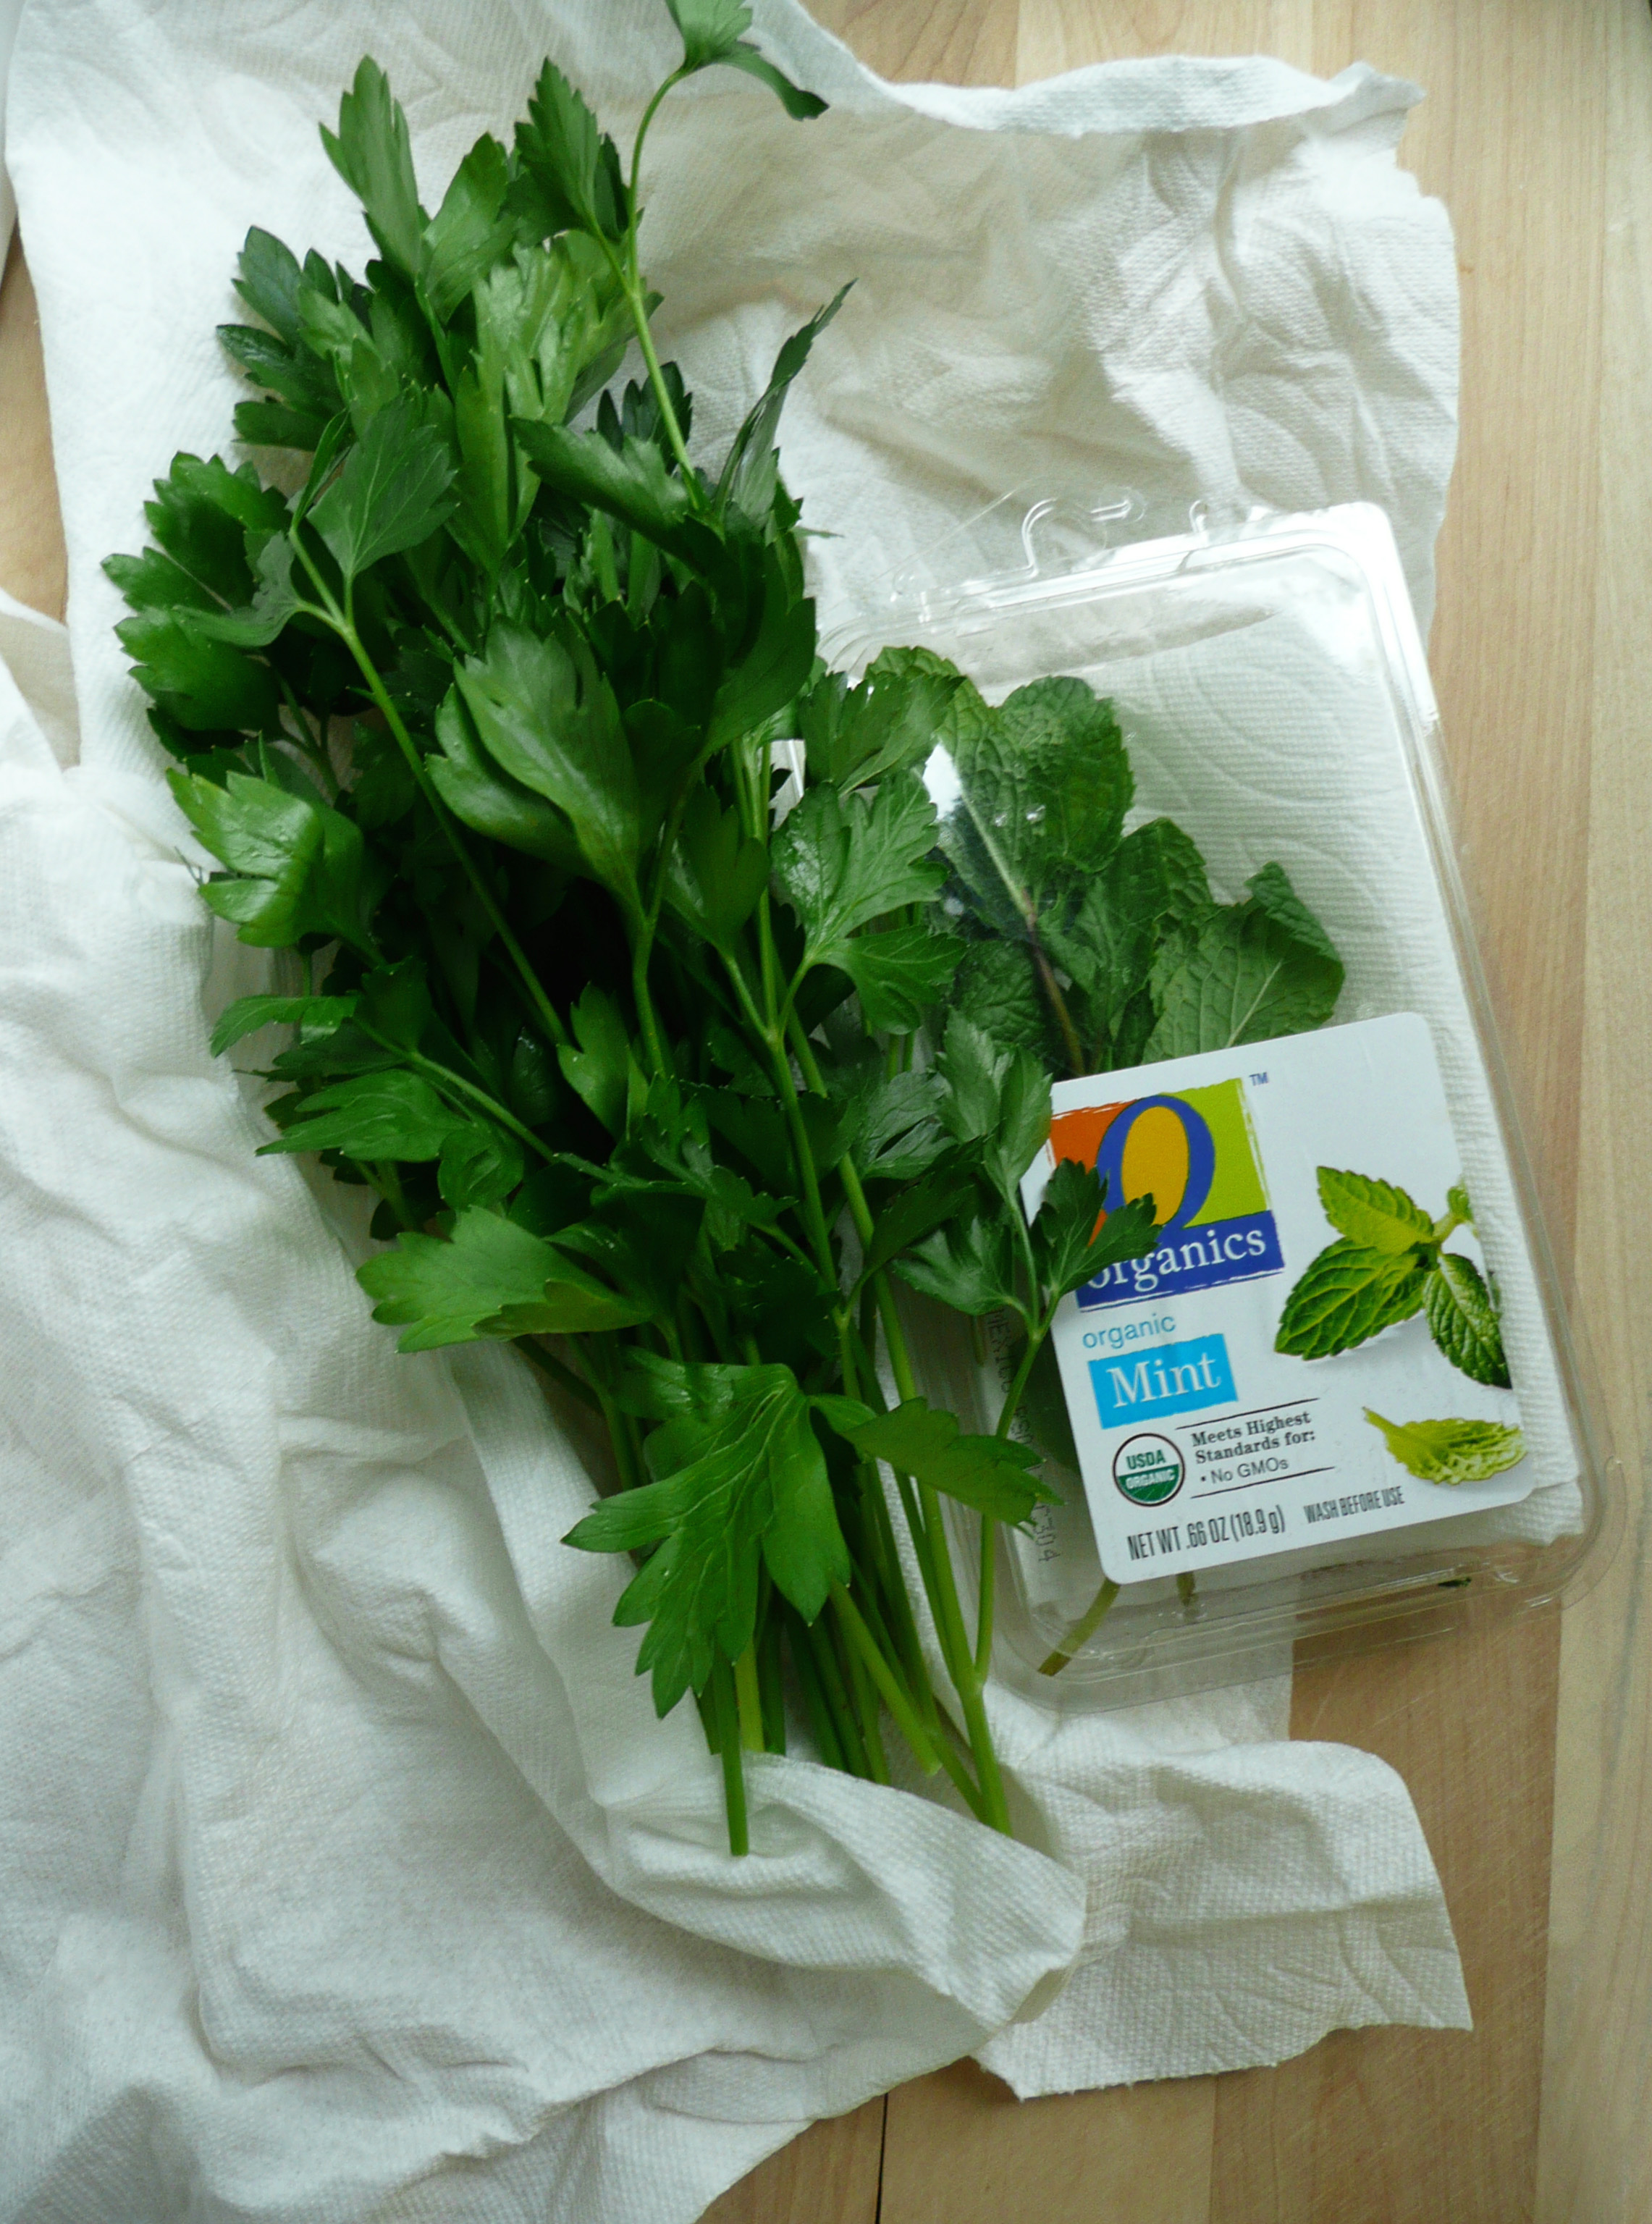
So far, I’ve tossed these little blocks of ground lamb into pasta sauce and paleo chili, used them to make Cumin Lamb Lettuce Cups, and made them into a soup with leftover greens and vegetables that I had in my fridge.

Altogether I got 24 half cup servings of ground lamb for $14, which works out to $0.58 per serving. This amount of meat will last me about 2 months (I tend not to eat meat every day).

If I were to do this again – (which I definitely will – saving money is pretty awesome!)

– I would go to my local grocery store and make a note of the sell by dates of the meat was I interested in buying. (This is pretty easy to do during my weekly shopping trip.)

– I would either go to the grocery store the night before the sell by date (sometimes grocery stores will put the discount stickers on the meat the night before) or early in the morning the day of (like before 8:30 am).

– I would cook the meat off that day and freeze it.

I hope that this tip helps to save you some money too!


What To Do With Leftover Garlic

honey garlic 4

(fresh garlic + raw honey)

Finding giant bags of organic peeled garlic at the grocery store (or at Costco) usually seems like a huge win. It’s not very expensive (yay!) and will save you tons of time peeling garlic when you’re cooking.

Cut to a week later and you realize that even though you’ve been eating more garlic than normal (because you don’t have to peel it, throwing extra garlic into dishes is super easy) you’ve barely made a dent in your giant bag of garlic.

Peeled garlic also doesn’t have as long of a shelf life as unpeeled garlic either, so now  you’re thinking that it’s unlikely that you’ll be able to eat all of it before it goes bad.

But don’t worry! Here are two ways of storing extra garlic cloves so that you can use them up when you’re ready to.

1. Freeze The Extra Garlic Gloves

frozen garlic

This is super simple to do and you can use up all your garlic cloves in your own time.

Instructions

1. Pour the extra garlic cloves that you want to freeze into a bowl and set aside. Add a folded paper towel or two to the garlic cloves in the original package that they came in that you want to keep fresh in your fridge (the paper towel will absorb any excess moisture and the garlic will keep fresher for longer). Replace the paper towel every couple of days.

2. Give the excess garlic cloves a good rinse. Transfer them into ziploc freezer bags and squeeze out as much air as possible, and freeze them flat.

3. When you’re ready to use them, take out as many cloves as you need and run them under warm water for a few seconds to defrost. Chop and use as usual.

They will have a softer texture than fresh garlic cloves, and the flavor might be slightly milder, but you can always add another clove or two to your dish to balance that out.

2. Make Fermented Garlic Honey

I love watching the It’s Alive series on the Bon Appétit YouTube channel. It is hilarious. The editing and the host are fun and you learn a lot about fermentation. Here’s the episode about fermenting garlic in honey.


I’ve made garlic honey a few times now. I’ve made a few other fermented things before (red cabbage kimchi kraut and lacto-fermented garlic cloves) but the fermented garlic honey is by far the easiest thing to make if you’re looking to start preserving food using fermentation.

Garlic honey is delicious drizzled onto gluten-free bread, or homemade tortilla chips. I like to eat a few cloves of this when I have a cold. I’m not sure if it does anything to fight off a cold, but it’s a nice treat to have nonetheless.

I’m not a expert in this, so please watch the video above for more info, especially about adding the splash of apple cider and keeping the pH below 4.6 to be on the safe side.

Instructions

1. Rinse off your garlic cloves with filtered water (chlorine can prevent or slow fermentation). If you use straight tap water, that’s ok too. Just rinse them off with filtered water. Drain off as much water as possible and place them onto plates lined with paper towels to dry.

The next day replace the paper towels with dry ones, and leave the garlic cloves to dry another day until they are completely dry to the touch.

2. Pick out the cloves the look a little rough and trim off any blemishes or dark spots on the cloves. Put the cloves onto a cutting board and bash them with a knife or cut them in half. Add all the garlic into a clean dry wide mouth mason jar and cover them in raw honey (leaving about 2-3 inches of headroom in the jar).

I didn’t leave enough headroom in my jar, and the honey has leaked a little out of the top of the jar while it’s been fermenting (not a big deal, you can just wash it off).  Give everything a good stir so that the garlic and honey are well combined.

honey garlic 5

3. Put the lid on the mason jar and don’t screw the jar completely tight, leave it a little loose so that any gases produced during the fermentation can escape. Set the jar aside in an area without any direct sunlight where it wont be disturbed. I set my jar on a small plate so that it will catch any honey that might leak out from the top of the jar during fermentation, which makes it easy to rinse the honey off of the plate and the outside of the jar every few days.

Every day for the first few days, screw the lid on tightly and turn the jar upside down so that the honey can cover all the garlic cloves. Turn the jar right side up, loosen the lid, and place it back in it’s spot again.

After the first week, you can just do this every few days or so. After a month, you can just leave it alone with the lid a little loose and it should look after itself. Check the pH periodically to make sure that it stays below 4.6.

I’ve never had a jar of garlic honey go bad on me yet, but if you have any mold growing in the jar or if anything looks funny, when in doubt, throw it out.

honey garlic 1

This is what the garlic will look like after 6 months. The flavor of the garlic mellows out over time, and the cloves become sweet and chewy. The longer the garlic sits in the honey, the mellower the garlic flavor and the chewier they get. If you have a friend who loves garlic, a jar of this garlic honey makes a great gift.


What To Do With Leftover Limes

P1080003-2

Limes are a great way to add zip and flavor to all kinds dishes from tacos, to pho, or sorbets, or pad thai. The the little burst of bright sourness that they give can instantly make a dish go from “good” to “Wow! This tastes AMAZING!”

Organic limes can be a little hard to find at my local grocery store. They also tend to be expensive if I don’t buy them in bulk. The cheapest place that I’ve seen them is at Trader Joe’s for about $2 for a bag for 4 -5 organic limes, so that’s where I tend to buy them from.

Limes are also not an ingredient that I tend to use very often, so before I figured out that there was a way to freeze them, I tended to buy a bag of limes when I really only needed one or two, and then forget that I had them at the back of the fridge until eventually I had to throw them out.

But no more! If you ever find yourself with leftover limes, here’s how to freeze them so that you have them on hand whenever you need them.

Instructions

1. Give your limes a good scrub with a vegetable brush. Juice them, and pour the juice into ice cube trays (any ice cube tray will do, this is just a circular one). Once the juice is frozen, transfer the lime juice cubes into a ziploc bag and keep in the freezer until ready to use.

You can set a few of the lime juice cubes in a little bowl on the counter to defrost, and then use the juice as needed.

2. Take the lime rinds and freeze them in a separate ziploc bag. You can zest the lime rinds from frozen when you need lime zest. The zest will defrost almost instantly once grated, and you can use it the same way that you would fresh lime zest.

If you find that the lime juice is a little bitter (some limes are bitter and some aren’t, I’m not entirely sure why) you can add a little maple syrup (if you’re vegan) or honey to your dish and it should balance out the bitterness.

I did this recently when I was making pico di gallo for a family get together and found the the limes that I had were a little bitter. So I added a little honey to the pico, and that smoothed out the bitterness and the bright flavor of the lime still came through. The pico came out great, and everyone happy ate their tacos and even went for seconds.

I hope that this helps you make the most of the times when you have fresh limes! If you use this tip, let me know what dishes you used your frozen limes for. It would be great to see all the different dishes that everyone was able to make with limes that they saved.


What To Do With Leftover Baby Greens

frozen greens 1

Sometimes when you go grocery shopping, you see a gigantic bag of organic baby greens for $5 and think “Hey! That’s a great deal!”

Once you get home though, you realize that there is no way that you’re going to be able to eat that entire bag of baby greens before they go bad. I had the same thought with a big bag of baby kale. But have no fear! There’s a super easy way to get the most out of your purchase.

And it’s ok to do this after your greens have started to look a little worse for wear. You may have to compost a few more leaves of baby greens, but you should still be able to save most of your baby green bounty.

Instructions

1. Take two large bowls. Pick out the greens that have started to get slimy (you don’t want those) and place them in one bowl, and the still good greens in the other.

Compost the old greens, and then give the fresh greens a few good rinses in cool water. Pour the baby greens with the rinse water into a large strainer and drain off the excess water (it’s ok if there’s still a bit of water on them, you don’t want them to be perfectly dry).

2. Place your greens in a large pot with a few tablespoons of a neutral flavored oil (I like avocado oil). The oil makes it easier for your body to absorb the nutrients in the greens.

If the greens are really dry, add about 1/2 – 1 cup water to the pot with the greens. Cook over medium to medium high heat (depending on how fast you want the greens to cook down) stirring occasionally until the greens have all wilted down.

3. Wait for the greens to cool to room temperature. Spoon the greens into a freezer ziploc bag (you may need more than one bag depending on how many greens you have) and flatten the bag so that the greens are evenly distributed inside of the freezer bag.

Fold the bag into thirds the way that you would fold a letter before putting it into an envelope (please see top photo for reference). You should be left with a long rectangle, then do your best to fold this long rectangle into thirds and wrap a rubber band around the whole thing, place it into a shallow dish of some sort (just to catch any drips on the off chance that there are any leaks) and pop it into the freezer and freeze until solid.

frozen greens 2

(They are kind of pretty aren’t they? The one on the left almost looks like vegetable stained glass, or baby kale stained glass.)

Once frozen, you should be left with these squares of baby greens. You can throw them directly into soups, or defrost them and add them to smoothies, or stir fry them with a bit of garlic and maybe a squeeze of lemon juice.

I also sometimes just throw a square of frozen baby greens into a bowl with some cooked leftover rice and sweet potatoes and put it into the rice cooker to steam for about 10-15 minutes, and ta-da! Add a little Thai Peanut Sauce Dressing that’s a simple and delicious dinner.

However you use your frozen baby greens, I hope that this trick helps you to make the most of them.

fresh herbs

How to Store Fresh Herbs

P1060471-2

When I used to buy herbs, I always seemed to buy more than I needed. If I recipe called for 2 tbsp of fresh parsley, I never seemed to know what to do with the rest of the herbs, or how to keep them from wilting before I could use them up.

After much experimentation, I throw away way fewer herbs now.

Here is how to keep your herbs fresh –

For Parsley or Cilantro

When you get home from the grocery store, take the rubber band off of the bunch of herbs. Pick out all the wilted sprigs, then loosely roll the bunch of herbs in a few sheets of paper towel. Place the roll back inside of a closed ziploc bag and place in the fridge.

Every few days, take the herbs out of the refrigerator, pick out the wilted sprigs and roll the non-wilted herbs in a few new sheets of paper towel. Compost the old paper towels and your herbs will probably keep for at least a week. Make sure you put them in a spot in your fridge where they won’t accidentally get frozen.

Quick ways to use up Parsley – blend your extra parsley into a pesto with some garlic, almonds, olive oil, salt and pepper. You can also add in kale, or basil, or cilantro to the pesto if you like. Tabbouleh is a great dish to make with excess parsley, and I’ll be posting a recipe for Quinoa Tabbouleh soon.

You can also blend a handful of the parsley with an apple, lemon juice, honey, ginger, water, and blueberries for a smoothie that helps with inflammation and joint pain.

Quick ways to use up Cilantro – you can make pico di gallo with chopped onions, tomatoes, lime juice, salt, and freshly chopped cilantro.

For herbs in clam shells – pick out any wilted stems and leaves, then fold 1-2 paper towels so that they will fit inside the container. Take the herbs out the clam shell, place the folded paper towel on the bottom of the container, put the herbs on top of the paper towels and close the clam shell and place it in your fridge.

Every few days, take the herbs out, pick out the wilted bits, and replace the paper towel before placing it back in the fridge. The herbs should last a few days longer using this technique.

Quick ways to use up Mint – You can add extra mint to tabbouleh, or make a great tea with it. I like to drink mint tea in the morning as it wakes you up without caffeine, and it has a naturally sweet flavor, so you don’t need to add any sweeteners.

I usually add about 7 mint leaves and 2 mint stalks to 1.5 cups of hot water and let it steep for at least 3 minutes before drinking. I leave the mint in the tea as I drink it, but you can remove them from the cup if you like.


baby spinach

How to Keep Baby Spinach Fresh for Longer

baby spinach

These days, most baby greens come prepackaged and washed in those plastic clam shells at the supermarket. They are super convenient, but the greens seem to always spoil quickly. As it turns out there is a very easy fix for this.

When you open the package, take 2-3 paper towels, fold them in half, and lay them on top of your greens before you close the lid and put them into the fridge. The paper towels absorb the excess moisture that can cause your greens to wilt more quickly. Every few days, check to see of the paper towels are damp. If they are, just replace them with new paper towels, and compost the used ones.

These baby spinach leaves really have been in my fridge for 2 weeks (that’s why the box is so empty, I’ve eaten most of it). This trick works great!

Different greens will have different shelf lives, even if you use this trick. Spring mix doesn’t last as long as the baby spinach does, but this will still work for that as well. This works very well for romaine lettuce, as it’s a sturdier lettuce.

I think that I’m going to post a new recipe every Saturday from now on. Occasionally I may write additional posts other days of the week. I have a number of tips for how to keep food fresh, and how to freeze foods that can spoil quickly, and I’m really excited to share those with you as well.

Please feel free to comment below, and let me know if this trick works for your lettuce too! I think that this must have saved me a small fortune (in baby greens) by now, and it feels great when you can make the most of the ingredients that you have.