Pecan Tarts

Pecan Tarts – Dairy Free, Gluten Free, Vegan

P1060884

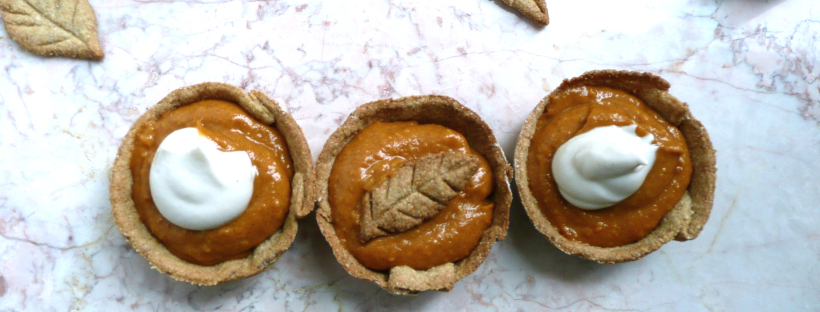
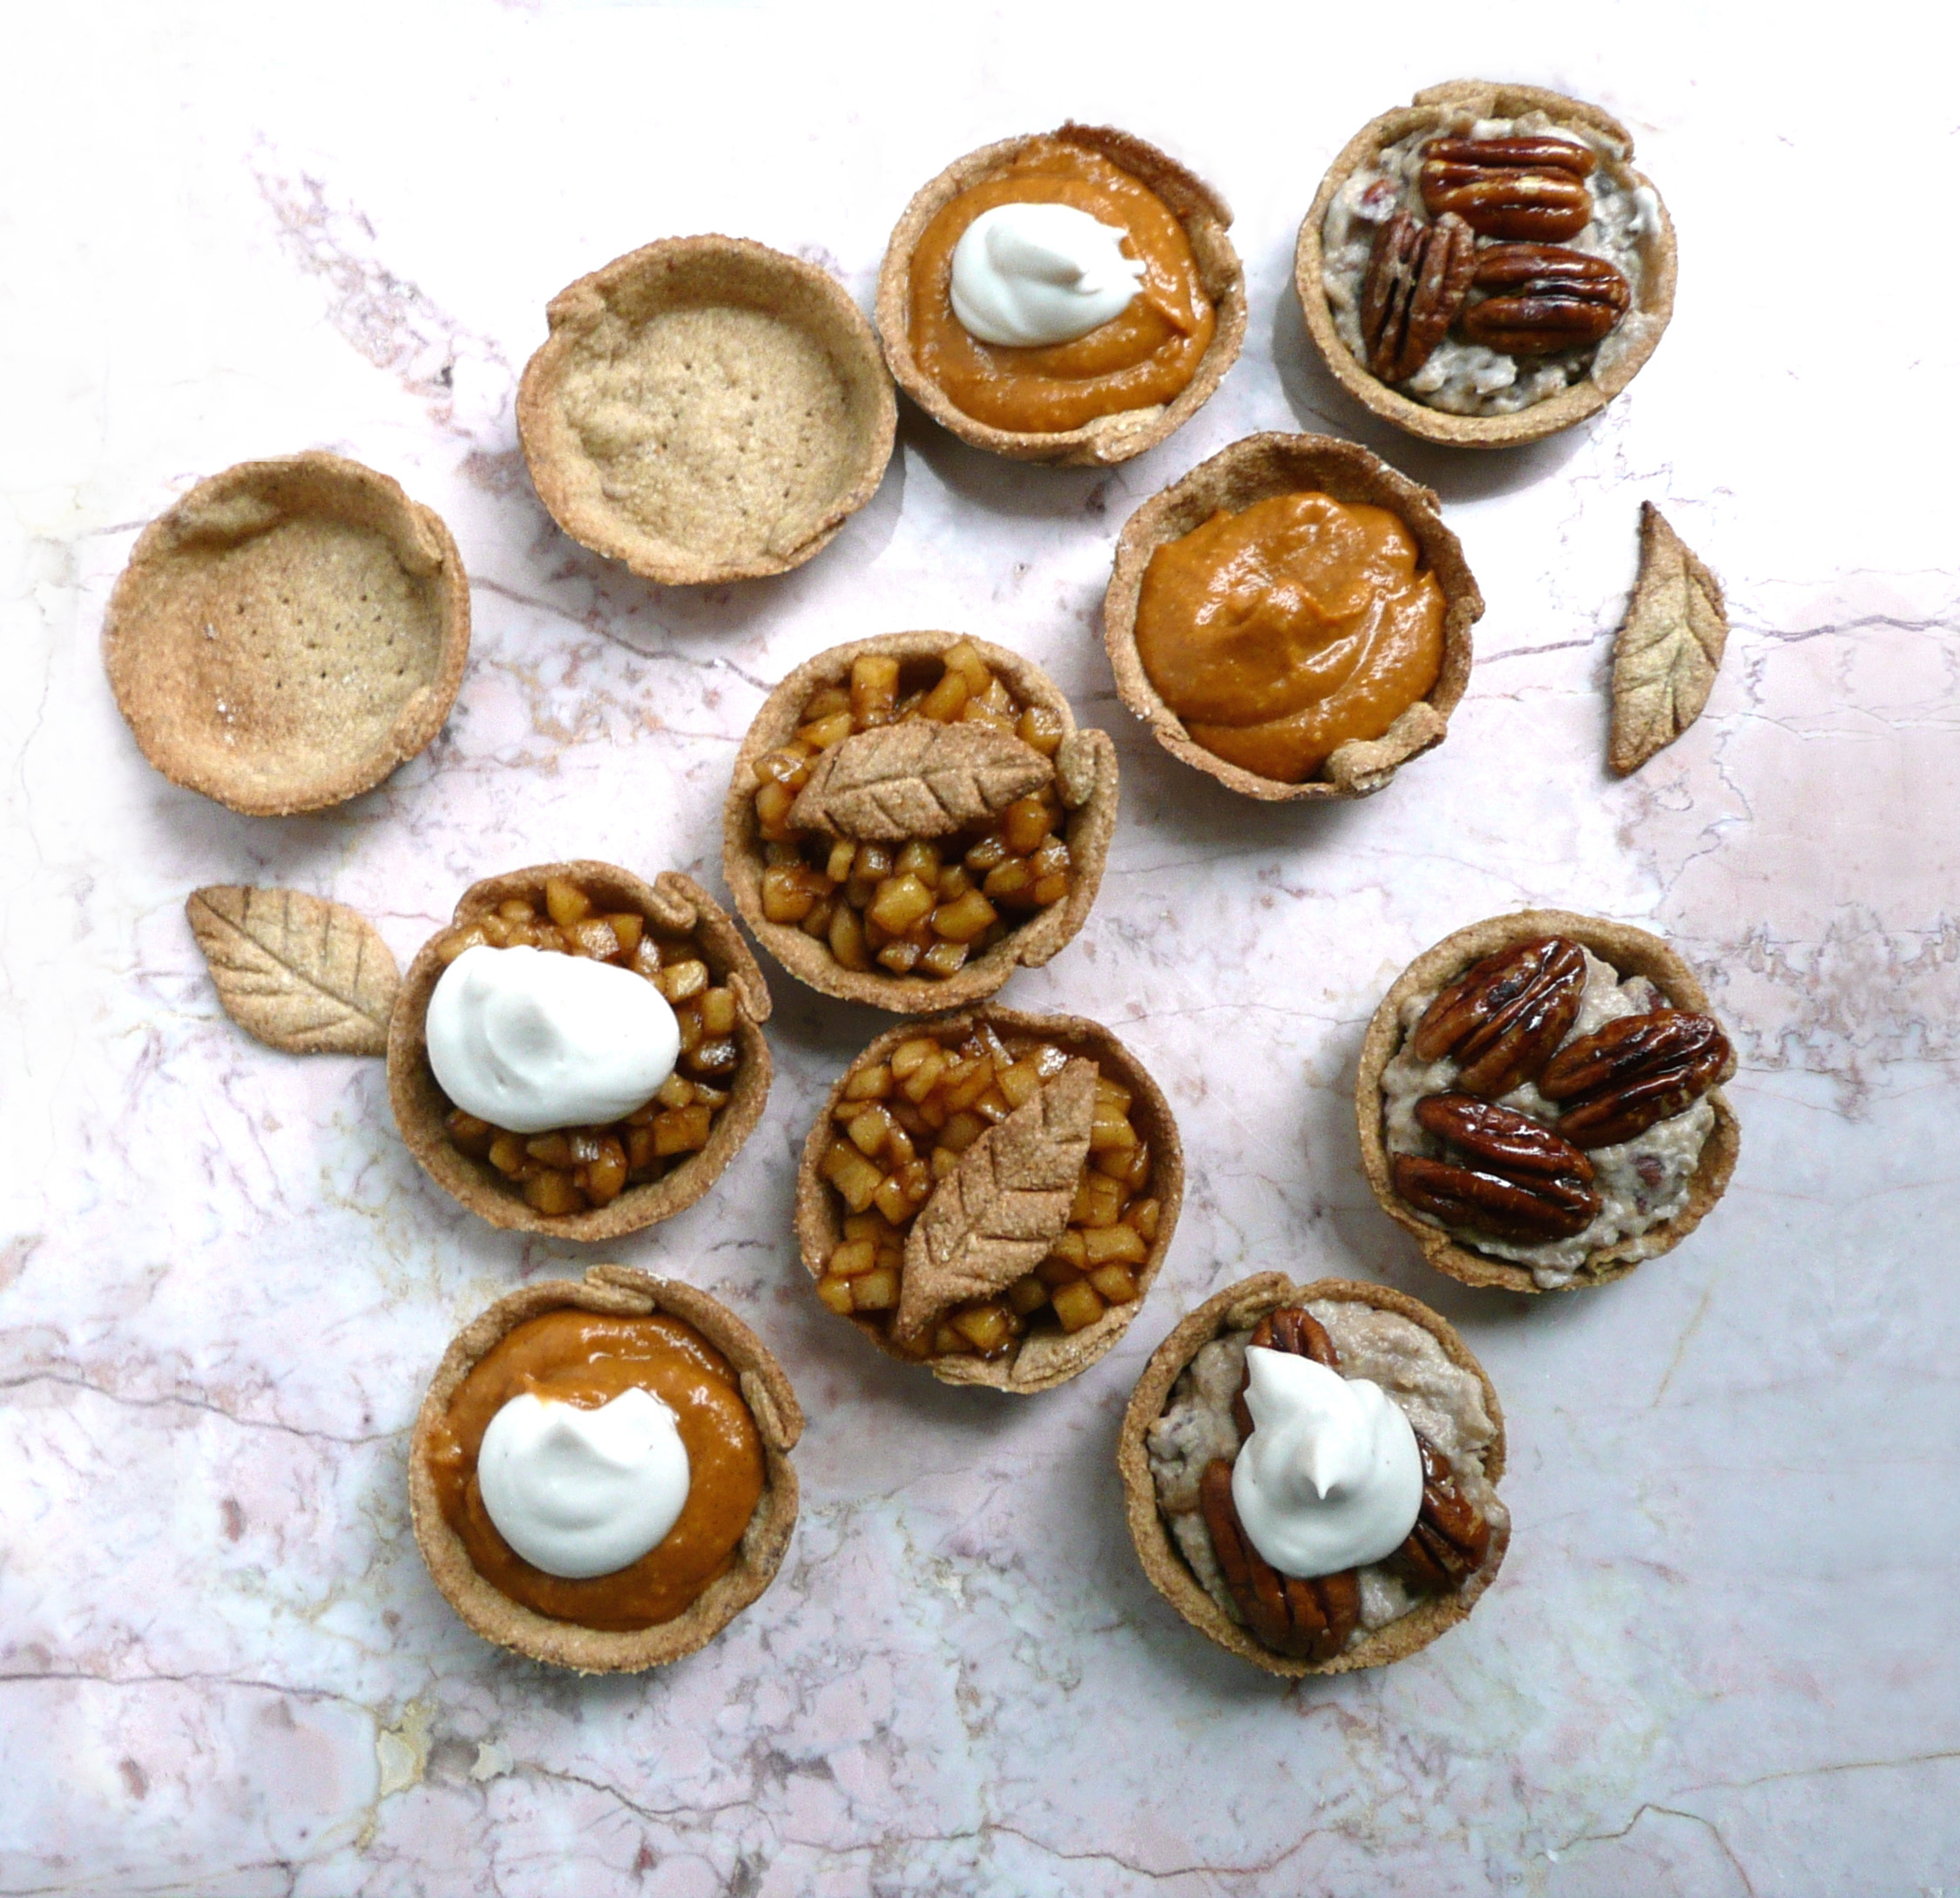
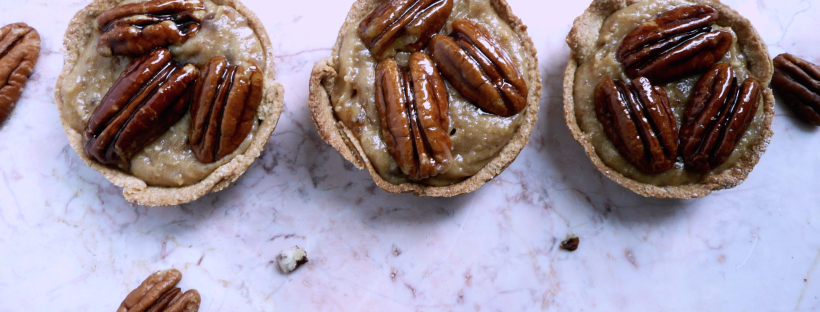
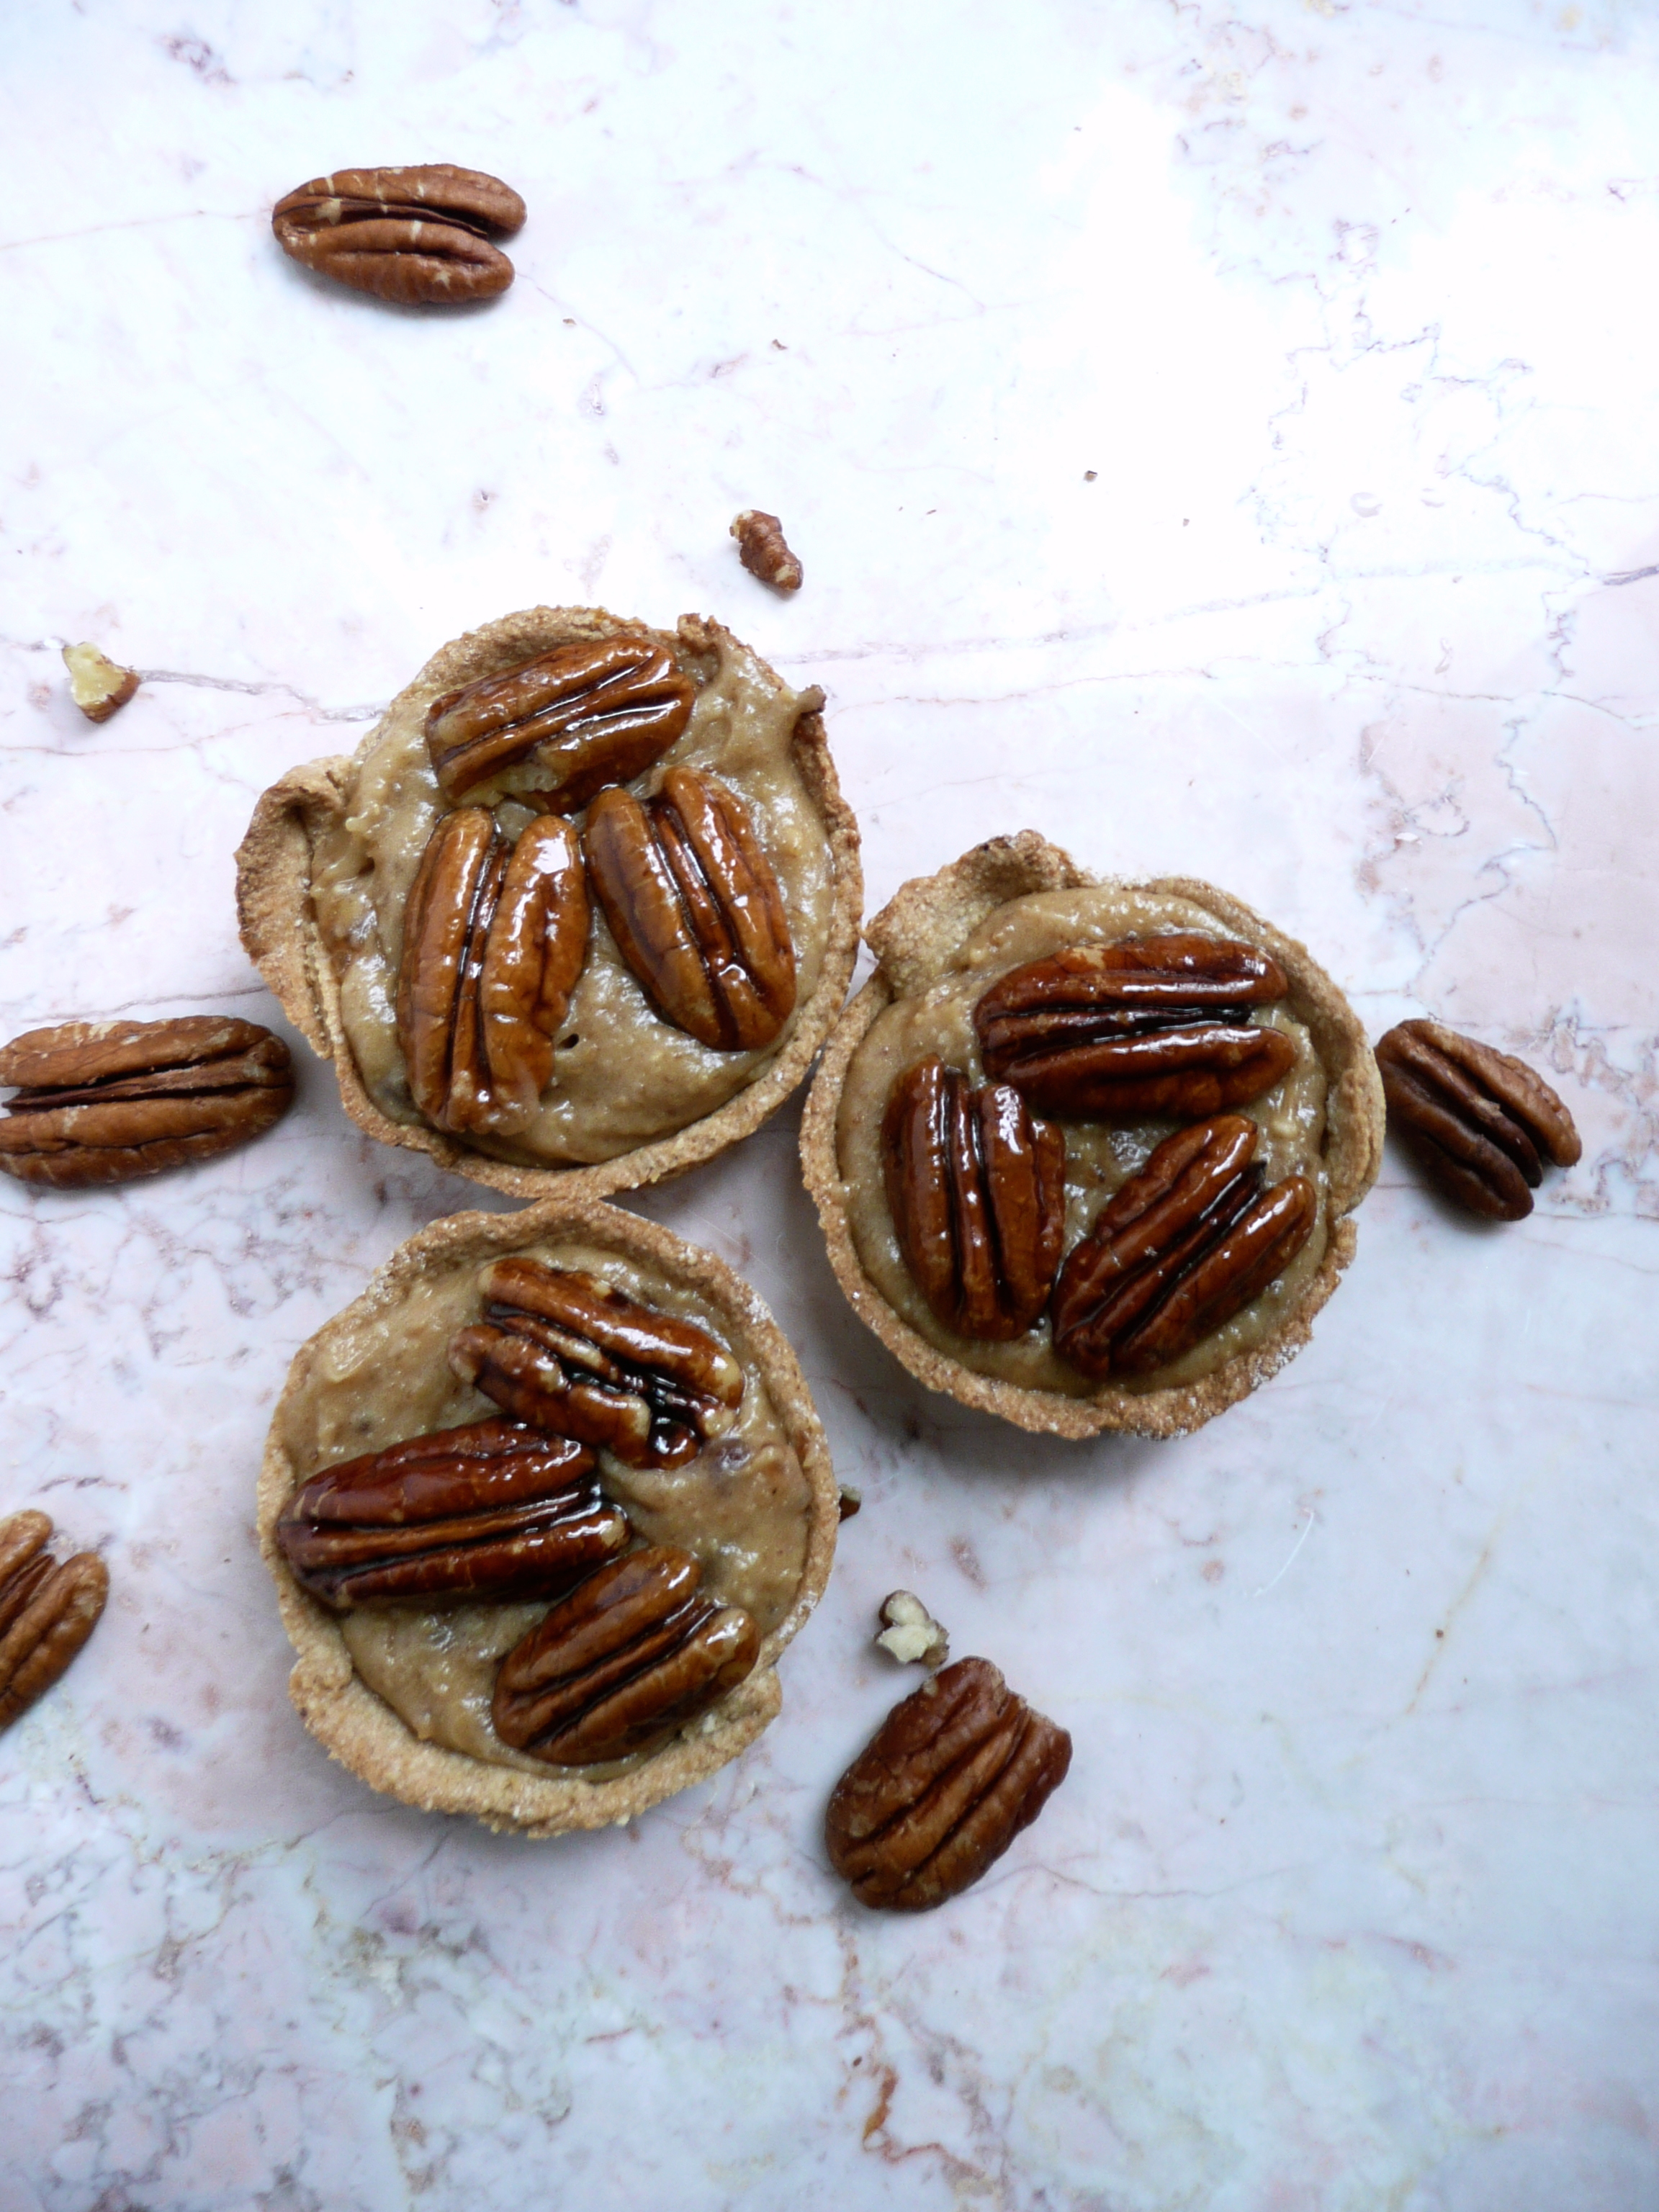
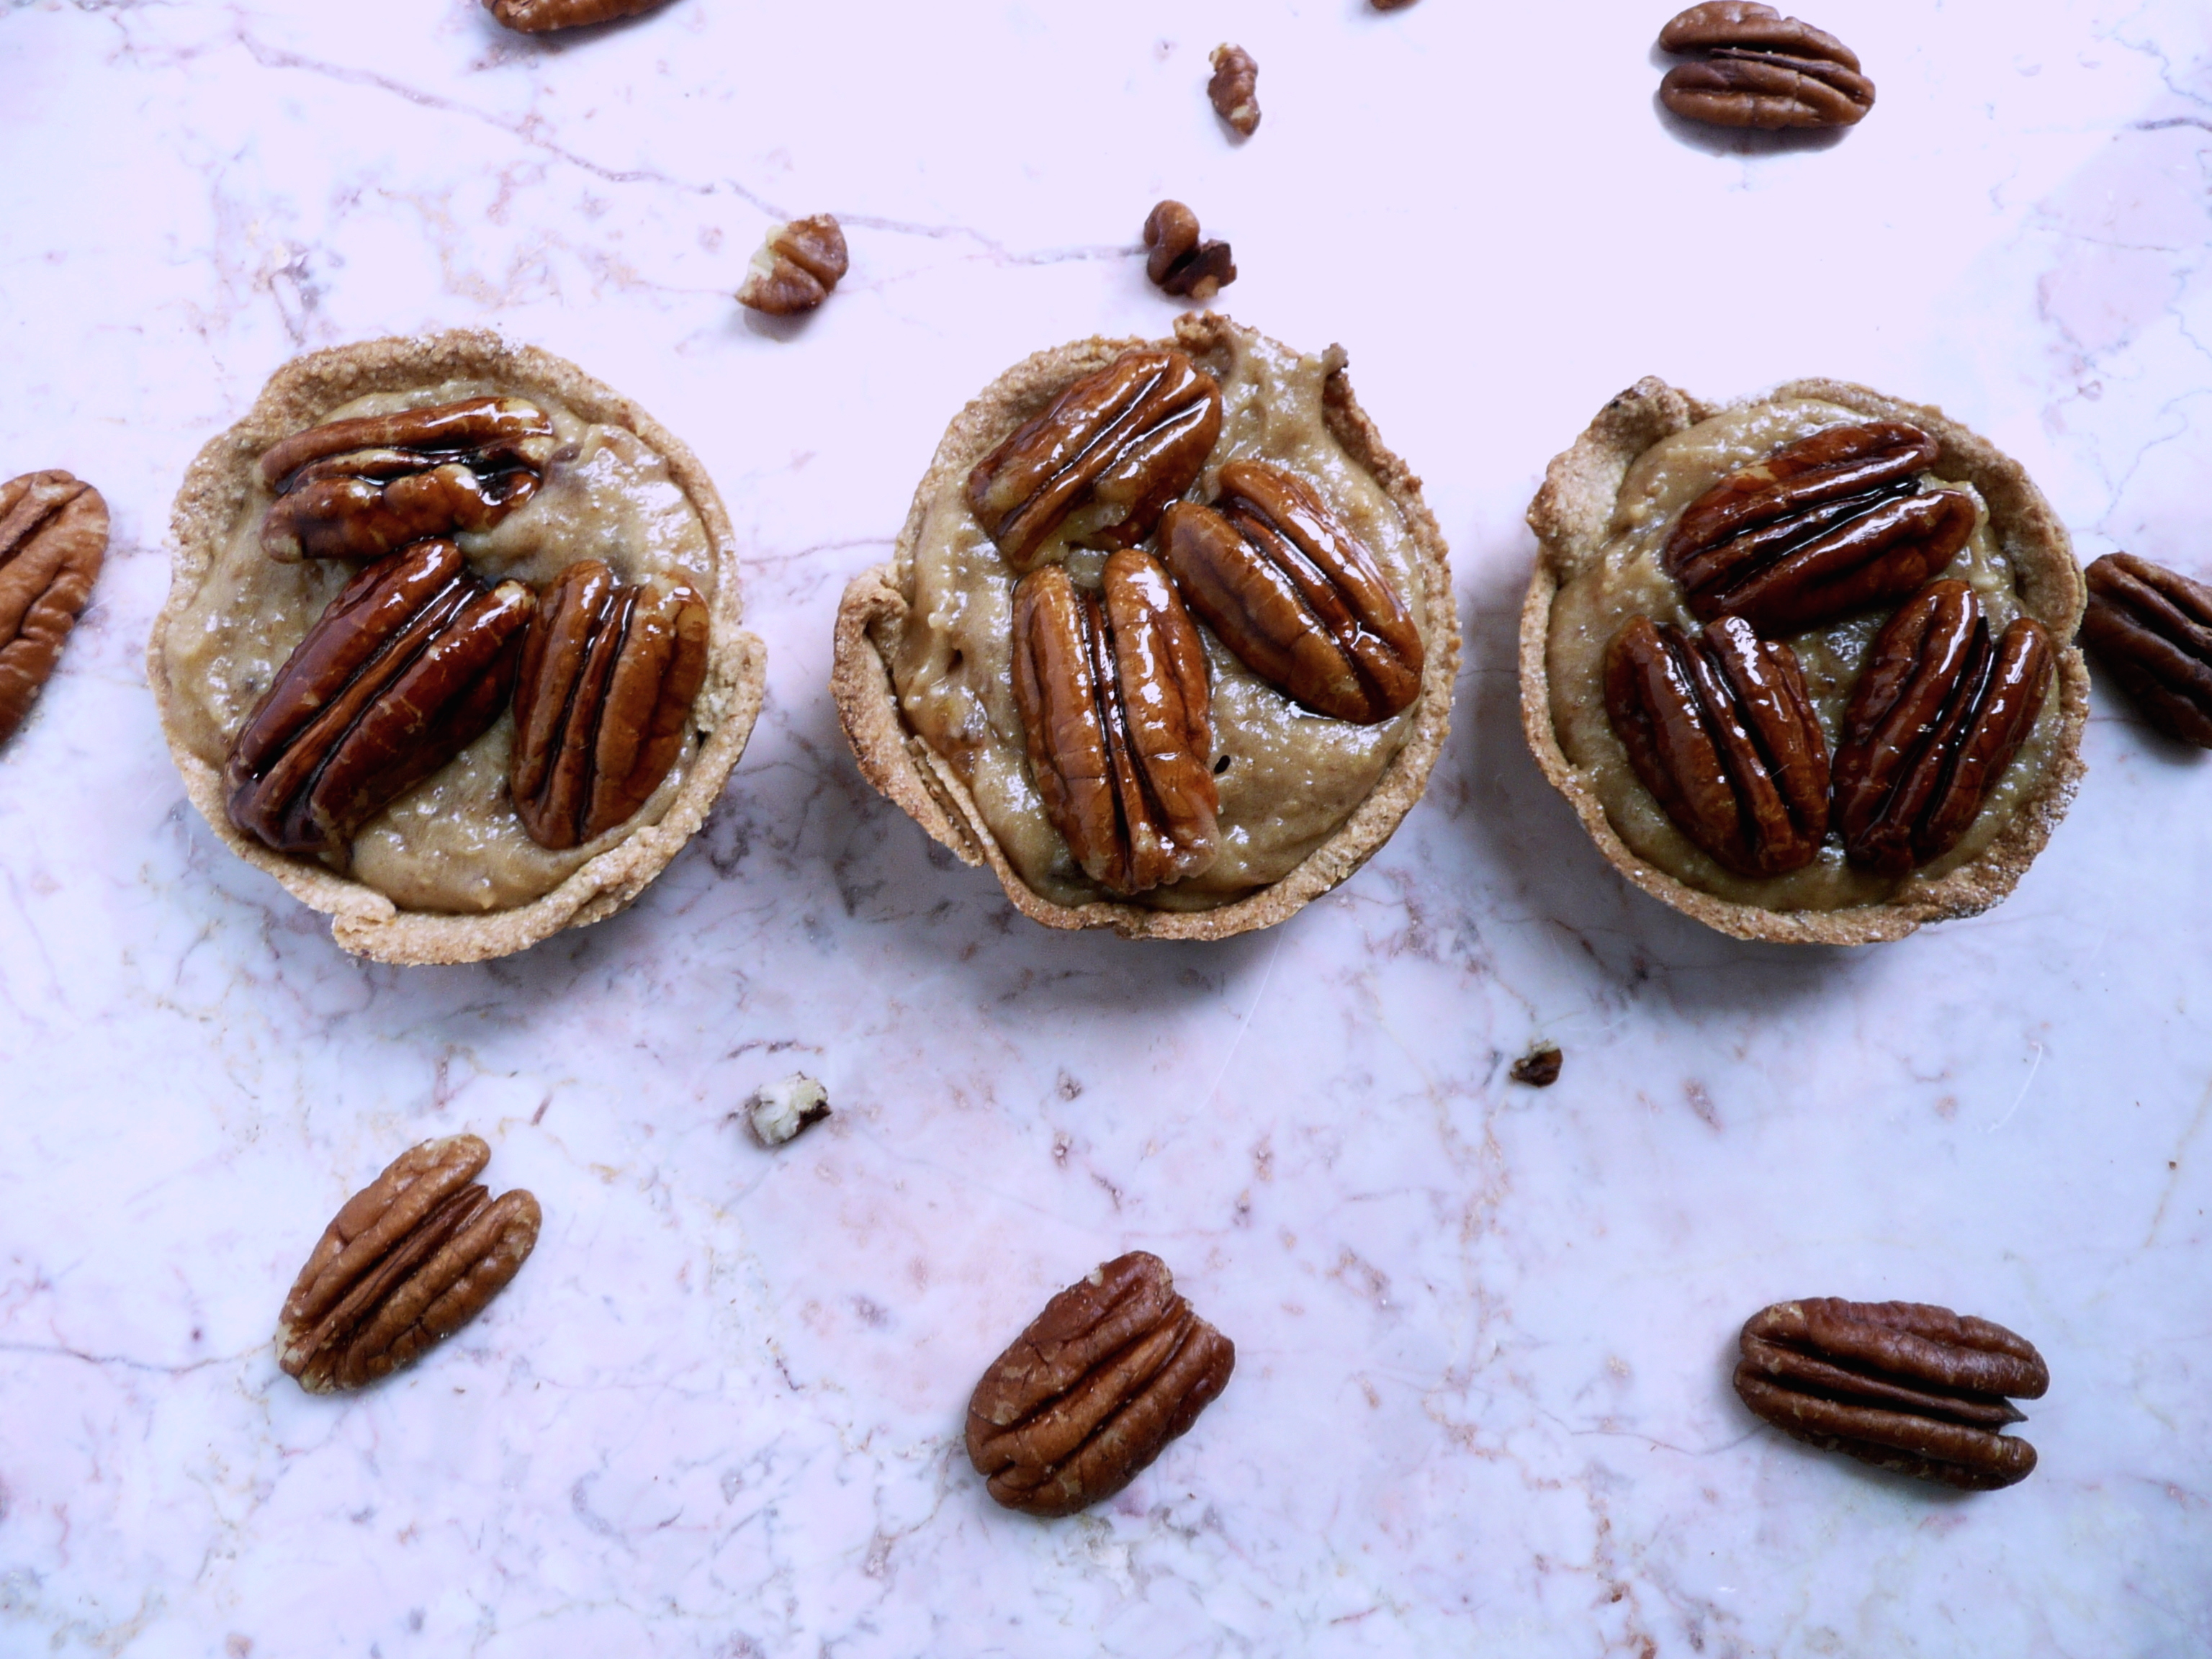
These pecan tarts are awesome! They really taste like pecan pie. The pinch of salt really makes these mini pecan pies sing. I hope that you love them as much as I do.

You can make the filling ahead of time, and just stir through the toasted pecans through right before serving. I’d make the candied pecans the day you want to serve them so that they stay crunchy.

This recipe makes 4 tarts, which is sort of a funny amount, so I’ll put the measurements for 12 tarts at the bottom of post just in case you want to make 12 instead. You may have to slightly adjust the cooking times for the bigger batch of toasted and candied pecans.

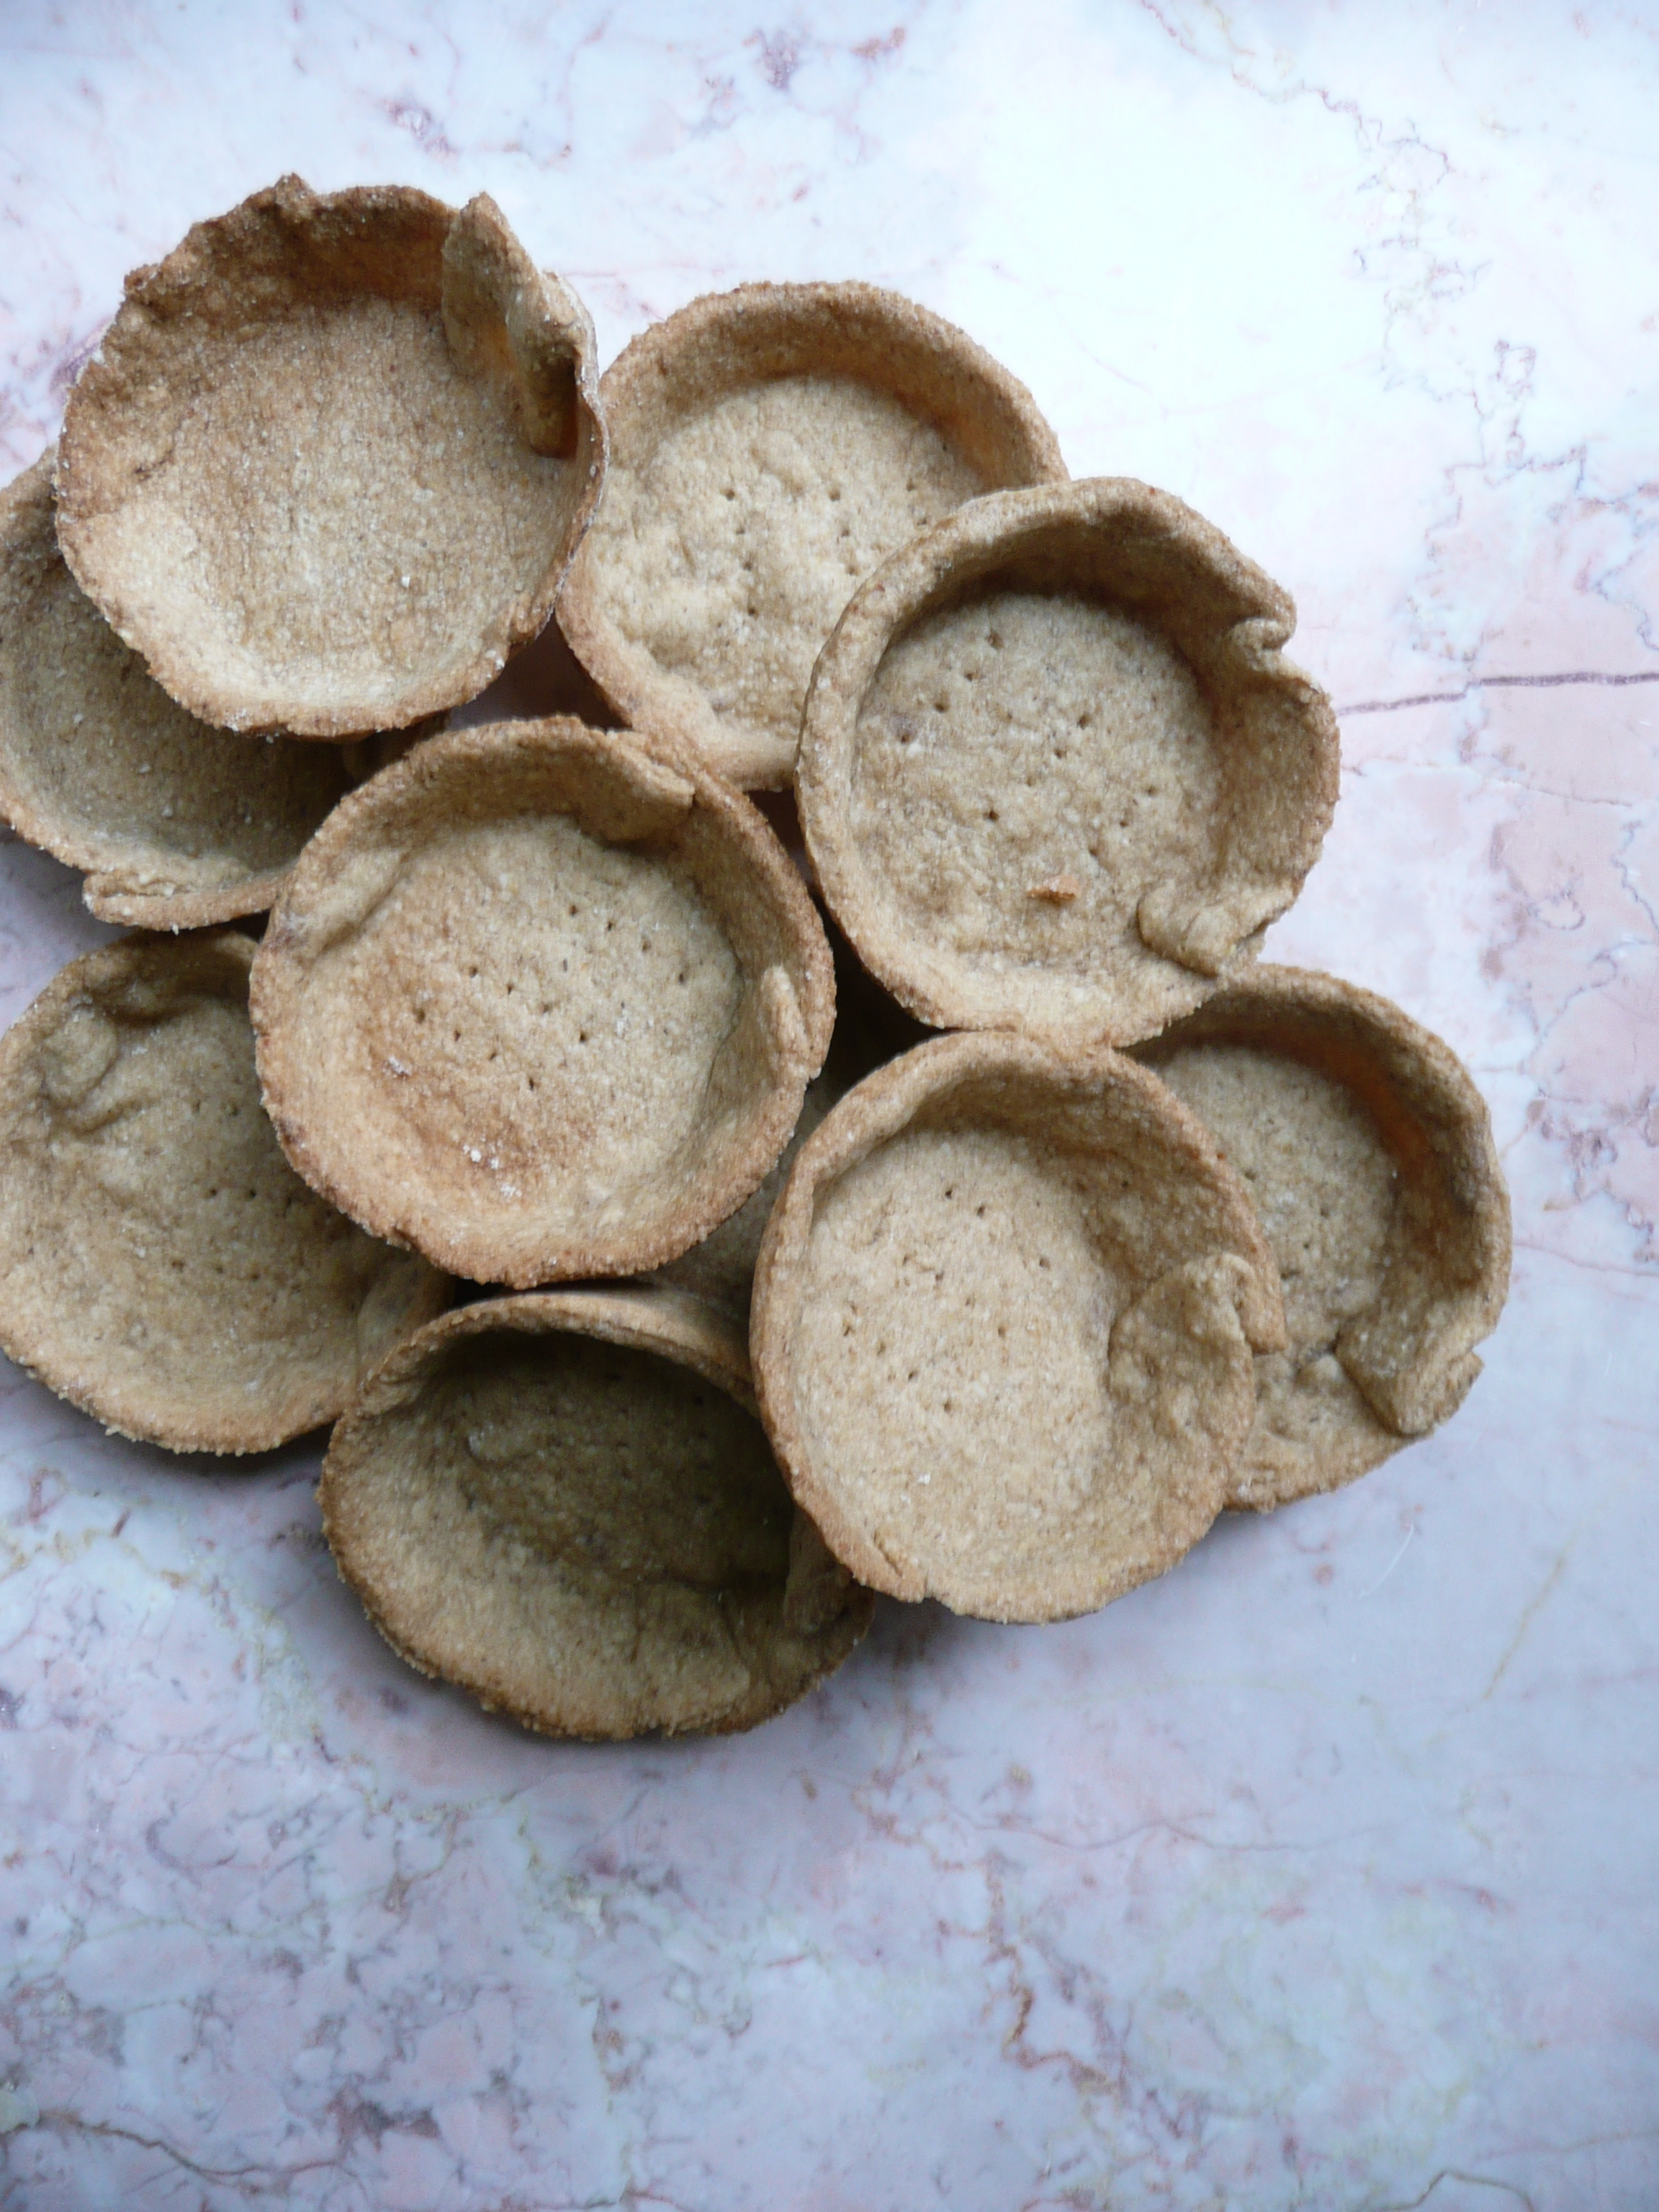
You can use this recipe to make the gluten free tart shells.

P1060874

Pecan Tarts

Makes 4 tarts

For the filling

¼ ts. vanilla extract

1/3 cup raw cashews

3 tbsp. maple syrup

6 diglet dates – about a scant 1/3 cup

1 tbsp. water

pinch salt

Instructions

1. Grind the cashews in a food processor until they look like breadcrumbs. Scrape down the sides of the processor occasionally, and add in the maple syrup and blend until the mixture looks like heavy cream, with little bits of cashews running through it.

2. Chop the dates into ¼ inch dice and add them to the cashew mixture. Blend for 3-4 minutes until relatively smooth, a few lumps of cashews or date here and there are ok.

This is what the mixture should look like when it’s done.

P1060849

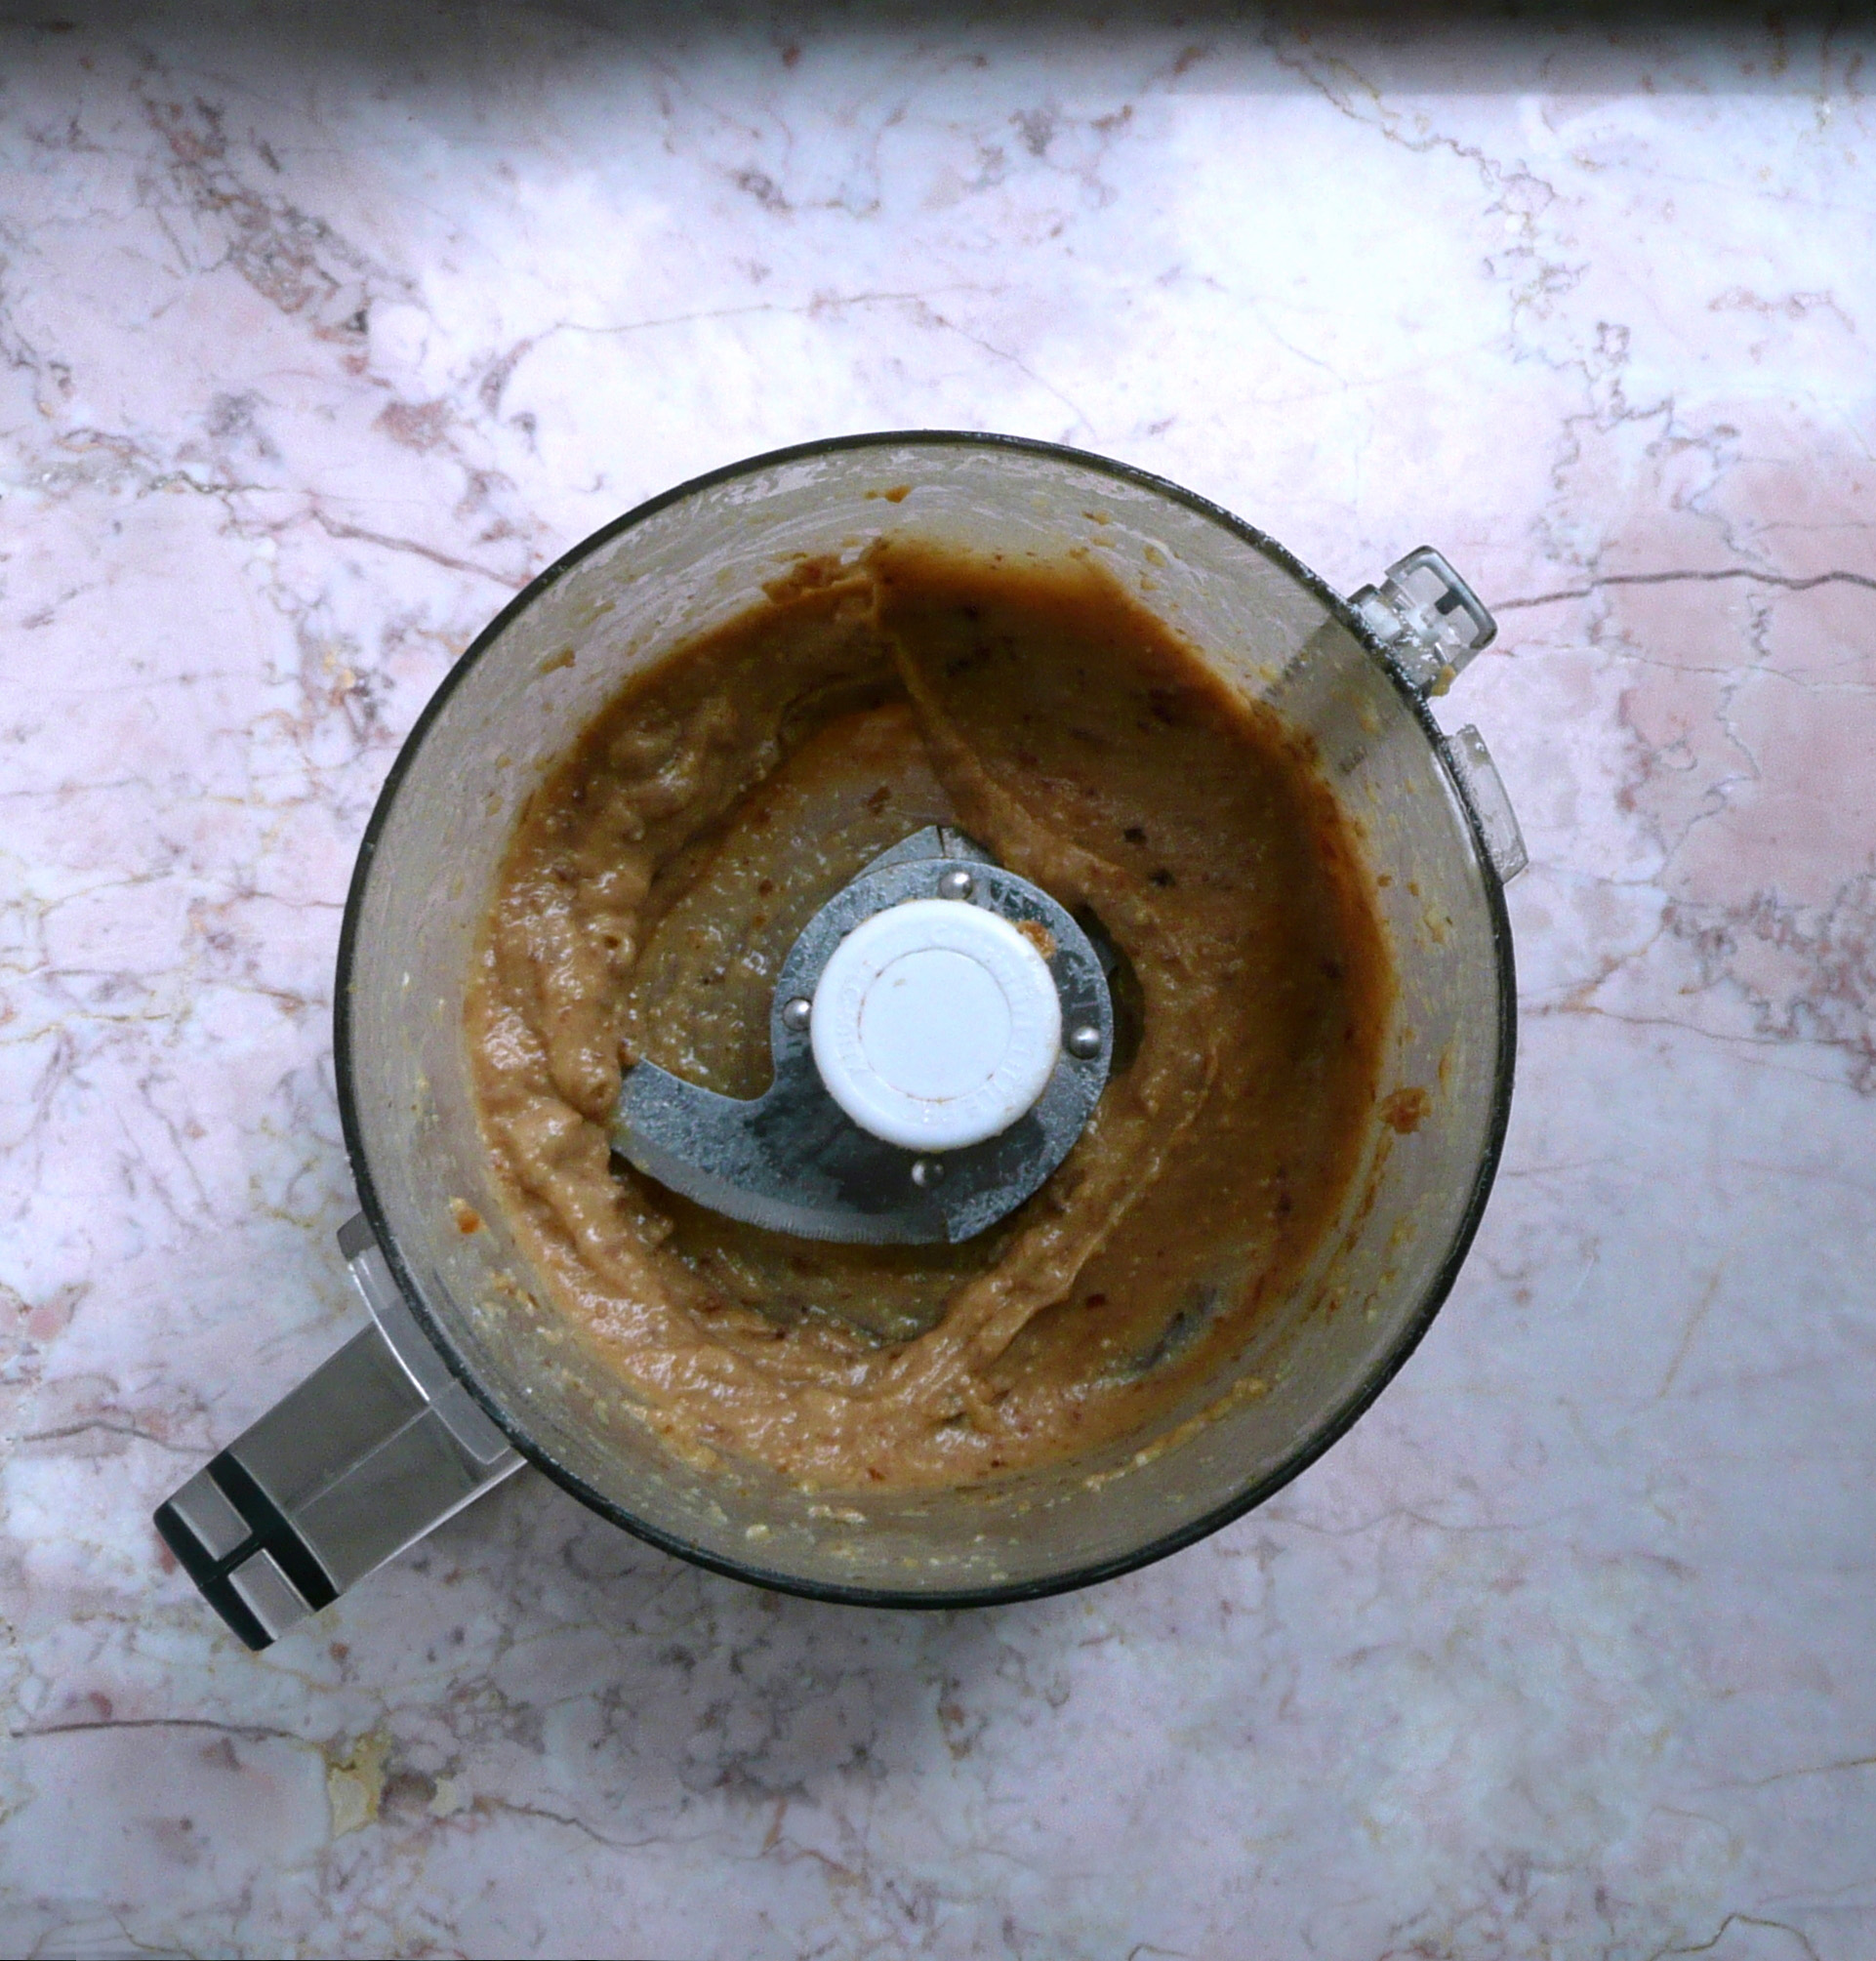
3. Scrape the mixture out into a bowl and set aside.

Toasted Chopped Pecans

¼ cup whole pecans

Instructions

1. Chop the pecans into ¼ inch dice. Cook them in a dry pan over medium heat for 2-3 minutes, stirring constantly until toasted and fragrant.

2. Add the toasted pecans to the cashew mixture and stir until mixed through.

3. Allow the pan to cool, then carefully wipe out any tiny bits of leftover toasted pecans with a bit of folded paper towel, as they can burn when you use the same pan to cook the candied pecans.

Candied Pecans

12 whole pecans (3 pecans per tart) about ¼ cup

2 tbsp. maple syrup

Instructions

1. Toast the whole pecans until fragrant in a dry pan over medium heat for about 2 minutes, stirring frequently so they don’t scorch.

2. Add in the maple syrup and stir the pecans constantly for another 30 seconds, then take the pan off the heat. Continue stirring the pecans off the heat until the caramel coats the nuts.

3. Pour the candied pecans onto a silpat or a piece of parchment paper (on in pinch, a lightly oiled plate) and arrange them with two forks so they aren’t touching each other, and allow to cool.

Don’t touch the hot caramel or the candied nuts until they are cool. It’s super tempting to touch hot sugar, but you don’t want to burn yourself.

If you stir the nuts too long over the heat, the syrup can crystallize, and the coating on the pecans can go cloudy and rough textured. If this happens, it’s ok! It just means that the pecans will be extra crunchy, and they will still taste great.

4. Add about 1 ¾ tbsp. of filling to each tart shell. Top each tart with 3 candied pecans (4 candied pecans is two sweet, and 2 isn’t sweet enough) and serve.

Getting the leftover caramel off of utensils and saucepans is really easy. Just put the caramel covered utensils in the pot that you candied the pecans in, pour in some warm water and let the pan sit for an hour or two. The sugar will dissolve into the water, and you can just pour it out and put everything straight into the dishwasher.

For 12 tarts

For the filling

¾ ts. vanilla extract

1 cup raw cashews

½ cup + 1 tbsp. maple syrup

18 diglet dates – about a scant 1 cup

3 tbsp. water

3 pinches of salt

Toasted Chopped Pecans

 ¾ cup pecans

Candied Pecans

36 whole pecans (3 pecans per tart) about ¾ cup

6 tbsp. maple syrup


pumpkin tarts

Pumpkin Tarts – Gluten Free, Dairy Free, Vegan

P1060726
No Thanksgiving would complete without pumpkin pie!

When I was a kid, it was my job every year to make the classic pumpkin pie recipe from our well-loved Betty Crocker Cookbook. I made that same recipe all the way through high school and college, and missed it terribly when I found out that I couldn’t eat it anymore.

This is a quicker version, and is gluten, dairy and egg free. It’s rich, and perfectly spiced. You can top it with some cashew whipped cream for that classic pumpkin pie look and taste.

Also, another plus to this recipe is that you can secretly pretend that you’re at Hogwarts when you eat them.

You can make the filling ahead of time, and keep it in the fridge until you want to serve it.

The only to keep in mind is that you have to make the cashew whipped cream before you make this recipe because the few tablespoons of cashew cream give the pumpkin filling a lot of richness.

I’ll put the measurements for 12 tarts in case you’d like to double the recipe.


P1060805-2

Pumpkin Tarts
Makes 6 tarts

Ingredients

½ cup + 1 tbsp. + 1 tsp. pumpkin puree, or roasted sweet potato puree

3 tbsp. + 1 ½ tsp. maple syrup

2 tbsp. avocado oil or any neutral flavored oil


¾ level tsp cinnamon

¼ + 1/8 level tsp ground ginger

tiny pinch of cloves

pinch of salt

¼ tsp vanilla extract

1 tbsp. water

3 tbsp. cashew whipped cream


Instructions

1. Stir all the ingredients together. Top each tart shell with 2 tbsp. of the pumpkin pie filling, and a dollop of the cashew whipped cream. Serve.

For 12 tarts

Ingredients

1 cup + 2 tbsp. + 2 tsp. pumpkin puree, or roasted sweet potato puree

7 maple syrup

4 tbsp. avocado oil or any neutral flavored oil


1 ½ level tsp cinnamon

¾ level tsp ground ginger

pinch of cloves

2 pinches of salt


½ tsp vanilla extract

2 tbsp. water

6 tbsp. cashew whipped cream

mini pie crusts

Mini Pie Crusts – Dairy Free, Gluten Free, Vegan

P1060642

These tart shells are so cute and so full of possibilities! They can be filled with just about anything, and on their own they sort of taste like fortune cookies or waffle cones, but not quite as sweet. I snacked on a bunch of them while I was testing this recipe.

If you’re making mini-tarts for a party or celebration, I would the make a couple different pie fillings ahead of time, and then bake up a bunch of these tart shells the day I want to serve them. They have a crisper texture than normal pie shells, and I would fill them right before serving, as if the wet filling is in them too long then the bottoms of the tart shells can soften a bit and lose their crunch.

You can also set out bowls with a few different pie filling options like apple, pumpkin, pecan, or even a chocolate peppermint filling and people can top the tart shells with their filling of choice.

P1060723-2

I used a normal sized muffin tin (not a mini muffin tin). If you have to make them ahead of time, store them in an airtight container so that they retain most of their crunchiness.

Mini Pie Crusts

Makes 12 Tart shells.

Ingredients

6-8 tbsp. water

1 level tsp. psyllium husk powder*

1 tsp. vanilla extract

1 tbsp. + 1 tsp. olive oil

3 tbsp. maple syrup

1 cup of oat flour + 2 tbsp.**

Instructions

1. Preheat the oven to 375.

2. Grease and flour the muffin tin with olive oil and oat flour.

3. Stir together 6 tbsp of water with the psyllium husk powder. It will gel up quickly, and try to smush out as many lumps as you can. Let it sit for 5 minutes, and then stir in the vanilla, olive oil and maple syrup until well combined. Add in the oat flour and knead until a smooth dough forms.

If the dough is too sticky, let it sit for a minute. If the dough is still sticky, add a little oat flour and knead it through.

If the dough is too dry, add 1 tbsp. or water and knead it through. The dough should have the consistency of a soft sugar cookie dough and shouldn’t crack or break apart at all when you press on it.

4. Cut the top and sides off of a gallon size Ziploc back so that you have a large rectangle of plastic when you unfold it. Dip a paper towel in a little bit of olive oil and oil the inside of the plastic.

5. Divide the dough into 4 equal portions. Take one portion of the dough and roll it out between the two layers or oiled plastic until it’s just slightly thinner than 1/8 of an inch thick. Use a 3.5 inch wide round cookie cutter (I used the band off the top of wide mouth mason jar for this), to cut rounds out of the dough.

Peel the scrap dough away from the rounds. Peel the rounds away from the plastic and press them gently into the muffin pan. Repeat until you have 12 little tart shells ready to bake.

6. Prick the bottom of each tart shell with a fork 2-3 times, and bake the tart shells for 20-25 minutes until golden brown around the edges. Let them cool in the pan, then use a butter knife to pop them out of the muffin tin.

Fill with your favorite pie filling, add a dollop of cashew whipped cream if desired, and serve immediately.

Notes – *Psyllium husk powder gels like nothing else, and there’s no great substitute for it. I found mine in the bulk spice section of the local Fred Meyer, but Whole Foods, Trader Joes have been known to carry it as well. If it’s not in the natural foods, or bulk spice section, check the dietary supplement/ digestive health (where the Metamucil is) section of the store or pharmacy as it’s sometimes sold there as well.

** I grind oats into oat flour using a blender. Don’t grind the oats in a food processor because the flour won’t be fine enough.

Any extra oat flour I don’t use in the recipe goes into an airtight container and I use it for another recipe.