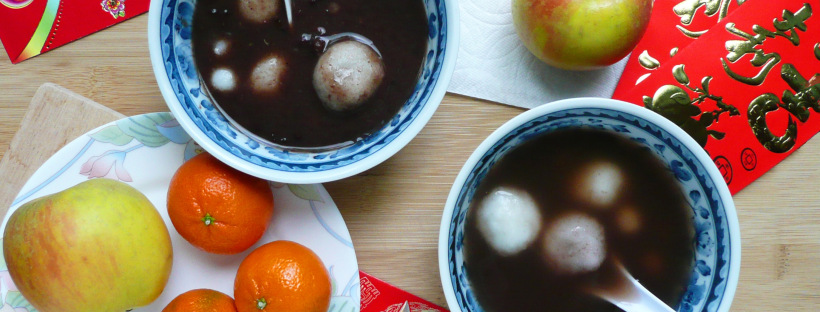

Nian Gao is a very traditional dish for Lunar New Year.
The word for “sticky” in Mandarin is a homonym for the Mandarin word for “year” so it’s considered good luck to eat nian gao, or “year cake” at Lunar New Year.
This recipe tastes identical to the version that my mom made when I was growing up, but is dairy and refined sugar free.
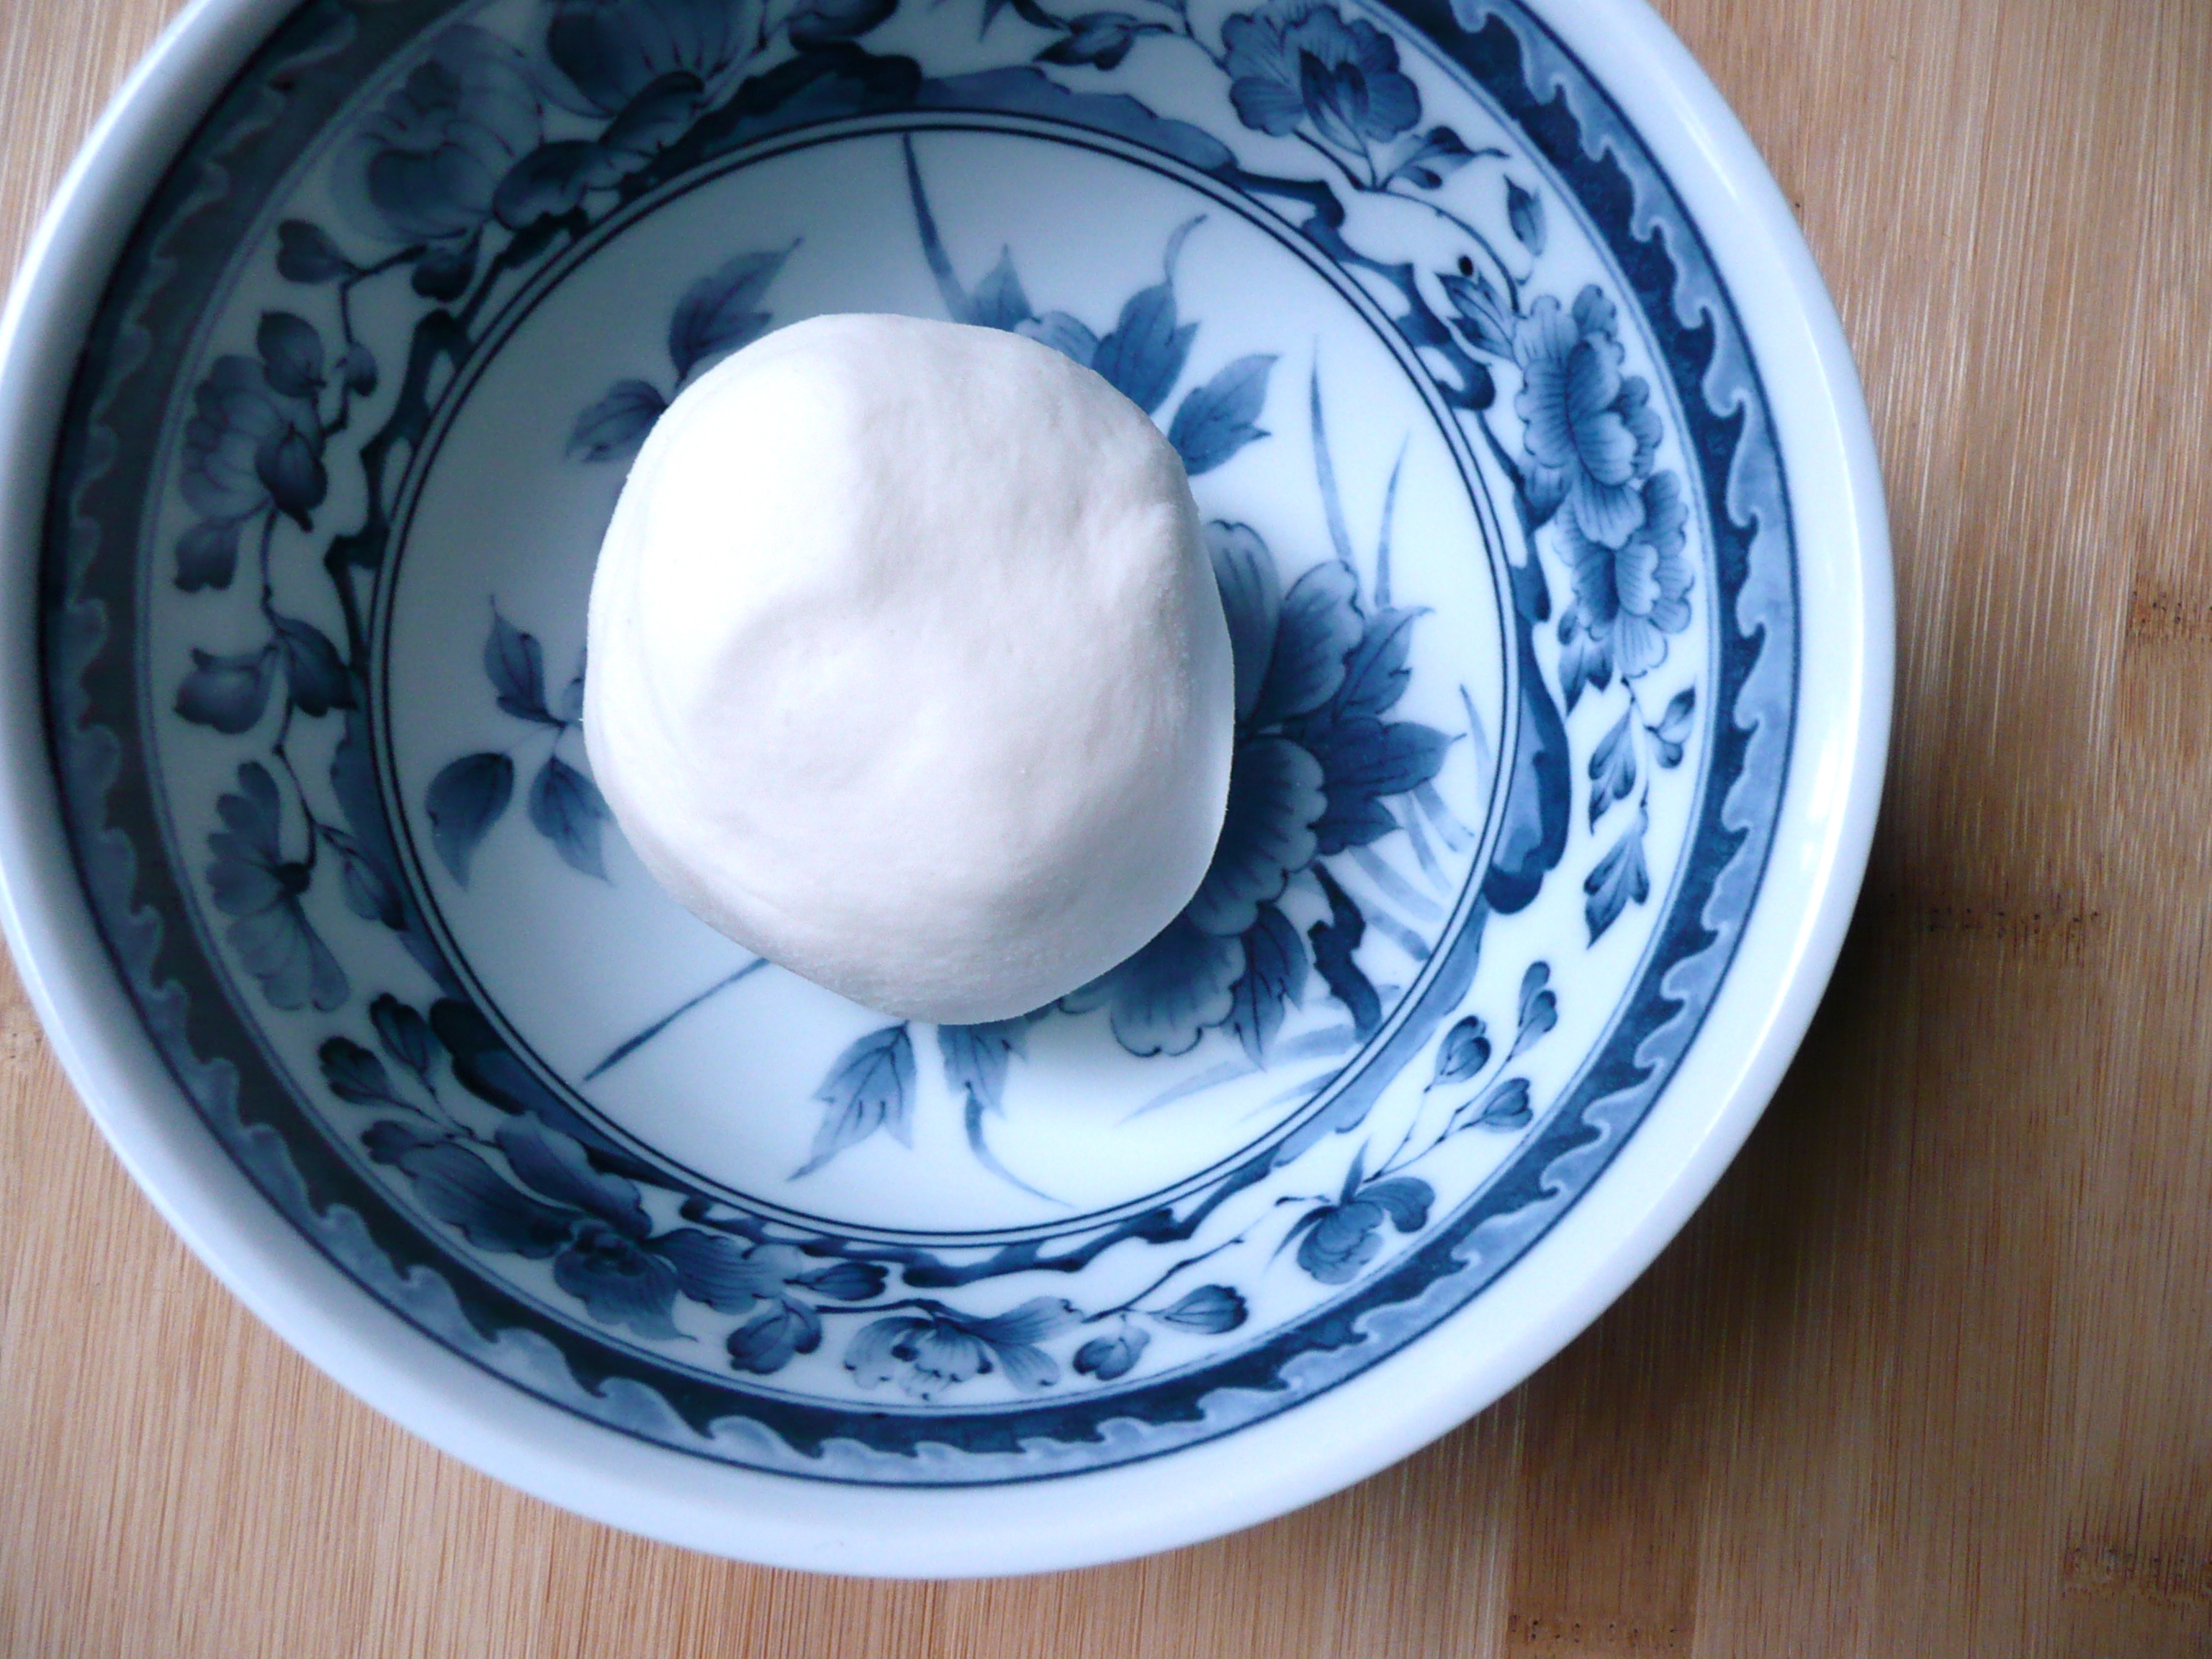
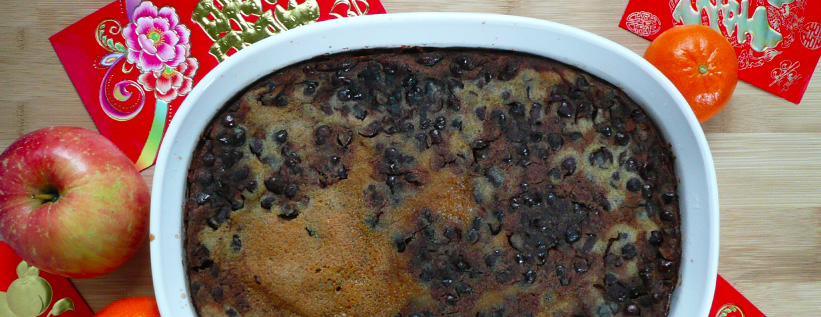
If you’ve never had nian gao before, think of it as basically a big baked mochi that’s slightly crisp on the outside and chewy in the middle with little pockets of sweet red bean filling.
Doesn’t that sound amazing?
This recipe is very simple to make. It’s basically pour everything into a bowl, stir and bake for a little more than an hour.
When I made a test batch I thought that it would be enough for 4-6 servings, but it’s so good that it was polished off very quickly. So, really, it will probably serve more like 2-3 people, so make extra if your family members are big eaters like mine are.
Nian Gao Recipe (Year Cake)
Adapted from this recipe
Makes 4-6 servings
Ingredients
1/4 level tsp + 1/8 level tsp baking soda
8 oz of sweet rice flour (I used the Koda Farms Mochiko Sweet Rice Flour)
1 egg + 1/2 an additional beaten egg (about 3 tbsp)*
5 tbsp melted coconut oil**
1/2 cup maple syrup
1 cup water
Red Bean Paste Filling
1/4 cup maple syrup
1 1/2 cups drained red beans ***
*You can replace the 1/2 egg with 1/2 tbsp ground flax seed and 3 tbsp hot water. Let the mixture stand for 10 minutes before using.
**There is the tiniest hint of coconut flavor from the coconut oil, but most people probably won’t notice. If you can’t stand coconut, you can used refined coconut oil instead. I like the Trader Joe’s one because it’s filtered to remove the coconut flavor instead of being bleached.
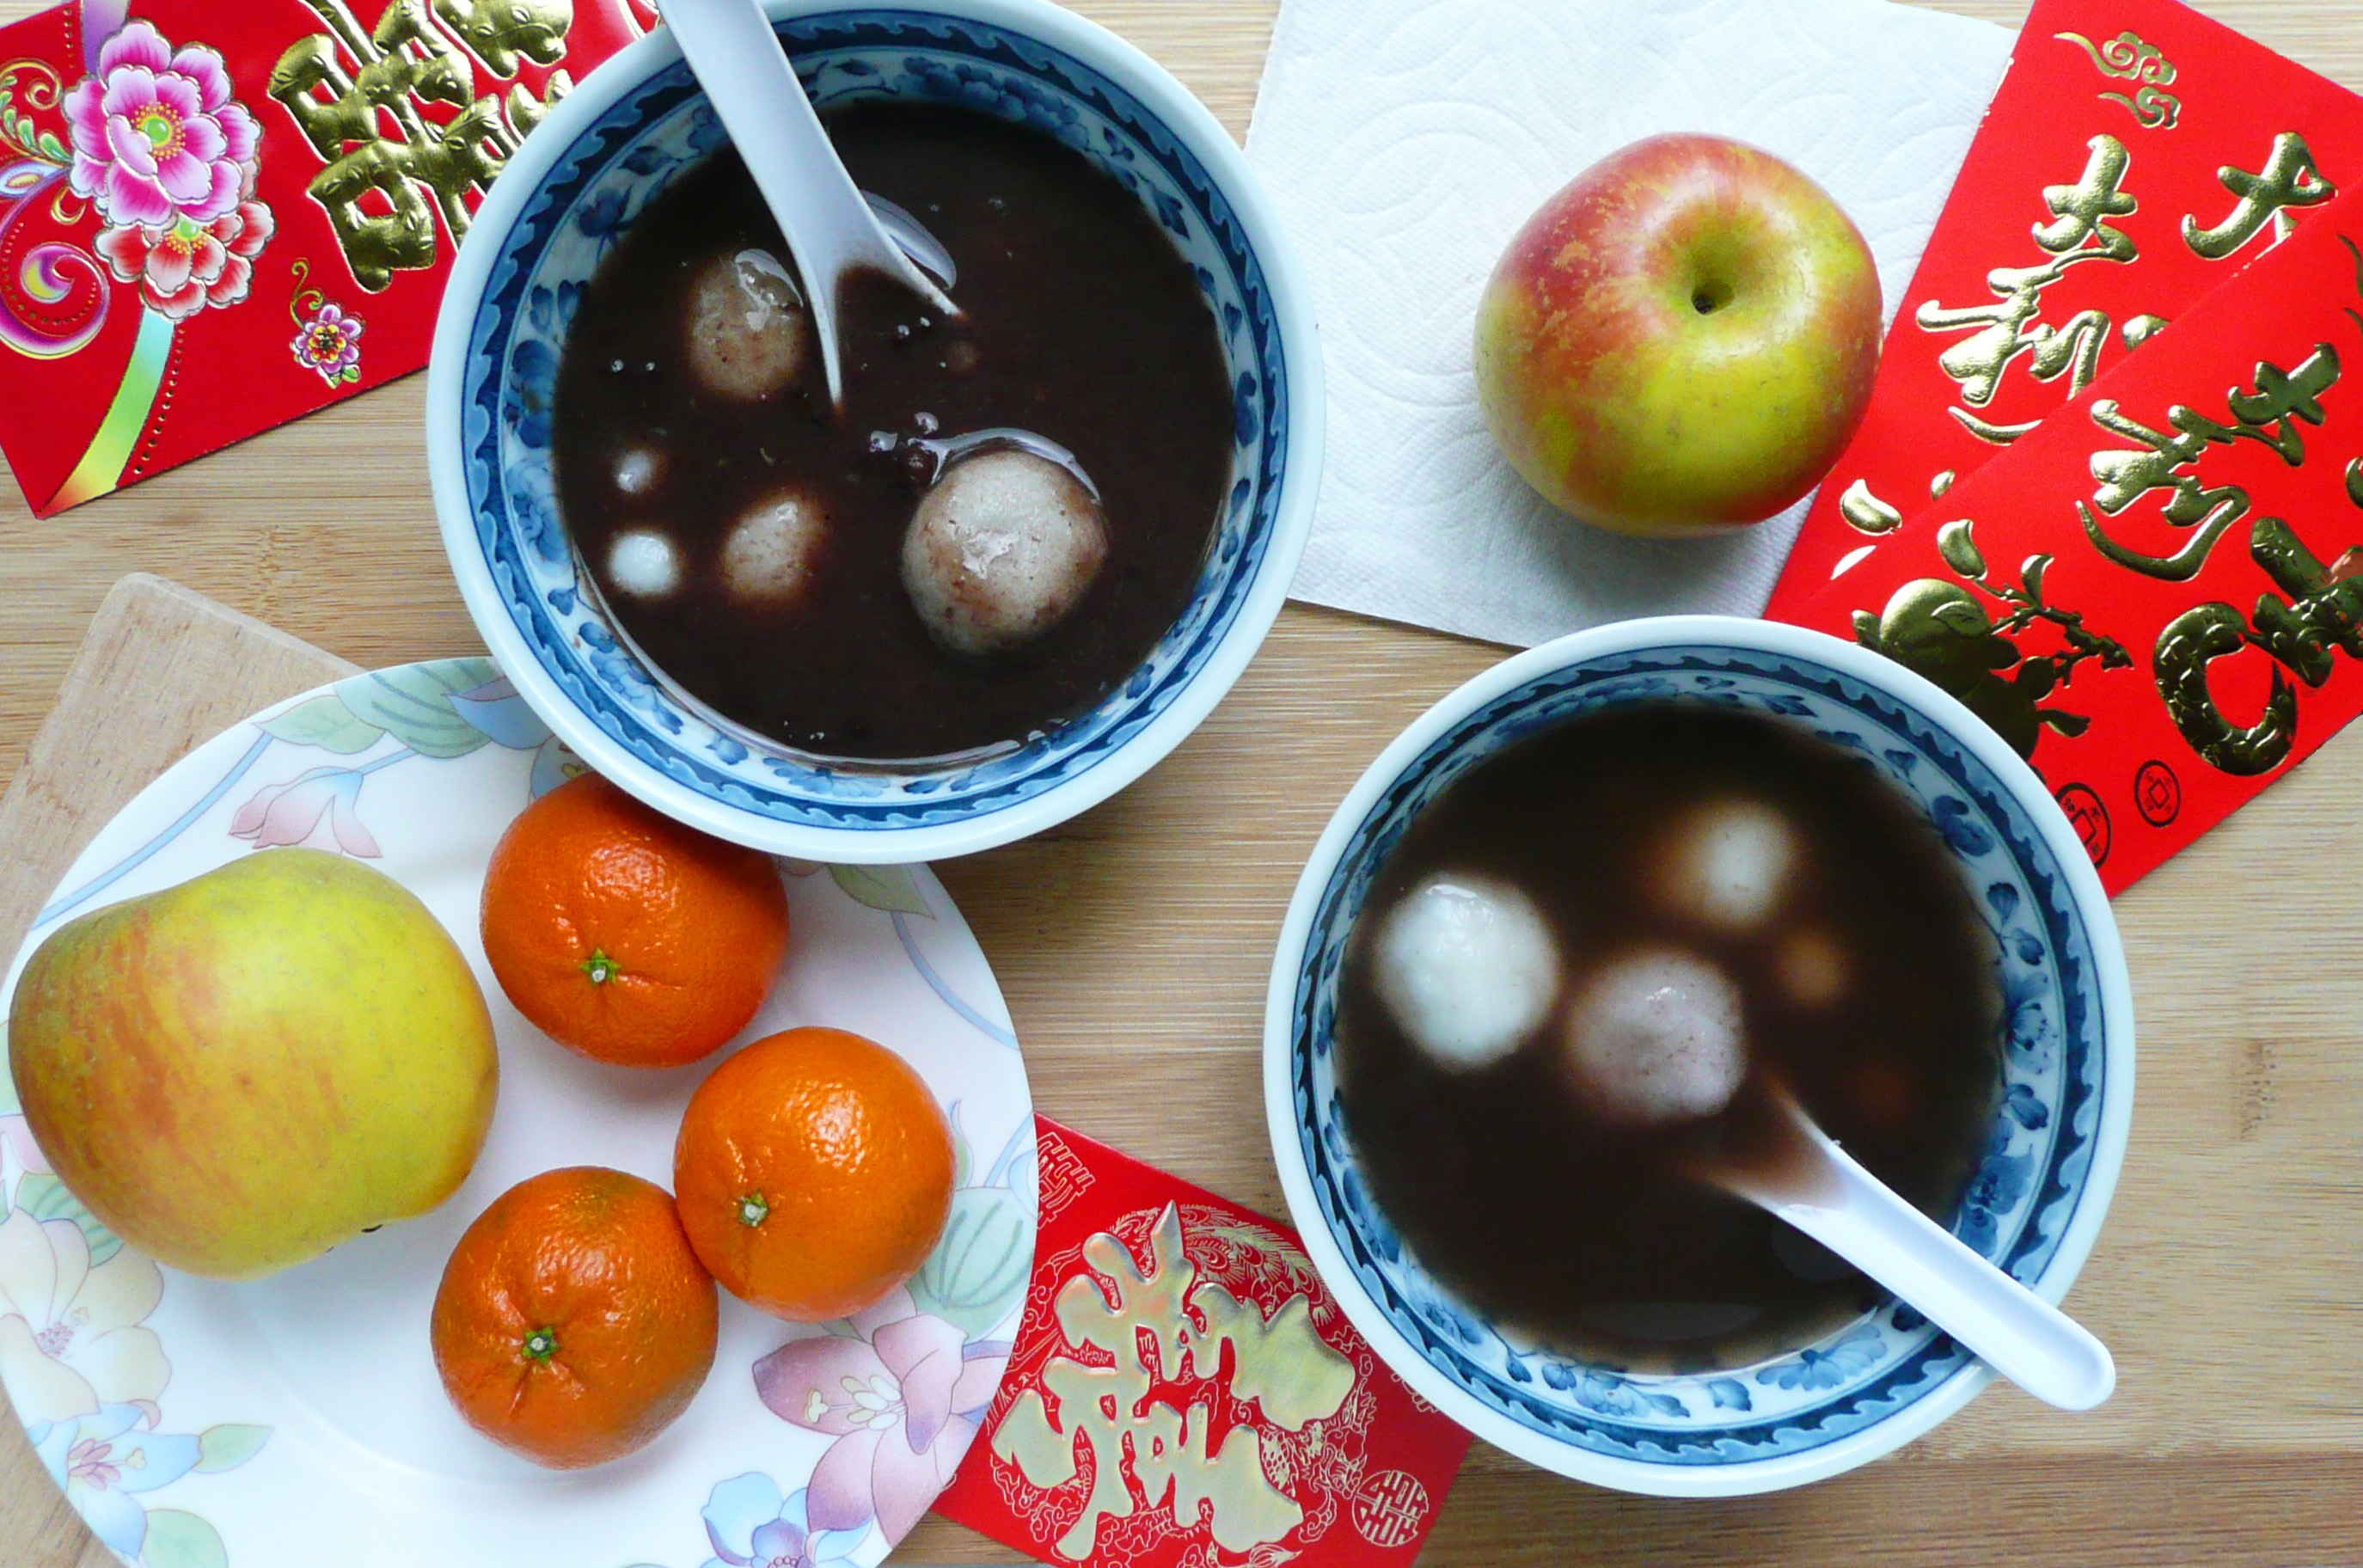
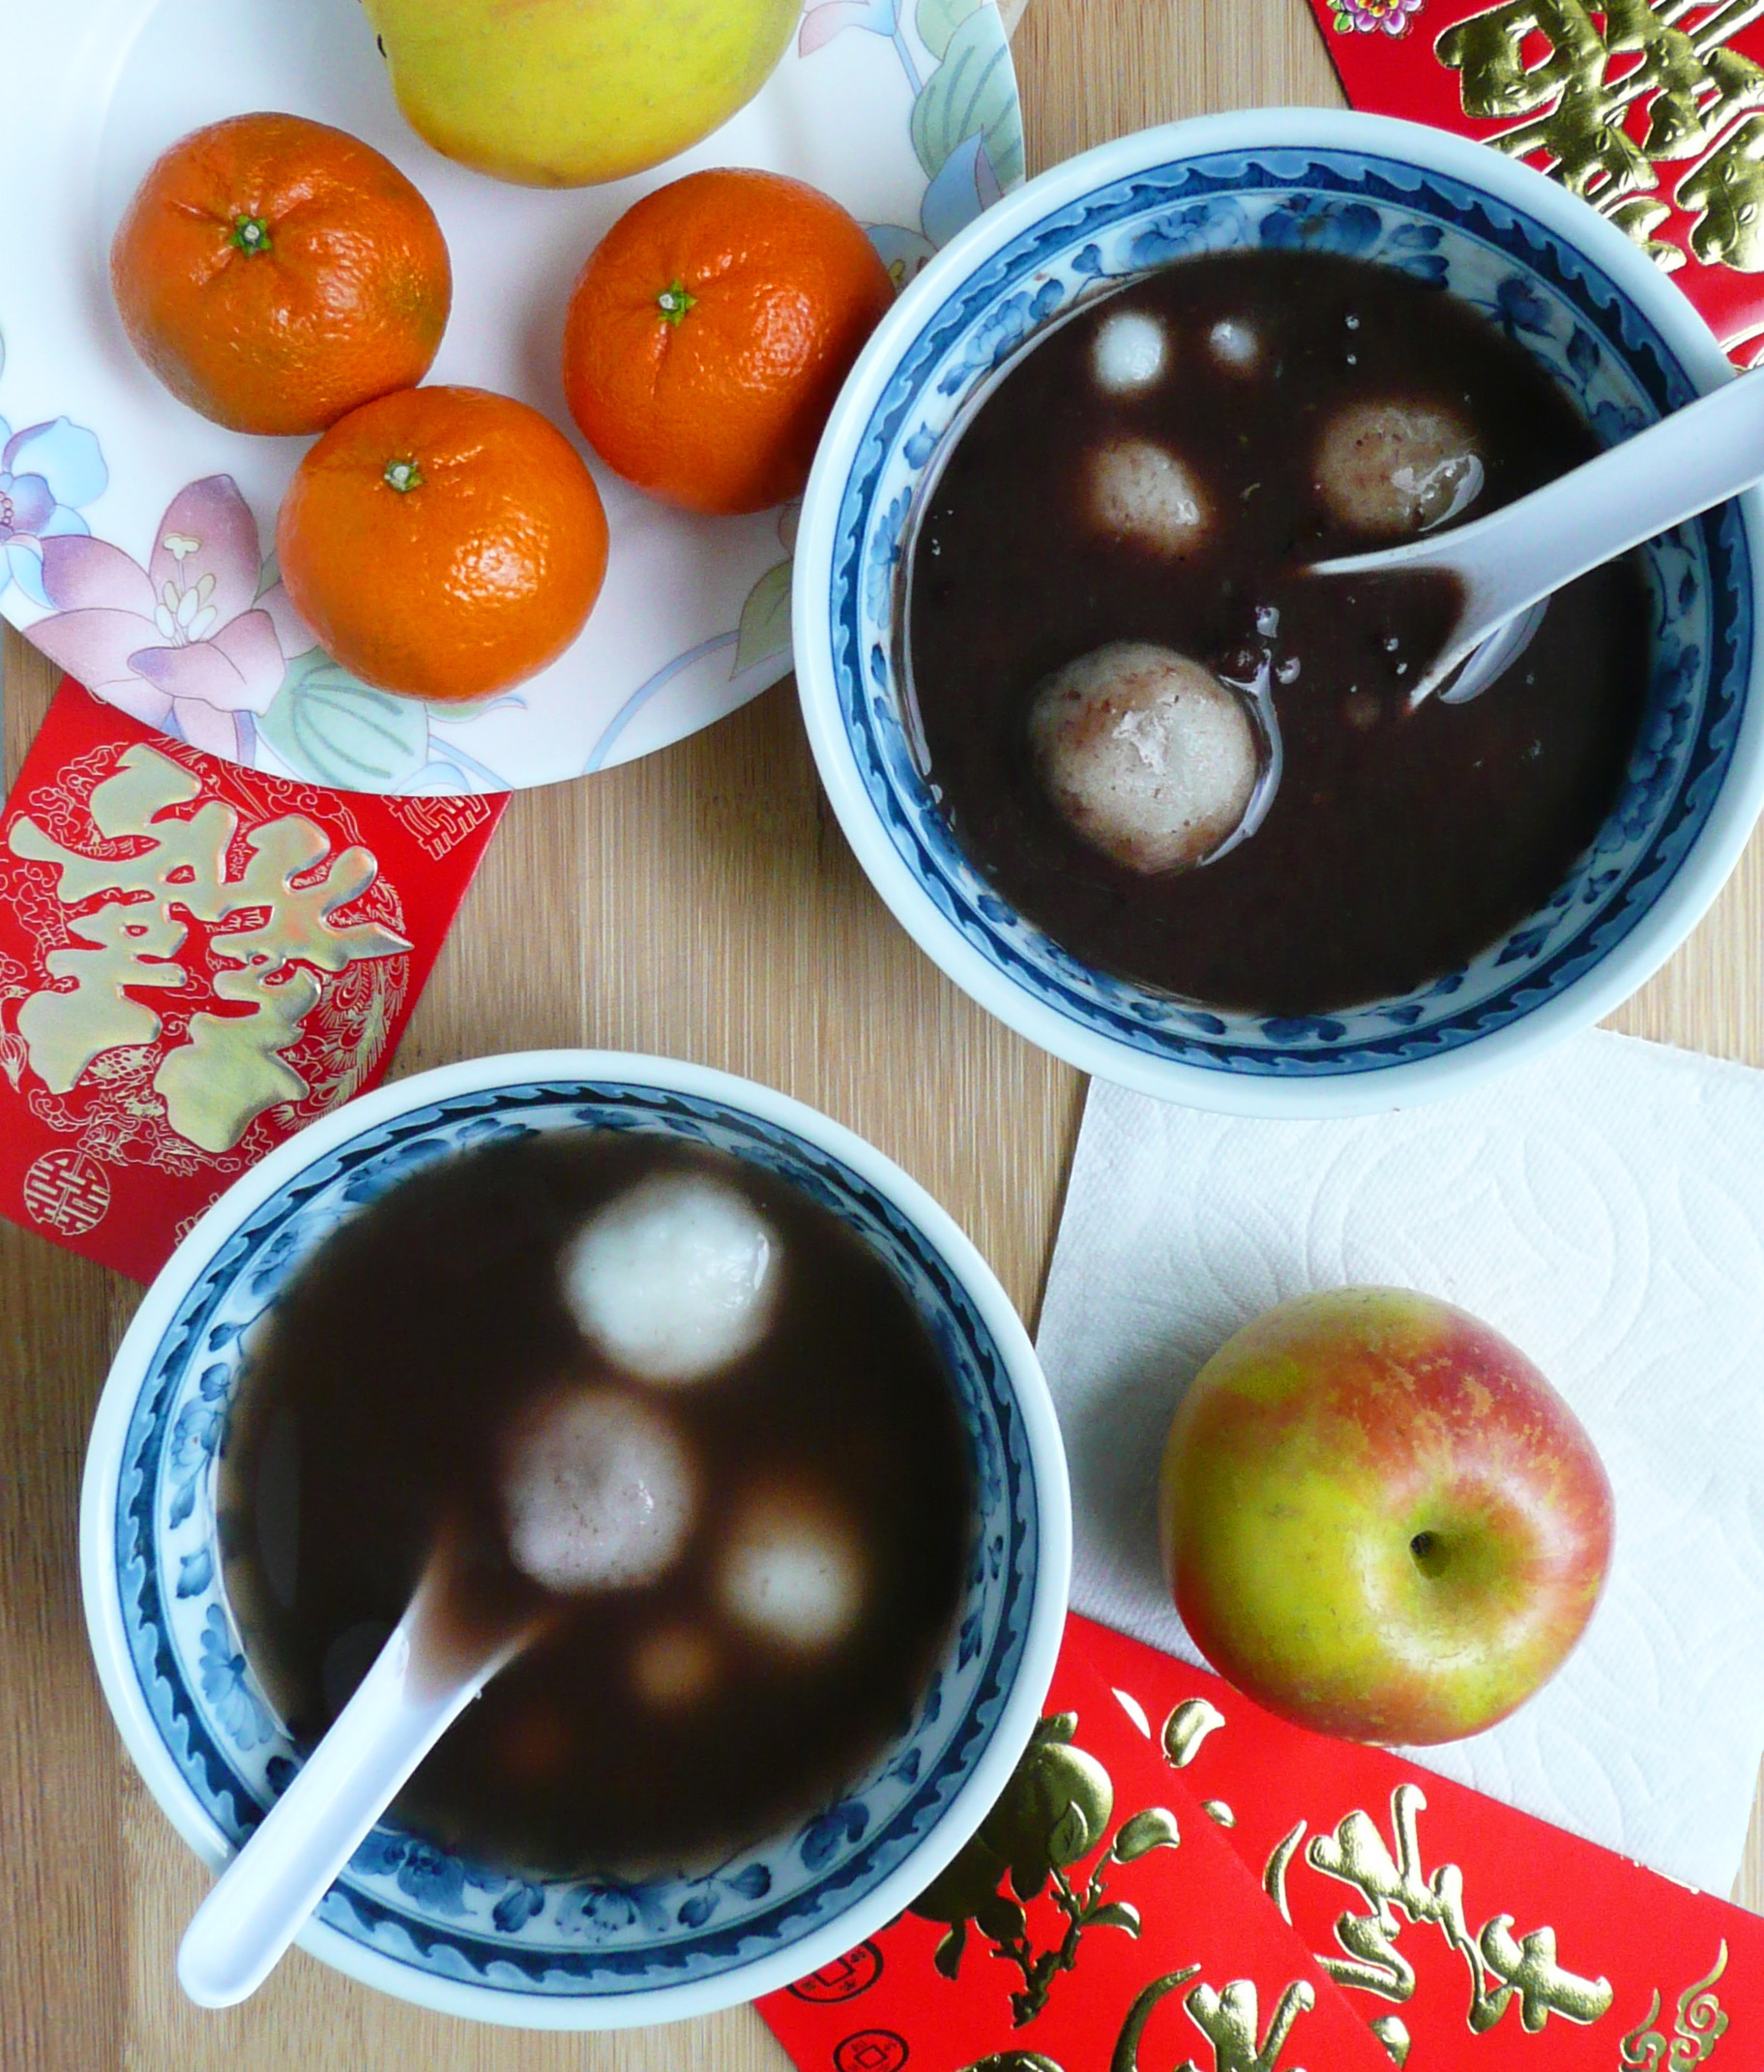
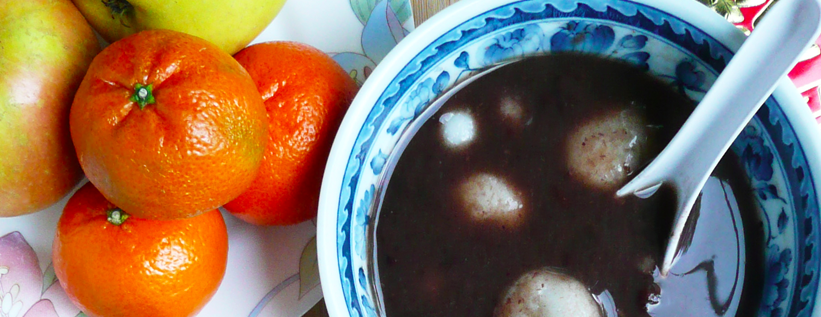
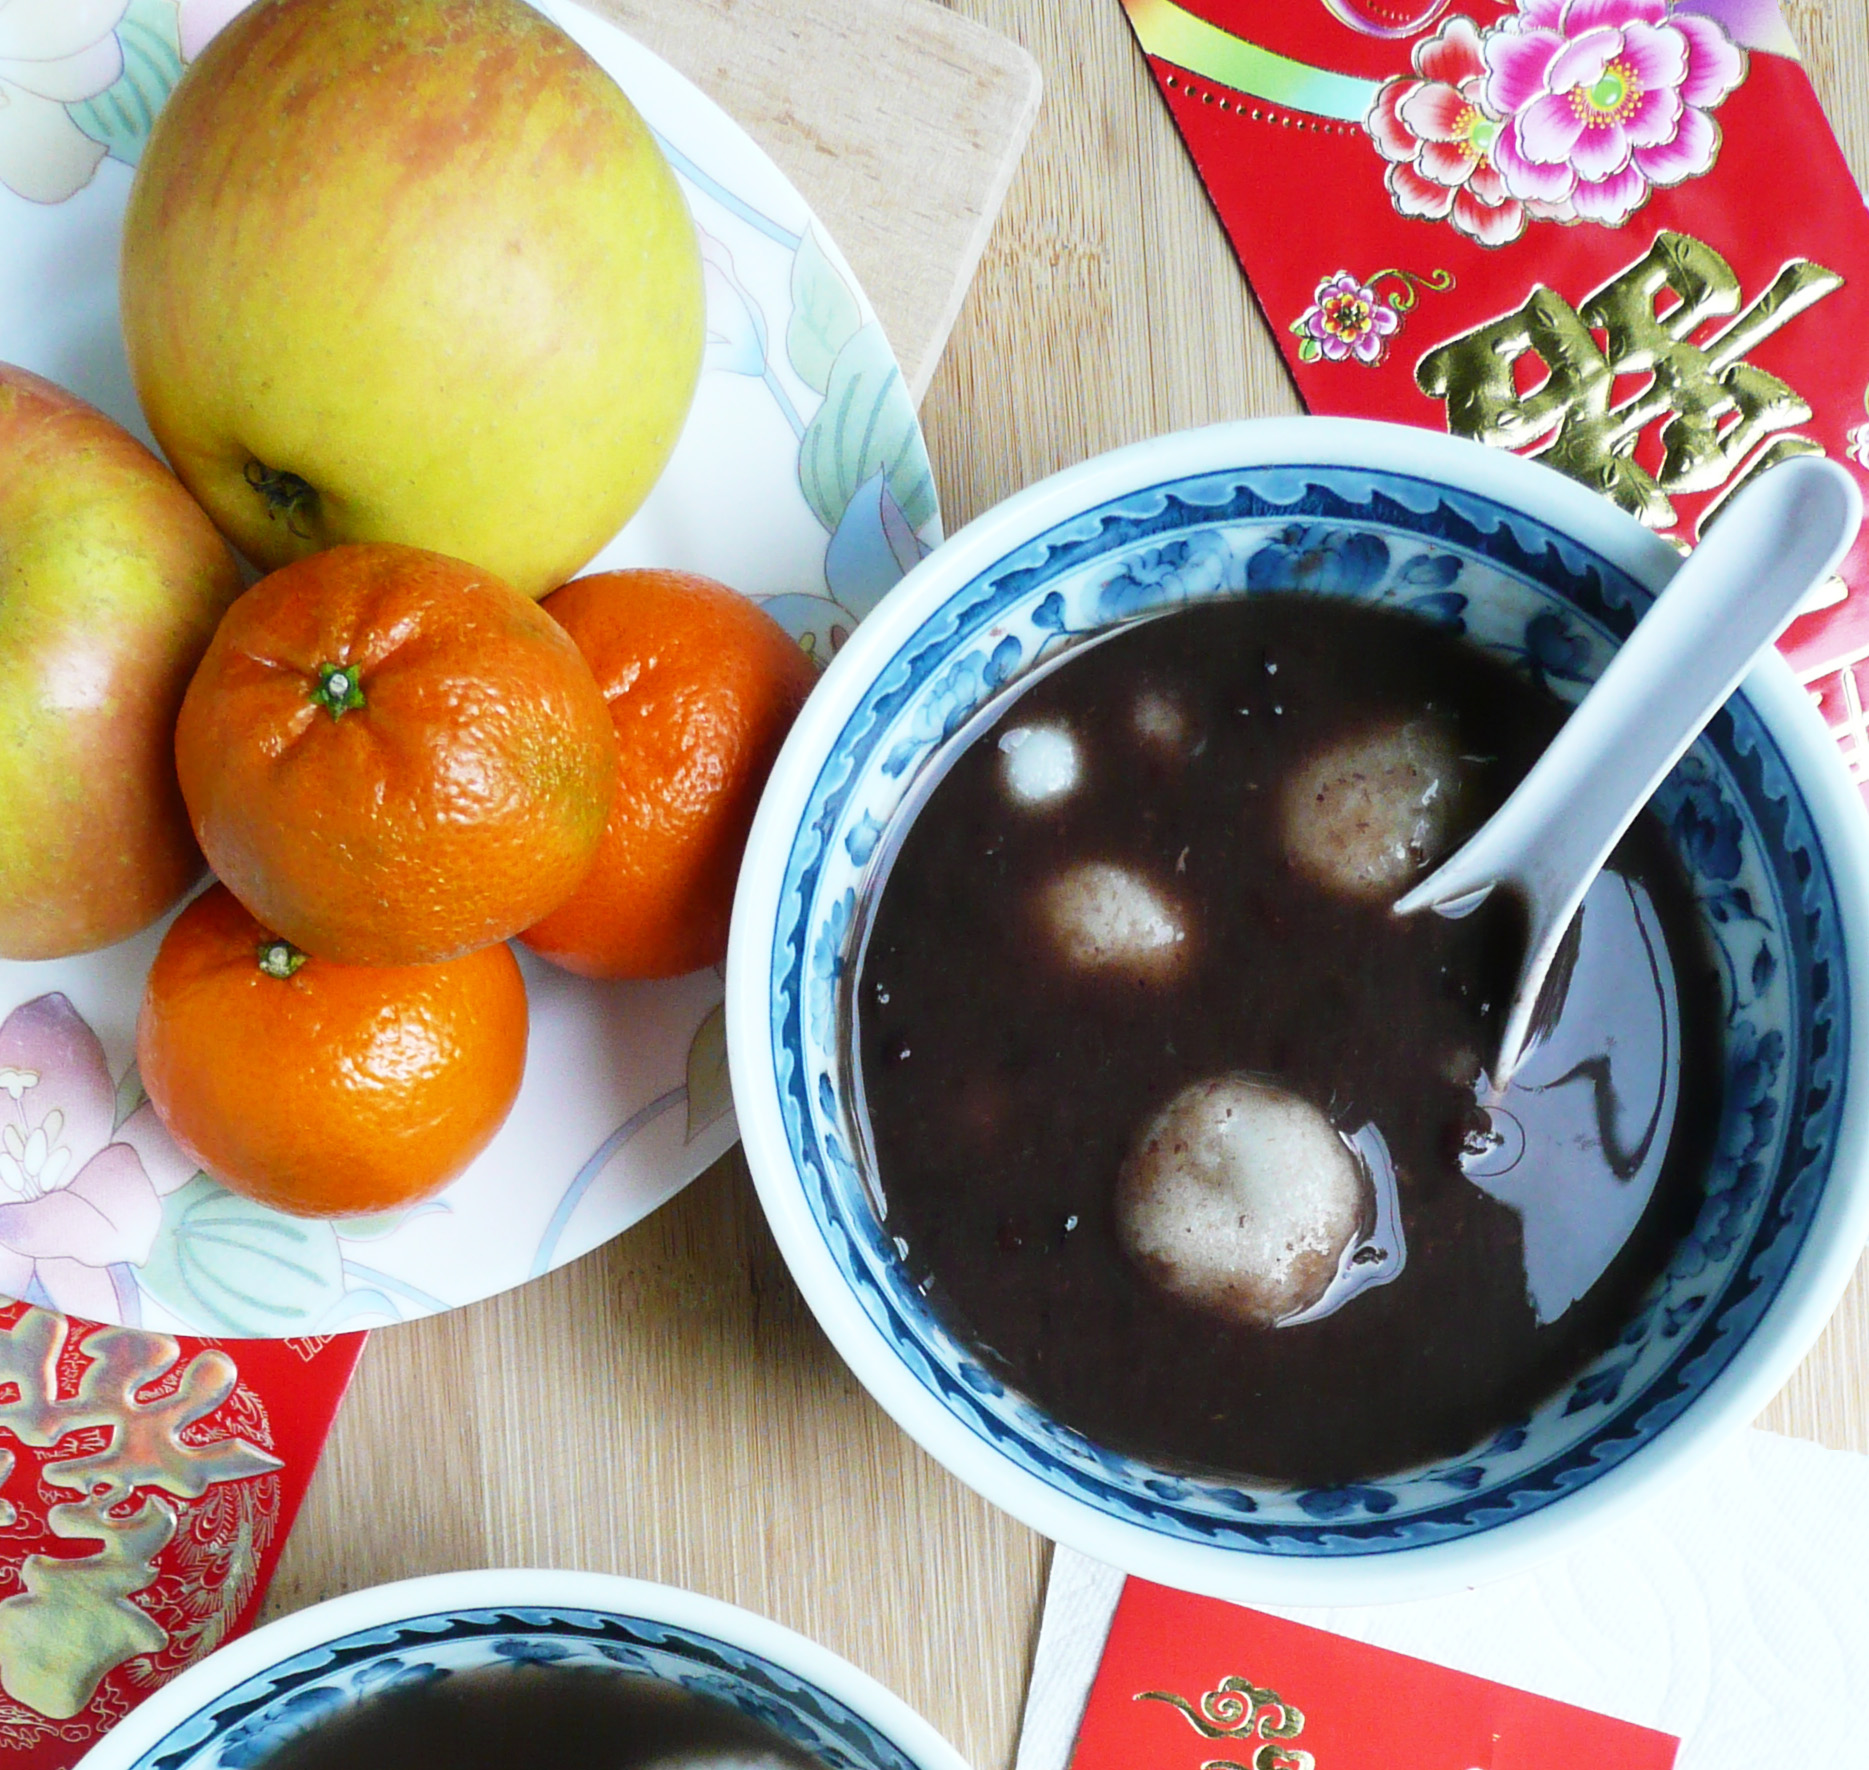
*** This recipe uses a lot of the red beans from the red bean soup, so if you’re planning on serving red bean soup for Lunar New Year, I would recommend making an extra batch of red bean soup just to use for the red bean filling in this Nian Gao recipe. You probably have some soup left over which you can send home with guests so it will all be eaten and people will go home happy.
Instructions
1. Preheat the oven to 350.
Grease your baking dish with either coconut oil, or a neutral flavored oil, and flour it with a few tbsp of sweet rice flour and set it to the side.
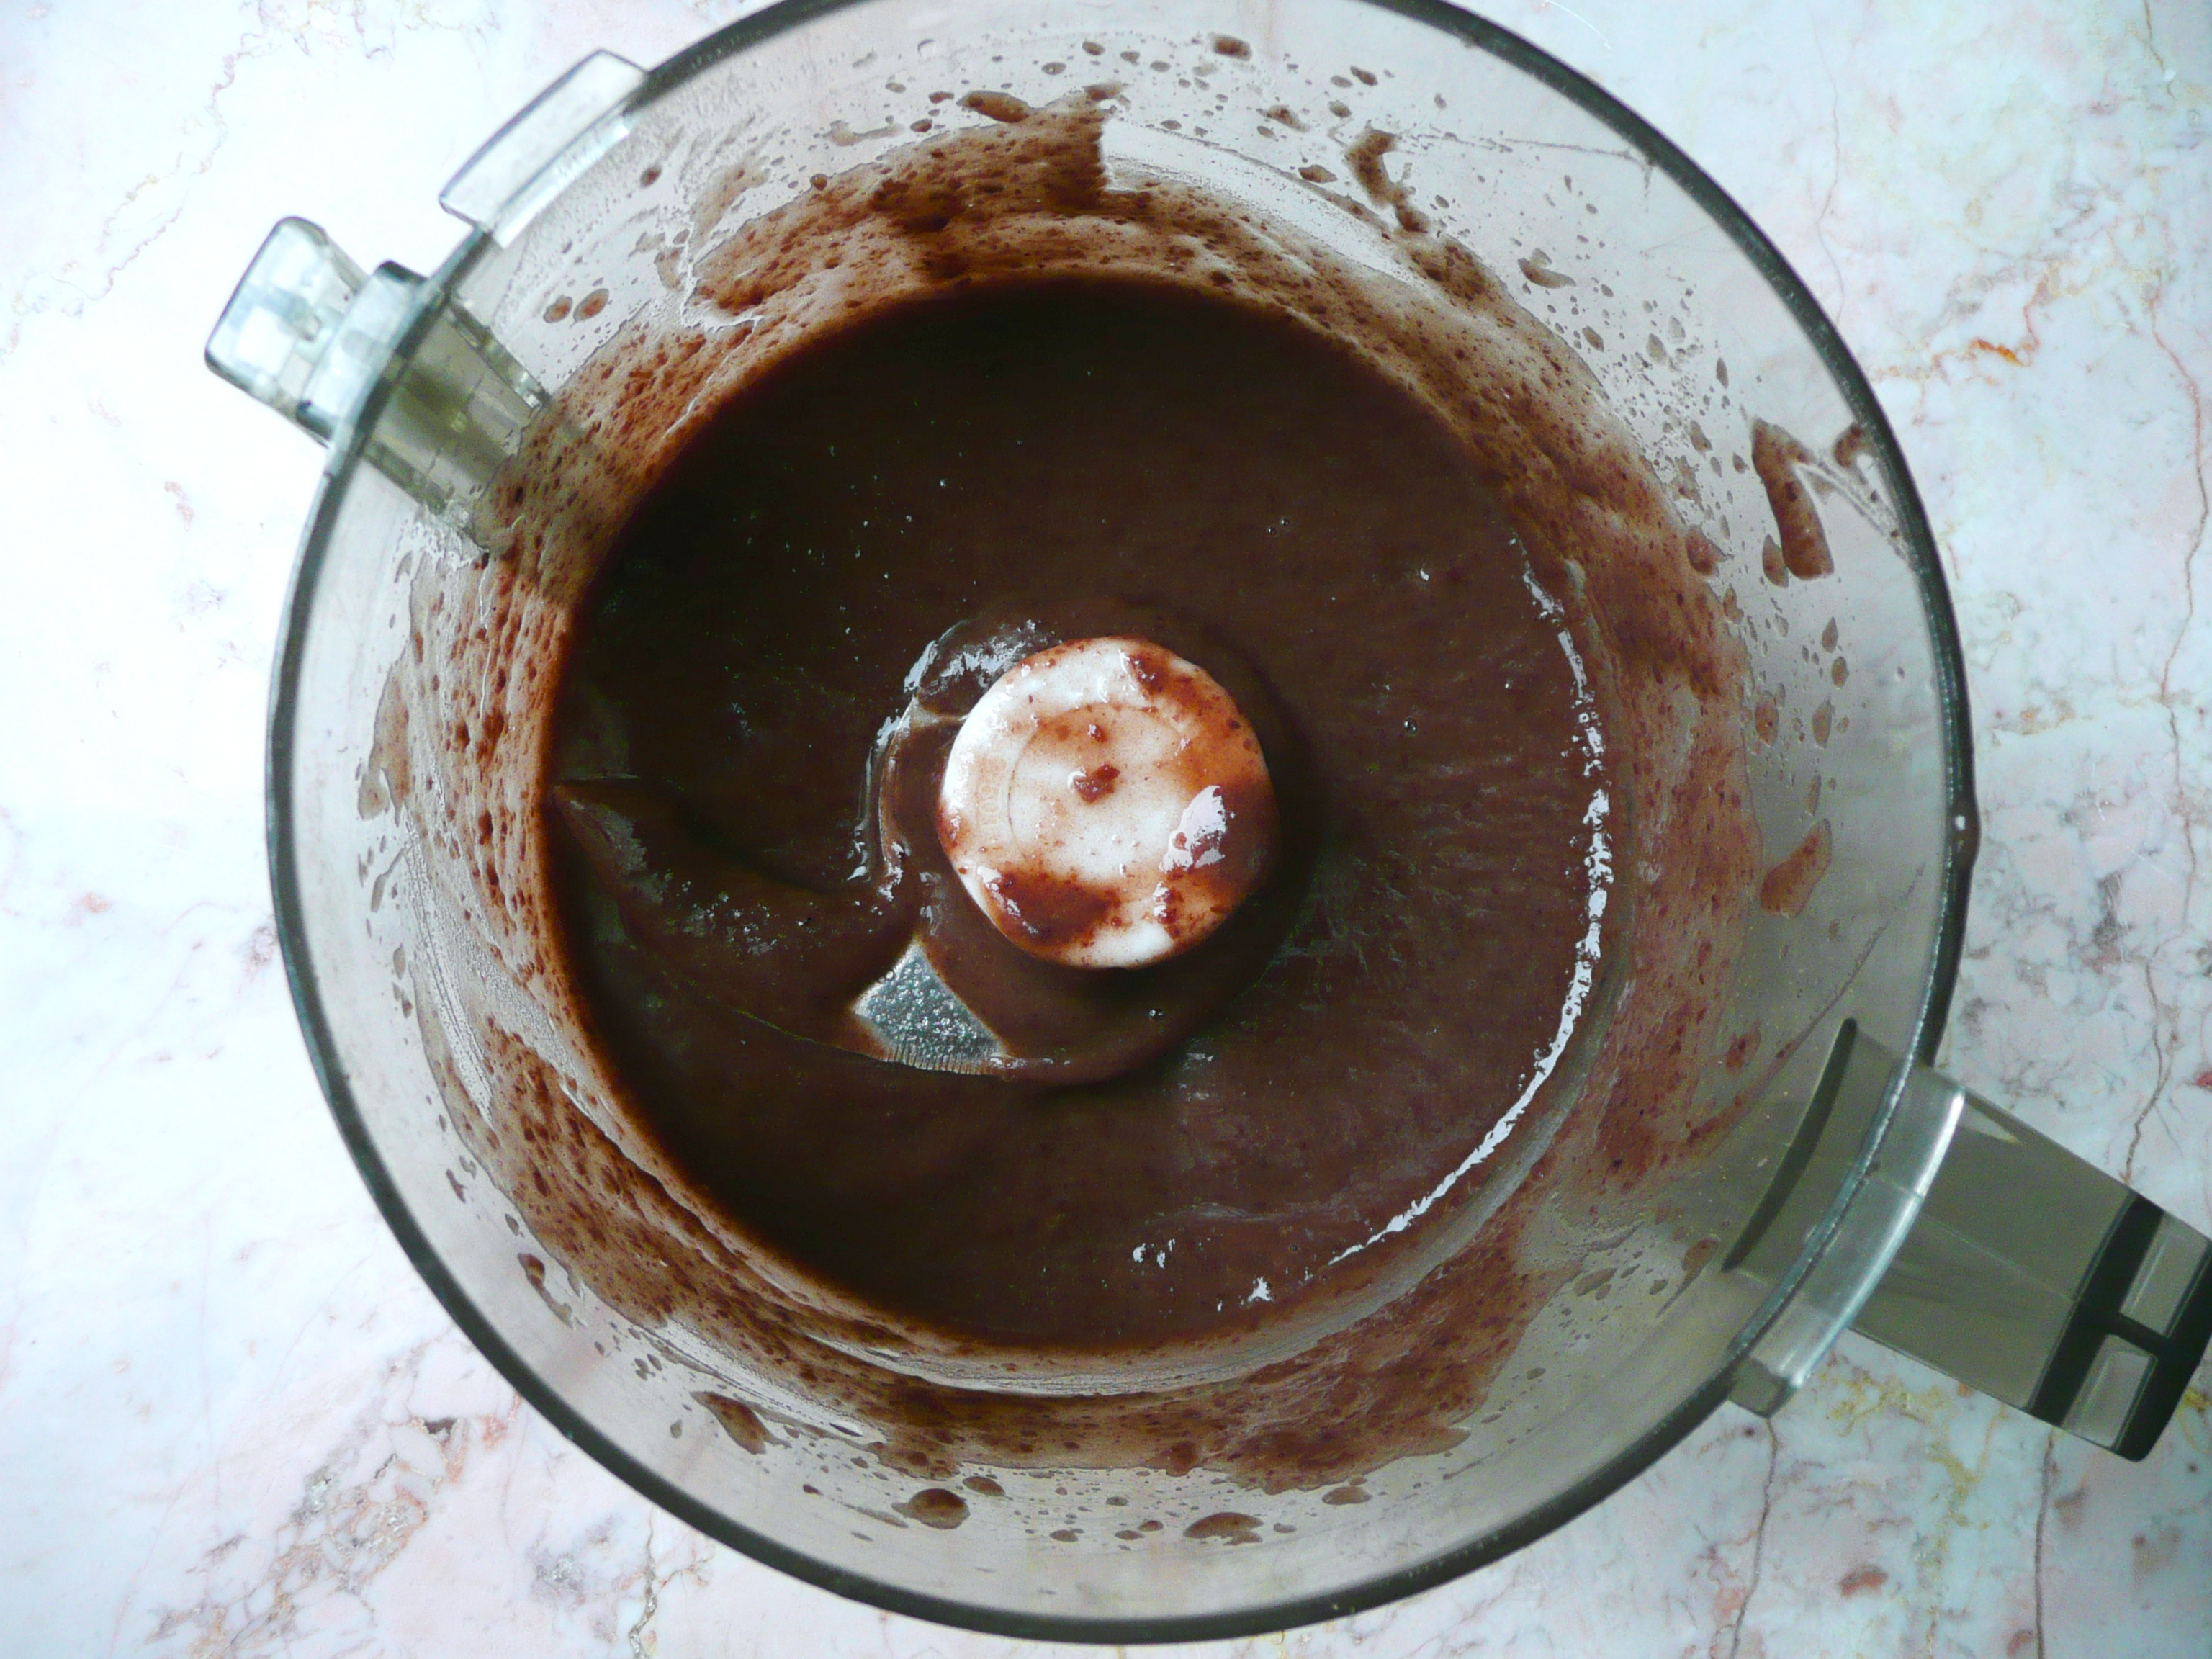
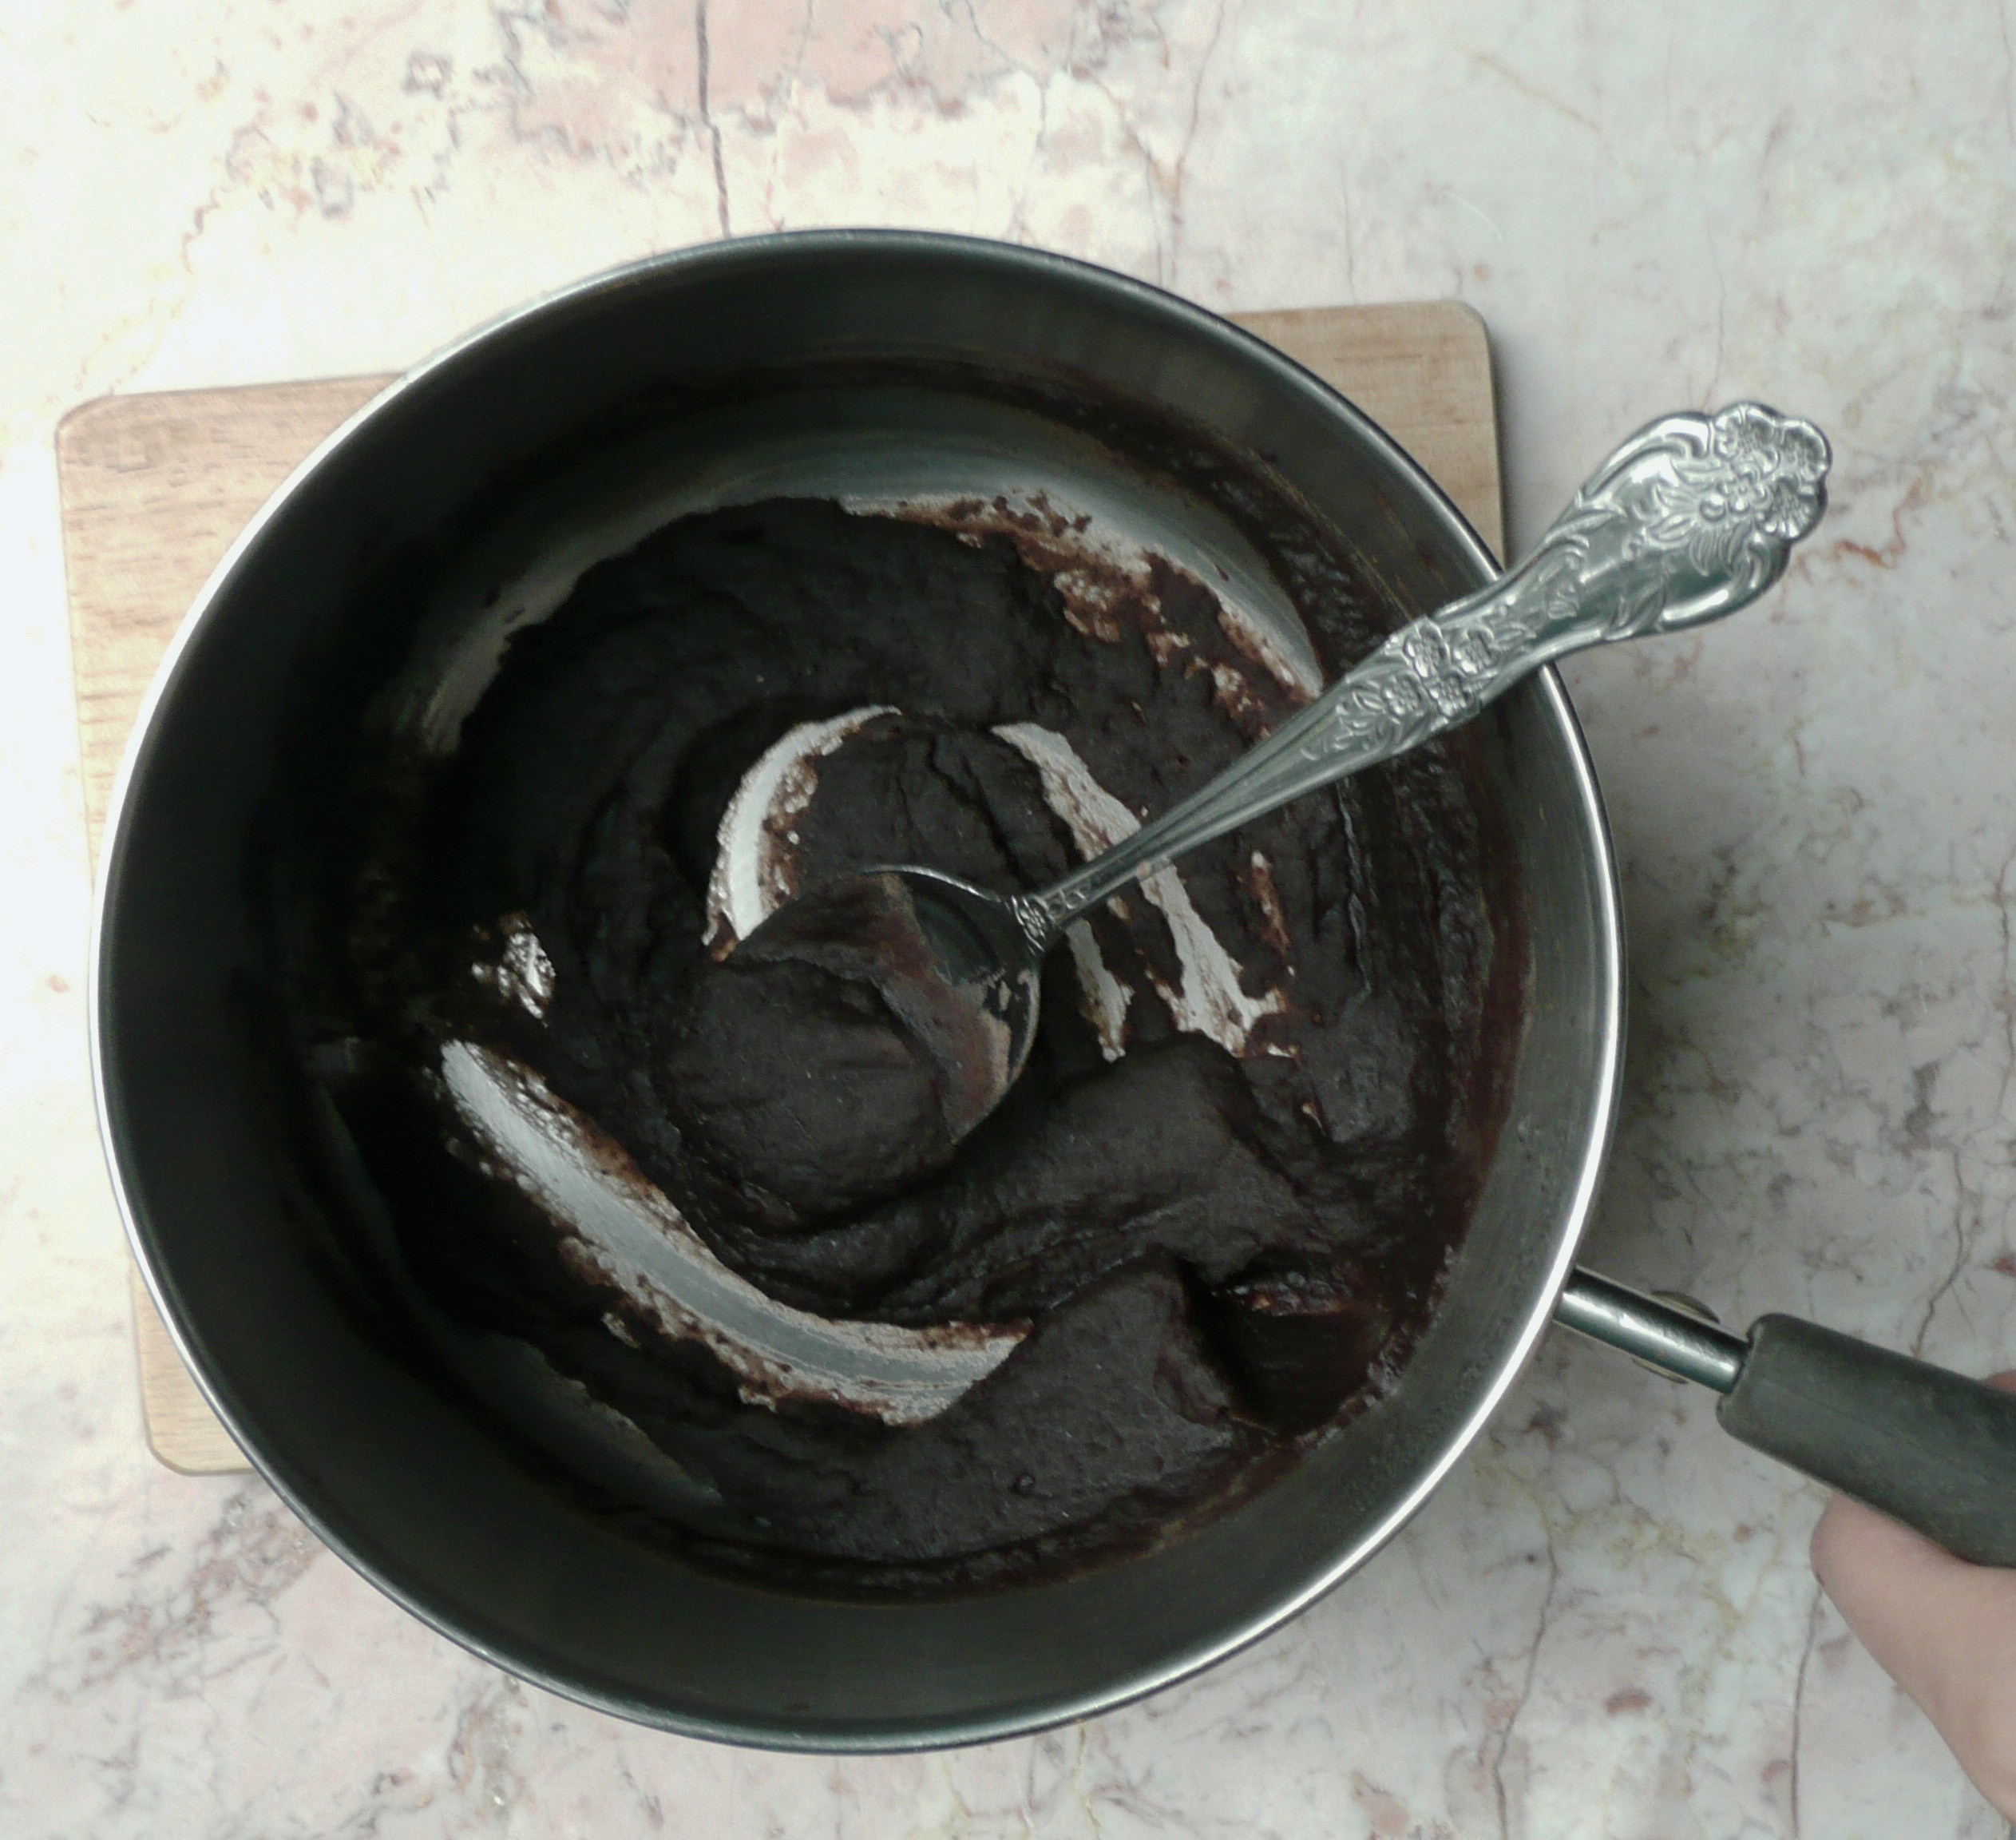
2. Stir together the 1/4 cup of maple syrup with the red beans. Use the back of a spoon to smush about 1/3 of the red beans against the side of the bowl. This took me about 20-30 seconds. You want some texture in the red bean paste when it’s baked, and some bits that are a little smooth.
3. In medium sized bowl, stir together the baking soda, sweet rice flour, melted coconut oil, egg (and the flax egg), 1/2 cup of maple syrup, and water. Stir until smooth.
4. I used a 8.5 x 11 inch oval casserole dish, but you can bake it in whatever size dish you have, just as long as the batter is an inch thick in the baking dish.
The nian gao batter plus the red bean filling is 4 1/3 cups in volume. If you want to see if your baking dish will work for this recipe, pour 4 1/3 cups of water into the baking dish and see if the layer of water is 1 inch deep. If it is, then that baking dish should work for this recipe.
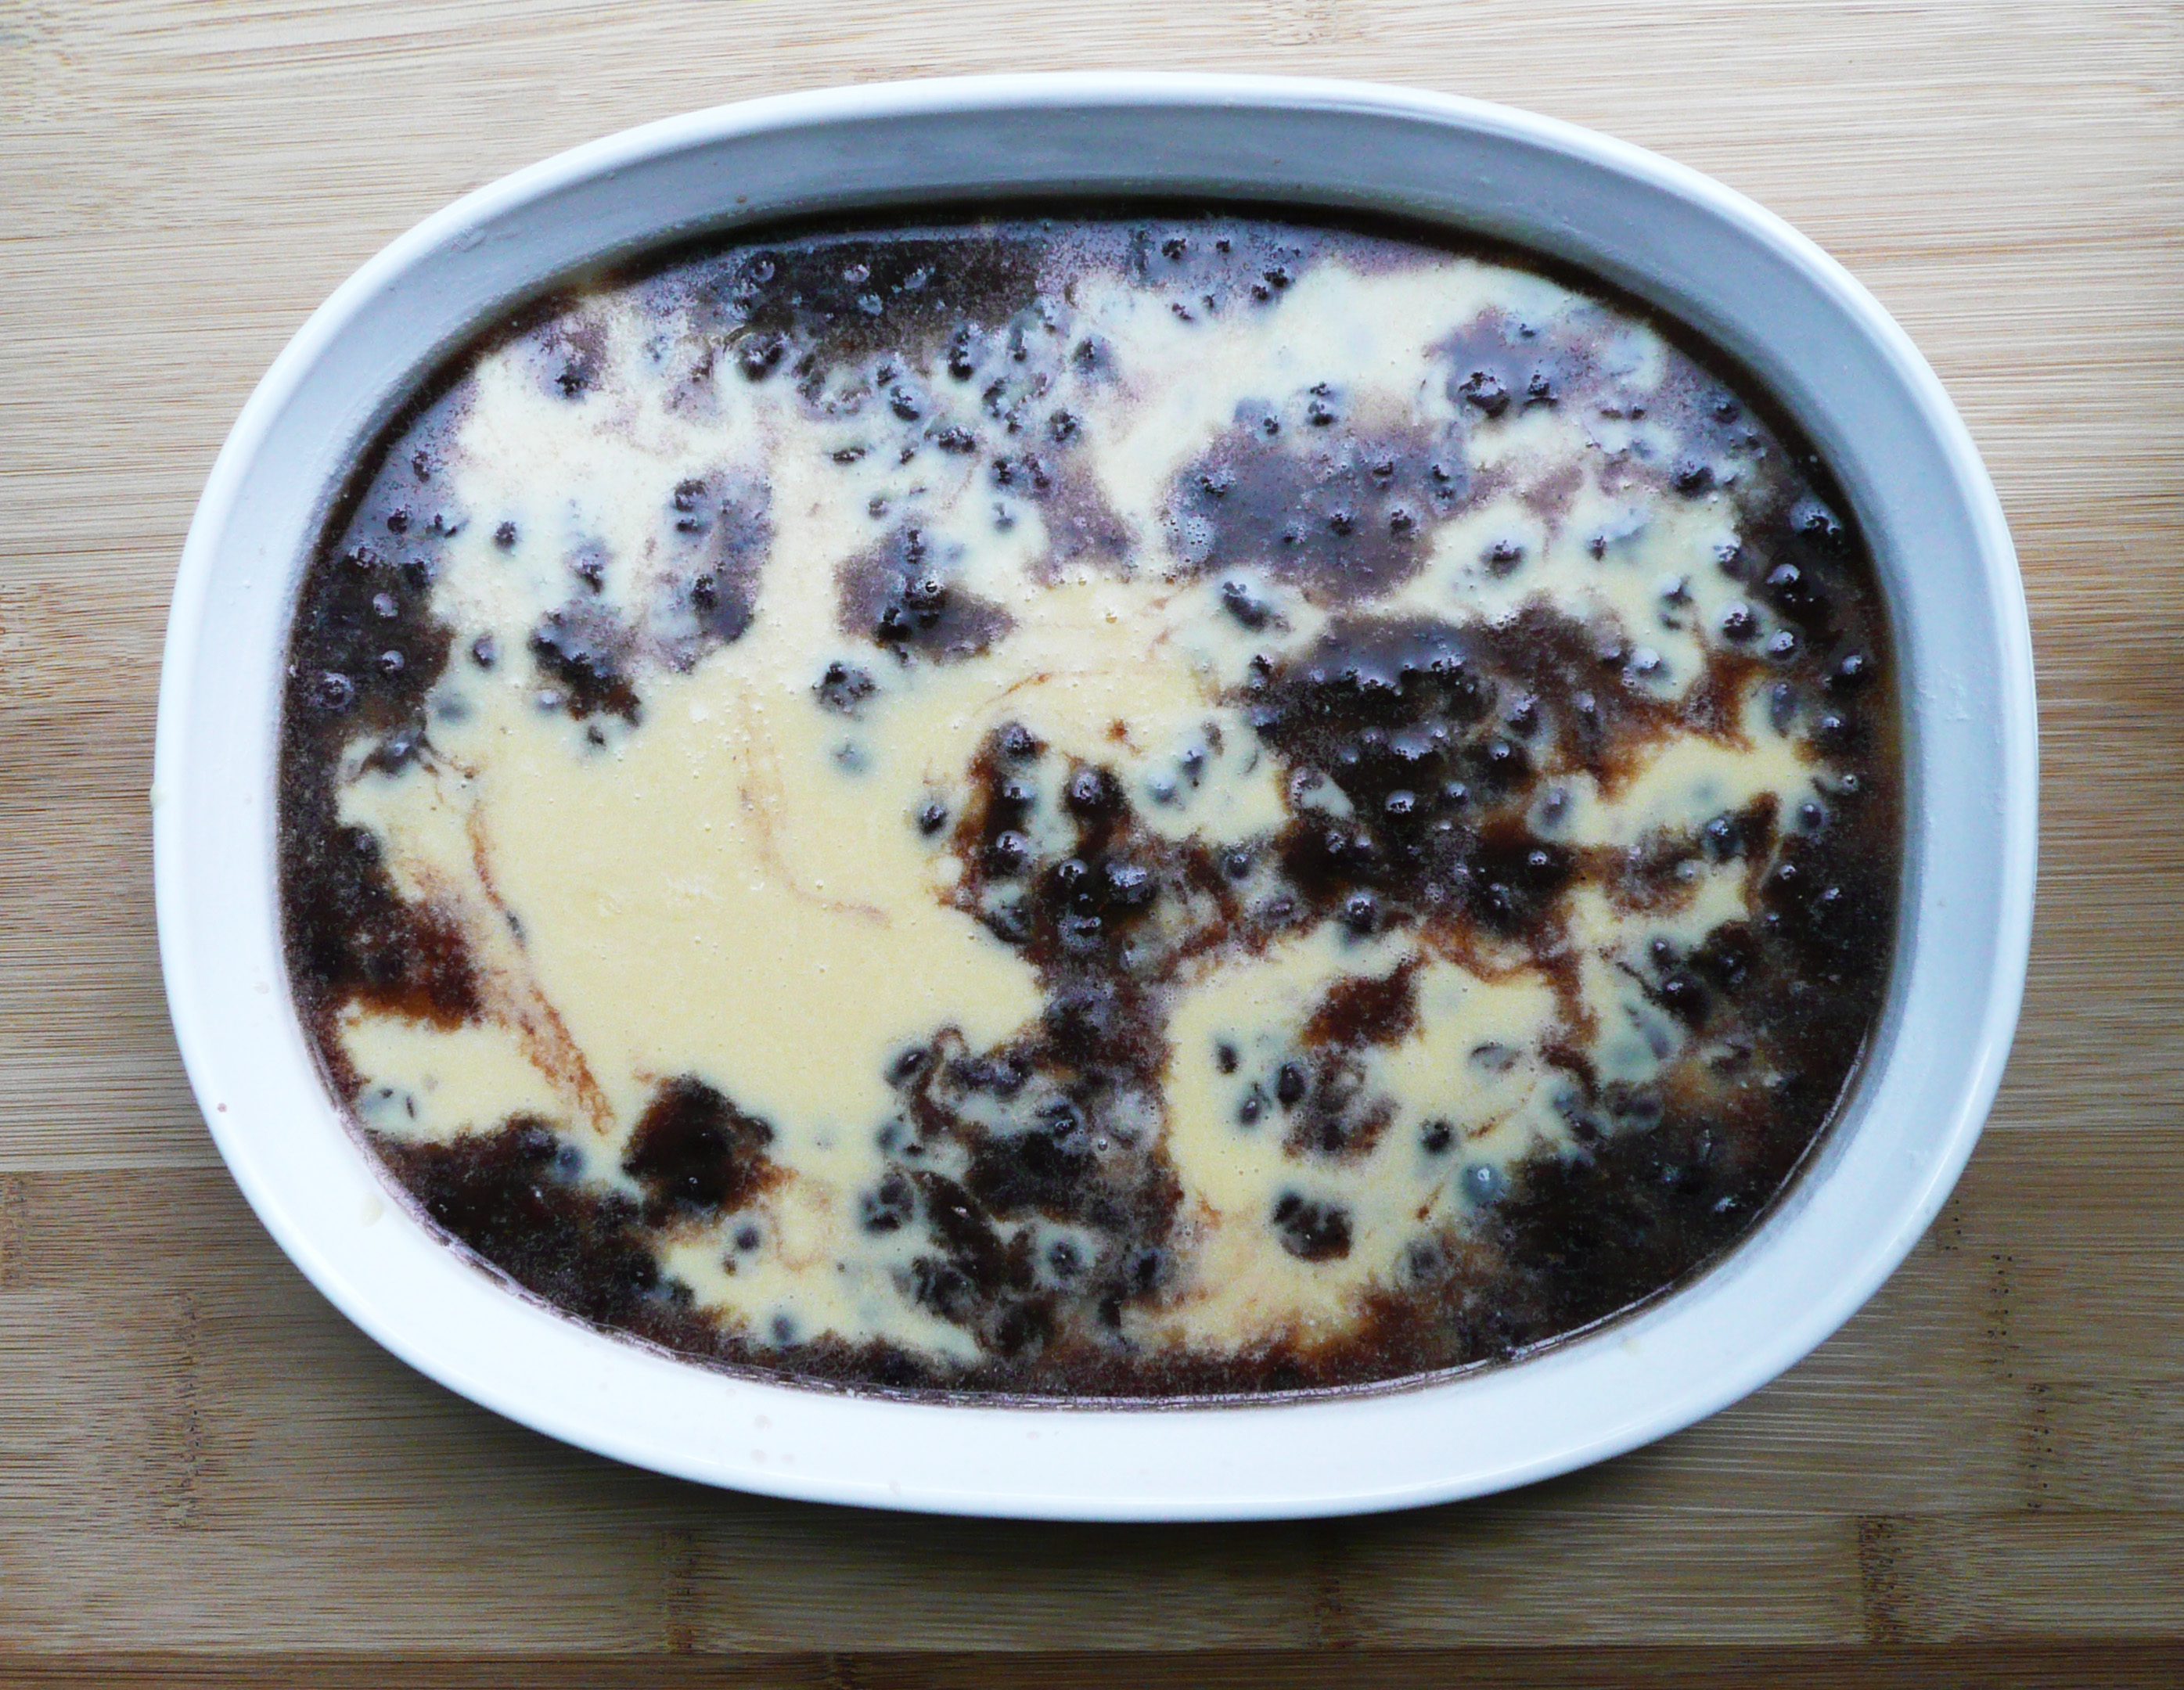
Scoop 1 1/2 cups of the nian gao batter into the baking dish so that the batter covers the entire bottom of the dish. Spoon over the red bean filling into puddles all over the batter, this doesn’t need to be perfectly even, in fact it’s better if it isn’t as the nian gao will hold together better if there isn’t a smooth layer of red bean filling separating the top and bottom of the batter.
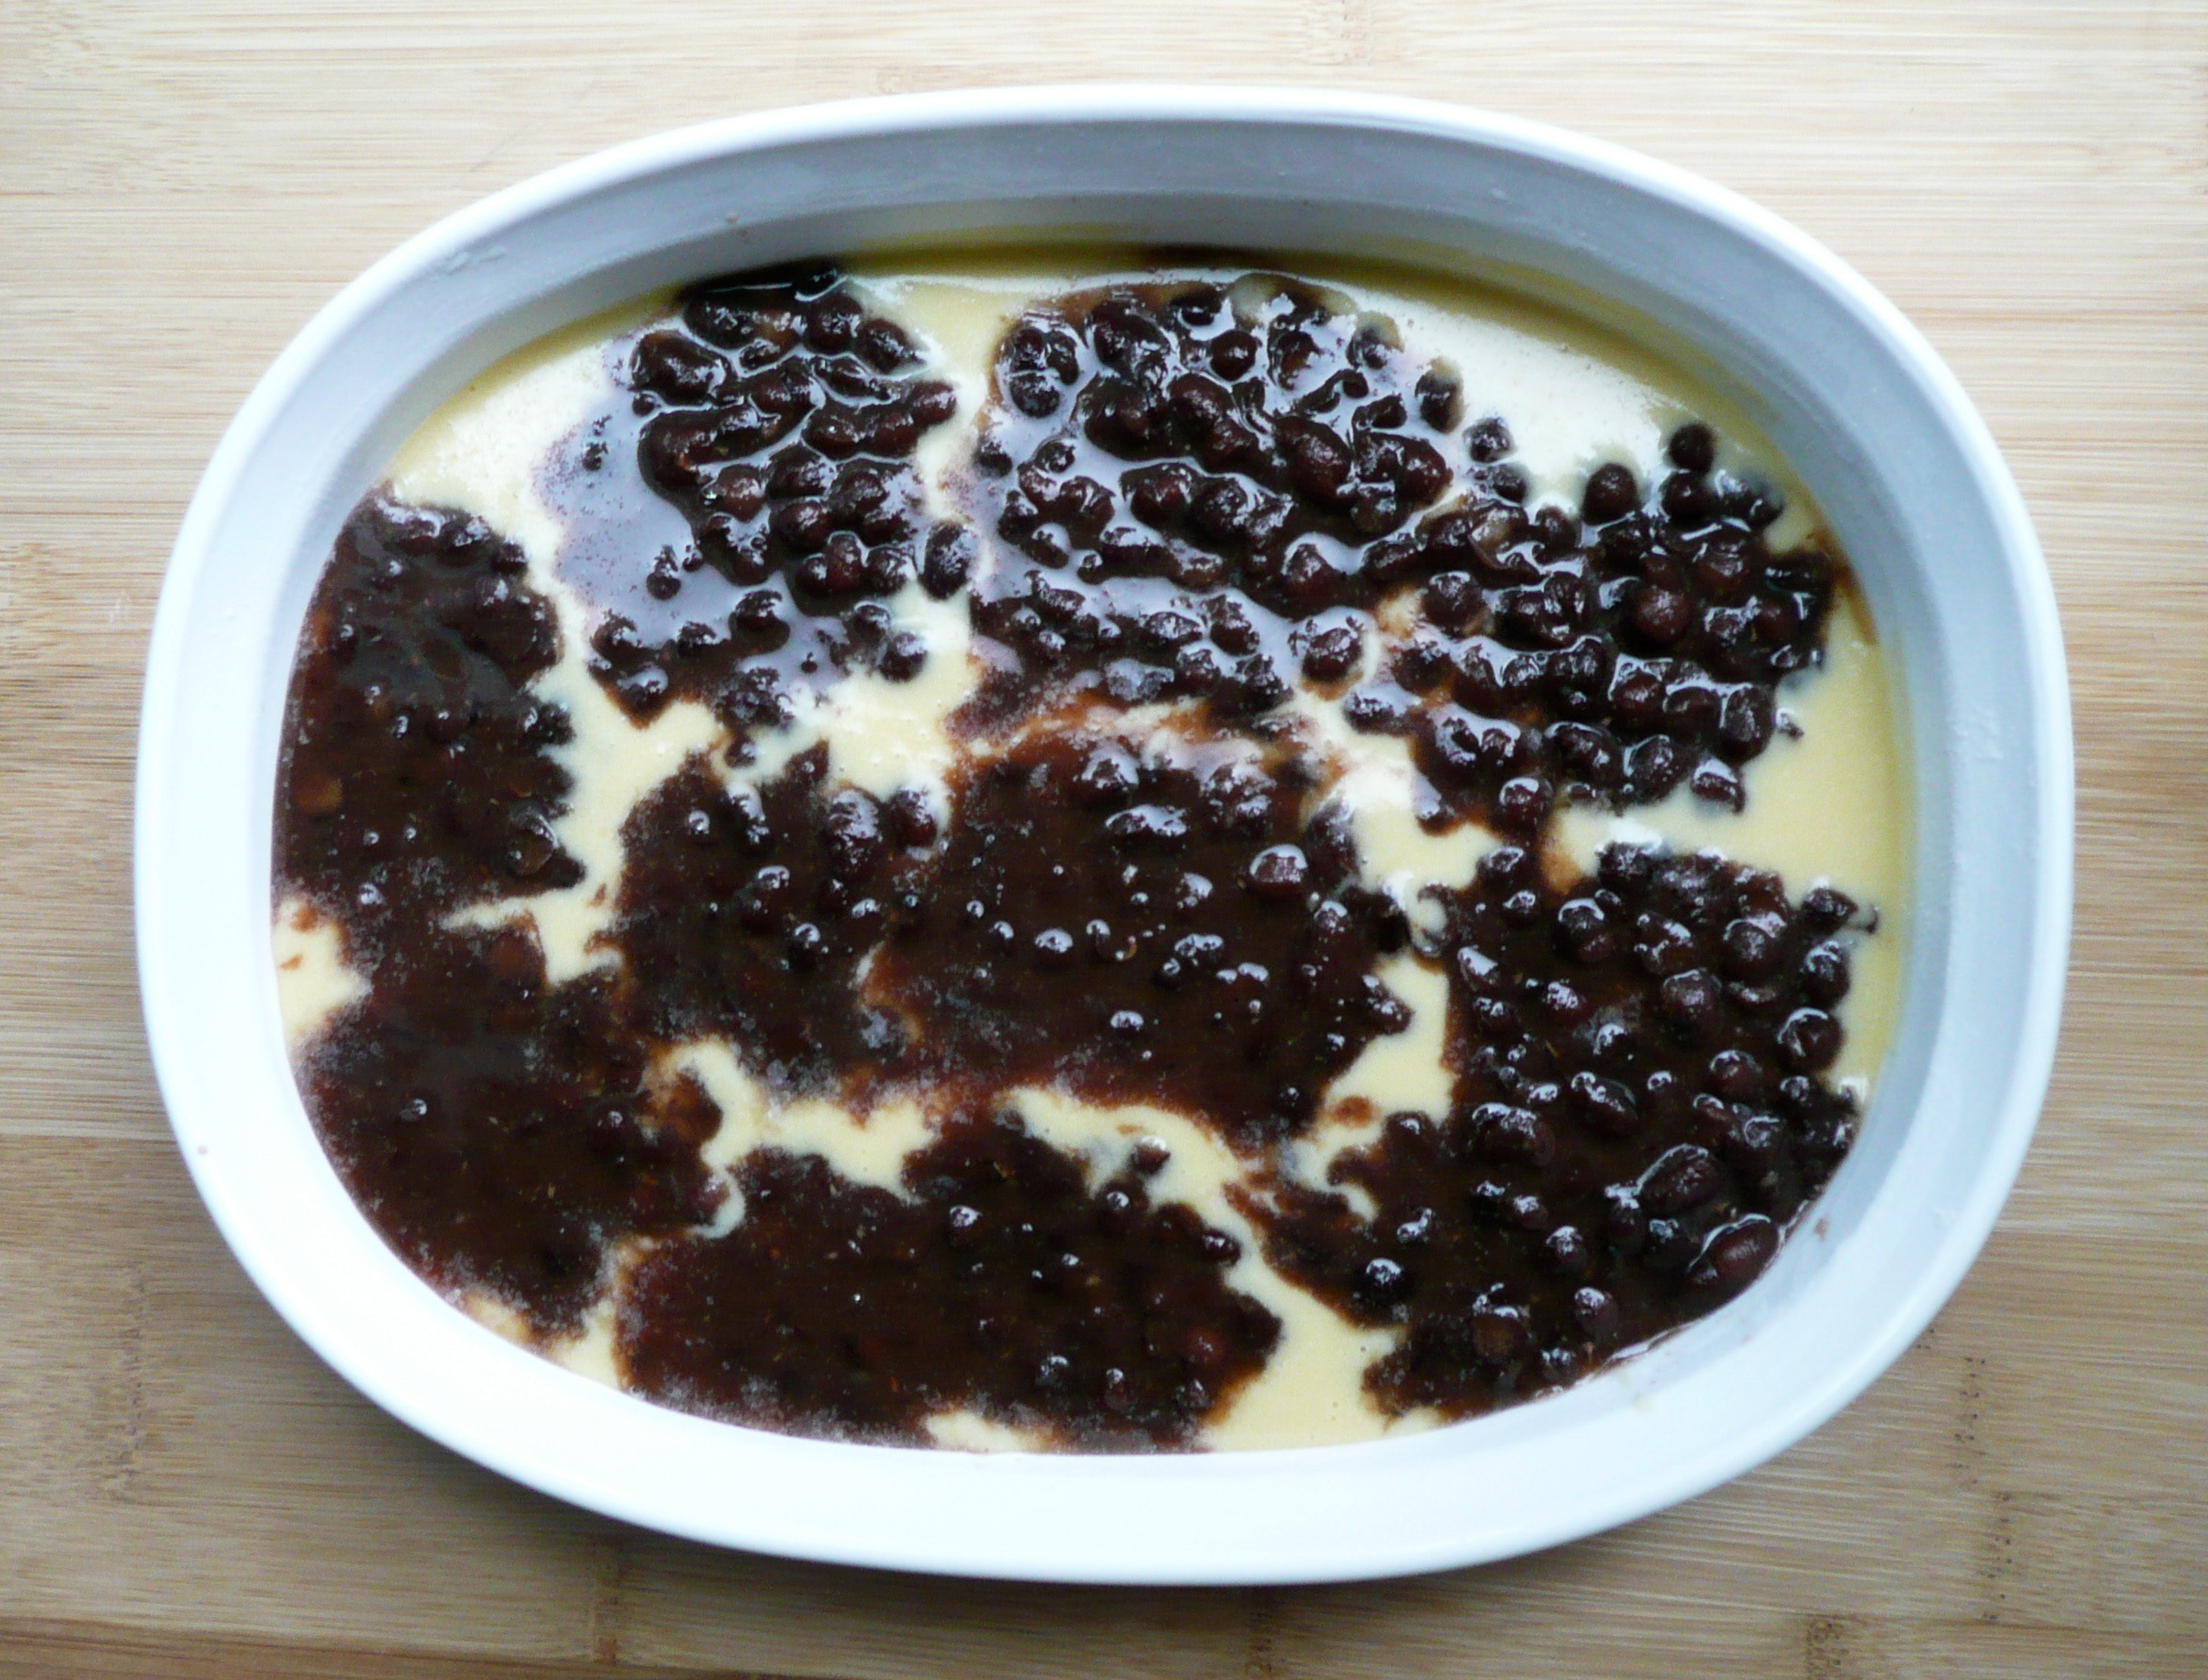
Spoon over the rest of the remaining batter and use the back of your spoon to slightly swirl the batter and red bean filling.
5. Bake at 350 for 1 hr and 15 minutes until golden brown on top and a toothpick comes out clean. It will be slightly crispy on top.
Allow the nian gao to cool to room temperature before cutting and serving.
If you don’t want to bother with the red bean filling, you can make the cake without it. I’ve only made it with the red bean filling, but if you make the nian gao without it, it will take less time to bake.
I would bake it at 350 and start checking to see if it’s done after 30 minutes. Other nian gao recipes that I’ve seen online without red bean filling seem to take about 45-60 minutes in the oven.
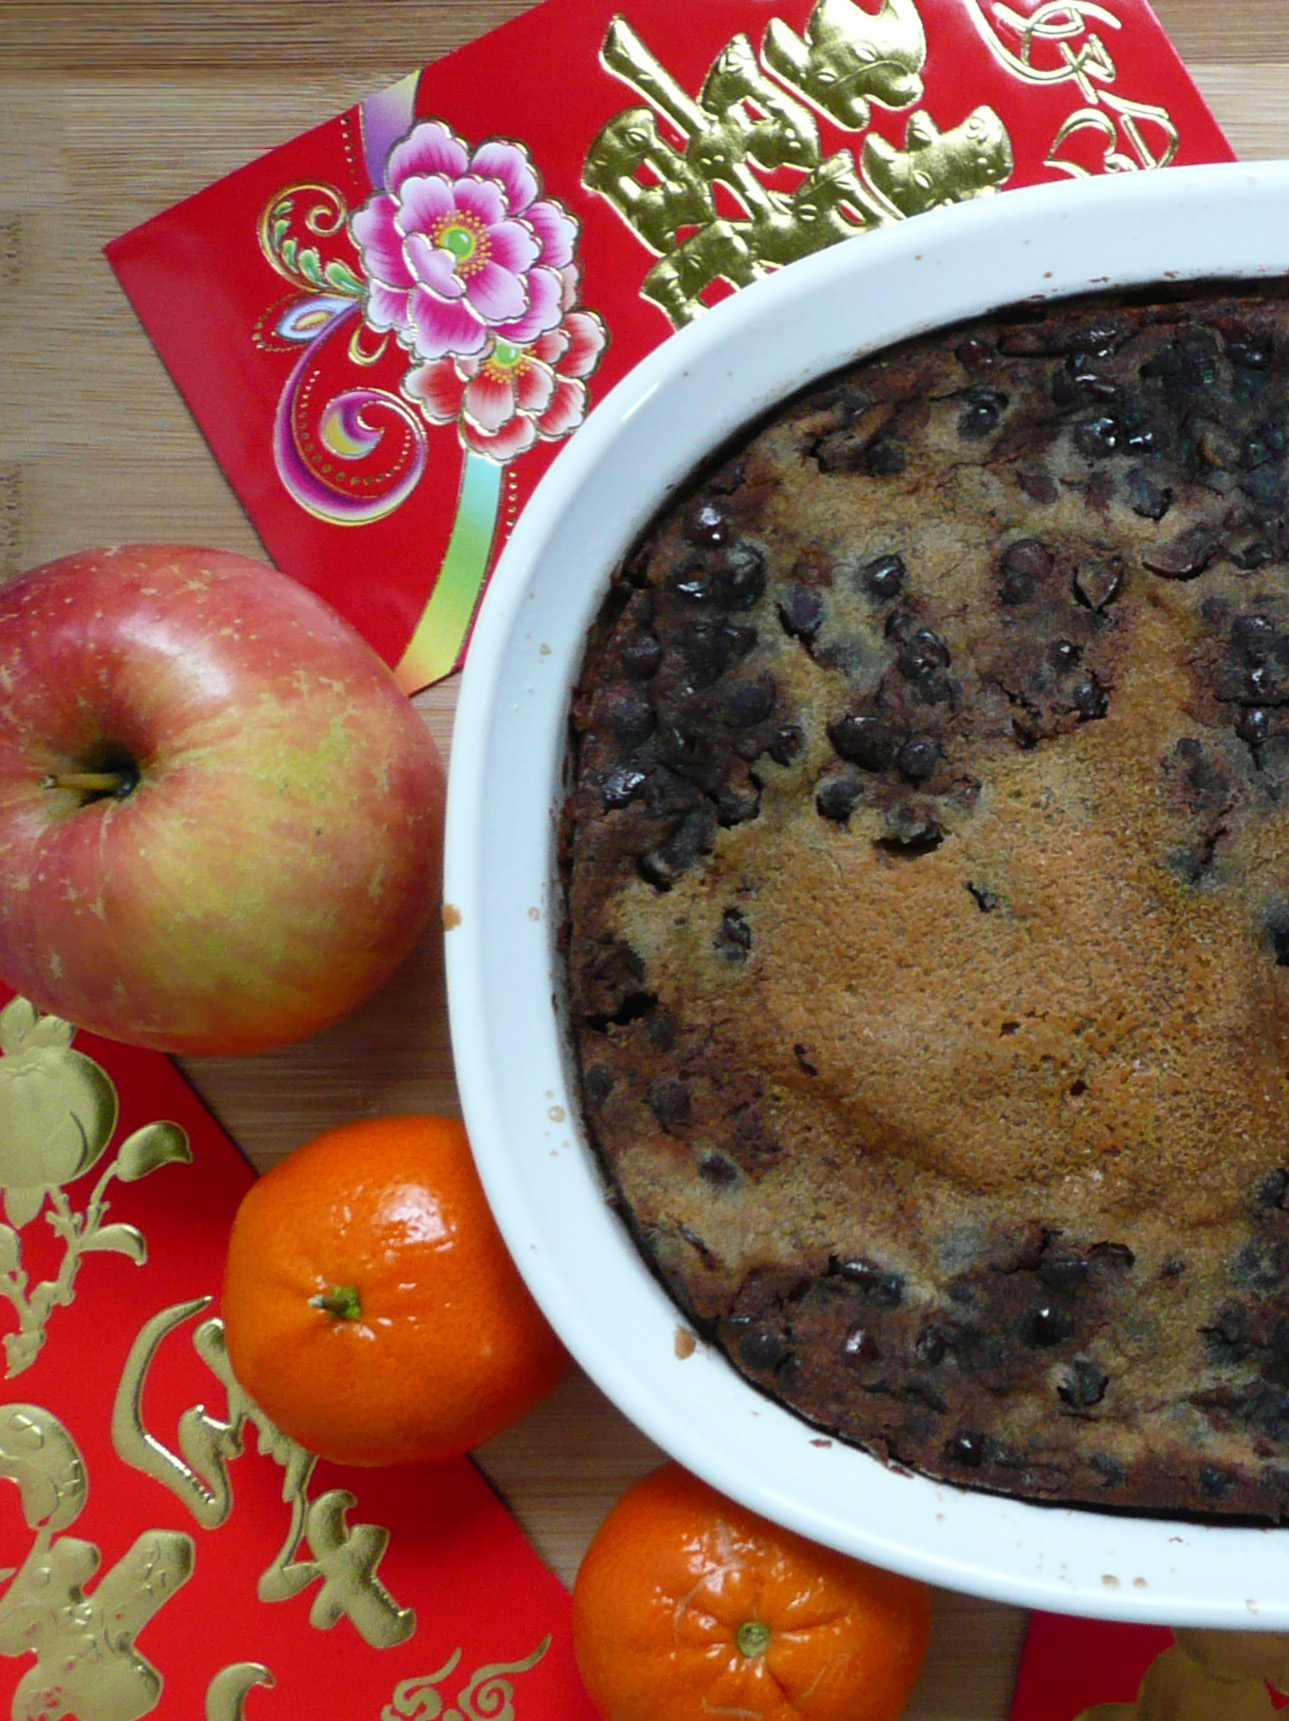
Happy Lunar New Year!